10 Things I Hate About Quilting

10 Things Pic

There comes a time in every quilter’s life where nothing seems to go right and it all falls apart…. The quarter-inch seam allowances aren’t matching up, you’ve burnt your fingers on the vicious hot steam pouring out from the iron when pressing your seams, the quilt is too big to fit on the ironing board, the pattern that you thought looked easy becomes the pattern from hell etc…

Today I share with you my top 10 hates when it comes to quilting. The worst thing is, most of these have happened to me in the past week….

DISCLAIMER: Prepare yourself for a whole lot of whinging!

>Hate 1: Puckering while Quilting<

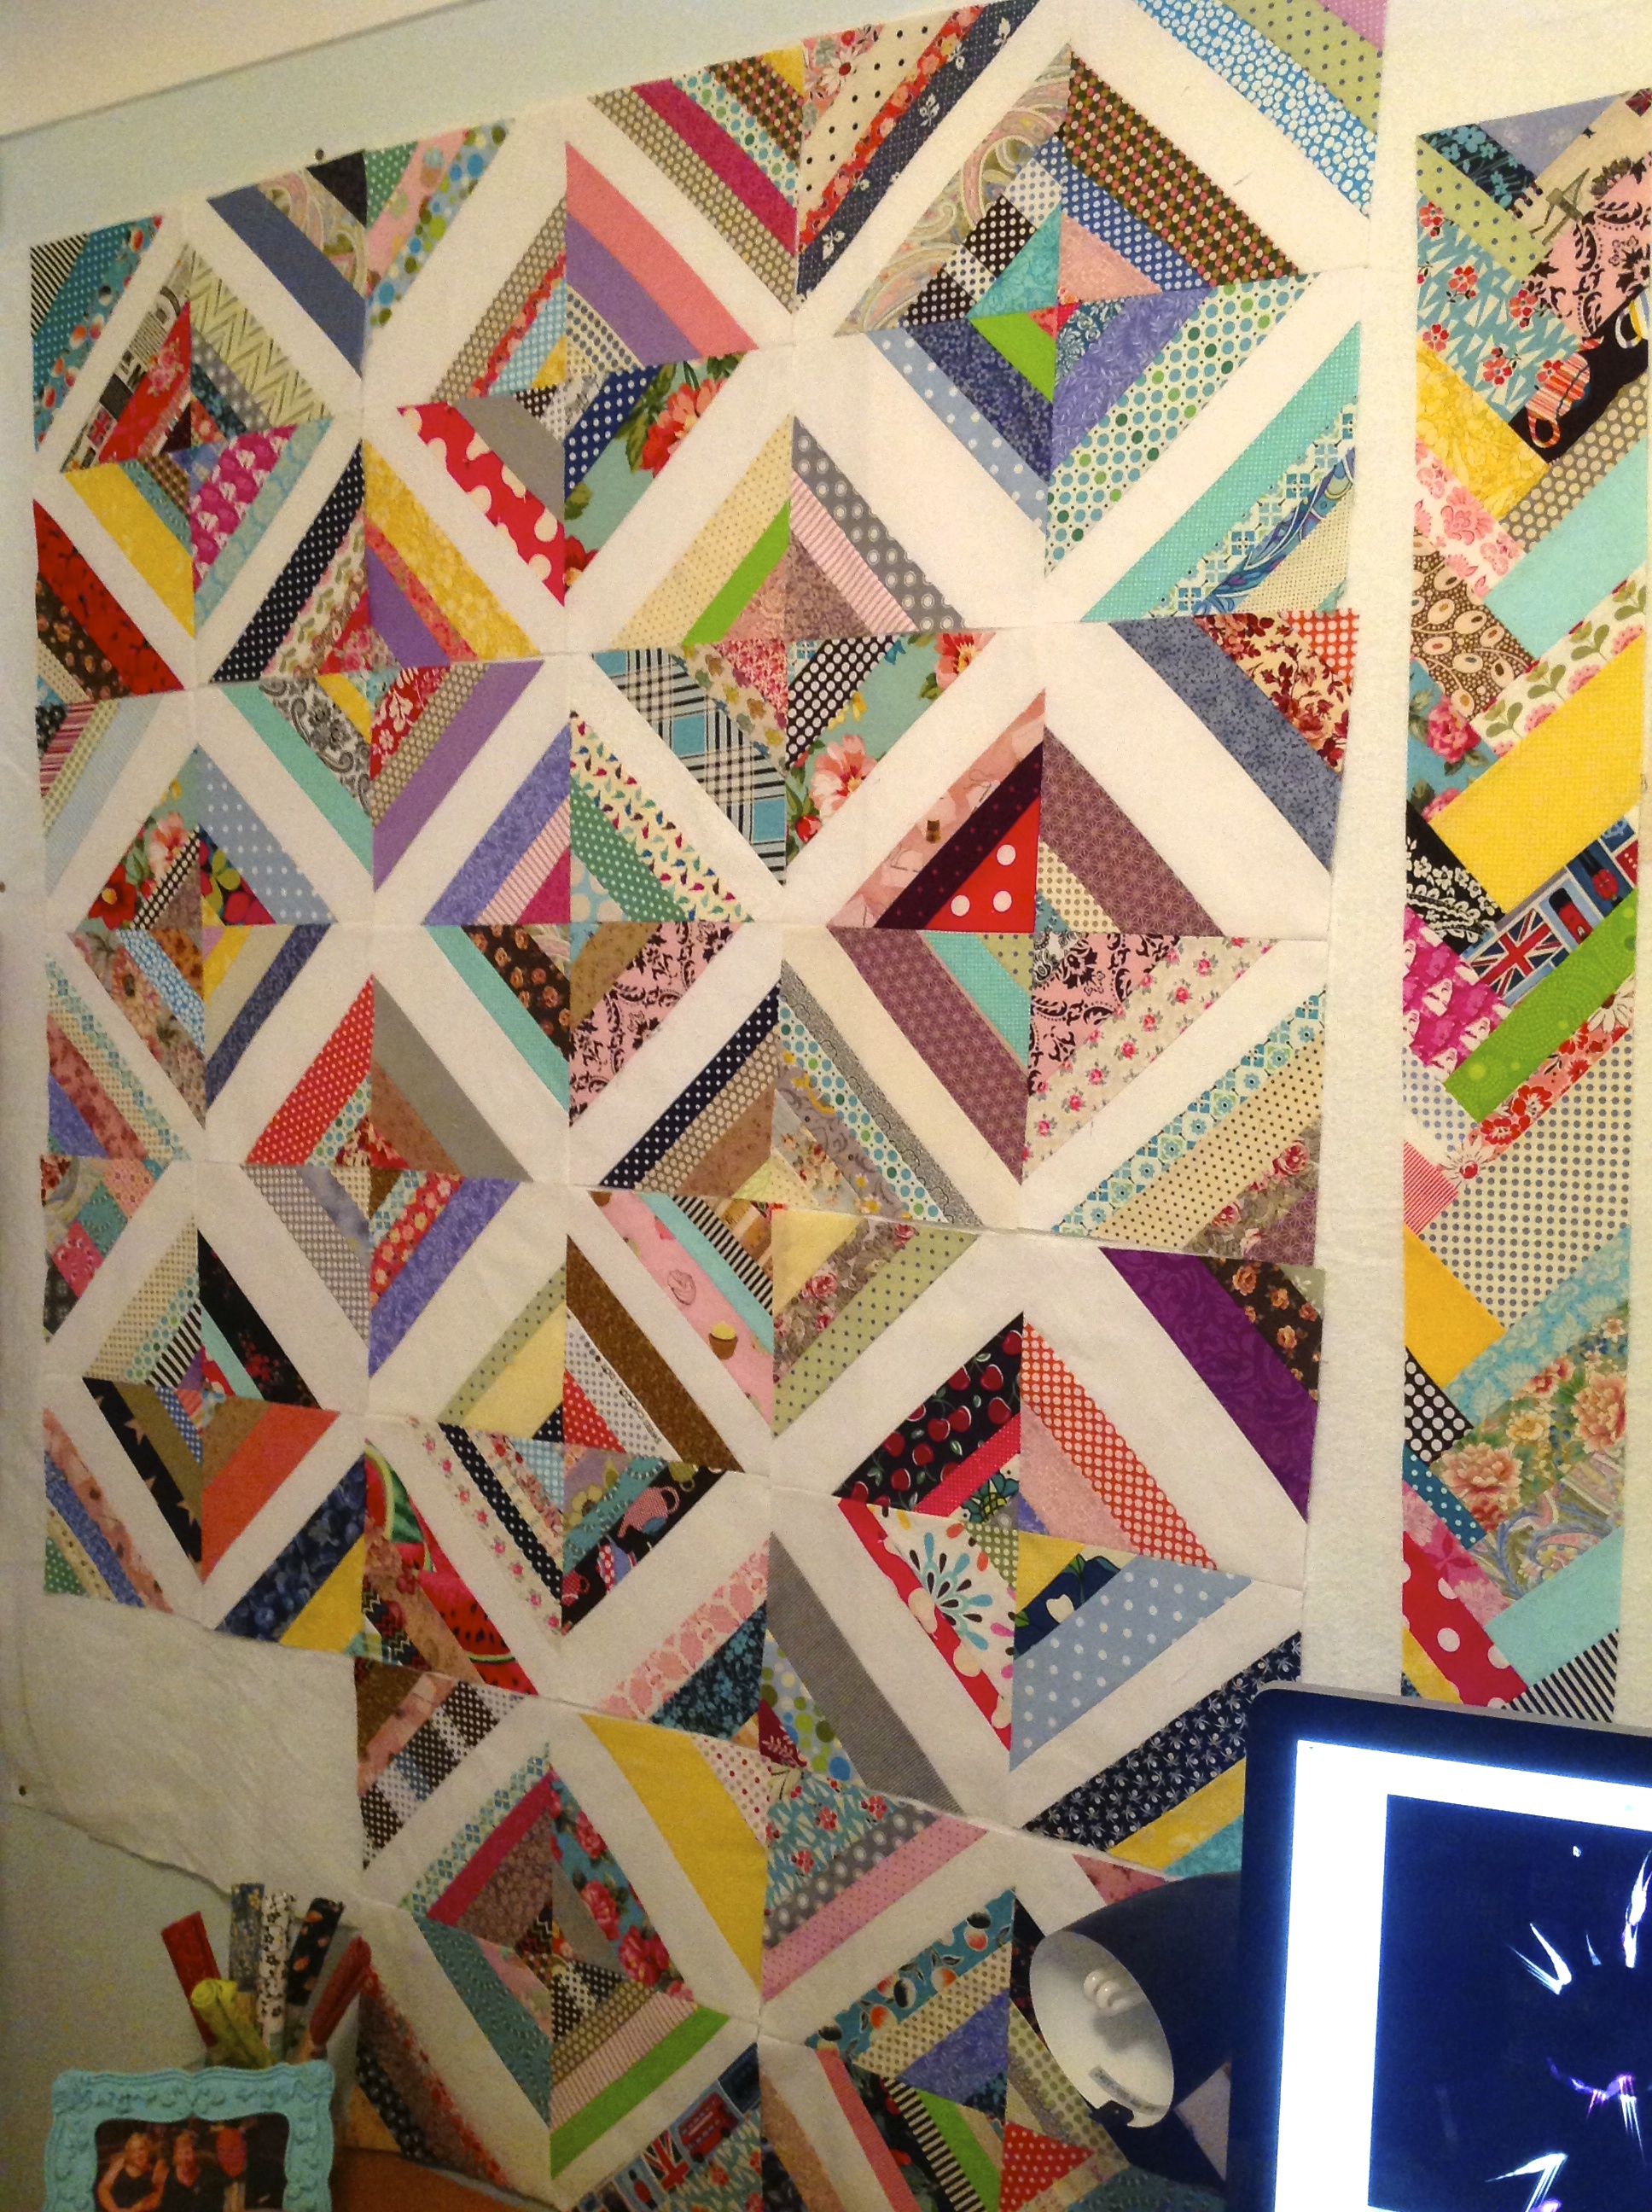
Every quilter knows that a flat smooth quilt is a good quilt; a flat smooth quilt is a neat quilt; a flat smooth quilt is a ‘professional’ quilt.

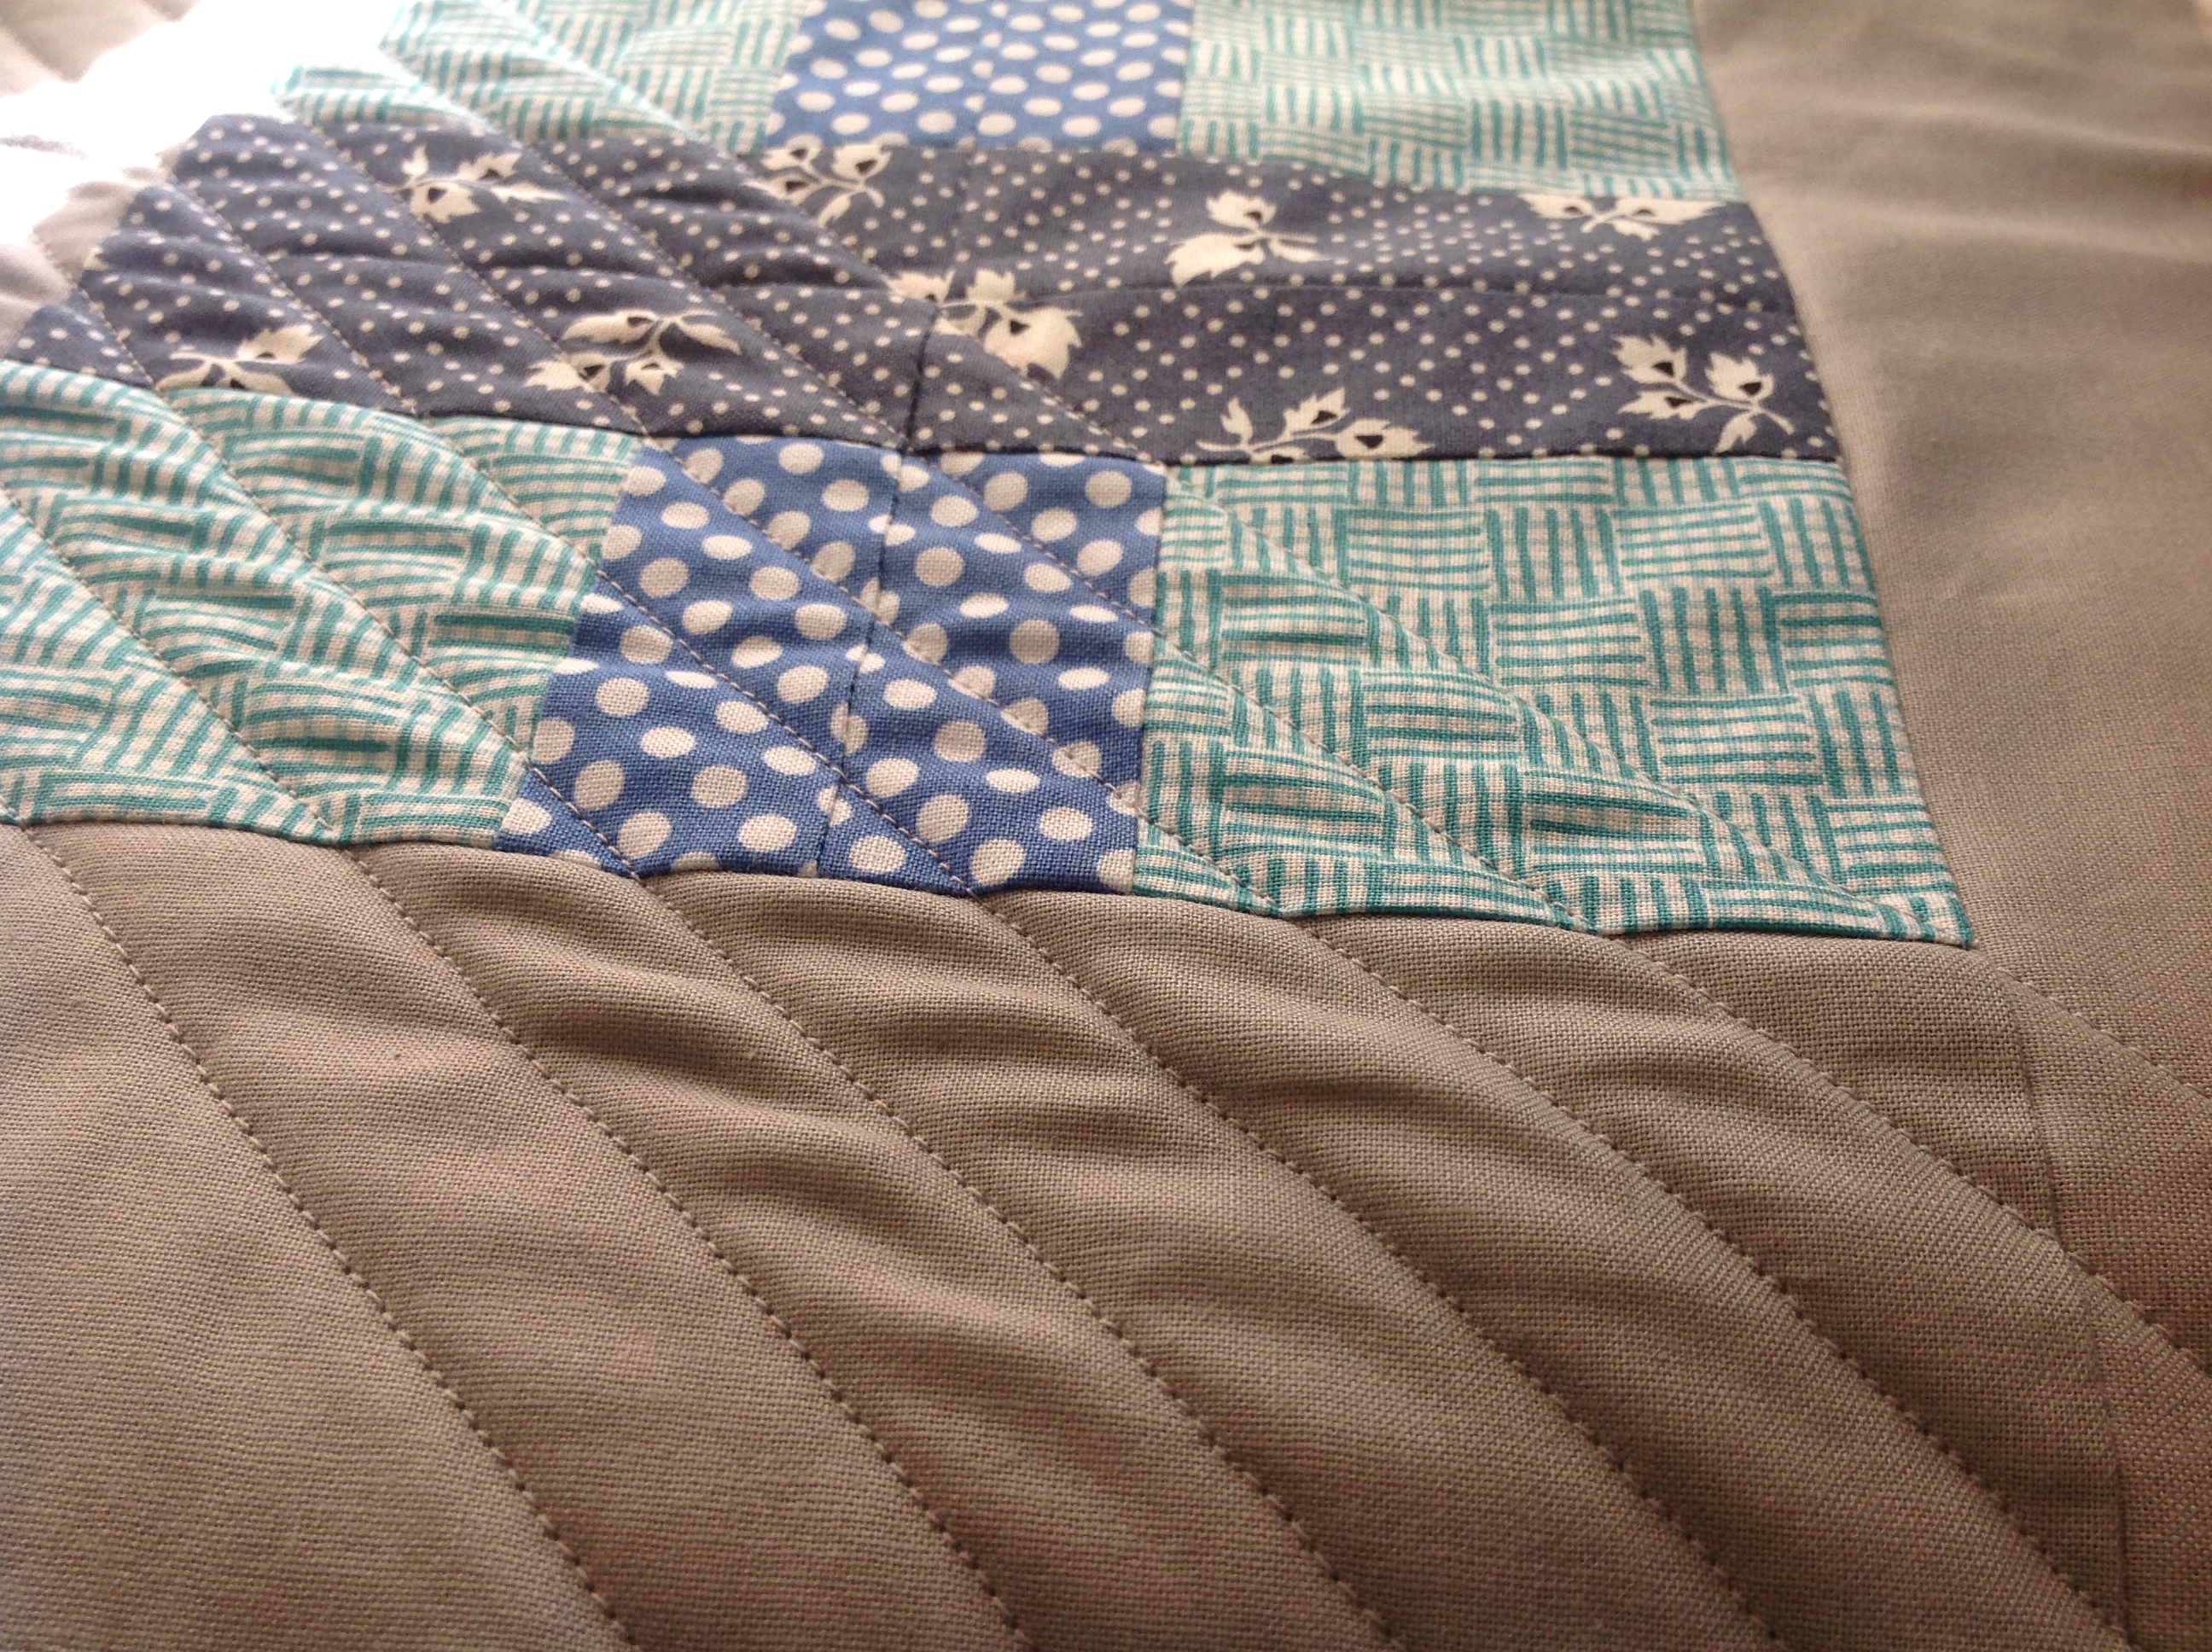
And yet, after endless attempts of getting every inch of my ‘quilt sandwich’ flat and smooth after basting and ironing, unwanted puckers evade the surface, leaving me frustrated, annoyed and determined to get the most flattest, smoothest quilt surface in the history of quilting!

Shoo! Annoying puckers!

But then I think, ‘Pfft, fat chance! You’ll never please your internal OCD Monster when working with a medium that moves so freely like fabric does! Silly Billy!’

>Hate 2: The ‘Laws’ of Pressing<

Law One -Setting the seam: The process of setting a seam requires one to press on the seam to ‘set’ or ‘anchor’ the thread into the fabric before pressing the seam open to one side, thus resulting in a flat seam.

Yeh, I do that!! But nine-times-out-of-ten the seam on the back usually has other ideas, folding over the opposite way leaving my seam bulky and twisted!

A Twisted Seam!
A Twisted Seam!

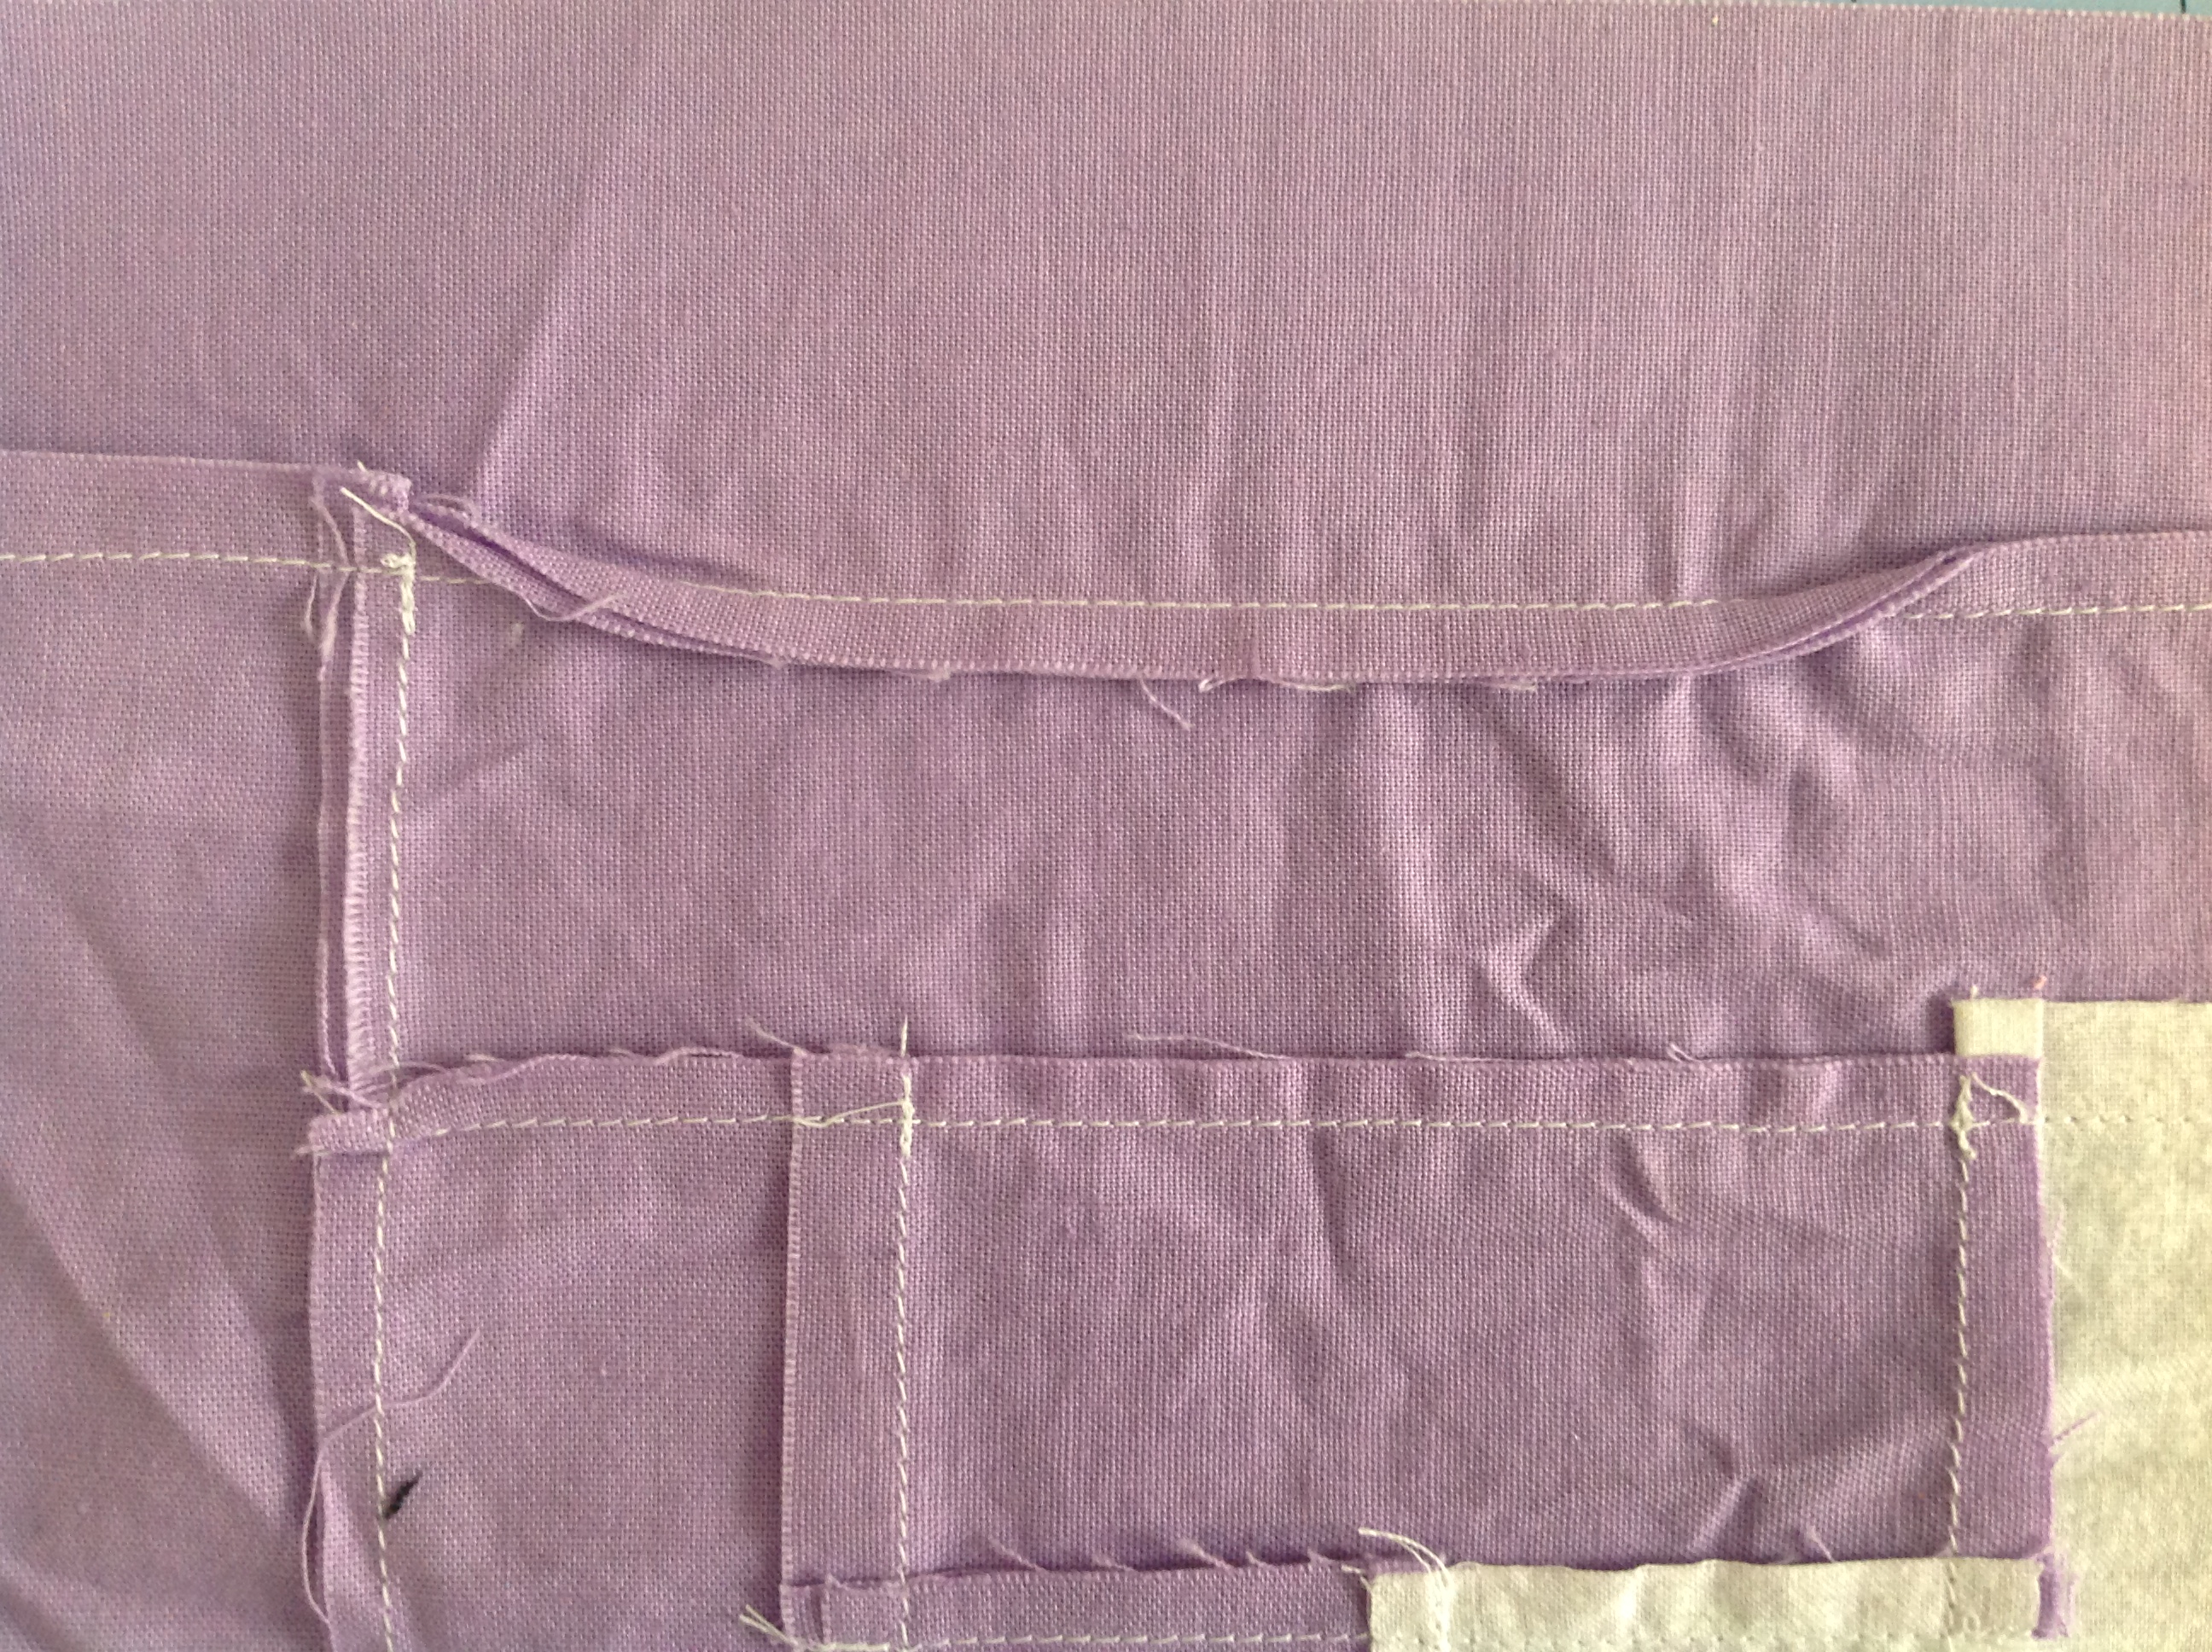
I then have to re-do the whole process, which screws up my rhythm and usually results in a good steam burn because my frustration blinds me of my common sense around hot angry irons!

Law Two – Quilter’s Must Always Press to the Dark Side:

Not always necessary.

Stuff the rules!

I’m doing it my way!

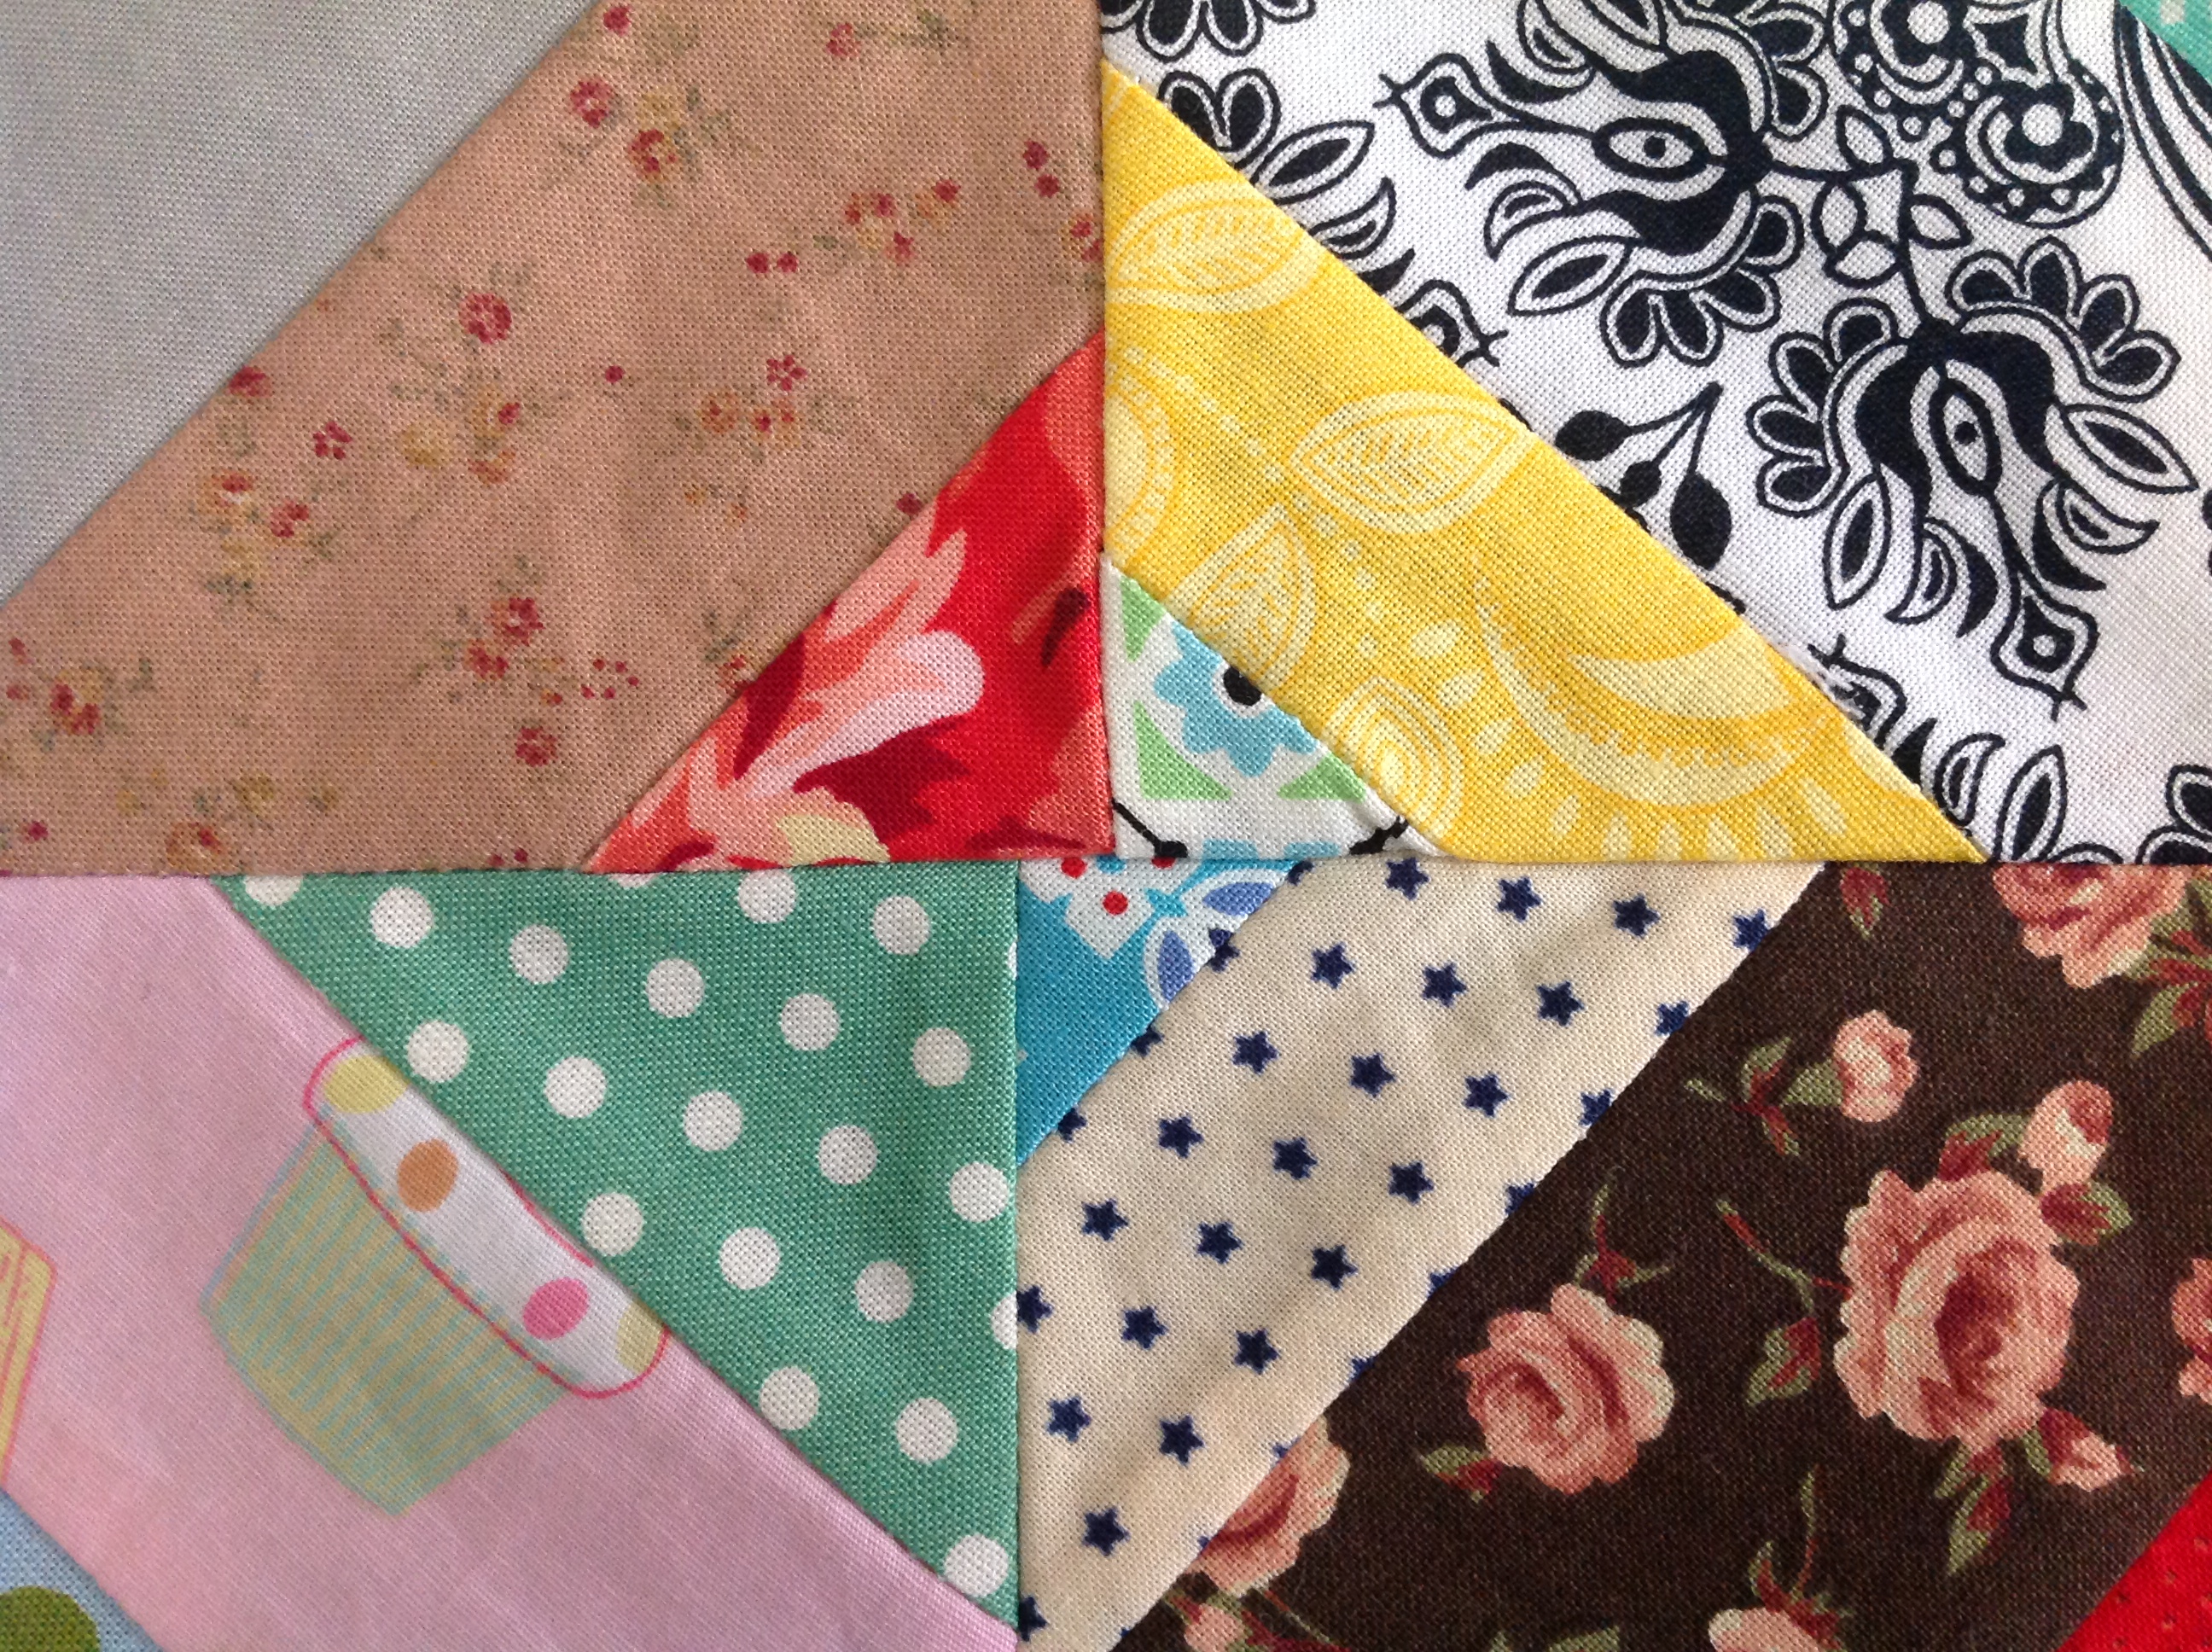
>Hate 3: Flat Seams will be the End of Me!<

The time when all seams need to be sewn flat in all the same direction and there’s always that one little #@&$!% that does not want to conform!

The One Seam Join That Does NOT Want To Play!

‘Damn it! Where’s my unpicker!’

>Hate 4: Scrap or not Scrap? That is the question.<

You know what I’m talking about – those little pieces of fabric that are too small for any real use BUT still maybe useful if you were to ever get time to make 5-cent piece size hexies or some weird fabric collage….

Poor Lil' Scraps!
Poor Lil’ Scraps!

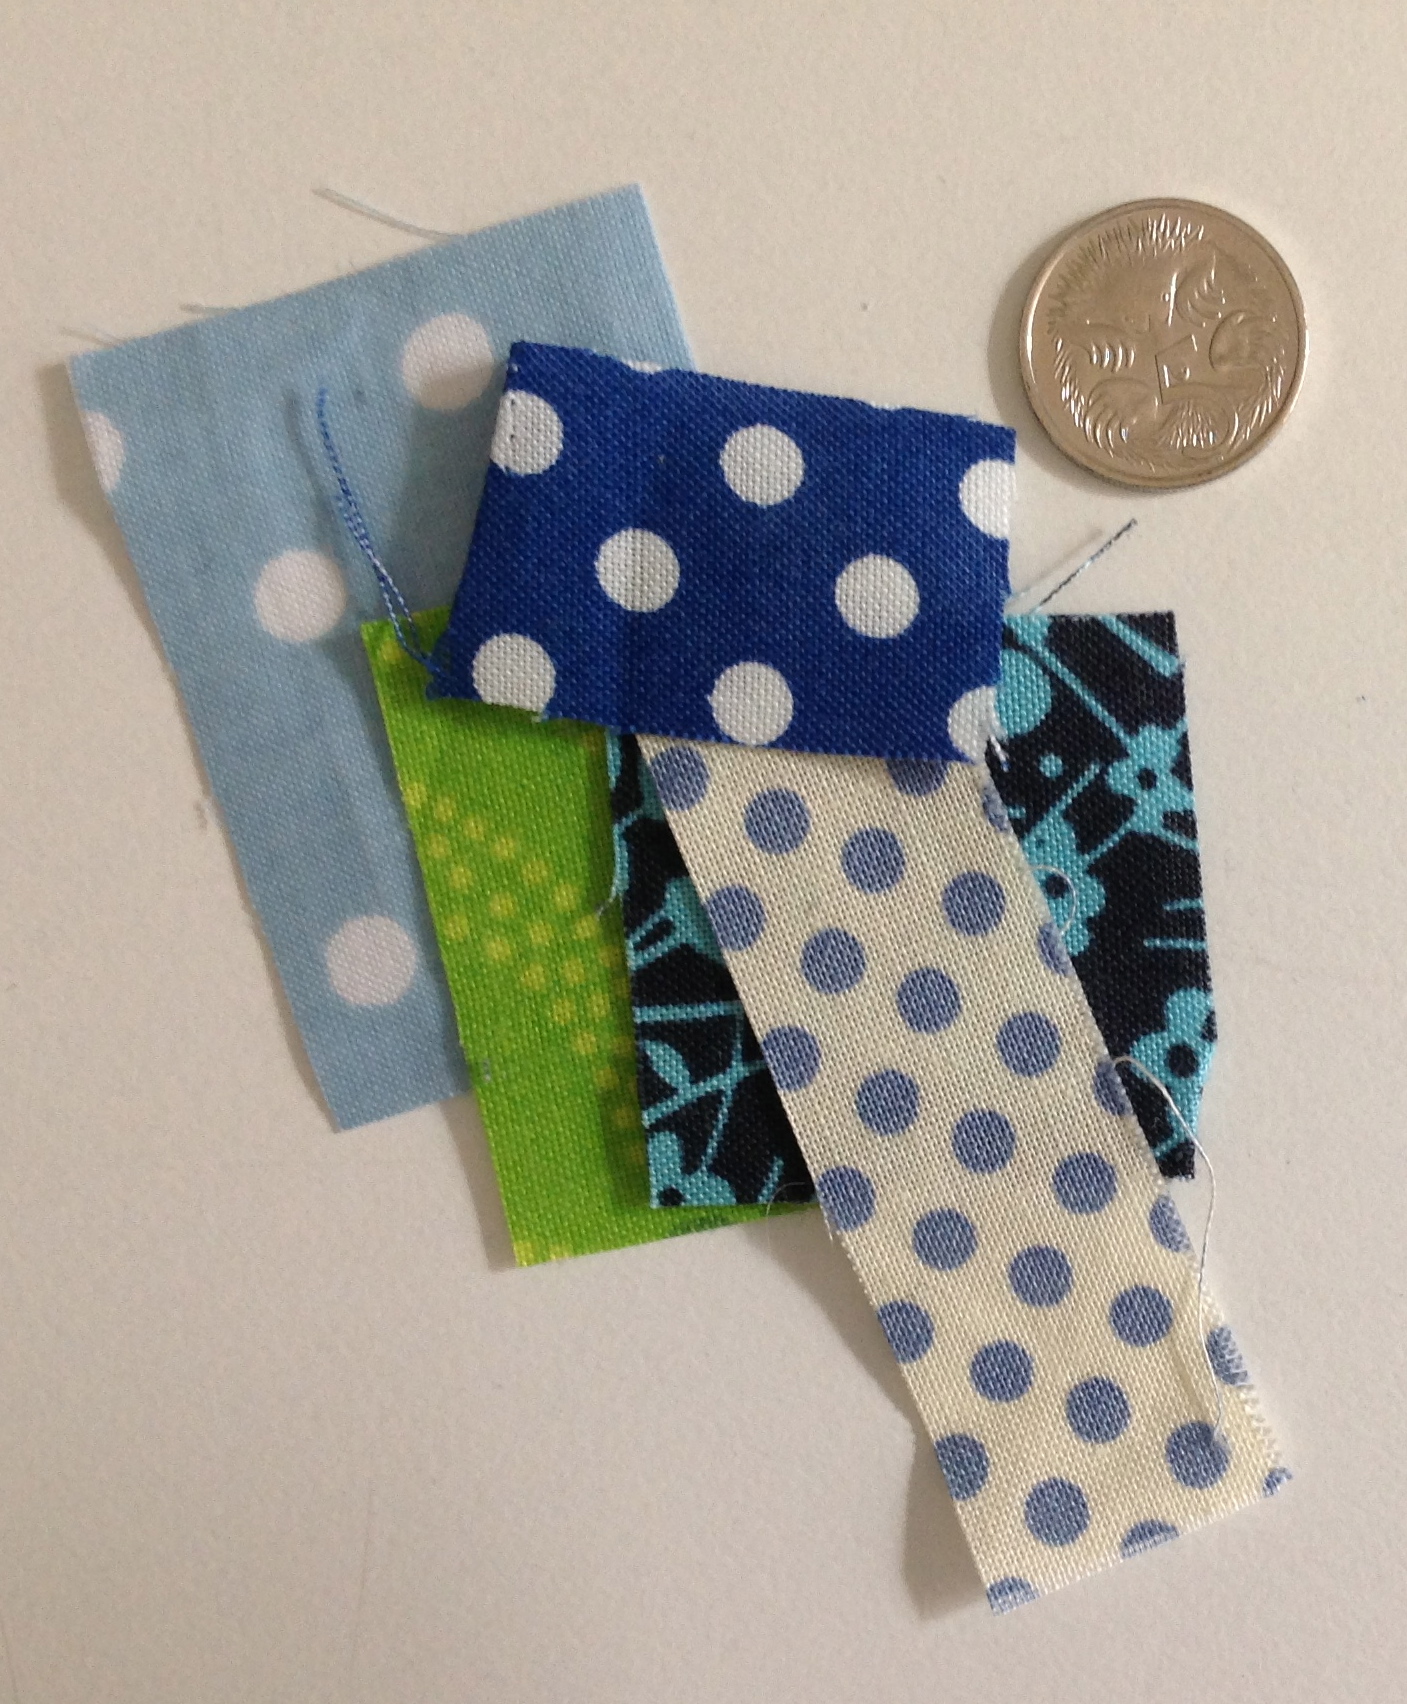
***But secretly you don’t want to get rid of any fabric scraps because you’re a serial hoarder and don’t want hurt the fabric’s feelings….just sayin’.

>Hate 5: The Joys of Cutting with a Rotary Blade<

So you’ve set your fabric correctly on the cutting mat, the ruler is in the perfect place at the perfect measurement and you cut – yay!

No.

The cut has been made but you didn’t press hard enough on the rotary blade and now you have those few little strands of thread that don’t want to be parted from the Mother fabric.

'Noo, I don't want to leave! You can't make me!!'
‘Noo, I don’t want to leave! You can’t make me!!’

Thus resulting in an edge that is botched and hacked, has pulled threads and has left you in tears on the floor because you have weak puny muscles that prevent you from simply cutting a line in a piece of fabric.

The world can seem very unfair sometimes!

>Hate 6: The Worst time for a Quilting Craving<

There’s nothing worse than the self-inflicting torture of quilting on a hot summer’s day. I find nothing fun about sweating under a heavy quilt just to soothe my weird urge of feeding three layers of differing orientated fibres through a sewing machine.

And yet I still do it.

Every.

Single.

Year.

>Hate 7: The bobbin running out at the worst possible moment!<
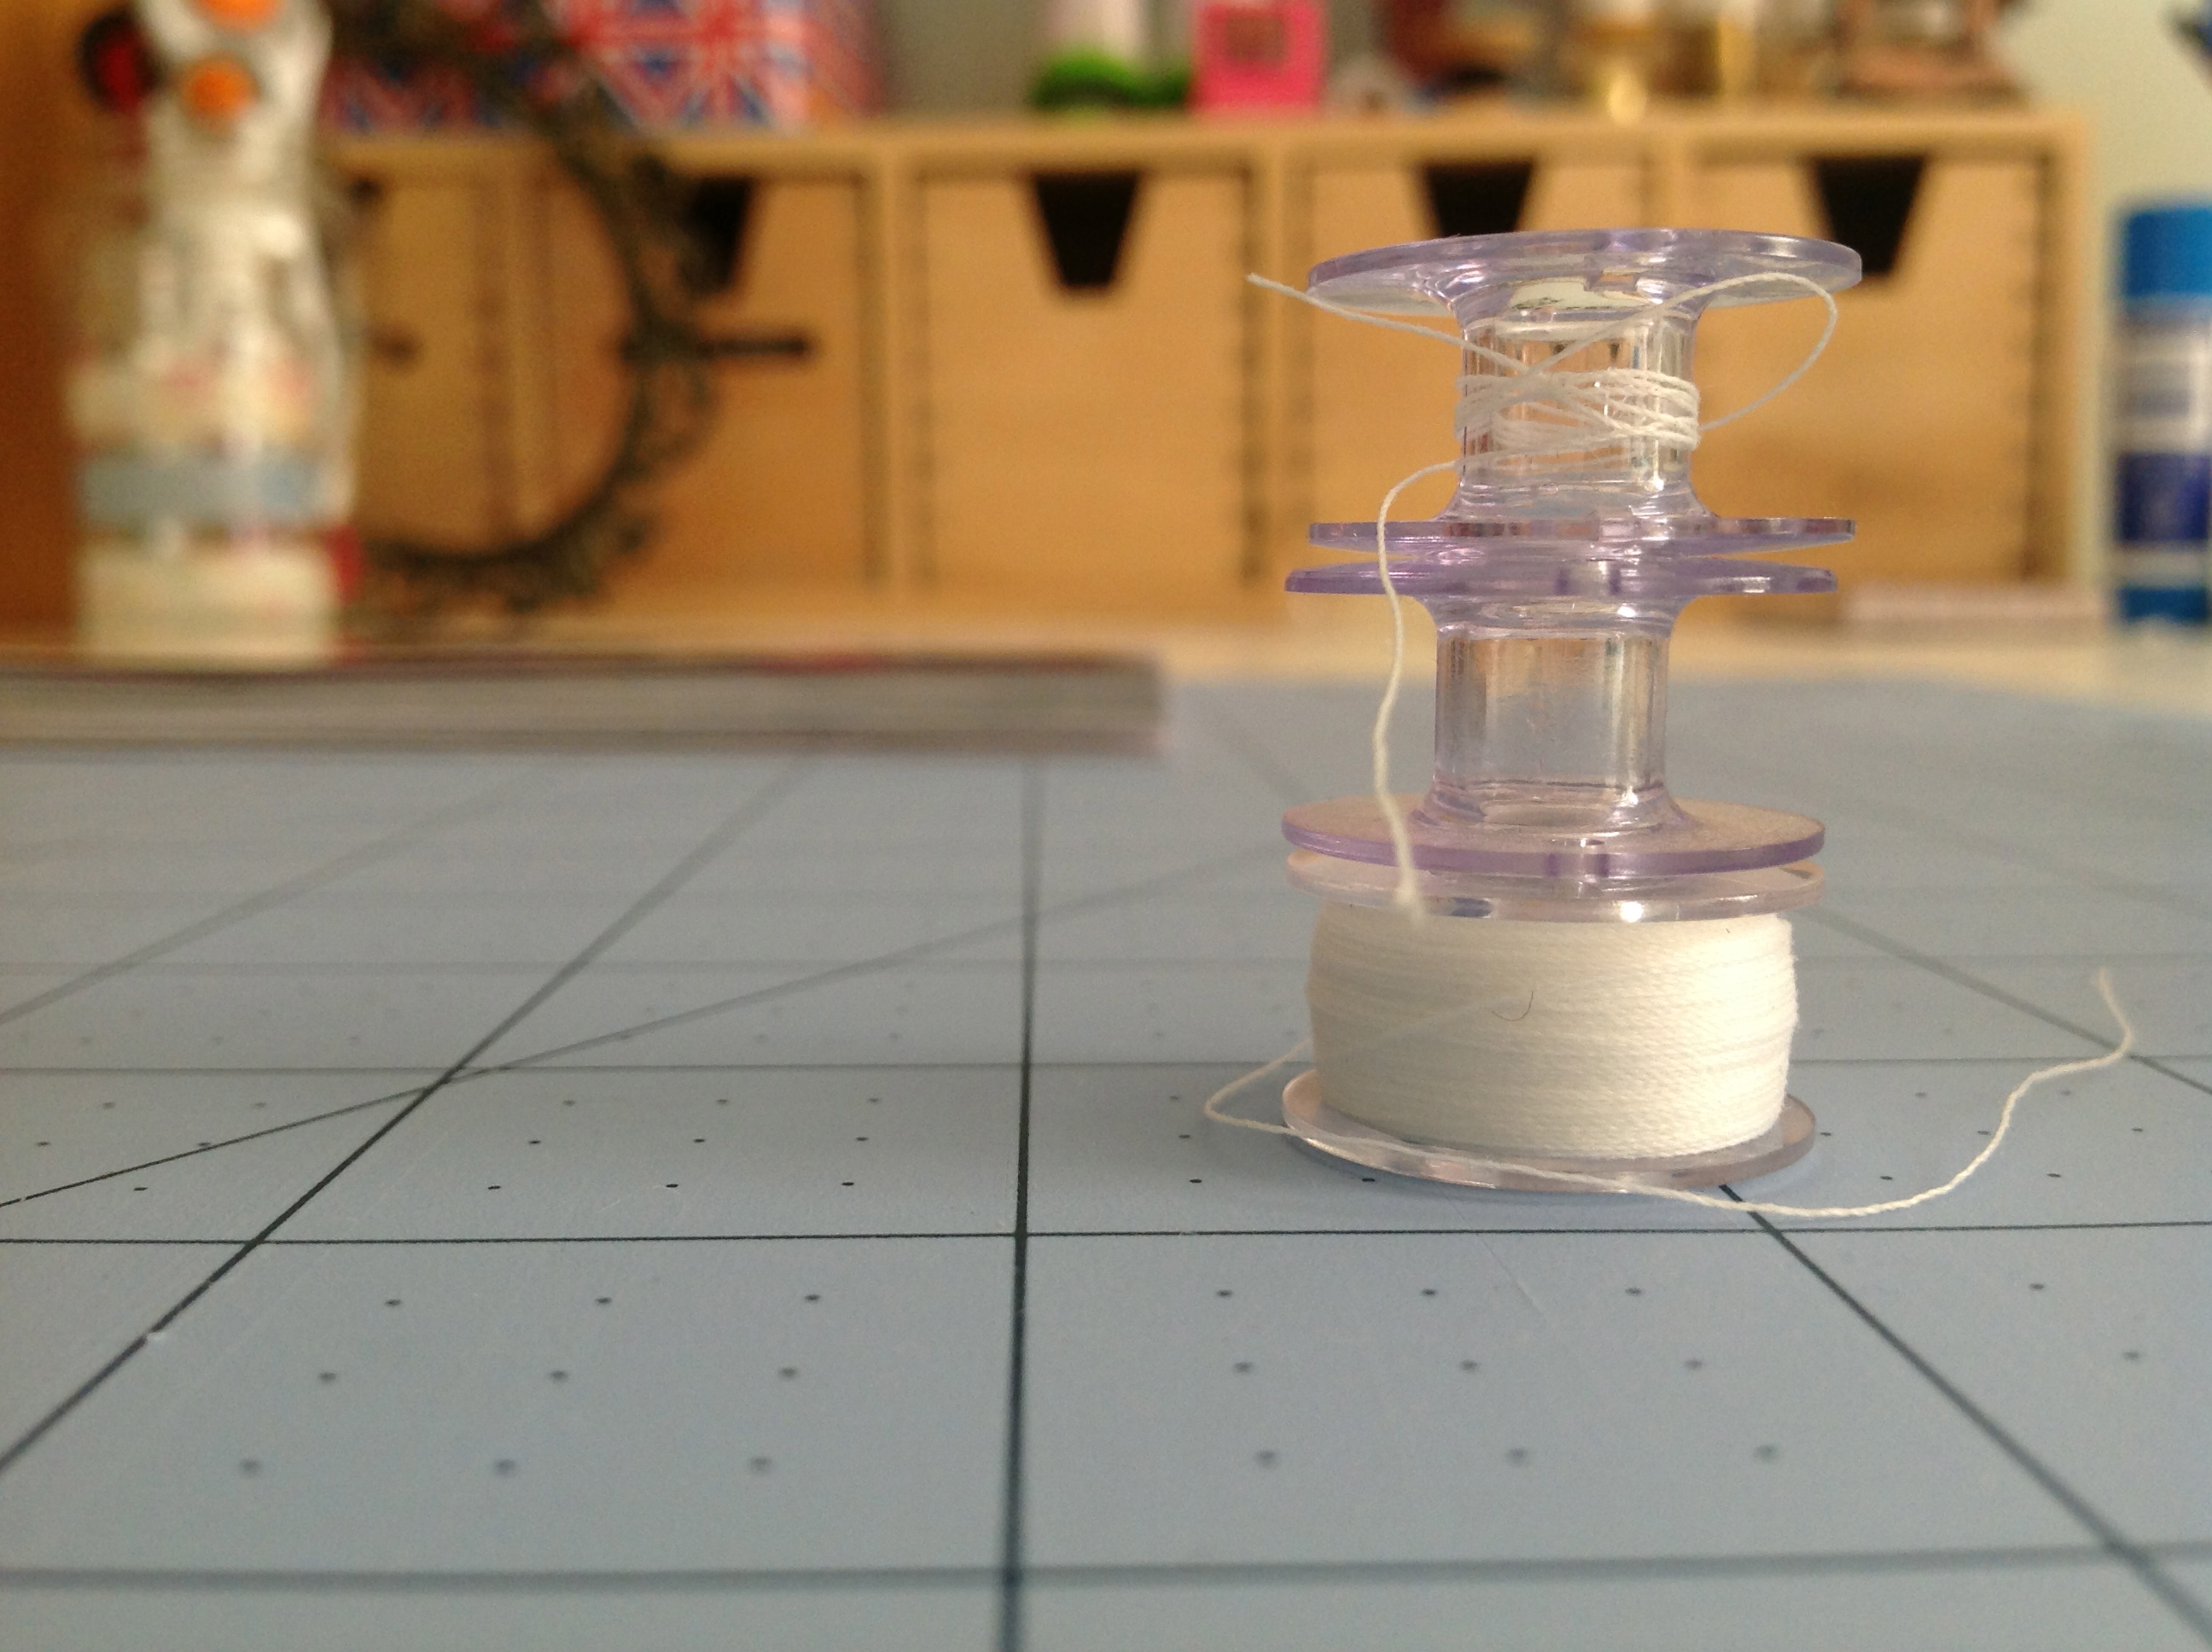
Argh!!
Argh!!

Need I say more…??

>Hate 8: The Stash Equation: I don’t need it, but I want it.<

A small snippet of my 'stash'
A small snippet of my ‘stash’

I know I don’t need any more fabric. My family knows it as well as my crafty friends.

And yet I keep buying it.

I have no room for it.

Boy, I don’t even have enough money for it!

But it keeps rolling on through the door and into my stash.

Why only today I bought two new fat quarters.

Why?

Because-they-were-a-D-O-L-L-A-R!! Who in their right mind would give up such a special like that!?

Nuh-ahh, not me!

I found room for it.

>Hate 9: Pesky Joins<

No matter how well I secure my joins (that is: two seams coming together and sitting at a neat T-Junction) with pins, there is always one that just does not want to match up no matter how well I’ve measured and sewn the pieces of fabrics together. Thus resulting in mismatched block joins and seams that look like a dog’s hind leg!
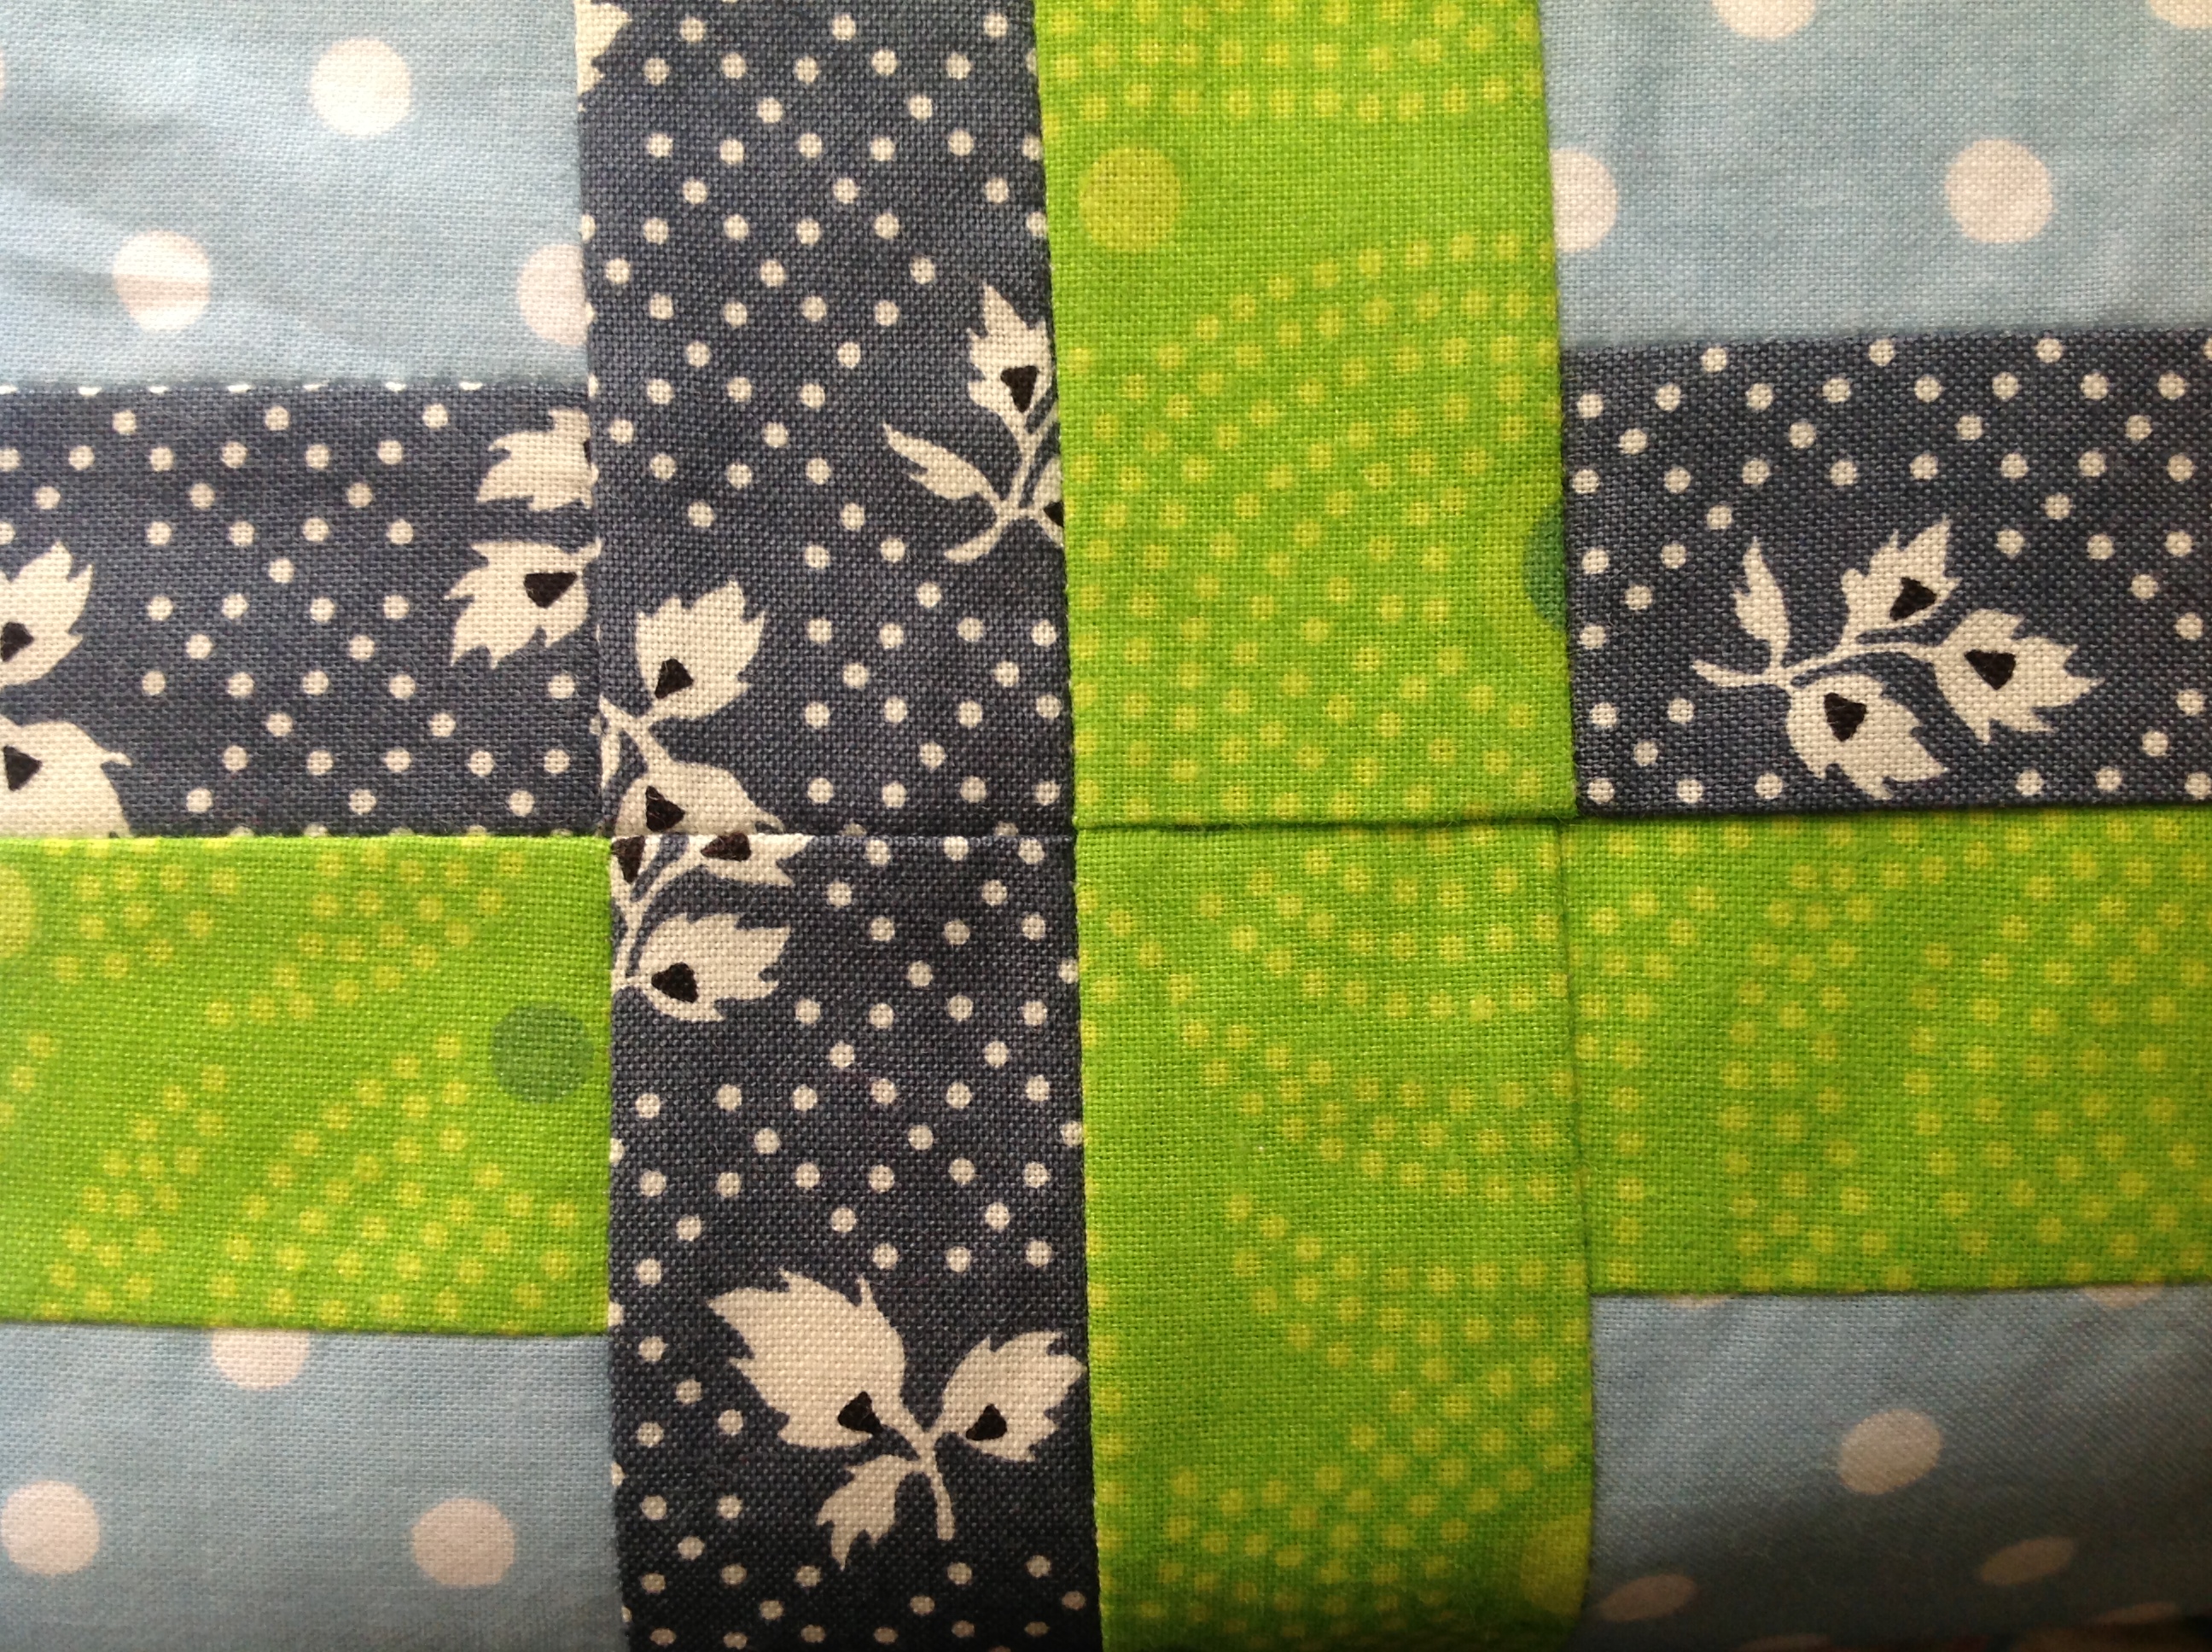
Tres Bon!
Yes!
U-G-L-Y!
No.

Boo, I say to you!

>Hate 10: Runaway Quilts<

That moment when you’re trying to feed a quilt through the sewing machine but it keeps runaway from you due to the sheer size and bulk of it, ruining your attempt at quilting a decent straight line.

If I were super-human and could morph eight arms out of my torso, maybe then would I be able to achieve the near impossible of perfect quilting on a domestic sewing machine.

Regrettably, I do not live in a Marvel comic so I will need to settle on rare but occasional burst of fits of frustration to get me through the dreaded ‘runaway quilt’ quilting phase.

End whinge.

And yet, after that mindless rant and rave, I could not think of one thing in the world that I LOVE and that brings me more joy than quilting (apart from my family, nephews, friends, my dog, God, food, my car, my independence and my BED!).

The passion is hard to explain but can be easily seen simply through the dedication I have to my blog.

I love quilting and my life would be simply colourless and boring without it.

Simple.

Happy Sewing! xx

A New Sewing Space

Last week was moving week. All of my sewing stuff – my big sewing table included – was shipped, hauled and moved into another room in our house. Previously it was mum’s ‘office’ for when she worked fulltime as a primary teacher. And previous to that it was my older brothers room before he moved out.

But now, it’s mine!

It took a good four days to get everything just the way I wanted: two to move everything and another two to sort everything out!

Being the diligent-and-ever-so-organised-OCD-person that I am, I first made a to-scale plan-o-gram of the room with to-scale cutouts of the furniture that needed to be in the room. Here I was able to swap, shift and move stuff so that the dimensions of the room would work for the intended outcome – to sew!! (And to study…)

Room Plan-O-Gram
Room Plan-O-Gram

I ensured I had sufficient room for a design wall so I could see the layout of my quilts coming together, that the power-point was in easy reach and could be accessed by the iron as well as making sure enough light could flow into the room for both sewing and studying purposes!

And here it is!

Panoramic View!
Panoramic View!

And again at a fancy angle…

Another Panoramic View

I was able to capture these angles using an app I downloaded onto my iPad –

Panoramic iPad App
Panoramic iPad App

And so, a new space creates new and fresh perspectives – here are a few of my favourite aspects of my new ‘studio’!

The View From My Sewing Machine
Buzz: My Ever Watching Hero & Lovely Sewing Notions!
My Faithful Sewing Machine!
My Faithful Sewing Machine
Jars of Buttons & Vintage Frames
Stacked Quilt Books
Stacked Quilt Books
Design Wall & Inspiration Cork Board
Last One: The view from the doorway as I walk past...
 The view from the doorway as I walk past…

Happy Sewing! xx

From Humble Beginnings: Stash-Happy String Quilt

Happy, Colourful Blocks
Taking Shape!
Taking Shape!
Incorporating selvedges & a rocking Elvis print!
Sweet Prints: Teapots, Watermelon & Cupcakes!
One more block to piece & then it's ready to be sewn together!
One more block to piece & then it’s ready to be sewn together!

Happy Sewing! xx

The Greatest of Intentions

So I had the greatest of intentions to commit myself to my sewing machine and to projects that need to be finished ASAP this weekend. However, as the way life goes, I got sick and was lounge ridden with near-to-no energy, killer sore throat and the worst headache that could ever be ached.

But I did mange to make myself do some sort of sewing and made my nimble fingers start a new embroidery.

 Image

This is what I managed. I’ve mixed it up from my usual use of back-stitch and decided to chain-stitch the main design and satin-stitch the eyes and other roundish/circular features.

 Image

Therefore I stayed on the lounge all day, omitting toilet breaks and panadol stops, and watched a few seasons of Friends – one of my favourite TV shows – and the last two Harry Potter movies (Deathly Hallows Part I & II). Both of these definitely cheered me up in some kind of way but didn’t help me getting any of my quilting projects done! Fingers crossed I can find some time during the week to get the things that should’ve been done, on their way for this following weekend.

 Happy Sewing! xx


Craftsy Block of the Month

Craftsy Block of the Month 

Join me in The Craftsy Block of the Month!

‘Learn fun quilting techniques, make new friends and create a one-of-a-kind quilt with the FREE Craftsy Block of the Month! Each month, Amy Gibson will guide you through a specific quilting technique – half- and quarter-square triangles, appliqué, string quilting, paper piecing and more. Then she’ll teach you two nifty 12-inch blocks using what you’ve learned. Some are brand-new designs, others fresh twists on traditional favorites. Along the way, you’ll make 20 blocks from fat quarters, then assemble them into a throw-sized quilt.’

I’ve just recently finished my first two blocks for the month of January and found it so easy to make after watching Amy on the video tutorial.

I’ve teamed my blocks up with pure white cotton homespun (one of my favourite fabrics!) along with some retro and contemporary printed fabrics. I plan to use some of the small quarter and half metre cuts of fabric that I’ve bought and just added to my ever growing stash of fabric.

So being my first ever online class, I pretty excited about getting started and being involved in the conversation pages on the website and recieving feedback about my blocks etc. I’m looking forward to learning new techniques, especially sewing curves properly and what string quilting involves aswell as having a lovely sample-like quilt at the end of it!

I’ll post up my blocks as the year progresses aswell as all my other sewing and quilting projects. Gee, it’s not even the middle of January and I’m already busy planning and blotting for the rest of the year!

Happy Sewing!

‘Purple Rain’ – The making of a Quilt….

So, a few months ago my cousin in the U.K asked if I could make her quilt…and of course I said yes…

So here’s a very quick way of how it was made!

Sally (my cousin) wanted purples and lilacs in her quilt, so I set off first finding the best block/quilt design that jumped out at me and gave me an insight of how to work and manipulate her colour choice. I found a great picture in google images of this quilt using shades of green blending in to neutral and white toned fabric. It was titled ‘Jungle Rain’ and it was exactly what I was looking for!

These are the fabrics I chose that I thought best suited and that Sally would like as well as the original picture of the ‘Jungle Rain’ quilt I followed from.

After figuring out all the correct measurements and cutting all the pieces, I started to assemble the quilt top by laying out the coloured squares, following my picture guide, from the lightest toned fabric up to the deepest. Only then I started to realise just how big the quilt would eventually be and mentally prepared myself for the task ahead…

Once I was happy with the placements of the squares, I started sewing! I added cream sashing to the opposite sides of the squares to make 15 long strips. This then started the process of framing off the squares, allowing them to stand out and make a bold statement on the final design of the quilt…

After sewing all the sashings on and sewing the strips together, I began to add the border to finish off the quilt top. Only now I could really start appreciating the graduation of colour and tone between the purples, lilacs, neutrals and whites. It’s easy to say that I was mega pleased with how it was coming on and just how awesome it was looking!

So now it came to the step of quilting I hate with a passion: basting! This quilt is close to queen size and it took all of my safety pins plus extras that had to be bought to baste this baby up! But with alot of persistance, patience and alot of cursing, I did it and started the mammoth task of quilting it.

I chose a really simple but effective straight-cross quilting that gave a tradtional and elegant feel to the quilt. And added great texture to the front and back!

Finally onto the finishing touches, binding, in which I chose to use one of the deeper purples to bring all the colours together and tie it all up and……ta-dah!! The finished result!

And the back…..which I think is as awesome as the front!

And that’s it! Now it’s ready to be sent over just before the cold winter months come along in the U.K….