TUTORIAL: Broken Dishes Block

Hello!

Here’s a great little block for all of you beginners out there!

Broken Dishes Block

Broken Dishes Block 2

The Broken Dishes block is a classic traditional block made up entirely of HSTs*.

Its design aesthetics are endless and it is insanely quick to make!

So if you’re looking for an easy block design that is the next step up from a Four Patch Block then you’ve come to the right place!!

Measurements & Cutting Instructions…

From the GREY fabric cut:

– x2: 5″ squares

From the PRINTED fabrics cut:

– x1: 5″ square of each

The finished size of the block is around 22cm square or 8&5/8″ square.

Things I used in this video:
– Printed Fabrics: ‘Piccadilly’ fabric range by DS Quilts Collection
– Clover Finger Presser: http://goo.gl/IOXilY
– Brother Innovis 200QE sewing machine
– Fiskars rotary blades, cutting mats and scissors
– Sew Easy quilting rulers

And here’s a great example by Red Pepper Quilts using the traditional Broken Dishes block in a very modern way! (Personally, I love the use of all the solid colours working so harmoniously together!)

Do you have any quilt blocks you’d love for me to demonstrate? I’m currently in the midst of organising my tutorials schedule for next year and would love to add your suggestion to the list! Comment below with your marvellous idea! 😊

Happy Sewing Friends!

xx

*HSTs = Half Square Triangles

(An Alternate Video Thumbnail)
Advertisement

A New Note.

About this title: I had a plan today to sit down and dedicate some time to my blog (I know, it’s been a while…). But at the same time, my TV decided to air a Friends marathon… even though I’ve seen all of the episodes like a gazillion times! 

Source | Pinterest
Source | Pinterest

So due to a not-to-be-missed marathon and the need to get some blog posts written, I’m currently sitting on my couch binge watching Friends and typing this post in the ‘notes’  app on my iPad. The title of my note reads ‘New Note’ and I liked it.

Hence the title: A New Note….

Yes.

Well, anyway…

As much as this blog has been neglected over the past couple weeks, my sewing and patchwork adventures haven’t!

There’s just so much to catch you up on it’s hard to know where to start…

Hmmm…. How about here…

My last post was all about my latest Quilt Block Video Tutorial – the Churn Dash Block!

Simple, quick and effective! Perfect for beginners!

Video Thumbnail
Video Thumbnail

I really think you should check it out! (But only if you want to, of course! No pressure!)

Next!

One afternoon, about a week ago, I was bitten by the ‘Cutting Bug’.

Da-Da-Daaaa!! *imagine sinister movie music*

You know the one I’m talking about; where you’re suddenly taken over with an urge to start cutting up some fabric and begin piecing together a quilt just for the heck of it.

I’ve always had a craving to do one of those simple Cross Quilts where they sort of all joined up together…

Cross Quilts
Find links to each of these quilts at the end of this post!

So in about an hour, I had cut 100 5inch squares from random fabrics that I thought looked good together and hey-presto, a new quilt top is currently (albeit slowly) being pieced together!

My Cross Quilt

Once finished, I think it’ll become a really sweet lap quilt – suited for watching Friends marathons and writing blog posts on the couch! Te-He!

Another sewing adventure happened this past weekend when I helped host a Quilting Expo Day at my local Spotlight store. It was a fun day, as usual, where I got to teach, demonstrate, chat, sew, laugh, eat and be inspired by others.

I made simple blocks and projects that featured basic patchwork elements like cutting and piecing, making HSTs, pressing and chatting about all the different tools that can make the experience a whole lot easier (and fun!). I also had the opportunity to make and swoon over this Piccadilly DS Quilts Fabric range! Oh my!!

IMG_3066

And lastly, over the past few days I’ve been dabbling in a spot of dressmaking!

#quilterturneddressmaker

I’ve been searching for a while for some basic t-shirt patterns and was able to find some perfect ones while I was at Spotlight on the weekend! Whoo!

So I bought some fun printed cotton knit fabrics and got going the next day!

I’m so happy with how they’ve turned out!

Shirts1

Shirts2

So happy that I’ve actually cut out my third pattern, but instead I’m using a lovely cotton weave spotty fabric that will make (I think) a really beautiful blouse.

Pattern3

So there we go! You’re all caught up!

What have you been making lately?

Can you relate to my ‘Cutting Bug’ itch?

Let’s digress together in the comments below!

Happy Sewing Friends!

xx

{LINKS}

The Quilt By BlueElephantStitches

The Quilt By Kelly from Jeli Quilts

Ready to go!

My quilt for the 2013 Sydney Quilt Show is ready to go! I’ll ship it off tomorrow and see it next hanging at the show!

I’ve just come from outside were I shot some photos of the quilt in the glorious winter sunshine we’re experiencing this afternoon. Here are a few of them…

Minimalist: 101
Minimalist: 101
Quilt Centre, Close Up
Contrasting Binding
Contrasting Binding
Pieced Quilt Back
Pieced Quilt Back
Quilt Back, Close Up
Quilting Lines on the Back of the Quilt, Close Up
Exposed Selvedge Edge on Quilt Back, Close Up
Hand Embroidered Quilt Label, Close Up Detail

Happy Sewing! xx

Quilty-Crosses: A Second Chance…

Last year, I bought some orange and blue DS Quilts fabric and played around with a quilty-cross technique I found on Pinterest.

November 2012
November 2012

Feeling rather un-inspired by them, I chucked them into my ‘unfinished projects’ basket (conveniently tucked deeply on a shelf under my desk) with the thought, “I’ll find a use for them another day…”. So outta mind, outta sight for the rest of the year…

Then last week, I receive an email containing the entry form for the 2013 Sydney Quilt Show. Yay!!

The coveted entry form!

As it being my very first entry into this particular show, I wanted to design and create a quilt that screamed simply modern: very minimalist, aesthetically pleasing and centred.

So out came the abandoned quilty-crosses that then became encompassed with crisp clean white homespun…

Cocooned in White Homespun!

Essentially, I hope to achieve a lot of texture and interest by quilting it in a very simplistic naïve way.

Quilting completed in the middle of the quilt

On the back I’ve exposed the selvedge of the DS Quilts fabric I’ve used just to add interest along side the four other quilty-cross blocks that weren’t really my favourite (the four on the front I just love!).

Back of the Quilt...
Back of the Quilt…

So with a quarter of the quilting completed, I hope to dedicate the majority of my time this coming week in finishing this baby!

And a bonus for me: it’s supposed to be raining for the majority of the week; I just love to sew when it’s raining!

Happy Quilting! xx

It’s the Most Wonderful time of the Year!

IMG_1491

Oh, indeed it IS the most wonderful time of the year! The Christmas tree and decorations are up, the chrissie tunes are on full rotation and craft-upon-crafty-ideas are wafting through the air! While visiting my local shopping centre this morning, I couldn’t help but smile to myself when I caught a lyric or too of a crooning Christmas carol over the PA system – all the while dodging shoppers with trolley loads of presents mind you!

FYI, I hate crowds. Especially those with a fanatical/crazy buzz to them. I just feel like shouting out: It’s okay people, the world won’t run out of toys!!

Today is also a wonderful day as I finished my Jacob’s Ladder Quilt! I had planned to finish it once the craziness of Christmas was over but my impatience gave in. I oddly experienced a very weird rush of enthusiasm and patience to simply sit quietly and finish hand-tacking the binding. Even Lucy, my dog, was overtaken with a quiet patience as she snuggled and snored next to me through out the whole process (this is a behaviour rarely seen from her).

IMG_1460It took a while to get it all done but I’m glad I took the time out of my ‘Handmade Christmas’ bubble to finish this deserved quilt.

I made an ‘arty’ effort of taking some lovely photos to share with you – showcasing the front and back – while dodging pesky buzzing bees and shooing little flower flies from attempting to crawl down my top. I also managed to avoid the spider webs that were trailed across our Colour Bond fence, picked sticky flower petals out of my hair, while ensuring the sun didn’t blind me as I avoided overexposing my photos – Phew!

So. Enjoy.

IMG_1487IMG_6465

IMG_1466

IMG_1470

IMG_1480

IMG_1482

Happy Sewing! xx

Jacob’s Update…

So here’s an update on where I’m up to with my Jacob’s Ladder Quilt…

All hand-quilting stitches have gone bye-bye and the quilt (along with my sanity and comfort) said a delightful ‘Hello!’ to my sewing machine and walking foot!

I spent a good three to four days quilting  – not surprising, as this quilt is a beast of a size! Here are some waves of quilty goodness!

And a snap shot of the finished quilting…

I’ve got to the stage where I just need to stitch the binding to the back of the quilt, label it and then, ta-dah!, it’ll be all finished! Yay!!

 However, that glorious day won’t be in the near future as I’ve dived head first into getting all of my Christmas presents made etc.  After the hectic-ness of Christmas is over, I’ll get right back into finishing my Jacob Quilt – It really has been the most patient quilt in the world and I love it more because of it!

Once finished, I’ll need to chuck it into the wash as it’s covered in dirty paw prints (thanks Lucy!) as well as sticky jam patches courtesy of little nephew fingers!

Mentioning Christmas: with only 27 days now until the big day, I’m on a slow roll to getting gifts prepared, made and finished.

Handmade Christmas cards are complete,

Mum & Dad’s present almost finished…

and only today I’ve begun work on some very special softies for my nephews! (Hopefully this shot doesn’t give too much away!!)

 I can’t wait to share them with you – I’m planning a few blog posts for the beginning of next year documenting my process as well as the gifts I’ve made for everyone… So be on the look out for that in January 2013!

Last Friday I received the last of the prizes I won for first place in the How Does Your Garden Grow? Quilt Competition – a brand new sewing machine…

It’s somewhat the same model of machine as the one I already have – it’s just cosmetically a little different.

Not to seem ungrateful for winning such an awesome prize, but I’m in two minds whether I like it or not. You see, I’ve grown such a huge attachment and sentimental feeling towards my old sewing machine that I found it quite hard to make myself pack it away and then unbox this sweet little beauty in it’s place.  I’ve made some really beautiful quilts on my old sewing machine – Jacob’s Ladder being it’s last (!!) and taught myself new and exciting techniques (as well as failing miserably in a few others). I would sit down in front of it with greedy pursuits and selfless projects and it would always be wonderfully loyal and trustworthy to get everything finished to my picky satisfaction!

And yet, I must admit, this new sewing machine does purr quite sweetly when it’s sewing along compared to my old machine, which would admit a loud chugga-chugga as I sewed along… It’s the same pretty pink and I’m sure will handle my quilting adventures with the same strength and gutsiness as my old one…

Oh well…I suppose I should just get over myself and be humbly thankful for receiving a NEW high-tech sewing machine for FREE!!

Happy Sewing! xx

First Prize goes to…

Me!

All my hard work paid off and I won first prize in my category in the How Does Your Garden Grow? Competition on Saturday!

Golly-gosh, I never actually thought I would be in the top three, let alone be chosen as first!

I’m feeling deeply humbled and thankful for all of the lovely comments and support from my family, friends and the competition organisers – Thank you!

The above photo was taken on my iPhone by my 66 year-old-senior-citizen dad. He had no clue what he was doing – he just held the phone up, tapped the button I told him to touched and wham-bam-thank-you-ma’am, it came out slightly blurry! But, all’s good – you get a sense of what’s going on!

I received an official looking certificate and a copy of Kathy Doughty’s new quilting book…among a few other prizes I haven’t received yet – but hopefully will soon!

I also found time on the weekend to continue on my Jacob’s Ladder quilt by adding on the next sashing border. I was going to make 2.5inch HST border, but I lost my patience after only making six! So instead I just joined together the left over DS Quilts Fabrics 2.5inch squares into long sashing strips and sewed them around the edges of the quilt top. Next step is to add the last border of 4inch sashing strips and the quilt top is completed!

At the moment I have a crazy crush on what the back of the quilt top looks like…The other night when I was taking a break between sewing and pressing, I had the quilt top laying on top of the ironing board with the light of my desk lamp shining through the fabric and it lit up the all the pressed seams and made it look like an illuminated cathedral or stained glass window…

I love looking at the back of quilt tops as you can really see and appreciate all the hard work that has gone into piecing all the fabrics together and seeing how the seams lie to achieve flat surfaces.

It seems that my dog, Lucy, likes them as well – here she is, very impressively, photo-bombing (i.e.. looking for some loving cuddles!) my happy snaps!

Happy Sewing! xx

A Slow Lazy Week

It’s been quite a quiet and slow moving week on the sewing front. I’ve lazily taken the week to sew on the first border of my Jacob’s Ladder quilt while experimenting with a HST border, in an attempt to use up some of the leftover 2.5inch squares of DS Quilts fabric.

I also did a lazy mans attempt at bunting. Springing from an idea I saw on Pinterest, I dug out some coloured twine, matching fabric (British themed) and drew up a diamond shape on some plastic template.

I traced around the diamond template onto the fabrics I had chosen, then cut along the lines with pinking shears to avoid any fraying and then (here’s the lazy bit!) I stapled the little folded fabric flags over the twine– and TAHTAH – Lazy Mans Bunting: British Style.(In no way am I implying the British are lazy. I love the British!)

I’m not sure what I’ll do with the bunting, but I’ll find it a home somewhere in the house.

It seems this week I’ve been doing everything else but sewing. I’ve spent time in the kitchen cooking delicious food stuffs – orange shortbread (a household favourite and greedily finished by the end of the day!)

and a disaster of a carrot cake that definitely tasted better than it looked. It actually came out as more of a carroty-crumbly-moosh than a cake which had deflated and pancaked 2 minuets after it had come out of the oven. (No photos of this one – I’m too ashamed!) What made the experience of making this cake worse was that it had about ten billion steps in its method making that were time consuming and complicated. I mean how hard can it be to make a simple carrot cake?! Never, and I mean NEVER, will I be making that recipe again! I felt as deflated as the cake was after making it; it didn’t even deserve the mouth watering cream-cheese frosting that was meant to be slathered generously on top!!!

So, there is another reason why I’ve been distracted from my sewing table this week and which I’ve been devoting my waking hours to and that is Harry Potter. I’ve dedicated myself to re-reading the entire series again, which isn’t something too difficult to do. Within one week I’ve become a serious bookworm and have read the first three books while only this morning I brought down from the bookshelf HP & the Goblet of Fire, ready to cozy up on the lounge and begin reading.

The books are so hard to put down, even though I’ve read them many times before. I’m not ashamed to admit I’m a Pott-Head. I even have a Pinboard on Pinterest dedicated to my love for Harry Potter and the brilliance of JK Rowling. So there, I’ve just outed myself as a massive geek (and possible loser?) but who isn’t when it come to these things?!

So from looking after my three beautiful nephews pretending to be Princes for an evening…

To enjoying a glorious teaser of Spring (albeit windy) weather in Sydney with a much deserved unhealthy lunch treat on Monday…

I’ve had a great week before ready myself into beginning my online university studies next week!

Happy Sewing!! xx

It Shall Be Called: A Summer Bloom

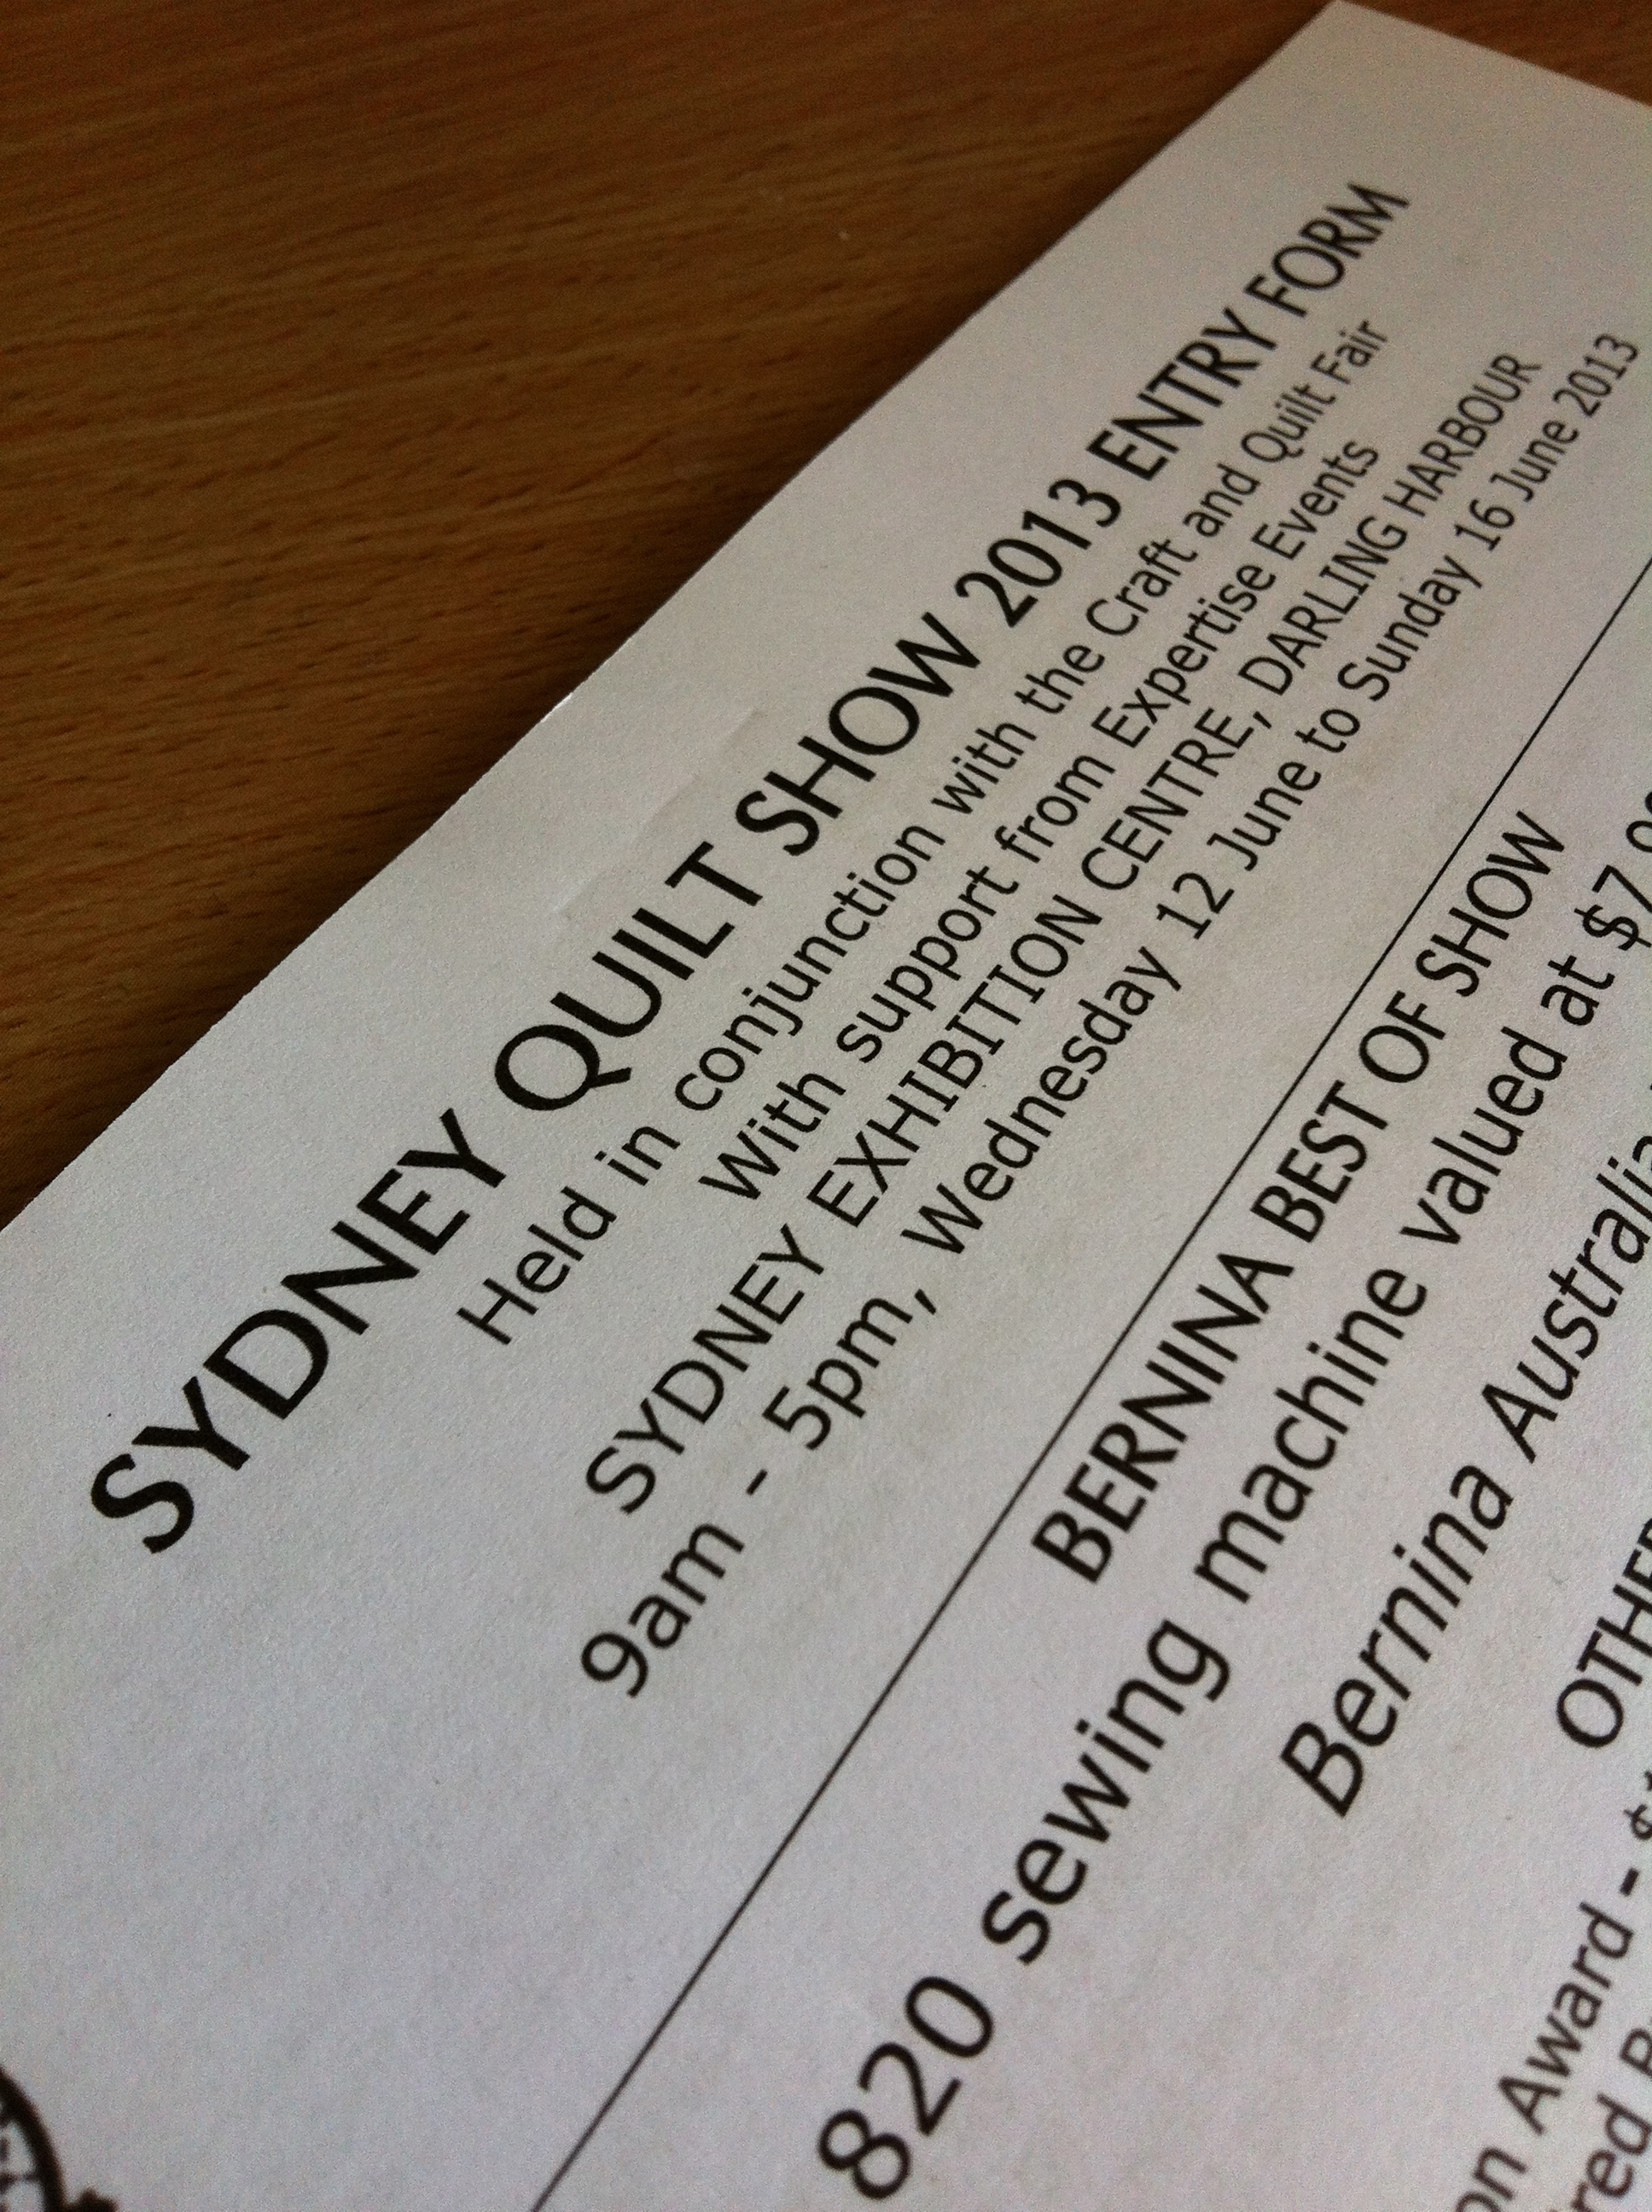
It t’was a glorious day yesterday – at around 7.30pmish last night I finished my How Does Your Garden Grow? Competition quilt!! It was a very happy, happy moment…. stepping back and admiring the long hard hours I put into making it. And yet, strangely, all I could make myself see were the faults and mistakes I’d skipped over and tried to ignore. Apart from that, I’m very pleased with the end result and hope it does well in the competition – fingers crossed!!

So, here’s how I made it…

To start the paper piecing process, I bought four large pieces of poster board and sticky taped them together in a very professional manner (sprawled across the floor, butt in the air, tape hanging out of my mouth while my measure tape, hanging around my neck, tried desperately to strangle me to death!).

I made a 1m ruler out of a wood stick I had floating around (I’m a poor artist and can’t afford to buy a real 1m ruler stick) and drew up a 1m-squared square, cross-sectioned it into fours etc. and then drew in my petal blades and stem. I made a few adjustments here and there until I was satisfied with the final design. I numbered each piece in a clock-wise direction so I wouldn’t get lost and befuddled with all the different pieces. It more or less became a big number puzzle for me to cut up and then stitch back up again.

So that I wouldn’t be too overcome by cardboard everywhere, I cut and sewed back together the pieces in quarters; the first quarter of the flower design, then the second, third then fourth which then completed the quilt top.

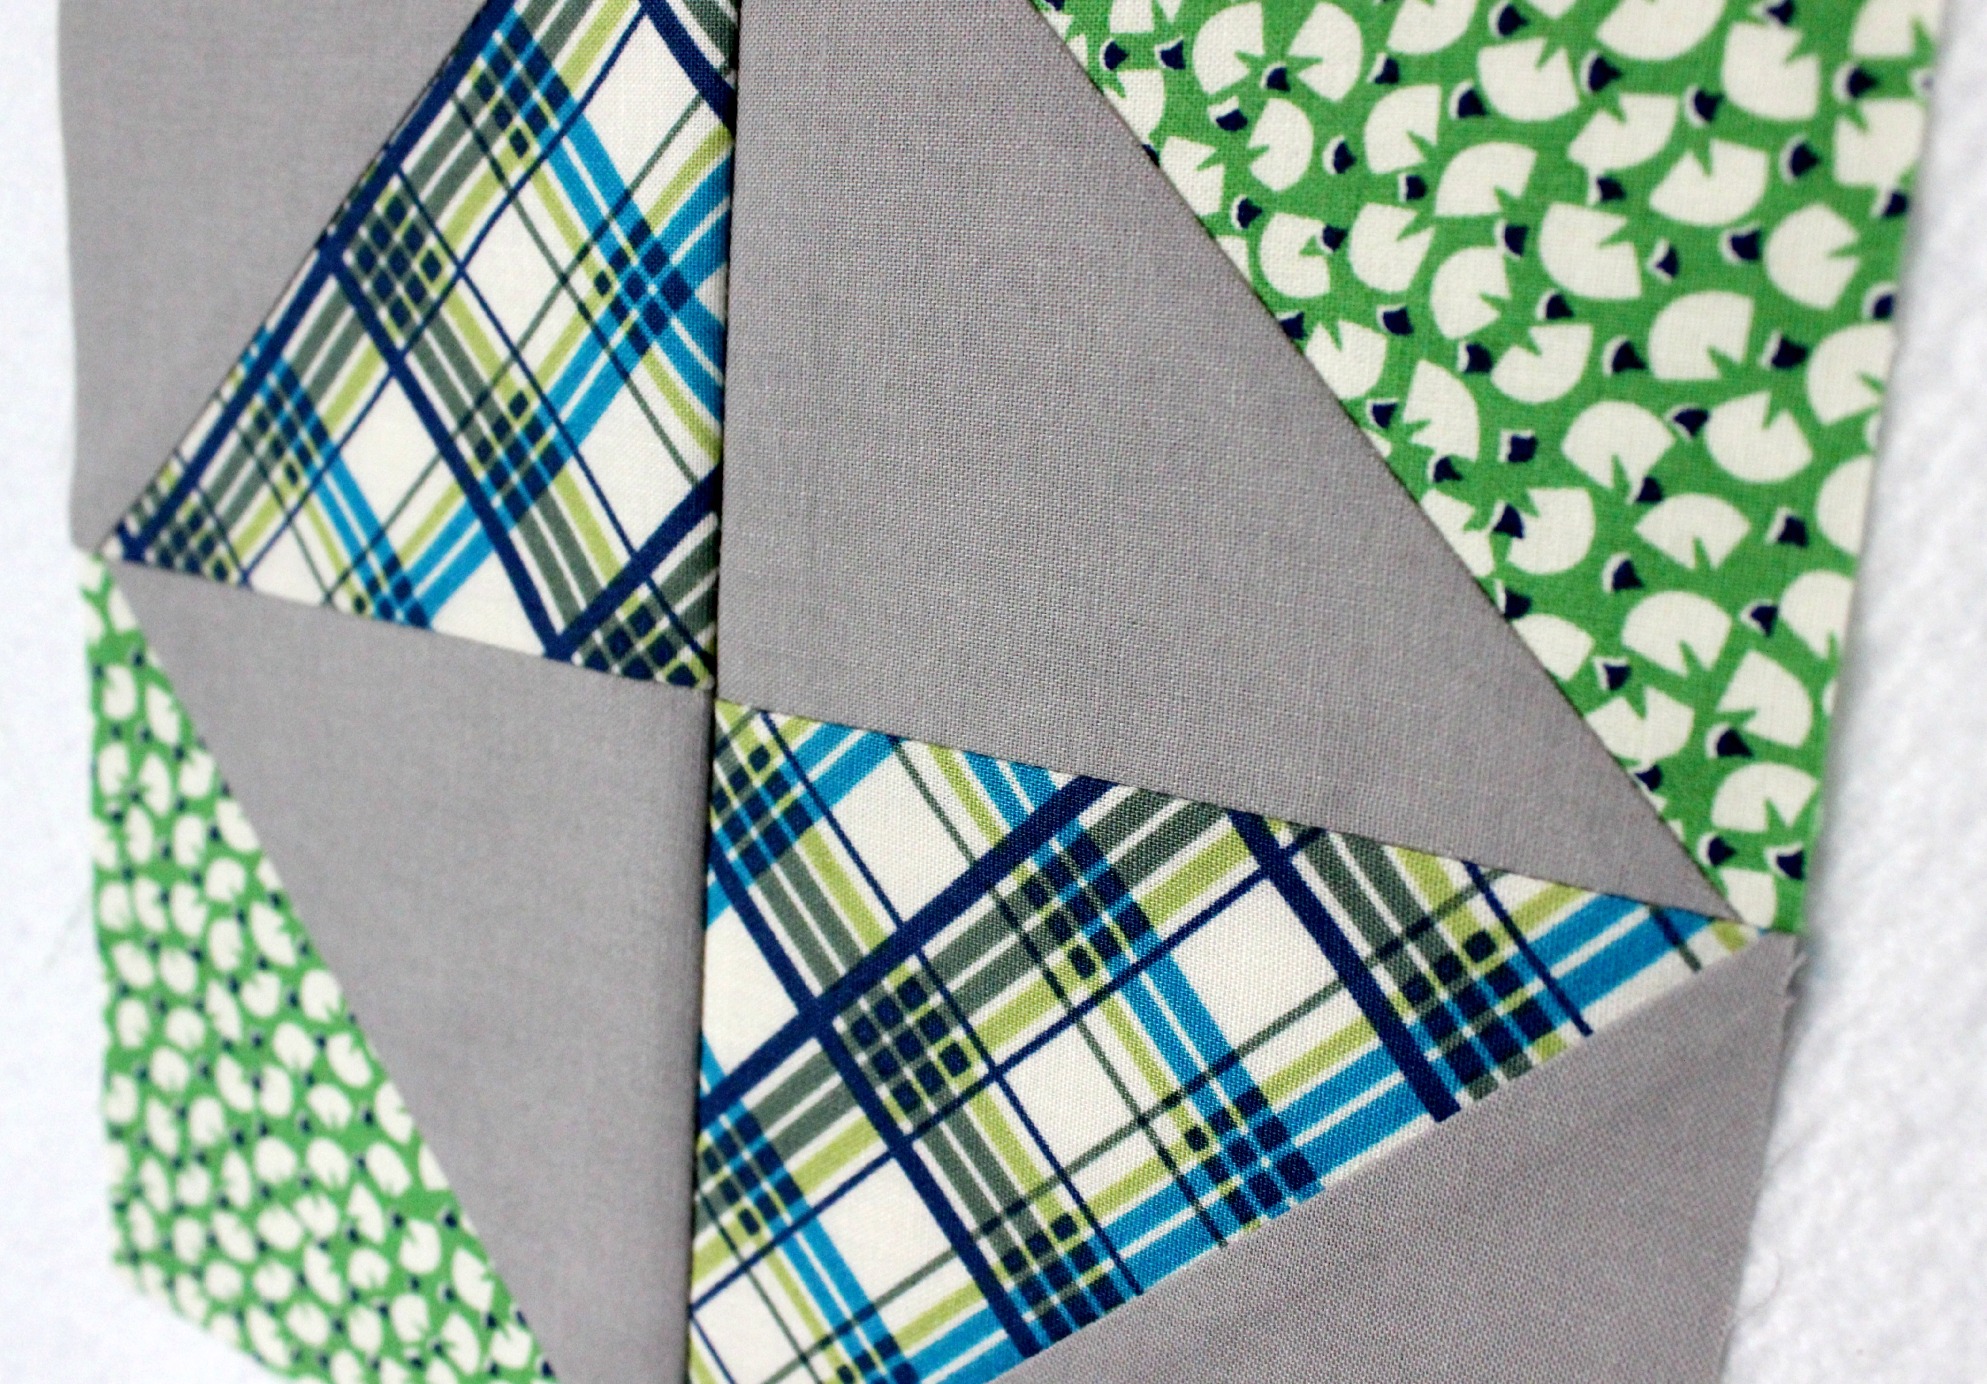
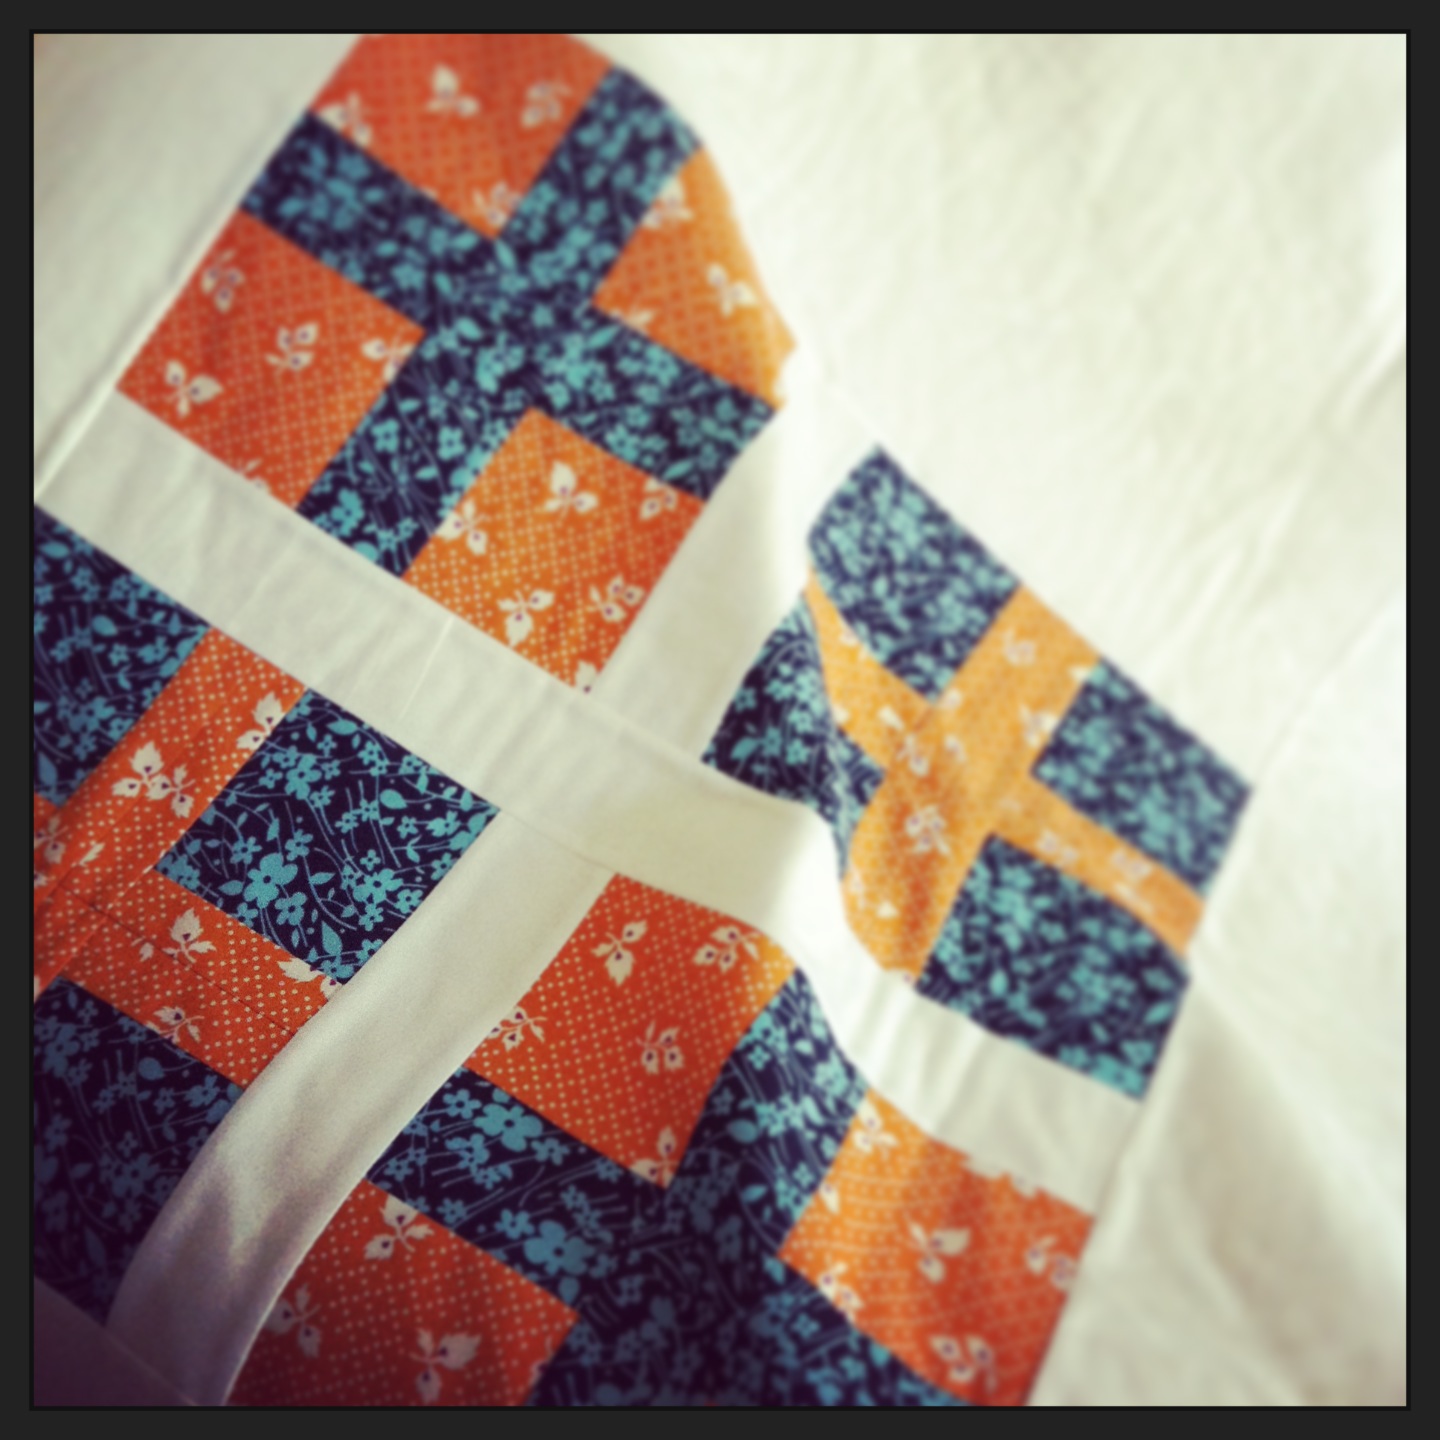
I chose randomly which petal blade got what purple print fabric because – well – because that’s just how I roll.  I like to be spontaneous and try (very hard, with little success) not to over think things.

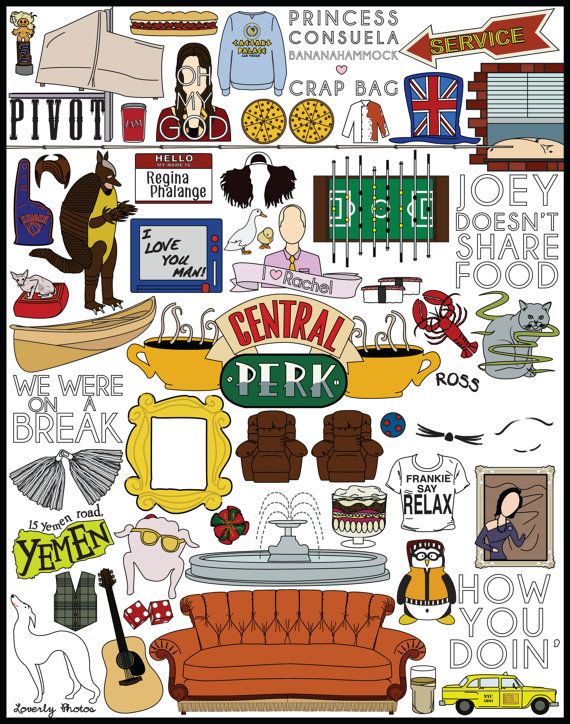
Hand basting was a slight nightmare. You see those pins? Well, let’s just say many cuss words came out of my mouth thanks to those sharp little buggers. (Please understand my meaning of cuss words: crap, poo, sonova biscuit, far-out and [oh] flip it!) Once basted, I patiently whipstitched all the pieces together, in their correct order, while watching a fair few classic episodes of Friends.

Spray Starch became my best friend – my crime-fighting buddy (no, more like my seam-flattening buddy! Ha!) and my quiet achiever while I untact all the paper pieces away from their fabric companions. I steamed ironed the hell out it and then became stuck on what to do next for two weeks.

Do I put a Dresden Plate Wheel on it to create the illusion of it blooming? No…

Do I use a browny/earthy centrepiece? No…

Should I put both of these together to see if they cancel each other out to make something better? Ew. No…

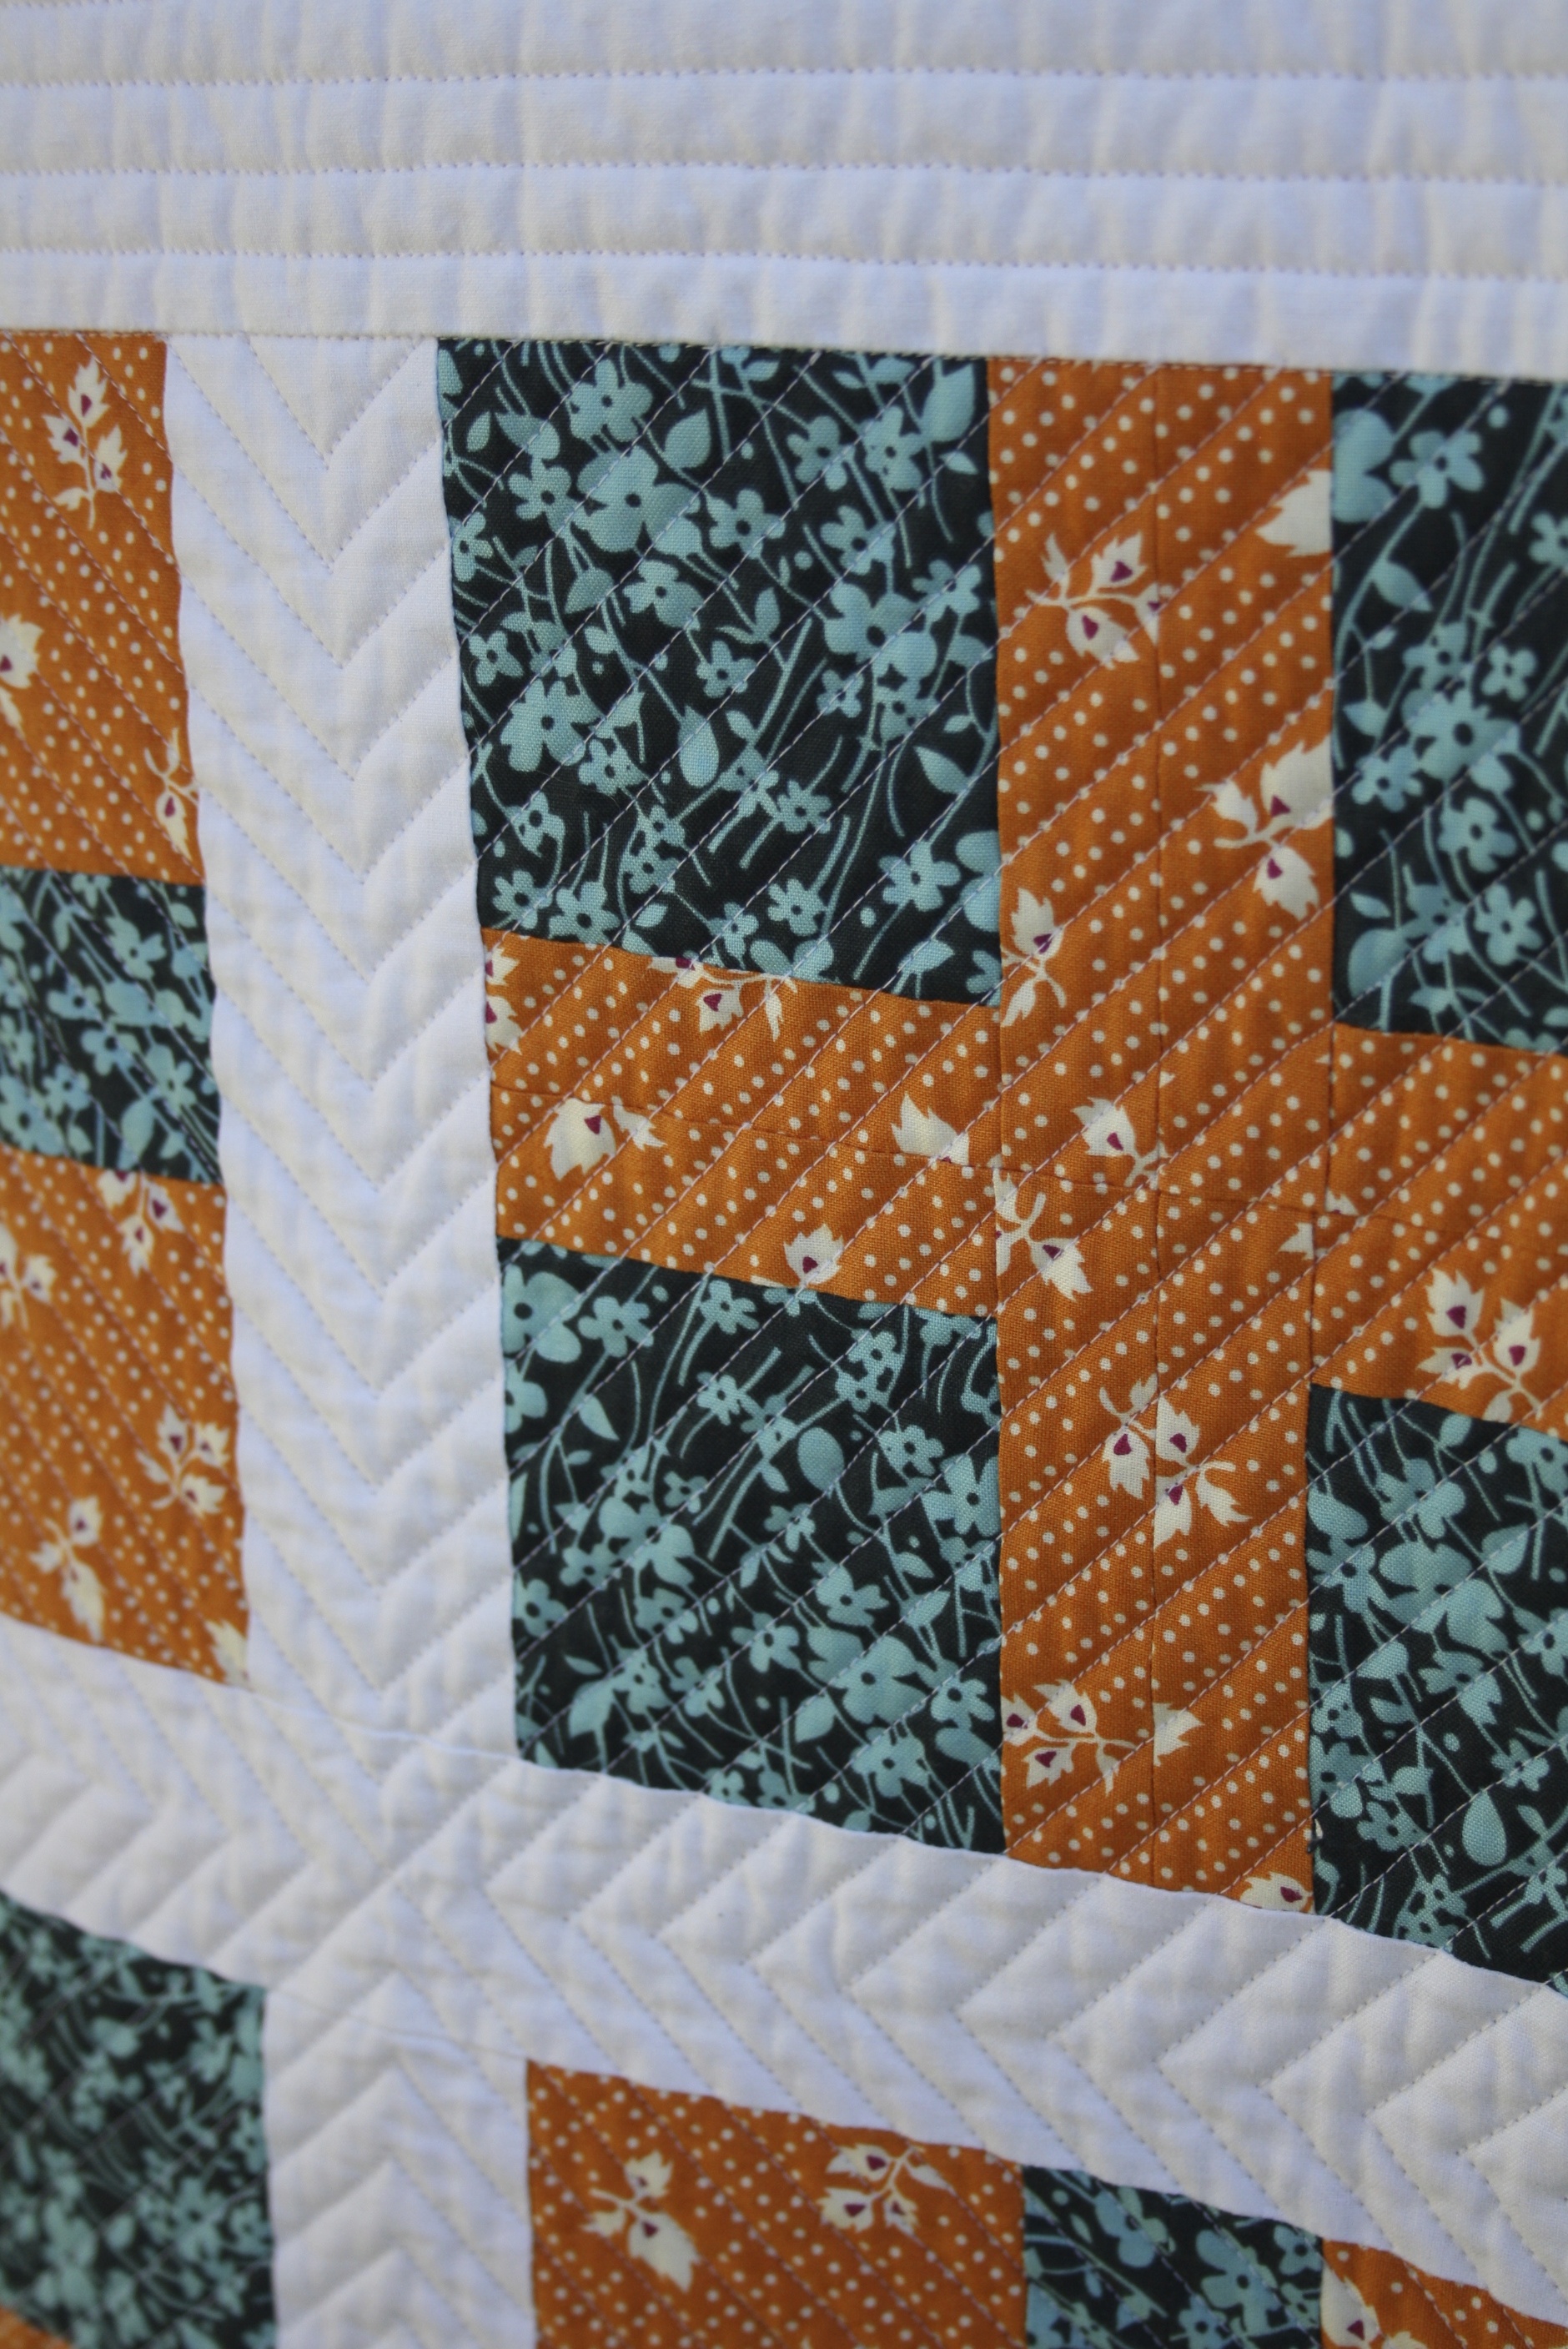
Do I break my pact of not resorting to making a typical flower with a yellow spot in the centre? Yes. And it works. You know why? Because purple and yellow are matching opposites on the colour wheel and so naturally work and look well together. (Ha! See I told you I don’t over think things!!)

After making such a crucial important simple decisive essential boring time wasting decision, I got on with the job! I hand stitched the centrepiece onto the quilt top and then got onto setting up ready to quilt it.

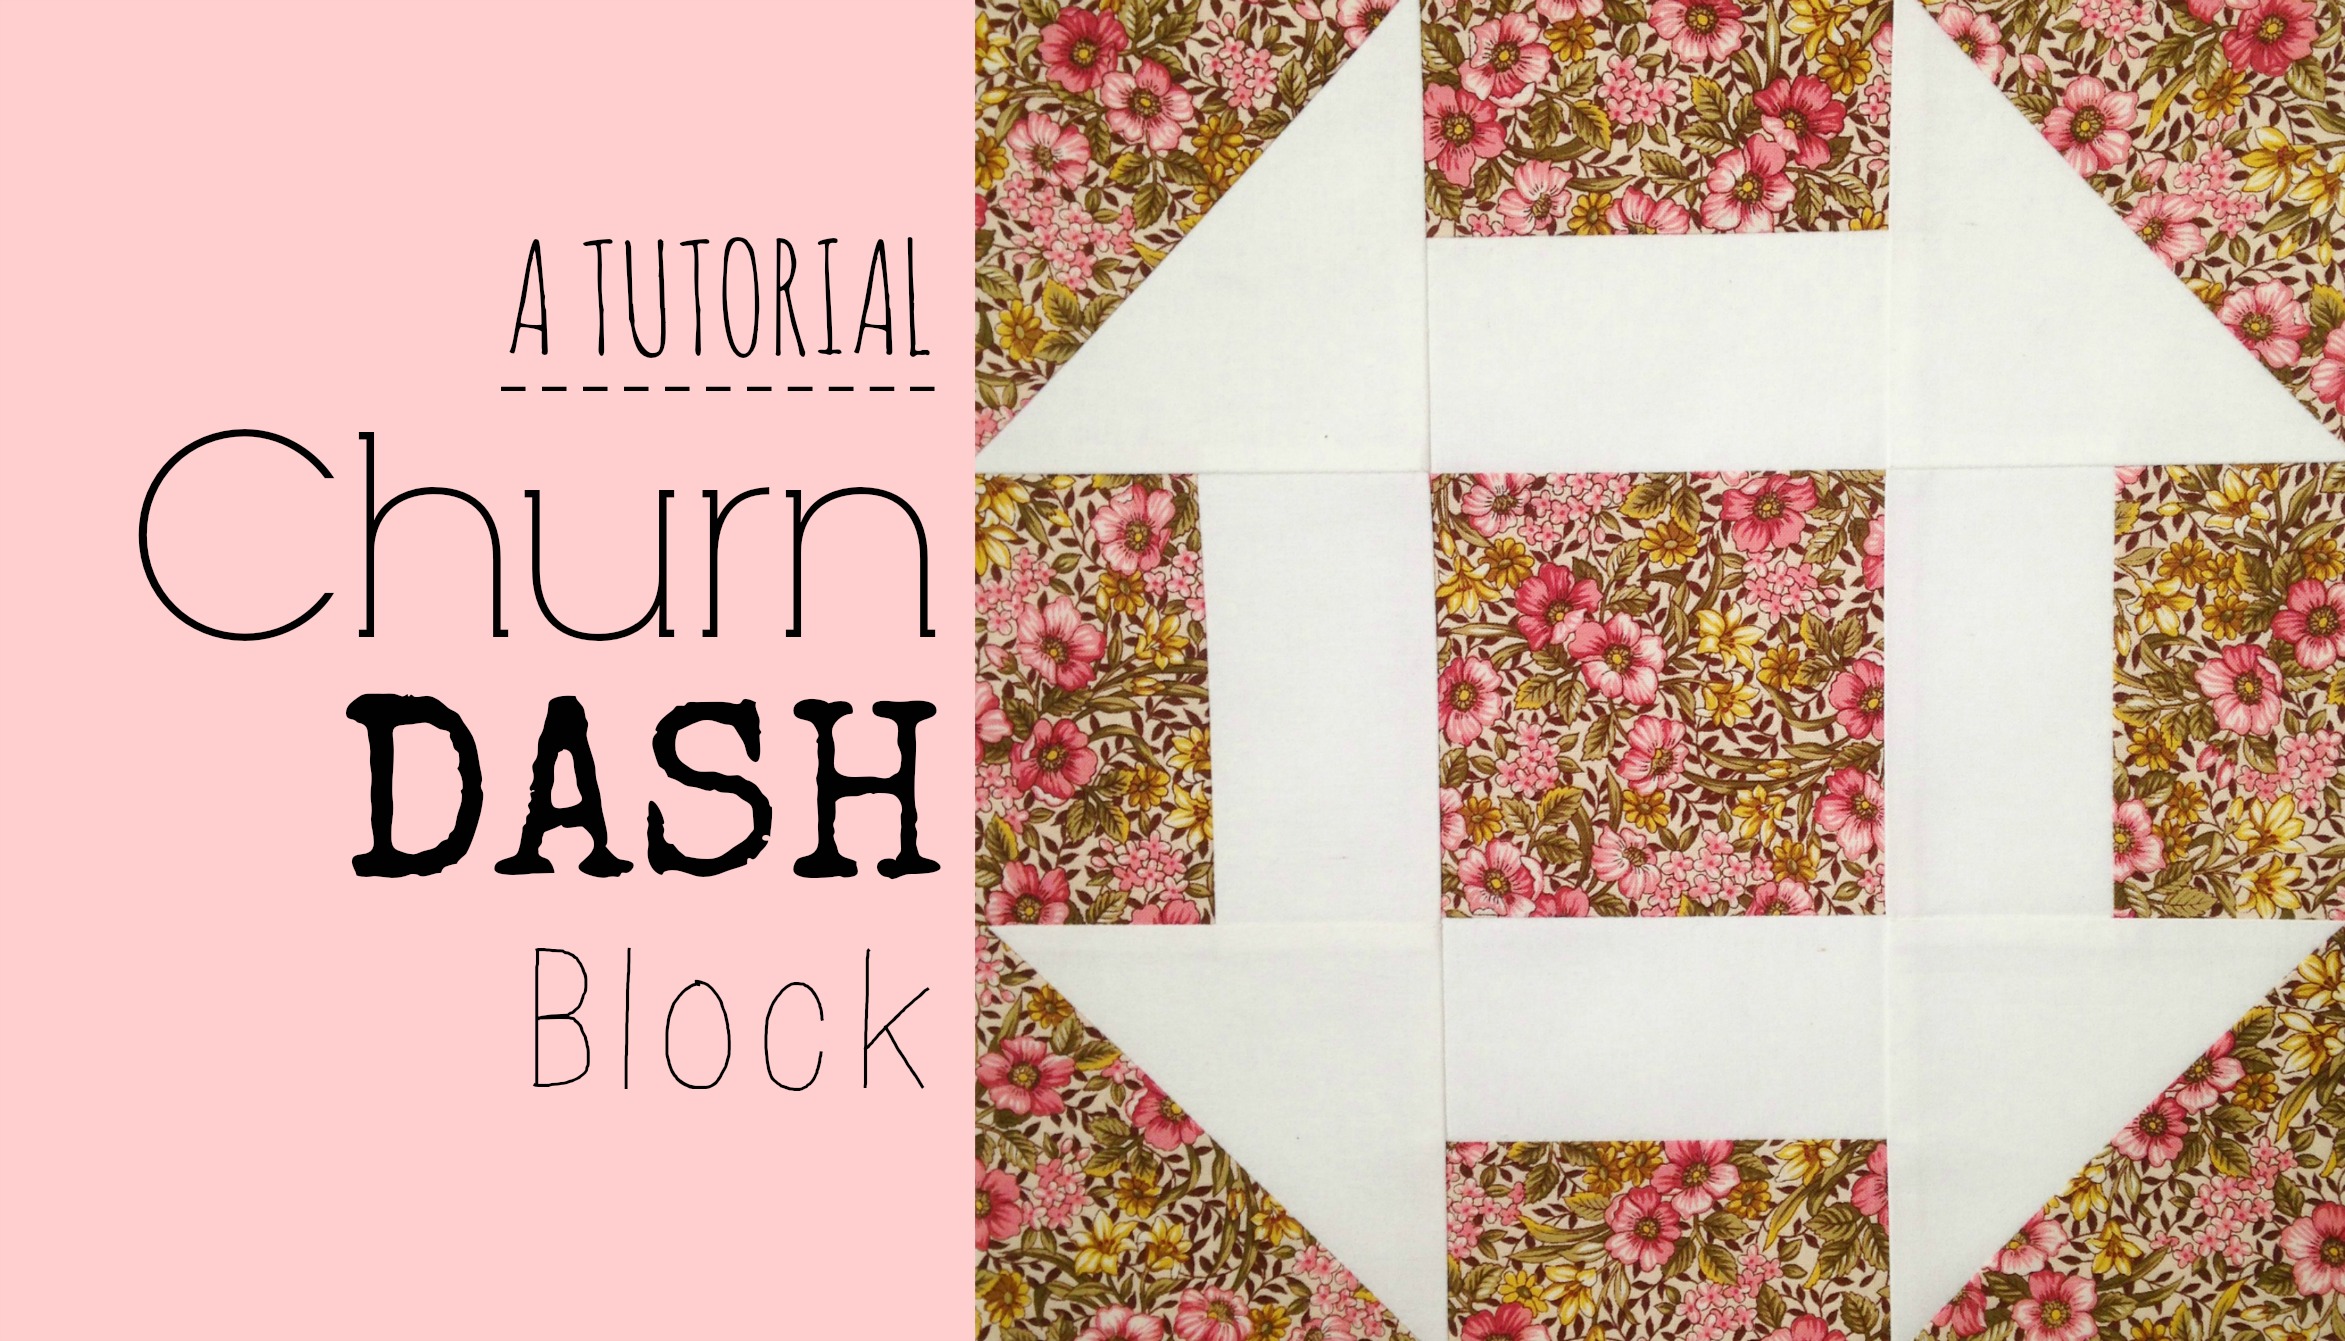
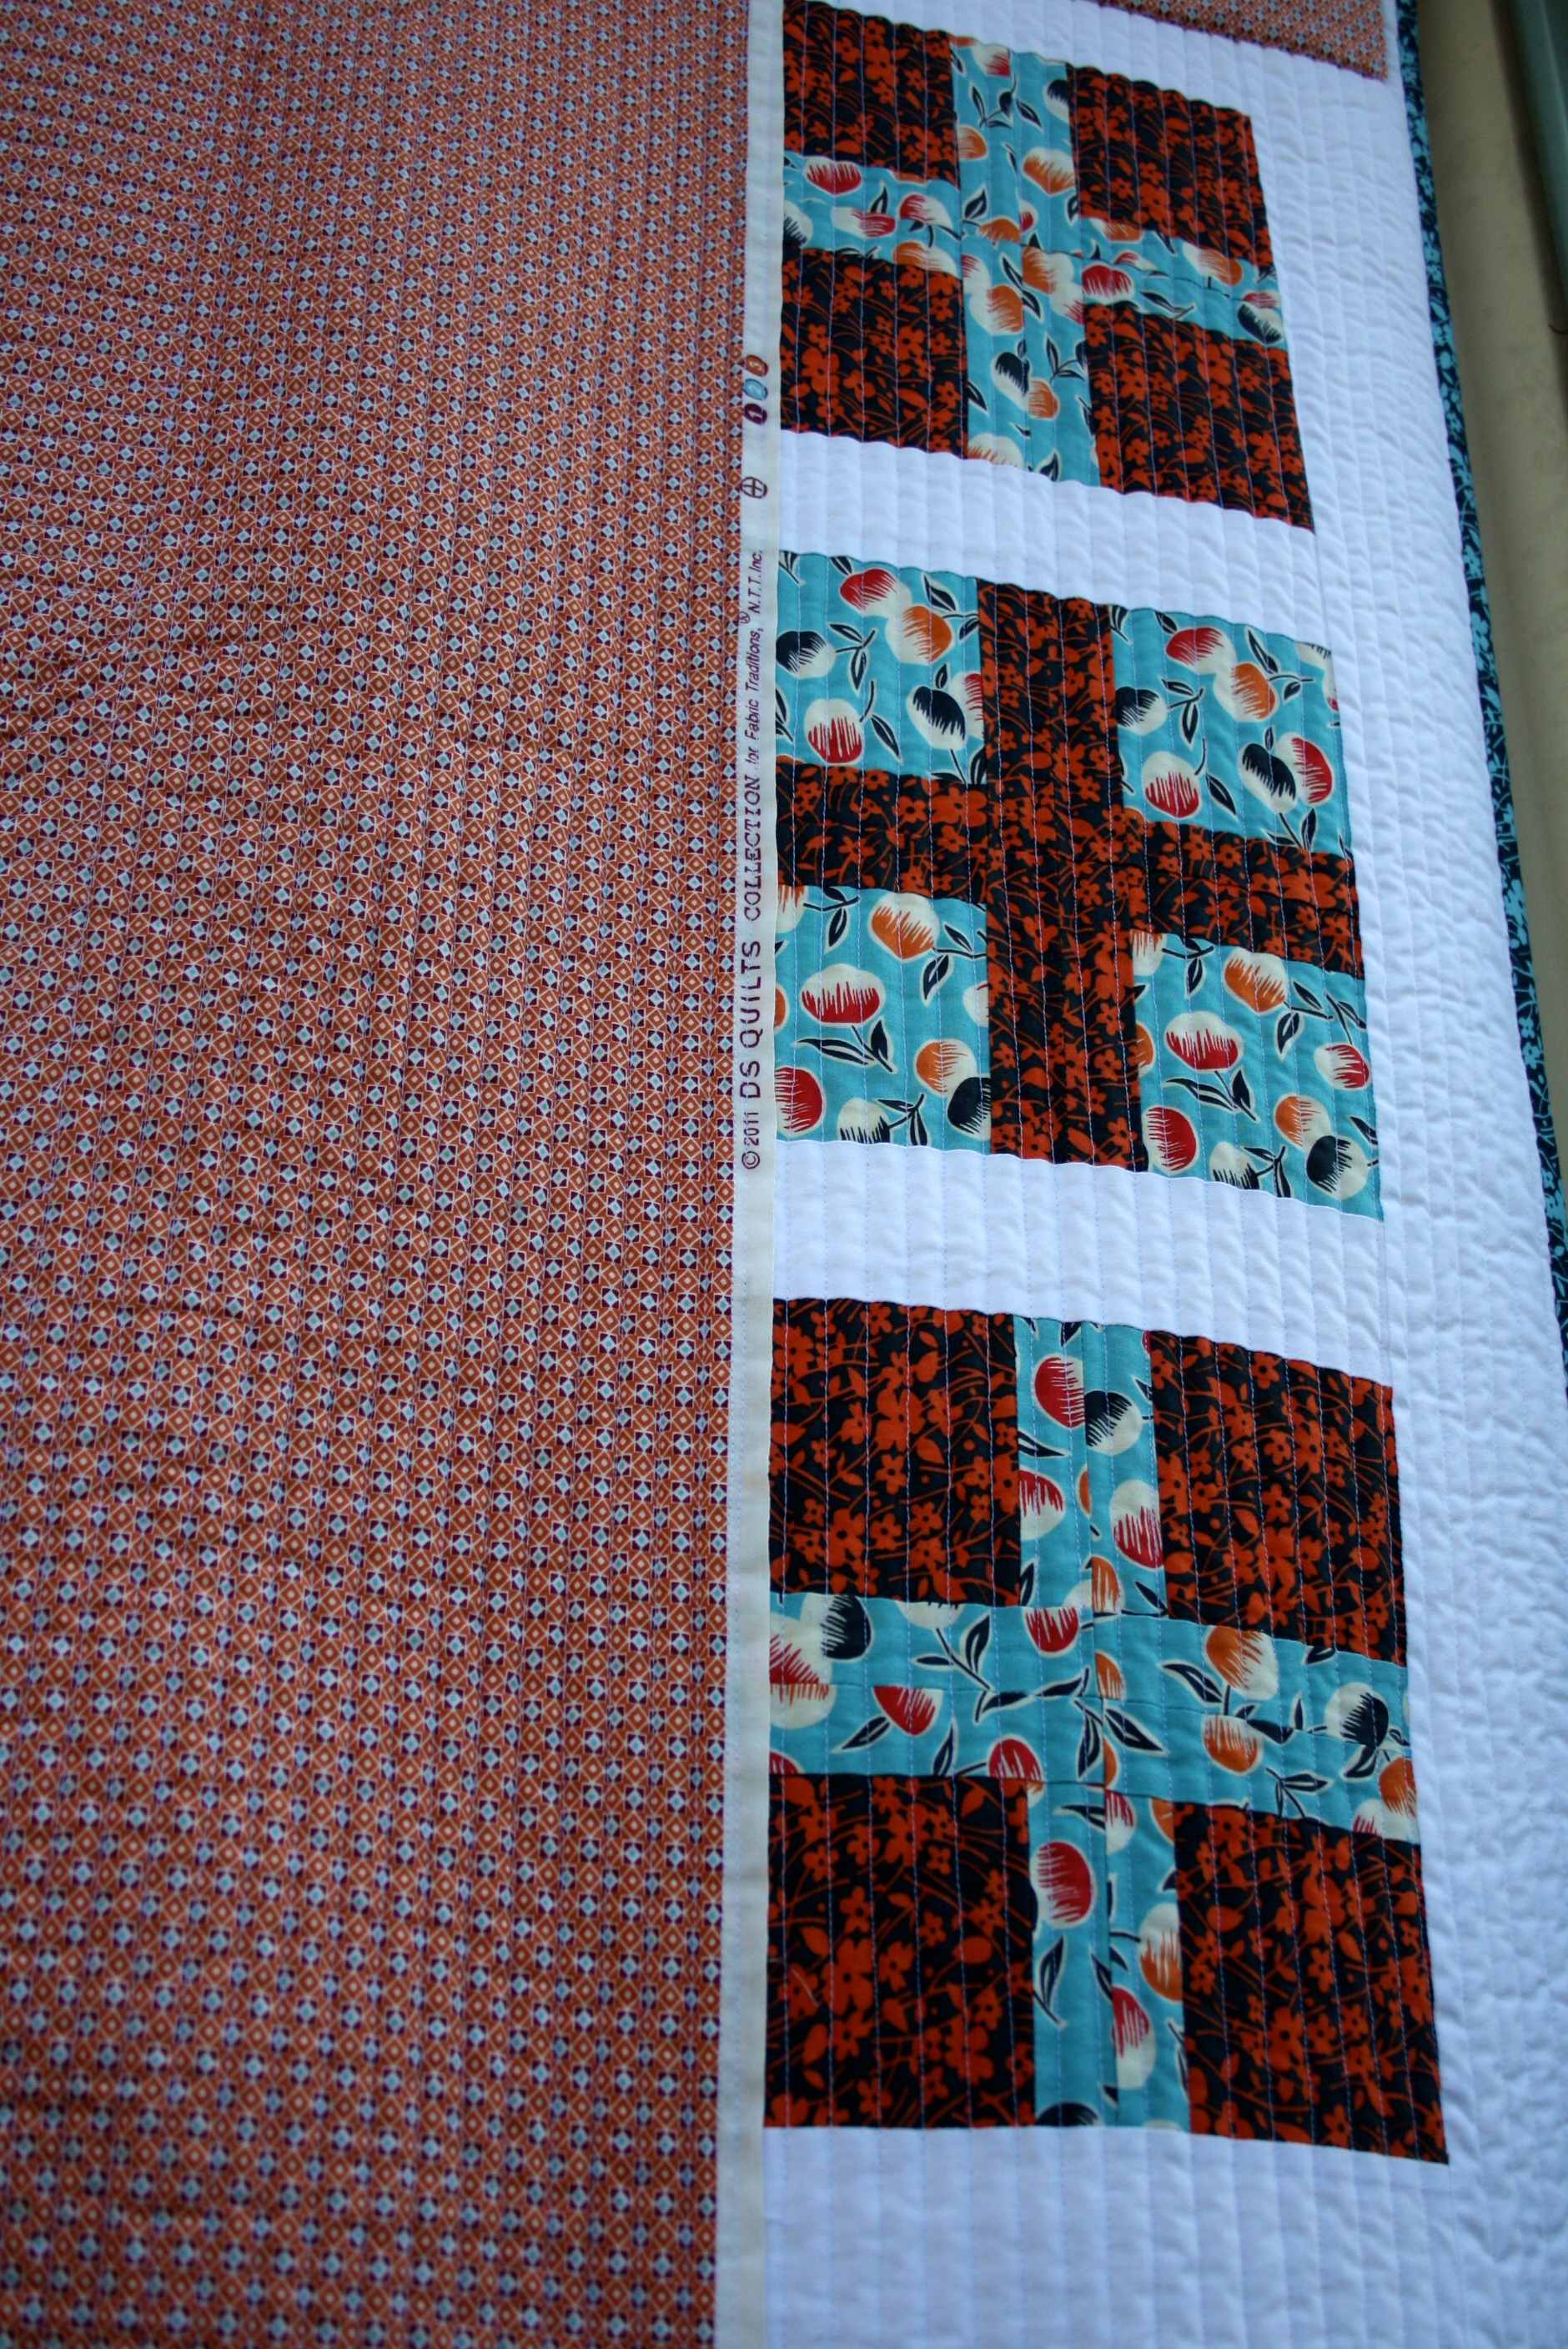
To shake off the tag that Gen Y (which is me) are a throw away generation, I recycled the idea of the Dresden Plate Block and the browny/earthy coloured centrepiece and appliqued it onto the back of the quilt – just for the sake of it. (And for the fact that I really didn’t want to throw it away after all the effort I put into making it.) I’m changing the world one quilt at a time!!

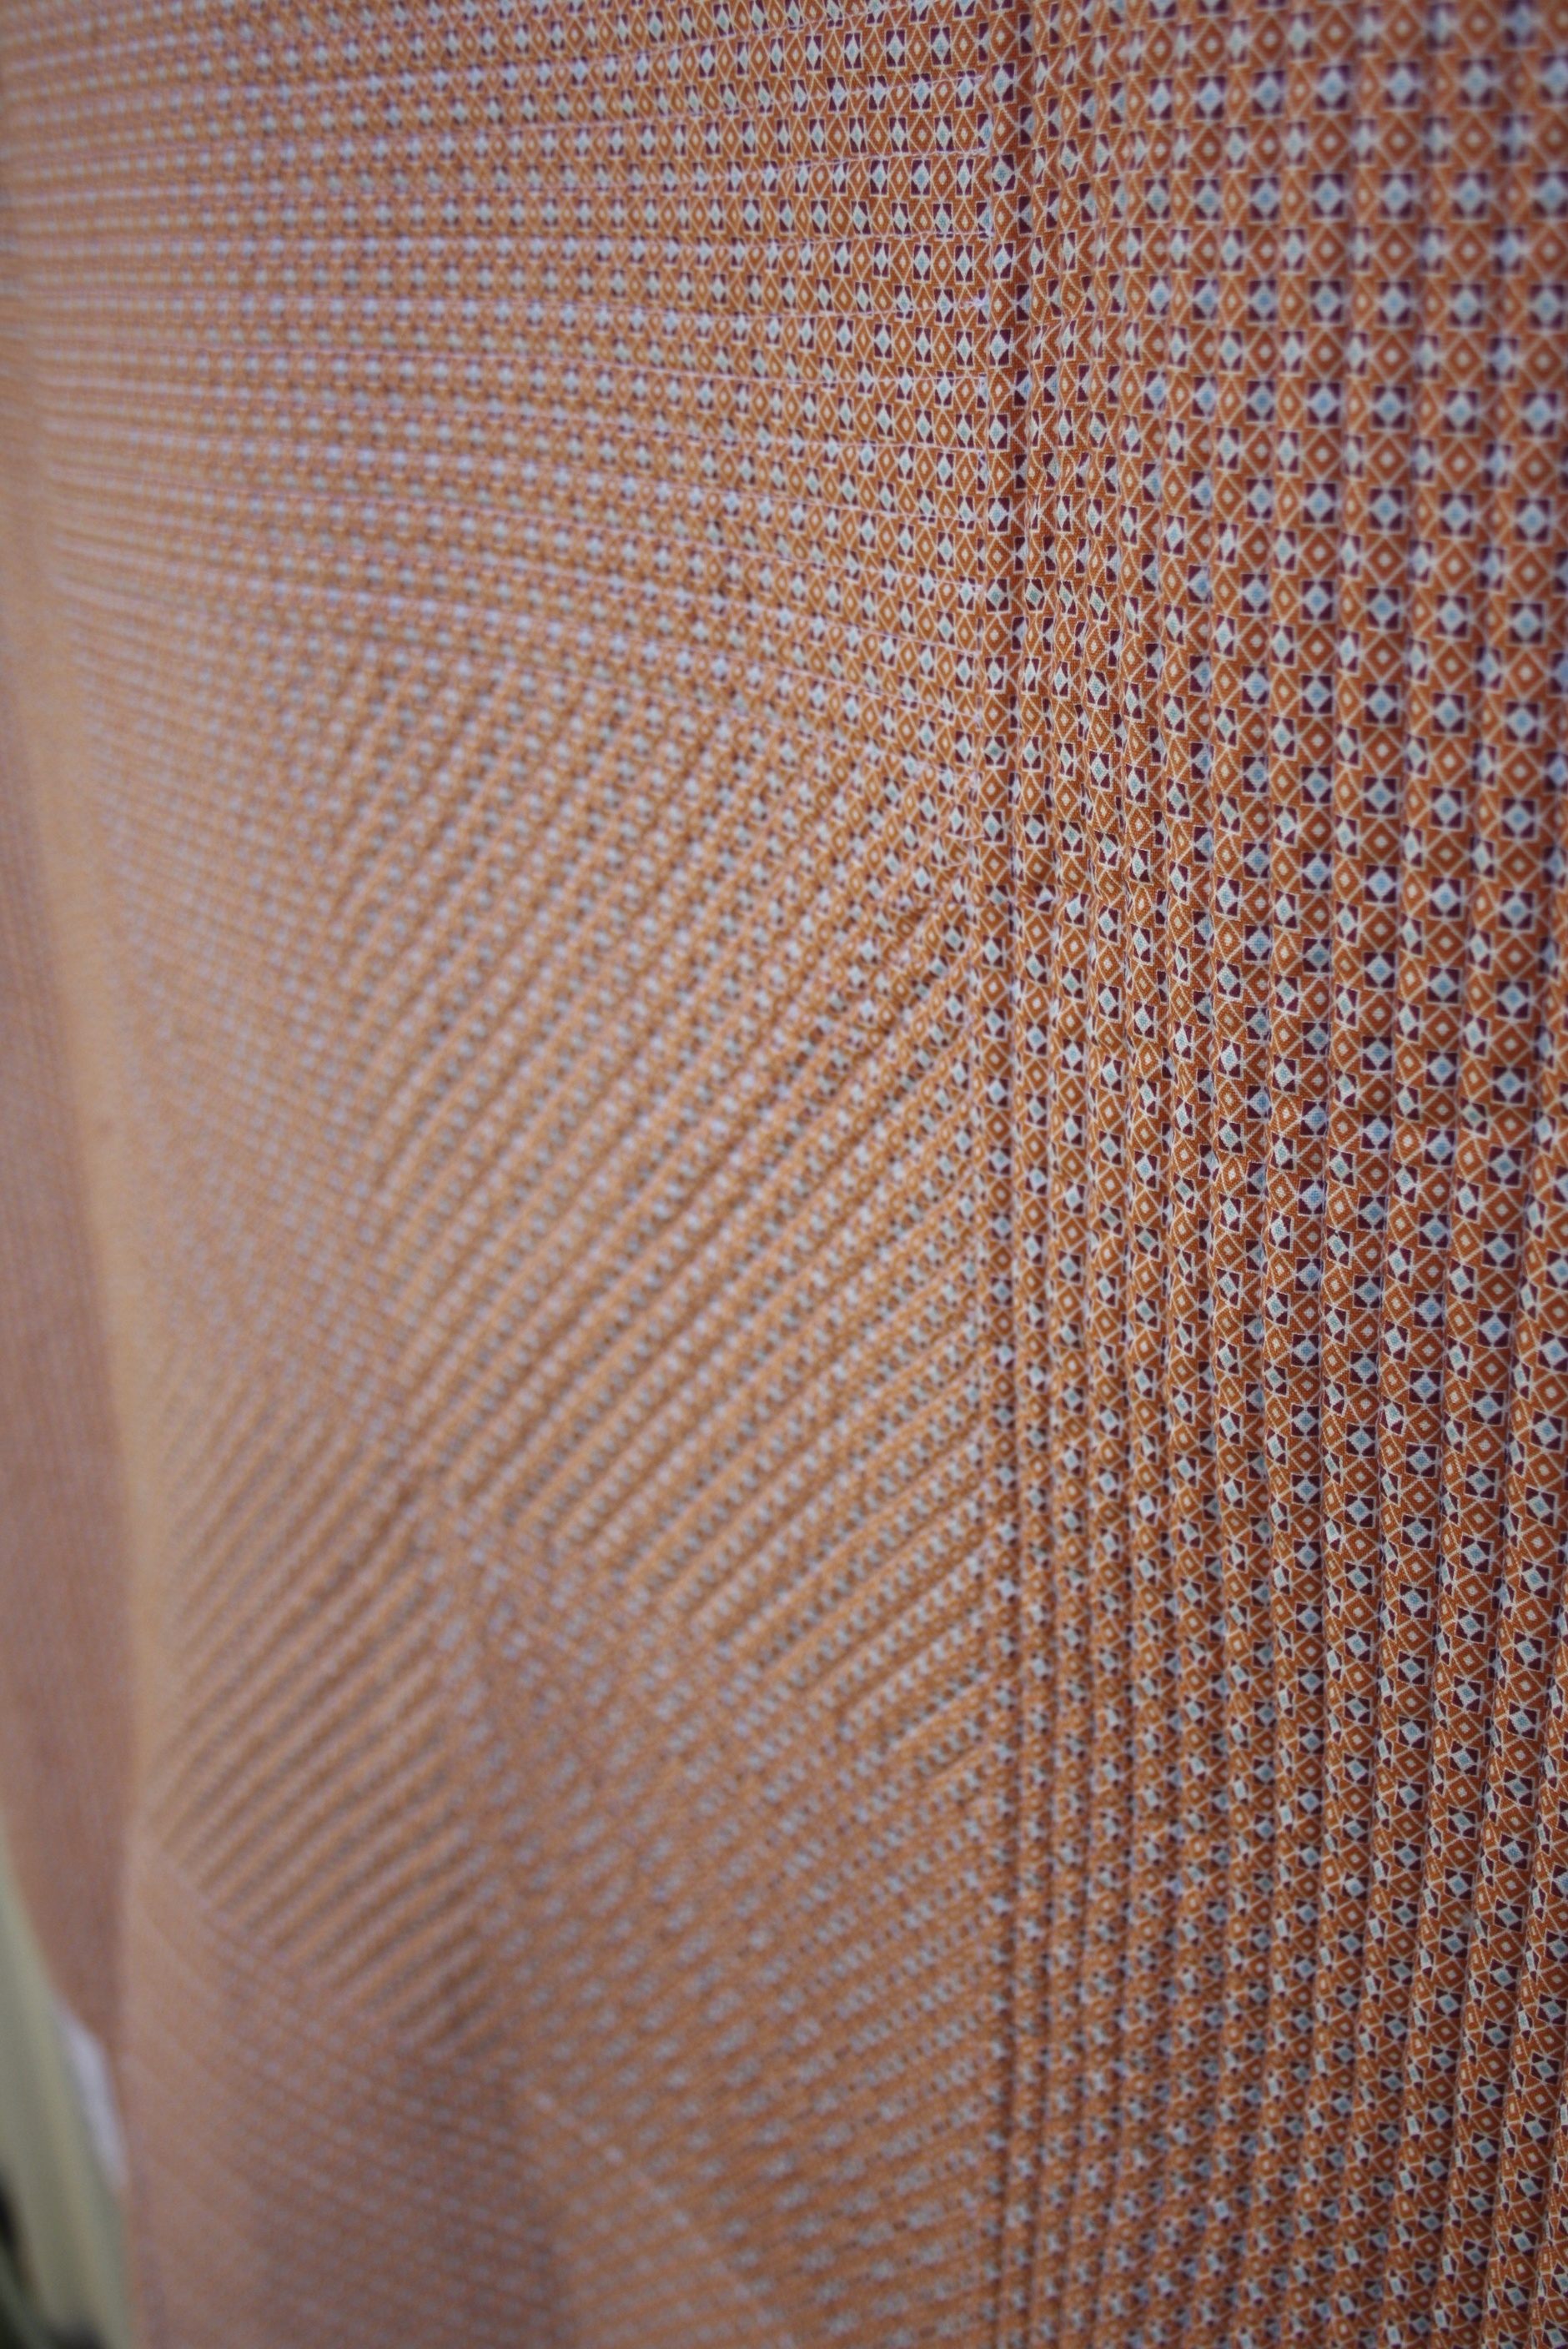
Once basted and ironed (for about the tenth thousandth time), I spent three days quilting. Three whole days of sewing line after line after line after line after line after line after line… It was fun – for the few minutes. I had to force myself to go to a happy place for the sake of my sanity. But, you know, this is what you do for your art, your passion and for your living.

Next came the binding and stitching on the rod pocket while watching more classic Friends episodes.

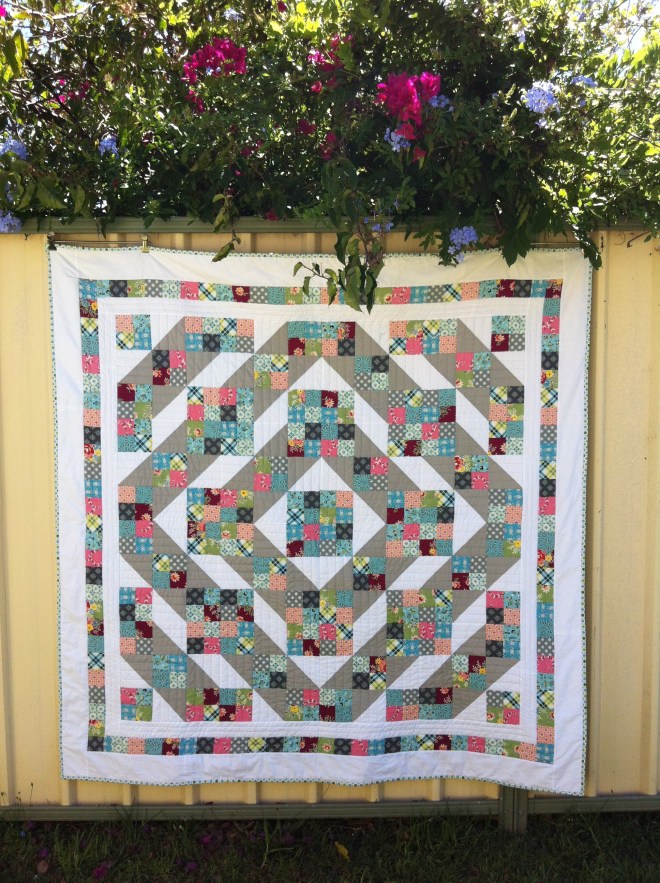
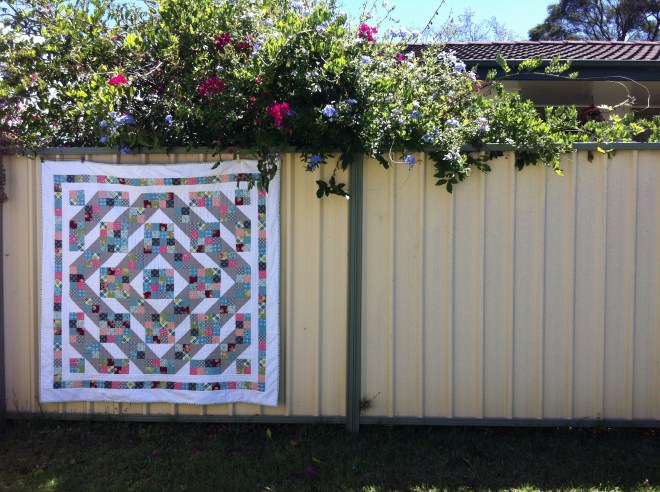
And then – tah dah!!! Finish! Fin! Finito!

So, that’s my very first self-designed, hand pieced, machine quilted competition quilt! Hoorah!

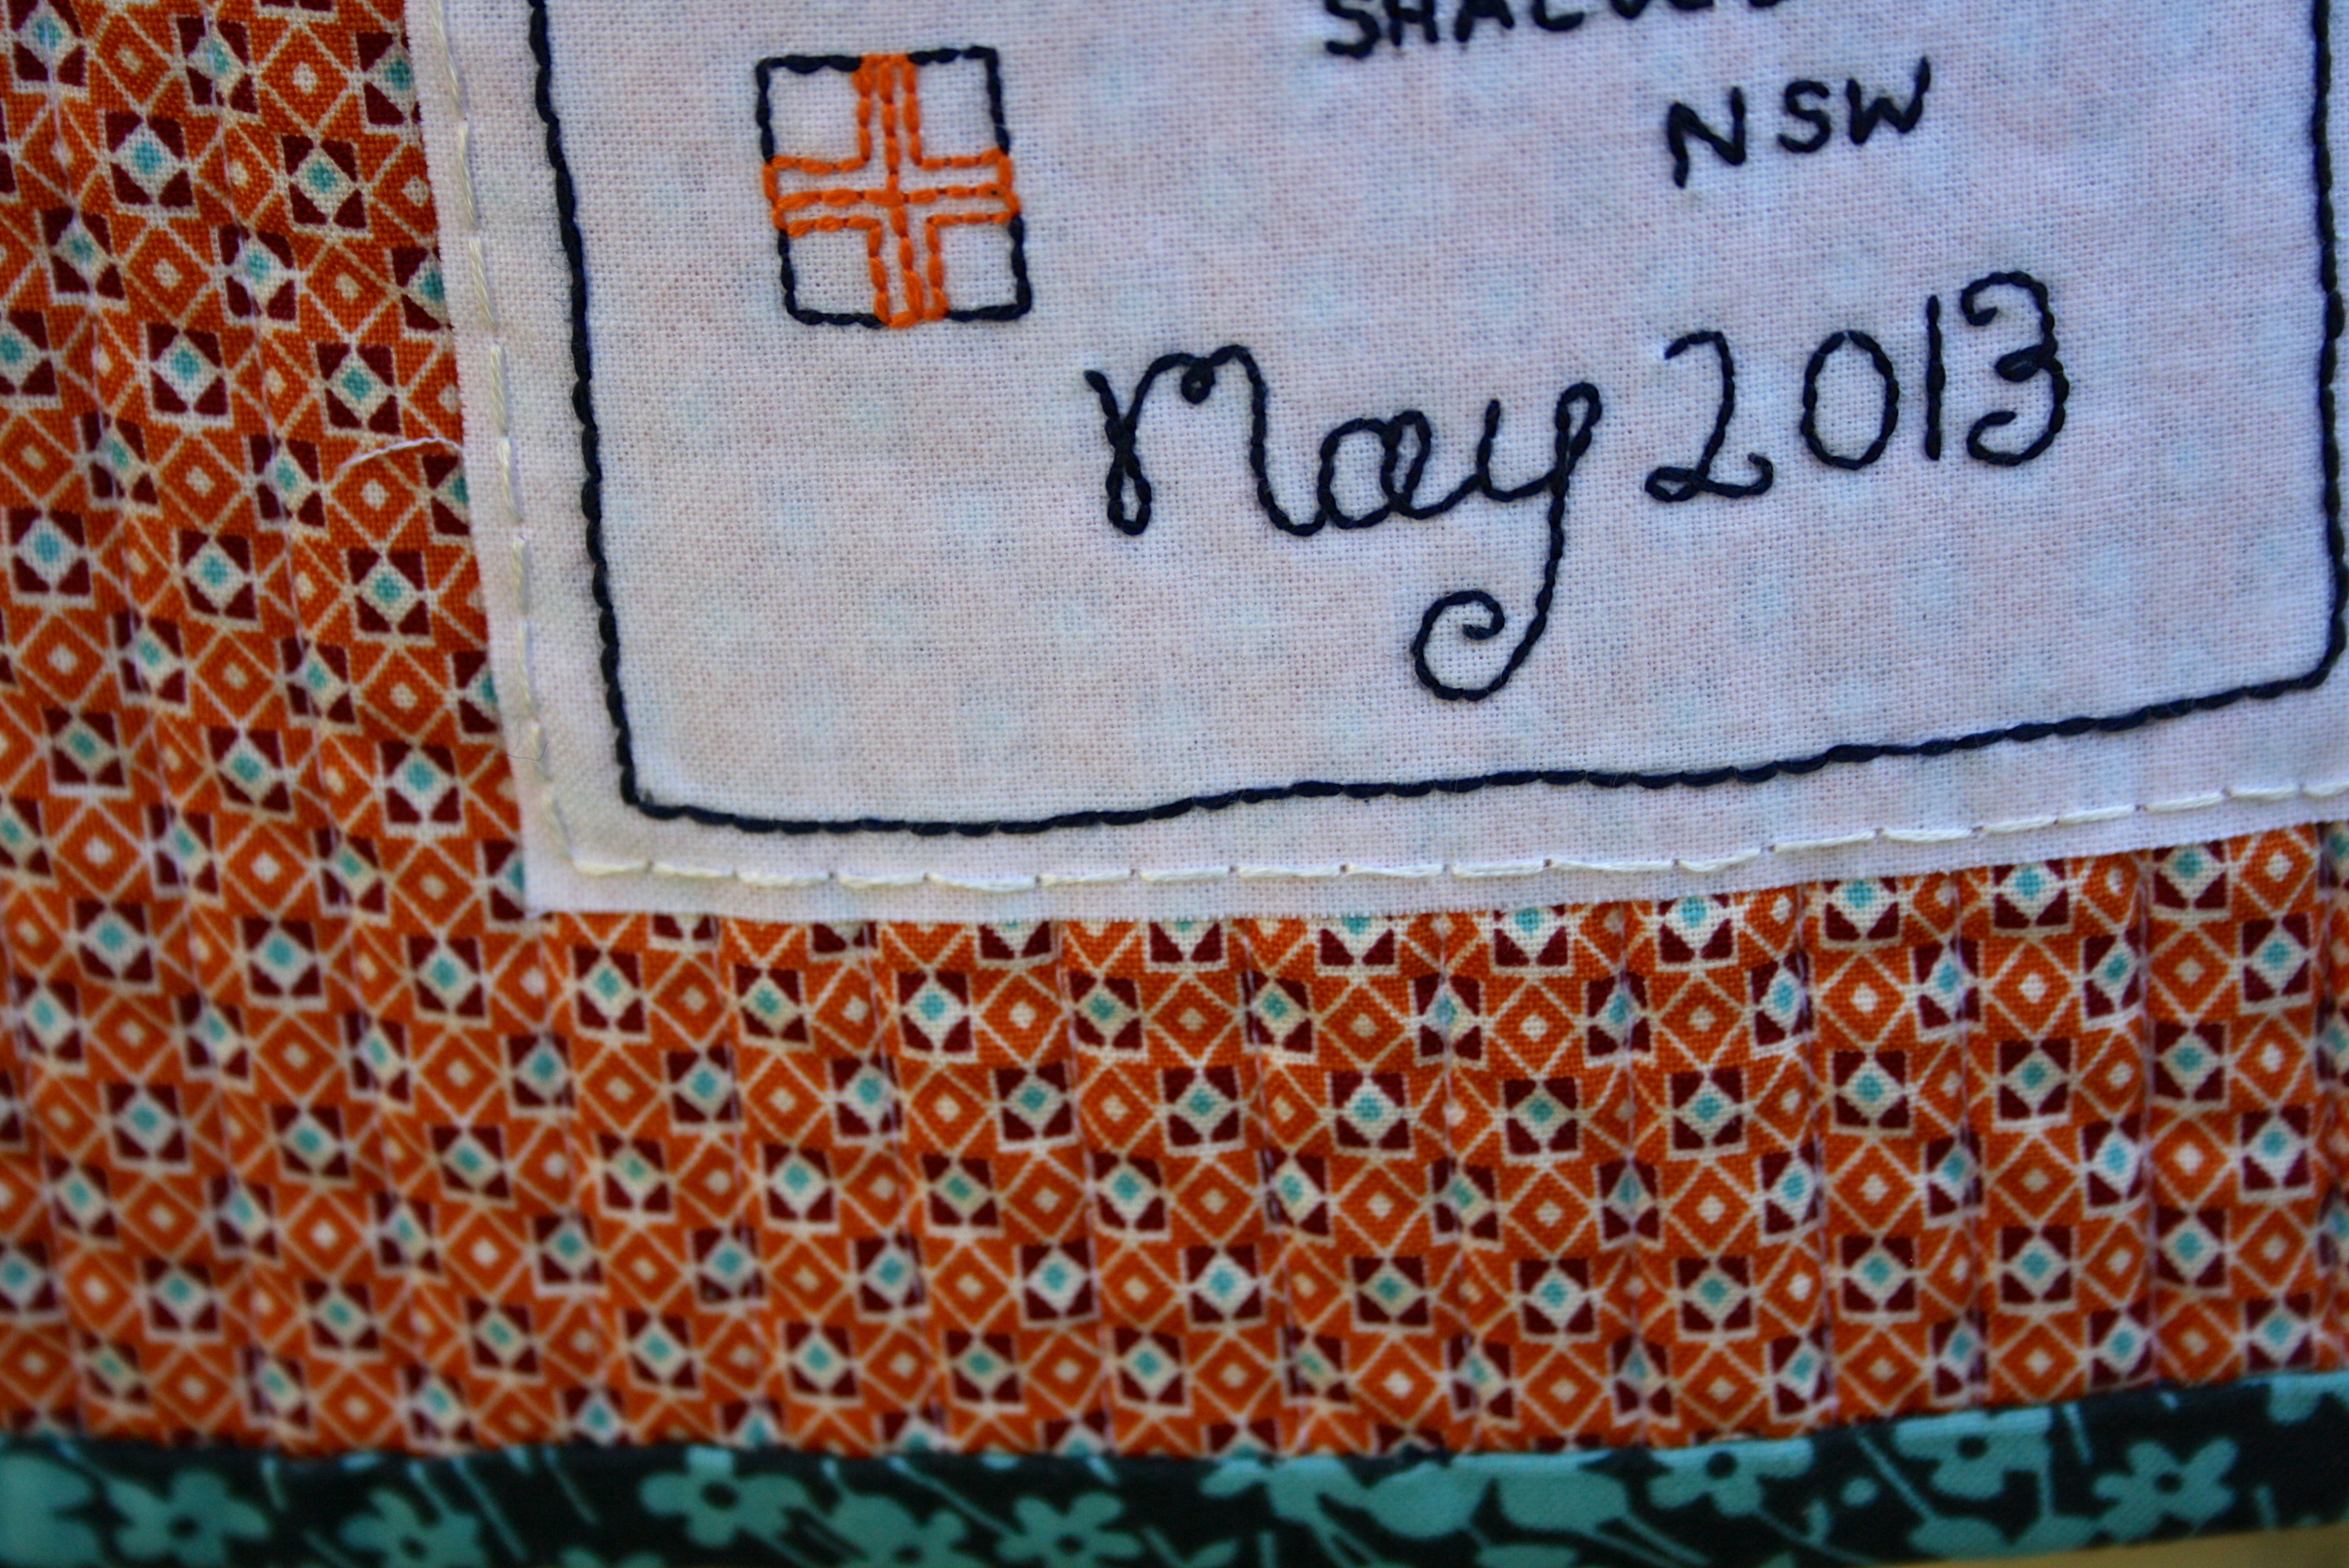
It shall be called: A Summer Bloom (as the photo I took of the inspired flower was blooming mid summer this past January).

And so I say: Bring on the next one!

Happy Sewing! xx