Well, just a little under two weeks to be exact but there’s like being a tad over dramatic about these things!.
But I do promise that I’ve been working very hard over the last couple weeks.
For starters, I’ve made another video! (Yay, go me and my evolution with modern technology!)
This one is a tutorial of sorts where I show you the method of how I make hexies! (Oh gosh, I just looove making hexies!)
Apart from that, I’ve been busily getting ready to take part in this years Quilting Expo at my local Spotlight store!
Quilting Expo Poster
There I’ll be demonstrating to the masses (!) how to cut, piece and sew up some classic quilt blocks as well as some quick and simple crafty/sewing projects.
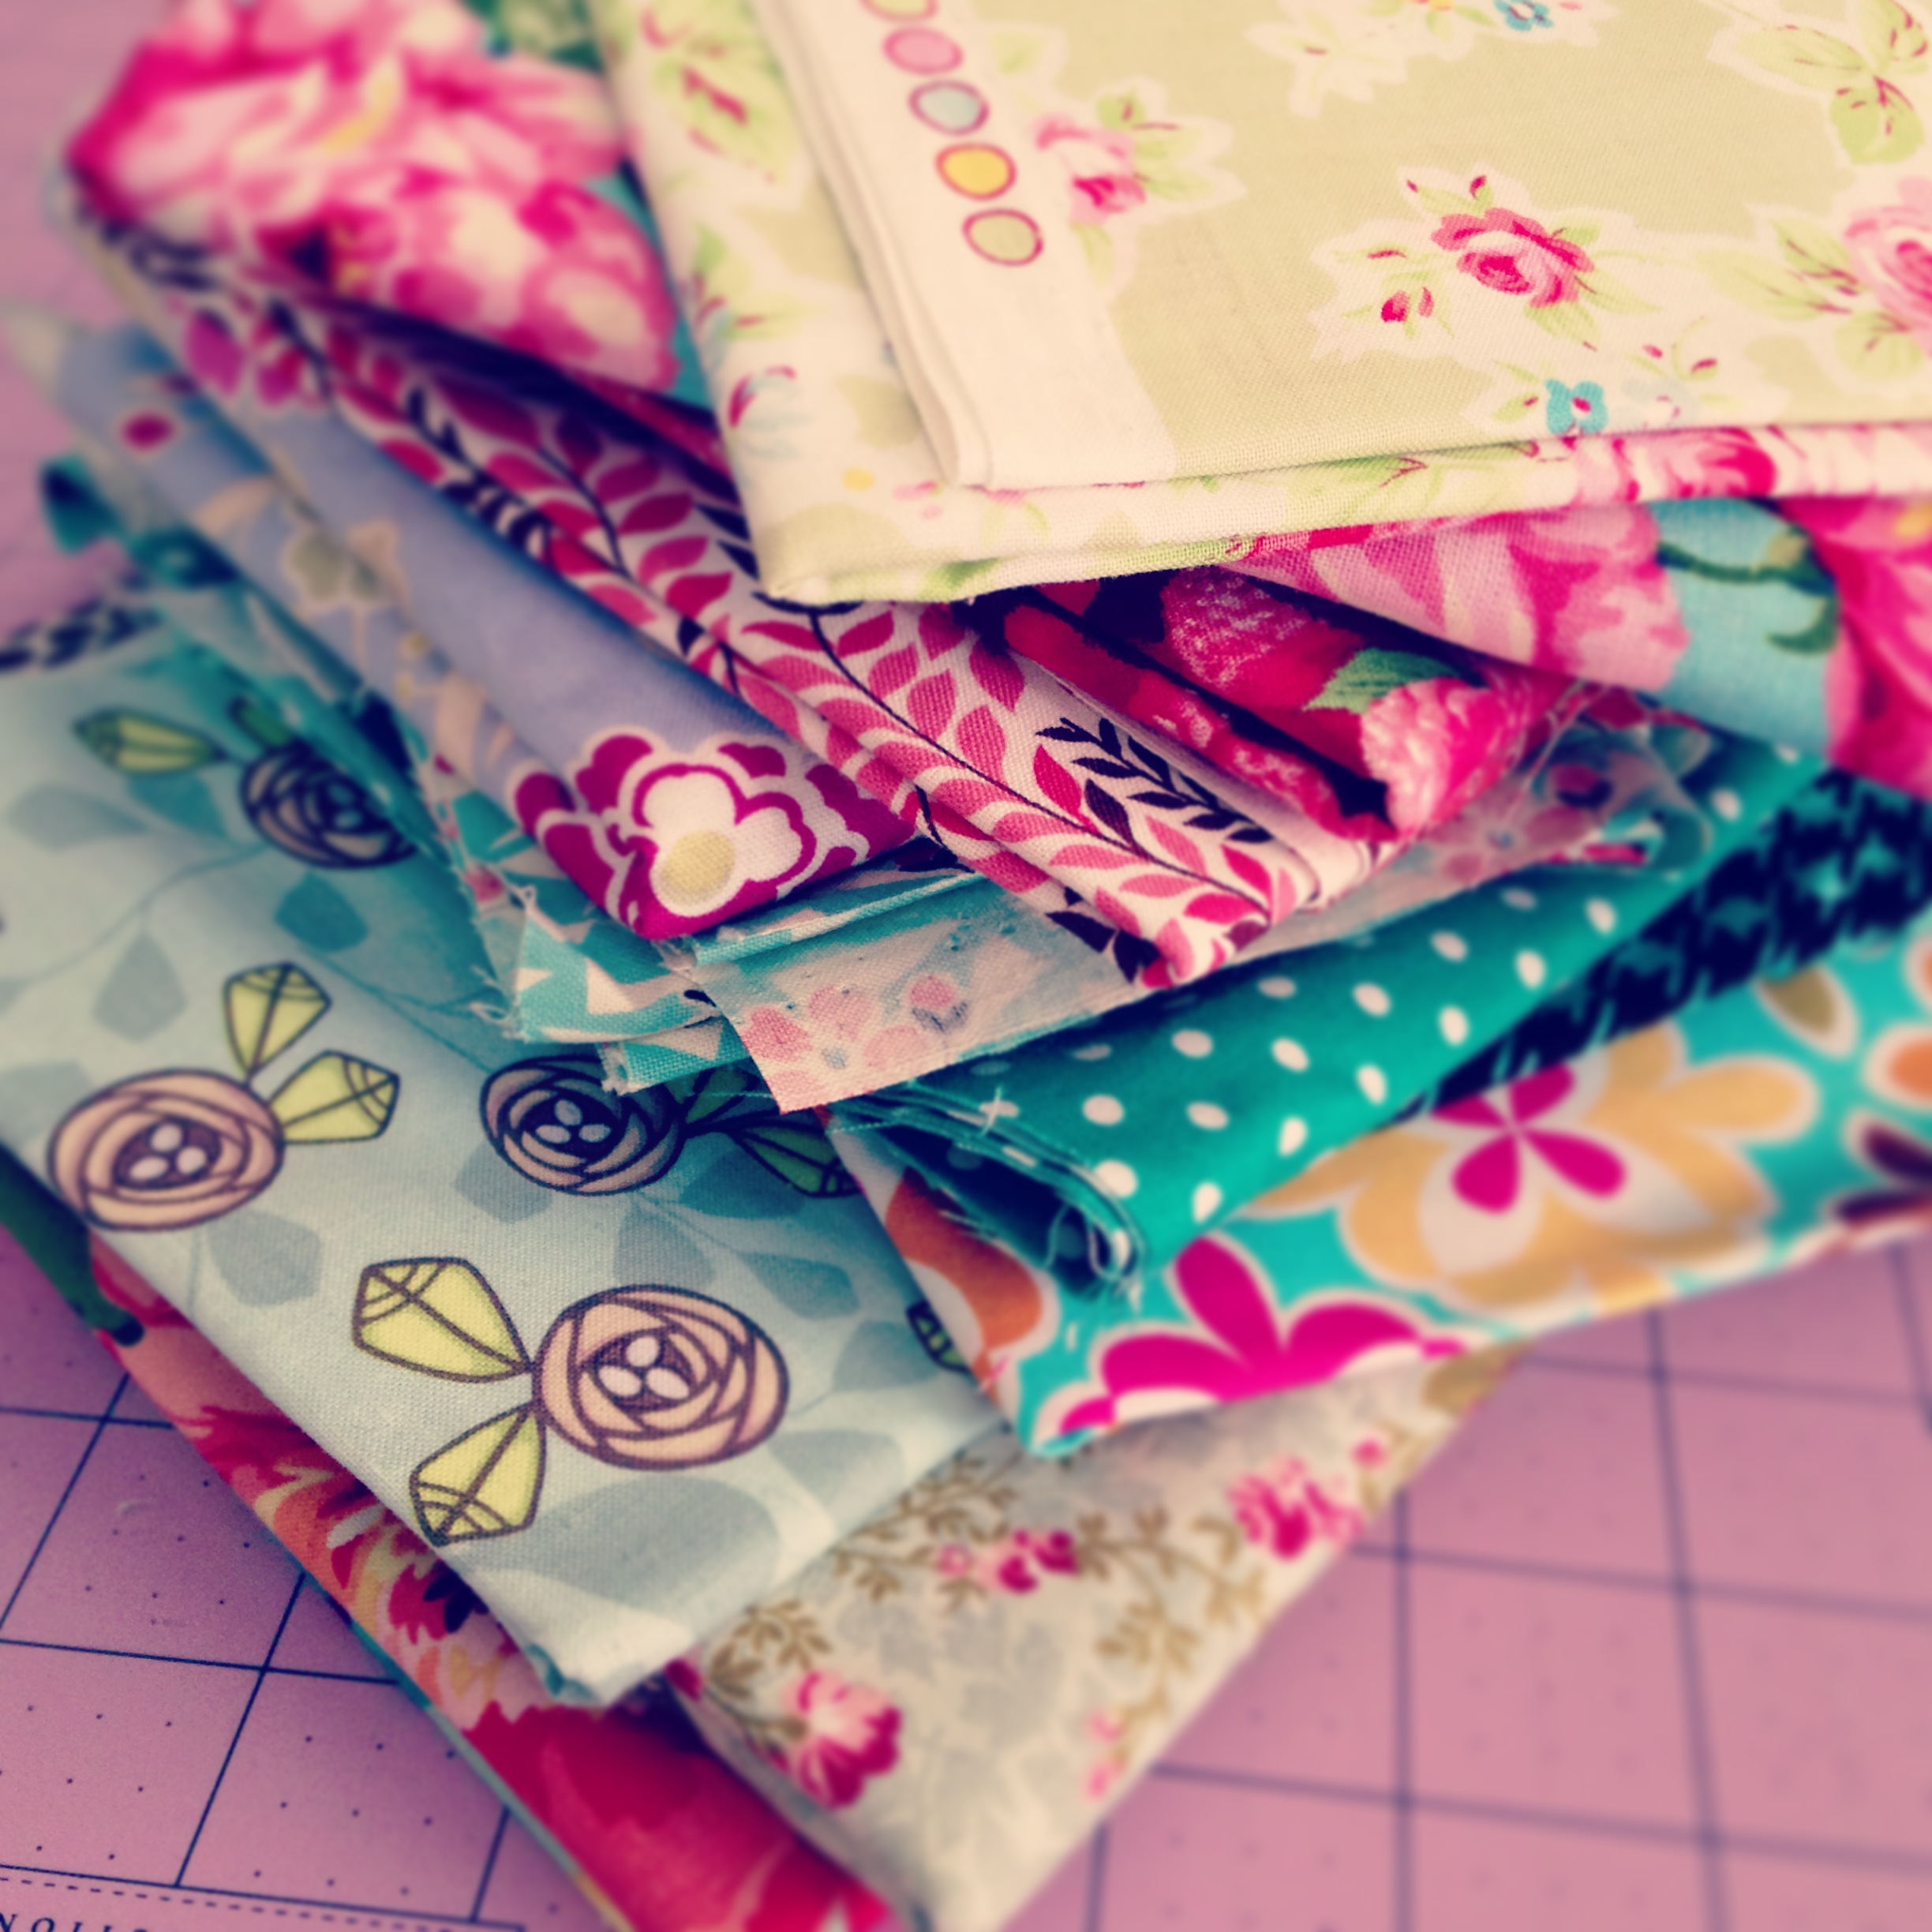
I’ve chosen some really sweet fabrics to work with and if I get the ok, I’ll post up some pics from the day!
A few other projects are currently along the way, but I’m not quite ready to share them with you just yet…
‘That’s the one I want to do!’, I whispered to myself.
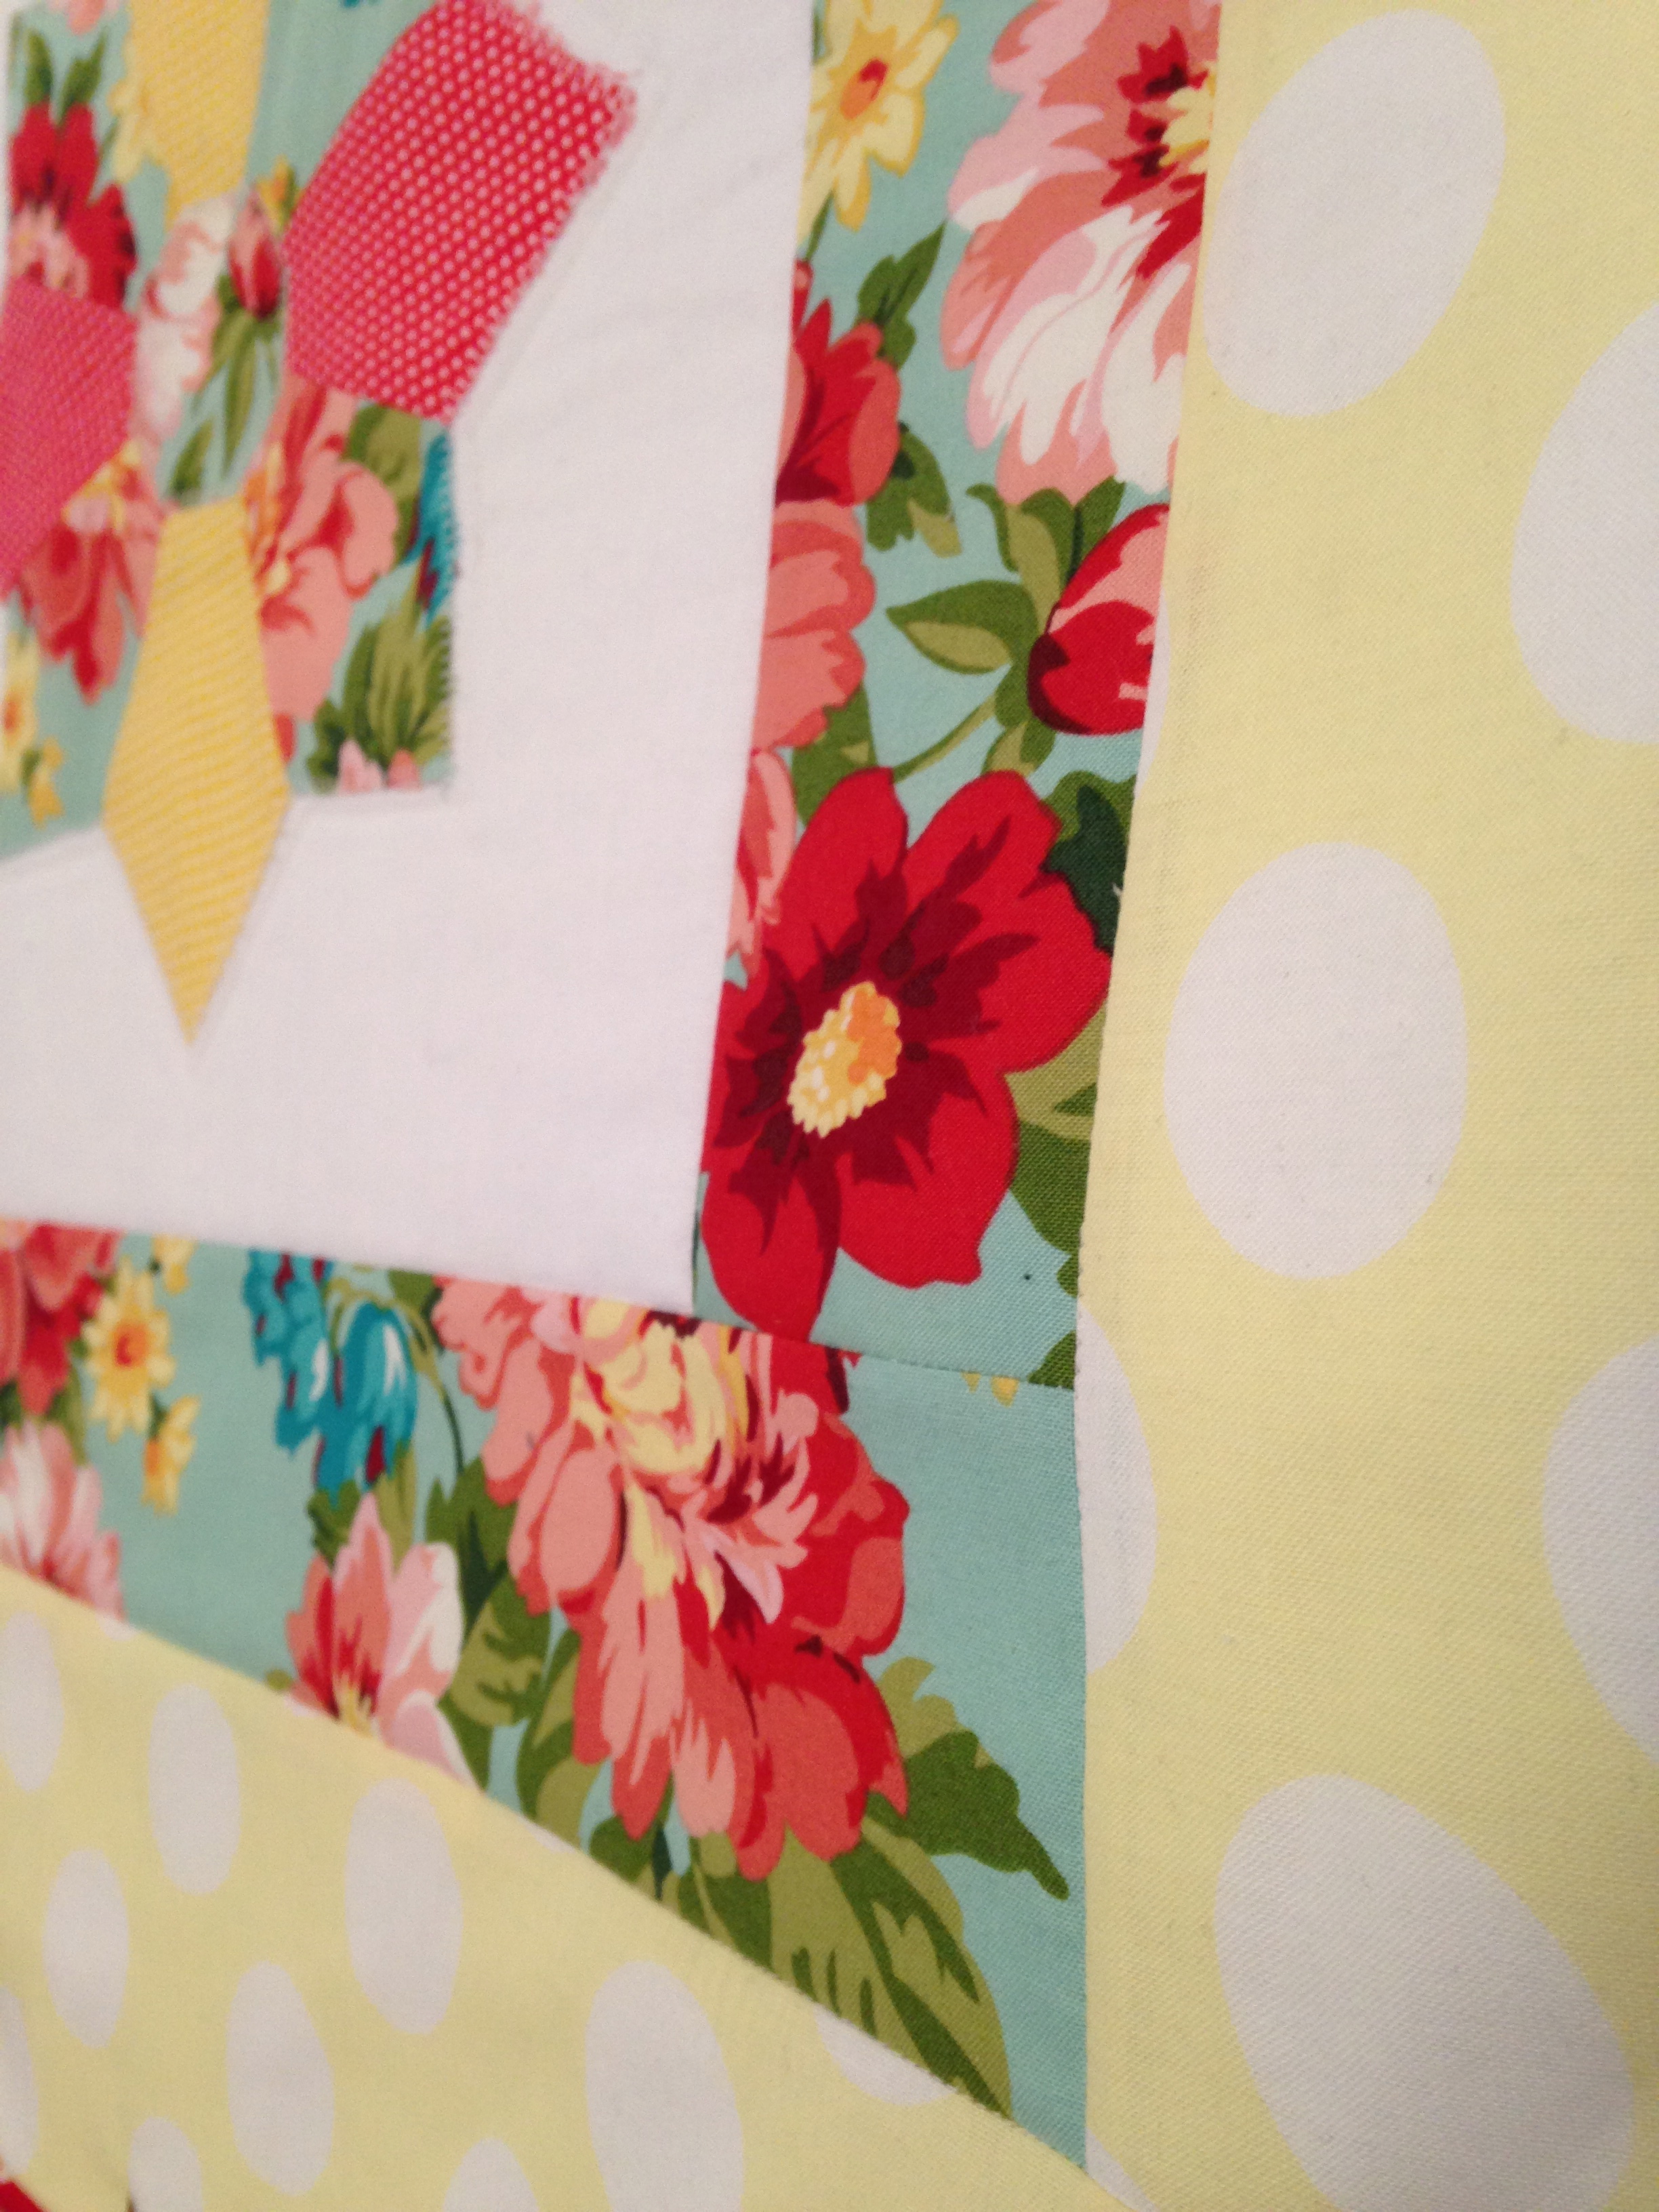
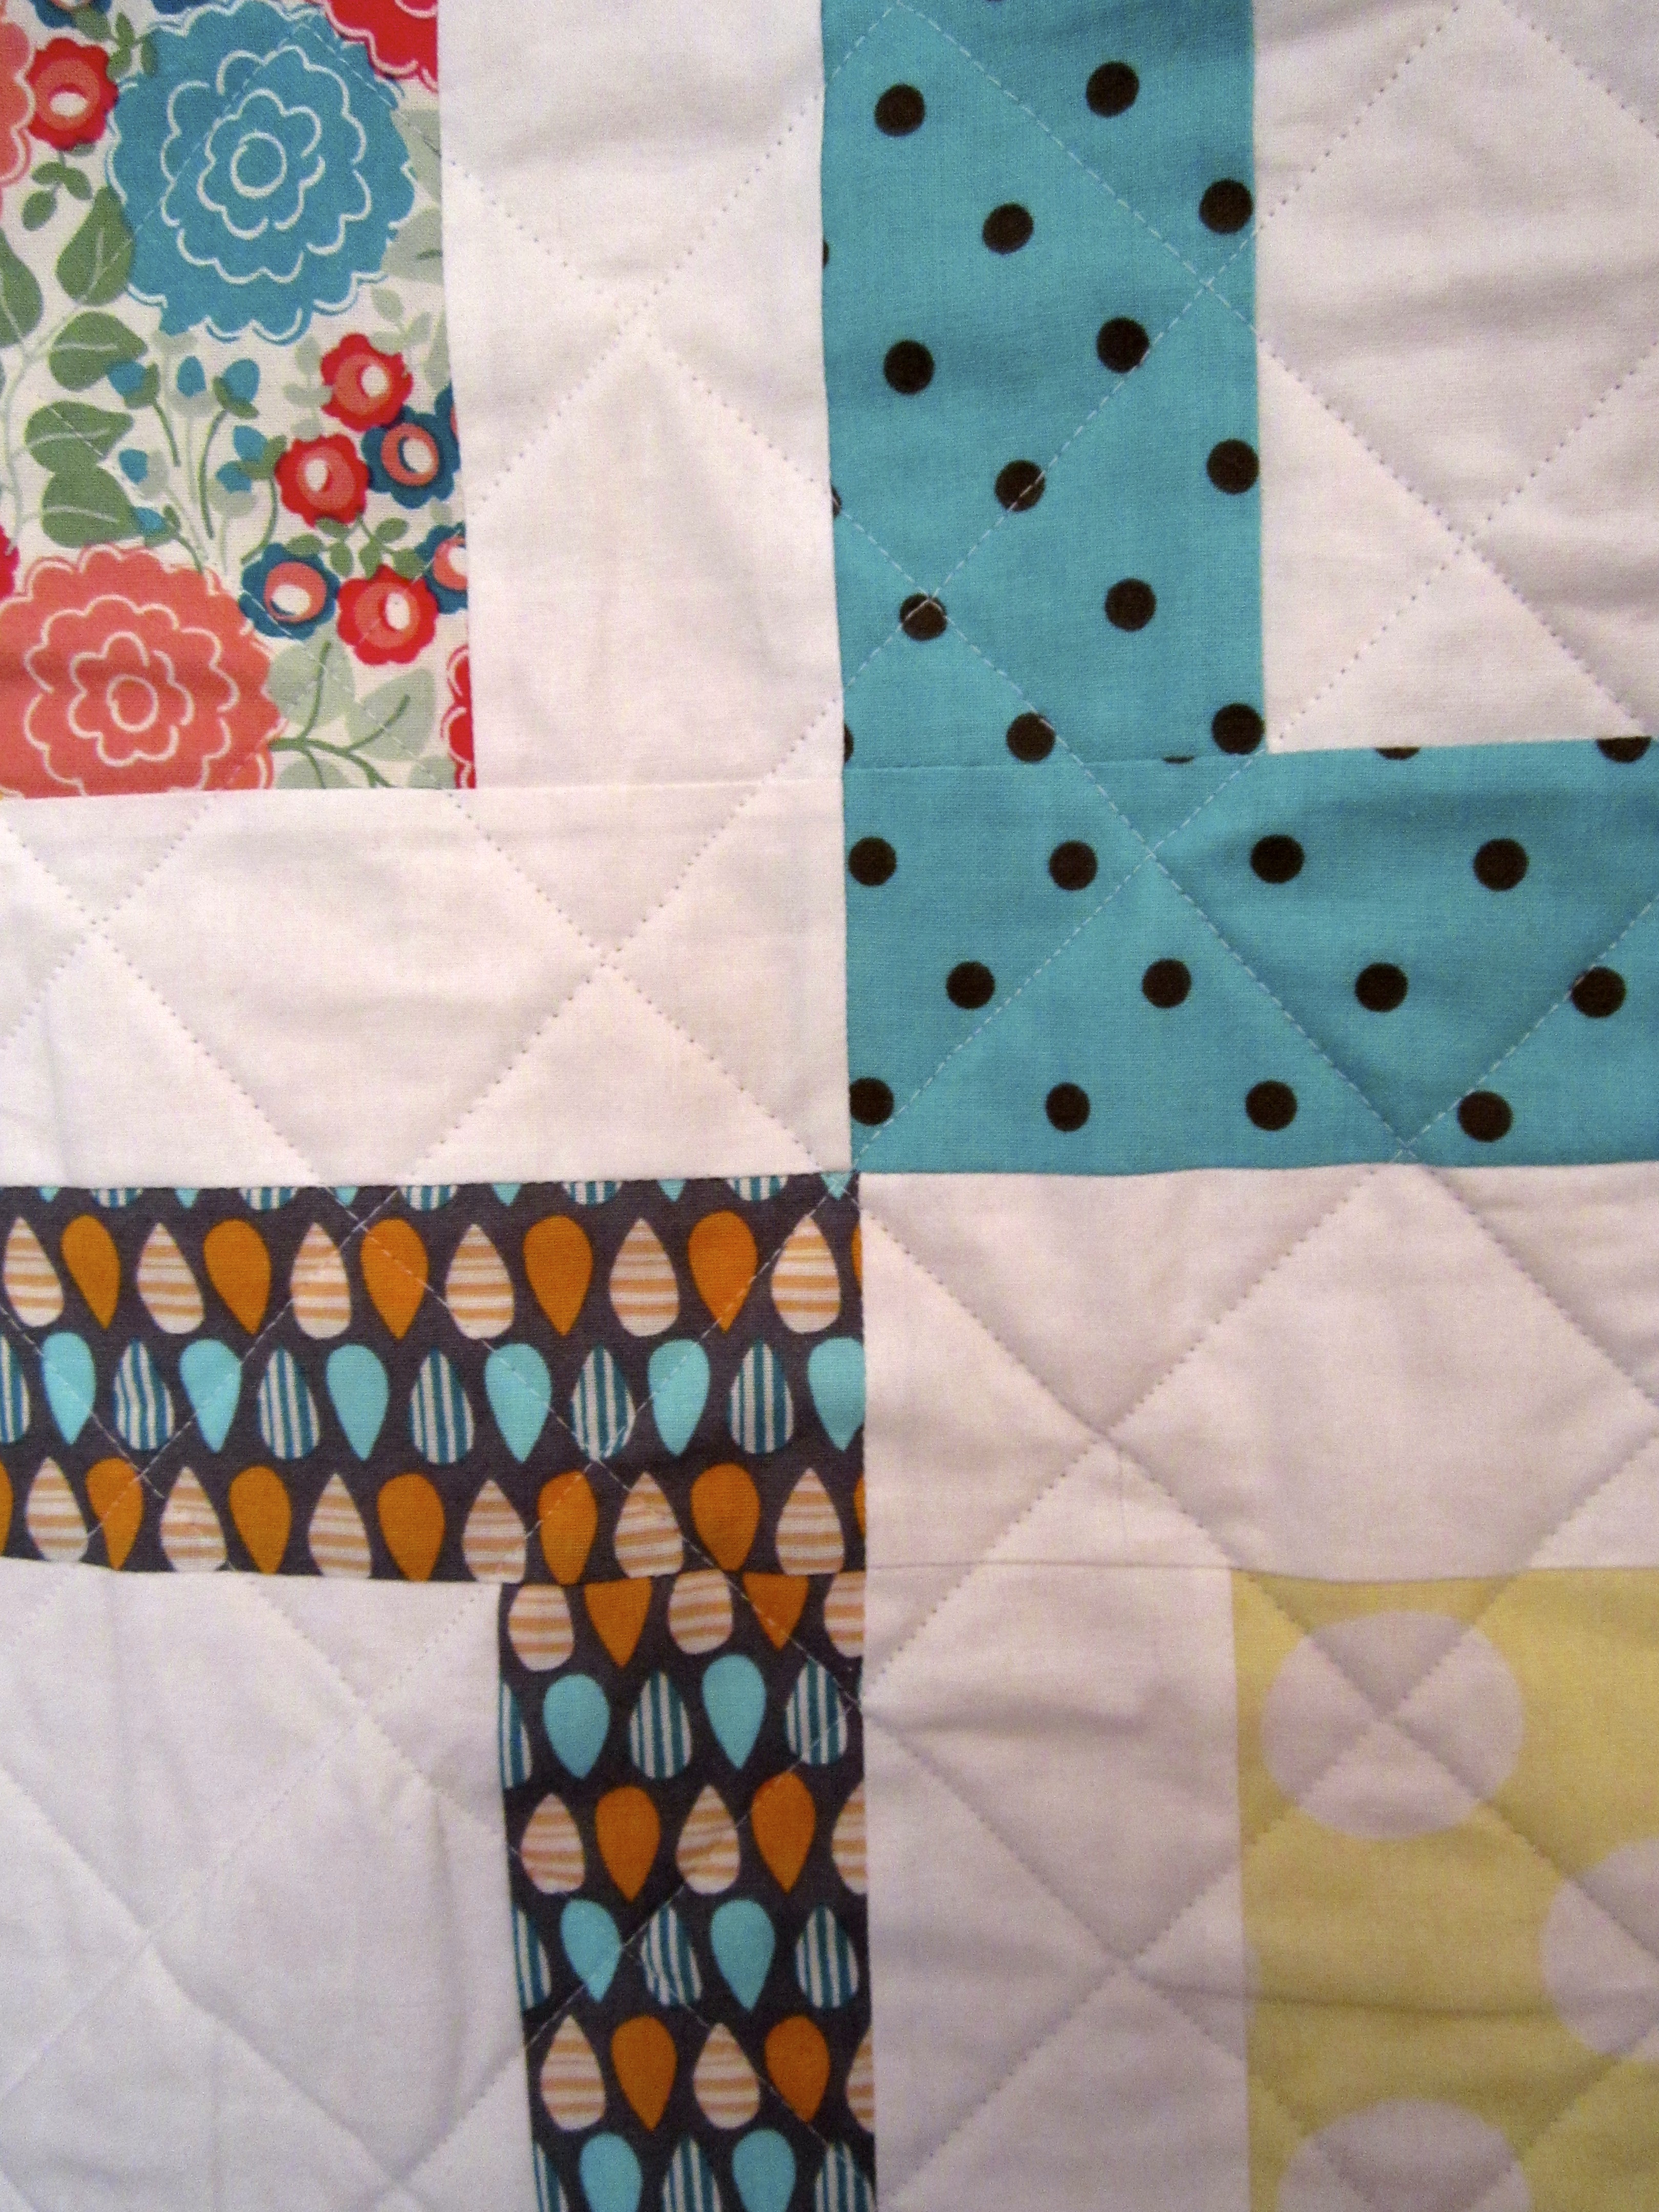
I plan to create a quilt that predominately features a traditional block design but is constructed with bright and colourful modern fabrics that have differing scaled prints and designs.
And I think I’m on my way to achieving that…
Blocks lined up like little soldiers!Perfect little blocks…
So far I’ve made 35 14cmx14cm (5 ½ inch) squares with 7 more to go to complete the size quilt I want.
When preparing the blocks, I found myself patiently taking the time to cut, piece and iron each little unit that makes up one block and finding it hard to resist taking some scrumptious photos along the way… (and flooding my instagram and twitter feeds!)
A sweet pile of fabric goodness!Freshly cut and pieced mini HSTs…ah, such delight!Mini units ready to be ironed and pieced together!
The construction of these blocks are easier than you think and I find that as soon as I’ve begun making one, I was onto constructing the next within minutes!
My set up | Organisation is the key to success!
So when time permits, I’ll sew up the last 7 blocks, piece them altogether and save and save and save for some batting and then get this baby quilted and bound!
Over my past few weeks of sewing I’ve come to the conclusion that there are a select few quilting tools that I just could not function without!
The obvious tools such as my sewing machine, sewing desk, scissors, threads, pins, rulers etc. don’t count in this definitive list because they’re already there without question!
This list focuses more on those little things that just make my sewing/quilting experience a breeze!
Let’s start with something small…
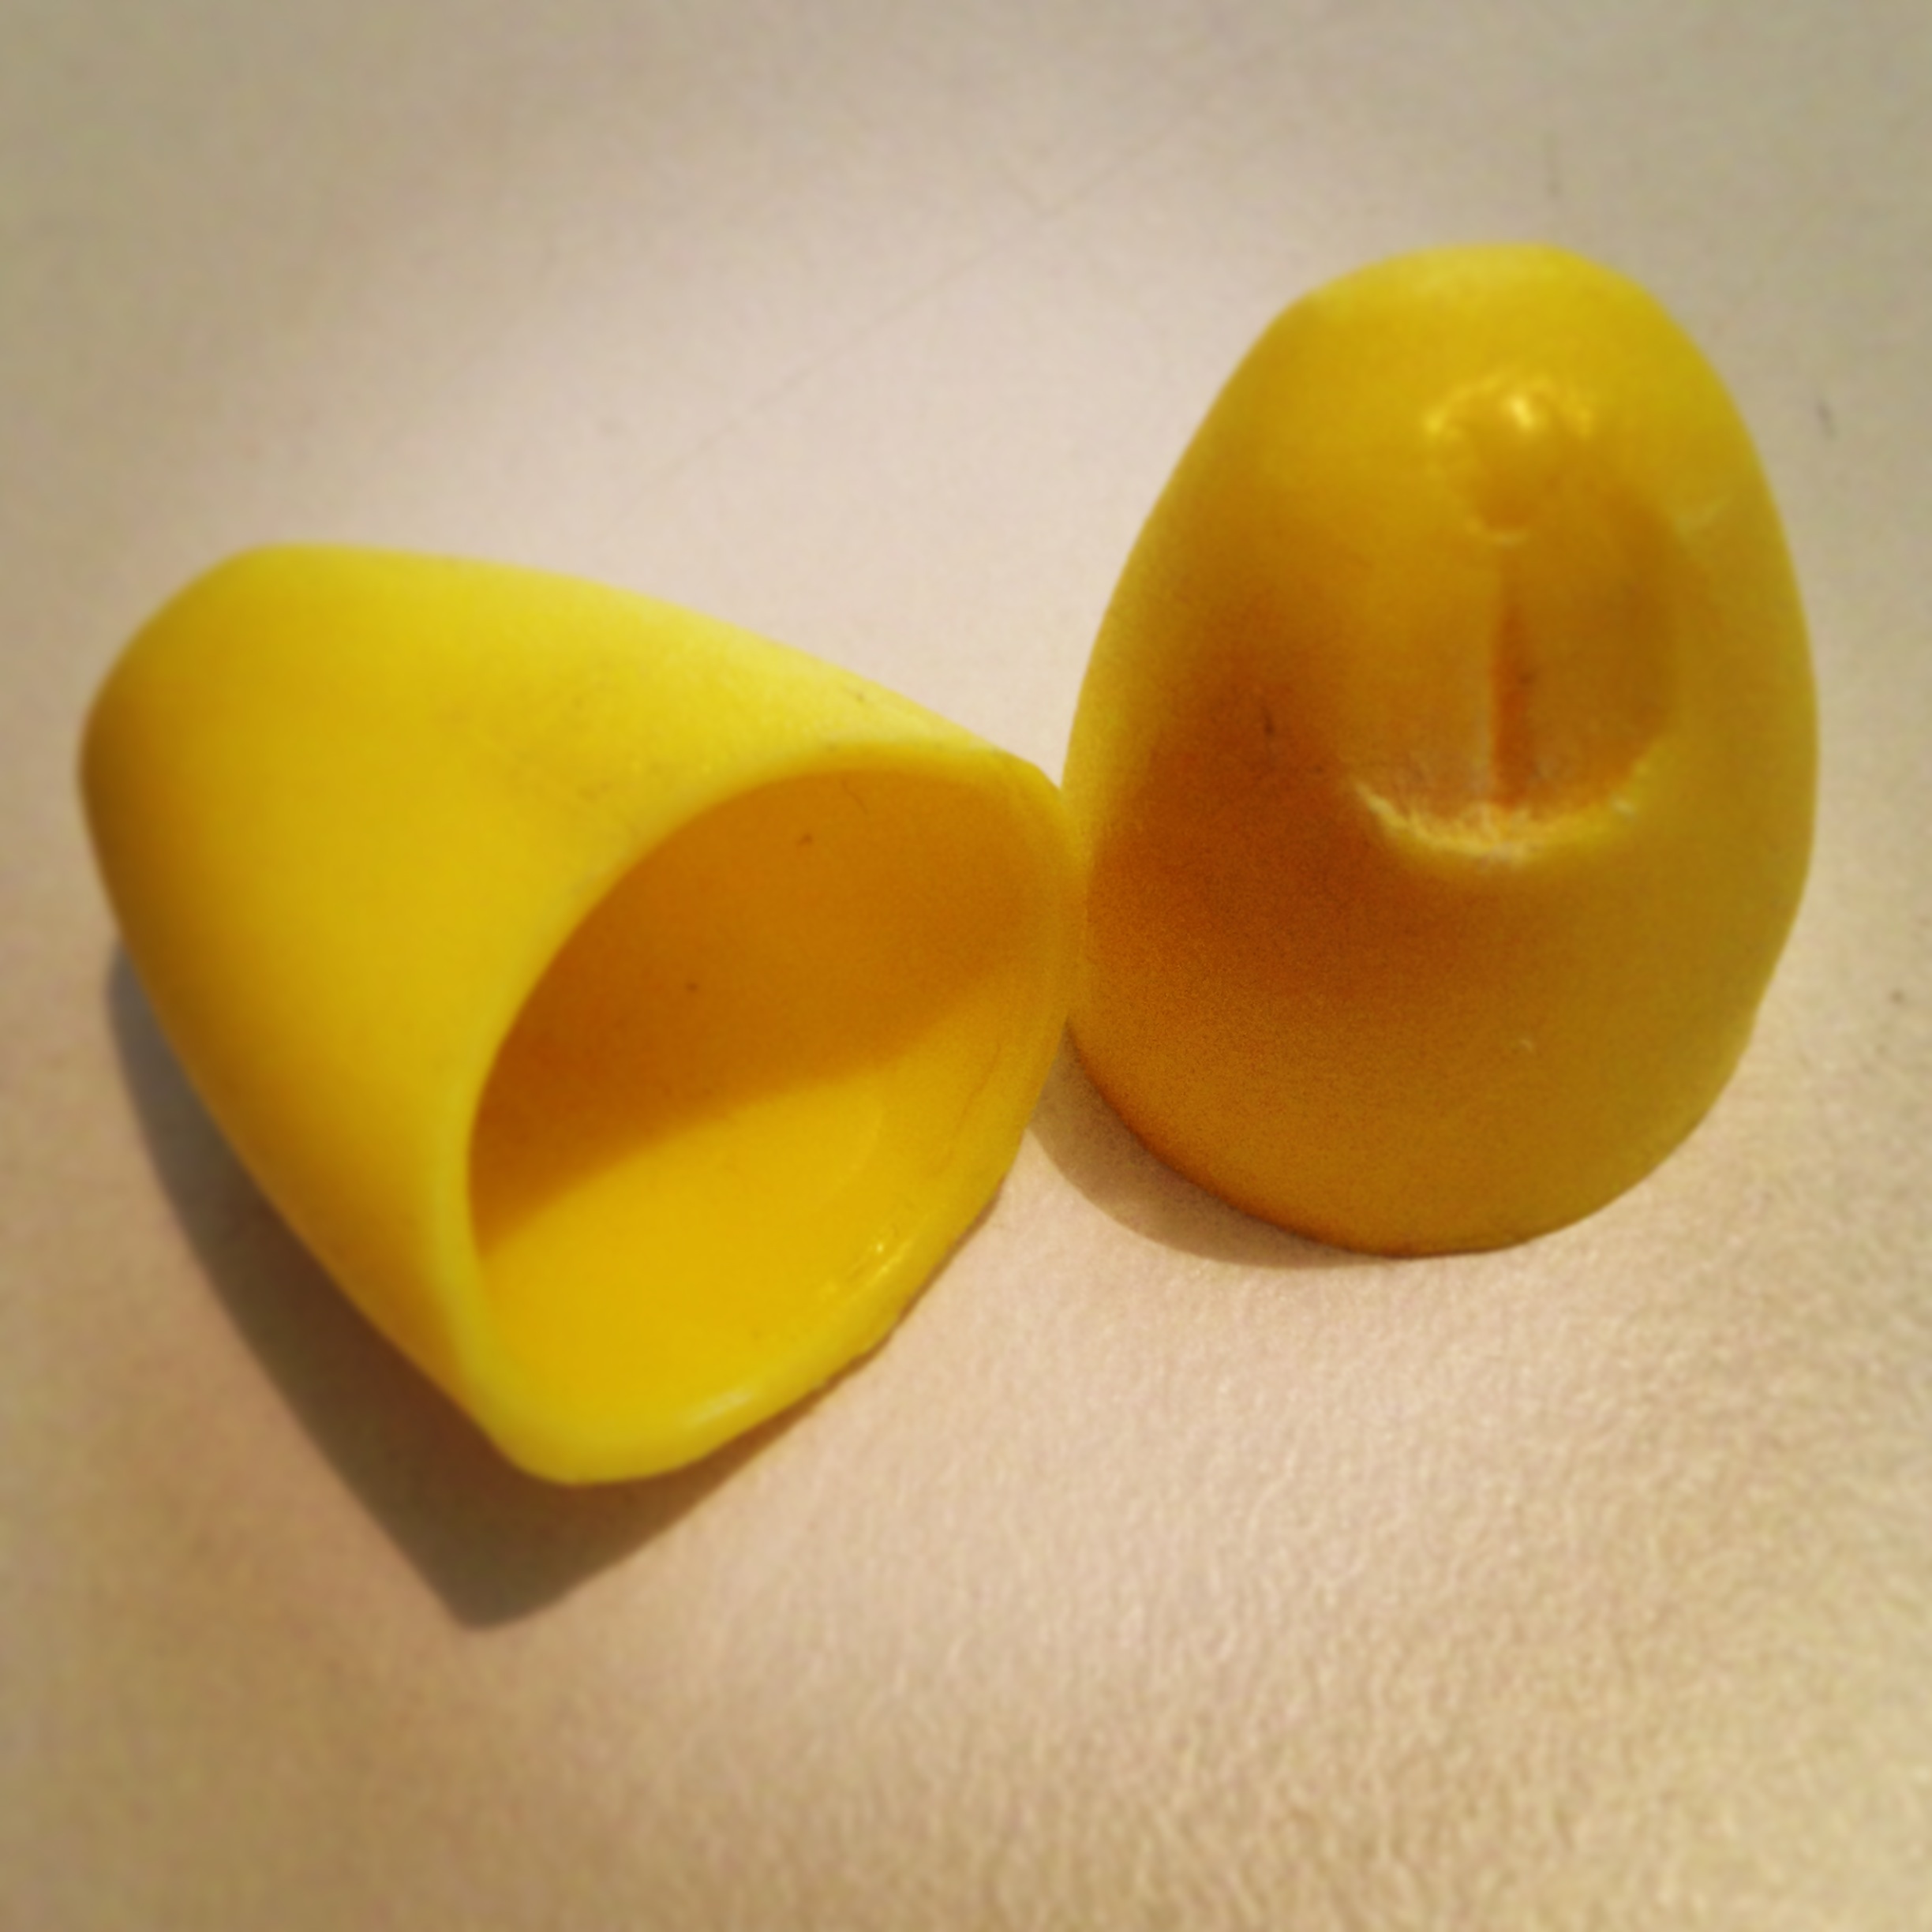
1. Quilting Thimble (The Quilter’s Thumb)
I just simply love this little tool. I love it so much that I actually have two!
Collins Quilter’s Thumble
It’s solid, fits snuggly on my thumb and allows me to push my super sharp needle through multiple layers of fabric without causing any serious injury to myself!
I particularly use this thimble when I’m stitching the binding onto a quilt or when I’m doing any ‘heavy duty’ hand stitching.
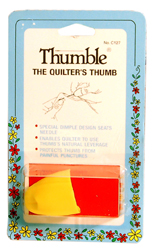
I bought mine at my local Spotlight store in packaging that looks like this…PS. I had a good look around on the web to find where they’re sold and I have a slight feeling this product has been discontinued. *insert sad face*
2. Clover Seam Ripper
This seam ripper is like the Hummer of all seam rippers!
It’s super sharp, feels sturdy and robust in hand and it rips up seams like there’s no tomorrow. I now no longer dread making a mistake because I then have a legible reason to whip this little baby out!
Clover Seam Ripper | Made in Japan
I can’t rate Clover products any higher – they make some of the best quilting tools around…but they can be quite pricey!
It’s totes worth it though!
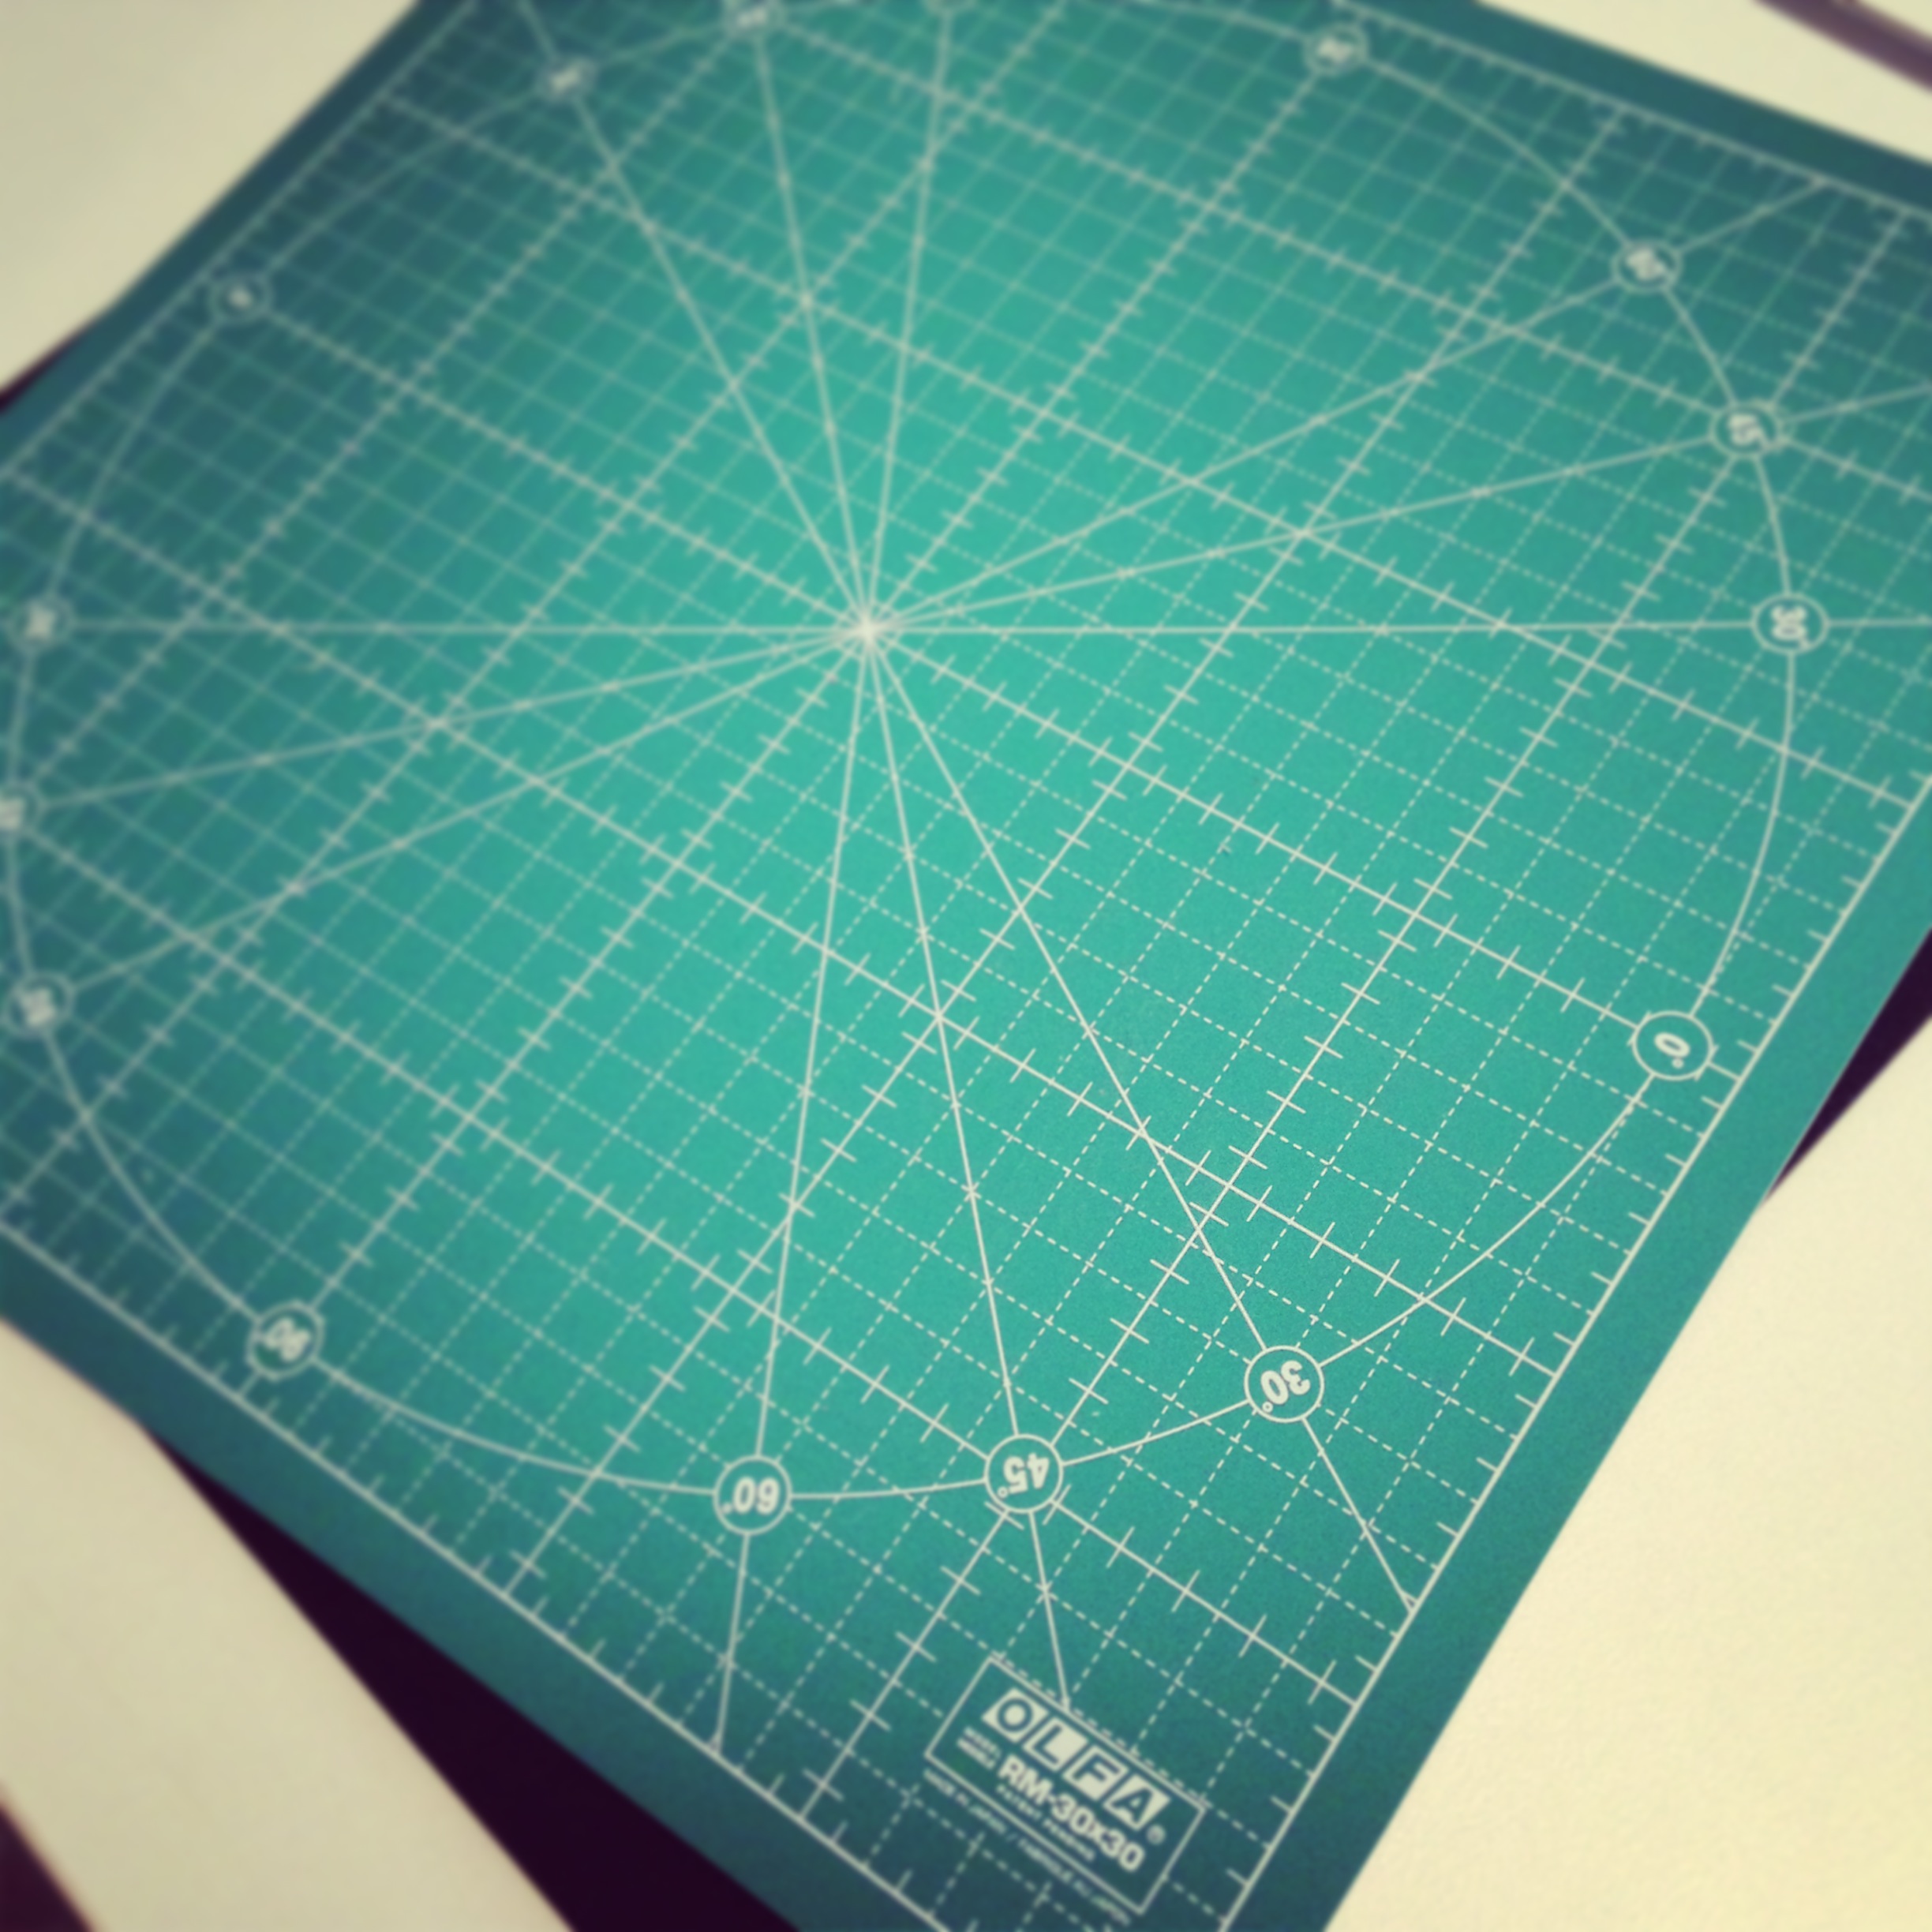
3. Olfa Rotating Cutting Mat
This is a newly purchased item to my quilting tool stash so I’m still getting used to it.
But, from the time I’ve spent using, it’s safe to say, ‘I’m in love. I’m in love. I’m in love!’
Currently, I’m using mine as a mini cutting station for some blocks I’m piecing together. I am able to trim down one side of the block and then rotate the mat without having to move the block thus not stuffing around my measurements etc.
Like all good quality cutting mats, this one was on the expensive side – ranging around 70 bucks AUD.
4. Fiskars Mini Rotary Blade
Here’s another ‘little’ tool that I’d be lost without in my sewing practice.
Fiskars 28mm Classic Stick Rotary Cutter
I use this rotary blade for trimming and when I’m cutting curved pieces.
It’s quick, agile, non-bulky, fabulously light, feels wonderful in the hand and am able to retract the blade with super-sonic speed (like a cowboy with his gun!).
It’s just the best.
Full stop.
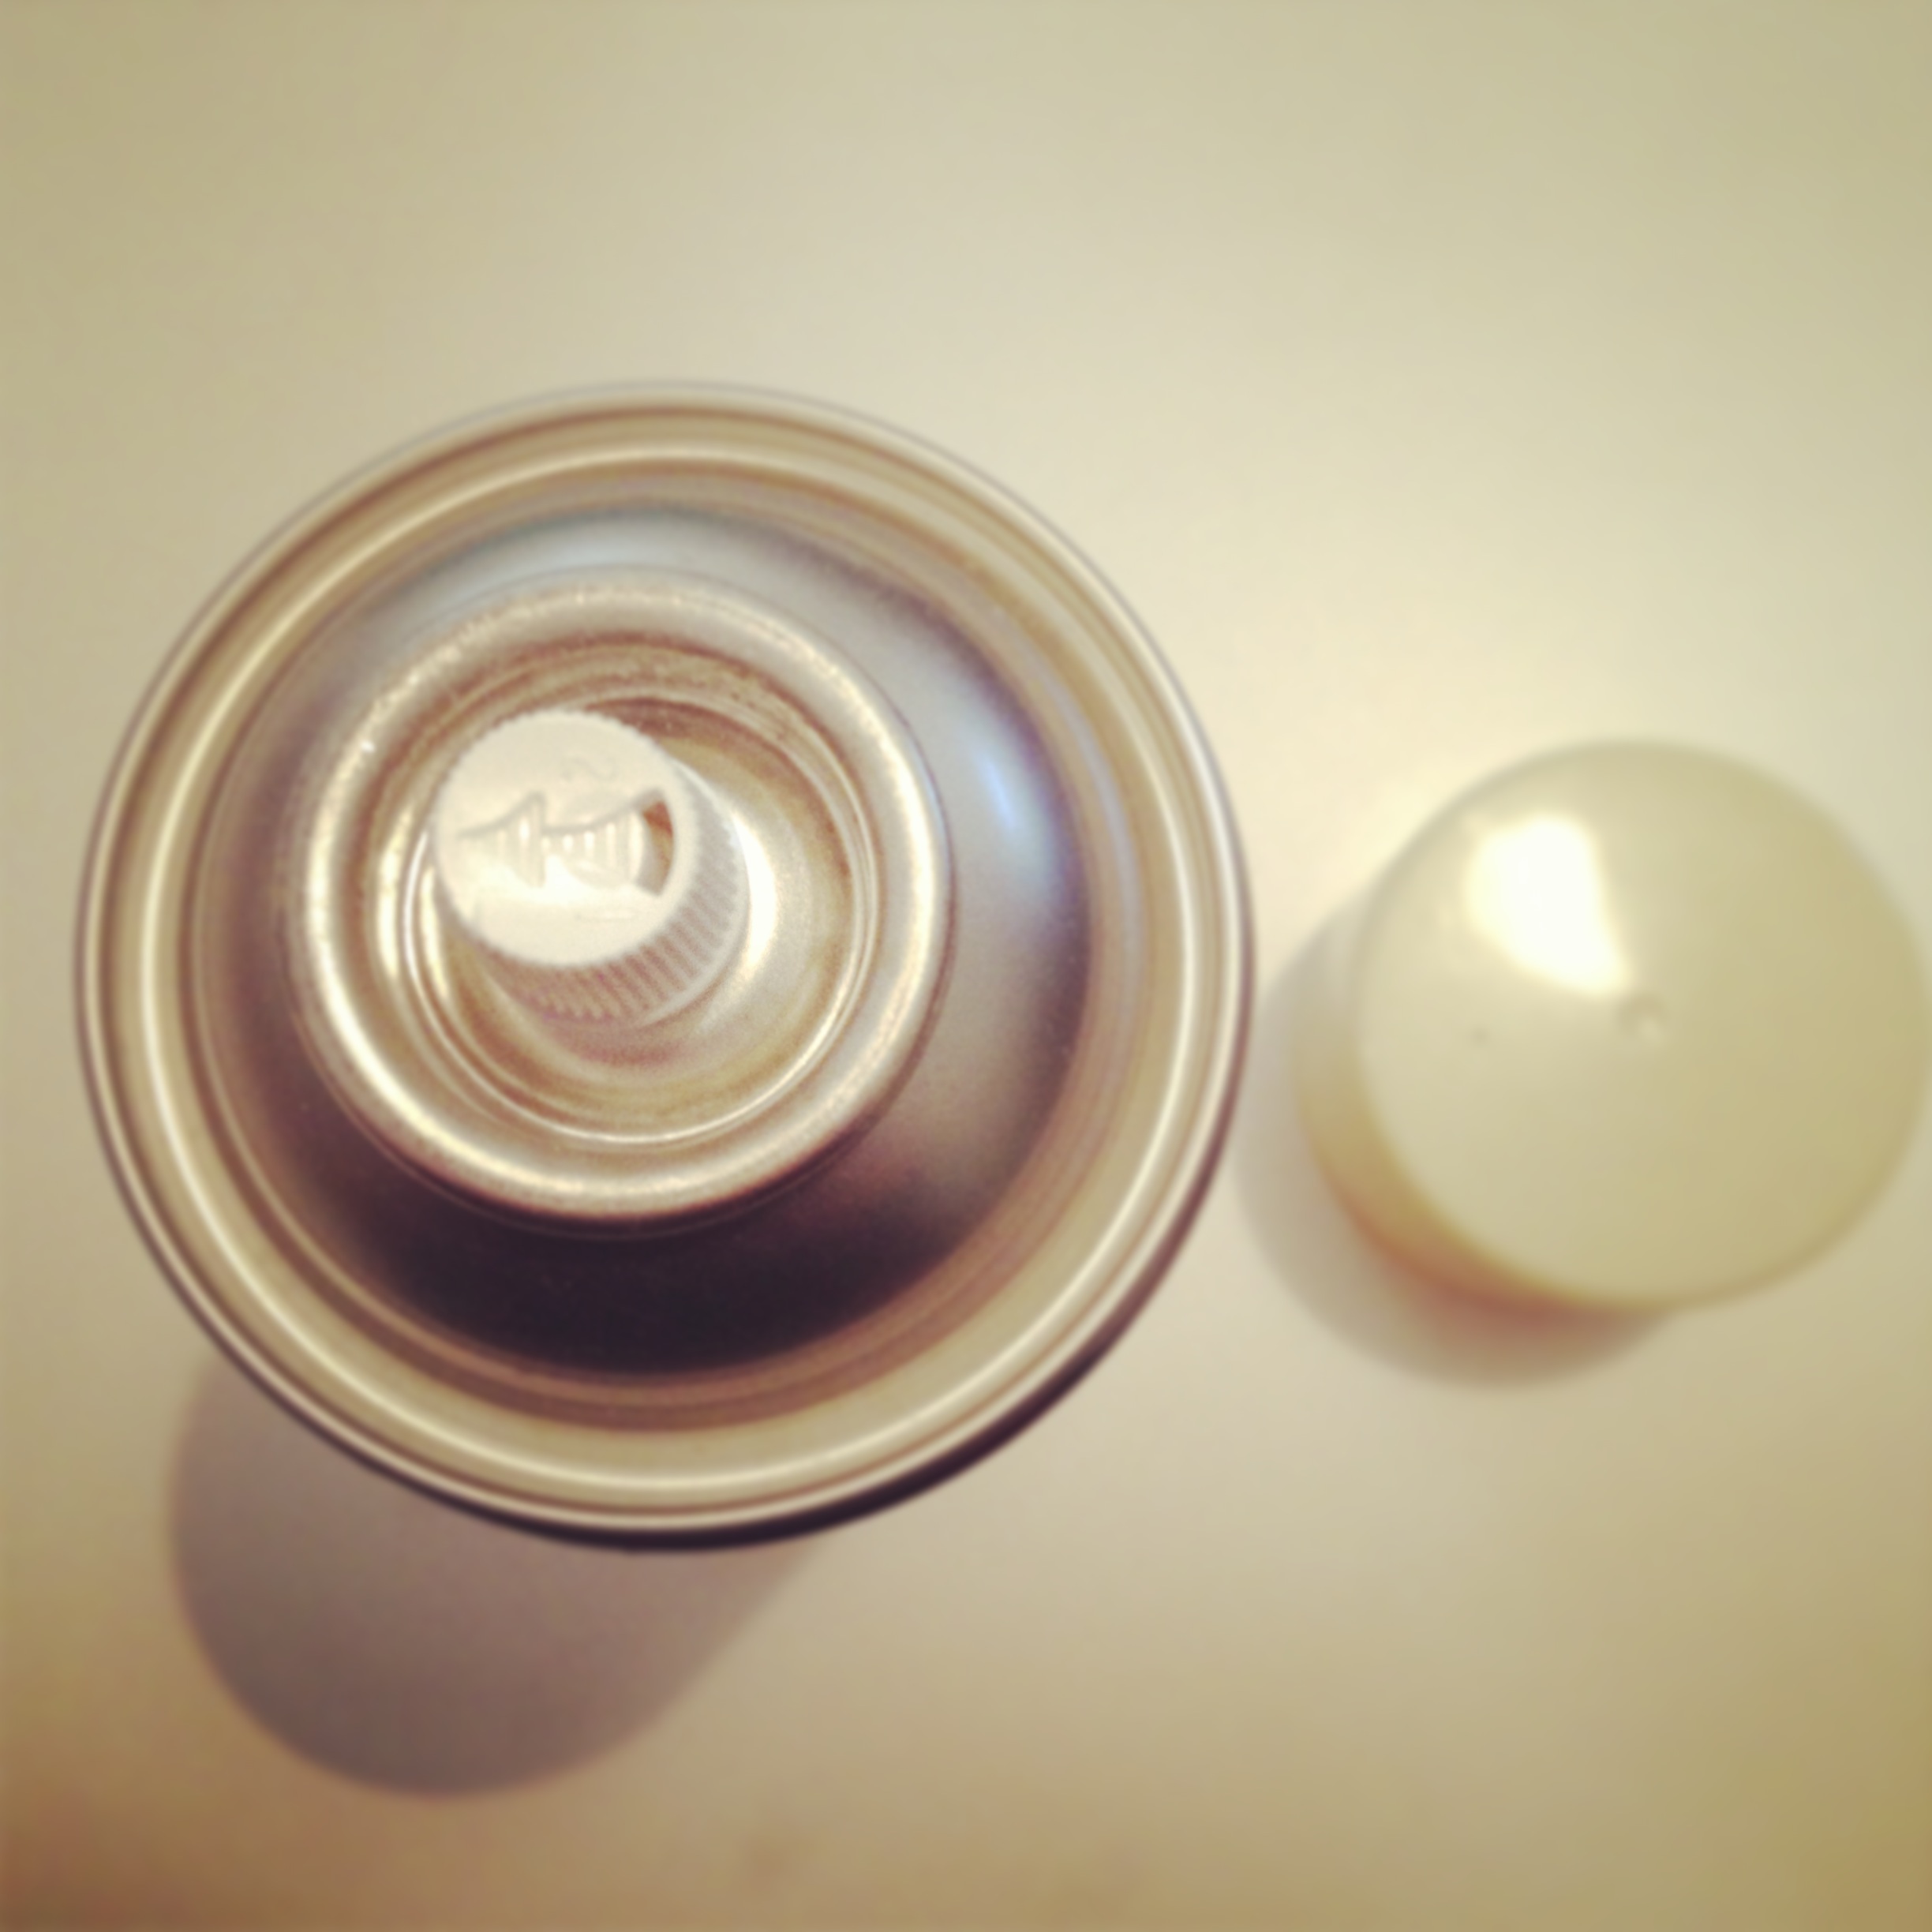
5. Basting Spray
‘Oh Basting Spray, where would I be without you! I bless the day when we first met each other and our quilting sandwiches came together as one!’
Okay, that was a tad bit dramatic.
But truly, I am so happy about the day I finally took the plunge and tried this product out.
It has saved me so much time, effort, muscle spasms, pinpricks and sobbing tears!
Quilt Basting Spray
If you’re curious to see how spray basting works [CLICK HERE] to watch a simple yet informative how-to video on YouTube.
So that’s it.
Those are the five quilting tools that I just could not live with out.
And I don’t plan on sewing without them anytime in the near future!
Over the last weeks I’ve been busily filming away so as I can present to you just what goes into making a quilt.
I think I’ve achieved what I initially set out to do and have gained a humble little quilt out of my efforts.
I simply wanted to make a video showing the time and effort that a quilter takes in making a small simple quilt as well as to introduce the face behind this blog (I finally got the courage to speak on this one!).
I also wanted to inject a fun, human side to my blog! (See the bloopers at the end!)
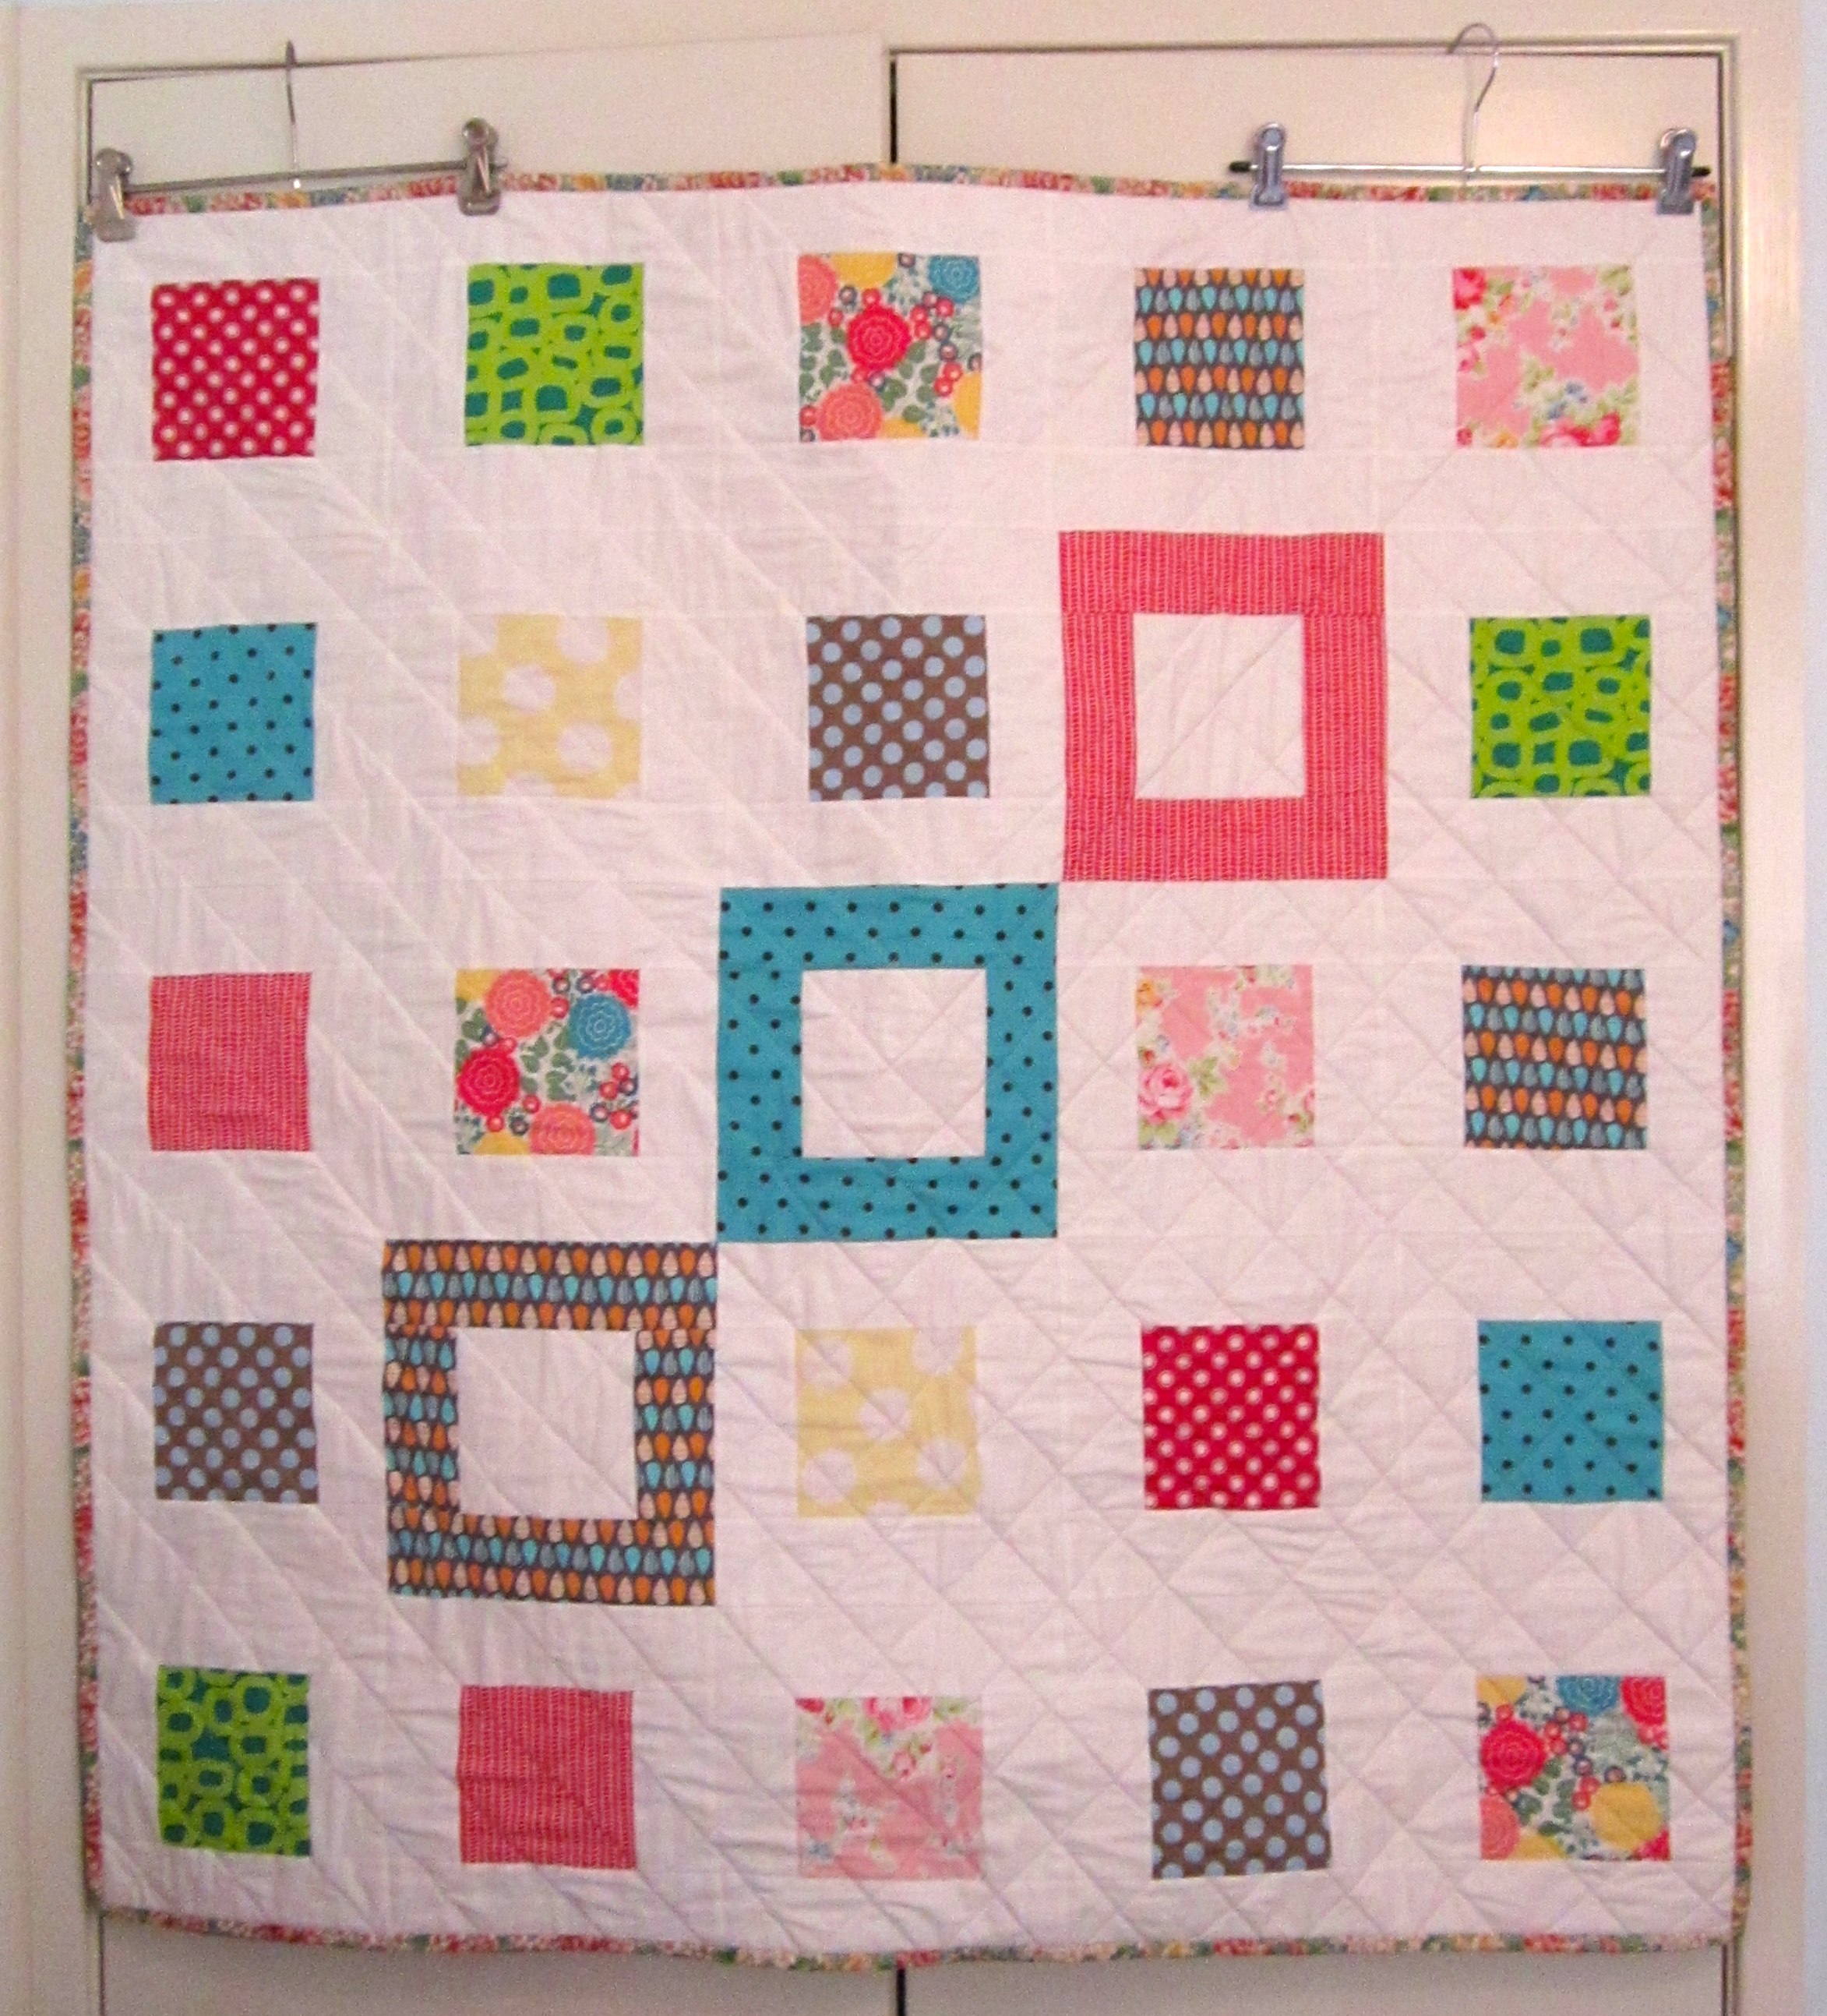
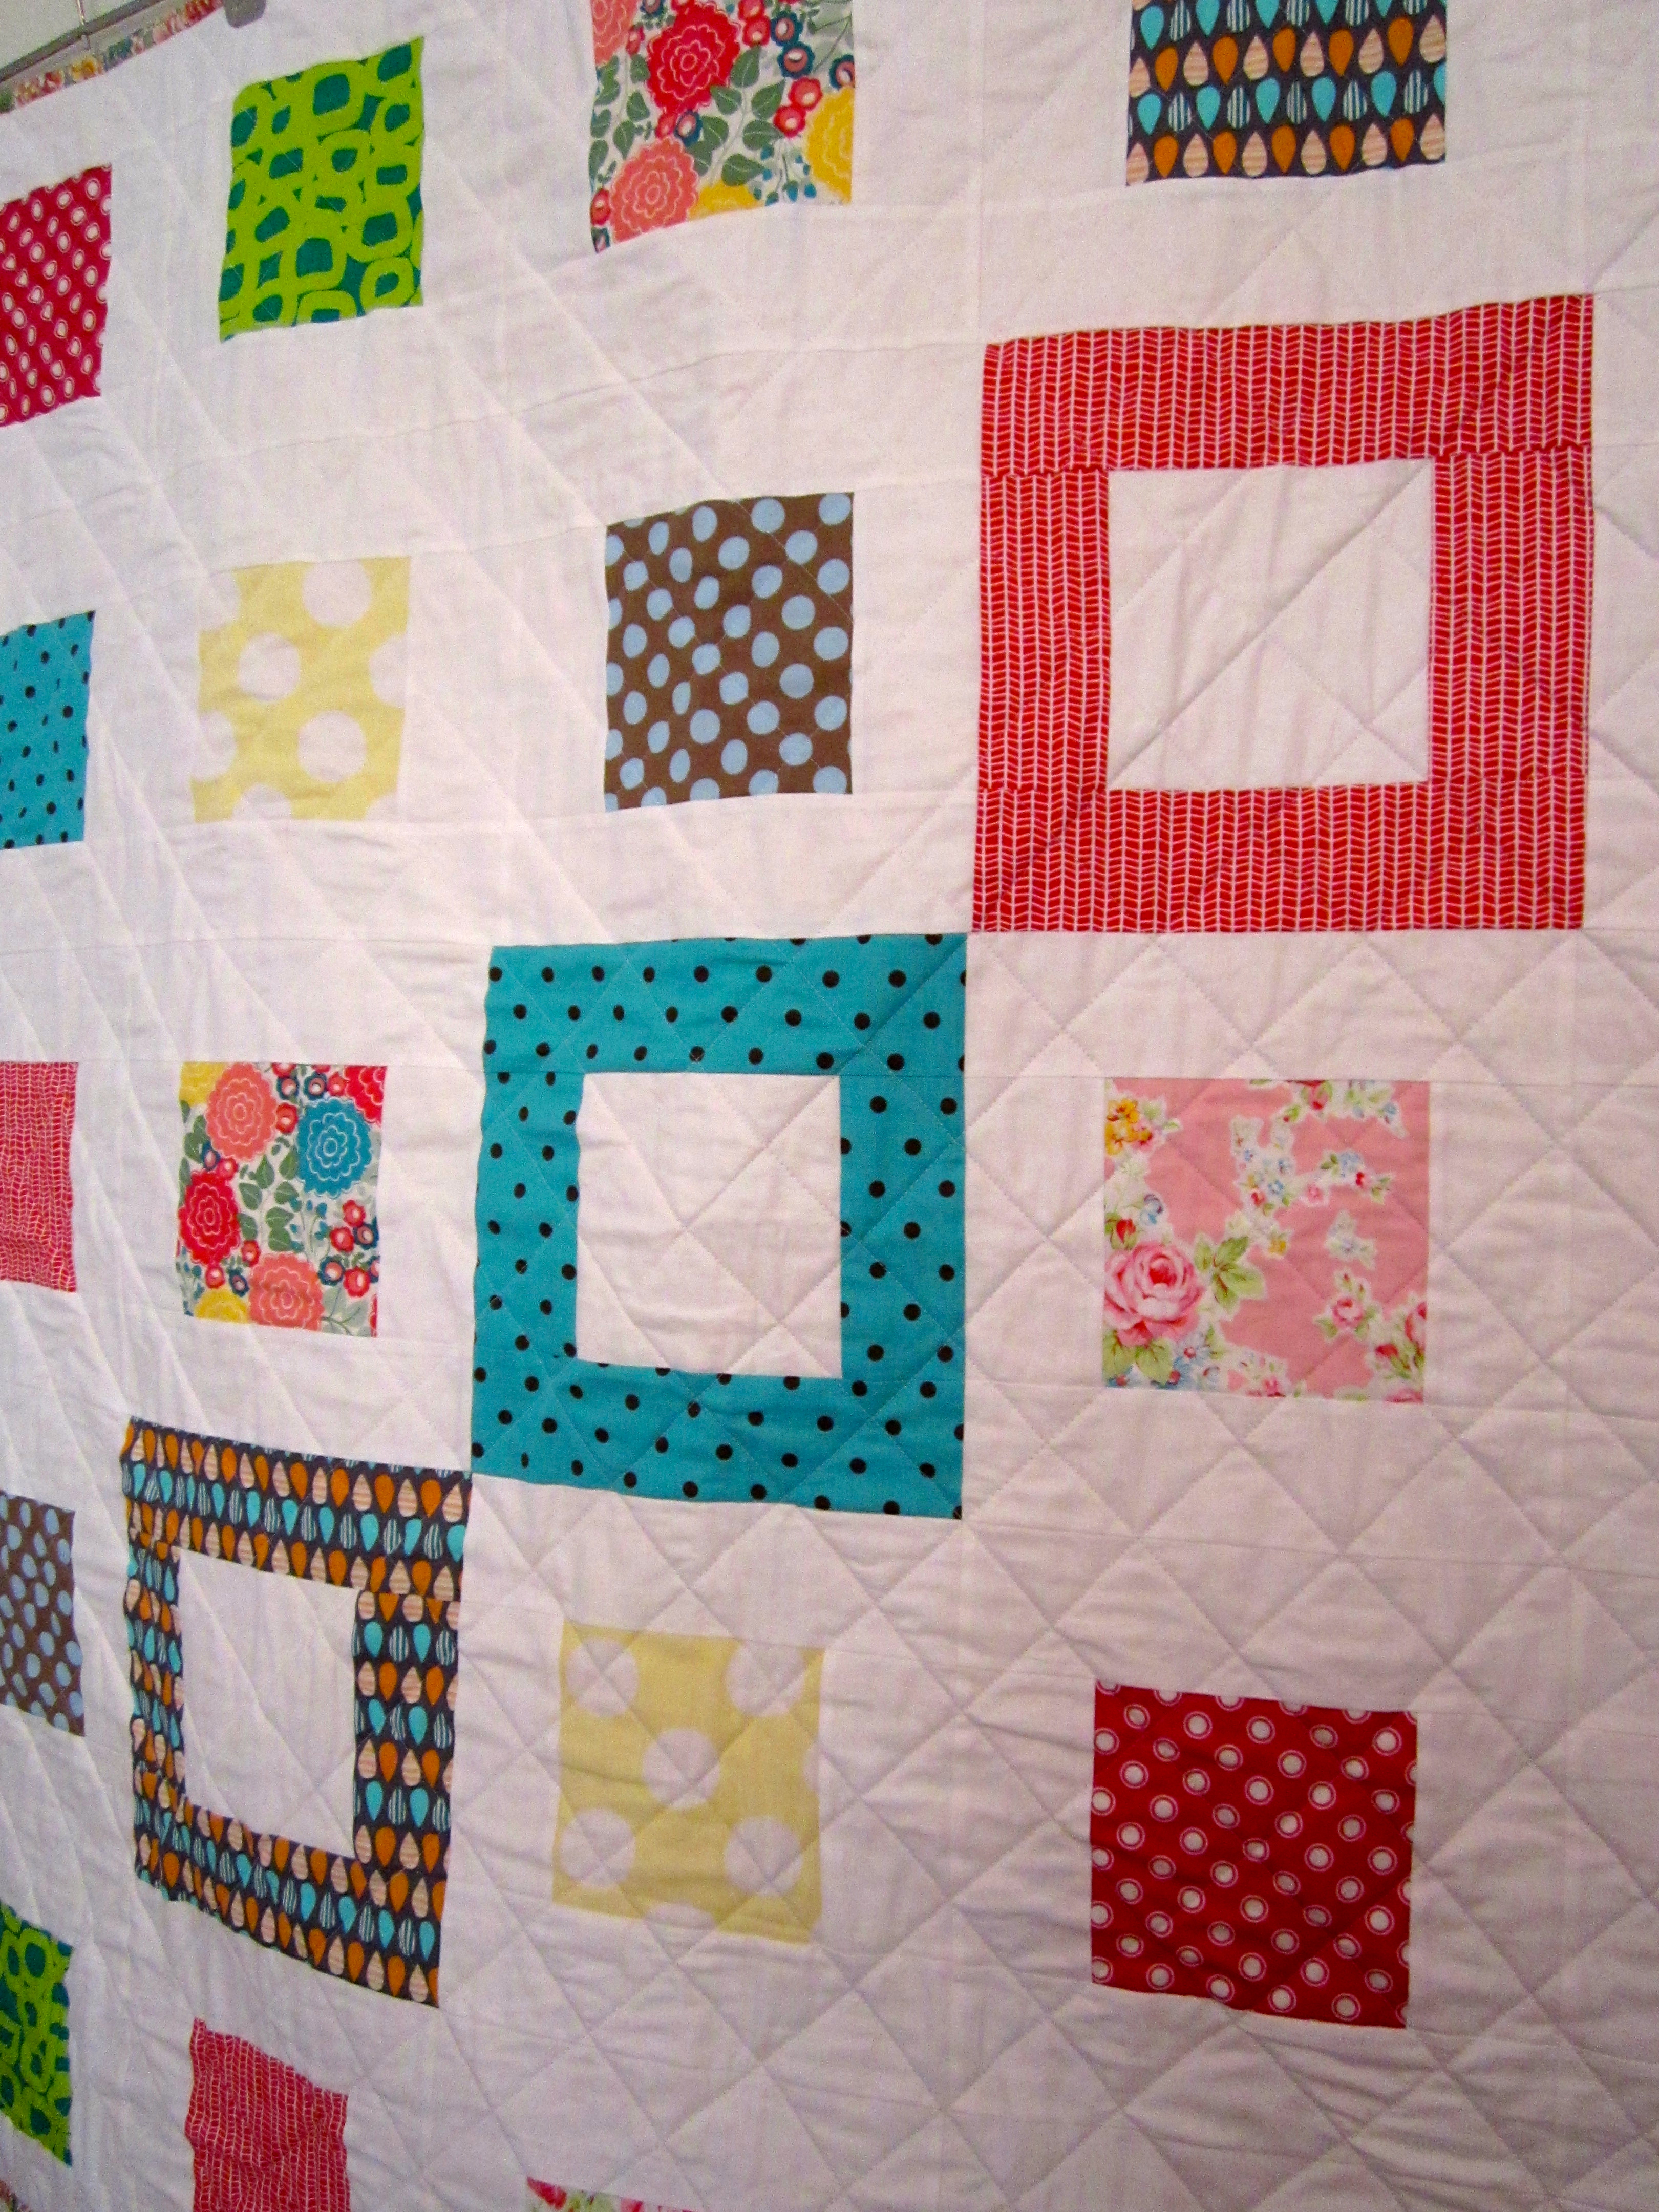
The quilt itself is a project I found in Elizabeth Hartman’s book, The Practical Guide to Patchwork, called Small Plates (p. 56)*.
As I mention in the video, I’ve ended up sewing only about 25 blocks, which has, in turn, made a lovely little lap quilt.
I must admit, this isn’t the best quilt I’ve ever made due to the fact that I rushed to get it finished so as I could finalise editing the video. But hey, I’m only human!
The quilting is as rough as guts, the binding is a bit bubbly in sections and a few of the blocks are slightly askew but that’s all thanks to my own shotty handiwork and not the pattern. But I still love it!
The quilt seems to simply possess a naïvely-handmade quality to it – which I just adore!
I must also admit that a few of my bad habits have snuck into the video…such as not ironing my fabric before I cut and sew it and rushing my quilting. Ooppsie!
So I hope you enjoy watching and that you are inspired to get quilting!
P.S. I filmed my speaking bits just as I was beginning to recover from the flu, so please excuse my nasally accent!
[CLICK HERE] to buy The Practical Guide to Patchwork
Happy Sewing! xx
*I would like to take this moment to express that I hope, in any way possible, haven’t breached any copyright infringements or laws by using this book and project in my video. I would like to acknowledge that all of the information I have used concerning the book and project has come from the author of The Practical Guide to Patchwork published by C&T Publishing Inc., 2010.
This quilt is not for sale and is for personal use only.