Jacob’s Update…

So here’s an update on where I’m up to with my Jacob’s Ladder Quilt…

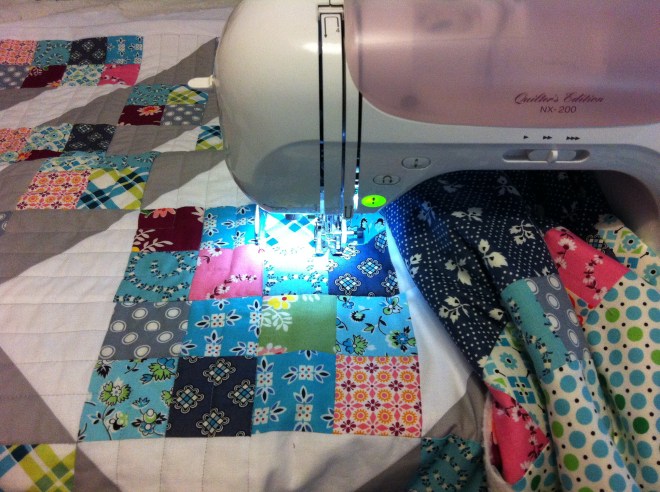
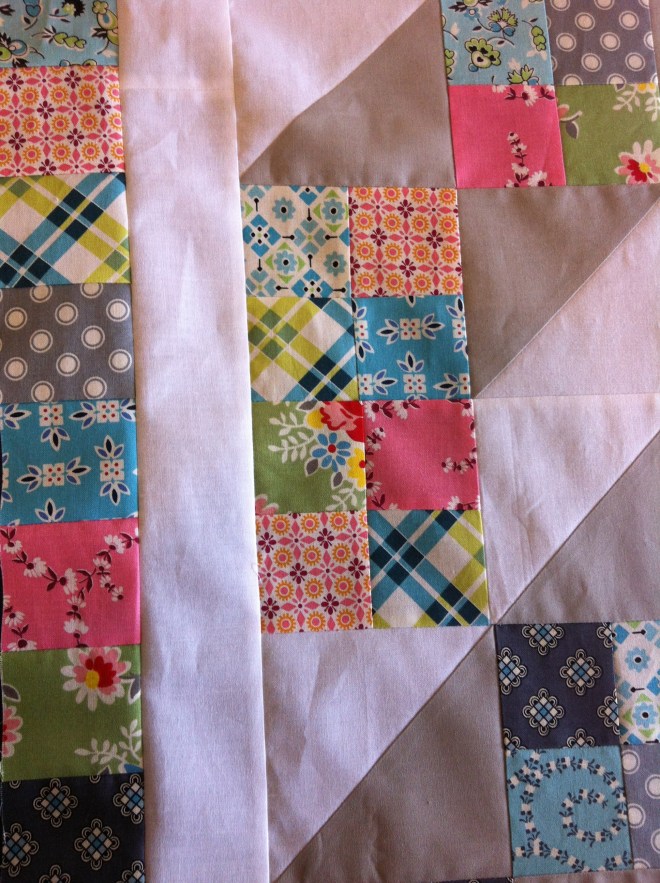
All hand-quilting stitches have gone bye-bye and the quilt (along with my sanity and comfort) said a delightful ‘Hello!’ to my sewing machine and walking foot!

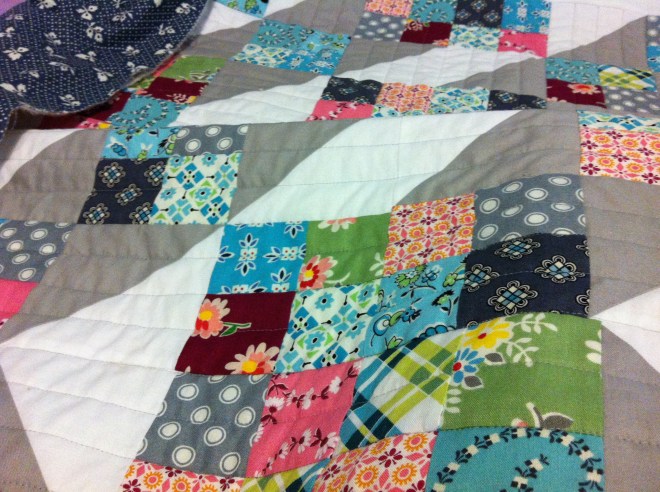
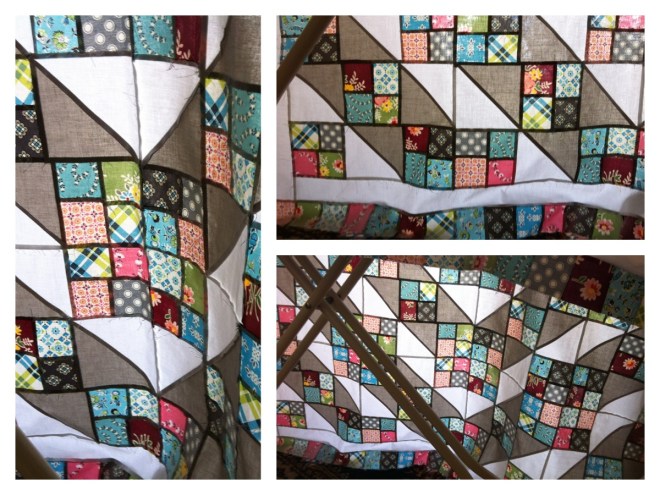
I spent a good three to four days quilting  – not surprising, as this quilt is a beast of a size! Here are some waves of quilty goodness!
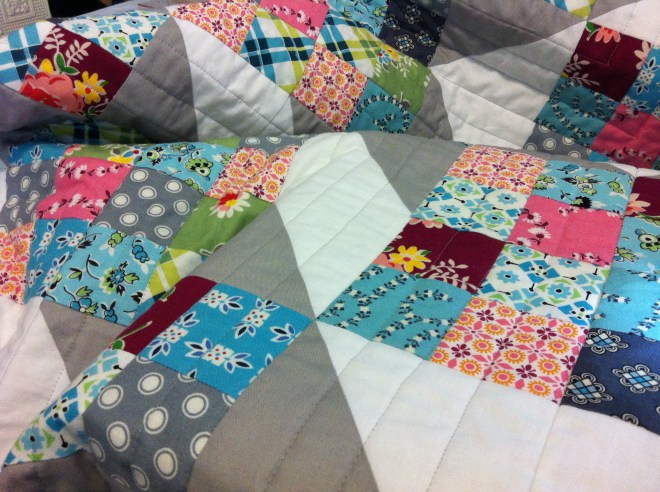
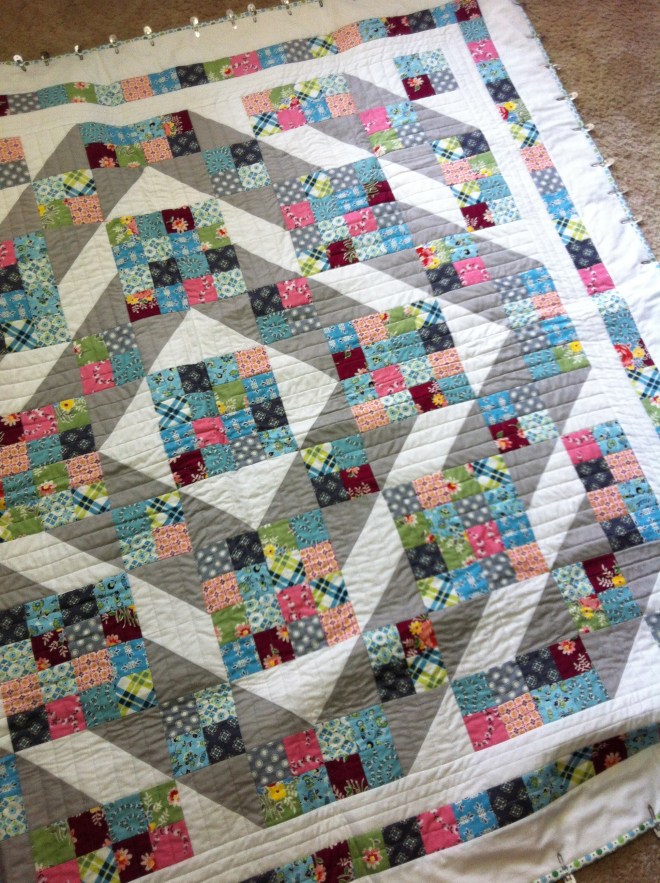
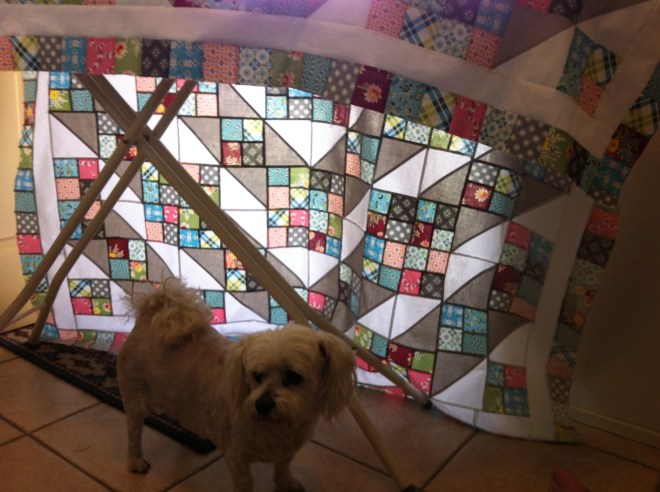
And a snap shot of the finished quilting…

I’ve got to the stage where I just need to stitch the binding to the back of the quilt, label it and then, ta-dah!, it’ll be all finished! Yay!!

 However, that glorious day won’t be in the near future as I’ve dived head first into getting all of my Christmas presents made etc.  After the hectic-ness of Christmas is over, I’ll get right back into finishing my Jacob Quilt – It really has been the most patient quilt in the world and I love it more because of it!

Once finished, I’ll need to chuck it into the wash as it’s covered in dirty paw prints (thanks Lucy!) as well as sticky jam patches courtesy of little nephew fingers!

Mentioning Christmas: with only 27 days now until the big day, I’m on a slow roll to getting gifts prepared, made and finished.

Handmade Christmas cards are complete,

Mum & Dad’s present almost finished…

and only today I’ve begun work on some very special softies for my nephews! (Hopefully this shot doesn’t give too much away!!)

 I can’t wait to share them with you – I’m planning a few blog posts for the beginning of next year documenting my process as well as the gifts I’ve made for everyone… So be on the look out for that in January 2013!

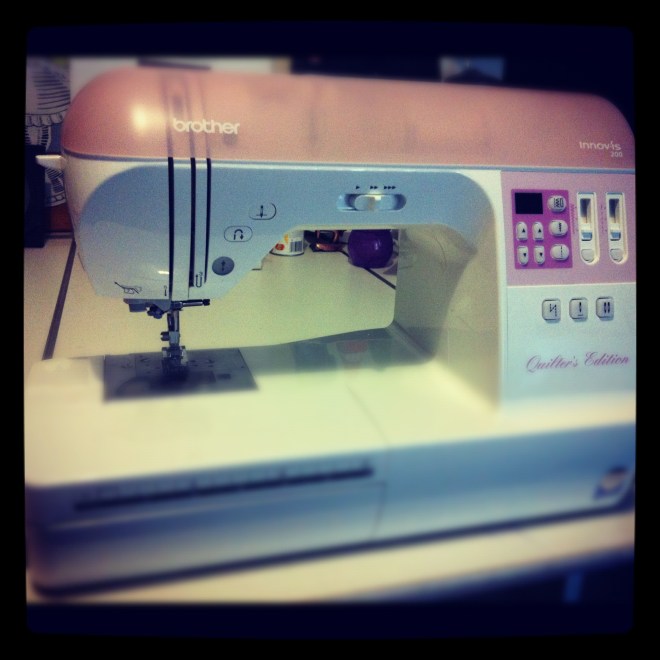
Last Friday I received the last of the prizes I won for first place in the How Does Your Garden Grow? Quilt Competition – a brand new sewing machine…

It’s somewhat the same model of machine as the one I already have – it’s just cosmetically a little different.

Not to seem ungrateful for winning such an awesome prize, but I’m in two minds whether I like it or not. You see, I’ve grown such a huge attachment and sentimental feeling towards my old sewing machine that I found it quite hard to make myself pack it away and then unbox this sweet little beauty in it’s place.  I’ve made some really beautiful quilts on my old sewing machine – Jacob’s Ladder being it’s last (!!) and taught myself new and exciting techniques (as well as failing miserably in a few others). I would sit down in front of it with greedy pursuits and selfless projects and it would always be wonderfully loyal and trustworthy to get everything finished to my picky satisfaction!

And yet, I must admit, this new sewing machine does purr quite sweetly when it’s sewing along compared to my old machine, which would admit a loud chugga-chugga as I sewed along… It’s the same pretty pink and I’m sure will handle my quilting adventures with the same strength and gutsiness as my old one…

Oh well…I suppose I should just get over myself and be humbly thankful for receiving a NEW high-tech sewing machine for FREE!!

Happy Sewing! xx

A Few Of My Favourites!

I thought, for today’s blog entry, I might share a few of my favourite recipes with you. I’ve had a few requests for the recipes of a few things I’ve made and shared previously on my blog.

First one up is Orange Shortbread! This little beauty of an afternoon tea snack is at it’s best to eat straight out of the oven, all hot and crumbly! Nom-Nom!

I’ve sourced this recipe from one of Jamie Oliver’s brilliant cookbooks – Cook with Jamie: My Guide to Making You a Better Cook.


The Best (Orange) Shortbread in the World

Jamie says “This recipe will make buttery, crumbly, delicious fingers of shortbread, but, if you’re feeling adventurous, why not try adding some orange or lemon zest or a bit of lavender to your dough” (p. 412).

Makes up to 12 chunky finger-sized pieces (or more depending on how you cut it)

You will need:

  • 250g/9oz unsalted butter at room temperature, plus extra for greasing
  • 125g/4 ½oz caster sugar plus extra for sprinkling
  • 250g/9oz plain flour, sifted
  • 125g/ 4 ½oz semolina or cornflour
  • Zest of 1 orange

Now to make…

  • Preheat the oven to 150.C/300.F/gas 2
  • Butter a 22cm/9inch square tin
  • Cream butter and sugar together with a whisk or wooden spoon until pale, light and fluffy.
  • Add in the plain flour and semolina or cornflour as well as the orange zest.
  • Mix very lightly with a wooden spoon and then your hands until you have smooth dough.
  • Press the dough into your buttered square tin, poking it into the corners with your fingers (the more rustic looking the better!)
  • Prick the dough all over with a fork and then pop it into the oven for 50 minutes until lightly golden.
  • While still warm, sprinkle with a generous dusting of caster sugar.
  • Allow the shortbread to cool slightly, cut into 12 chunky finger-sized pieces.
  • Eat, Eat, EAT!!!

This is such a super-dooper easy recipe to make and by adding the orange zest the taste and pure satisfaction you receive from eating it triples the pleasure!!

This next recipe is for all you lovers of chilli!

I’ve been making these power-packed biscuits for the last six years and are usually all eaten in less then two days! They’re just too YUMMY! I’ve tweaked the recipe just a bit from the original, so I’ll write it up from the perspective of how I make them.

Brought to you (and me) by The Australian Women’s Weekly magazine, they would make the ideal gift to give for Christmas or to bring along to a dinner party etc.

Cheese and Chilli Biscuits

Makes up to about 50 biscuits depending on what size cookie cutter you use.

They’re suitable to freeze, but I guarantee they won’t last long enough to even worry about freezing them!

You will need:

  • 2 cups (300g) plain flour
  • 1/3 cup (50g) self-raising flour
  • 1 teaspoon of salt
  • ½ teaspoon of mild paprika
  • 250g butter, chopped
  • 2 cups (160g) of finely grated parmesan
  • 2 teaspoons of dried chilli flakes
  • 1 tablespoon of poppy seeds, optional
  • 6-7 tablespoons of tepid water

Now to make…

  • Preheat oven to moderately slow – 160.C/140C fan-forced
  • Sift together both flours, salt and paprika into a medium sized bowl.
  • Rub in the butter
  • Stir in the cheese, chilli flakes, poppy seeds and enough water to make a soft dough.
  • Gently knead the dough on a floured surface with your hands. (There’s no need to be too precious about it, the more rustic looking the better!)
  • With a cookie cutter (size and shape is your own choice) cut out biscuits and place them onto greased oven trays, about 1cm apart.
  • Bake the biscuits for about 30 minutes or until lightly golden brown.
  • Leave to cool on trays or transfer them onto a cooling rack.
  • Eat, Eat, EAT!!

Just like the orange shortbread, these little delights are best for mouth stuffing straight out the oven with a cooling glass of milk!

I’m more than happy to give all credit for these delicious recipes to their original writers/creators and heartily thank them for sharing their creativeness with us home cooks! Referencing can be found at the end of this blog post.

Soooo, I suppose I should also share some of my current sewing adventures with you…

Yesterday, I plunged into the first steps of hand quilting my Jacob’s Ladder quilt.

I bought all the necessary products that I needed to start this enormous task (plus more fabrics that I didn’t need!) down at my local Spotlight store and then got stuck into it!

It was the very first time I had ever done hand quilting and desperately felt outside of my comfort zone!

However, after persisting with it all afternoon and into the early hours of the morning, I felt like I was finally getting somewhere regarding my technique along with what I had achieved so far.

I know the stitching isn’t perfect, but I’m not aiming for perfection. My aim is to try and experience a new quilting technique and to be proud within myself for attempting it as well as finishing it to a standard that I’m happy with. Well, this is what I keep telling myself anyway!

I still have a very, very, very, very long way to go until it’s finished BUT have now finally got something to work on while parked in front of the TV of an evening waiting for the ads to finish!

I will continue to update my progress with this new learning curve, sharing my triumphs and down-right frustrations with hand quilting such a big quilt as the start of the Australian summer begins!

God give me strength!!

Happy Sewing! xx


References

Oliver, J. (2006). Cook with Jamie: My guide to making you a better cook. London: Penguin Books

The Australian Women’s Weekly. (2006). Made for giving. Sydney: ACP Magazines

First Prize goes to…

Me!

All my hard work paid off and I won first prize in my category in the How Does Your Garden Grow? Competition on Saturday!

Golly-gosh, I never actually thought I would be in the top three, let alone be chosen as first!

I’m feeling deeply humbled and thankful for all of the lovely comments and support from my family, friends and the competition organisers – Thank you!

The above photo was taken on my iPhone by my 66 year-old-senior-citizen dad. He had no clue what he was doing – he just held the phone up, tapped the button I told him to touched and wham-bam-thank-you-ma’am, it came out slightly blurry! But, all’s good – you get a sense of what’s going on!

I received an official looking certificate and a copy of Kathy Doughty’s new quilting book…among a few other prizes I haven’t received yet – but hopefully will soon!

I also found time on the weekend to continue on my Jacob’s Ladder quilt by adding on the next sashing border. I was going to make 2.5inch HST border, but I lost my patience after only making six! So instead I just joined together the left over DS Quilts Fabrics 2.5inch squares into long sashing strips and sewed them around the edges of the quilt top. Next step is to add the last border of 4inch sashing strips and the quilt top is completed!

At the moment I have a crazy crush on what the back of the quilt top looks like…The other night when I was taking a break between sewing and pressing, I had the quilt top laying on top of the ironing board with the light of my desk lamp shining through the fabric and it lit up the all the pressed seams and made it look like an illuminated cathedral or stained glass window…

I love looking at the back of quilt tops as you can really see and appreciate all the hard work that has gone into piecing all the fabrics together and seeing how the seams lie to achieve flat surfaces.

It seems that my dog, Lucy, likes them as well – here she is, very impressively, photo-bombing (i.e.. looking for some loving cuddles!) my happy snaps!

Happy Sewing! xx