Falling In Love With Sewing Again

It’s no secret, this year has freakishly flown by, eating up time like it’s no bodies business. And my poor sewing machine has suffered as a consequence.

Also, not gonna lie, my motivation to sew and be creative has taken a bit of a hit too. So with all of that combined, not a whole lot of movement has been had in my sewing room this year.

But recently a few projects have come to hand to make me dust off the sewing machine, dig out my rulers and cutters and get sewing again.

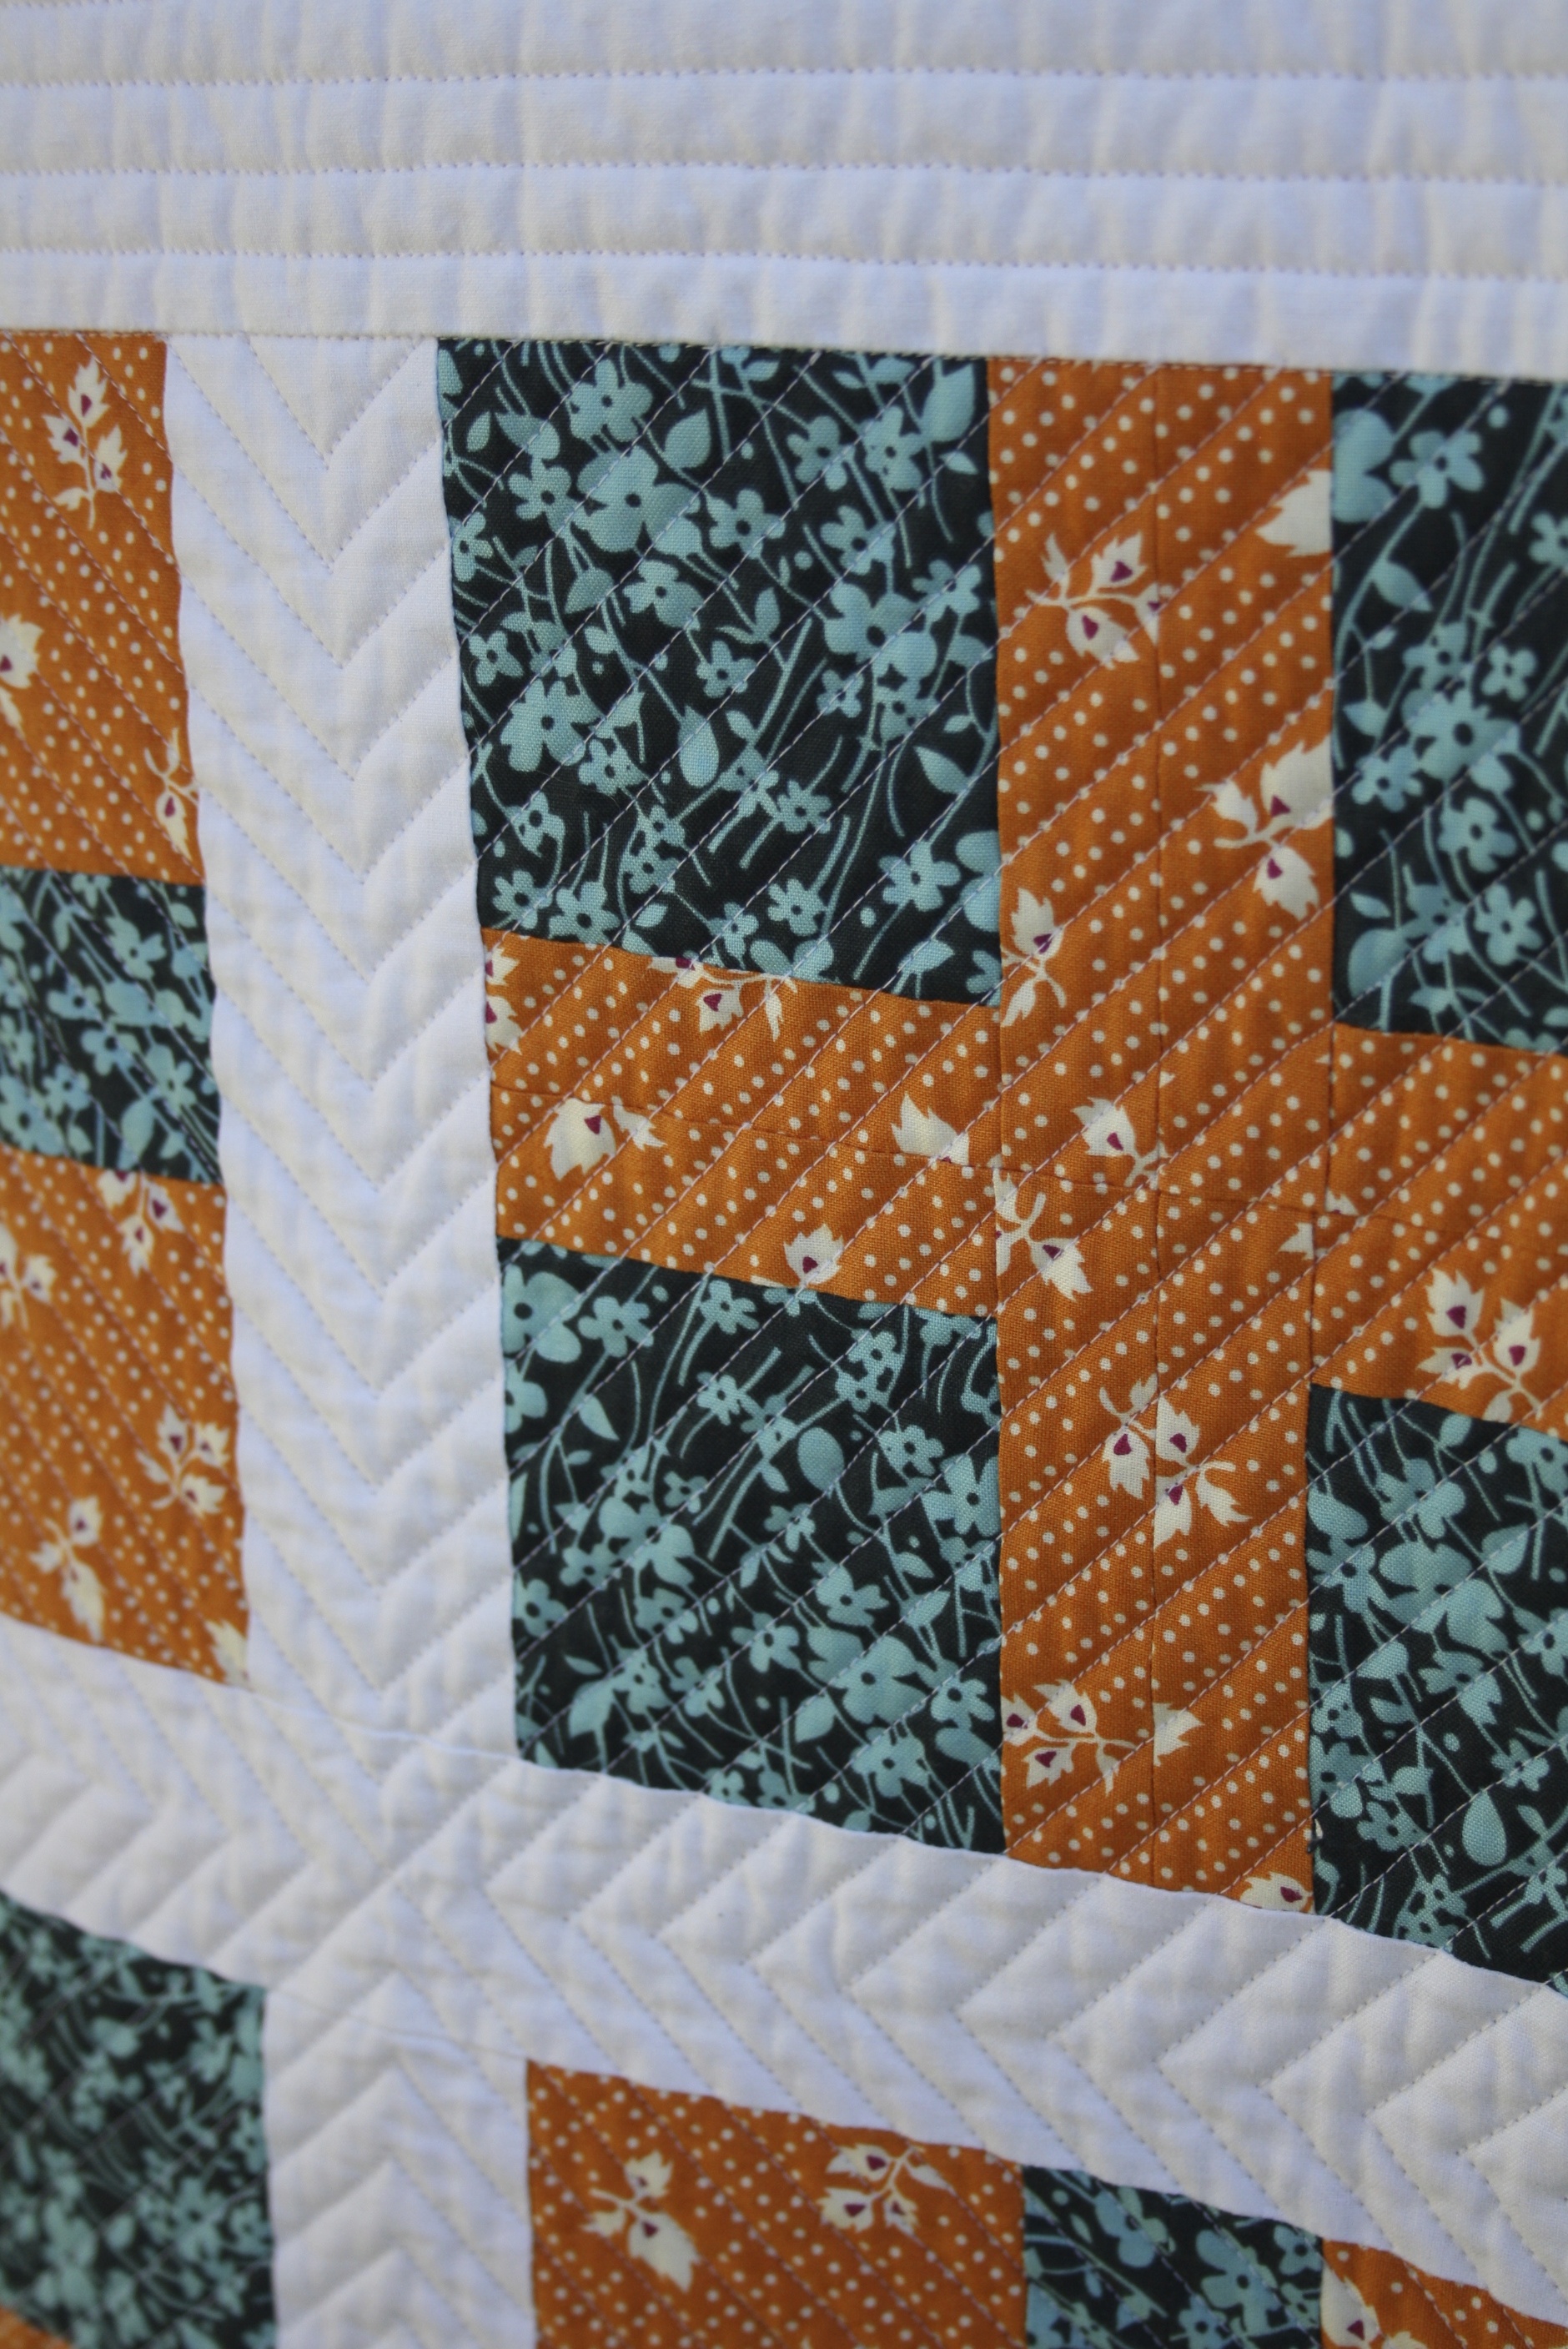
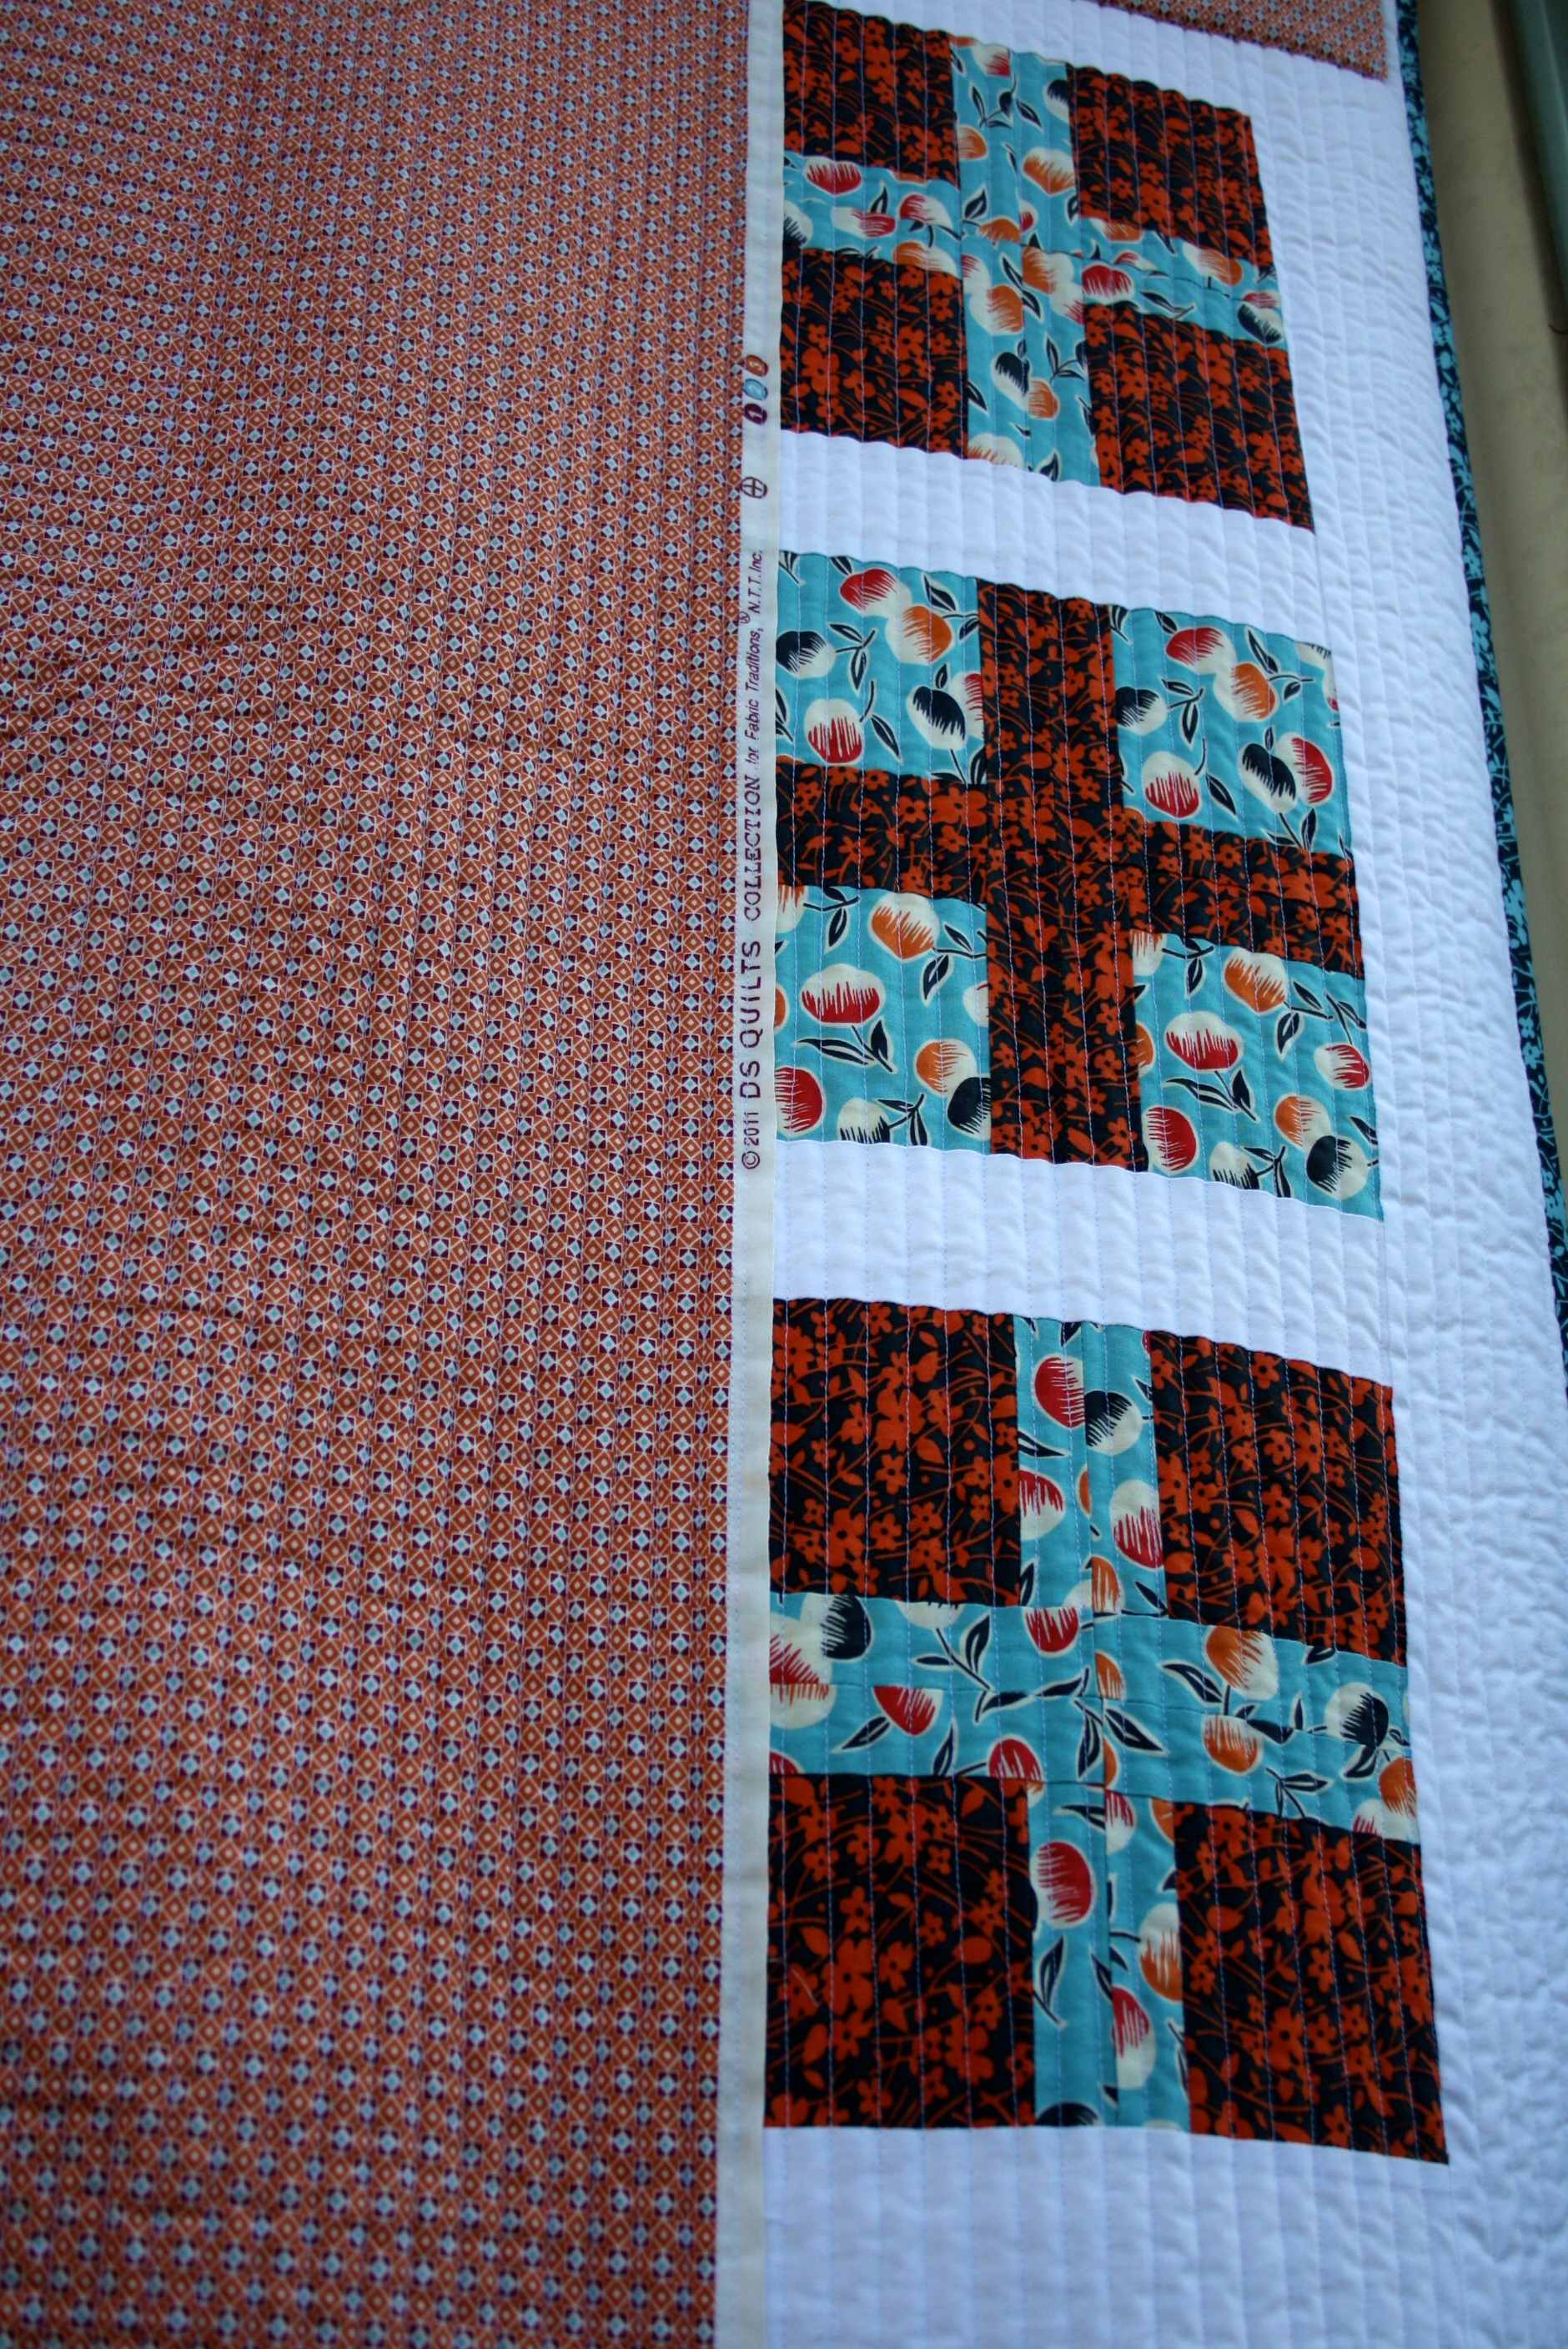
In my last post, I shared with you my finished Star Sampler Quilt (sans quilt label!)

It felt like it took me for ages to get this quilt (and YouTube series) finished. But I’m so happy with the end result.

I currently have it hanging in my sewing room and I find myself just staring at it at times, admiring it’s beautiful tactile quilted surface, it’s perfectly pieced and nested points as well as the monochromatic tones clashing with the pops of colours dotted here and there.

When I was quilting this quilt, I took a gamble and used a new tool that I’ve been told is a must-have to use when quilting… Quilting Gloves!! OMG!! How did I ever get through quilting a quilt without these bad boys all of my quilting life?! They’re ah-maz-ing! Although I felt a little bit clumsy and resembled a bad Mickey Mouse look-a-like, the grip the gloves gave me was 10-fold compared to just using my bare hands!

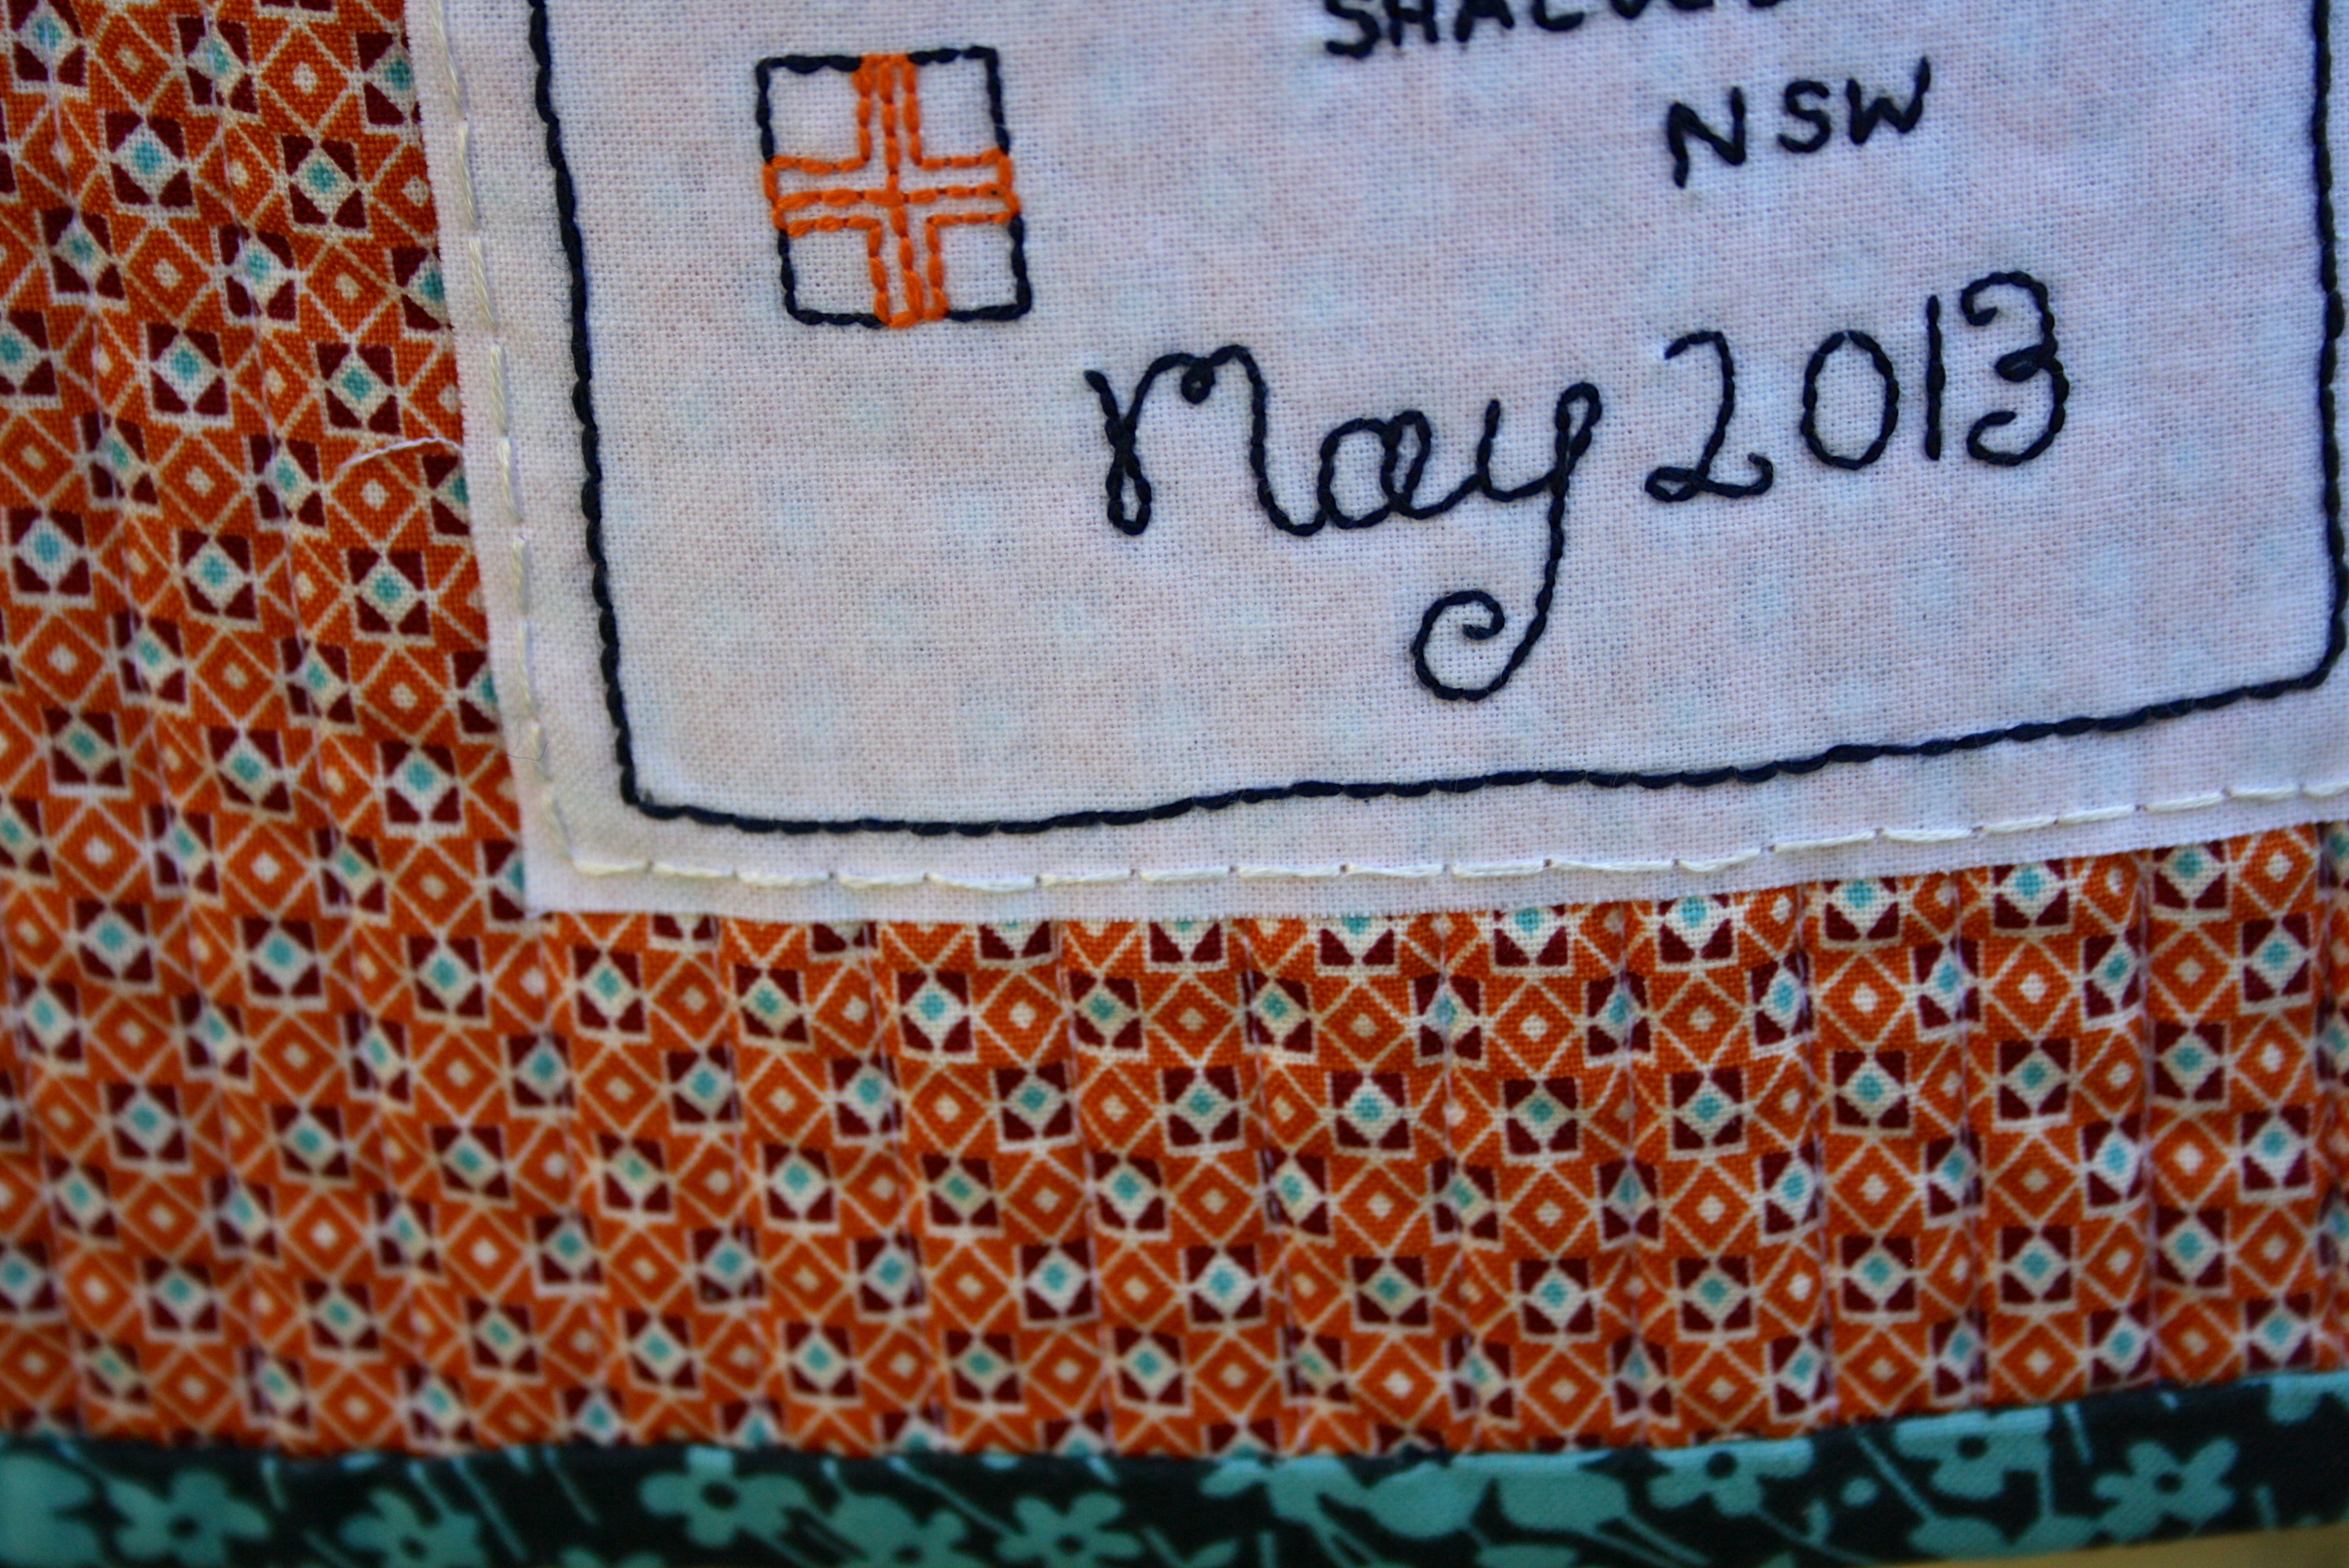
Although the series has now come to an end, I only just finished the final touches to the quilt today… The quilt label!

Quilt Labels from my two previous QALs

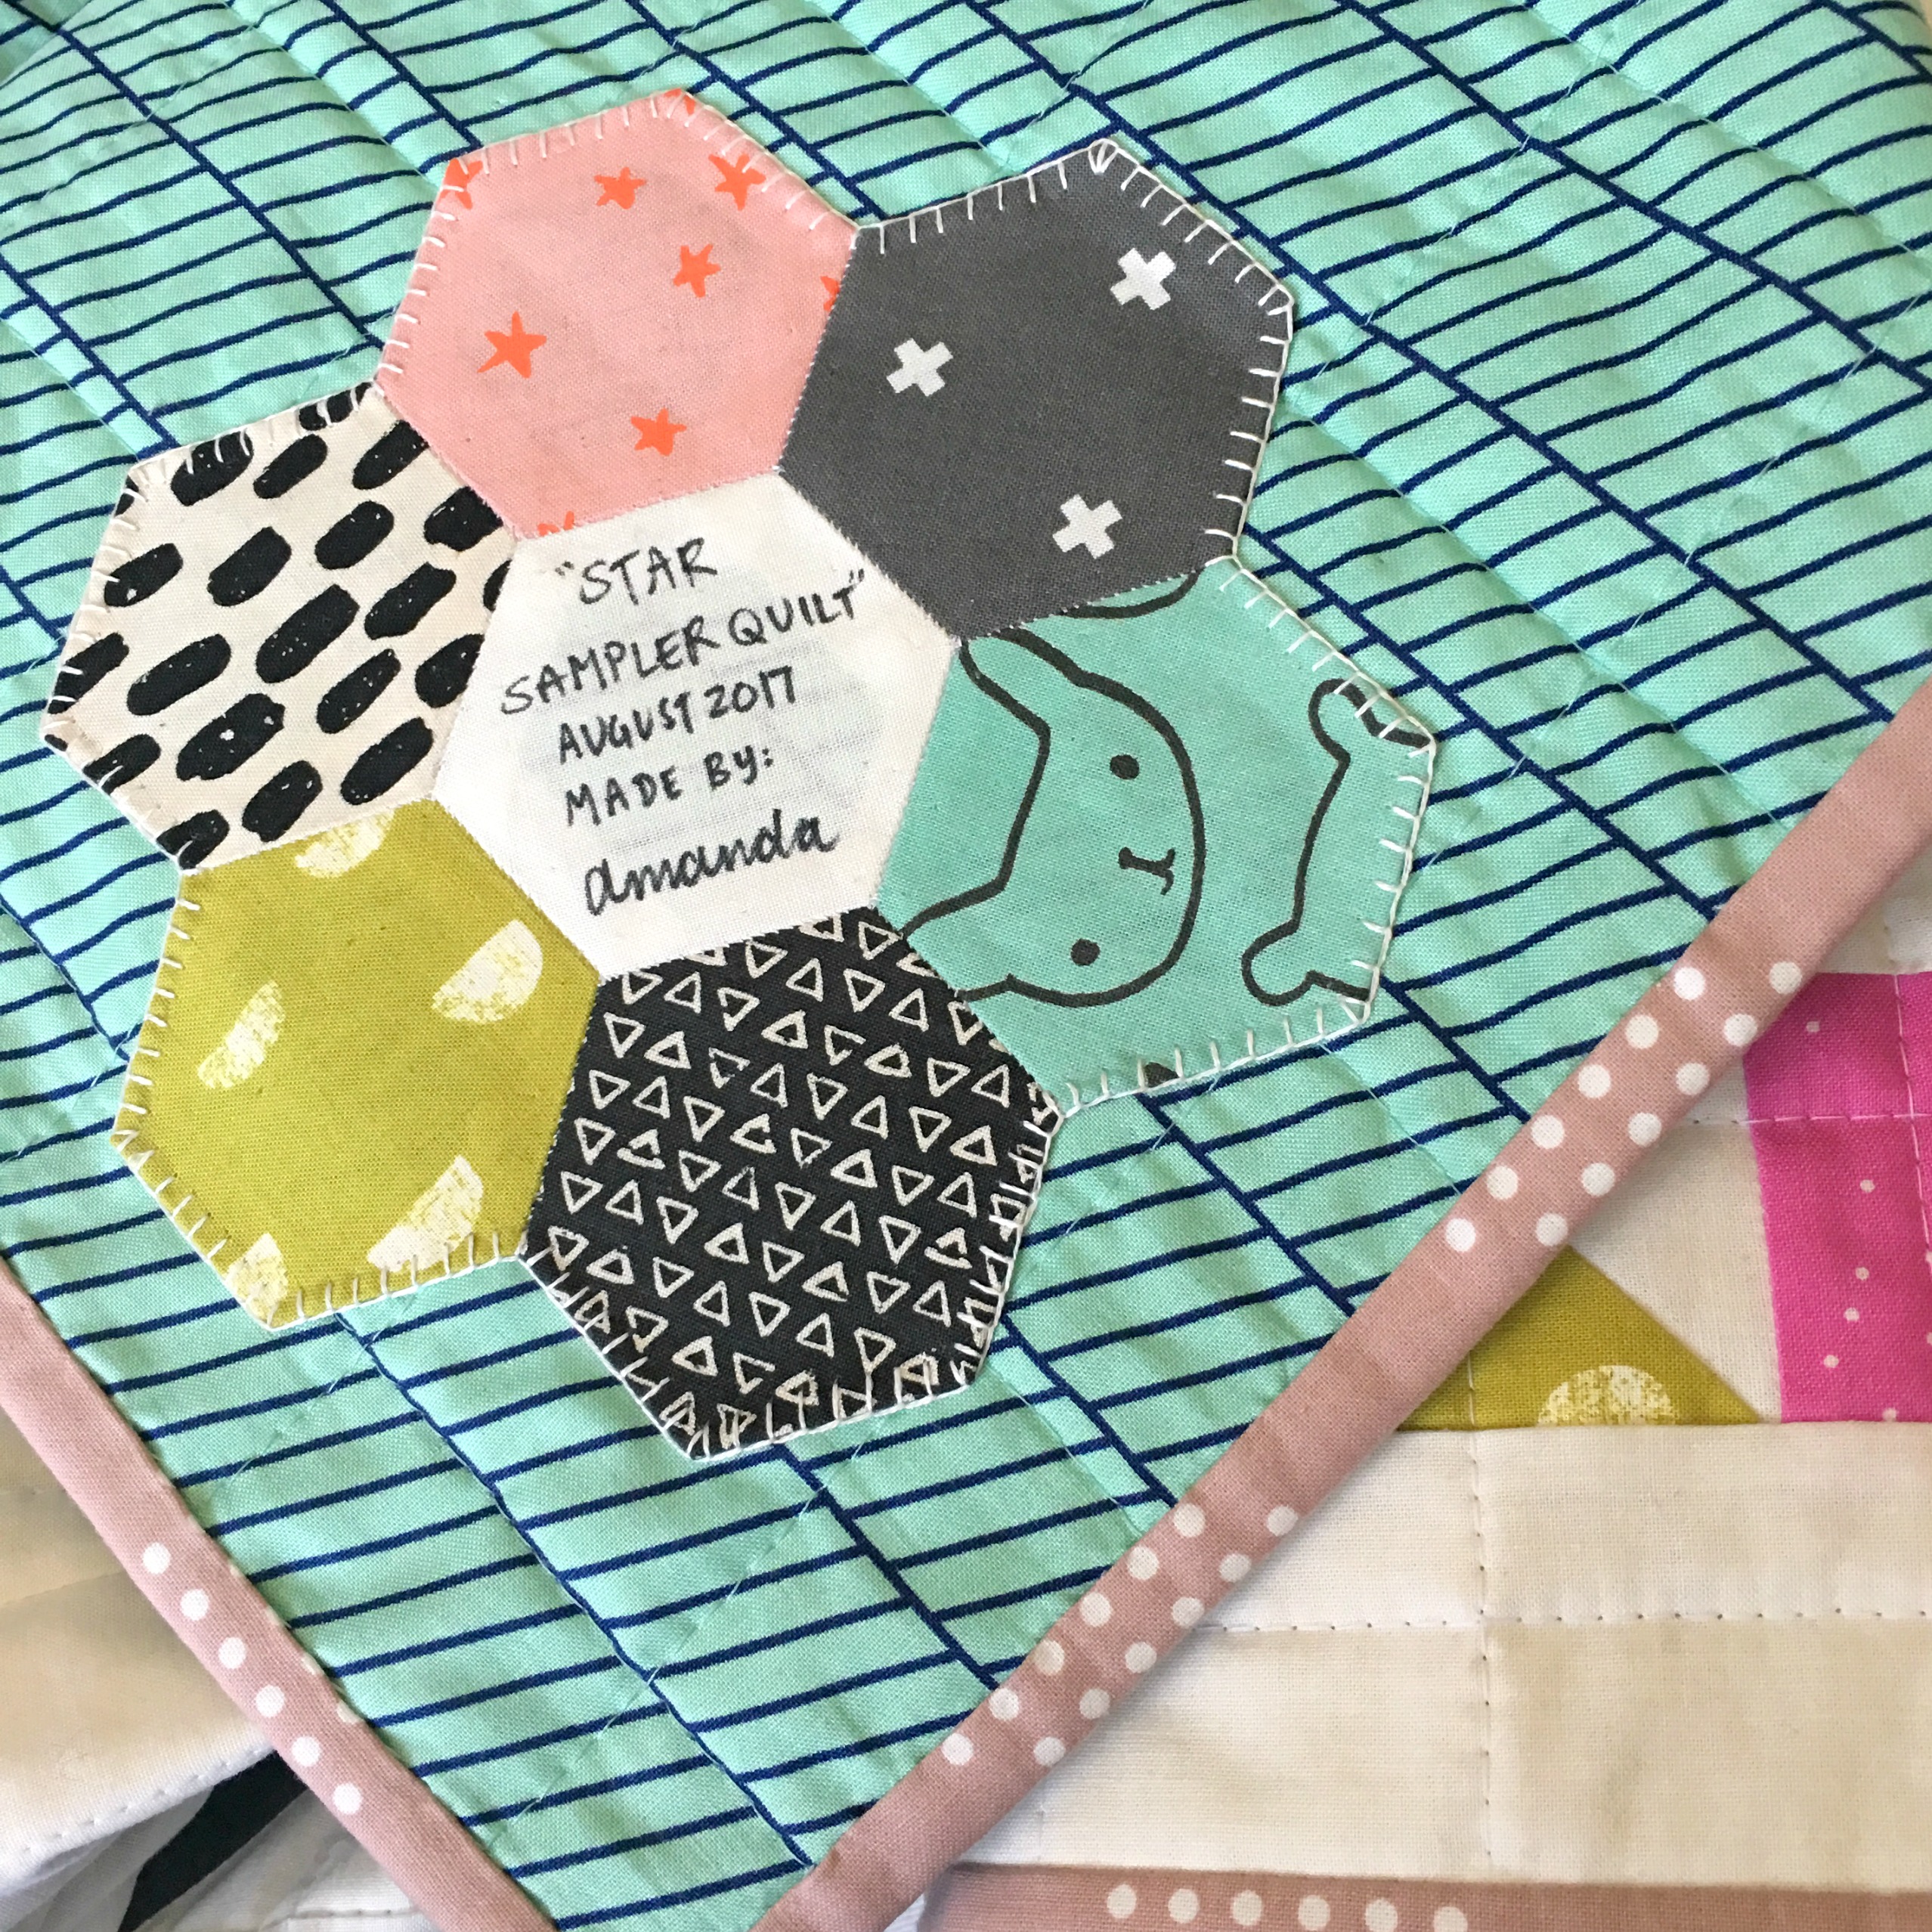
And as tradition stands, I made the quilt label a Hexie Flower using some of the fabrics featured throughout the blocks in the quilt. Love it, love it, love it!

+++

Over the past few months, I’ve been sharing a new quilt that I very excitedly started after wanting to do it for ages and ages! The pattern is called Pixelated Rose by Riley Blake Designs and it sings to my yearning Florist inside of me!

So far I’ve loved every stage of getting this quilt underway. Choosing the harmonious solid colours was a breeze, the measuring and cutting was a slow but very meditative experience (I think I must be one of the very few quilters out there who loves the cutting process!) and then the precise piecing has kept me on my toes! Because of it I’ve been able to settle into an easy pressing and nesting routine that each block needs to be able to fit together in the end. Not gonna lie, the whole process (for me anyway) has been quite slow and lengthy. But I already knew this and I took on this project as one of those slow burners that you keep coming to over a set period of time until it’s finished, either months or years after you started!

I’ve been posting pics here and there on Instagram of the progress so far…

Unfortunately, I haven’t gotten any further than the last photo in the right hand corner. The past month has been jammed packed full and this project has been pushed to the side, collated into block order and hung outta mind, outta sight. Although, I do have some free time tonight… Hmm… 🙂

+++

Now, I must also confess that there has been a spectacular fail in the sewing room too.

That being a terrible attempt at making a pretty gathered A-Line skirt for my birthday a few weeks ago.

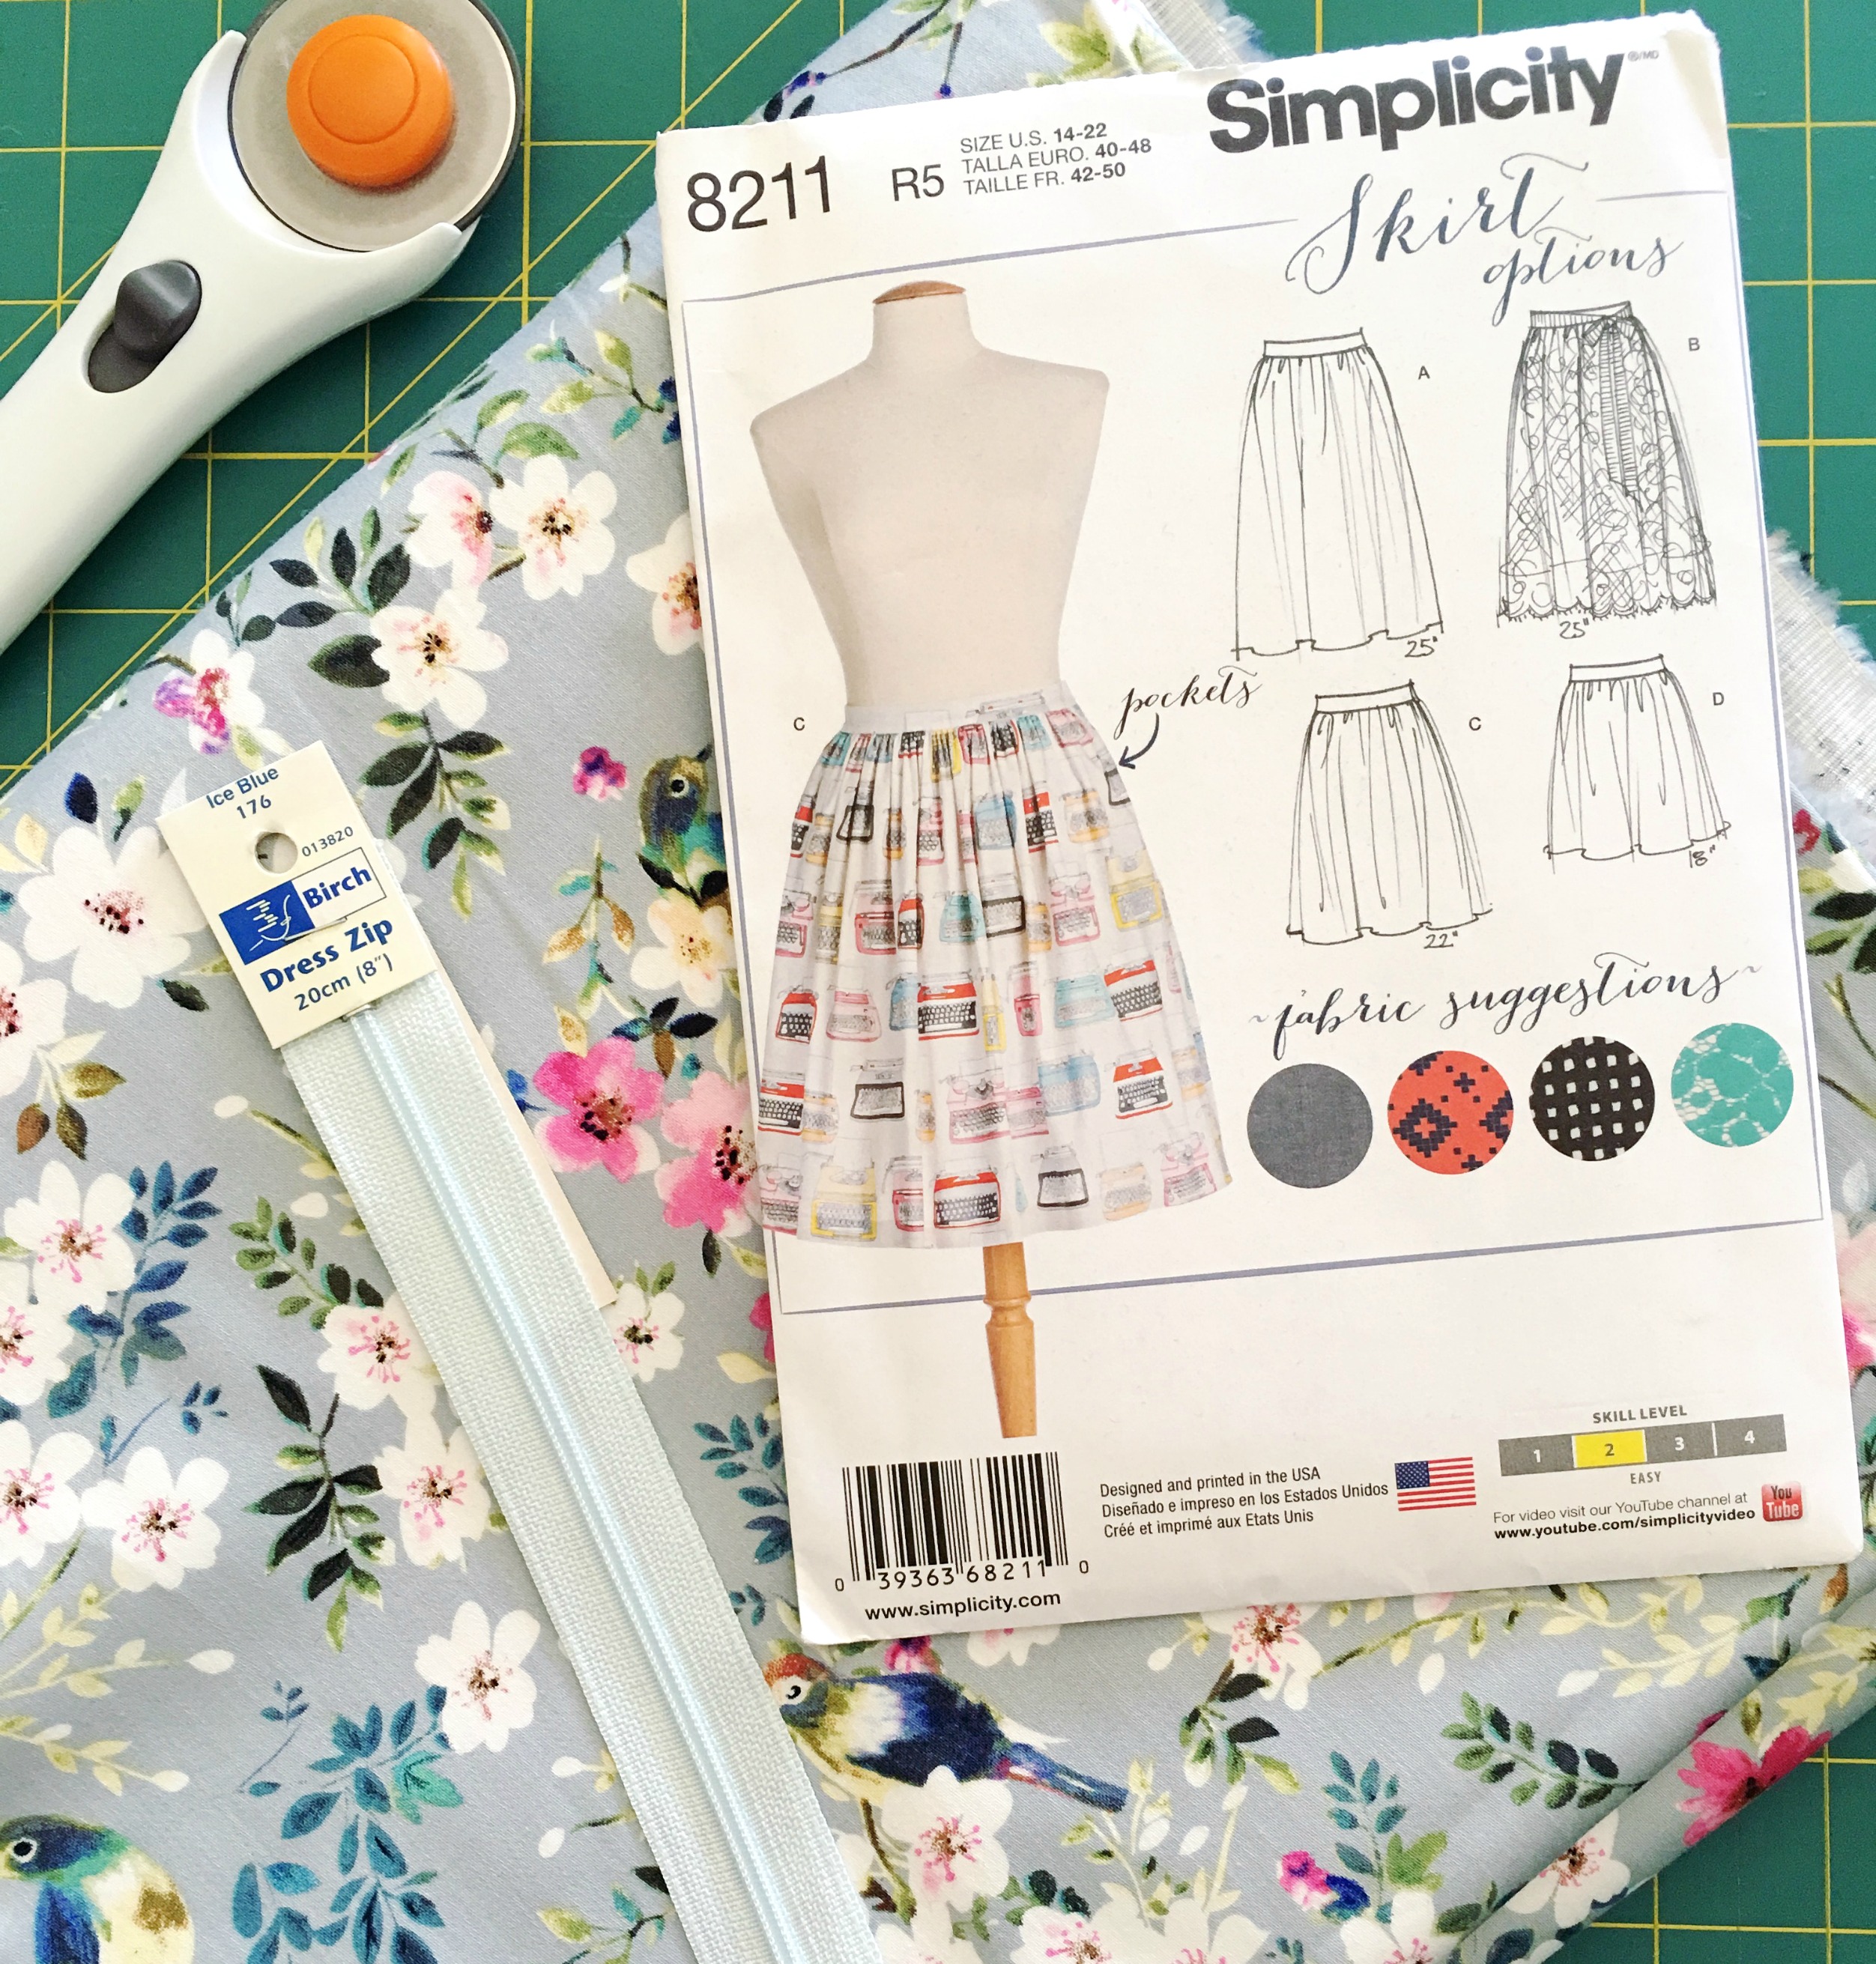
Despite being quite time poor during the weeks leading up to my birthday, I knew it would be a pretty big stretch to be able to cut, make and finish a skirt when dressmaking really isn’t a strong skill of mine. Although, in saying that, I did successfully stitch a side pocket for the first time as well as sew in a zipper next to another side pocket! Yeah!

However, things began to fall a part when I had to attach the waistband and match up dots and seams and things that I didn’t know I had to match up… So with time pressing on me and my interest and patience waining, I gave it up and allowed in the realisation that I’m no good at dressmaking one bit. (I’m sharing no photos of my sad attempt of a skirt!) Perhaps with a bit more practice and a bit more patience, I may become a superstar seamstress yet!

+++

I hope you enjoyed this brief glimpse back into my sewing room.

I feel like I’ve really fallen back in love with sewing again… Just the raw, basic and fundamental steps in this creative skill I’ve been blessed with. Over the past year or so, I’ve felt slightly distant from my sewing bubble that I’m so used to be being in. But I think I’m finding it again and it feels great!

Happy Sewing, Friends!

xx

Quilt Labels 101

QuiltLabels101 Thumbnail

Quilt Labels. They’re one of those things you usually forget all about during the glorious triumphant moment of finishing a quilt!

By the time you’ve conquered sewing down that last part of the binding, you’re thinking, ‘Yes! That’s it! It’s finally finished!!’ No more hand sewing! No more schlepping this heavy quilt all over the house.

But no.

There’s still one last little bit of sewing that needs to be done. And it’s one of the most important elements you’ll add to the quilt.

The Label.

Quilt Labels are like the heart and soul of a quilt. They list when the quilt was made or finished, who it was made by, who it was made for, it may list the name of the quilt and/or display a special message or saying about the quilt or be directed to the person who will be receiving the quilt.

The creative possibilities of making quilt labels are literally endless. There are no boundaries or rules to what they should look like and there are no wrongs or rights to how they should be attached to a quilt.

Caleb's Quilt Label

The way that you want to make and attach a quilt label is entirely up to you!

But in any case, here are just a few ideas that may help…

#one: Quilt Label Panels

These panels are a great idea for those of you lack time or confidence in making a label from scratch.

Labels like these tend to be personal and direct with themes like ‘Made by Grandma’ or ‘First Baby Quilt’ or ‘Congratulations’ etc.

Quilt Labels 3

Most quilting, fabric or haberdashery stores should sell similar type label panels that you can buy and stash away for a rainy day.

When it comes to writing on these fabric labels, I usually like to use Sharpie pens.

Hello Sharpies

The two that I tend to use the most are the Sharpie Rub-a-Dub Laundry Marker (with a thicker type nib) and a Sharpie Fine Point Pen – both in black.

#two: Hand Written Labels

Sometimes, often than not, I make my own labels.

Quilt Labels 2

For the base of the label I’ll cut out an adequate size of 100% Cotton Homespun (in a practical colour) and write, using one of my Sharpie pens, all of the information that I feel is needed to accompany the quilt.

Personally, I feel that this particular technique is a little boring and uncreative. Recently, most of my labels have been created using the next idea…

#three: Hand Embroidered Labels

I love handmade embroidered labels. There’s something magically personal and sweet about attaching a little label that has been meticulously stitched together. An embroidered label just takes the quilt to a whole other level of being specially made for a particular reason or a very special person!

Quilt Labels 1

Amelia's Baby Quilt Label
Amelia’s Baby Quilt Label

Just like the hand written labels, I use a foundation of Cotton Homespun (usually in white or cream) and gently sketch in the details of what I want to embroider in lead pencil. Then using DMC threads/floss in matching or contrasting colours to the quilts’ theme and then carefully stitch the label into life.

#four: Fancy Handmade Labels

If you have any left over blocks or elements that didn’t quite make the front of the quilt, you can very easily turn them into the centrepiece of the quilt label!

Geo Dreams Quilt Label

An example I can give you is the story behind my A Summer Bloom Quilt Label.

Summer Bloom Label

I made a Dresden Plate that was to be attached to the front of the wall-hanging (I sort of had a blooming flower effect idea rolling through my head at the time…). The idea was a complete flop but I didn’t want to waste the time I had put into making the Plate. So instead had a spark of creative genius and made it into the label of the quilt!

#five: Print Your Own on the Computer

This particular type of label I’ve never made, so can’t quite comment on it in too much detail.

But if I were to make a quilt label on the computer I’d possibly use a Photoshop/Illustrator type of software (or an online editing site like PicMonkey) to design the type of label I wanted. I would save it as a particular size with the right ppi (pixels per inch) and then print it onto special A4 printable fabrics that I’ve seen at office supplies stores and fabric/quilting stores. They usually cost a pretty penny which is why I’ve never really given it a go.

Now, there might be one question you’re all asking me right now and that is, ‘How do I attach the label to the quilt?!

Ahh yes, good question!

Well, the method I like to use is appliqué.

HeatnBond

I use a product called HeatnBond Lite that is a lightweight iron-on adhesive that can be sewn through either by hand or using a sewing machine – perfect for any quilter’s appliqueing needs!

I cut the same size amount of that of the label then iron (using a hot dry heat) the shinny side of the paper to the back of the label, wait for it too cool, peel the paper backing away from the label and then iron the label front side up to one of the bottom corners of quilt (usually the left).

To secure the edges, I then carefully stitch a blanket stitch (or buttonhole stitch) around the edges ensuring that I don’t bring the stitch through the top of the quilt.

And ta-dah!! A Quilt Label is completed!

Hopefully I’ve answered a few questions that people have sent through to me in recent weeks and have given some inspiration to those of you have mental-blanks when it comes to these types of things! (Don’t worry, we’ve all been there!)

If you want to see me chat a bit more about Quilt Labels, check out this video I posted on YouTube!

Happy Sewing Friends!

xx

Ready to go!

My quilt for the 2013 Sydney Quilt Show is ready to go! I’ll ship it off tomorrow and see it next hanging at the show!

I’ve just come from outside were I shot some photos of the quilt in the glorious winter sunshine we’re experiencing this afternoon. Here are a few of them…

Minimalist: 101
Minimalist: 101
Quilt Centre, Close Up
Contrasting Binding
Contrasting Binding
Pieced Quilt Back
Pieced Quilt Back
Quilt Back, Close Up
Quilting Lines on the Back of the Quilt, Close Up
Exposed Selvedge Edge on Quilt Back, Close Up
Hand Embroidered Quilt Label, Close Up Detail

Happy Sewing! xx