What a wonderful day! You wanna know why? Cos it’s the final step in finishing our quilt!! Yay!!
In part six, we find out how to make and attach a quilt label so that we can officially say that our quilt is finished!
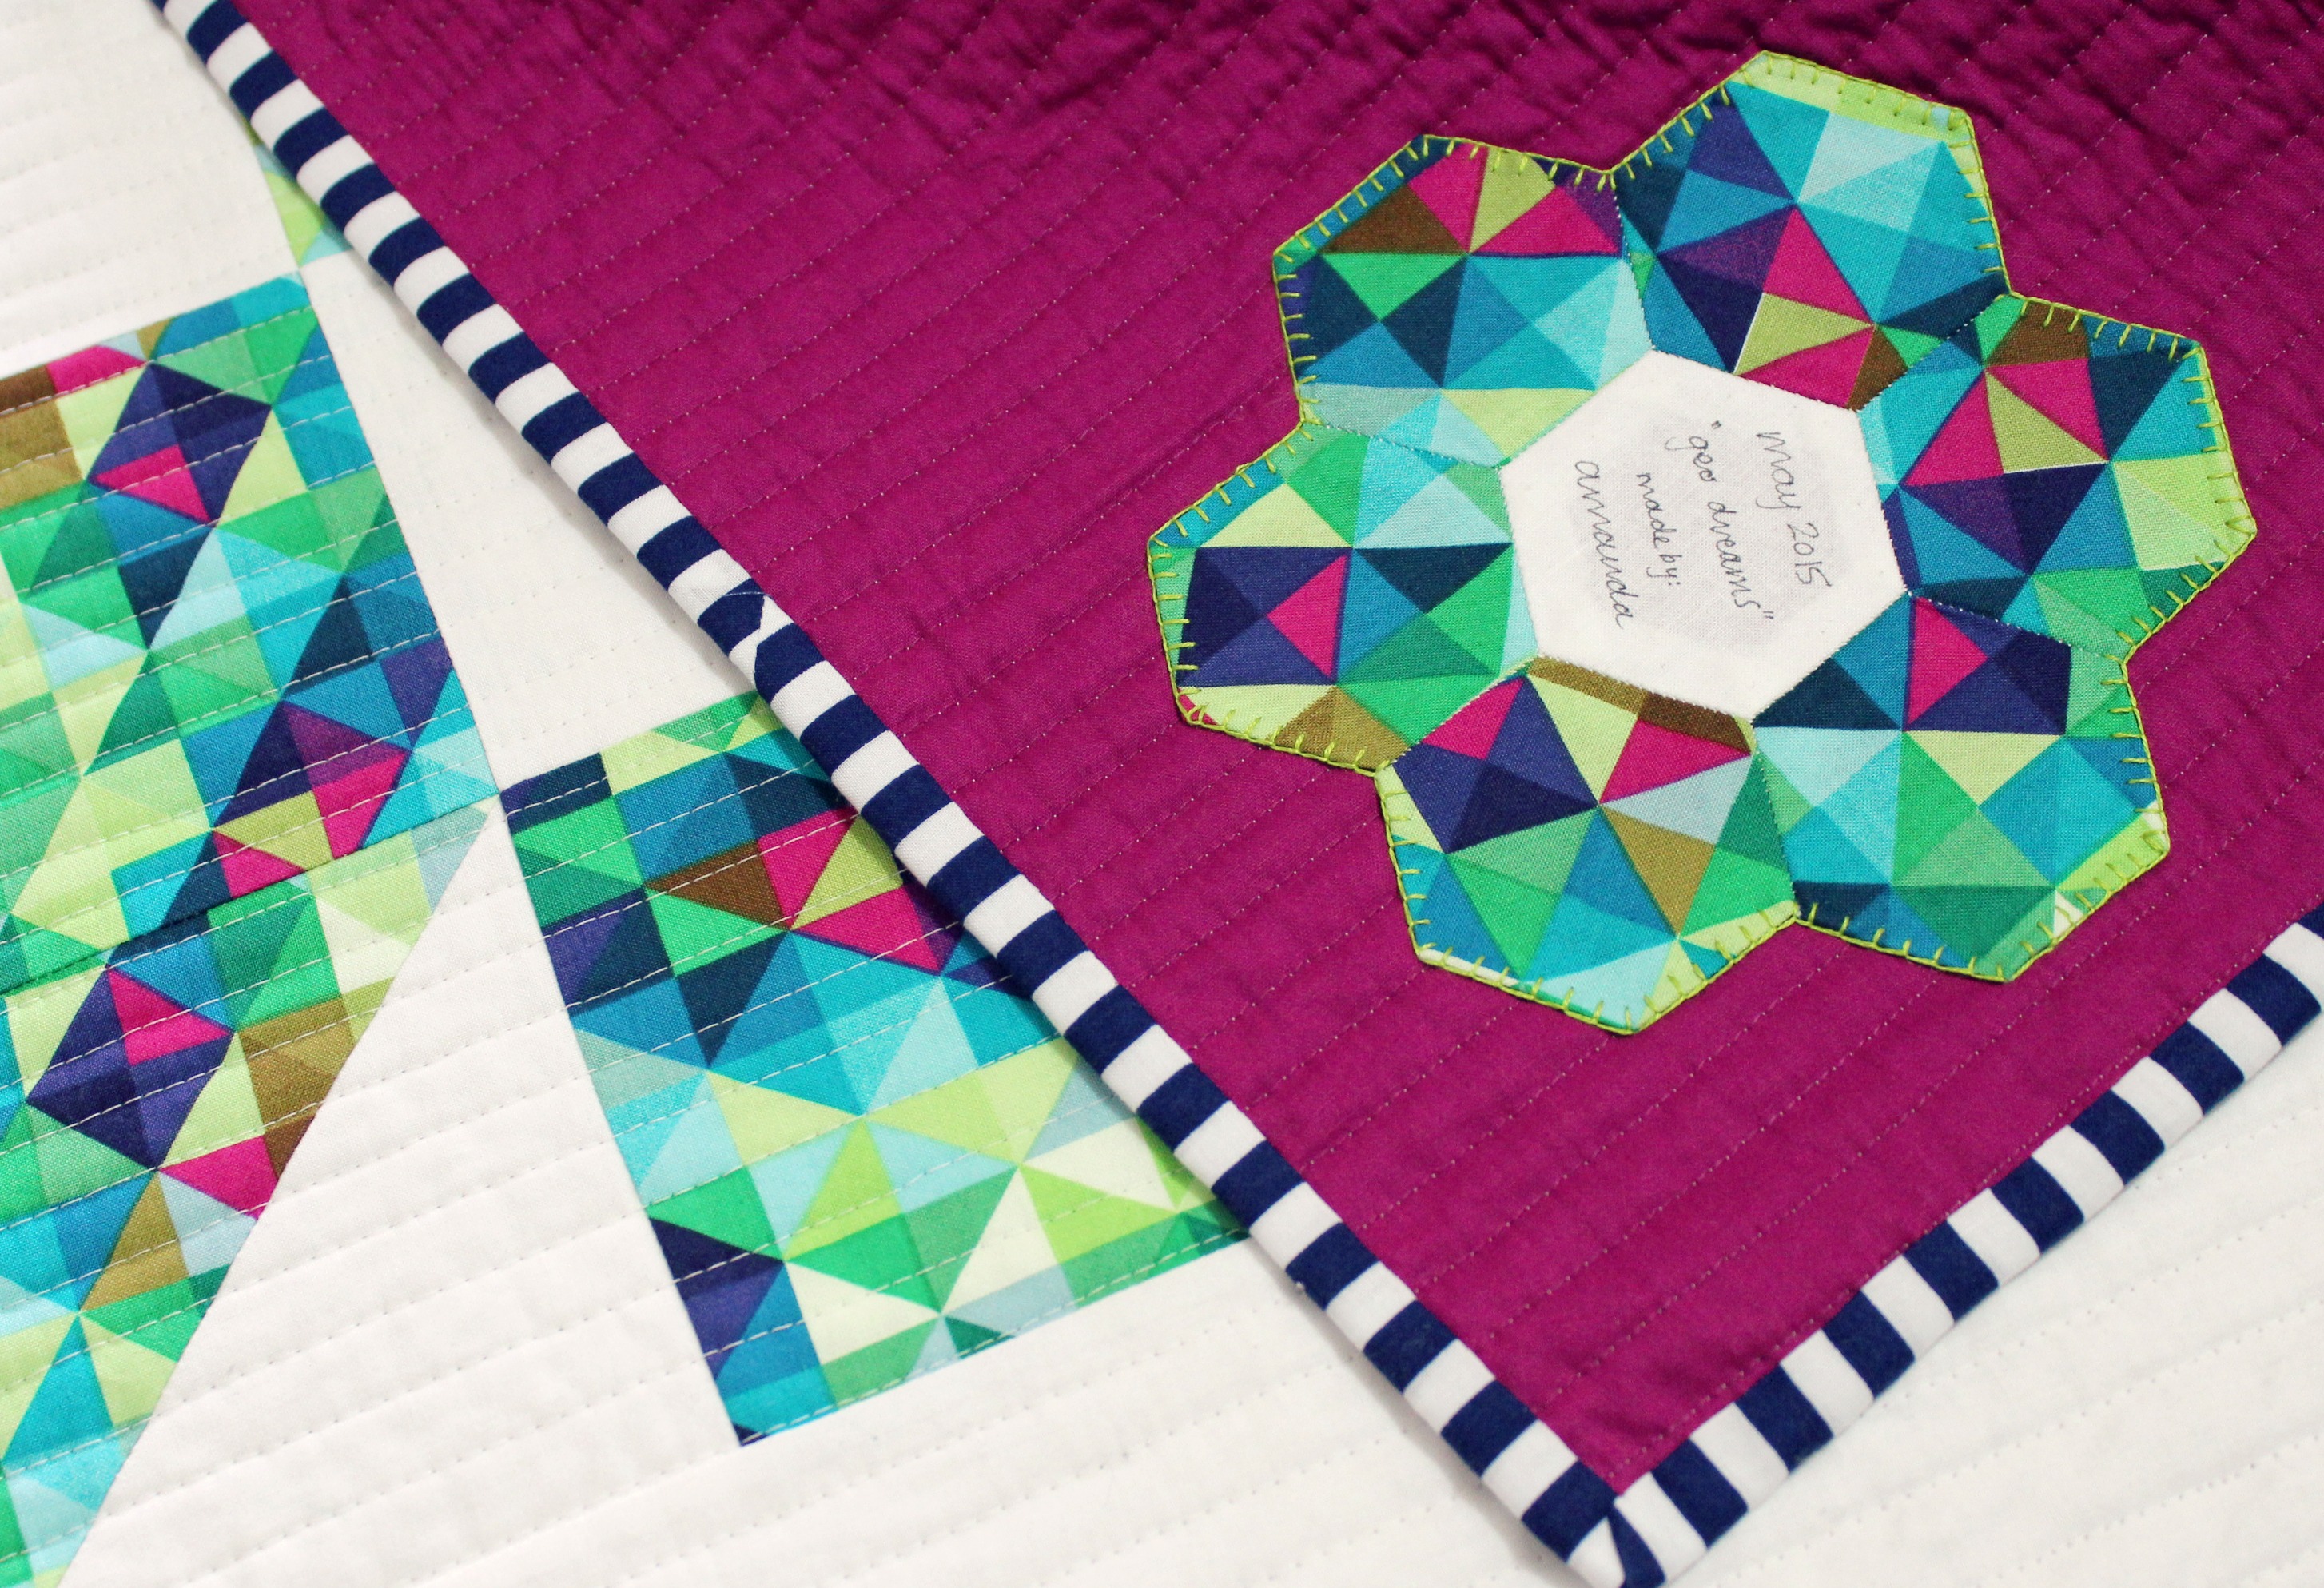
I think it’s super important to take time at the end and document all of the crucial details of the quilt in a label. It’ll serve as a great reminder of when the quilt was made, by whom it was made, for who it was made for as well as documenting the name of the quilt!
And the official name I’ve called this quilt is: Geo Dreams!
Geo Dreams Quilt Label
If you want to know a little bit more about quilt labels, how to make them, what to write on them along with the best ways to attach them to a quilt, I made this video and wrote this blog post about it!
As always I encourage you to make and attach your quilt label in the way that you know best and using a method that you find the easiest and/or most successful. You are always more than welcome to use my way as guide or for inspiration! If you would like to make your label as a hexie flower the same as mine but don’t know how to make them, here are two super-early videos I made showing you how to make hexies and then sewing them into a flower…
Because this is the final part in my QAWM series, the full pattern is now available for you to download, print and share with your quilty friends! Yeah!! The link to this at the top of this post… (PS.Let me know if there are any typos or mistakes – it’s always best to get a second opinion about these things!)
Thank you so much to all of you for participating and supporting me in this series! Your words of encouragement and excitement has made all of the hard work I put in totally worth it!
Thank you, thank you, thank you, thank you, thank you!!!
Although the series is at an end, please keep sharing with me your photos of your finished blocks, quilt tops, quilts or any of the stages you’re up to! Feel free to tag me on Instagram or Twitter at @3and3quarters, send me an email or share them on my Facebook page!
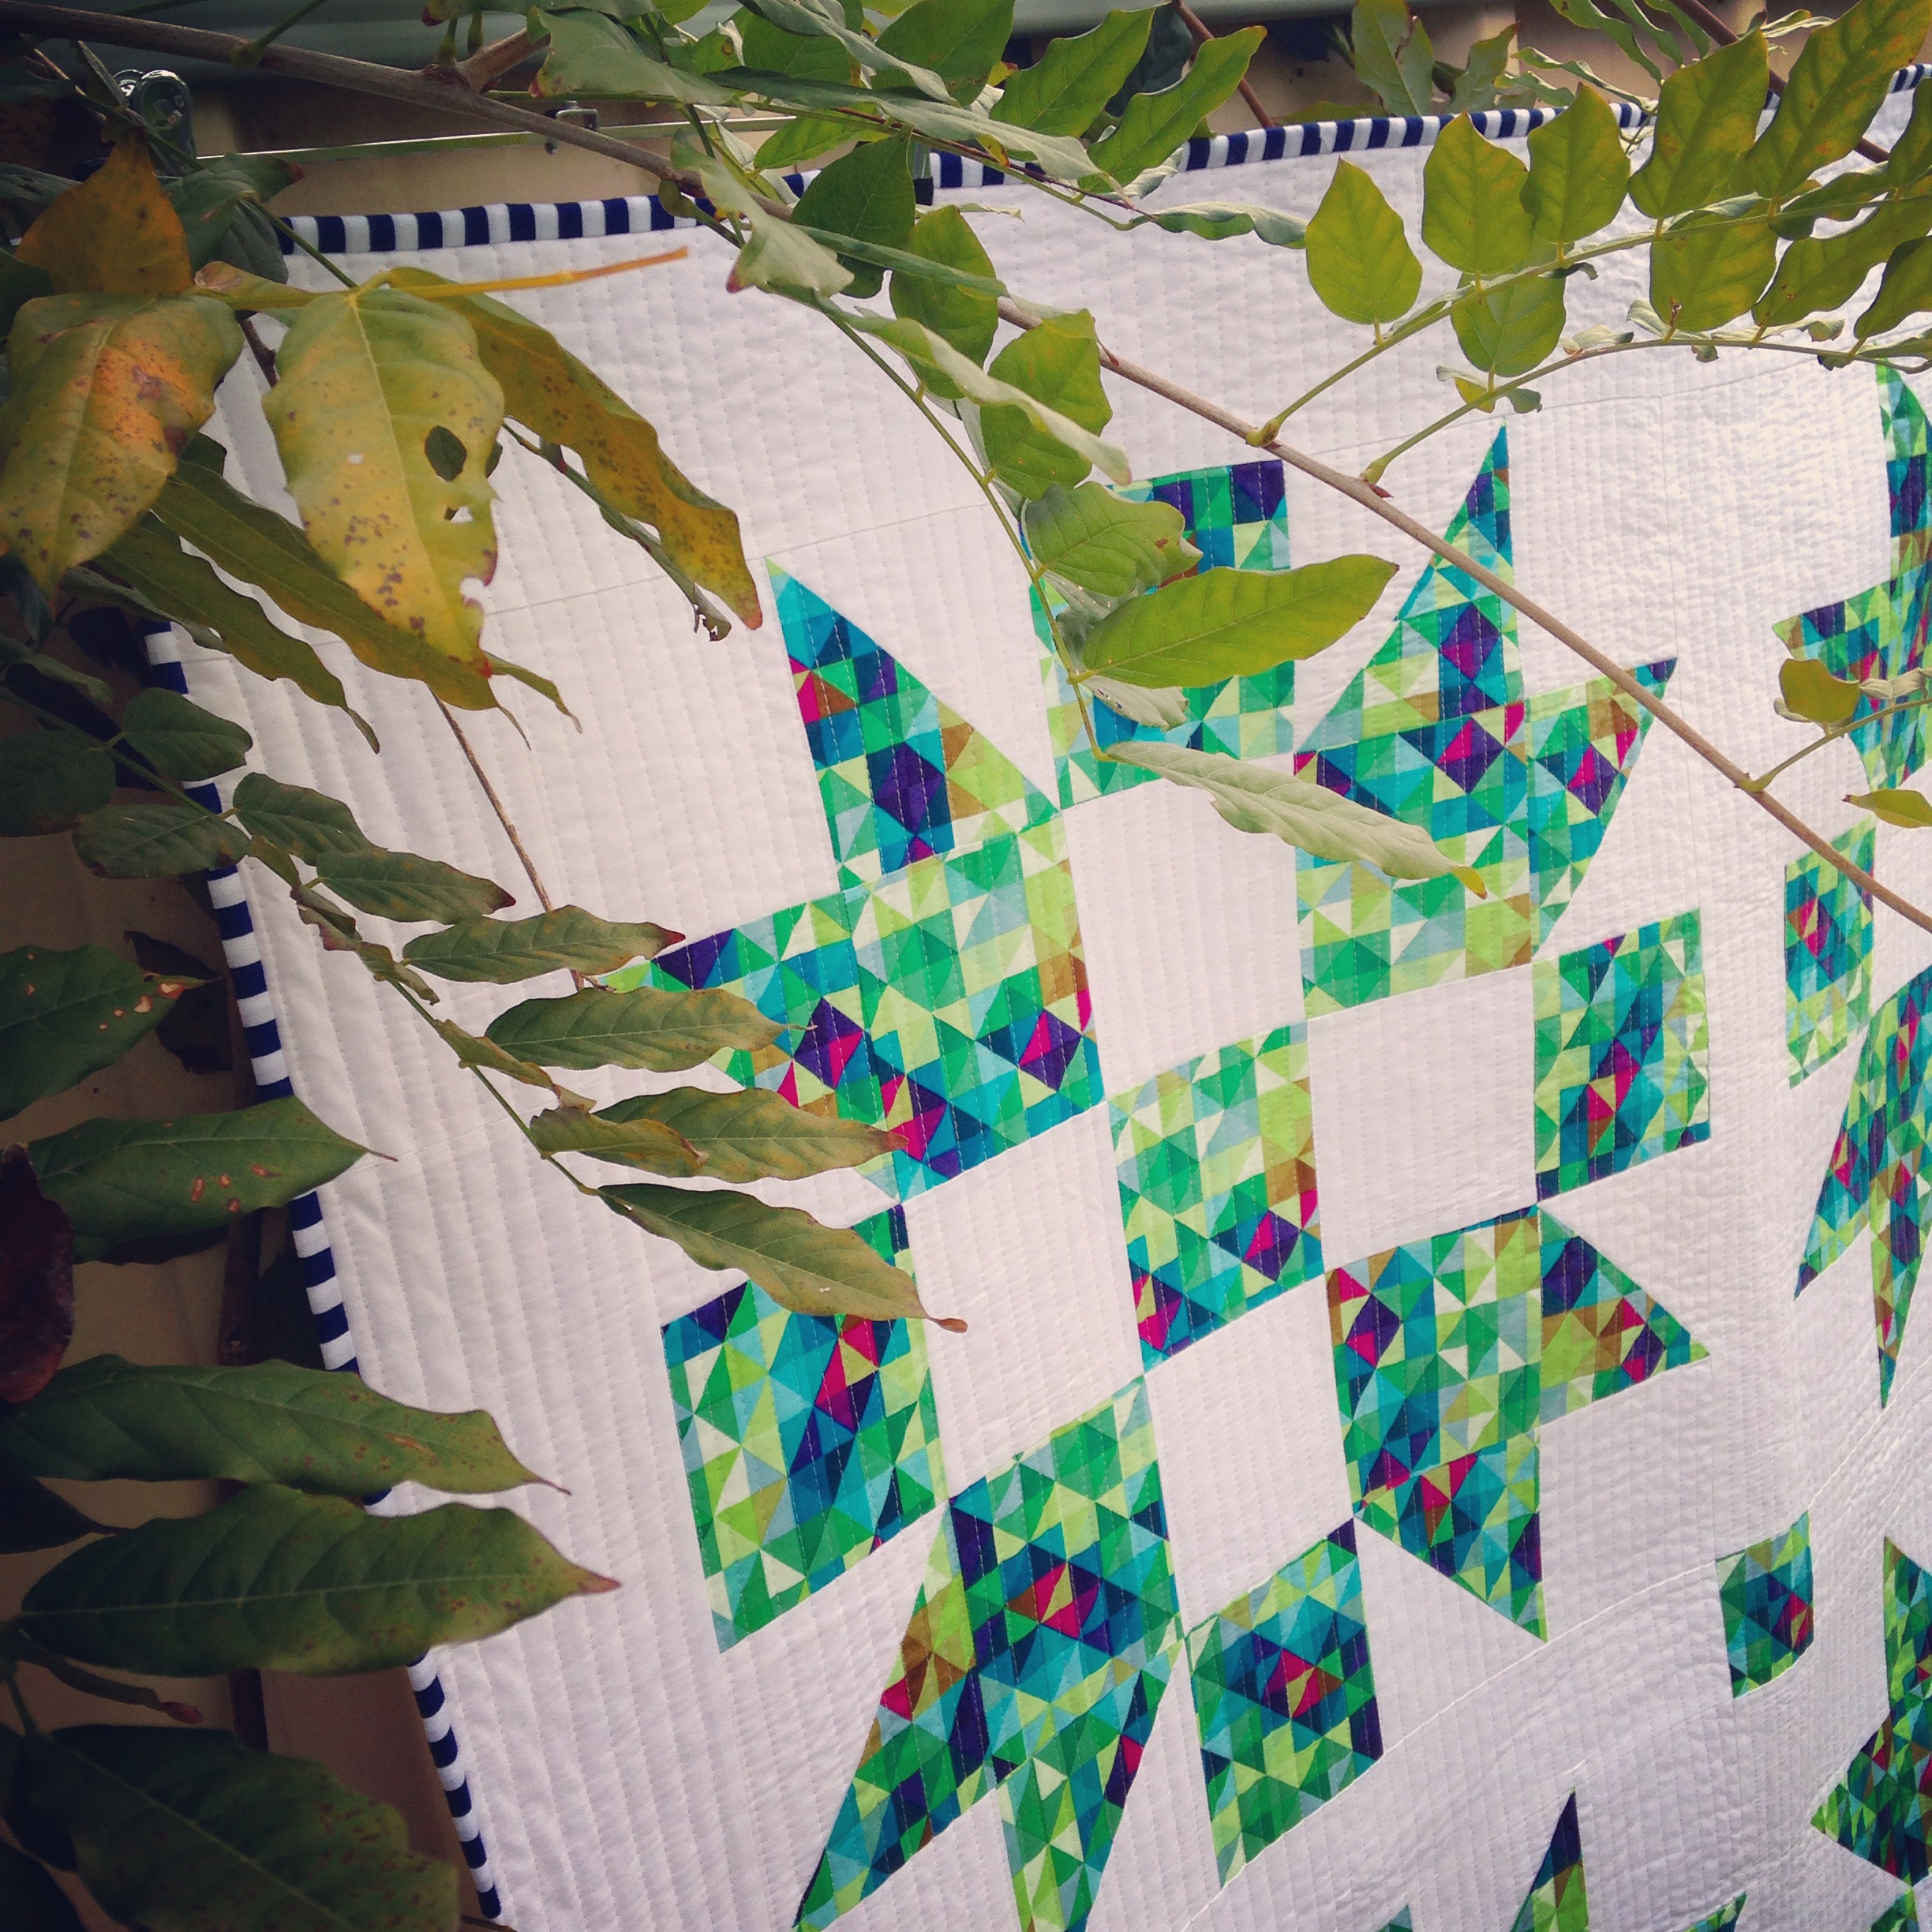
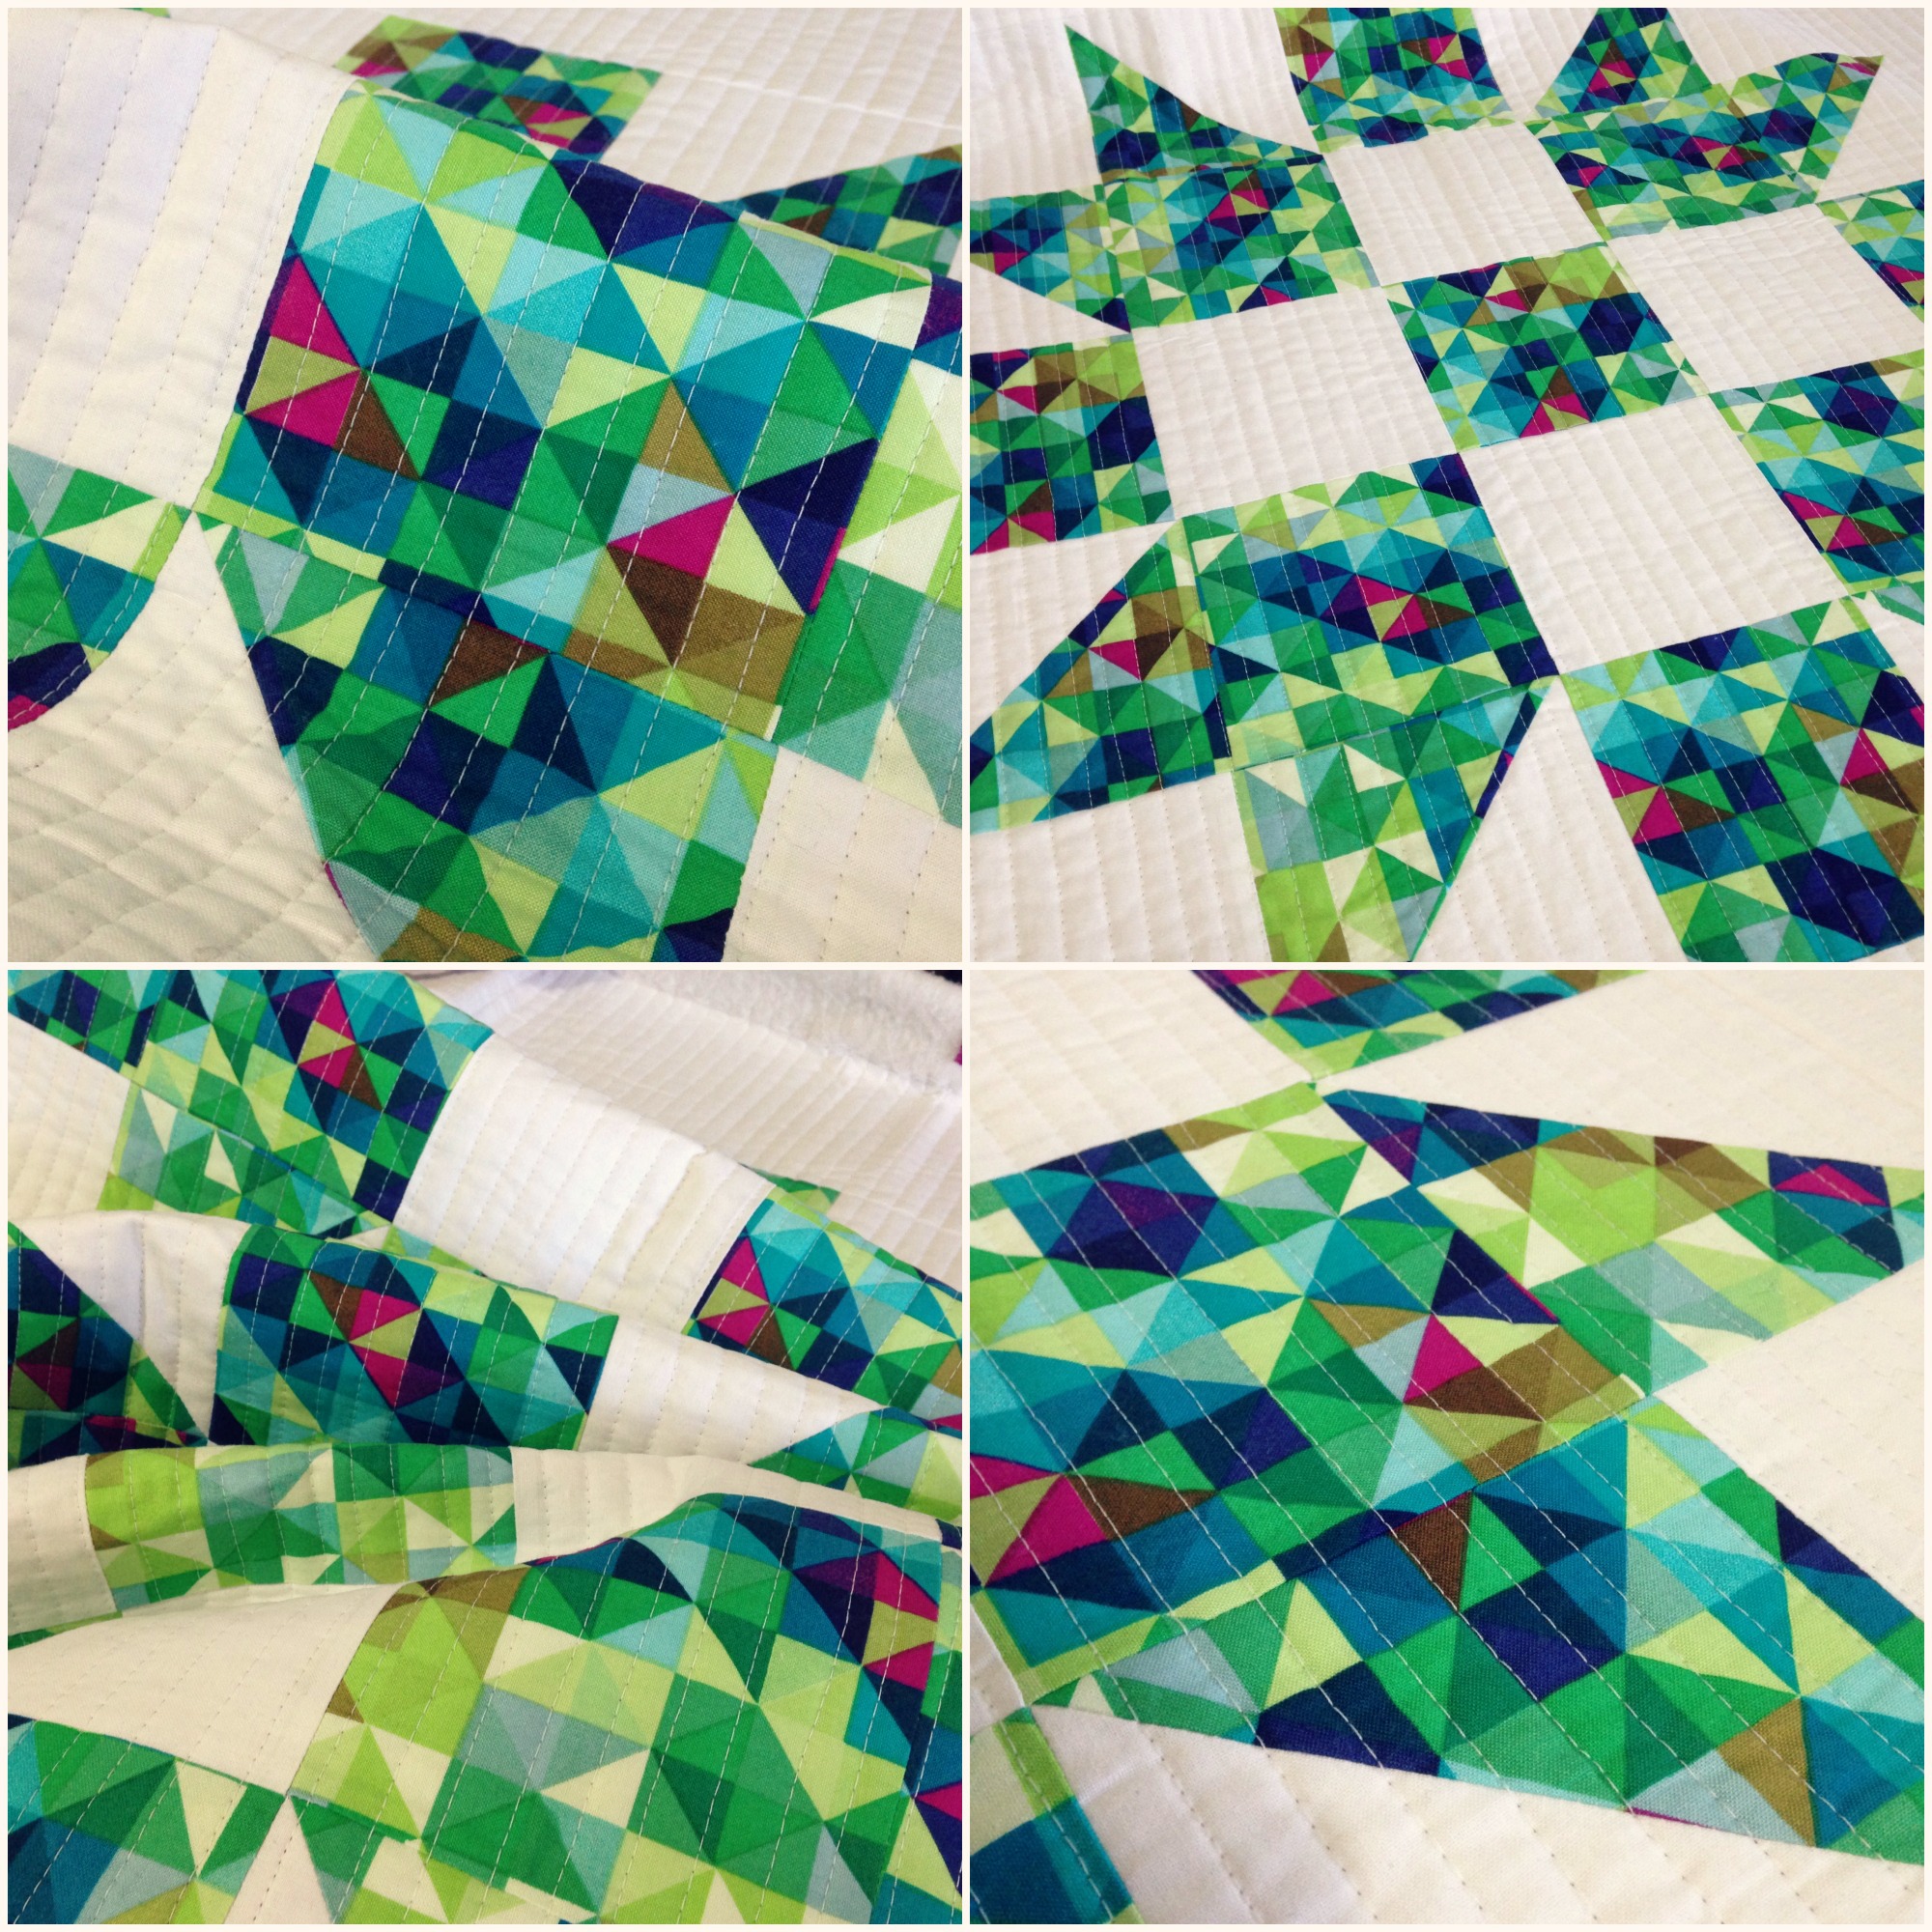
I’m going to leave you with a few of my favourite photos of the finished quilt I took in our backyard a few days ago…
Way-hey! We’re so close to the end of this series, with only one more installment to go after this one! Where has the time gone!
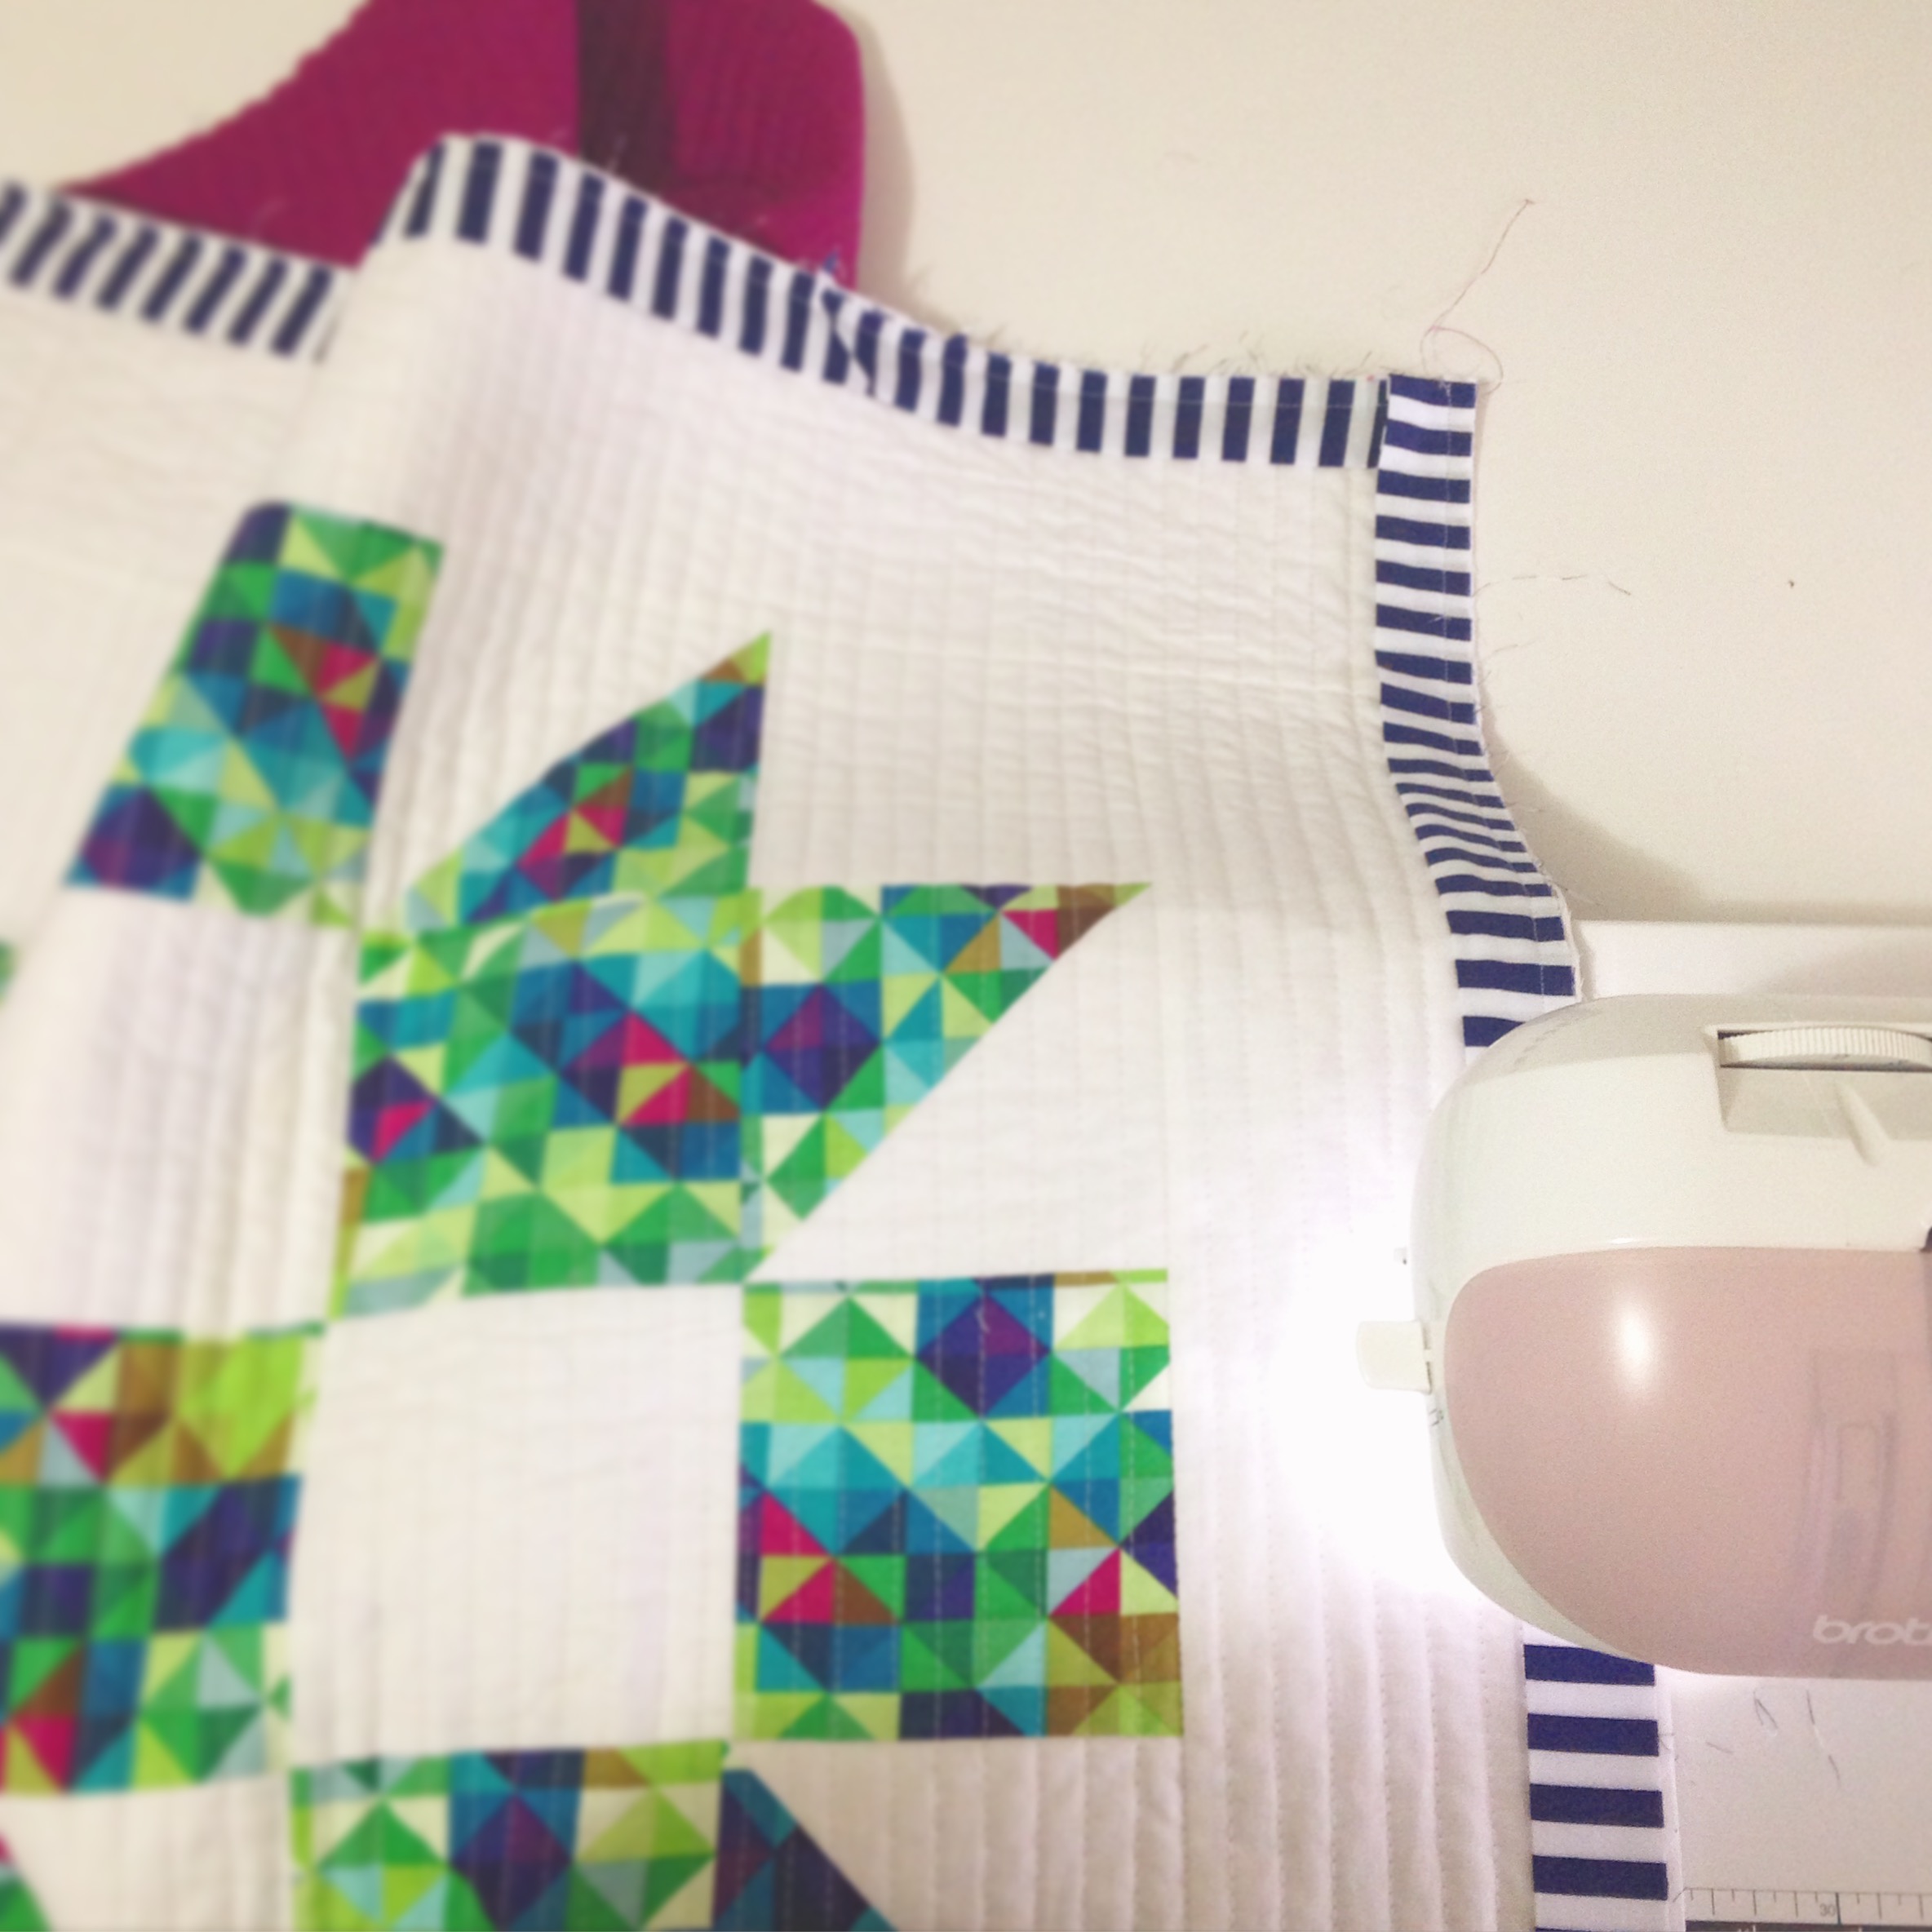
So in part five, we’re looking at how to make and attach a ‘cheat’s binding’ (that is: Straight-Grain Binding) to the raw edges around our quilt using sewing machine and hand sewing techniques!
TBH, making and sewing the binding is my favourite, favourite step in quilt making. After sewing it on with the machine, there’s just something so calming about sitting down with your almost-finished quilt and adding an element of hand sewing to it. It’s almost like that last finishing touch of colourful sprinkles on a pretty birthday cake before delivering it to the table to be devoured by hungry party guests. It’s like your last touch before you can almost let it go…
Wow, where did that deep-and-meaningful thought come from…?? Ooo…?!
Anyway…
As always I want to encourage you to make and attach the binding to your quilt in the way that you know best and using a method that you find the easiest and/or most successful. You are always more than welcome to use my way as guide or for inspiration! And if you do chose to follow my method, you’ll find all of the measurement and cutting info as well as a quick walk through of the steps to complete this stage in the pattern sheet linked above!
I always love it when you share with me your finished blocks, quilt tops and quilting! Feel free to tag me on Instagram* or Twitter at @3and3quarters, send me an email or share them on Facebook!
*FYI: If your Instagram account is set to private and I don’t follow you, I won’t be able to see your photos!! If this is the case, send me an email letting me know you’ve tagged me and I’ll do my best to find you on Instagram so I can give you a big fat LIKE and some wonderful words of positivity and encouragement!! 😀
So don’t forget to join me for part six, where we’ll go through the last step in making our quilt – the quilt label! And then…our quilt is officially finished!!! YAY!
Welcome to part four of my QAWM series! If you’re playing along at home, we’re now up to the stage where we are ready to quilt our basted quilt!
Over the past three parts to the series, I’ve been writing up a pattern/info sheet for you to download and print off… This time around, I’ve decided to put all of the information, tip, tricks and ideas for quilting in a blog post!
So let’s start off with the three main ways you can quilt your quilt:
The first is the most traditional way – hand quilting. This is a form of quilting where you sandwich your basted quilt into a large hoop, usually wooden that can some times be attached to a frame. Then using a short hand-quilting needle and waxed or non-waxed cotton thread, you sew a short running stitch through all three layers of the quilt. The technique takes quite a lot of patience and practice to get used to and can take up a lot of time, depending on the size of the quilt and the design you plan on quilting.
Another way would be to simply quilt on your own domestic sewing machine. The way you choose to do this is completely up to you! You can stick to straight vertical lines like I have or even explore Free-Motion Quilting where you lower the bottom feed dogs on your machine and move the quilt top in any direction you like using an embroidery/darning/spring-loaded foot! This form of quilting can also be known as ‘stippling’ and can be a little tricky to master! My advice would be to practice on some scrap batting and fabric to get a feel of the motion and direction before trying it out on your quilt.
The third way to get your quilt quilted would be to take it to a long-armer. This form of quilting is seen as a more ‘professional’ way to finish a quilt, with the end result looking absolutely beautiful, clean and perfect! You can usually find long-arm quilting services at your local quilting store or you can find a private quilter in your area.
Personally, I prefer to quilt my own quilts. The reasons for this are:
1. I have a fairly limited income and so can’t quite afford to pay someone else to quilt my quilt.
2. I’m a control freak and love that I have free reign on how I get to quilt.
3. I love the romance of my quilts being purely made by my self. That my hands, my heart, my efforts and my time, with nobody else’s, have constructed and finished a quilt. Sometimes this notion can come back and bite me in the butt – especially when time is a major factor – but on most occasions, a huge rush of accomplishment crashes over me and every gruelling, challenging and sometimes soul-changing step is totally worth it!
Okay, let’s now move onto how I get my sewing machine ready to start quilting. (Obviously, this information would only be relevant to those of you who wish to quilt their own quilts!)
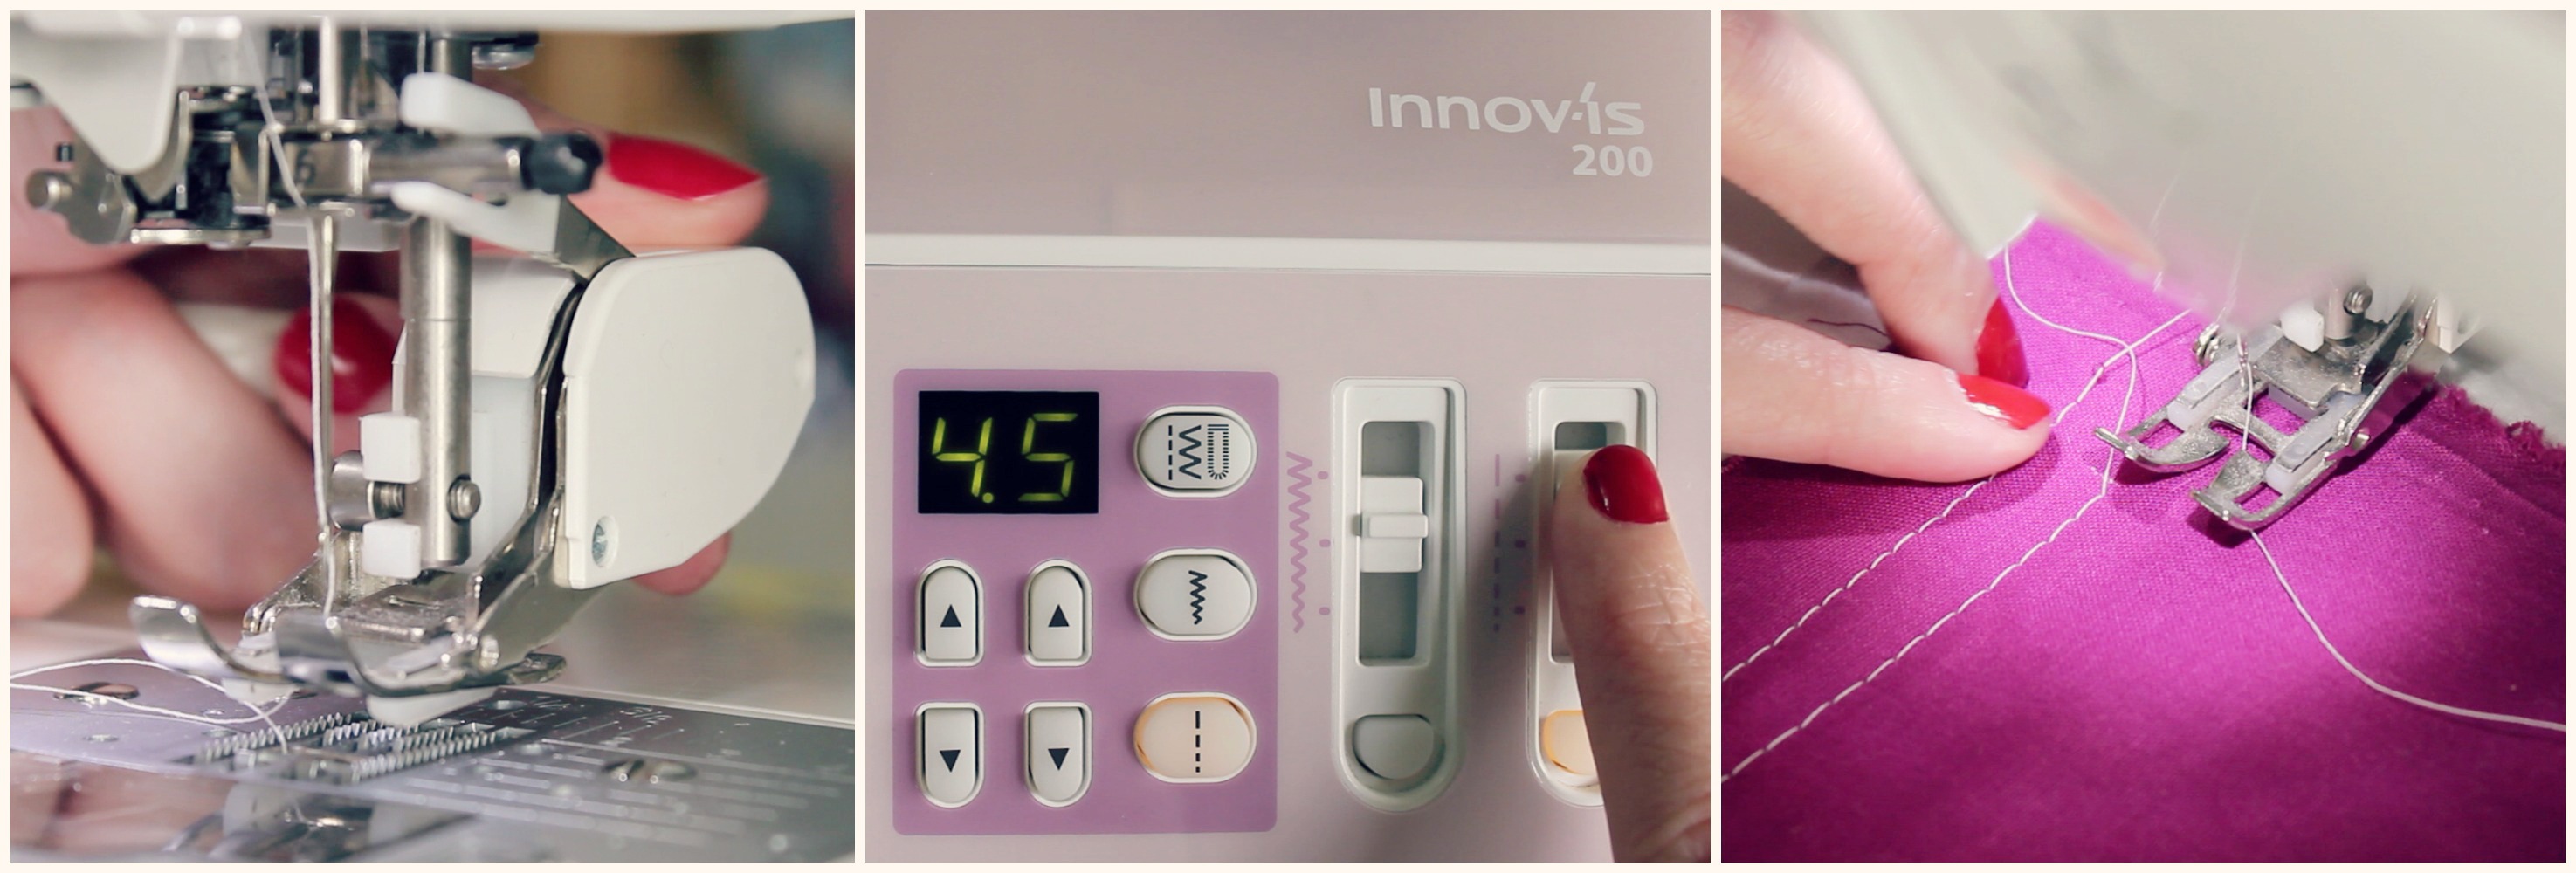
– First, I change the foot on the machine from my 1/4″ foot to a walking foot. A walking foot features a set of ‘feed dogs’ that work together with the feed dogs on your sewing machine to help feed all three layers of your quilt through the machine all at once. The foot prevents the top layer of the quilt from moving forwards, keeps stitches even, stops the layers from puckering and it creates a smooth surface for you to quilt over.
– Next, depending on the last time I changed my needle, I’ll replace and put in a new sharp needle. I usually use a 90/14 universal needle as I find them to be the perfect strength for quilting.
– When it comes to threads, I’m pretty non-fussed about using a particular weighted thread or one that is marketed towards quilting. I mainly use a Gutermann polyester thread for all of my sewing and quilting as I find they’re strong and versatile, there’s a bigger colour range to choose from and they can sometimes be a little less expensive than quilting cotton threads. (Remember, I’m on a limited budget here!) Now don’t get me wrong, I love using cotton threads and fully understand the reasoning behind why it’s best to use cotton thread in patchwork etc. But I just personally find that polyester works best for me and that’s okay.
So in this quilt I’ve chosen to use a purpley-type-colour in the bobbin to match the purpley-type-fabric I’ve used for the backing: Gutermann polyester thread in the colour: 247. For the top thread I’m using an off-white-but-not-quite-cream Gutermann polyester thread in the colour: 111.
– The last thing I do to my machine is change the stitch length from 2.5 to 4.5. I find that when using a longer stitch length the machine feeds it through faster thus getting the quilt quilted faster! I also love how the long stitches leave this beautiful tactile surface effect making the quilt look fresh, modern and insanely mesmerising!
To test out what the stitch length will look like on your quilt, place a scrap piece of fabric along one edge of the quilt and sew lines at different lengths until you find the one that looks the best! Note the stitch length down and always remember to set it back to that every time you turn the machine back on! (If you have one of those really fancy sewing machines, program the stitch length in so that it’s easier to come back to!)
Setting up the the space around you:
– Make sure where you’ve set up is comfortable, spacey and has good light.
– Choose a comfortable chair that supports your back and allows you to be front-on with your sewing machine.
– Have essential tools beside you like thread snips, extra thread for the bobbin, water and some snacks if you really need them! I also like to have my phone close by incase I want to take some Instagram photos!
– Lastly, put on some good music, a movie, audio book or podcast to help you get into ‘the zone’!
My quilting technique:
– Before I start quilting, I make sure the surface of the quilt along with the batting and batting layers are lying flat, with no immediate tucks, folds or chances of puckering.
– I sew the first quilting line through the centre on the quilt, ditch-stitching along the seam of the middle sashing strip. This line will become my marker or guide to follow as I sew the rest of the lines.
– Beginning from the top edge, I gently feed the quilt through positioning my hands on top of the quilt at either side of the needle and walking foot, keeping the layers taut as they are fed through.
– I allow the sewing machine to feed the quilt through at it’s own pace. Don’t push or force the quilt through as this may result in skipped stitches, puckering and fabric shifting.
– Placing an extension table alongside your machine will help to control and feed through the quilt.
– Have the quilt hang into your lap as you feed it through to prevent the quilt from dragging and placing strain on you and your machine. Allowing the heavy weight of your quilt hang from your machine may result in skipped stitches and wonky quilting lines.
– To help ease the trouble you may have with the quilt hanging down from your left side, place a chair or ironing board along this side to prop up the quilt, easing the strain placed on you and your machine.
– If you’re quilting straight vertical lines, place the edge of the walking foot alongside the previous line you’ve just sewn and use it as a guide. If you want to make the space between your lines wider, insert a quilting guide-bar into the back of the walking foot, set it to the width you wish to use and place the bar alongside the previous line instead.
– Most importantly: take your time! Be patient with the process and always learn from the mistakes you make! (Remember: it’s okay to make mistakes! They make us better at what we do, even though you don’t think so at the time!!)
+++
So I think that’s everything I wanted to share with you in regards to quilting!
If you think I’ve missed a crucial step or if there’s a technique or way you love most to do, comment below and share your knowledge with us!
Don’t forget to keep sharing photos of your fabric choices, finished blocks and quilts if you’re following along with the series! I absolutely love seeing what you’re making and how you’re interpreting the pattern!! You’re all so wonderfully creative!! You can easily tag me on Instagram and Twitter using the handle: @3and3quarters or you can simply upload a picture to my Facebook page!
I hope that you’ll join me soon for part five where I’ll be teaching you how to make and attach a simple double binding to your quilt – the second last step to the finish line! Yay!!
With needle packets lying all about my sewing room, some stuffed away in little drawers or packed into cutely decorated tins, I thought it was about time that I made a needlecase to house all of them in one place!
And course, if I was going to make one I just had to film it and show you how easy it is to make yourself!
So with my inspiration coming from this book: Sew! by Cath Kidston, I picked out a favourite fabric, some matching felt and all of the other materials and notions I would need to make my needlecase!
This is how I did it…
Here are the measurement and cutting details you’ll need…
For the OUTER COVER you will need: – x1: 9″x6″ rectangle of fabric* – x1: 9″x6″ rectangle of HeatnBond/Vliesofix/Bondaweb – x1: 8″x5″ rectangle of thin/lightweight cardboard – I used a green scrap piece as I didn’t have any white left! (*You can very easily use a Fat Quarter to make this project!)
For the TAB you will need: – x2: 1&1/4″x2&1/4″ rectangles of fabric (the same used on the outer cover) – x1: 1&1/4″x2&1/4″ rectangle of lightweight iron-on interfacing
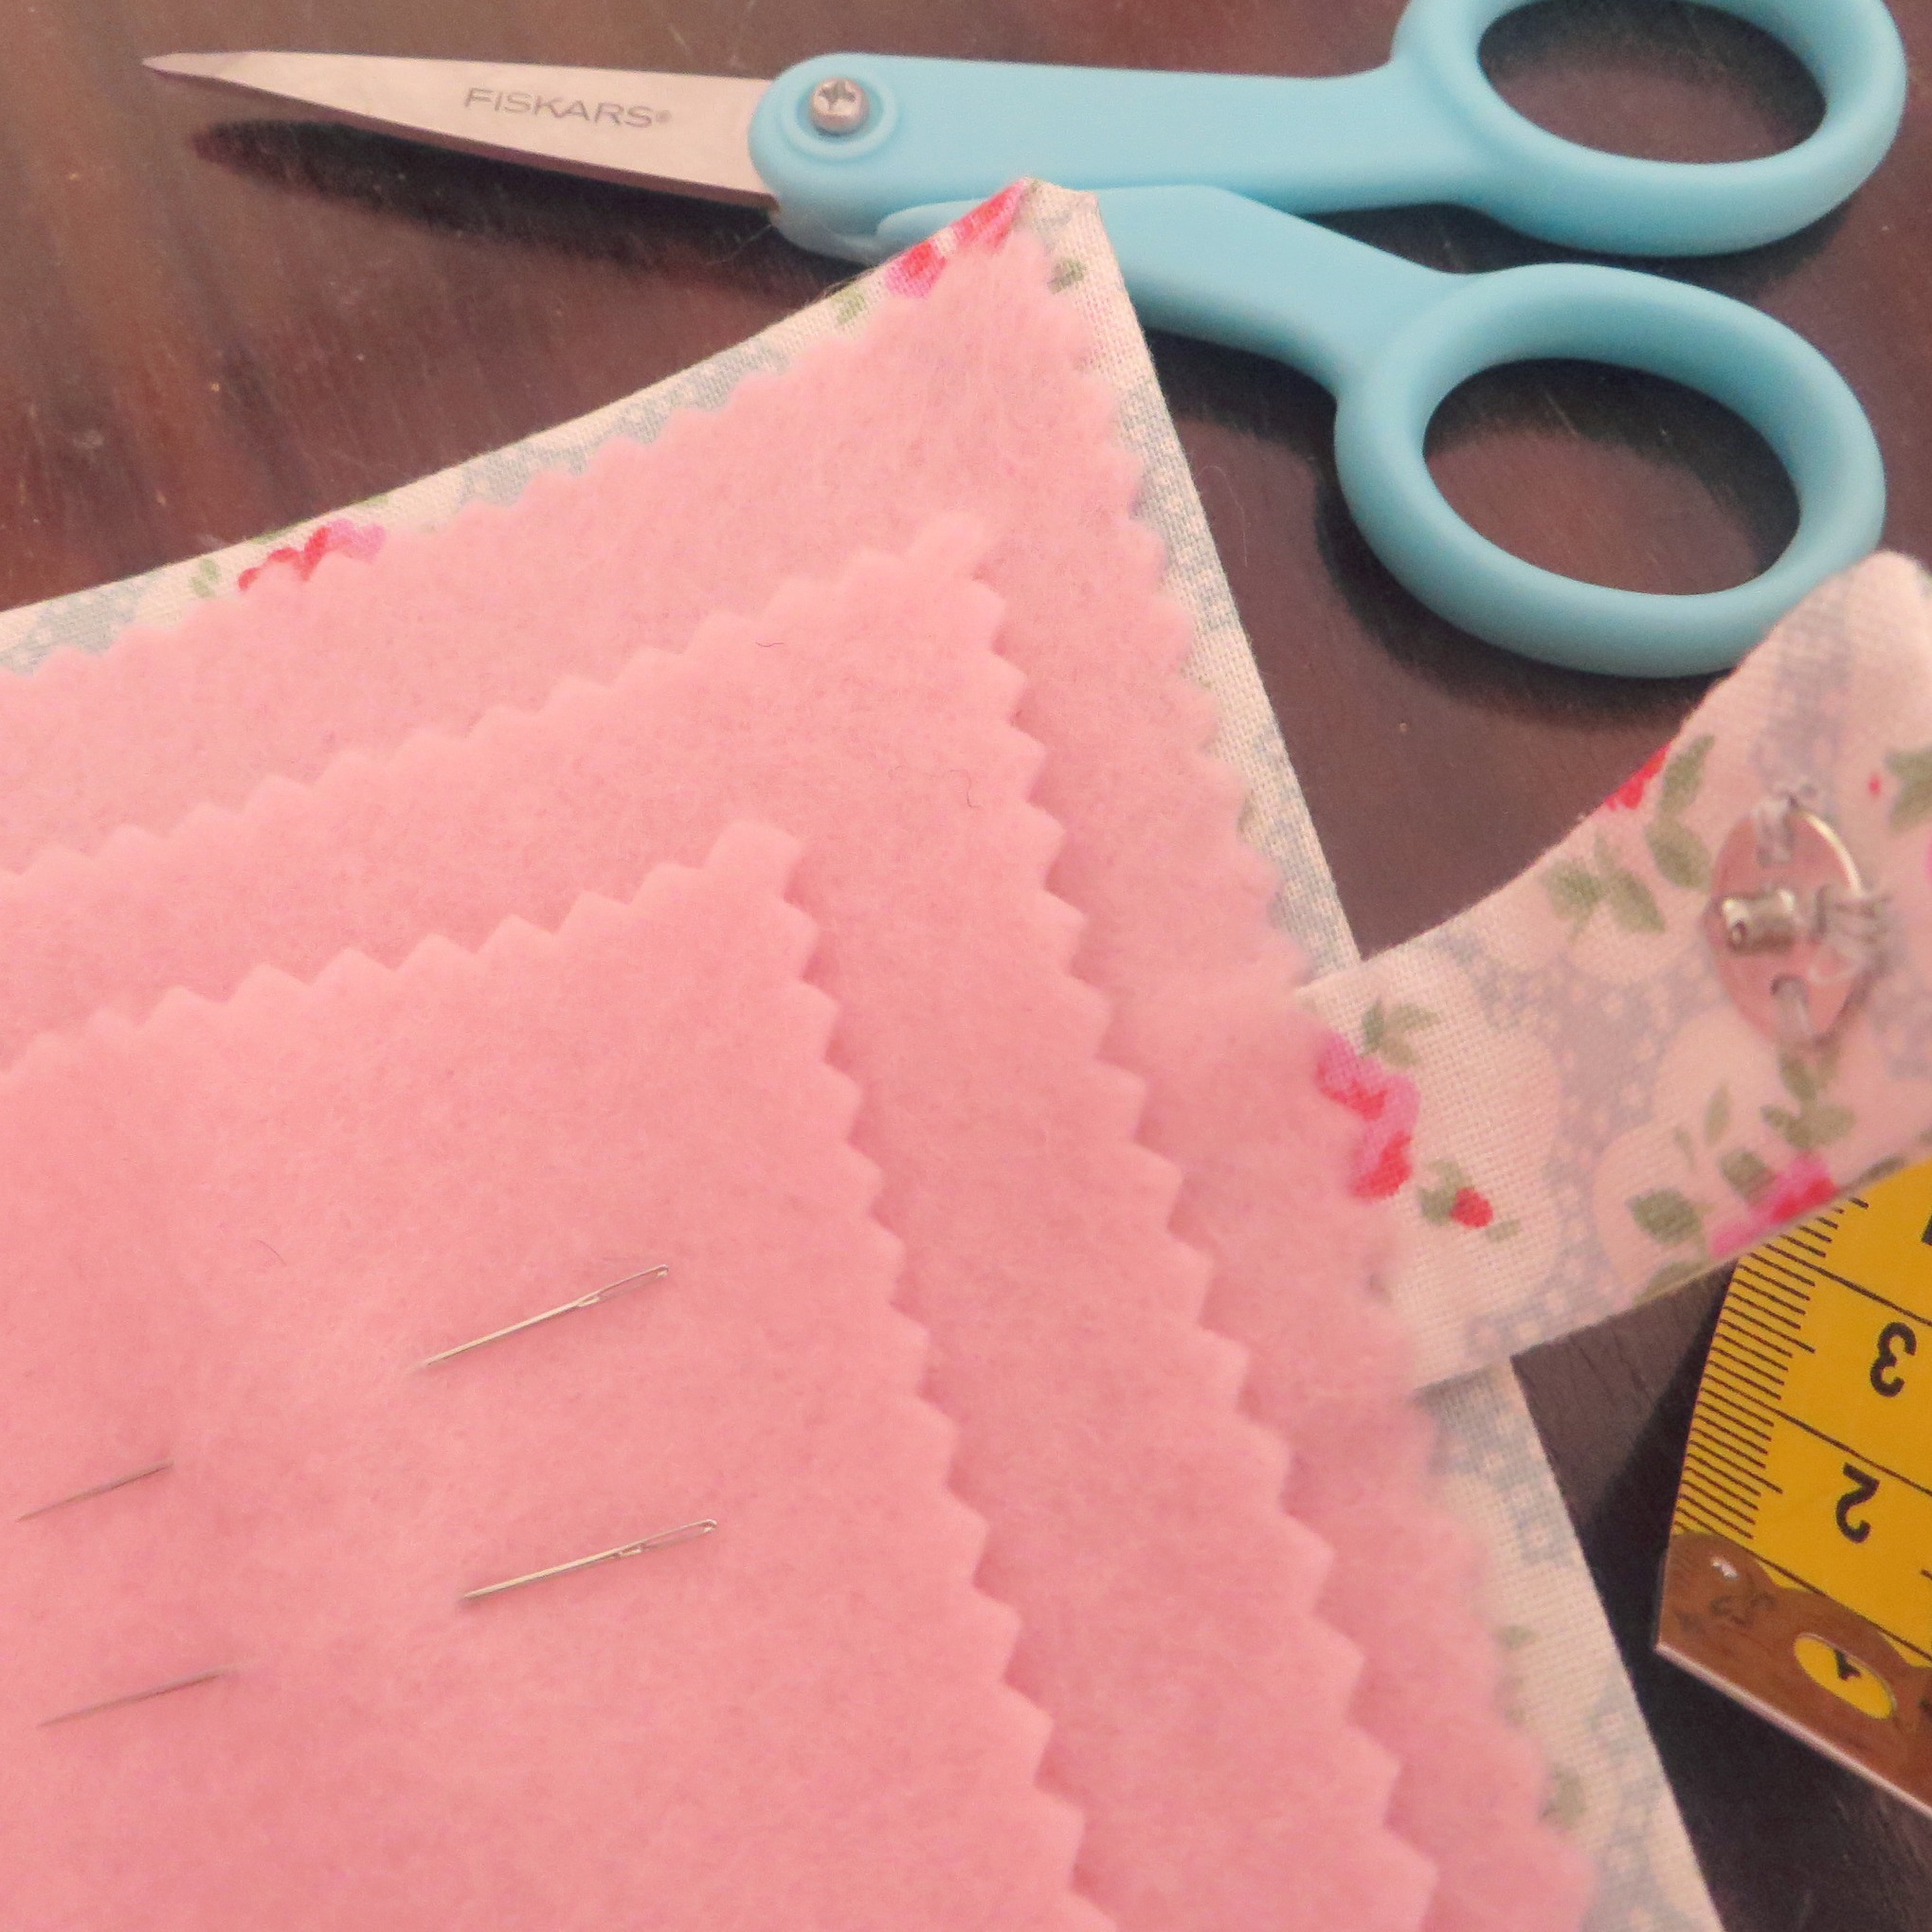
For the FELT PAGES you will need: – x1: 4&3/4″x7&3/4″ rectangle* – x1: 4&3/4″x7&3/4″ rectangle of HeatnBond/Vliesofix/Bondaweb – x1: 4″x7″ rectangle – x1: 3″x6″ rectangle (*I was able to cut all three rectangles from one A4 piece of felt.)
And now the list of additional items you’ll also need…
– x1: 11mm snap fastener/stud – Hand sewing needle and matching thread – Sewing Machine (with matching thread as well) – Rotary blade, ruler and mat – Pinking Shears – Fabric and craft scissors – Thread snips – Iron
+++
Don’t forget to share with me your finished needlecases! Tag me on Instagram at @3and3quarters or share it on my Facebook page!
If you have any questions about this tutorial or have any future tutorial requests, comment below and we can have a good ol’ chat about it!
The other day, I was looking for a challenge… A block, that I’ve never before constructed, was a bit cutesy in design and was a possible candidate for a future block tutorial.
In there was this block: the Dollhouse. A sweet little House on the Prairie type design, that immediately ticked off all the boxes in my head.
As I was making it, I really wanted to share my honest thoughts and experiences about how the block came together…
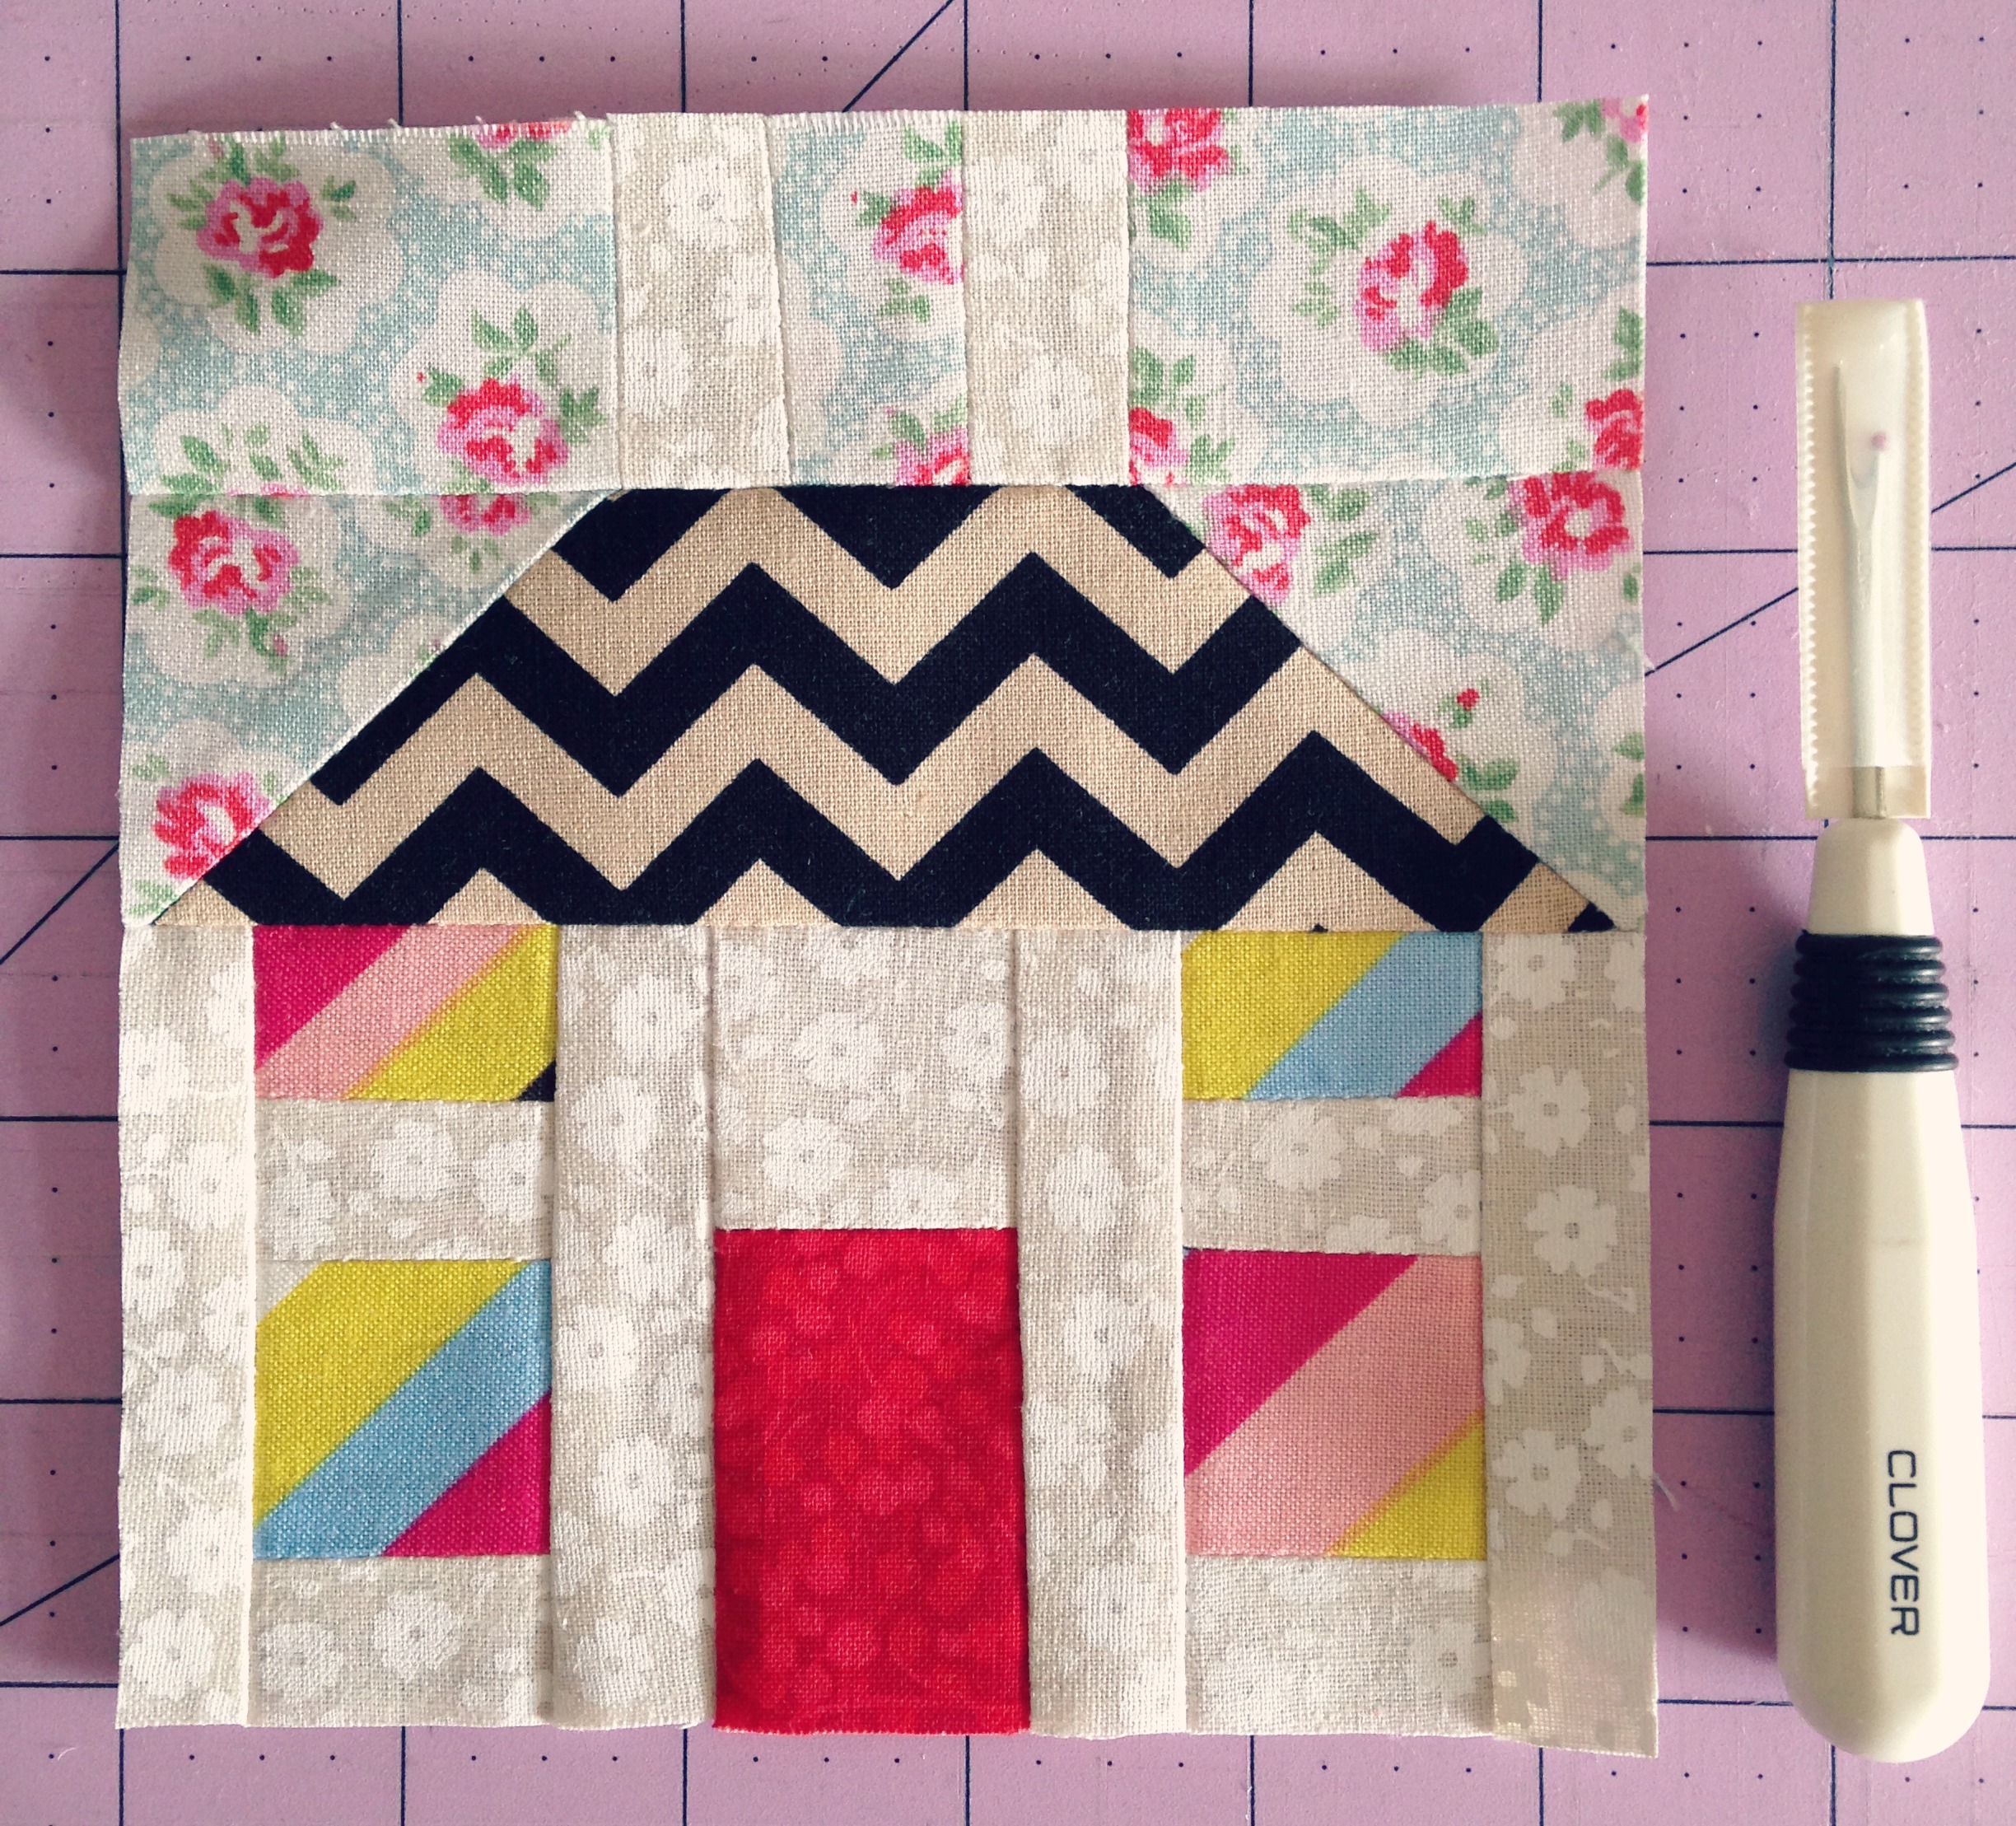
So here is my honest review of the Mini Dollhouse Block.
Because it’s a mini block, I knew that the measuring and cutting would be intricate and that I would have to be patient with it. There are a lot of different little pieces that make that up this block which requires quite a bit of concentration to keep track of everything you’re cutting and where it should go.
I did find that a few of the measurements seemed a little bit off. But I trusted the pattern and cut my fabrics according to what was published after checking back several times! At the time, the pieces that seemed a little odd in size included the square-triangles that were to be pieced to either end of the roof piece and the length of the two chimney strips.
When I began piecing, I first started with the bottom half of the house, joining together the windows, walls and door. I had no issue with these until it came time to adding on the four vertical 1″ strips separating the window and door strips. Although the length of these strips fit perfectly with the door strip, the window strips were too short, leaving a gap of about half an inch. ‘No problem’, I thought, as I would just simply trim the bottom edge so that it was even with the length of the window strips.
Moving on to making the roof, I had issues understanding how two 2&1/2″ squares were to be stitched diagonally on either side of a 2″x5&1/2″ rectangle. So I decided to cut the two squares down to 2″, drew a line through the middle of each and sewed them onto the ends of the rectangle roof piece. After trimming off the excess fabric from each end (the seam was cut to a 1/4″ allowance) and giving the section a good steamy press, I then attached the roof to the top of the house section. These two parts came together seamlessly and had very little over hang.
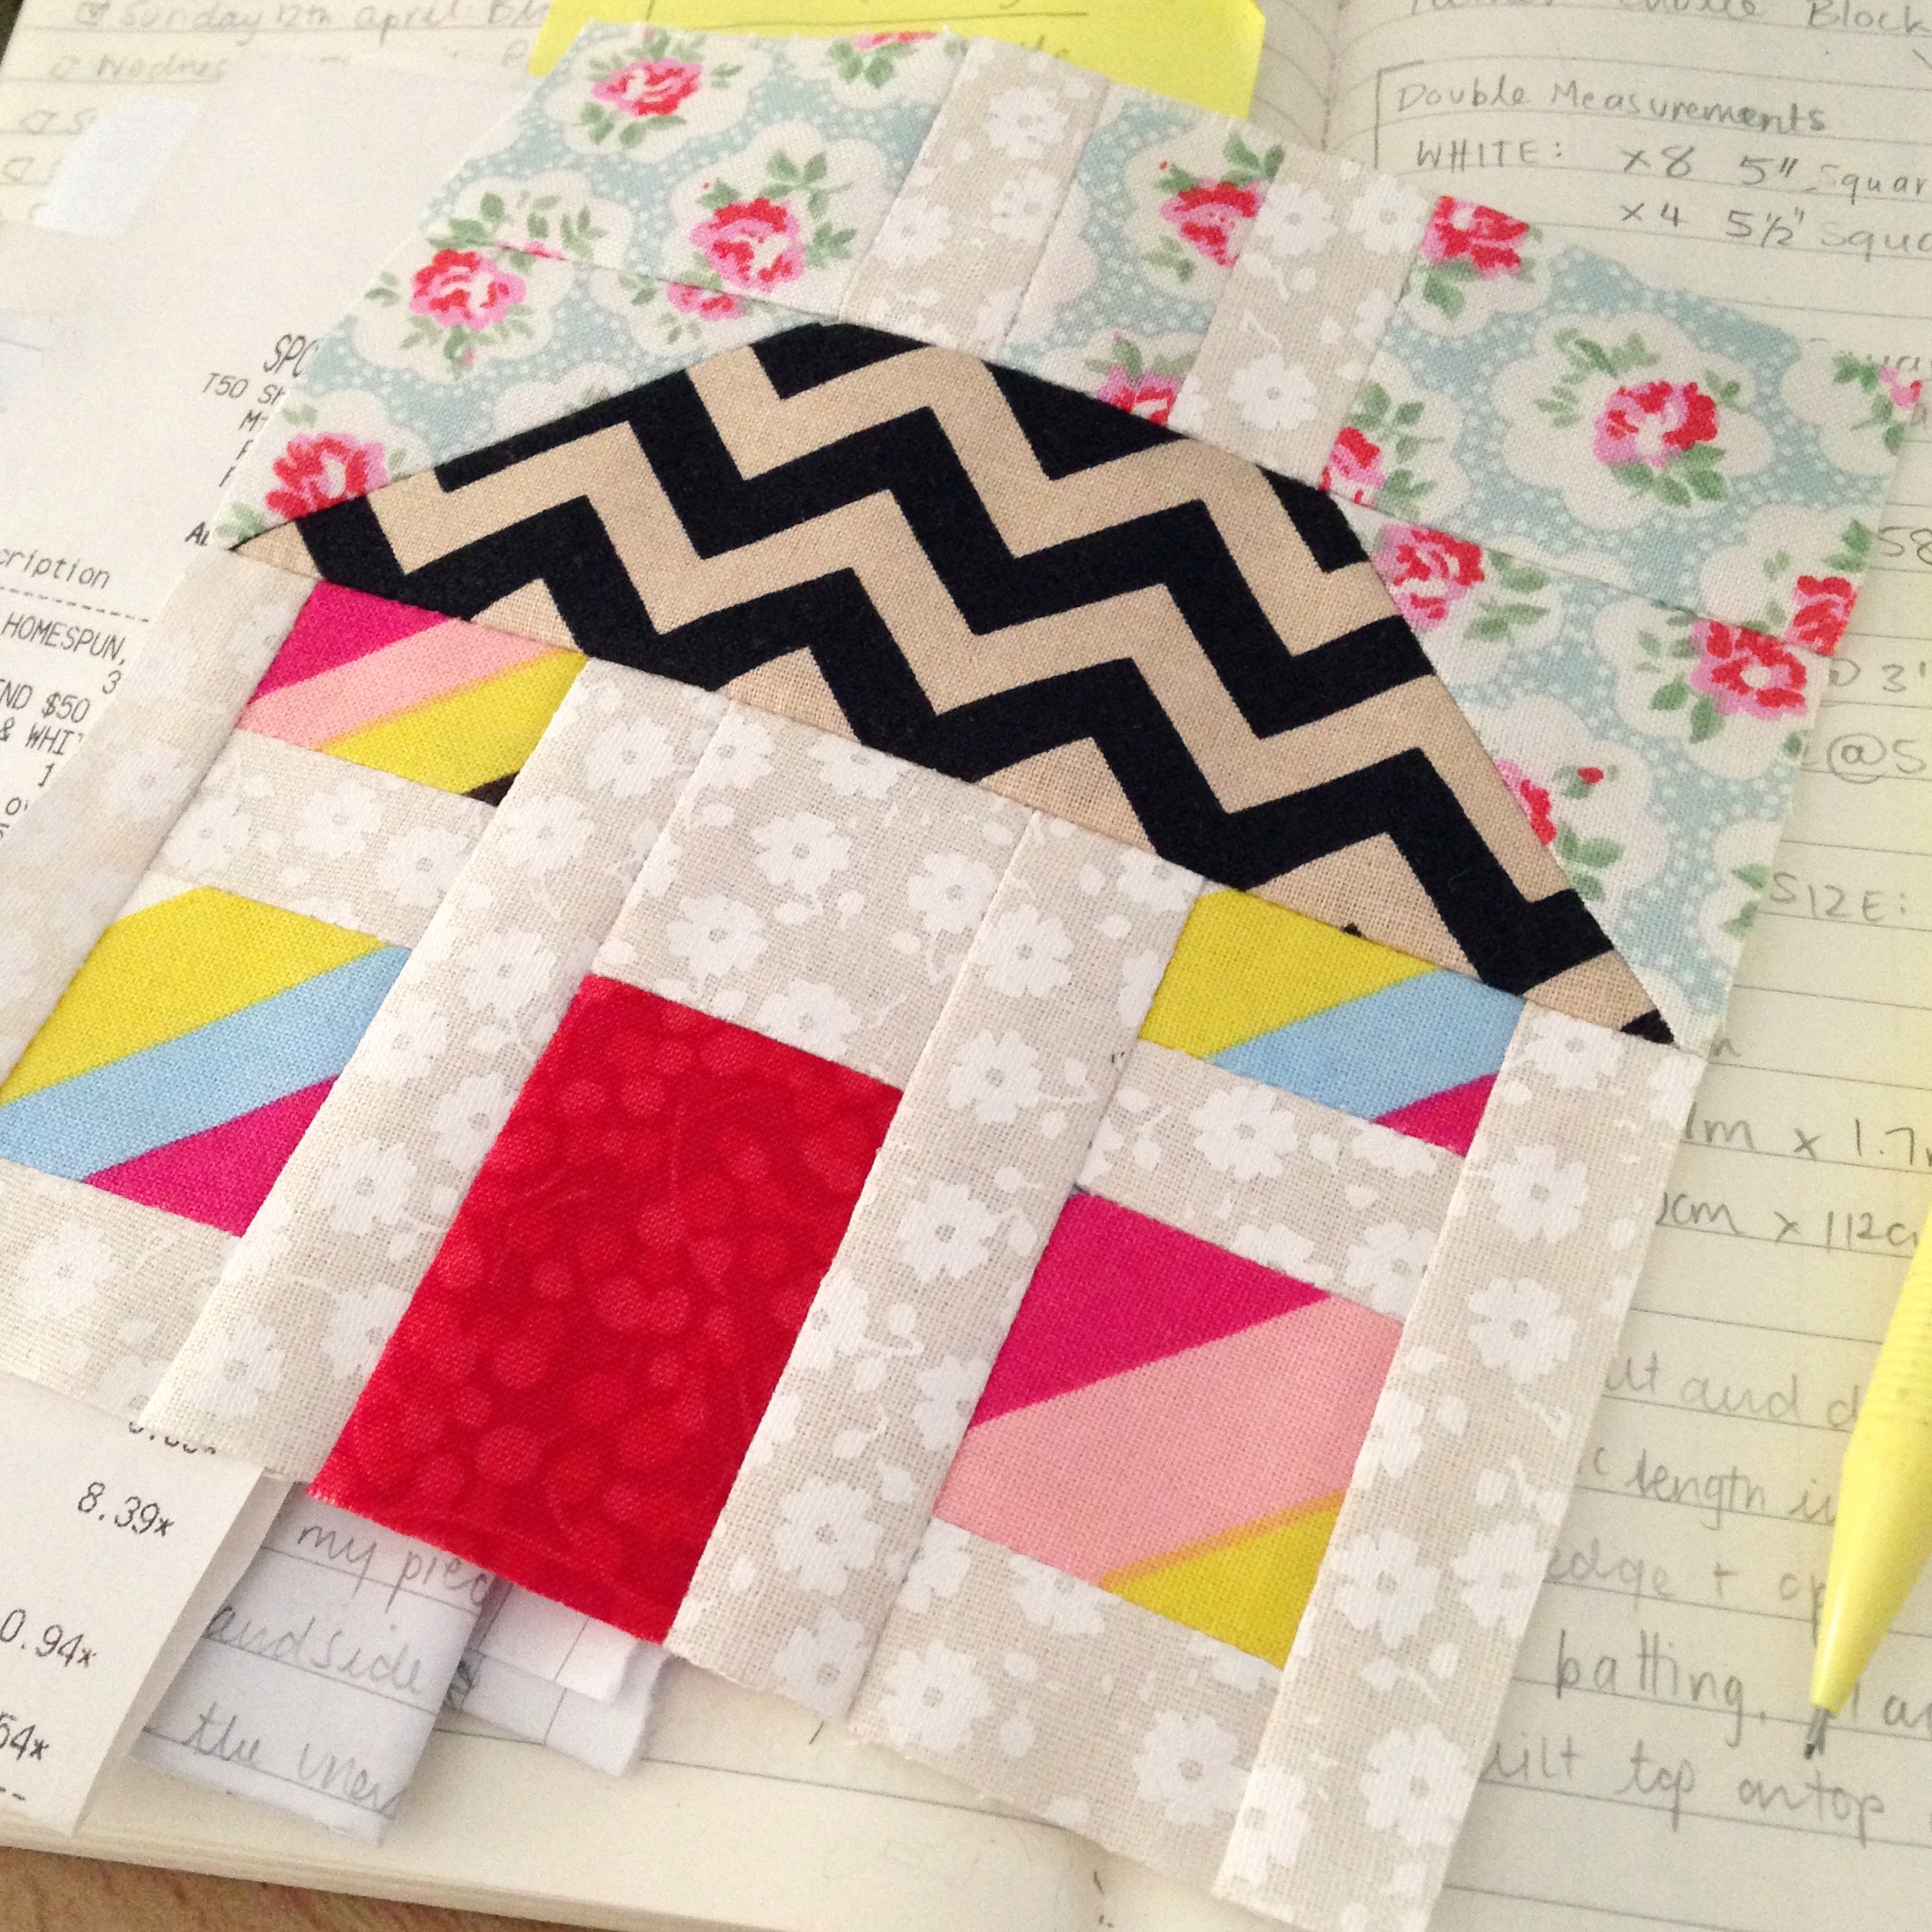
The part where I had the most difficulty was matching up the two chimney strips with the top edge corners of the roof. After piecing the allocated pieces together, I realised the centre square separating the two chimney strips was about half an inch too wide! So out came my trusty seam ripper and I patiently picked the two seams on either side of the square apart. (Remember, these pieces are super tiny, so my big fat fumbling fingers got in the way very easily!) I made the decision to cut a 1/4″ off from either side of the square, thus getting rid of the perforated surface that the stitching tension had caused and proceeded to try again. Success! Even though the pattern said to cut one 1&1/2″ square for this section, it ended up only needing a 1″x1&1/2″ strip.
So once I trimmed and squared off the edges, the finished block came to a size of 5&1/4″x5&5/8″ compared to the size of 5″ squared as stated in the book.
So that was my journey in making this block.
Now I must state, that everything I’ve written in this post is my own opinion. I simply wanted to document my experiences, triumphs, failures and the thought process behind this block as it was taking shape.
As I was writing this, I was conscience of not sounding too harsh or judgemental over the pattern being published slightly wrong. (Who knows, maybe it was just me getting things wrong…?) But to be completely honest, I was a little bit disappointed by it as this is the first block in this book to let me down! And that’s a real shame because the endless possibilities of creativity behind this patchwork book is brilliant! But I guess it’s also important to remember that not everything can be perfect. Mistakes happen. Information can be misplaced and be so easily entered in wrong. Perhaps that’s what’s happened in this case…?
So sometime very soon I will re-make this block using the measurements that I found worked out better as well as picking out a range of fabrics that go together a lot nicer in comparison to the block above. And once I’m happy with that, I’ll more than likely create a tutorial showing you how to make it!
In Australia, the onset of April brings cool chilly mornings, darken afternoons and a whole load of rainy days!
Winter is coming!
LOLs 😀
So with that, here are the things I loved during the month of April…
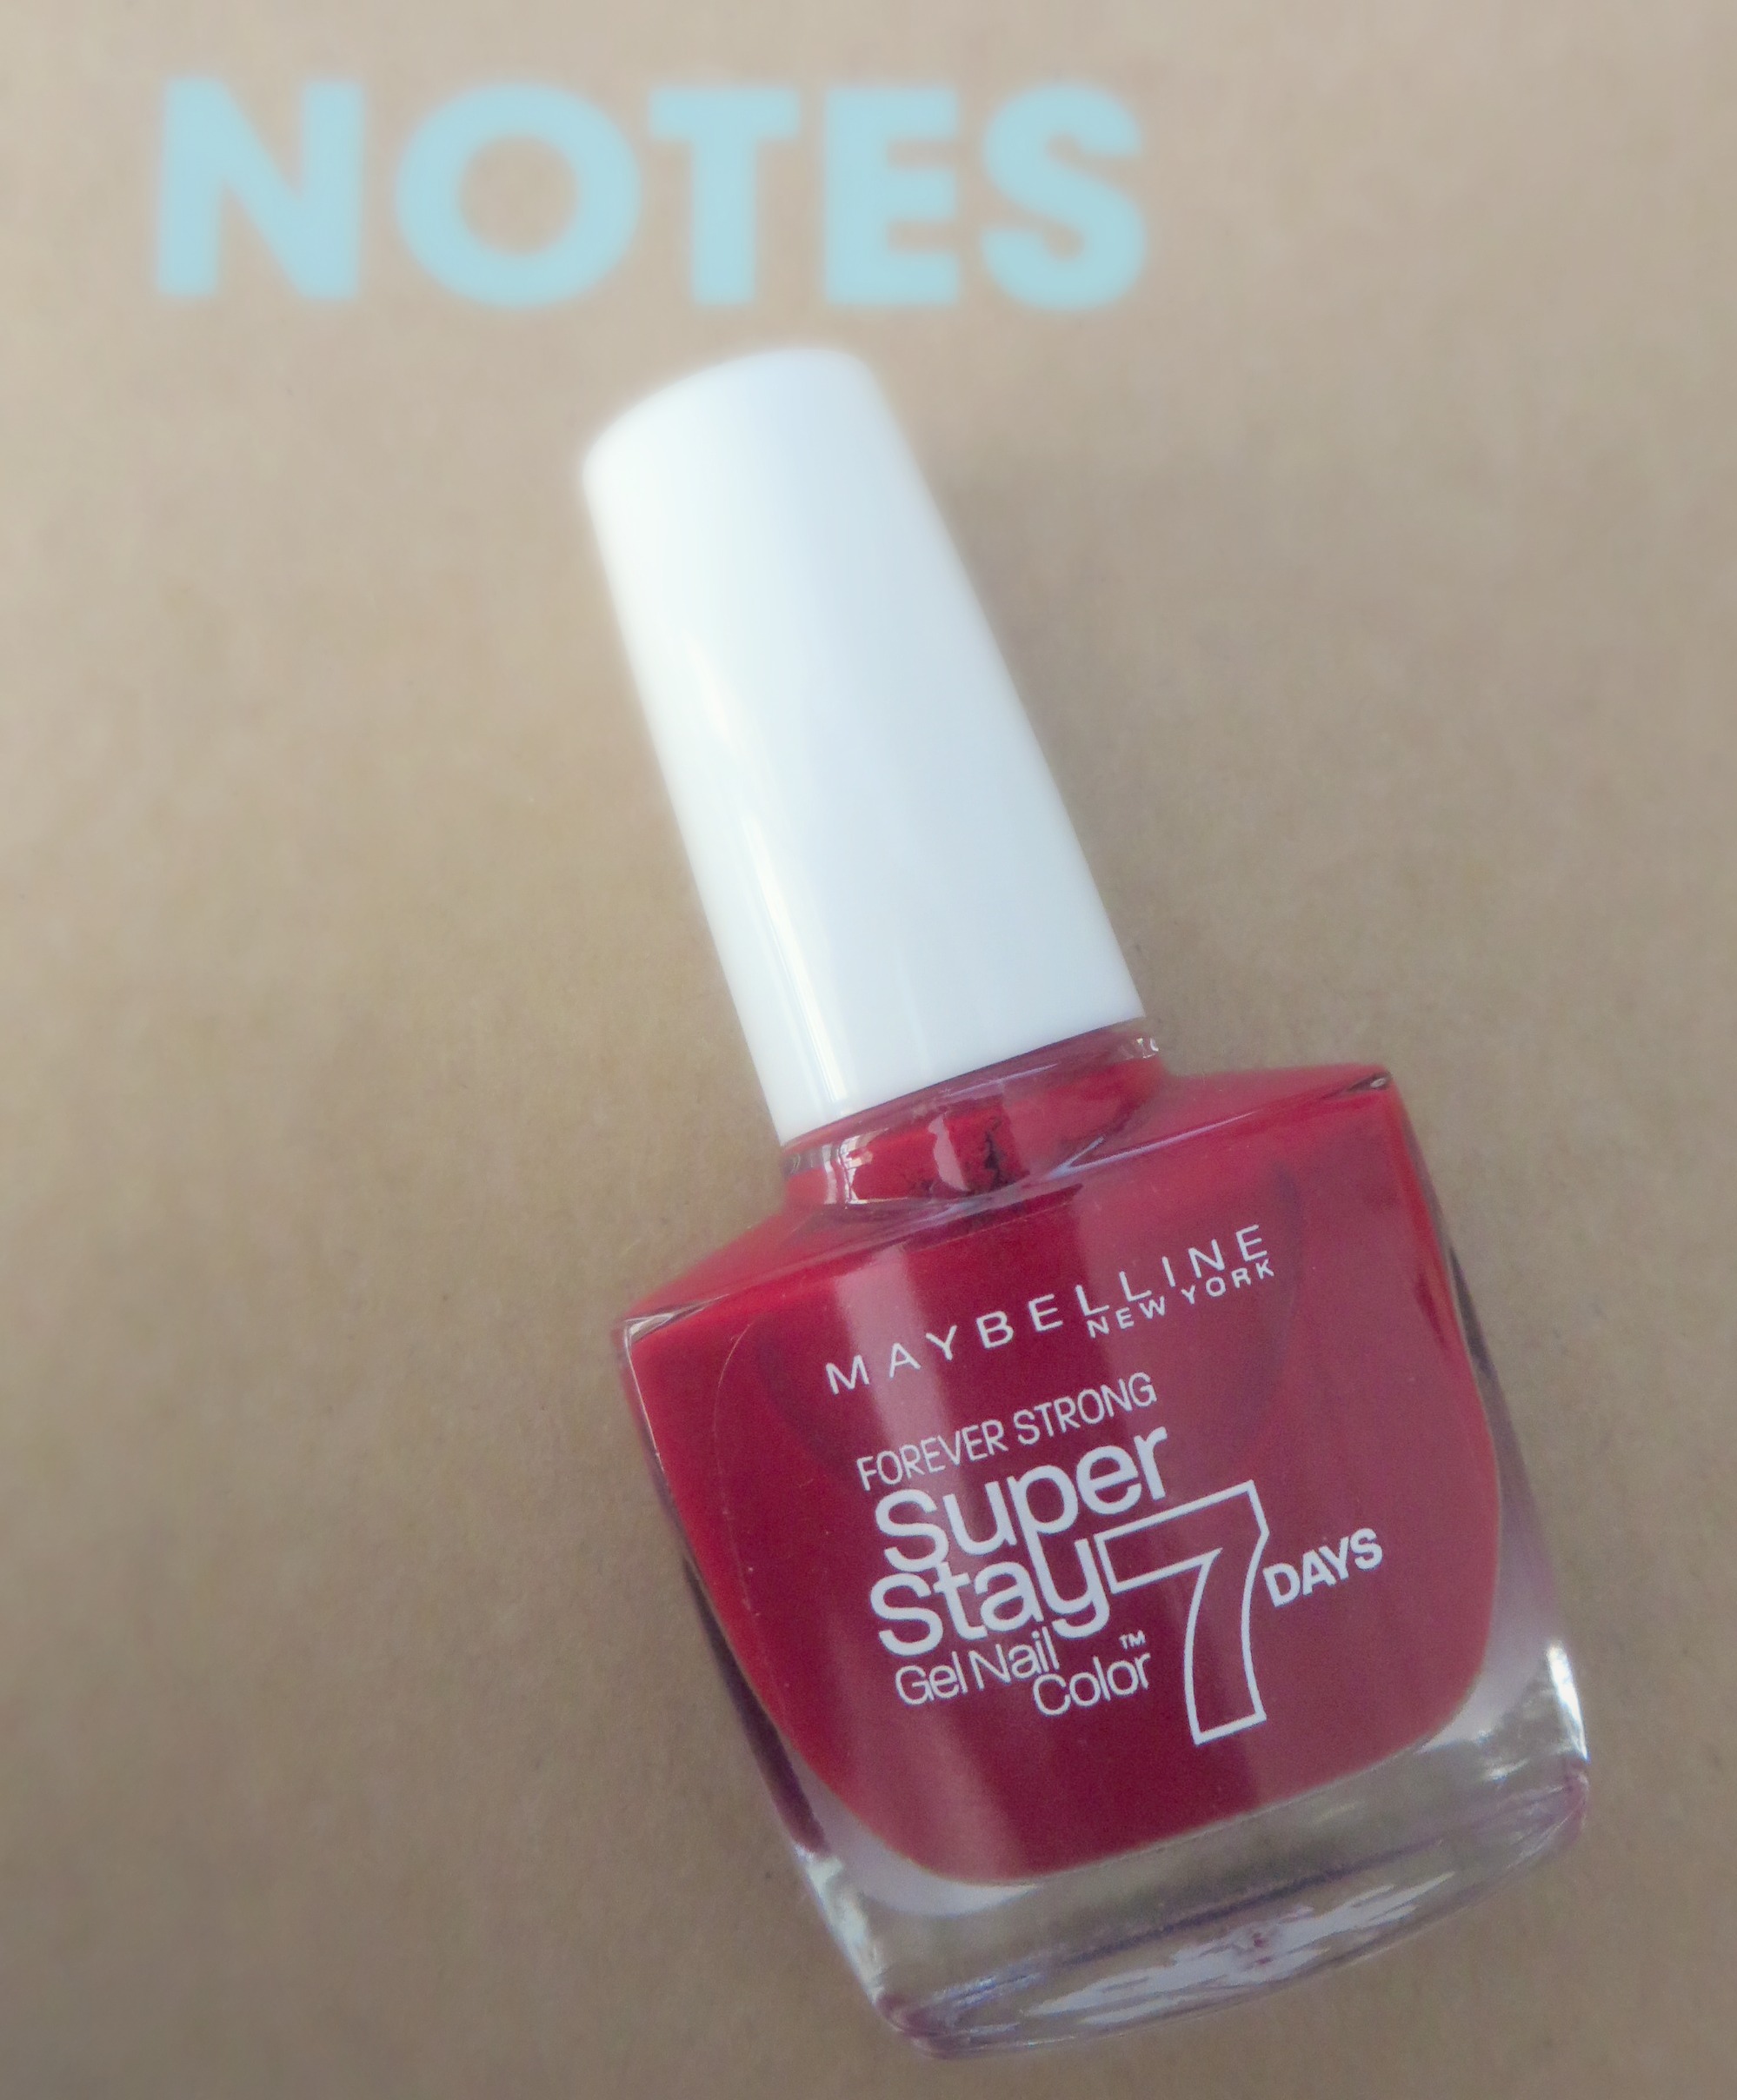
Maybelline Forever Strong Super Stay Gel Nail Color – 06 Deep Red
From the very first stroke in application, I knew that this had to be included on my favourites list!
It was the first time I had ever used a gel nail polish and I immediately noticed a huge difference between the consistency and smooth application compared to that of a ‘normal’ nail polish. I was super impressed with how quick it dried and the fact that I only had to apply one coat – score!
For a while now I’ve been looking for a beautiful intense red like this one that I would be happy to add to my collection as one of those ‘classic’ type colours… And after using this one a few times, I can definitely see myself reaching for it quite often in the future!
Sukin Facial Moisturiser
I’ve shared with you before a few other of my favourite products from the Sukin range and when the time came around to finding a new face cream, I knew I had to try this one out!
Things I love about Sukin and this facial moisturiser…
1. It’s Australian owned and made
2. It’s made using natural products: no nasty parabens, 100% vegan, 100% carbon neutral and are against animal testing.
3. It’s ‘skincare that doesn’t cost the earth’.
4. Natural ingredients like aloe vera and nettle hydrate and soothe my skin. While rose hip, wheat germ and avocado oils renew and promote healthy skin.
5. When I lather this cream all over my face after getting out of the shower, it feels cool, refreshing and luxuriously healing!
6. I love the way that it absorbs quickly into my skin without leaving a sticky or greasy feeling, allowing me to simply get on with my day!
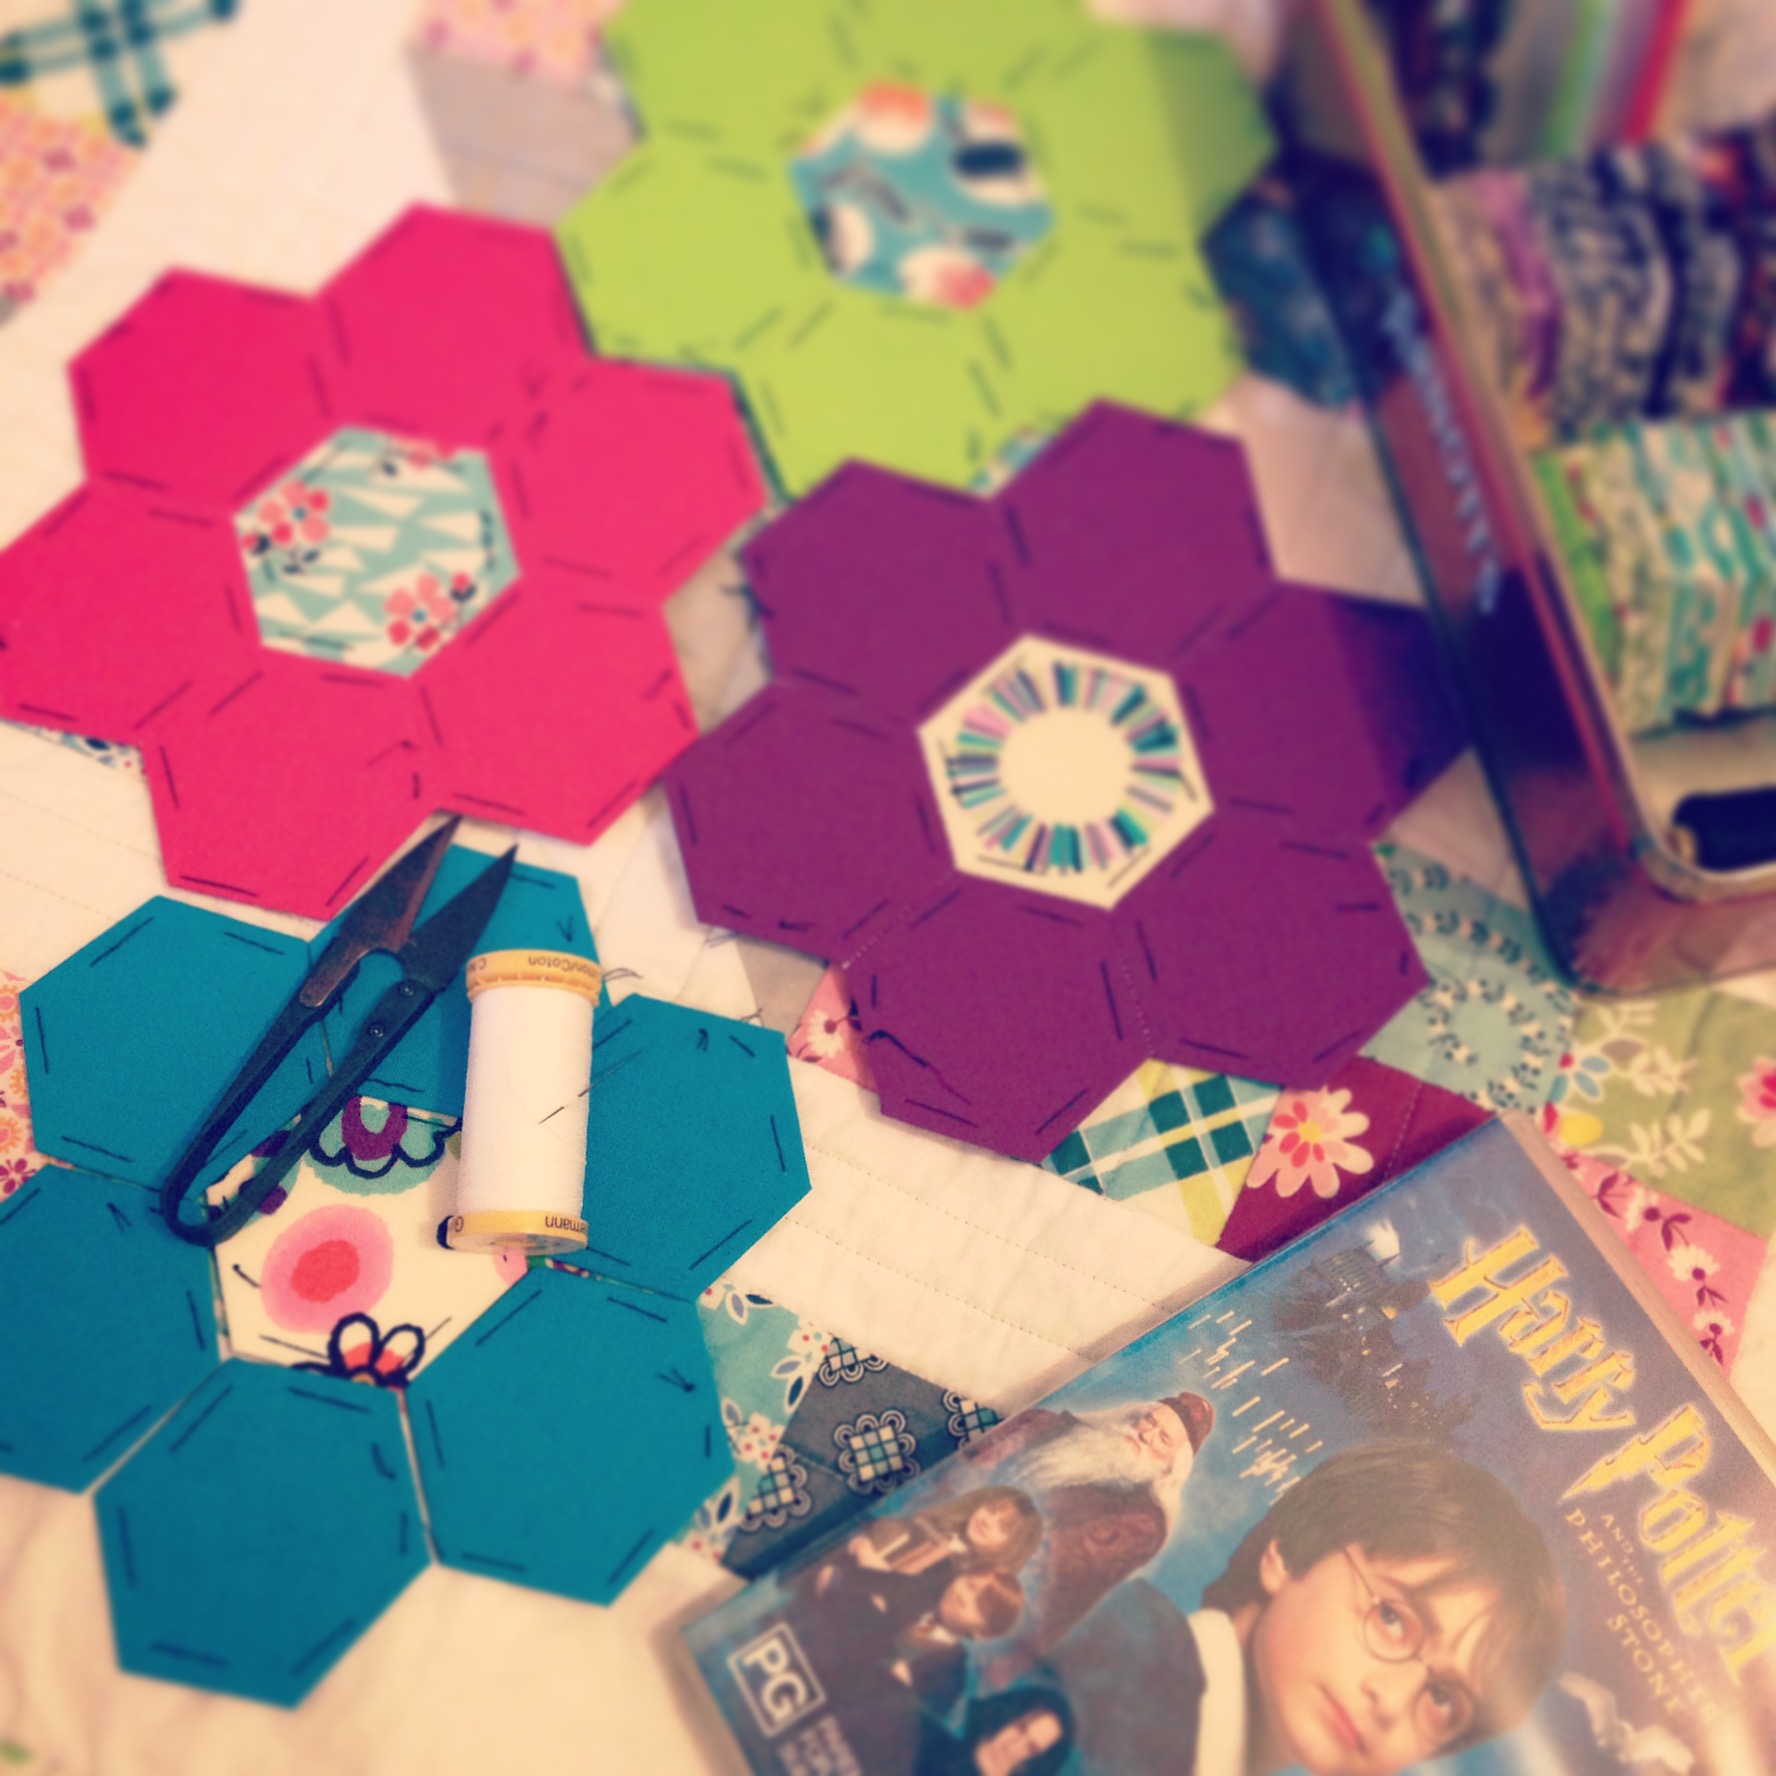
Hexies
When I sew, there are times when I crave a good sewing session on my machine or I have a strange urge to just simply measure and cut up some fabric!
Then there are other times when I just want to relax, go slow and concentrate on some comforting repetitive sewing. And for me, that’s making hexies!
Throughout April, I felt my brain was so full of emotion and information that I found myself craving for those moments where I could whip my hexies out and get lost in the repetition of stitching…
I couldn’t quite tell you how many hexies I made during April or how many ‘flowers’ I formed them into, but this simple, traditional form of hand sewing saved my sanity and soothed my anxieties in so many ways. It brought to me a comforting happiness that no words could ever describe.
Twinings English Breakfast with Honey & Vanilla
Oh, tea! Where would we be without your warming amber liquid, filling us up with hope, comfort and the feeling of home! *sigh*
It’s with thanks to my parents that I’ve become a slave to the delicious taste and allure of tea! I’ve watched them drink it all my life, at every meal and every occasion we’ve celebrated!
However, I always like to take it a little bit further and explore those types of teas that have something a little different to them!
I’m a big lover of herbal teas. One of my favourites to drink is Twinings Green Tea with Lemon – usually a breakfast favourite! (With the other favourite being Black Tea with Madagascan Vanilla from T2! Delish!)
So when I saw this new flavour of tea from one of my favourite tea companies, (Twinings, that is!) I knew I had to try it!
The promises of Honey and Vanilla swirled among the rich taste of black tea…oh…my knees went all jelly-like in the aisle as I imagined the taste!
And believe me, it tastes beautiful! The aroma that radiates off it is so delectably sweet and hypnotic that I almost wish it was a perfume! ‘Cos I’d wear it! Everyday!
As usual with anything that’s huge in the Pop Culture world, I’m late to the party!
The phenomenon that is ‘Game of Thrones’, started years ago but it’s only now that I’ve decided to jump on the bandwagon and see what the fuss was all about!
And the ‘fuss’ was right! (As usual!) The series is fantastic! The story line is dramatic! It weaves in and out, too and throw between all of the characters. Each episode builds upon the last and there’s no room for slacking – if you miss a slight detail or need to leave the room for a loo break, you instantly fall behind with what’s happening and it can be hard to catch up!
What I love about the series are the intricate bits of information that eventually explode into a major theme that will ultimately impact everyone in Westeros!
OMG, it’s just so good!!
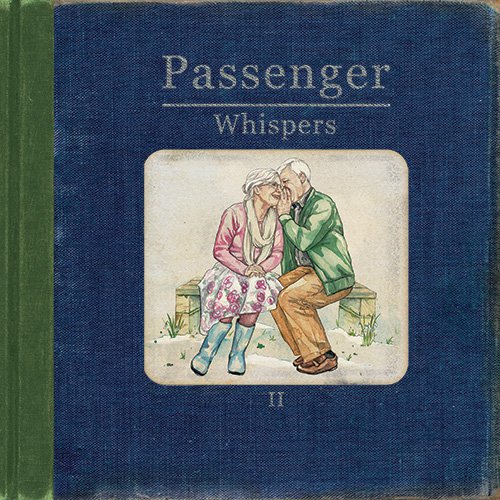
Passenger – Whispers II
If I could name just one artist who soothes my soul, ignites my passion, takes away my anxieties and just makes me simply happy when I listen to their music…
I would have to say it’s this guy – Passenger – aka Mike Rosenberg.
Be it the lyrics, the catchy rhythm of his songs or the sheer heartfelt passion that he radiates when he sings… All of it captures me and takes me to a place where I’m safe, happy and on fire for life!
Whispers II is the follow up album from his last, called Whispers. And what makes me love this guy even more is that all of the profits he makes from Whispers II is going towards UNICEF to help fight against child malnutrition in Liberia. Geez, what a guy!
See, making music for him isn’t all about the profit, the glory or the fame or achieving no. 1 statuses on songs and albums sales. It’s about making music that feels, gives, loves, transforms and changes others for the better.
That kind of music and intent behind is always the best!
+++
So as always, these Favourite posts come with a YT video where I’ve chatted a little bit more about my favourites! If you would like to check that out, click here and you’ll be taken straight to it!
Happy Favouriting, friends!
xx
PS. Let me know of anything you loved during April! Or perhaps you share a love for one of the things I mentioned above…?!