After almost a year of getting the ball rolling, the end of my Star Sampler Quilt Along has come to an end! *insert sad/happy face – whichever one applies!*
In the final instalment of the series, I’ve jammed packed it full of all of the ‘finishing touches’ we need to do to have a completed quilt!
This time ’round there’s no pattern sheet to follow or to download, instead everything you’ll need to know is either in the video tutorial or listed here in this post…
So once you’ve finished piecing together your quilt top with sashing and borders, it’s ready to be backed and basted in preparation for quilting! If you’ve made your quilt with the same measurements as mine, you’ll need:
BACKING: WOF*x150cm (59″)
BATTING: 120cmx150cm (47″x59″)
For my batting I’m using a lovely Premium 100% Cotton Quilt Batting in an Autumn weight by a company called Bosal. To be honest, before receiving this, I never knew that batting was or could be available in ‘seasonal weights’. I chose an Autumn weight as it’s not too fluffy (or lofty) to sandwich between my quilt top and backing, while still being light/heavy enough to keep one warm on a chilly winter’s eve.
When it comes to basting your quilt, use the method that you feel the most comfortable with. For me, that’s spray basting. It’s quick, simple and equates to less time rolling on the floor pricking my fingers with pesky pins! 😀
The same advice goes for your choice in quilting. From the early stages of planning this QAL, I always envisaged this quilt to have a subtle mathematical grid texture to it’s surface. To achieve it, I used my handy Clover Hera Marker and long quilting ruler to mark a 2″ grid pattern across the top of the quilt, three lines at a time (ie. mark three lines, quilt, then mark another three lines, quilt etc.) until the entire quilt was finished.
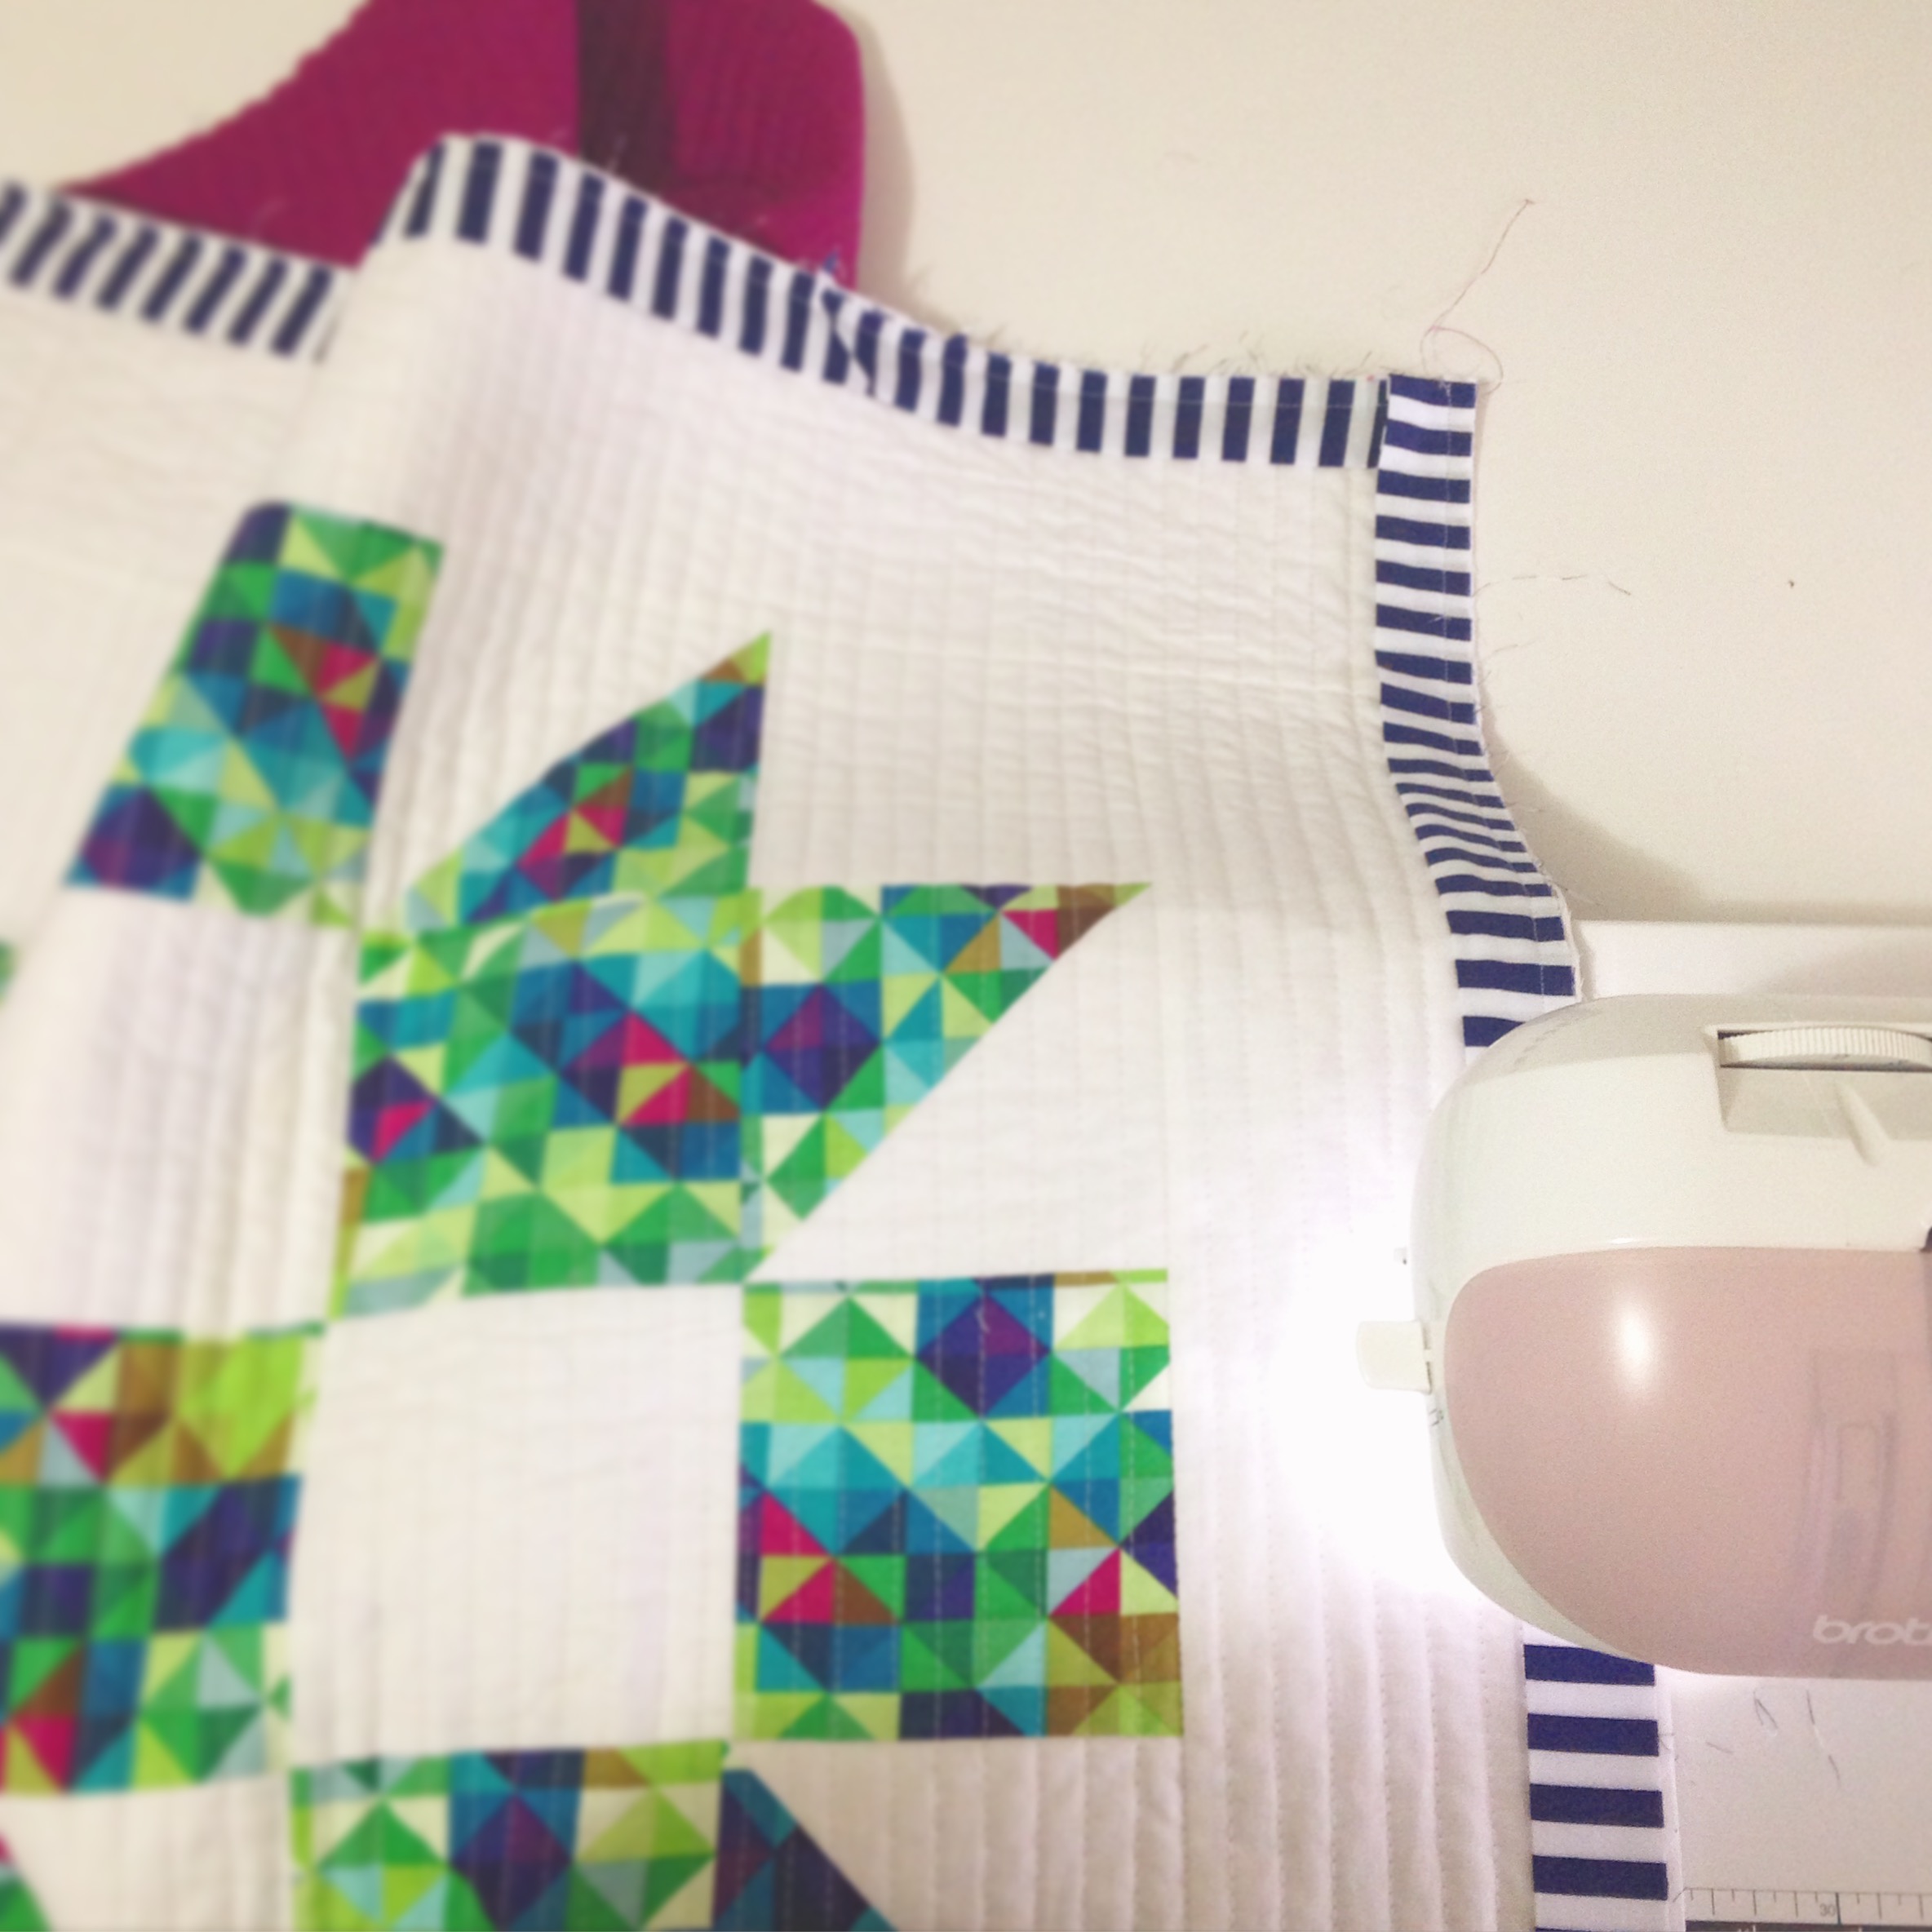
After trimming away any excess backing/batting from around the edges of the quilt, it’s time to bind! To make your own quick and easy binding, you’ll need:
BINDING: WOF*x40cm (16″)
Cut this into x6 2.5″ strips and sewn end to end on a diagonal to create a long binding strip.

After pressing the binding in half, simply machine sew it onto the front of the quilt as shown in the tutorial, then bring it around to the back and slip-stitch the other edge to the back of the quilt. Too easy!!
Don’t forget to label your quilt with the month/year the quilt was completed, the name of the quilt as well as the name of the person who made it! My label is still to be made (oops, my bad!) but when I do, hopefully I’ll remember to come back to this post and upload a photo of it for you! 😀
FINISHED QUILT MEASUREMENT: 141cmx107cm (55.5″x42″)
*WOF = Width of Fabric
+++
I want to extend a HUGE thank you to the lovely ladies over at Dayview Textiles who so generously helped out with the fabrics and materials I used for this series. Without them I would’ve been able to have the pleasure of using such beautiful fabrics from the Printshop Fabric Range!
And of course, thank you to all of you who participated so patiently in this series! I’ve absolutely loved seeing all of your gorgeous blocks, quilt tops and finished quilts – you’re all so talented and amazing! Although the series is finished, keep on sharing them with me using the hashtag #AmandasQuiltAlong on Instagram as well as over on my Facebook page!

So now that the QAL is finished, it’s time to move on to some more ‘old-school’ content that you’ve been used to seeing! That means some new block tutorials, crafty sewing tutorials, flower based tutorials, some fun Christmas things as well as other usual stuff like Monthly Favourites, Vlogs, Hauls etc! Exciting times ahead people!! Yeah!
So while I go and enjoy my last week of being in my twenties (It’s my 30th Birthday this coming Sunday! Eek!), I hope you all have fun completing your gorgeous quilts!
Happy Sewing, Friends!!
xx
PS. Happy News! I now have a PO Box! If you would like to send me something lovely, you can using this address:
Amanda Rolfe
PO Box 1179
St Marys NSW 1790
Australia