INTRODUCING: A Mini Block Quilt Along!

Who’s ready for a new Quilt Along?!?!?!

MEEEEE!! 🙋🏻

Yes! Quilt Along no.4 is here and ready to launch! 🎉

If you didn’t know by now, this time around we’re doing a Mini Block version! And I’m super excited to get it started!

Here are some of the deets you need to know:

Final Layout (This may change slightly…)

Firstly, all nine blocks in the Quilt Along will finish at approx. 5.5″ or 5″ once pieced altogether.

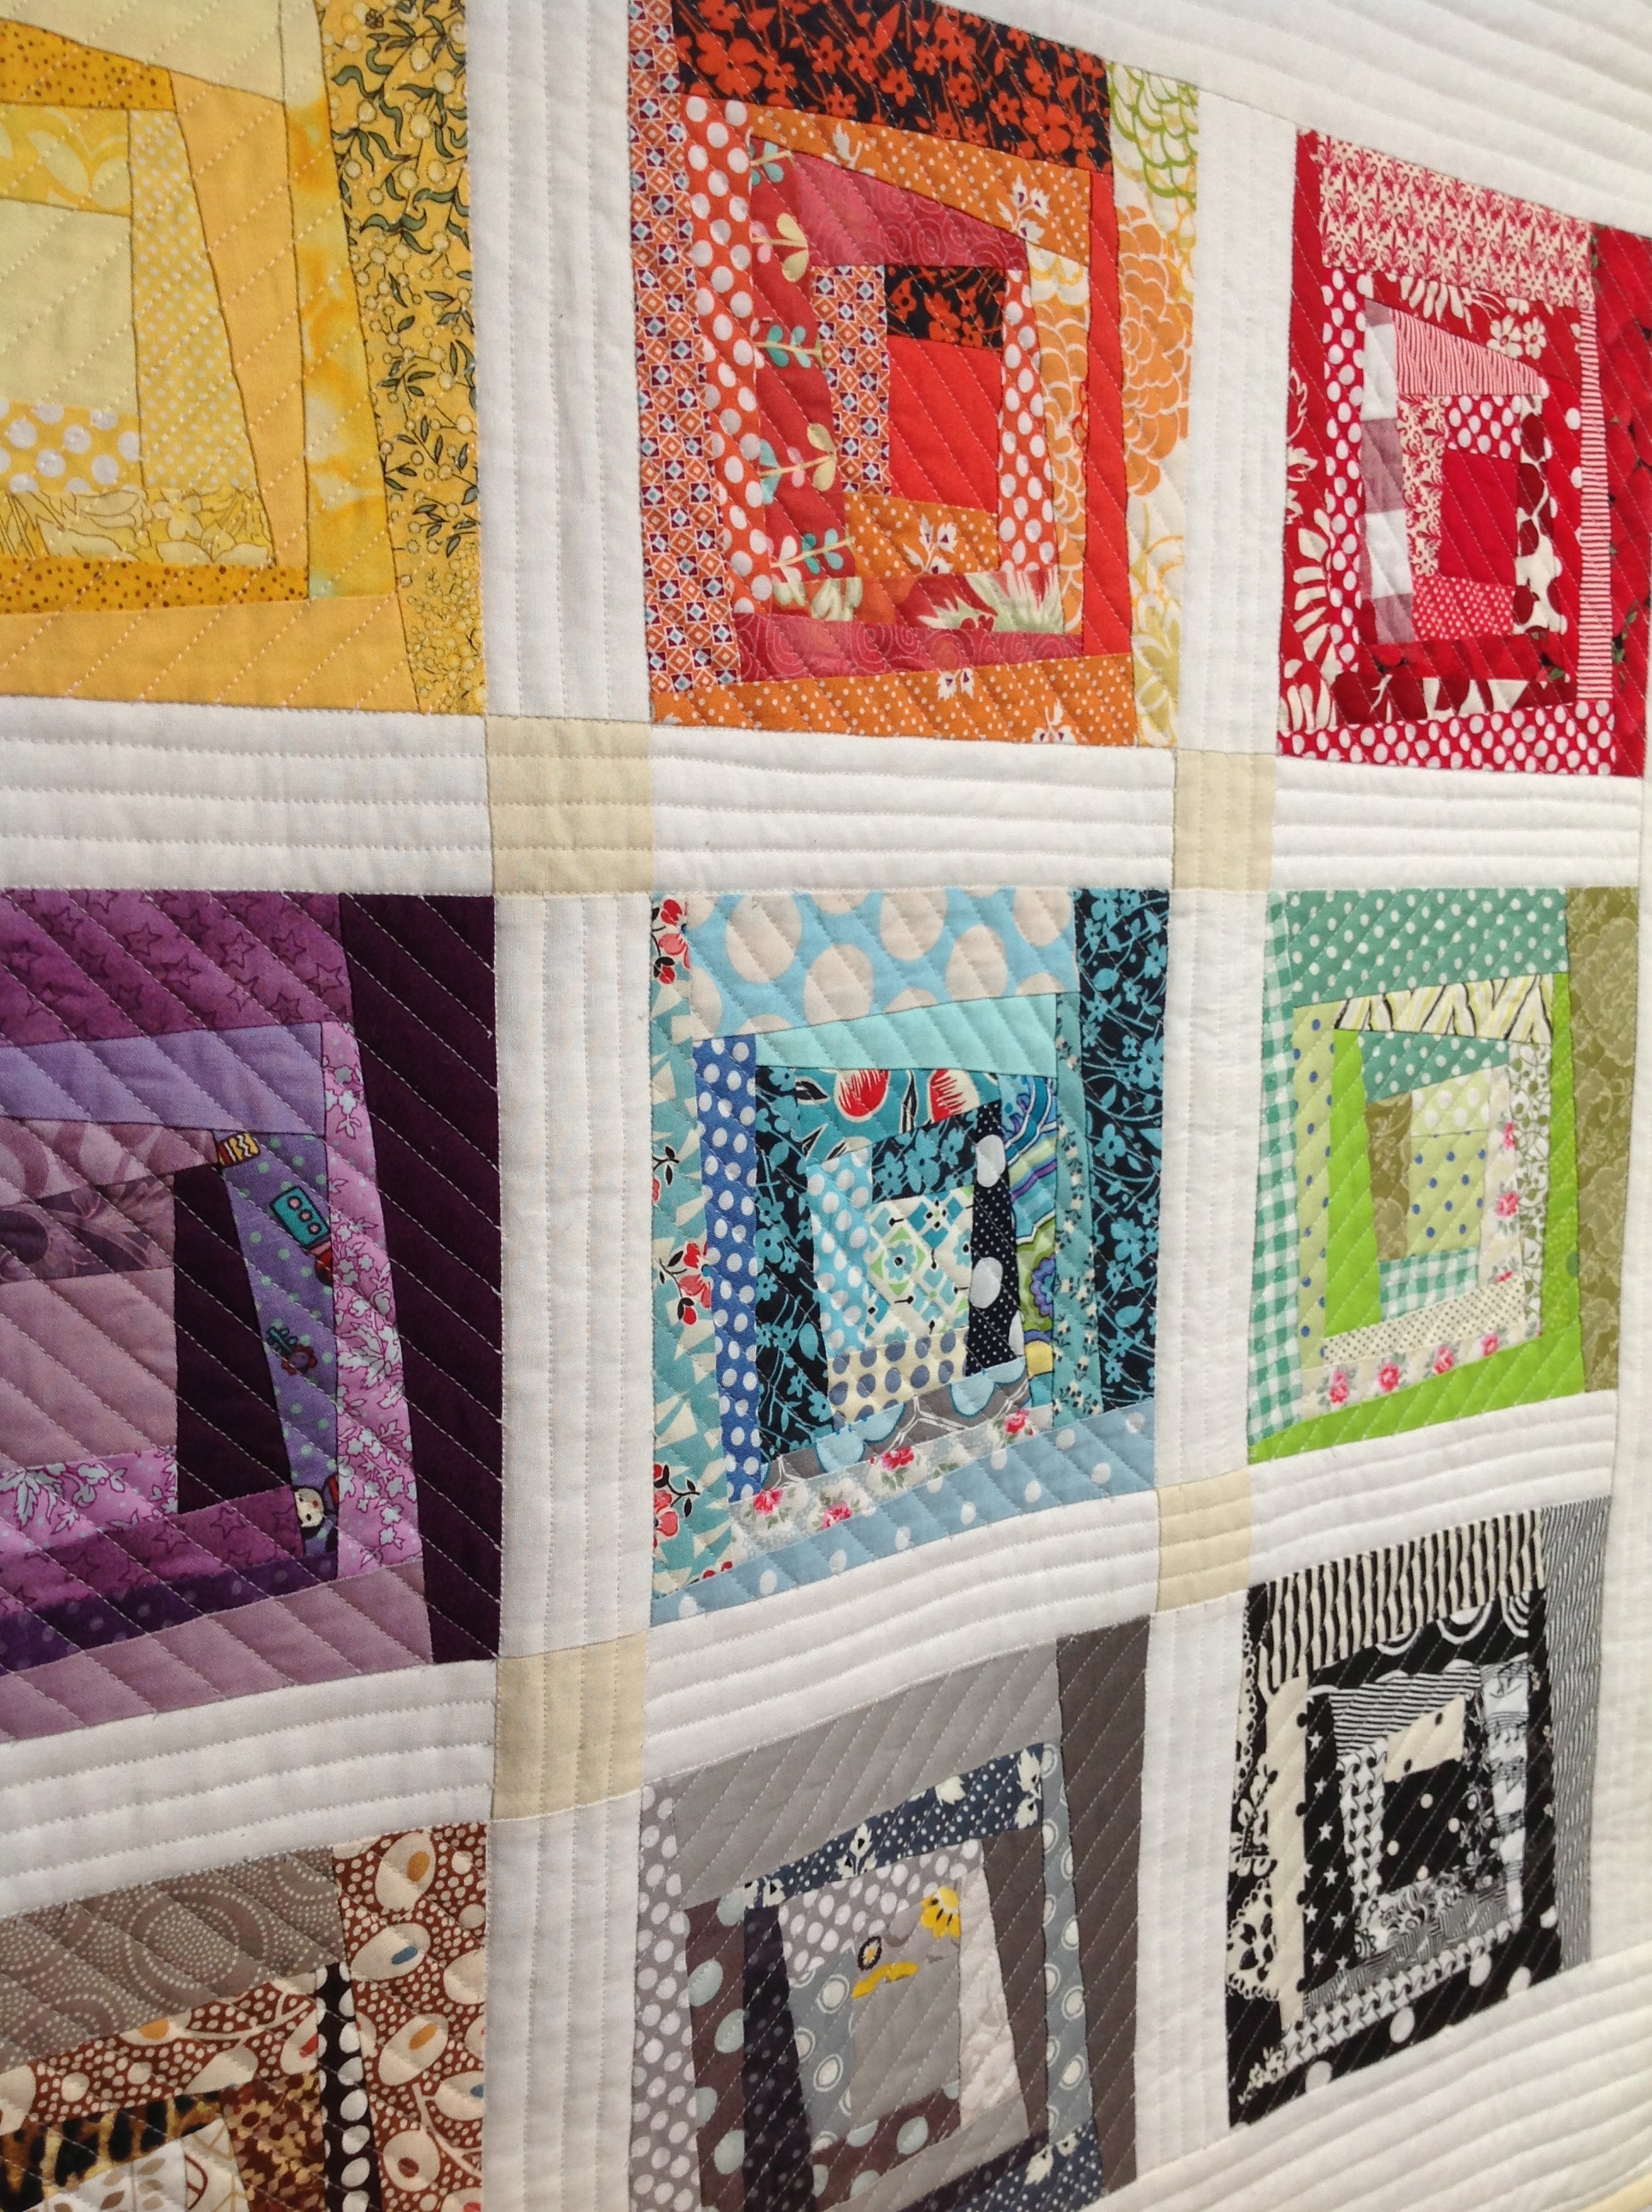
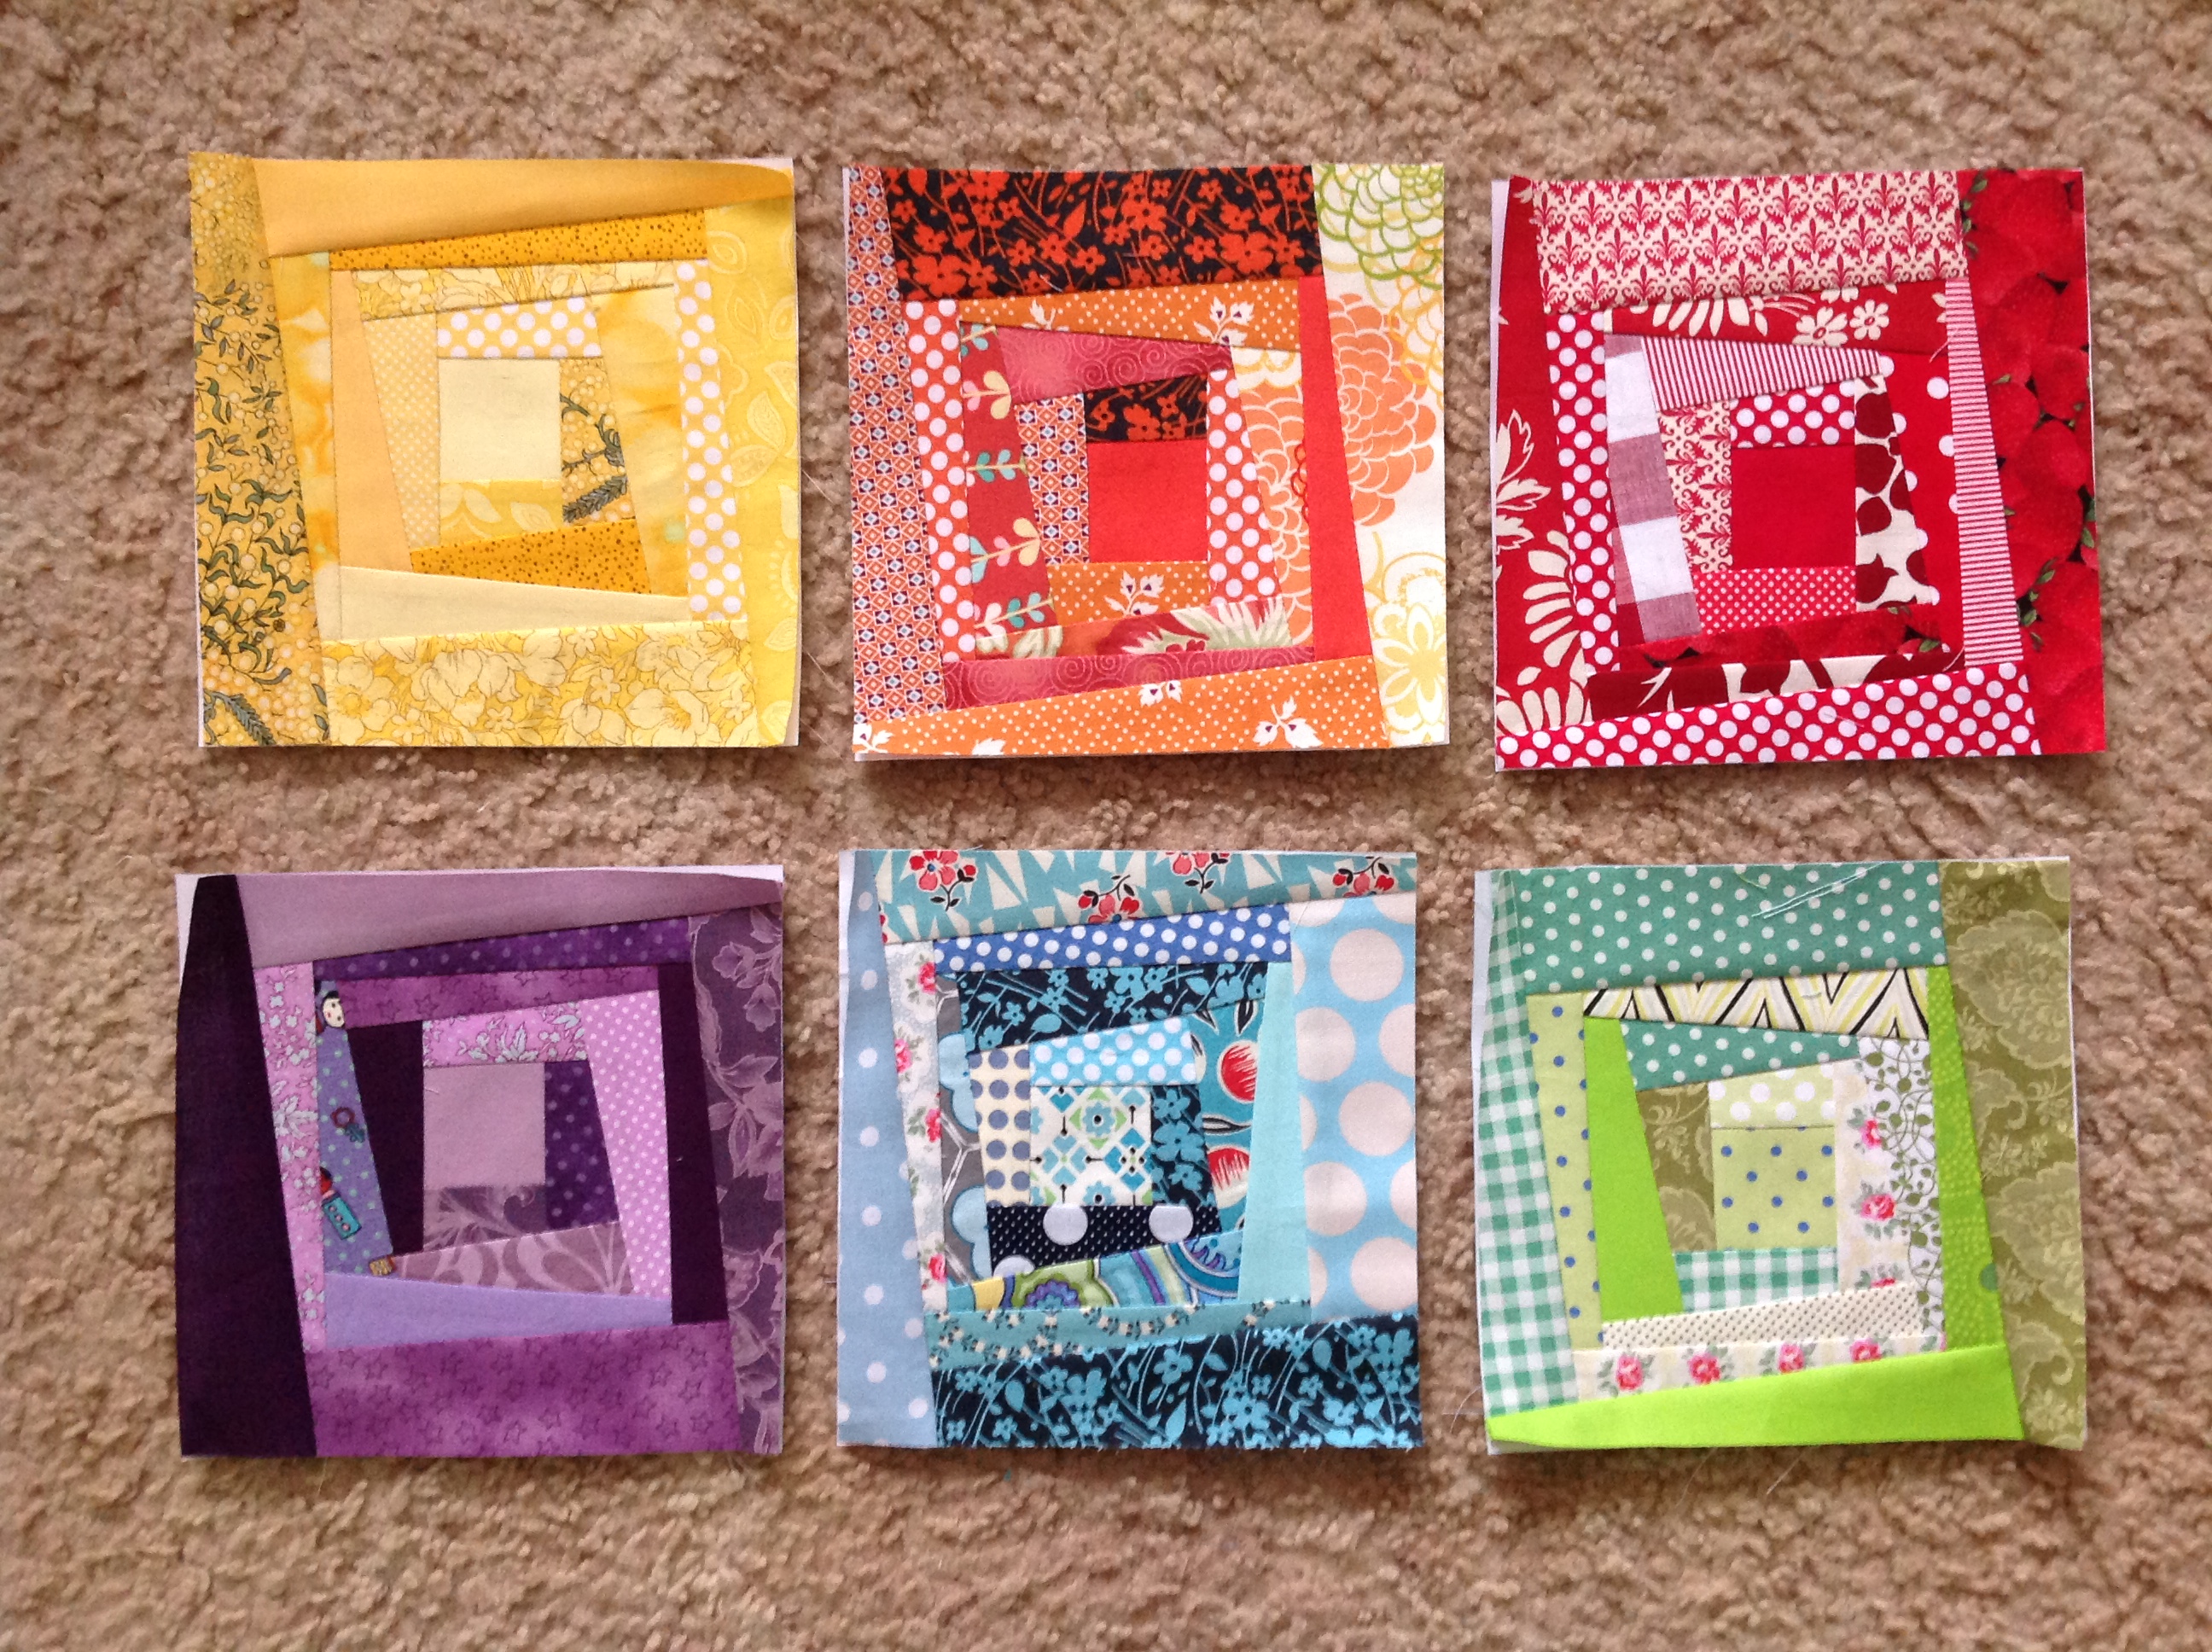
The theme of my Mini Block Quilt is rainbow! Each block will be colour blocked to a specific solid fabric colour so that the end result will look a little like the diagram above. (Fingers crossed!!) Please feel free to make yours any theme you want! Scrappy, matchy-matchy, black and white – anything! – the choice is completely up to you!

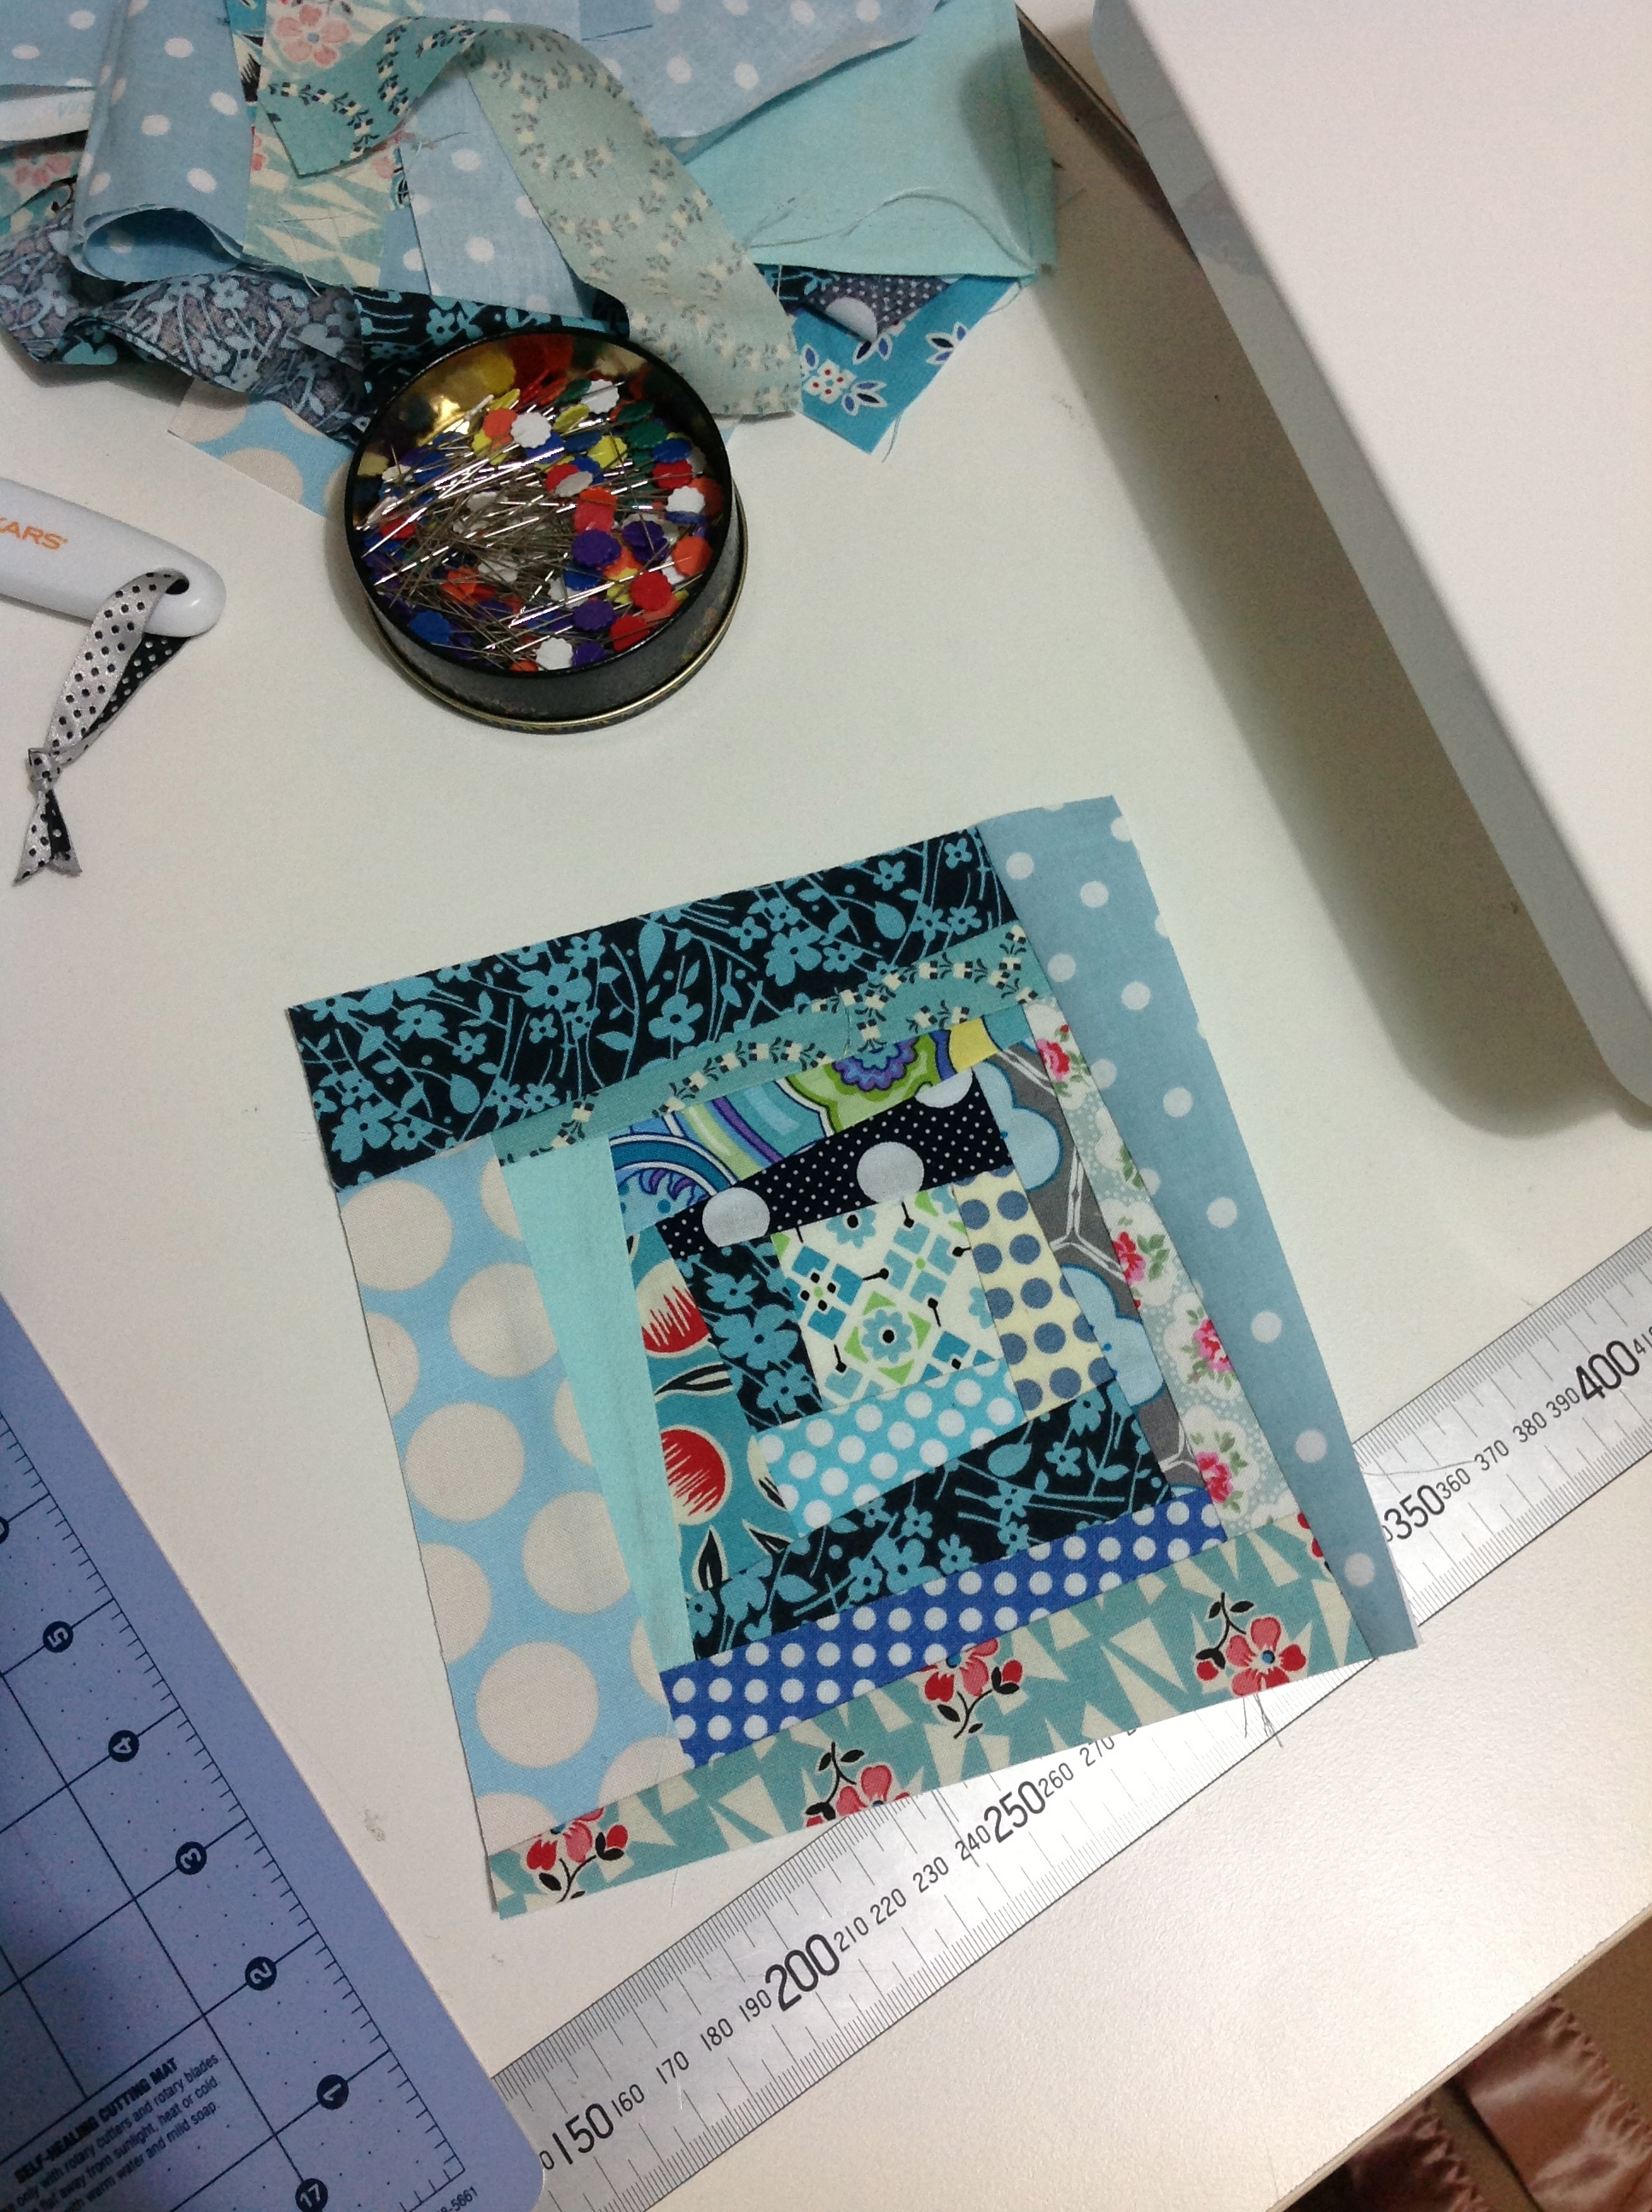
The blocks are 100% fat quarter, pre-cut bundle and meterage/yardage friendly! (Jelly Rolls and Charm Packs can work, but a few blocks will require bigger pieces of fabric than a 2.5″-5″ strips/pieces.) You will need additional fabric for the sashing & borders (I’m using a white solid), for the backing and binding along with a piece of cotton/bamboo/blended batting.

(NB: The following are estimated measurements and may slightly change as the Quilt Along progresses.)

For the blocks: any type fat quarter bundles etc will be perfect – prints & colours are your choice!

For the sashing & binding: 1 metre/1 yard x WOF* of a solid or print fabric (112cm/44″) – again, the choice is yours!

For the backing & binding: 90cmxWOF* (35″xWOF) of each

For the binding: 30cmxWOF* (12″x44″)

For the rod pocket: 12cmx76cm (4.5″x30″) – fabric matching the backing

FINISHED MINI BLOCK QUILT SIZE: 80cmx80cm (31.5″x31.5″) estimate

The techniques I’ll be covering in the Quilt Along include: piecing (HSTs** and Flying Geese), English Paper Piecing, basting, quilting, attaching a binding, label and an optional rod pocket.

As always, each block tutorial will be accompanied by a pattern sheet featuring all of the measurement and cutting information that can be easily downloaded and printed out. There will also be a dedicated playlist for this Quilt Along on my YouTube channel that you can easily click and have all of the tutorials together in one place.

And finally, I want to take some space to acknowledge where I got my inspiration and details for each block… A wonderful book that resides in my Quilt Book library: ‘130 Mini Quilt Blocks’ by Susan Briscoe. I absolutely love this book! It’s full of sweet little block designs that range from the traditional, to the modern and to the real weird and a bit wacky! Most blocks in the book measure around the 5″ mark, a few are smaller while there are a couple that finish around the 6″-7″ mark. It’s a fab little book for inspiration and ideas and I’d definitely encourage you to check it out if mini blocks are your kinda thing!

+++

I think that’s everything I need to let you know right now…

I’ve decided not to promise on getting a new block tutorial out every week or anything as my work schedule is always up-in-the-air (the joys of casual work!) and I can never be sure of when I have the time to get content made etc. (Sorry in advance!)

If there are any questions you have about the series, what blocks we’ll be making, what fabrics and notions you’ll need – anything! – please don’t hesitate to send me an email to: 3and3quarters@gmail.com and I’ll do my best to answer you as soon as I can!

Also, I’ll be doing another hashtag on Instagram for you guys to use so we can all see each others blocks and spread some encouragement and positivity! Note this down lovelies – the hashtag for this Quilt Along will be #AmandasMiniQAL – real original, I know, but I wanted it to be something simple and easy to remember and type in! 😜

Block #1 will be up very, very, very soon!!!

I hope you’ll join in on the fun, learn some new stuff along the way and make a gorgeous little Mini Quilt that you’ll love!

Happy Sewing, Friends!

xx

*WOF = Width of Fabric

**HSTs = Half Square Triangles

PS. Here’s the intro video if you’re interested in watching that too!

Happy Sewing Days

Here I am, standing proudly in front of my quilt hanging at the Sydney Quilt Show.

1000281_10151508034138753_1842828552_n

It was a great day exploring the endless forest-like rows of quilts hanging making their own creators proud! There truly is some great quilting talent in Australia and I was truly humbled to have my quilt there among it all!

It’s happy days here in my little world – university exams are almost finished, I have my last one this coming Wednesday and then five weeks of blissful freedom!

In my down time away from studying I’ve been able to tackle a few projects that I’ve been itching to get to…

Firstly, I made a quick little Hexie iPad Cover for my iPad out of my endless supply of hexies I made in an OCD haze during my summer holidays…

Hexie iPad Cover
Hexie iPad Cover
Colourful Union Jack Lining!

I take my iPad to uni everyday and have been desperate for that little extra time to make a cover to help prevent from scratches etc. My iPad fits nice and snuggly inside and I added a quick magnet snap thingy to keep the flap from coming open. I like it; I think it’s very ‘me’!

Secondly, I had a mad craving to start a new embroidery project and opted to begin a work that I’ve wanted to for a while – a stitch sampler (of sorts). I’ve paired navy linen with a range of yellow DMC threads to create a yellow embroidery sampler.

IMG_0179 I’m not in a hurry to get this finish. I think this will be a project that I’ll keep coming back to over a period of time until it’s finished.

Next, I basted, quilted and sewed the binding onto my colourful log cabin quilt-slash-wallhanging. (I must settle on a name for this project!)

IMG_0185

I was quite relaxed about the quilting and stuck to my love of straight-line quilting. I mixed up the direction of the diagonal lines within the log cabin blocks to add a level of interest, direction and movement to the quilt’s surface.

IMG_0188

Soon I’ll stitch on a hanging sleeve at the back ready to hang when I move into my new space!

Oh yeah, I’m moving!

Well, actually, just moving my sewing stuff to another room in our house…

When my older brother moved out of home my mum took over his room as study for work. She is now a semi-retired primary school teacher and doesn’t really need the solitary space. Whereas now I need a place to study (and store away my ‘crafty mess’ away from visitors), I’m taking over the study room! Yay!

This won’t happen for the next few weeks but I’ll be sure to post up photos of the space I create for my sewing – oh sorry, I mean ‘study’! Te-He!

Aaannnnd lastly, you can read all about my first prize win for ‘A Summer Bloom’ in the 2012 Under 35s Quilt Competition (How Does Your Garden Grow) in the June-July (Issue #61) edition of the Australian Quilters Companion Magazine. I’m not hard to miss – just look out for my massive quarter page selfie and Jacob’s Ladder Quilt!

Oh God!
Oh God!

Happy Sewing! xx

Life vs. Life

Textbooks - urgh!
Textbooks – urgh!

I think it’s obvious to say that my quilting life does not mix well with my newly appointed university life!

Four and a half weeks into the semester, I’ve only been able to dedicate precious time to my sewing machine this past weekend.

After a hectic week of rushed essays and failed-in-revision in-class tests, I spoilt my self to a whole weekend of sewing (and movie marathons!)

And to this weeks flavour of the month project…

Where like all inspiration is found, I was intrigued by a wonky paper-pieced log cabin design I randomly came across on Pinterest and thought, ‘I could easily draw up one of those!’

And so I did!

Wonky Log Cabin Paper Piece Template

In a desperate bid to devour some of my ever-growing fabric scraps, I chose to construct the blocks in different colour ways from my scraps…

IMG_0046
First block Triumph!
Pretty Colour Ways!
Pretty Colour Ways!

Each one is pieced in a totally random fashion: I approached the construction in a very laid back and non-pluss attitude. I think it worked out well!

ATM, the yellow is my favourite – so sunny and happy – and you can easily see the differing angles and what not.

I’ve three more to make: brown, grey and black. I’ll sash them together with white homespun that will really allow the colours to pop! Binding: possibly a creamy-type homespun…

Who actually knows when and if this little quilt will be finished…Life just seems too full at the moment!

Happy Sewing!