HST Sampler Quilt | Block #8: Open Window (variation)

PATTERN SHEET: HST Sampler Quilt – BLOCK8

Hello Friends!

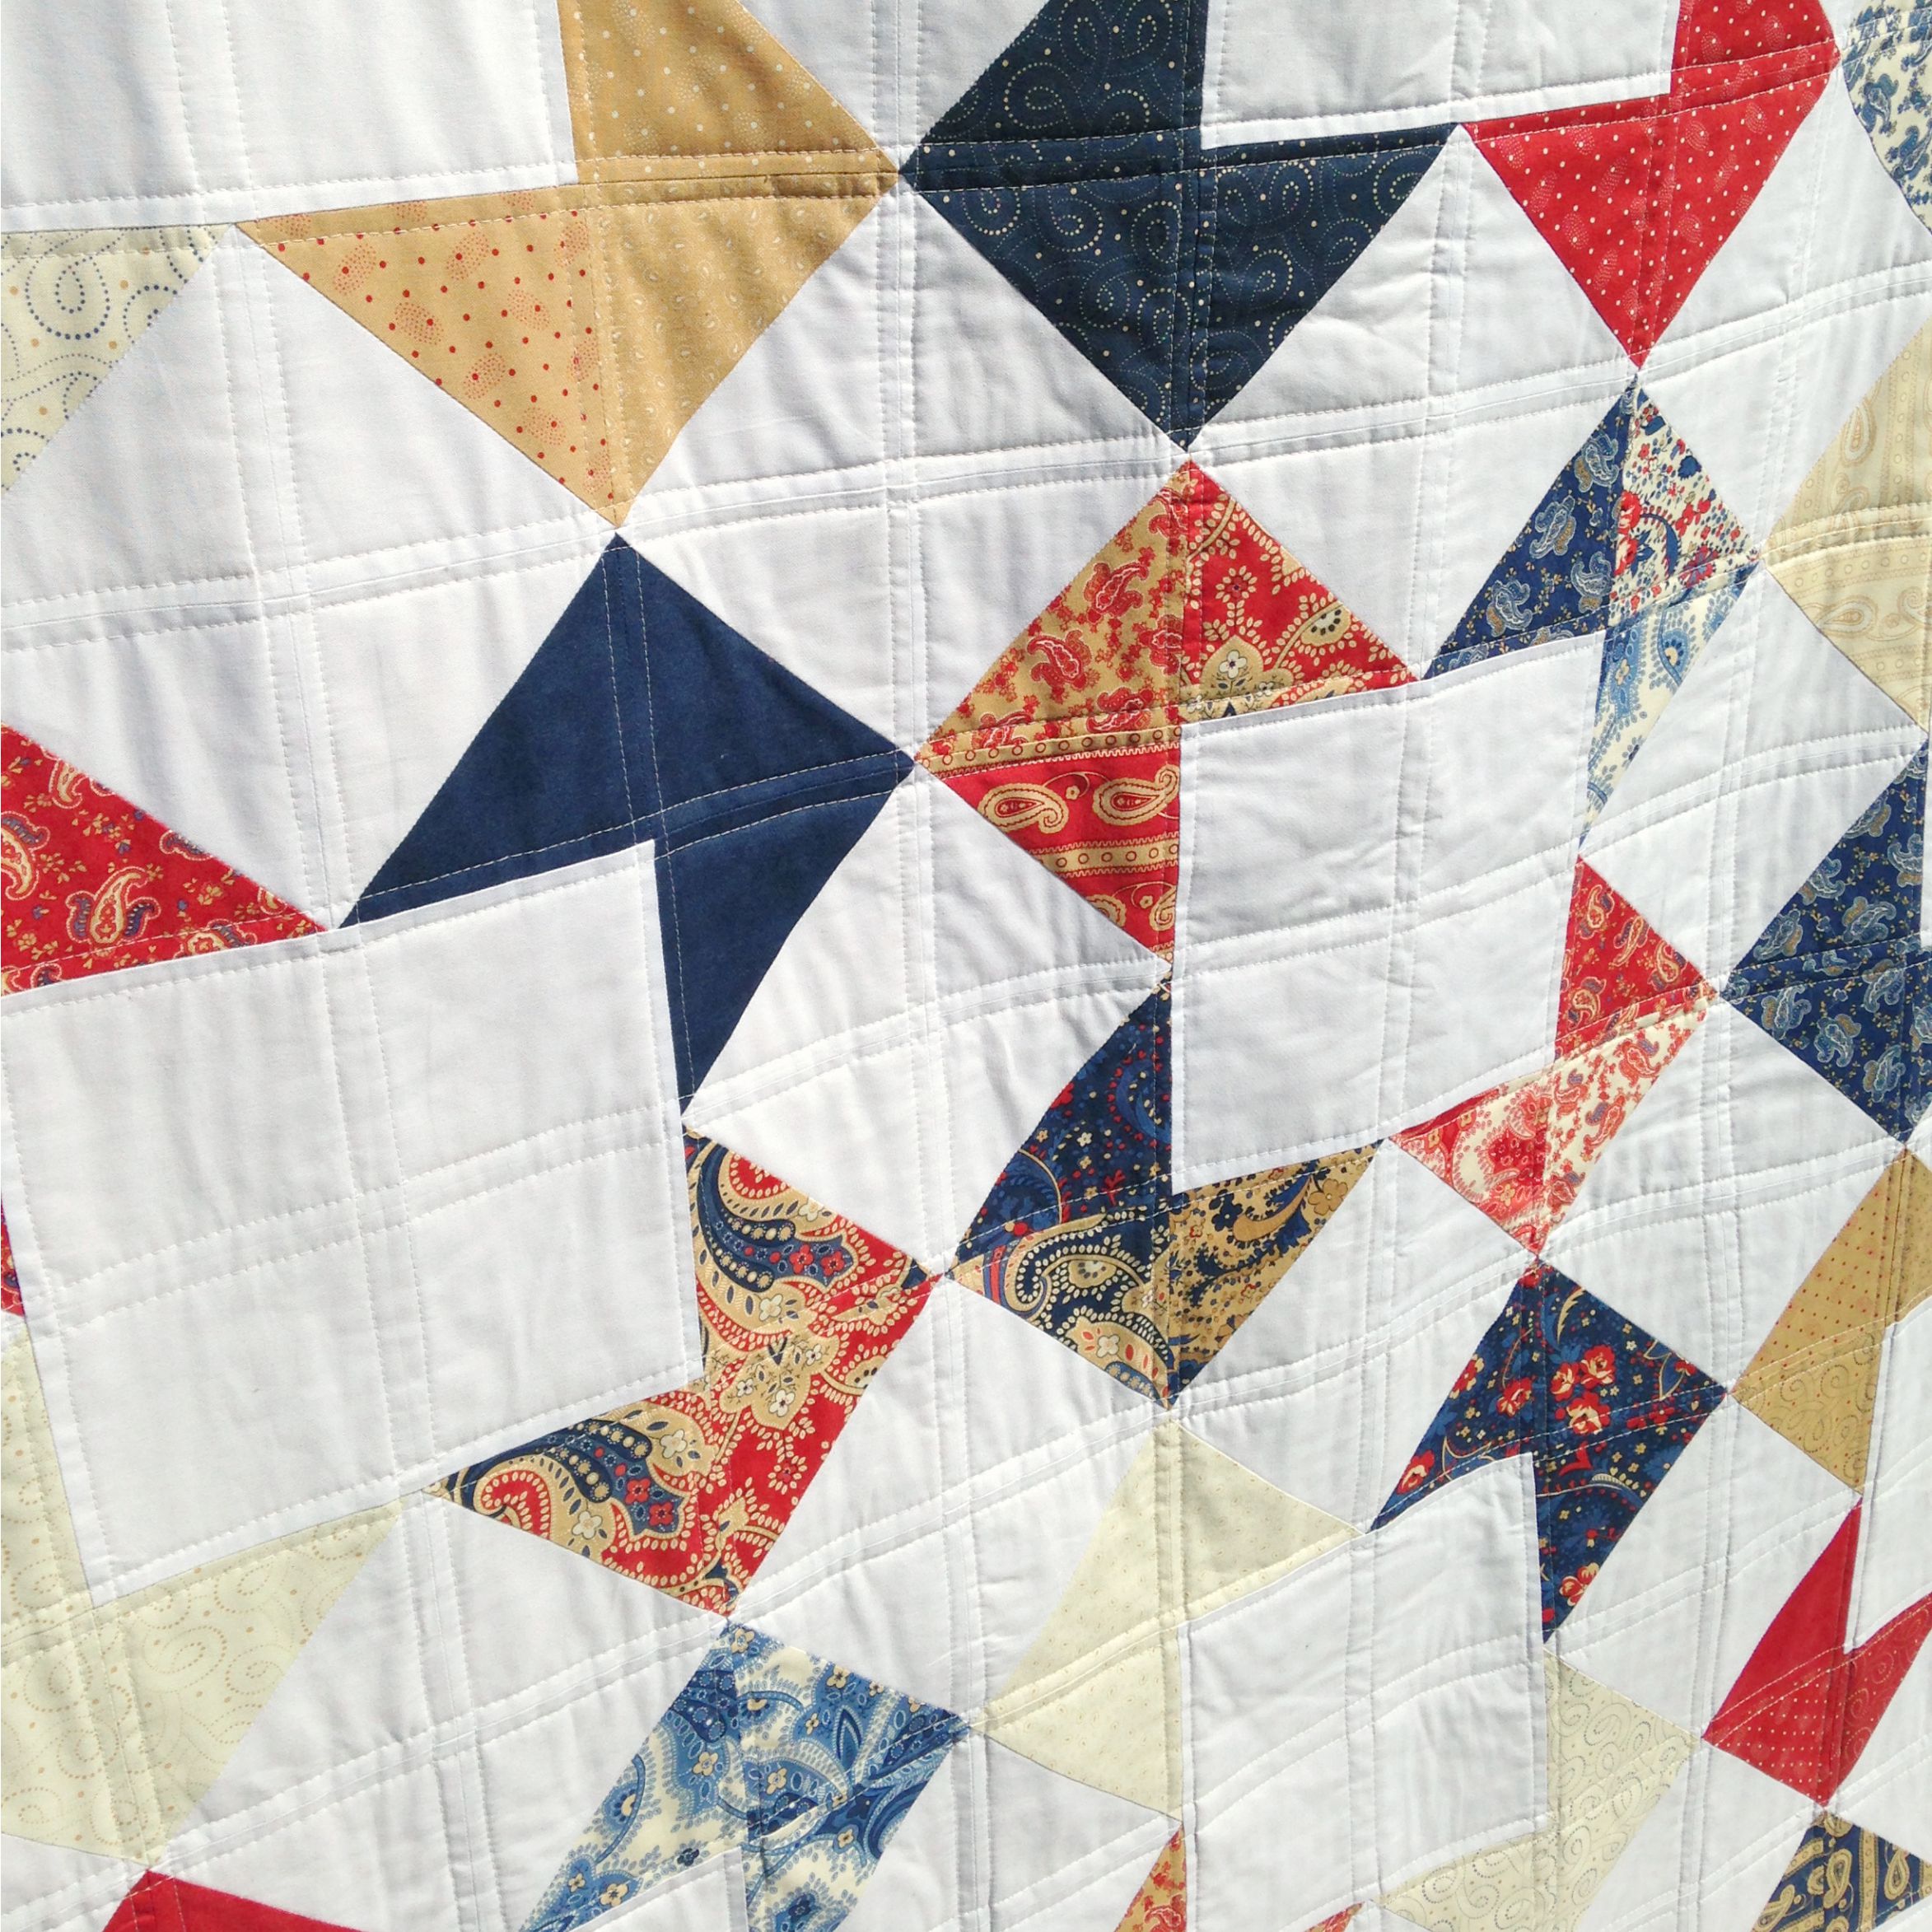
A big thank you to all of you for your patience in waiting for me to get this tutorial up and running! I’ve been scrambling the past two days to get everything edited, written and finalised ready for todays block! And speaking of blocks, the eighth one in the series is a fun and beautiful variation of the Open Window block!

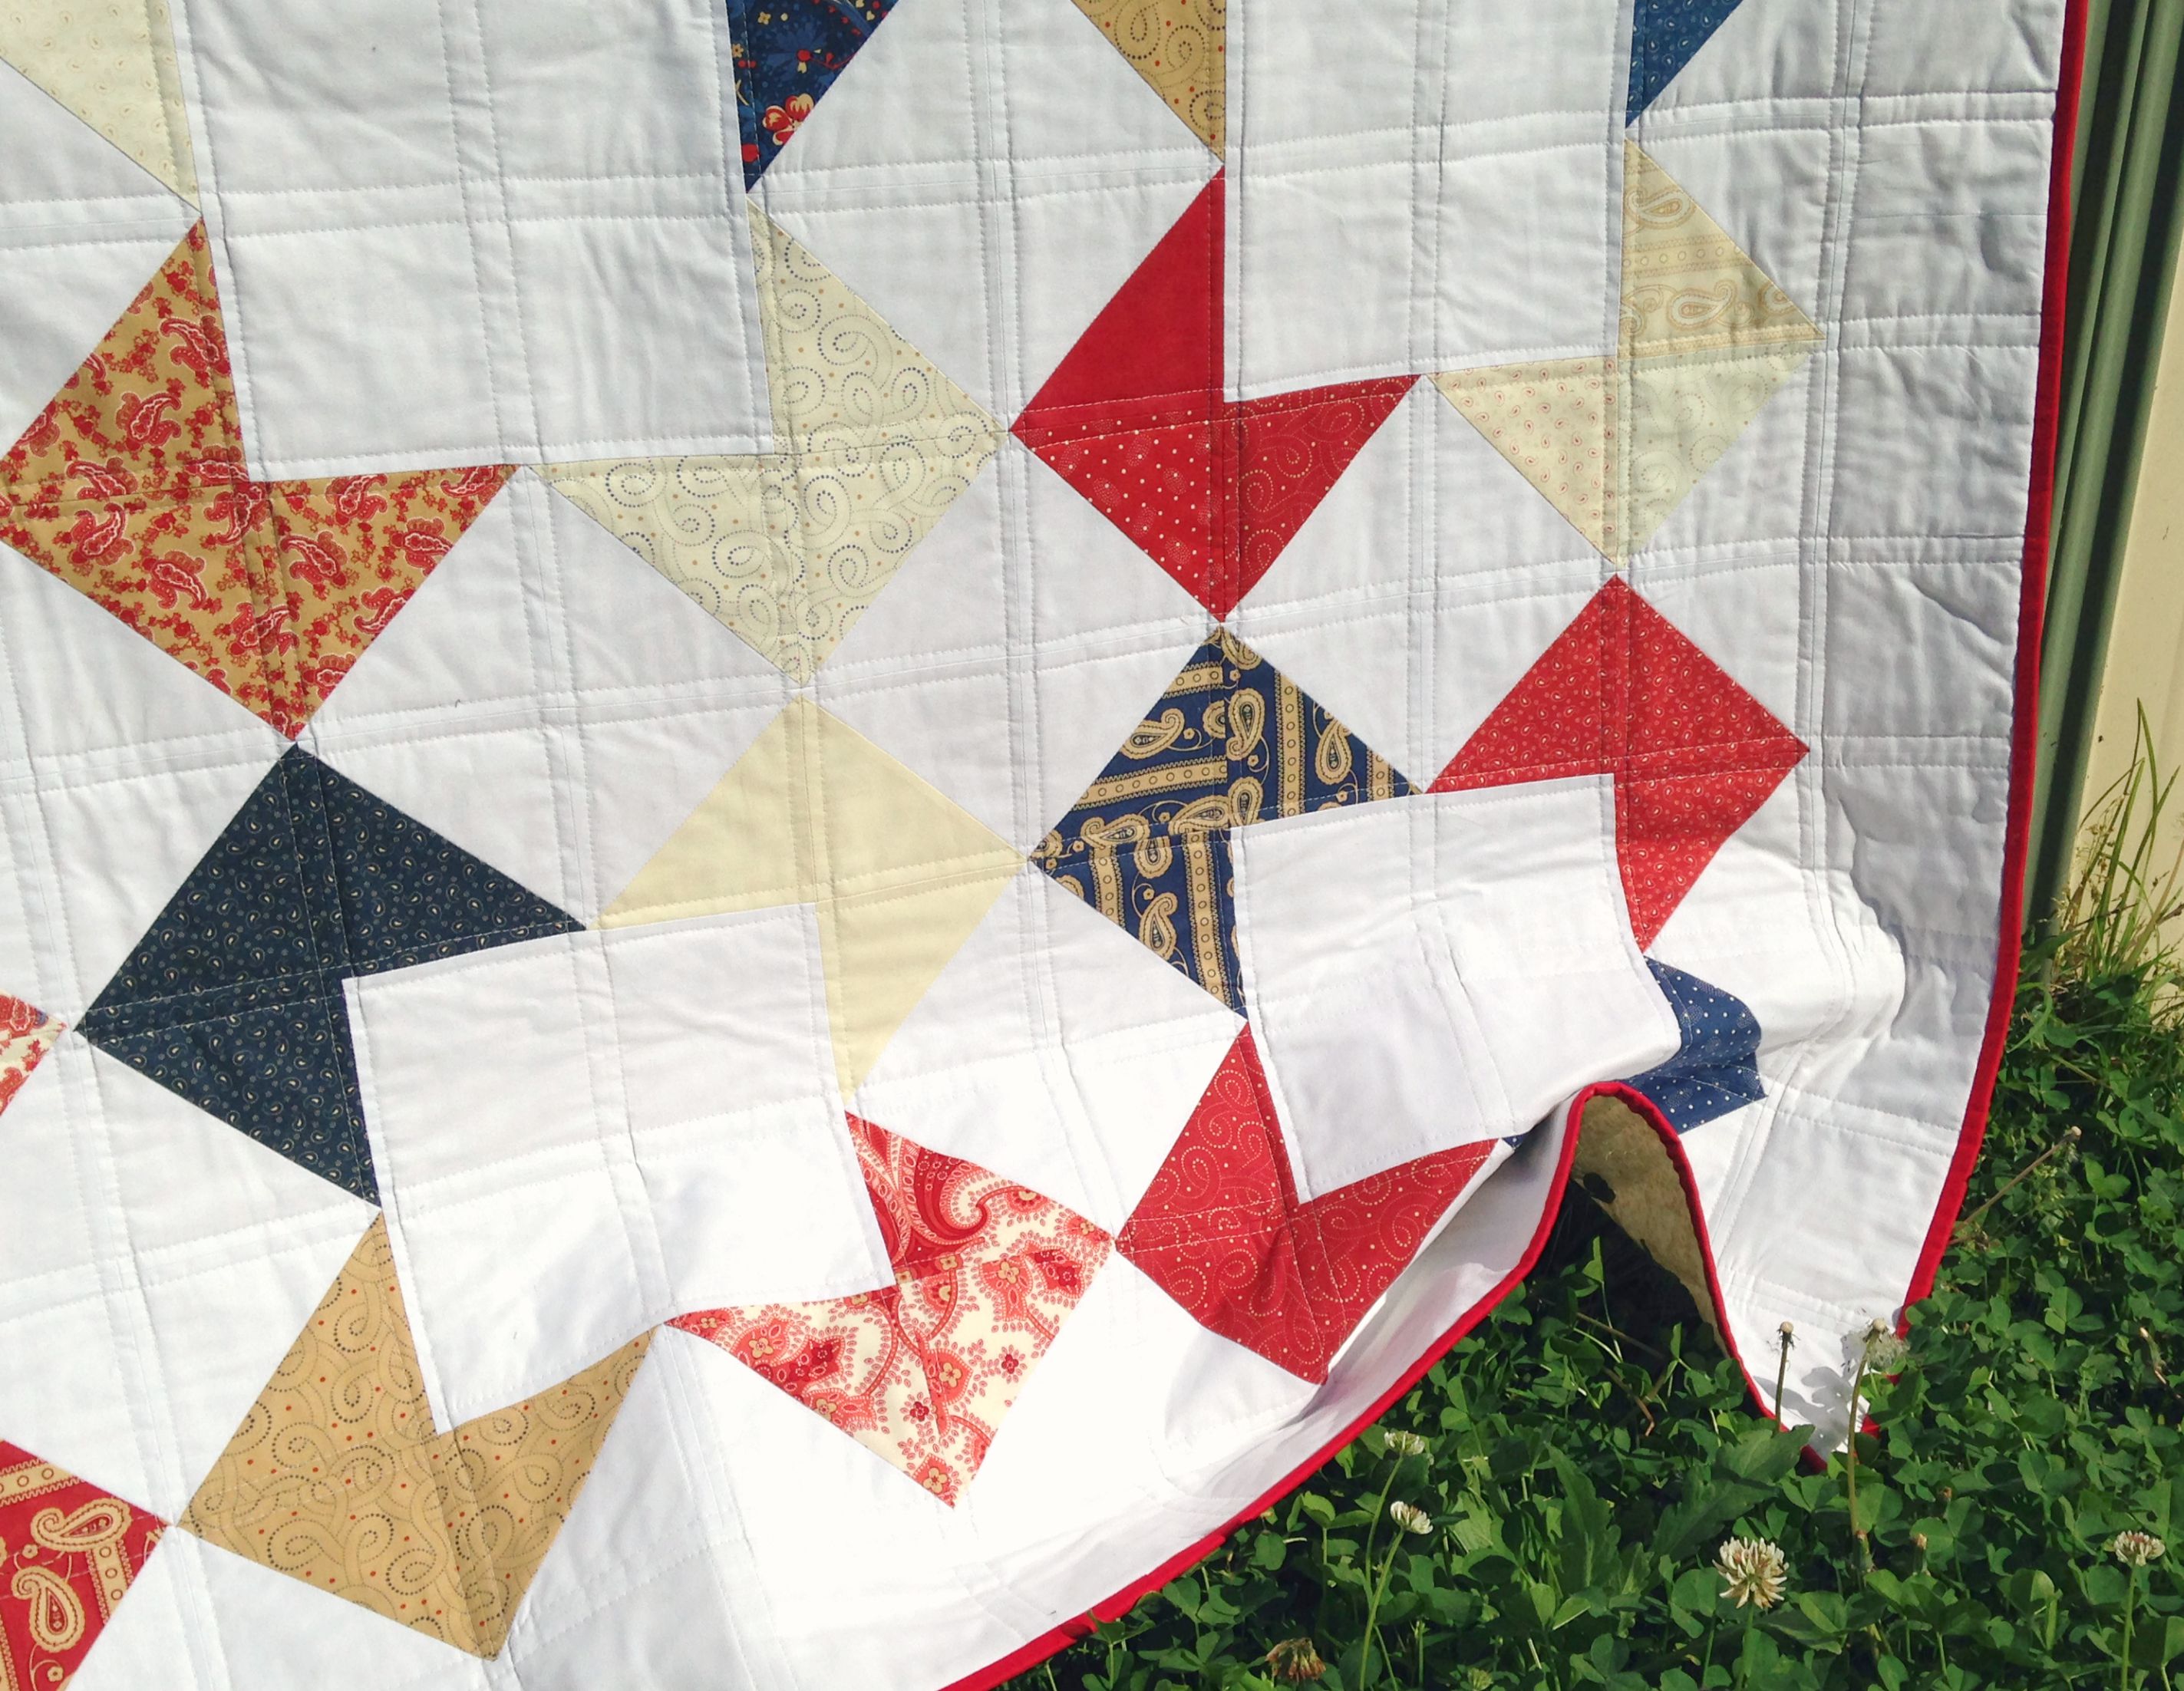
You may remember me doing this block quite recently for this quilt (accompanied with this tutorial). The block we’re making this time has a few elements that are different in comparison to the last. For starters, this version is made completely using HSTs (16 to exact!) and has a slight twist in the design layout. Either way you make this block, it’s still a little beauty and can be used for all sorts!

As always you’ll be able to find all of the measurement and cutting details, along with the fabrics* I’ve used to piece this block together as well as a diagram of the block layout, in the pattern sheet linked at the top of this post. If you would like to use the same 12.5″ set square as me, you can find it here:June Tailor Get-Squared 12.5″ Ruler.

+++

So the final block that we’ll be making for this quilt will be coming out this Friday! It’s a block that I’ve never made before but have been seeing it everywhere lately and think that it’s just simply devine! The block is called Wind Blown Square that features another full design of HSTs placed all in different angles, achieving a ‘wind blown’ type movement to it! I’m so excited to get piecing it – I think it’s the perfect block to ‘finish’ with!

Don’t forget to keep sharing your blocks with me! If you’re sharing on Instagram don’t forget to tag me: @3and3quarters or #3and3quarters!

Can’t wait for Friday!!

Happy Sewing, Friends!

xx

*A big thanks to Australian wholesale supplier and fabric distributer Dayview Textiles for supplying me with such beautiful fabrics! If you want to see all of the fabrics I’ll be using in this Quilt Along, check out this post where I share them all with you!

Fat Quarter Shop Jolly Bar Blog Hop!

Today I get to share with you a very special quilt I made in collaboration with the Fat Quarter Shop using their exclusive 5″x10″ Jolly Bar pre-cuts!

OpenWindowQuilt1

OpenWindowQuilt5

The range I was given to play and create with was the beautiful Polka Dots & Paisleys by Minick & Simpson for Moda Fabrics. Full of gorgeous florals, paisleys, polka dots and rich Americana colours, it was such a lovely range to work with and discover all of the intricate patterns and shapes within the prints.

One of the things I found working with the Jolly Bars is just how versitile they are to work with! I found it so hard to narrow down the perfect block to show off how effortless they are to design and sew with! My thoughts were; ‘Do I cut them half and do a simple strip-piece quilt?’ ‘Should I cut the Jolly Bar into rectangles and make it into a tumbler block?’ ‘Do I stick with a simple HST?’ The list was endless! Also, one of the other great things I love about the Jolly Bars is that each range featured comes with an exclusive pattern to make with it! All of the hard parts of wondering what to make from them has all been taken care of! Yay! So all you need to do is pick the range you love the most, make the super-easy pattern inside and you’ve got a beautiful quilt that you’ll love forever!

OpenWindowQuilt3

The quilt I chose to design and make features a very simple variation of the Open Window block. To make it, I simply cut the 42 Jolly Bars in half, paired them with a white solid fabric, then stitched and trimmed the 5″ squares into 84 4.5″ half-square triangles. I then pieced together three matching HSTs of four different prints around an 8.5″ white centre square to complete the block. I made twelve blocks all together, with a few HSTs left over and then added a 4.5″ sashing around the edges to complete the quilt top.

OpenWindowQuilt4

I used a beautifully soft and luscious bamboo/cotton blend batting (a new favourite!) and a creamy blender fabric for the backing. I then quilted it by stitching two lines either side of all of the seam lines, creating an echo type pattern within the open spaces of the blocks. To finish it up, I used a matching red solid fabric to bind the edges.

OpenWindowQuilt2

The finished size of the quilt measures: 57″x73″ or 145cmx185cm.

+++

If you’re curious to know how to piece an Open Window block together, then feel free to check out the following tutorial I made for my YouTube channel!

Measurement & cutting info…

From the white solid fabric cut –

x1: 8.5″ square for the centre of the block

x8: 5″ squares to be made into HSTs

From four print fabrics cut –

x2: 5″ squares from each one to be made into HSTs

Follow the steps in the video to learn how to piece together this block! All seams are a 1/4″.

FINAL BLOCK SIZE: 16.5″x16.5″ (42cmx42cm)

+++

I would like to extend a big thank you to the team at the Fat Quarter Shop for inviting me to join this blog hop and to be given the opportunity to work with such a beautifully rich fabric range! It was an absolute pleasure!

Happy Sewing, Friends!

xx

It’s Happened Again!

e5744bb93fdd2528b6ac0f6fe72ae348

Oh no! Twice this has happened to me. And twice I’ve had to let you know that it has been rescheduled!

What I’m talking about is the ‘special thing’ I was going to share with you today that I’ve been teasing all week!

An email came through this morning outlining that what was going to be released/announced today, has been rescheduled for next Friday, the 4th of September.

Although you may have no idea what I’m talking about, just know that I’m terribly sorry if you were looking forward to what I was going to share with you today. It serves me right for getting you all excited about something and then have to pull the carpet from under you right at the last minute!

So my friends, to know what all my secret sewing has been about and what the quilt I’ve made looks like, mark your calendars and pop by the blog next Friday to see what all the fuss is about!

What I will share with you today though is the block I used in the quilt as well as the one I made in the tutorial that will come out along side next week’s blog post!

OpenWindowBlock

This is the Open Window Block. It’s quite easy to piece together and is wonderfully effective when placed side-by-side in a large quilt! But I’ll go more into that next Friday when I upload the tutorial for you!

Again, I’m so sorry to disappoint and keep you waiting for the reveal of this quilt etc. It really is a very exciting collaboration and I’m so excited to share it with you once the time comes around!

Happy Weekend to you all!

xx