September 10th: A Typical Work Day

PetalPincushions2

Thursday has panned out to be a pretty typical work day for me.

The day started out with replying back to emails and checking all of my social media places and answering comments and seeing what all of you guys are up to.

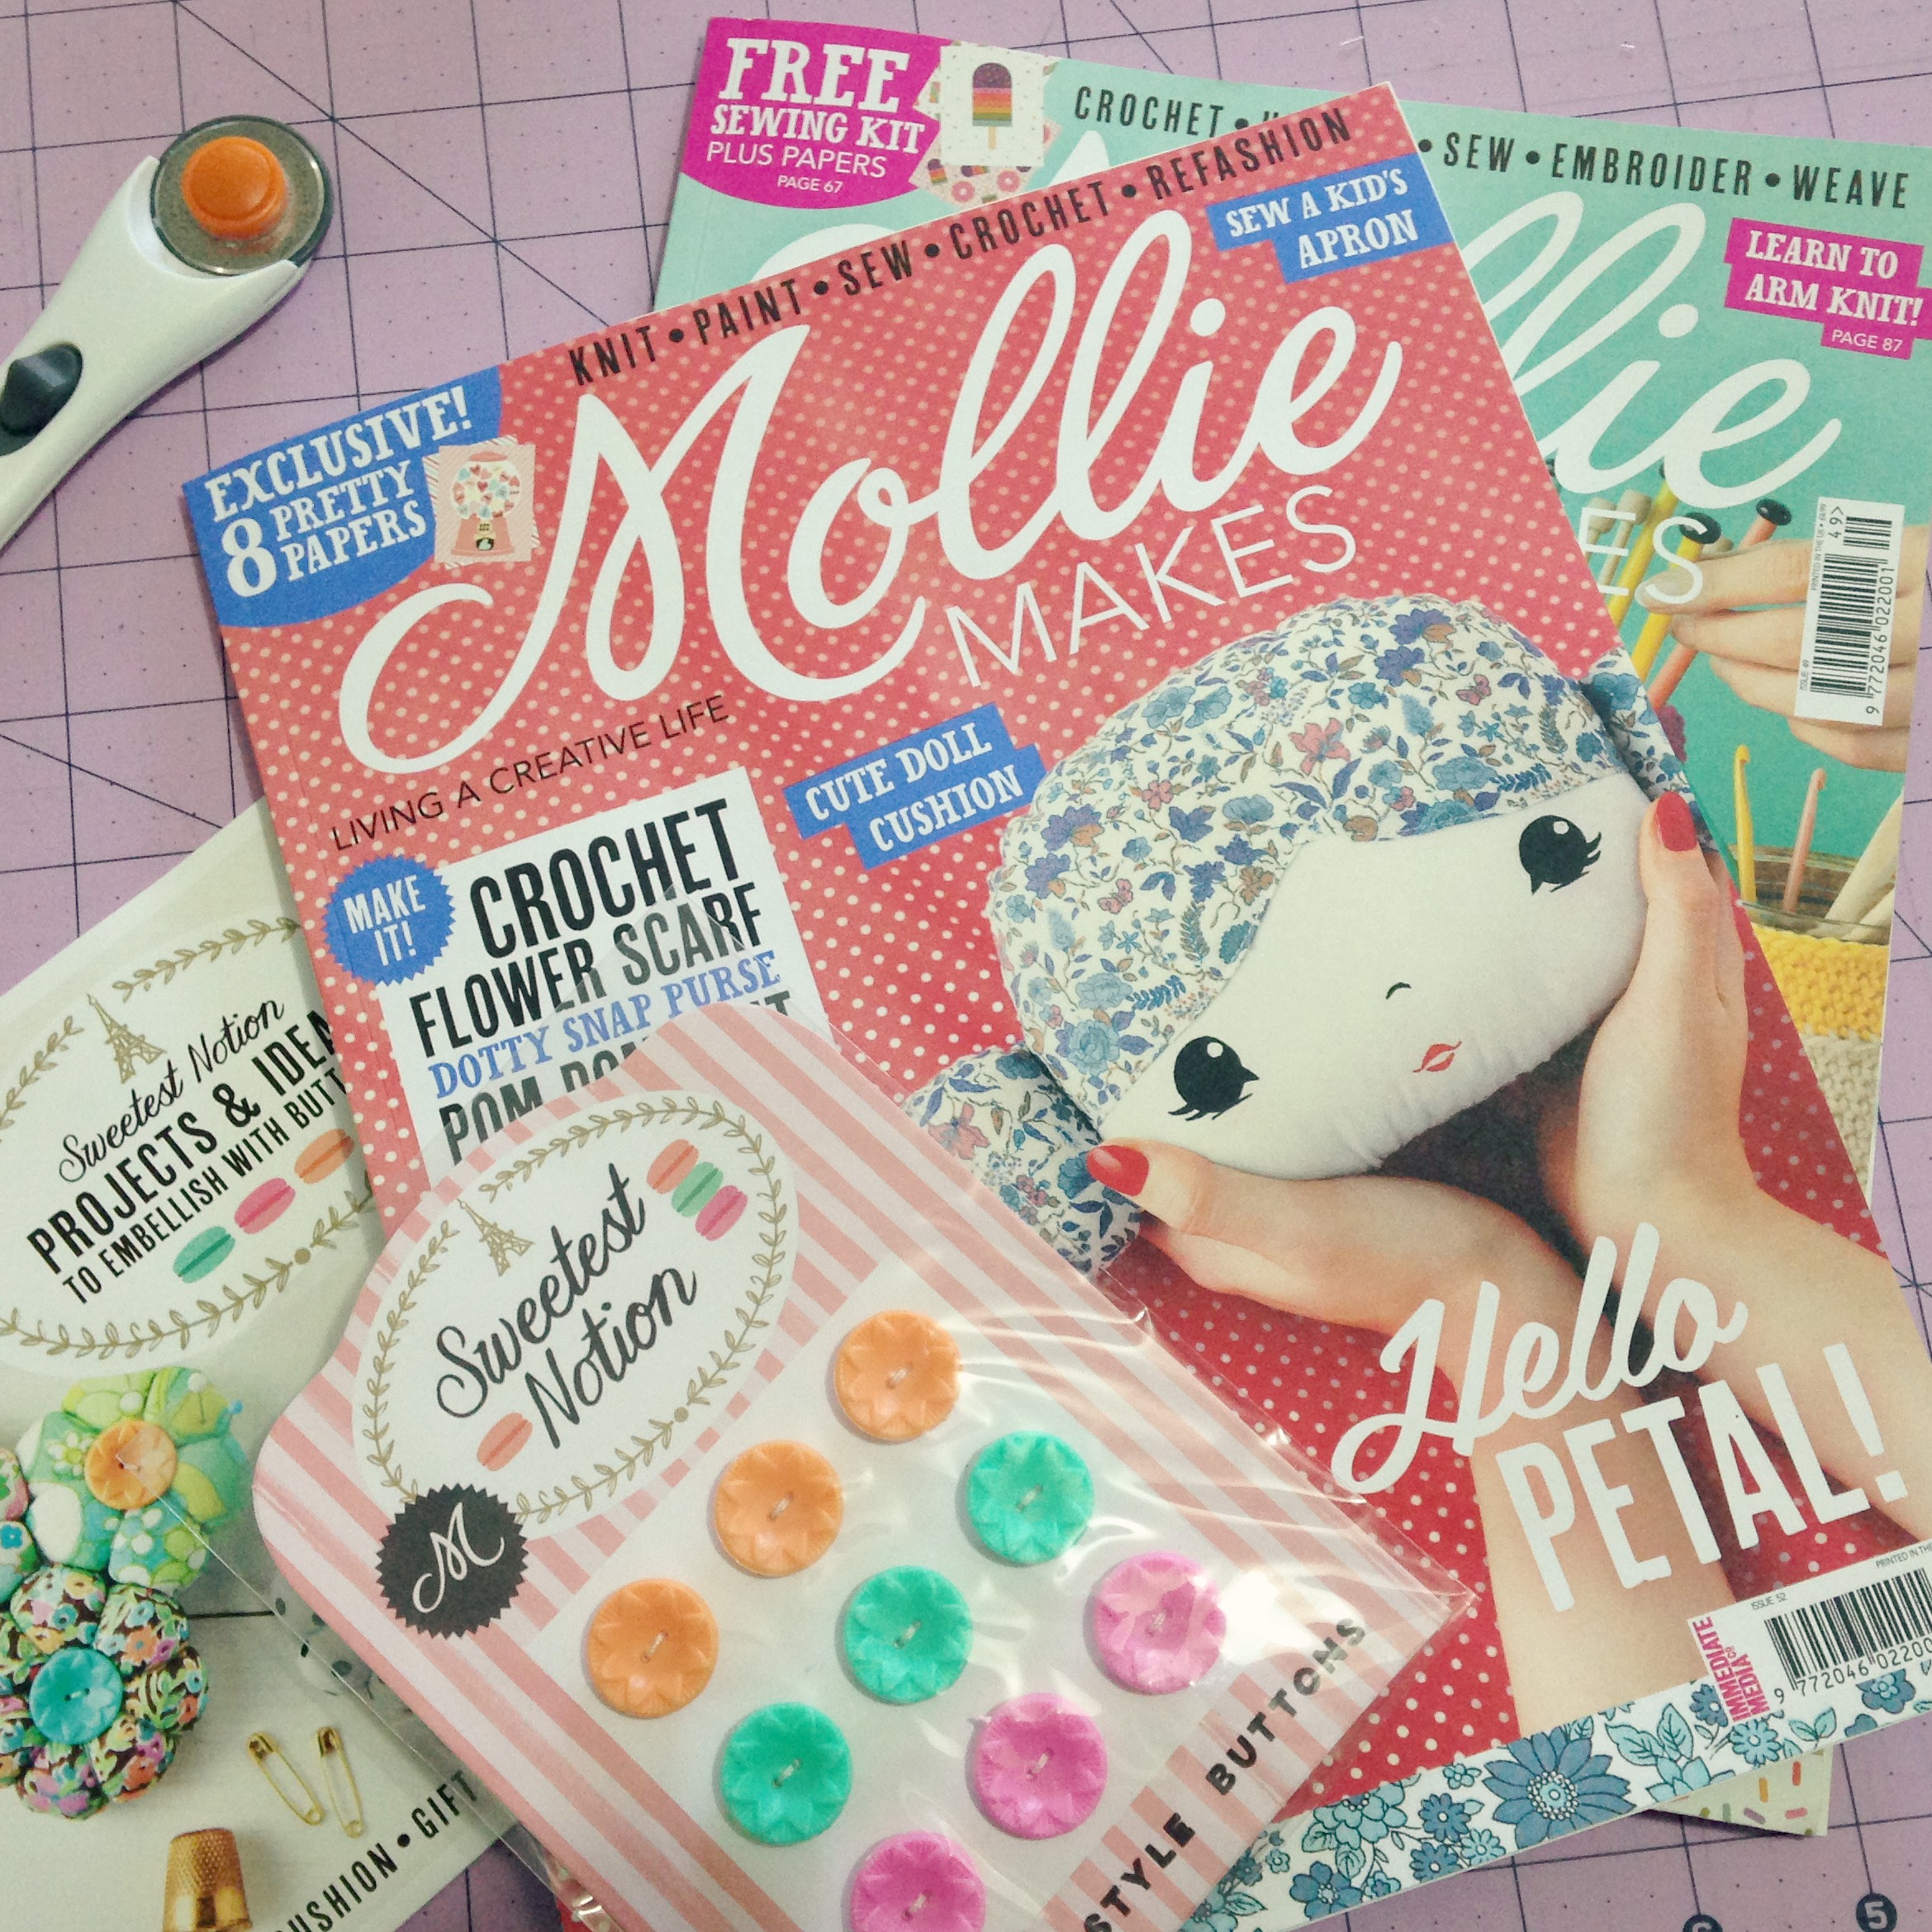
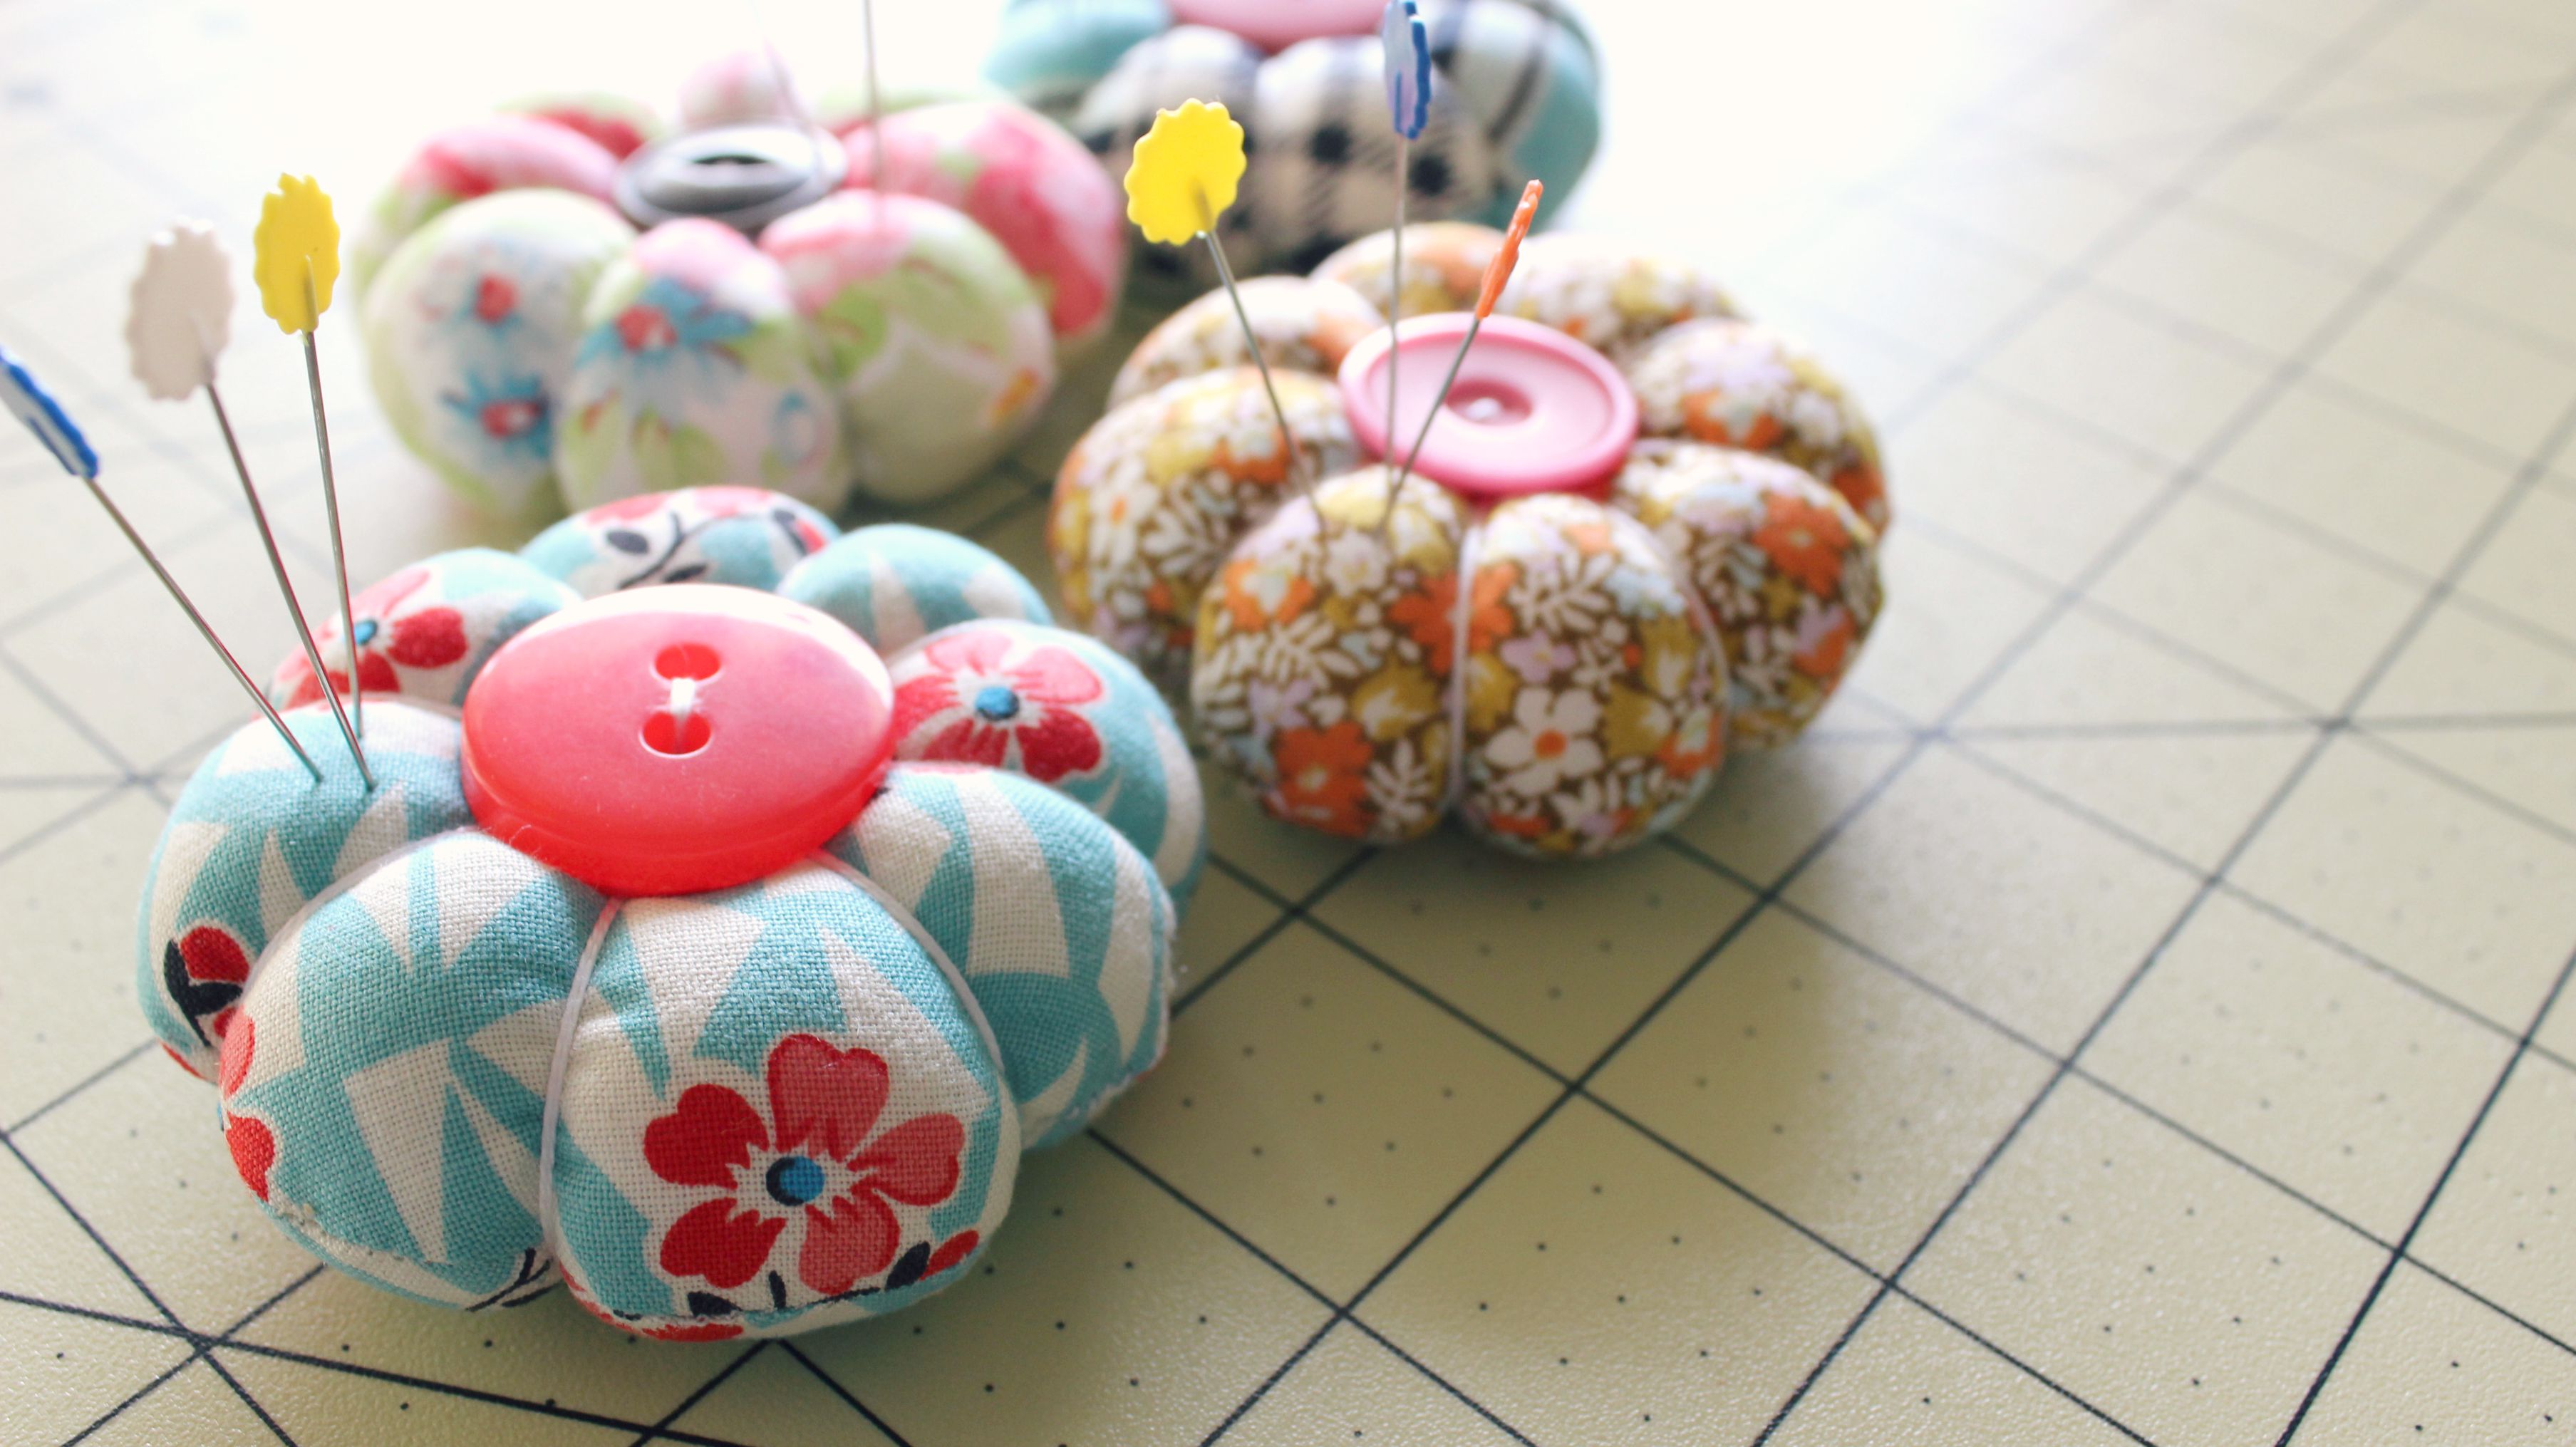
Then my usual late morning procrastinating set in and I got sucked into watching too many YouTube videos. (We’ve all been there! Am I right?) Well to be honest, I was waiting for my camera battery to charge so that I could get filming my Petal Pincushion tutorial…I had to do something to pass the time! 😀

After lunch, my motivation came back with a punch (I find I work best from early afternoon and into the evening!) and I got the Pincushion tutorial filmed and ready for editing! Yeah! Over the next few hours, I’ll get the major part of that edit done, ready to add the finishing touches tomorrow morning so that I can upload it in the afternoon! So get ready for that!

Also this afternoon, when I was importing my tutorial files into iMovie, I got momentarily distracted by some of the downloadable PDF patterns on the Fat Quarter Shop website. (As one so casually does!) I ended buying two patterns that really stood out to me and that I could see myself easily making! The first is a paper piecing pattern by Zen Chic called Octo!

productimage-picture-zen-chic-octo-52106_jpg_600x600_q85

I’ve always been really keen on making a quilt with a circular type element/design to it. As soon as I saw it, it reminded me so much of this Anna Maria Horner pattern called Spinning Stars. I think they’re very similar!

The other pattern I bought was this gorgeous Notting Hill House Mini by Nedra Ridgeway from the most beautifulist of blogs, Ellis and Higgs.

163c5f0406f75d52317705dd932452f3

Gahh! This house is so super-super cute and I can’t wait to plan what pretty pastel floral fabrics I can use to make it with!! Yip-yip!

One other thing that I’ve been up to today is researching and making the final decisions of what blocks will make the final cut for a new Quilt-Along I’ll be doing on my YouTube channel very, very soon! It’ll be a Sampler quilt of sorts and I’m quite sure all of the blocks will have a HST base to them. The only thing I’m really stuck with is what fabrics to use. Unlike my first QAWM series, I want to use a fabric (or fabrics) that are readily available to everyone all across the world. Hence why I’ve been stalking the Fat Quarter Shop of late as well as Kelani Fabrics and Hobby Sew. There are a few fabric ranges I’ve found that I think will work but I’m still on the lookout for that perfect collection that ticks all of the boxes!

So that’s been my day. Well so far, anyway. I still have this post to finalise and publish as well as a tutorial to edit for you guys to see tomorrow, along with half a dozen other important things on my to-do list that I’m casually procrastinating over! Eek!

I hope you’re all having a wonderful Thursday wherever you are in the world!

Happy Sewing, Friends!

xx

Fat Quarter Shop Jolly Bar Blog Hop!

Today I get to share with you a very special quilt I made in collaboration with the Fat Quarter Shop using their exclusive 5″x10″ Jolly Bar pre-cuts!

OpenWindowQuilt1

OpenWindowQuilt5

The range I was given to play and create with was the beautiful Polka Dots & Paisleys by Minick & Simpson for Moda Fabrics. Full of gorgeous florals, paisleys, polka dots and rich Americana colours, it was such a lovely range to work with and discover all of the intricate patterns and shapes within the prints.

One of the things I found working with the Jolly Bars is just how versitile they are to work with! I found it so hard to narrow down the perfect block to show off how effortless they are to design and sew with! My thoughts were; ‘Do I cut them half and do a simple strip-piece quilt?’ ‘Should I cut the Jolly Bar into rectangles and make it into a tumbler block?’ ‘Do I stick with a simple HST?’ The list was endless! Also, one of the other great things I love about the Jolly Bars is that each range featured comes with an exclusive pattern to make with it! All of the hard parts of wondering what to make from them has all been taken care of! Yay! So all you need to do is pick the range you love the most, make the super-easy pattern inside and you’ve got a beautiful quilt that you’ll love forever!

OpenWindowQuilt3

The quilt I chose to design and make features a very simple variation of the Open Window block. To make it, I simply cut the 42 Jolly Bars in half, paired them with a white solid fabric, then stitched and trimmed the 5″ squares into 84 4.5″ half-square triangles. I then pieced together three matching HSTs of four different prints around an 8.5″ white centre square to complete the block. I made twelve blocks all together, with a few HSTs left over and then added a 4.5″ sashing around the edges to complete the quilt top.

OpenWindowQuilt4

I used a beautifully soft and luscious bamboo/cotton blend batting (a new favourite!) and a creamy blender fabric for the backing. I then quilted it by stitching two lines either side of all of the seam lines, creating an echo type pattern within the open spaces of the blocks. To finish it up, I used a matching red solid fabric to bind the edges.

OpenWindowQuilt2

The finished size of the quilt measures: 57″x73″ or 145cmx185cm.

+++

If you’re curious to know how to piece an Open Window block together, then feel free to check out the following tutorial I made for my YouTube channel!

Measurement & cutting info…

From the white solid fabric cut –

x1: 8.5″ square for the centre of the block

x8: 5″ squares to be made into HSTs

From four print fabrics cut –

x2: 5″ squares from each one to be made into HSTs

Follow the steps in the video to learn how to piece together this block! All seams are a 1/4″.

FINAL BLOCK SIZE: 16.5″x16.5″ (42cmx42cm)

+++

I would like to extend a big thank you to the team at the Fat Quarter Shop for inviting me to join this blog hop and to be given the opportunity to work with such a beautifully rich fabric range! It was an absolute pleasure!

Happy Sewing, Friends!

xx

An Update from my Sewing Room… #2

I can tell you a secret?

(Well, it’s not really a secret. More of a thought, actually.)

I really loved having the opportunity to sit, write and share what had been happening in my Sewing Room last time and the response to that post was really encouraging and supportive! So because of that, I’ve decided to make this into a bit of a series to explore and to use as a ‘newsletter’ type thing, keeping you updated on things that I don’t share so much on YouTube, Instagram or any other of my social networky places. Sound good? Good!

And also, I like writing these types of posts as I love to be able to go back and read about what I was up to this time last year (yes, I am the type of blogger that actually likes to re-read what they wrote a year ago!), or to re-fresh my memory on the progress I made with quilts-in-the-making. I especially like looking back on posts about quilts that I give away, remembering what they looked like and re-living the thoughts (and struggles) I was facing when making them.

So, where to start off this time… Hmm…

Let’s start here!

The other day I did share this completed quilt top on Instagram of one of the commissioned baby quilts I’m making for a friend.

IMG_4354

I’m completely over the moon with how well it’s all come together! I absolutely loved how the fabrics shone, glimmered and danced in the winter sunshine and soft breeze on the day I shot these photos! It was a beautiful moment where my crazy quilt-nerdisms went into hyper-drive and I squealed and giggled to myself over its cuteness!

GrannySquaresQuiltTopDuo

All up, I made five Granny Squares Blocks and had a hard time deciding whether to leave in the top left yellow spot block or this green spot block (ie. the first block I made at beginning!)

My First Granny Squares Block!

I ended up using the yellow spot block as it seemed to balance out all of the mint-green fabrics I had used. It seemed to give the quilt an over-all subtlety and softness that I really like.

Moving on to baby quilt number two. This time around I’m making a small bunch of 5.5″ Pinwheels using the left over 3.5″ squares I over cut for the Granny Squares Blocks. (They really are super adorable!)

Pinwheels1

I’ll also be using up any left over 2″ sashing I used on the previous quilt to sash the Pinwheels together. I think I’ll then add the same kind of border I did to the other one as well, but instead use the soft yellow spot fabric in place of the green strip border.

PinwheelsDuo

Yesterday afternoon I spent some down time finishing the piecing of the Pinwheels and then begun sashing the blocks together. I’m now at the stage where I can quite easily finish the quilt top in one afternoon or evening sewing session. (That’ll either happen today or tomorrow!)

I’ve set myself a goal to have both baby quilt tops finished for the start of next week so I can concentrate on getting them quilted. I think I’ll stick to some pretty basic quilting lines – nothing as intense as my Geo Dreams Quilt or Amelia’s Baby Quilt – as I think it’ll really compliment the softness and simpleness that each of these quilts already radiate.

(Here’s a piece of behind the scenes trivia for you: While piecing the Pinwheel Blocks together, instead listening to music like I usually do, I played season four of Adventure Time in the background! It helped tremendously to make those tedious steps of squaring up HSTs and pressing tricky seams a lot more bearable and fun! Math!)

8087079d646ea5586809f50d6d662595
Finn & Jake // IMAGE SOURCE

The next thing I wanted to share with you is a pattern that I’ve been swooning over for the past week! And it’s this one by Fat Quarter Shop

The Panda-Monium Mini Quilt!

Panda-Monium Mini Quilt by Fat Quarter Shop // SOURCE
Panda-Monium Mini Quilt by Fat Quarter Shop // IMAGE SOURCE

I’m dying to get stuck into making this sweet little mini but I just can’t… I already have my fingers in so many pies, so to speak, that I really need to calm myself down, put my patience pants on and begin it when I don’t already have so many other quilts to get finished!! (And seeing so many great versions of it being made on Instagram doesn’t help to calm my fever!!)

Oh, and I forget to mention – it’s a free pattern!! (Say what!?) Yep. A FREE pattern! I love a good freebie! Annndd, there’s also a YouTube tutorial on the Fat Quarter Shop channel showing you how to make it! How good is that?! 😀

And lastly, may I just say, how awesome is the Mollie Makes magazine?!

MollieMakes

If I could sum up everything that I want to be as quilter/sewer/crafter/whatever, this magazine is it! It’s 100% me but in pretty matte-pages form!

Although we’re a few issues behind here in Australia and you literally have to pay a small fortune for just one copy, it’s totes worth it, especially when you get cute freebies like pastel vintage buttons and DIY pincushion kits!!

+++

So that’s it this time ’round.

The weekend ahead, as usual, is full of sewing, creating, filming and editing!

I hope you’re weekend will be just as fun as mine!

Happy Sewing, Friends!

xx