TUTORIAL // FPP Friendship Circle Block!

GET THE PATTERN: FriendshipCircleBlockTemplate_3and3quarters

FPPFriendshipCircleBlock

Hi all!

Although my Post-A-Day Challenge for September fizzled away too near to the end of the month, I’ve re-kindled the friendship between me and blog and we’re ready to present to you another awesome Quilt Block Tutorial! Yay!

So you may’ve already guessed what the block in question is by the title of this post, the title of the template pattern and the thumbnail of the video below…

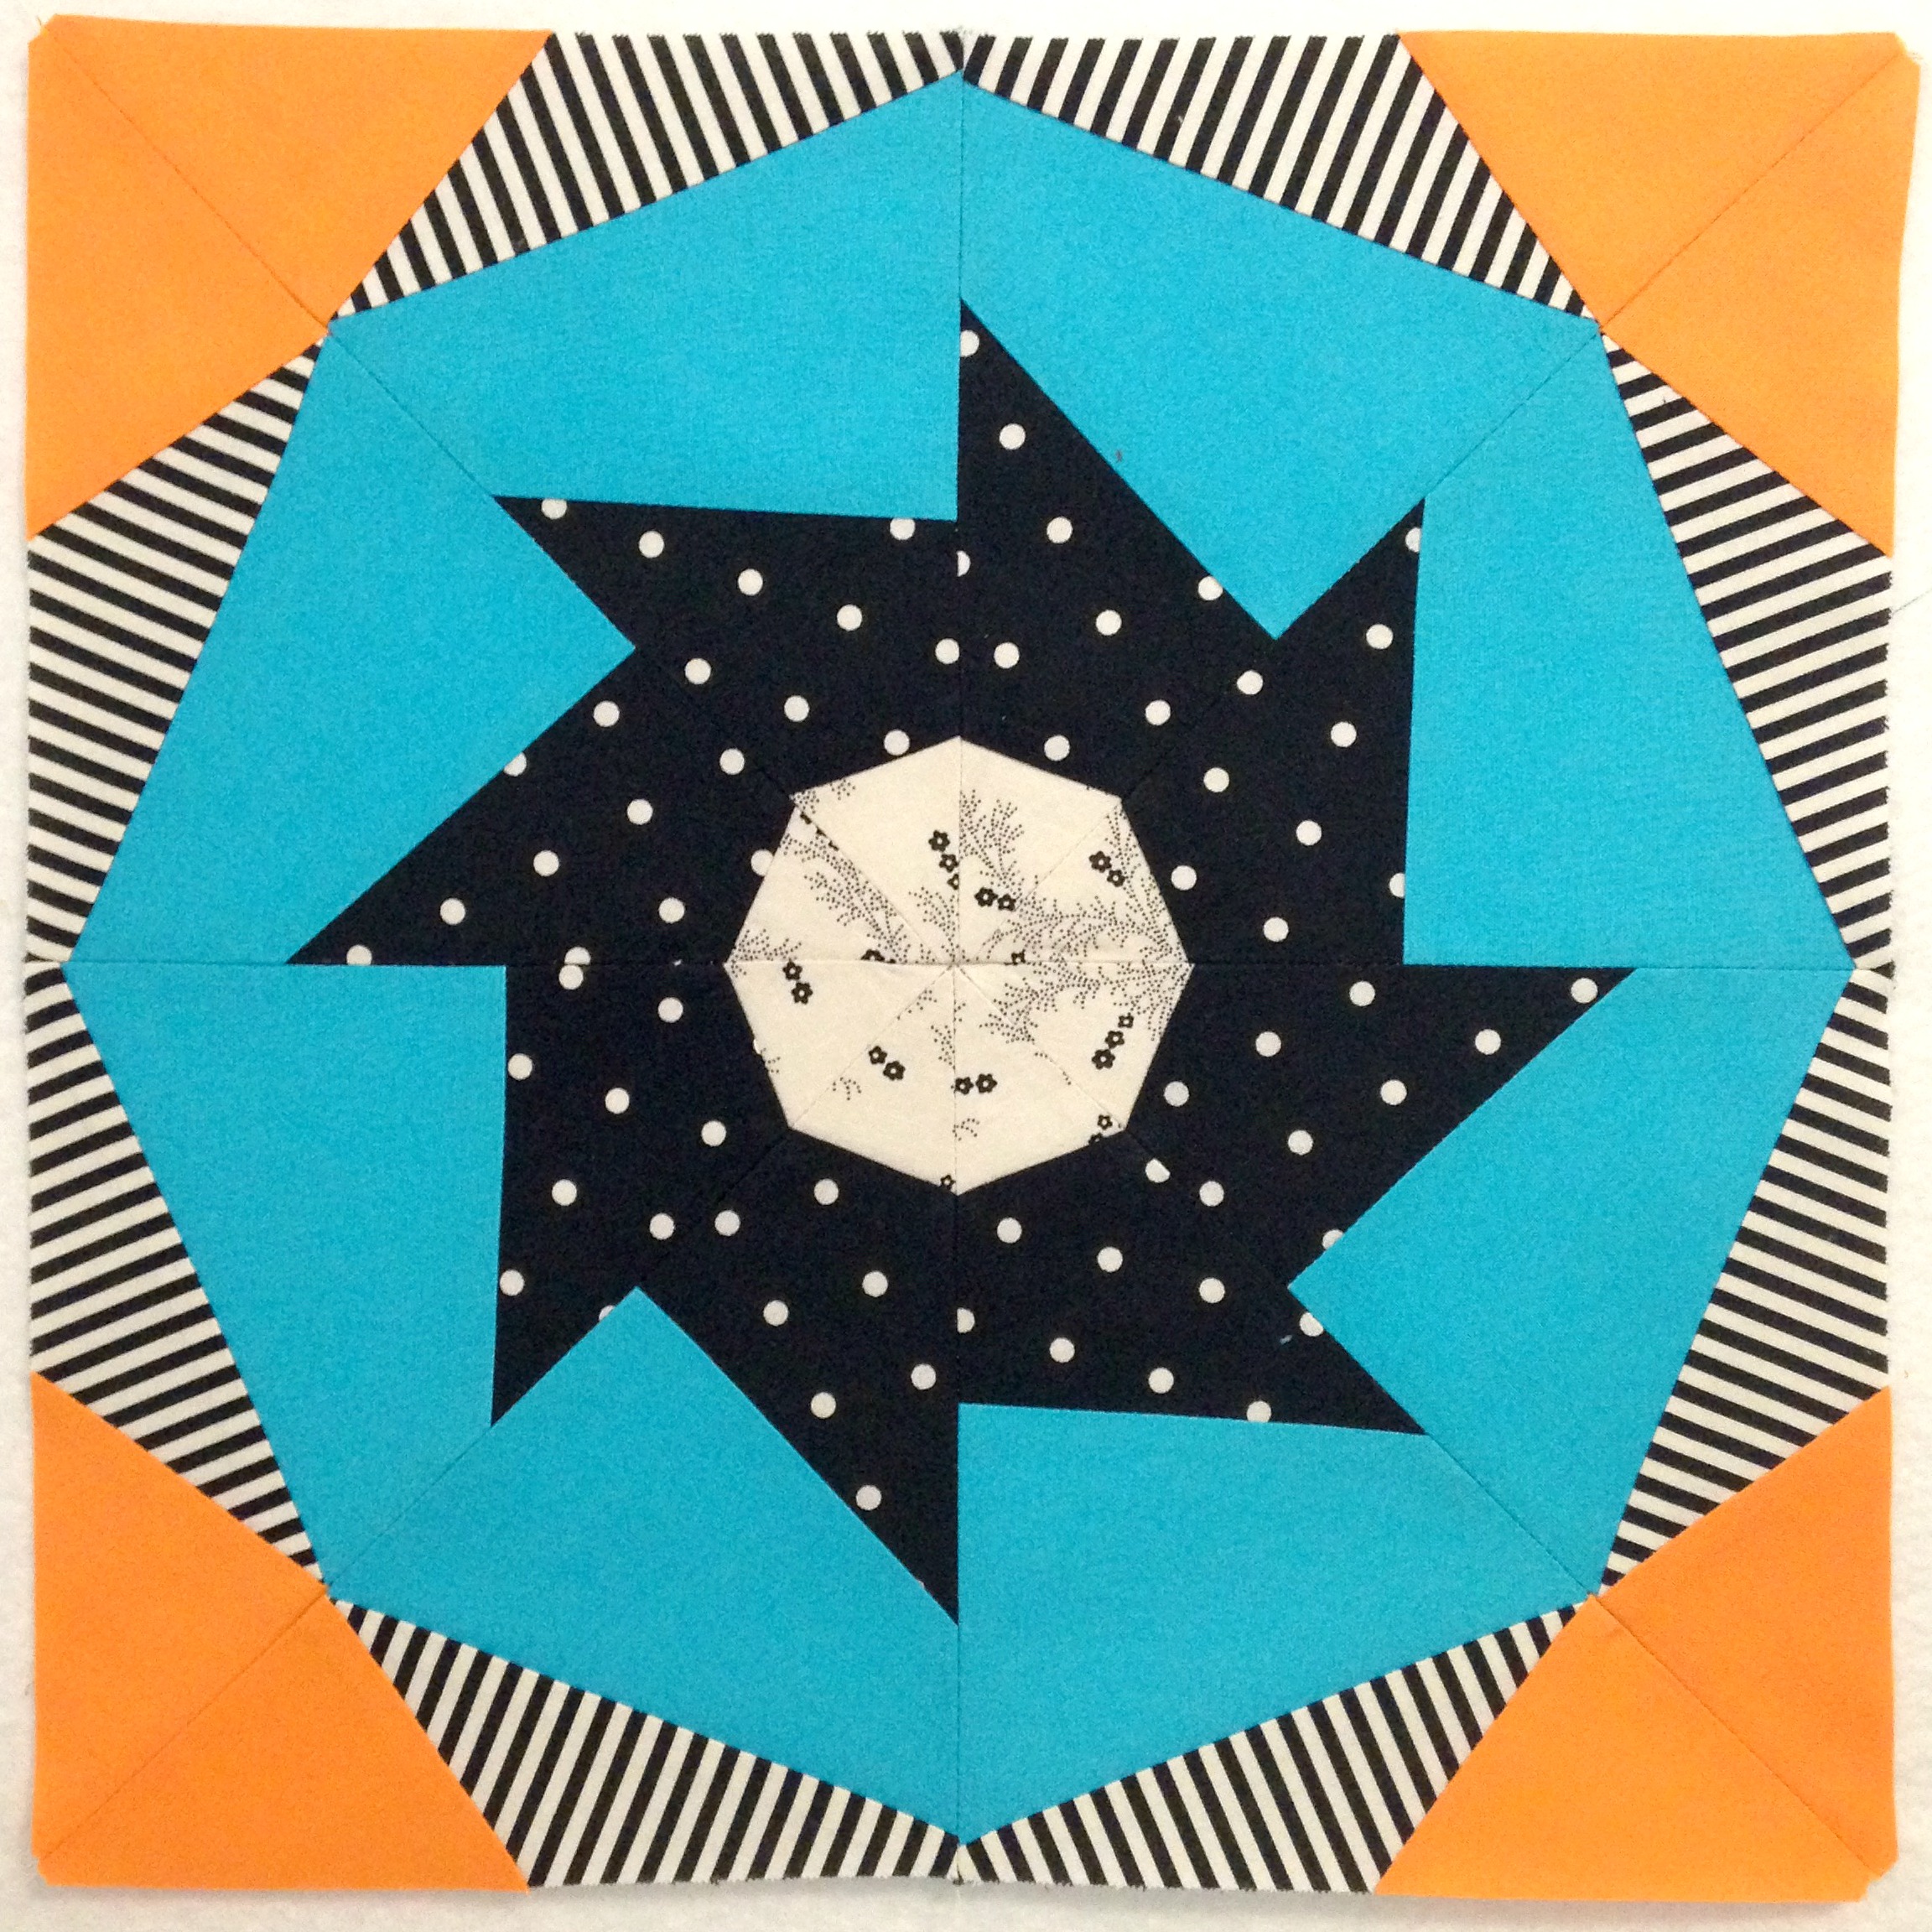
But despite all of that, the block we’re learning how to make today is the Foundation Paper Pieced Friendship Circle Block! (Whew, what a mouth full!)

Everything you’ll need to know on how to piece this little beauty together is in the video below and trust me when I say that this block is easier to make than it looks!

FINAL BLOCK SIZE:
13&1/4″x13&1/4″ approx. (33.5cmx33.5cm)

FABRIC INFO:
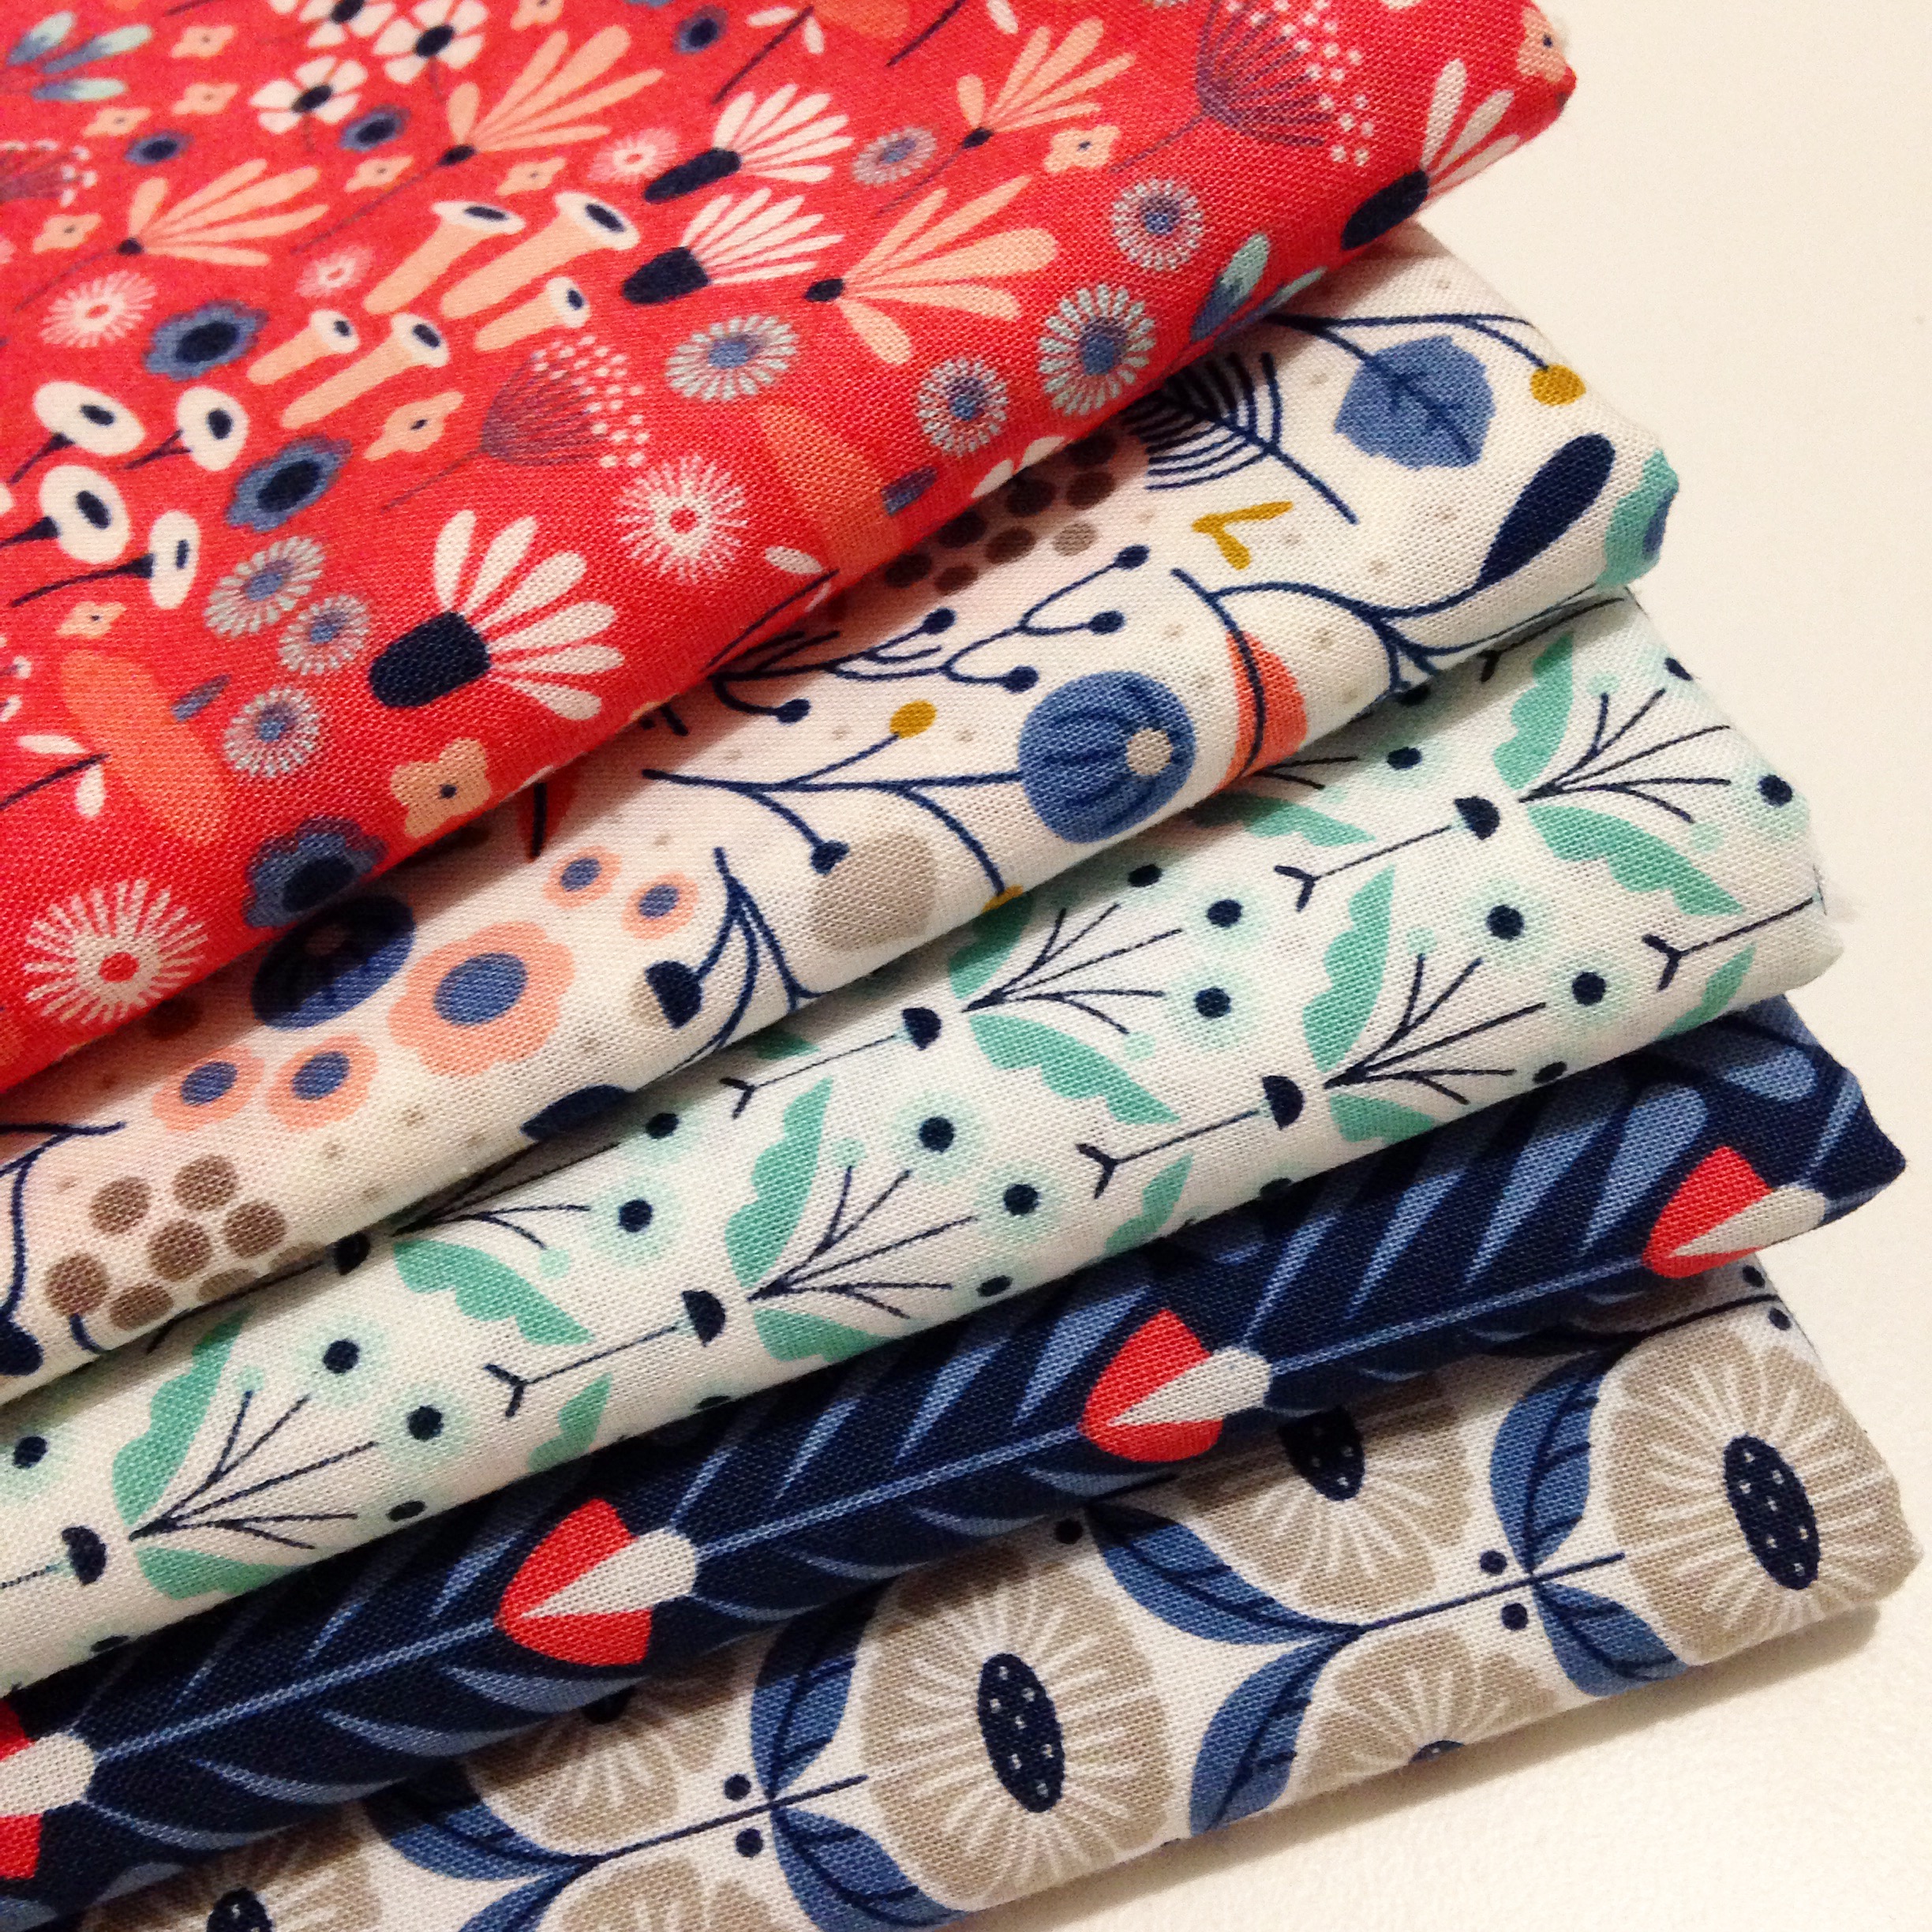
You can easily make this block using Fat Eighths, Fat Quarters as well as those little scraps that tend to float around your sewing room! Be as creative or as safe as you like when it comes to choosing the fabrics that you think would look best in this block!

CUTTING INFO:
Cut these amounts for each section in the template. (These amounts are to make one full block.)
A1 & B1: x8 2.5″x2.5″ square
A2 & B2: x8 4.5″x4″ rectangle
A3 & B3: x8 4″x5.5″ rectangle
A4 & B4: x8 2″x6″ rectangle
A5 & B5: x8 3.5″x3.5″ square

TOOLS & NOTIONS:
Brother Innovis 200QE sewing machine
Brother 1/4″ sewing foot
Gutermann polyester thread
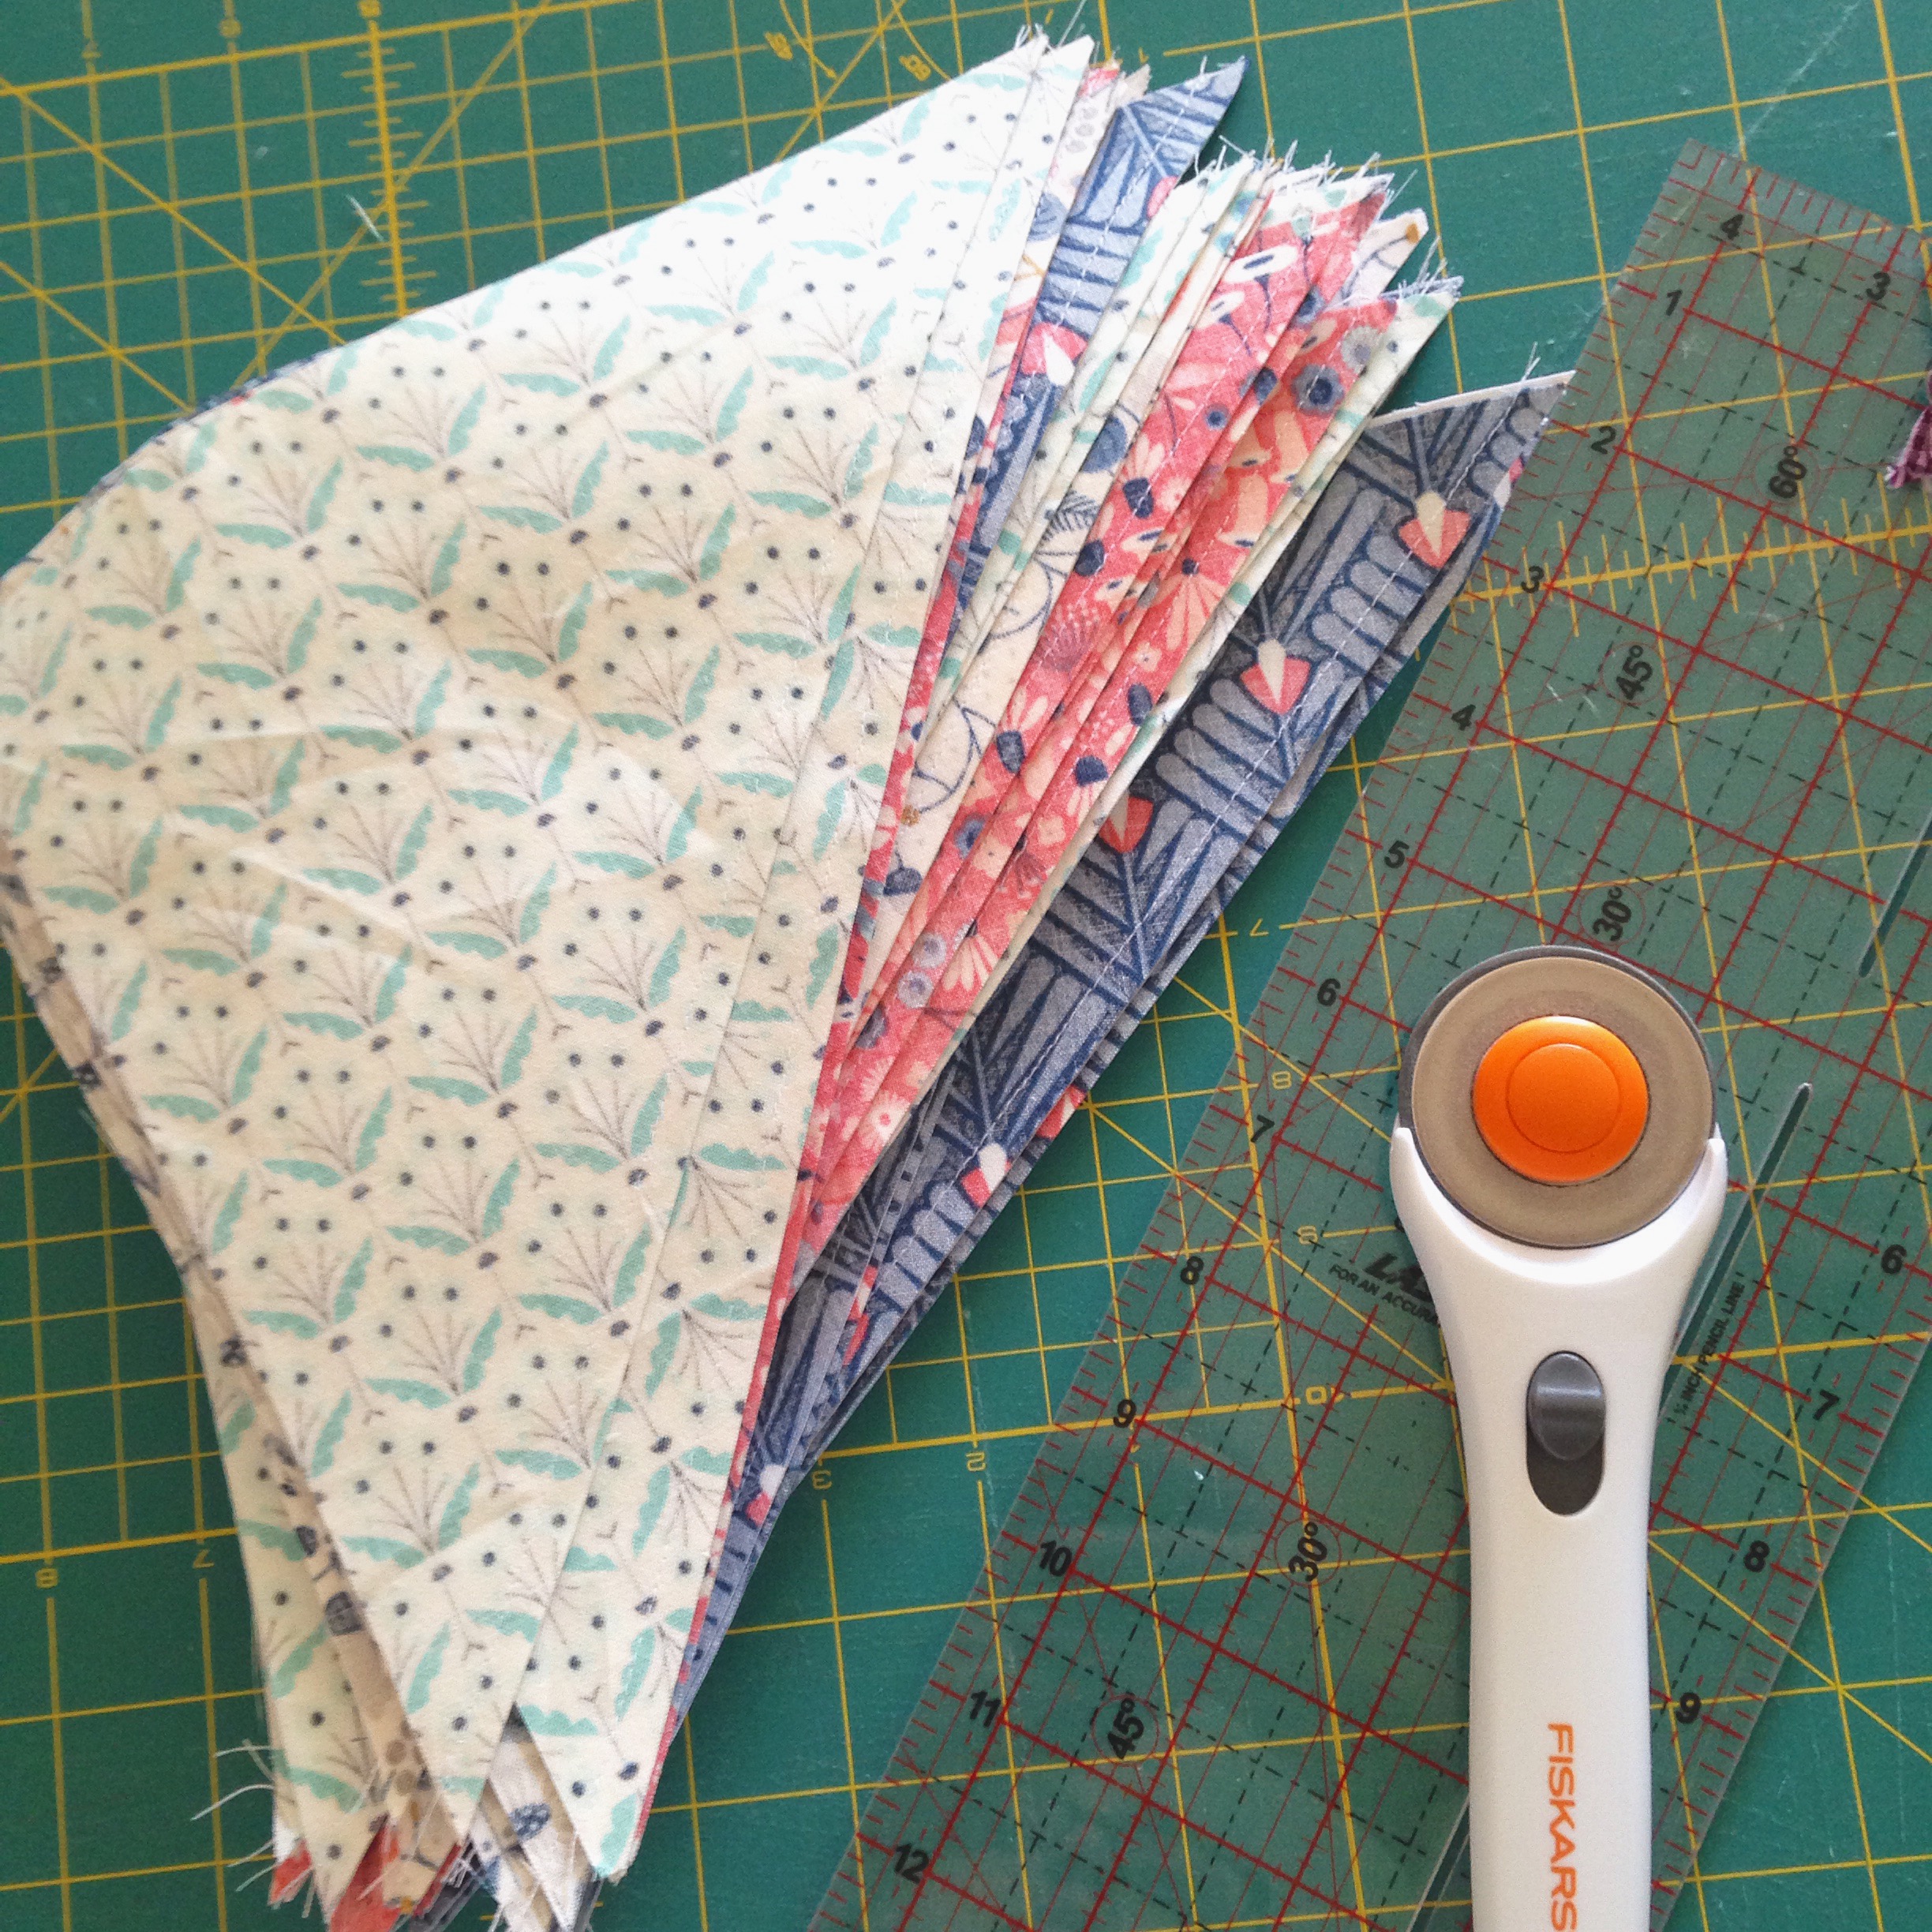
OLFA Cutting Mat
Fiskars Rotary Blade (28mm)
Sew Easy Rulers
Bostick Glue Stick
Triumph Craft Scissors
Birch Non-Melt Flower Head Quilting Pins
Clover Serrated Tracing Wheel http://goo.gl/kS3aoi
Clover Finger Presser http://goo.gl/IOXilY
Spray Starch
Philips Azur Iron

 +++

If you’re keen-as-beans to make this block, let me know how you go and don’t forget to share your finished blocks with me either on my Facebook page, Instagram and Twitter (@3and3quarters) or through email: 3and3quarters@gmail.com. I would love to see how you interpret this block! And if you have any questions, don’t feel shy to ask – I’m always happy to help! 🙂

I hope all have the most terrific weekend!

Happy Sewing, Friends!

xx

September 25th: Favourites & Finishes!

Oh man, I knew it would happen! Our Internet conveniently died yesterday, ruining my good run of publishing a new blog post everyday during September! I did try to attempt to get onto WordPress yesterday, but all I was met with was a blank screen and that annoying little circle of lines that goes round and round when you’re waiting for something to refresh or load! Oh well, it is what it is!

So now that we have our Internet back in all it’s beautiful high-speed glory, I can share with you today what I was going to share with you yesterday!

My Notting Hill House Mini is finished!! Yay! (Well, no. A slight lie there. I still need to attach a rod pocket so that I can hang it up. But other than that, it really is finished!)

IMG_5033

NottingHillHouseMini

Oh, I swoon! It’s just so lovely! I can’t believe I was so unsure about the fabrics I picked – but they all work so well with each other! Hooray!

I was planning on quilting it in a grid-like pattern, similar to the original but on the day I quilted it I was more in the mood to stick with my classic straight-line quilting style than to branch out of my comfort zone! I’m really am so happy with how it worked out though. Super modern. Super chic. Super darling!

And today I caught myself gushing even more about this Mini in my September Favourites video! It’s been a while since I shared my monthly favourites on my blog! I hope you enjoy watching it!

Here’s a list of the things I chatted about in the video…

My September Favourites
Florence + The Machine Album, ‘How Big, How Blue, How Beautiful’ (2015)
Petal Pincushions / TUTORIAL
Notting Hill House Mini Quilt by Nadra Ridgeway
HER WEBSITE
THE PATTERN
‘Be Brave. Be Bold.’ Book from Kikki.K
Revlon Highlighting Palette in 020 Rose Glow
Photography / CAMERA: Canon EOS 600D DSLR

+++

I hope you all have a wonderful weekend wherever you are in the world and use the time to sew til your hearts content!

Happy Sewing, friends!

xx

September 23rd: TUTORIAL // The Mountain Block!

It’s been a while in the making, but here it is: The Mountain Block tutorial!

FABRIC
Wildwood by Elizabeth Olwen for Cloud9 Fabric, in Wild Flower.
Prima 100% Cotton Homespun, in White.

MEASUREMENT & CUTTING
From the white solid fabric cut:
x1: 8.5″ square

From the print fabric cut:
x1: 8.5″ square

FINAL UNIT SIZE

6.5″x8″/17cmx21cm (approx.)

FINAL BLOCK SIZE

15.5″x12&6/8″ / 40cmx32.5cm (approx.)

+++

As I mention in the tutorial, you have free reign on how big or small you want to make your mountain block! In no way must you stick with the measurements I’ve provided – you can be as adventurous and as creative as you like when piecing it together! The only thing you need to remember is to cut your HST in the opposite direction to achieve that wonderfully awesome mirrored effect in the block!

Here are a few great examples I found on Pinterest of the mountain block (also known as the Delectable Mountain/s block) being used to create such effective and beautiful modern quilts!

MountainQuilts:Pinterest

The quilt by Quilts by Emily

The quilt by Quilternity’s Place

The quilt by Wendy Meyen

The quilt by Old Red Barn Co.

+++

Let me know if you’re excited to give this block a go! It’s perfect for intermediate beginners and would be great to use to get some of those scrap fabric piles down to a better height!

Happy Sewing, Friends!

xx

September 15th: The Start of a New Quilt!

I finally got the chance to cut and play with these gorgeous Wildwood fabrics today! Yip-yip!!

IMG_4733

IMG_4923

This range (mine, unfortunately, is incomplete) was designed by Elizabeth Olwen for Cloud9 Fabrics, is 100% certified organic cotton and is an absolute dream to work with! I love it so much!!

WildwoodSelvedge

…Am I the only who keeps the selvedges because they’re too pretty to throw away?!

So I’ve had the idea swirling around my head for quite a while to try out the Mountain Block with these fabrics. I thought, because the range is called ‘Wildwood’ and mountains are usually surrounded by wood, that it would sort of tie-in together nicely. Plus the fact that I’ve seen some beautiful quilts on Pinterest using the block and thought they looked ah-mazing! So after a good bit of research and trialling the block out, I begun the real thing today with really good results so far!

This is the very early stages of the quilt top…

WildwoodBeginnings

I’m still not 100% sure of the final layout – there are lots of options – but I thought I’d figure that out once all of the blocks have been made and I’m able to swap and reposition things until I’m happy with what I see. I’ve also added a few darker neutrals in the mix to help break up the white. I’m pretty happy with how well that’s working out as well!

WildwoodBlock
A Mountain Block

Good news, I will be doing a tutorial on this block! It’s currently planned to come out on Friday and you’ll be so surprised at just how simple it is to make! I’ll also be doing another tutorial-type-thing on how to make the quilt in a blog post sometime next week!

So in those tutorials I’ll show you how to cut and piece the blocks together as well as show you the different kinds of quilt top layouts you can choose to create with the block, along with all of the measurements, cutting info and associated numbers needed to make the quilt! Should be fun!

I’m now off to piece some more blocks together!

A Happy Tuesday to you!

xx

September 14th: A Happy Monday

I feel that for the third day in a row, I should comment on how great the weather has been today as my first few opening sentences… Man, the weather was lovely today! Super sunny, warm breeze and the scent of fresh flowers perfuming the air! Ooo, it was grand! 😀

So just as the title of this post suggests, it’s been a happy Monday! Big collaboration prospects were discussed and organised this morning. (More on that when the right time comes along!) Fun and exciting future projects were developed further (HINT: Quilt-Along!!). A little bit more sewing got done. And I put a quilt on sale in my Etsy Shop!

OpenWindowQuilt1

Yep, my Open Window Quilt I made for the Fat Quarter Shop Blog Hop last week is looking for a new home! It so deserves a place where it can be loved, used and cherished everyday by someone who loves it just as much as I do! The reason I’ve decided to sell this quilt is simply because I have no room for it! Our house has literally been taken over by quilts (every lounge, sofa and chair practically has one draped over the back and/or over its arm!) that I just have no where to put it! So that’s why it must to go to a good home where it’ll be appreciated!

+++

 Ooo, I also got a little bit more done on my Notting Hill House Mini! I stitched on a 2.5″ white sashing around the four edges of the quilt top, then prepared the binding (pastel pink, left-over from a baby quilt I made for my niece last year!) along with the backing (left-over backing from my Open Window Quilt) as well as the batting (white Cosy Cotton, left-over from my Geo Dreams Quilt!).

NottingHillHouseMini2

Right now, I’ve got it to the stage where all three layers are ready for basting and then quilting! Yay! Although, I’m still not sure how I want to quilt it… Criss-cross grid? Straight line? Ditch in the stitch? Dare I say it: FMQ?! Hmm, that decision needs to be slept on and decided in the morning, I think! 🙂

I hope you all have a great Monday too!

Happy Sewing, Friends!

xx

September 13th: A Sewing Day!

Another sunny weekend-day has come to an end and today I finally got stuck into some sewing!

As the early afternoon rolled over, I fired up the iron, got my machine in working order (new needle, full bobbin and full thread on top), pressed all of my fabrics and begun the task of making my Notting Hill House Mini!

NottingHillHouseMini1

Ooo, isn’t it just the loveliest thing!!

I found, just like the Pandamonium Mini Quilt, there was a lot of cutting before the sewing could begin. But being as I’m a total loser for cutting (it’s one of my favourite steps in quilt making!), I was in my element as I meticulously checked and re-checked the measurements, lined up the fabric on my mat and then cut, cut, cut!

Piecing it together was a piece of cake! At almost every step in the pattern, there is a little diagram showing you what, where and how to piece all of the little pieces together to create the door, the windows and the roof and then how to bring them all together to complete the quilt top! Fab!

I was saying in yesterdays post, I wasn’t too sure on the fabrics I had chosen to use for this mini. But you know, I looked at the choices this morning with fresh eyes and didn’t change a thing! I could see that all of the fabrics I had pulled out would work brilliantly with each other!

All in all, I’m really happy with how everything came together. The door and stair section is a little wonky, but hey, it adds character! Now, I think I’m going to add a little border sashing around the outside of the house (even though the pattern doesn’t suggest that), just so that it stands out a little bit. I’m not too sure when I’ll have the time to quilt it as the week ahead is a busy one along with the weekend! I may have to pull some late-nighters to see it finished! But what ever happens, I’ll keep you in the loop!

Happy Sunday friends and I hope you all have a lovely week ahead!

xx

September 12th: A Sunny Spring Saturday & A Day of Non-Starts!

Flora11

Oh man, the weather today was absolutely lush! The sun was shinning brilliantly, the flowers were in full bloom, a warm breeze rustled through my hair and it was the first day since the beginning of winter where I haven’t needed to put socks on by days end! Yay! Spring is here!

So for today I had planned to get started on what I like to call ‘personal sewing’. It’s those projects where I’m making it simply for me and my own enjoyment. For example, my Pandamonium Mini Quilt was a ‘personal sewing’ project, as was my Pineapple Mini and so will be the patterns I bought from Fat Quarter Shop the other day. And it’s one of those I was going to start this morning…

However, after sitting down in front of my machine I annoyingly remembered that I hardly had any thread to sew with and that I needed to buy some new needles for my machine! I’d been putting off and putting off and putting off going to buy some all week (which is REALLY terrible, I know!), which resulted in me cursing at myself as I sit down to sew and hear/feel that spine-tingly clunk-clunk-clunk of my dull needle piercing through the fabric! Oops! So because I treated myself to a lovely and much needed lie-in in the morning and had the afternoon booked with another event, I ended up at Spotlight buying what I needed 20 minutes before they closed for the day! And by then, my day had been busy enough that my up-and-go had up-and-went!

The pattern I was going to get stuck into was the Notting Hill House Mini by Nedra Ridgeway. I currently have the pattern pinned up on my cork board behind my desk and every now and then I can’t help but look over at it because it’s just so stinkin’ cute!!

163c5f0406f75d52317705dd932452f3

A few moments a go, I had a good rummage through my stash for some lovely pastel florals and spots that I think would suit the pattern. I’m still not 100% sure on how the prints sit together and what exact fabrics will make the cut, but I’ll look at it again tomorrow with fresh eyes and see if anything needs changing!

That’s been the day! I hope yours is much more productive in the sewing room than mine was!

Happy Weekend, Friends!

xx

September 11th: TUTORIAL // How to Make a Petal Pincushion!

Since the day I first shared these darling little pincushions on Instagram last week, lots of requests have come in for me to do a tutorial!

And so here it is ladies! (Ahem…and gentlemen, if you’re reading along!)

Materials List:

A suitable amount of cotton fabric, depending on how big you want to make your pincushion. The fabric I use is DS Quilts, Daisy Mae collection.
x1 large button with two holes in a colour of your choice
80″ (estimate) of DMC Pearle Cotton thread in colour of choice
x1 Straws needle in size no.1 (or any other type of strong hand sewing needles)
Hand full of polyester stuffing
Scissors: Thread snips, Fabric scissors and Pinking Sheers
Lead pencil
x1 small hand sewing needle and matching thread
Chop stick
Sewing Machine
Dressmaking pins
Something round to trace around eg. Jam jar lid, tin lid, plate etc.

The beauty about this pattern is that you can make your pincushion as big or as small as you like depending on the size of the circular object you choose to trace around! Yeah!

If this looks like a great little project that you’re going to make, don’t forget to send me a photo of your finished little (or big!) petal pincushion! I would absolutely love to see how you go!

Happy Sewing, Friends!!

xx

PS. This petal pincushion has been inspired and adapted from a pattern in a booklet that came with issue 52 of Mollie Makes magazine.

September 10th: A Typical Work Day

PetalPincushions2

Thursday has panned out to be a pretty typical work day for me.

The day started out with replying back to emails and checking all of my social media places and answering comments and seeing what all of you guys are up to.

Then my usual late morning procrastinating set in and I got sucked into watching too many YouTube videos. (We’ve all been there! Am I right?) Well to be honest, I was waiting for my camera battery to charge so that I could get filming my Petal Pincushion tutorial…I had to do something to pass the time! 😀

After lunch, my motivation came back with a punch (I find I work best from early afternoon and into the evening!) and I got the Pincushion tutorial filmed and ready for editing! Yeah! Over the next few hours, I’ll get the major part of that edit done, ready to add the finishing touches tomorrow morning so that I can upload it in the afternoon! So get ready for that!

Also this afternoon, when I was importing my tutorial files into iMovie, I got momentarily distracted by some of the downloadable PDF patterns on the Fat Quarter Shop website. (As one so casually does!) I ended buying two patterns that really stood out to me and that I could see myself easily making! The first is a paper piecing pattern by Zen Chic called Octo!

productimage-picture-zen-chic-octo-52106_jpg_600x600_q85

I’ve always been really keen on making a quilt with a circular type element/design to it. As soon as I saw it, it reminded me so much of this Anna Maria Horner pattern called Spinning Stars. I think they’re very similar!

The other pattern I bought was this gorgeous Notting Hill House Mini by Nedra Ridgeway from the most beautifulist of blogs, Ellis and Higgs.

163c5f0406f75d52317705dd932452f3

Gahh! This house is so super-super cute and I can’t wait to plan what pretty pastel floral fabrics I can use to make it with!! Yip-yip!

One other thing that I’ve been up to today is researching and making the final decisions of what blocks will make the final cut for a new Quilt-Along I’ll be doing on my YouTube channel very, very soon! It’ll be a Sampler quilt of sorts and I’m quite sure all of the blocks will have a HST base to them. The only thing I’m really stuck with is what fabrics to use. Unlike my first QAWM series, I want to use a fabric (or fabrics) that are readily available to everyone all across the world. Hence why I’ve been stalking the Fat Quarter Shop of late as well as Kelani Fabrics and Hobby Sew. There are a few fabric ranges I’ve found that I think will work but I’m still on the lookout for that perfect collection that ticks all of the boxes!

So that’s been my day. Well so far, anyway. I still have this post to finalise and publish as well as a tutorial to edit for you guys to see tomorrow, along with half a dozen other important things on my to-do list that I’m casually procrastinating over! Eek!

I hope you’re all having a wonderful Thursday wherever you are in the world!

Happy Sewing, Friends!

xx

Fat Quarter Shop Jolly Bar Blog Hop!

Today I get to share with you a very special quilt I made in collaboration with the Fat Quarter Shop using their exclusive 5″x10″ Jolly Bar pre-cuts!

OpenWindowQuilt1

OpenWindowQuilt5

The range I was given to play and create with was the beautiful Polka Dots & Paisleys by Minick & Simpson for Moda Fabrics. Full of gorgeous florals, paisleys, polka dots and rich Americana colours, it was such a lovely range to work with and discover all of the intricate patterns and shapes within the prints.

One of the things I found working with the Jolly Bars is just how versitile they are to work with! I found it so hard to narrow down the perfect block to show off how effortless they are to design and sew with! My thoughts were; ‘Do I cut them half and do a simple strip-piece quilt?’ ‘Should I cut the Jolly Bar into rectangles and make it into a tumbler block?’ ‘Do I stick with a simple HST?’ The list was endless! Also, one of the other great things I love about the Jolly Bars is that each range featured comes with an exclusive pattern to make with it! All of the hard parts of wondering what to make from them has all been taken care of! Yay! So all you need to do is pick the range you love the most, make the super-easy pattern inside and you’ve got a beautiful quilt that you’ll love forever!

OpenWindowQuilt3

The quilt I chose to design and make features a very simple variation of the Open Window block. To make it, I simply cut the 42 Jolly Bars in half, paired them with a white solid fabric, then stitched and trimmed the 5″ squares into 84 4.5″ half-square triangles. I then pieced together three matching HSTs of four different prints around an 8.5″ white centre square to complete the block. I made twelve blocks all together, with a few HSTs left over and then added a 4.5″ sashing around the edges to complete the quilt top.

OpenWindowQuilt4

I used a beautifully soft and luscious bamboo/cotton blend batting (a new favourite!) and a creamy blender fabric for the backing. I then quilted it by stitching two lines either side of all of the seam lines, creating an echo type pattern within the open spaces of the blocks. To finish it up, I used a matching red solid fabric to bind the edges.

OpenWindowQuilt2

The finished size of the quilt measures: 57″x73″ or 145cmx185cm.

+++

If you’re curious to know how to piece an Open Window block together, then feel free to check out the following tutorial I made for my YouTube channel!

Measurement & cutting info…

From the white solid fabric cut –

x1: 8.5″ square for the centre of the block

x8: 5″ squares to be made into HSTs

From four print fabrics cut –

x2: 5″ squares from each one to be made into HSTs

Follow the steps in the video to learn how to piece together this block! All seams are a 1/4″.

FINAL BLOCK SIZE: 16.5″x16.5″ (42cmx42cm)

+++

I would like to extend a big thank you to the team at the Fat Quarter Shop for inviting me to join this blog hop and to be given the opportunity to work with such a beautifully rich fabric range! It was an absolute pleasure!

Happy Sewing, Friends!

xx