May 6th: Simple Cross Block Tutorial

As the weekend greets us on this fine Friday afternoon, I thought I’d share with you a lovely and simply modern block that you can easily whip up in under half an hour as you unwind from the working week!

SCBlock2

I’m calling it the Simple Cross block. It’s basically just a modified version of the X Plus Block but without the ‘X’ bits in each corner. They’ve been replaced with four 4.5″ squares.

So here’s a guide on how to make to it!

+++

First, using two contrasting or matching fabrics, cut the following measurements from each one.

SCMeasurements
*Grey = background / Blue = main print

Next, pair up the two 2.5″ blue squares with two of the 2.5″ grey squares. (Image 1)

SCStepOne

Flip and pin each pair together and then sew a 1/4″ seam down the side that’s pinned. (Image 2)

Then press the seam on each duo towards the darker side of fabric with a medium steamy iron. (Image 3)

Next, take the rectangle piece and the two left over 2.5″ grey squares and sew each one to either end. Press the seams outwards towards the darker side of fabric. (Images 4/5/6)

SCSteptwo

After that, take two of the 4.5″ grey squares and place one of the blue/grey duo rectangles in between them. (Image 7)

SCStepthree

Flip and pin the duo to one of the sides of either square and then sew a 1/4″ seam along it. Press the seam outwards towards the 4.5″ corner square. (Images 8/9)

Then, sew the other 4.5″ grey square to the other side of the blue/grey duo. Make another row with the left over pieces, resulting in two identical rows. (Image 10)

SCStepFour

 Next, sandwich the row with the blue rectangle in between the top and bottom and rows. (Image 11)

SCStepfive

Pin the centre row evenly to the top edge of the bottom one and then sew them together using a 1/4″ seam. Neatly press the seam inwards towards the centre row. (Images 12/13)

Lastly, pin the top row to the top edge of the centre row and sew them together. (Image 14)

SCStepsix

Press the seam inwards again to finish the block.

SCBlock

The finished size of the block is: 10.5″x10.5″ (26.5cmx26.5cm).

+++

 Share your finished blocks with me on Instagram or on my Facebook page!

Happy Sewing, Friends!

xx

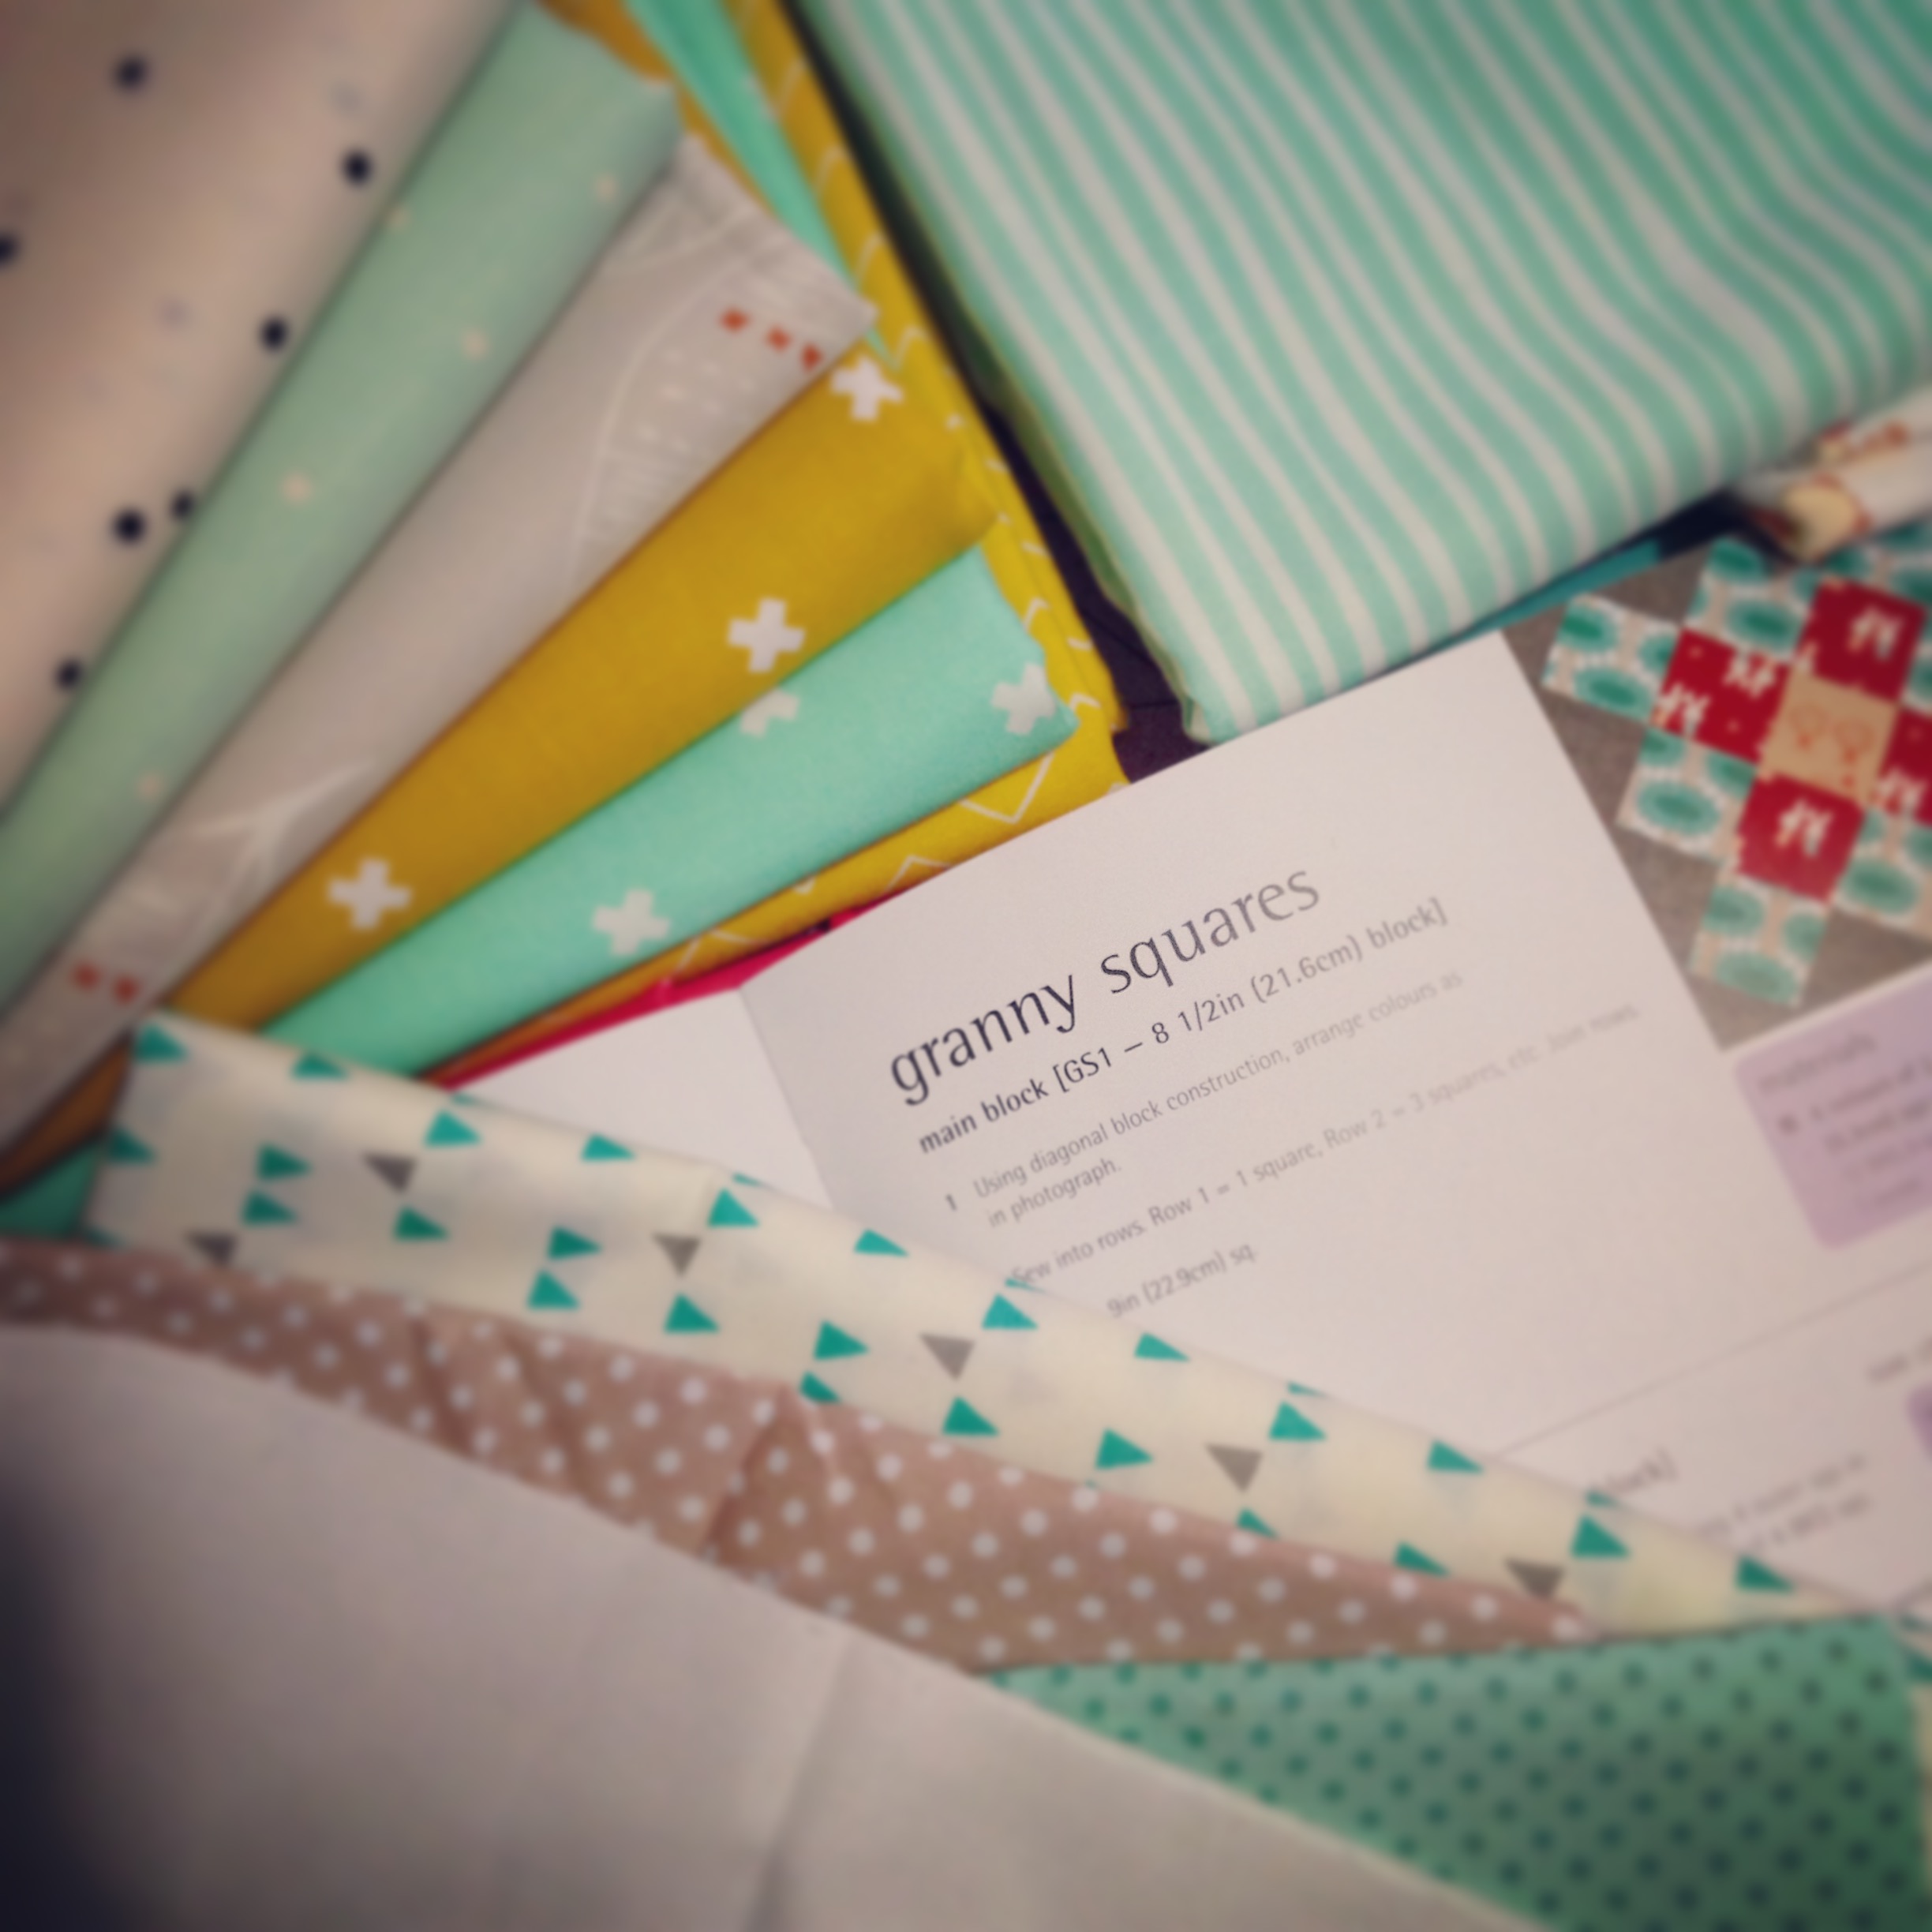
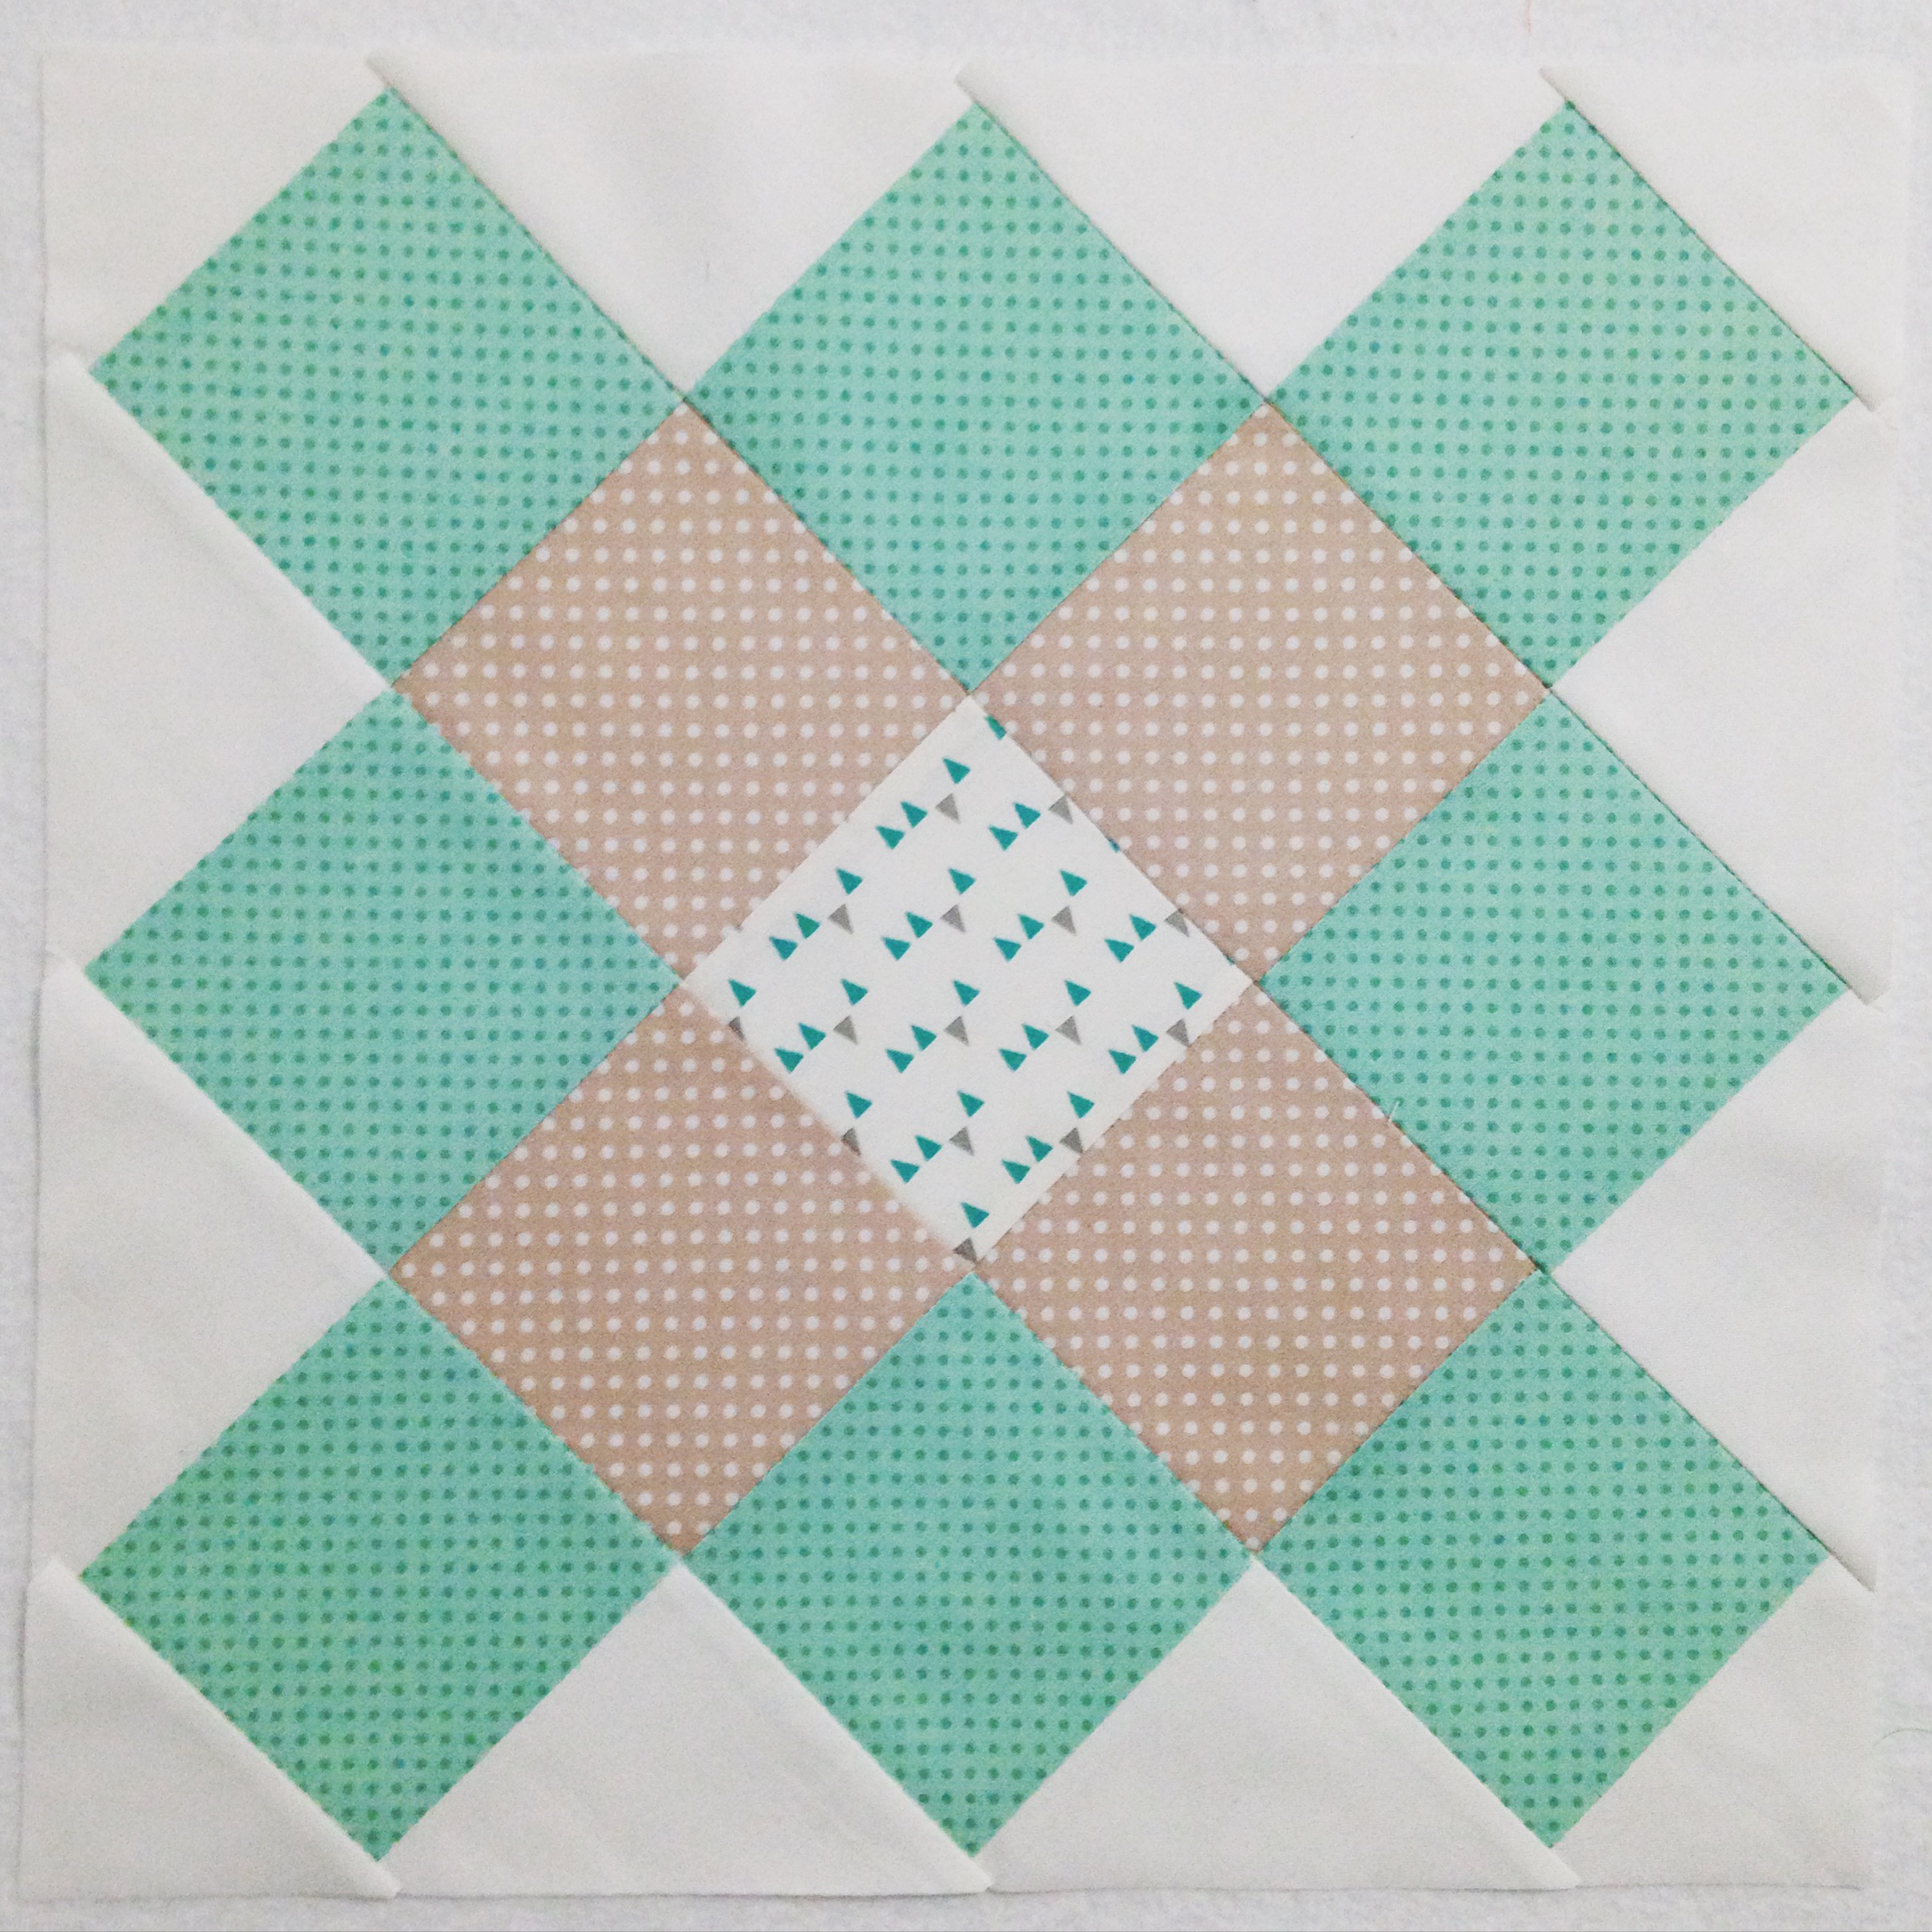
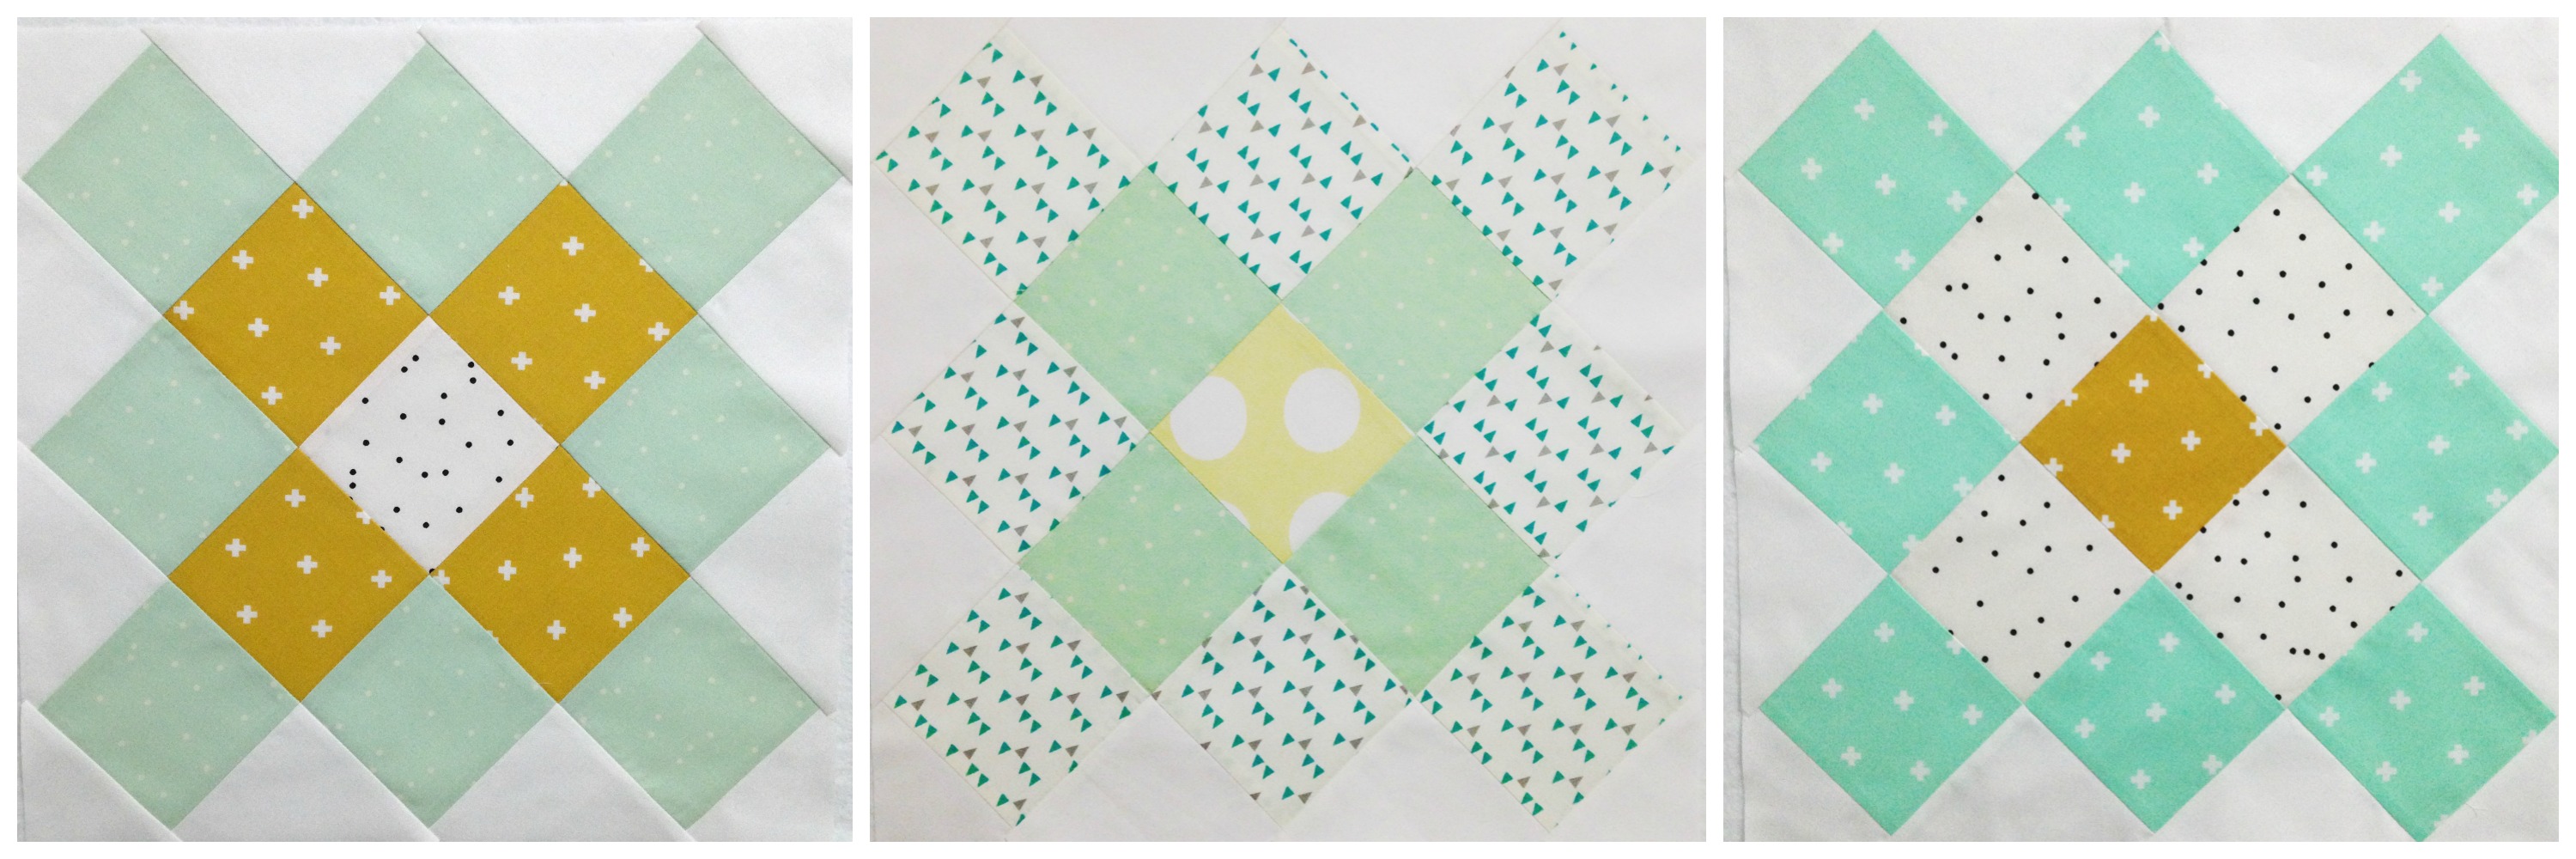
Inspiration: 500 Quilt Blocks by Lynne Goldsworthy & Kerry Green

Advertisement

TUTORIAL: Granny Squares Block

IMG_4198

Classic. Traditional. Modern. Simple. Fun.

…Are just a few words I would use to describe this sweet, sweet block!

Previous to this, I had never made a Granny Squares Block, whether in crochet or patchwork. It was those funny little triangle edges that always threw me off… I just couldn’t understand how this block was constructed to be able to achieve those odd angled squares and triangle-ly bits. It was only after a quick search on Pinterest, where I saw this simple picture, that I finally experienced that moment of: “Ohhhhh! That’s how you do it!!” It was legit a great moment and I immediately got into cutting and piecing my first block together…

My First Granny Squares Block!

I cannot express enough at just how quick and simple this block is to construct! It’s purely just piecing squares together (in the correct layout order), pressing the seams, sewing the rows together and then squaring the block up! So. Easy.

The reason why I’ve dived head-first into making Granny Squares is because of a commission I was recently ask to do for a friend. She has two friends who are expecting babies in the next few months and so asked me to make a baby quilt for each little bubba! This block will feature in one quilt and the other quilt is currently in the planning! Because both mums-to-be don’t know the gender of their babies, I’ve been sticking to a ‘gender-neutral’ colour palette of mint greens, creams, yellows and tans, with subtle, soft prints like polka-dots, little crosses and triangles. Some of the fabrics I’ve been using are from the Basics xoxo range from Cotton+Steel and the Hello Bear range by Art Gallery Fabrics. Both are such beautiful fabrics to use and blend in so nicely with each other throughout the other blocks I’ve made…

TrioOfGrannySquares

So smitten I was (and still am) by the Granny Squares block, I decided to make a tutorial for my YouTube channel on how to make one!

So here’s how you do it!

Measurements and Cutting info:
This block is made up of x25 3.5″ squares. (You can cut your squares bigger or smaller depending on how big you wish the final block size to be!)
The block is usually made using three to four fabrics. (I’ve chosen to use four.) But can also be completely scrappy if you wish!
Of each fabric you will need to cut:
~ x12 white squares for the background
~ x8 green squares for the outer section
~ x4 cream squares for the inner section
~ x1 mustard square for the centre

FINAL BLOCK SIZE: 13.5″ squared (approx.)

Fabric bought from Kelani Fabric Obsession
~ Natural Unseeded Homespun
~ Cotton+Steel Basic xoxo in Mint
~ Hello Bear by Art Gallery Fabrics: Firefly
~ Cotton+Steel Basic xoxo in Mustard

I hope you enjoy making this block just as much as I have and are able to create a beautiful quilt with them for someone special!

Happy Sewing, Friends!

xx