Excuse Me, My Quilt Nerd Is Showing!

QShow 1

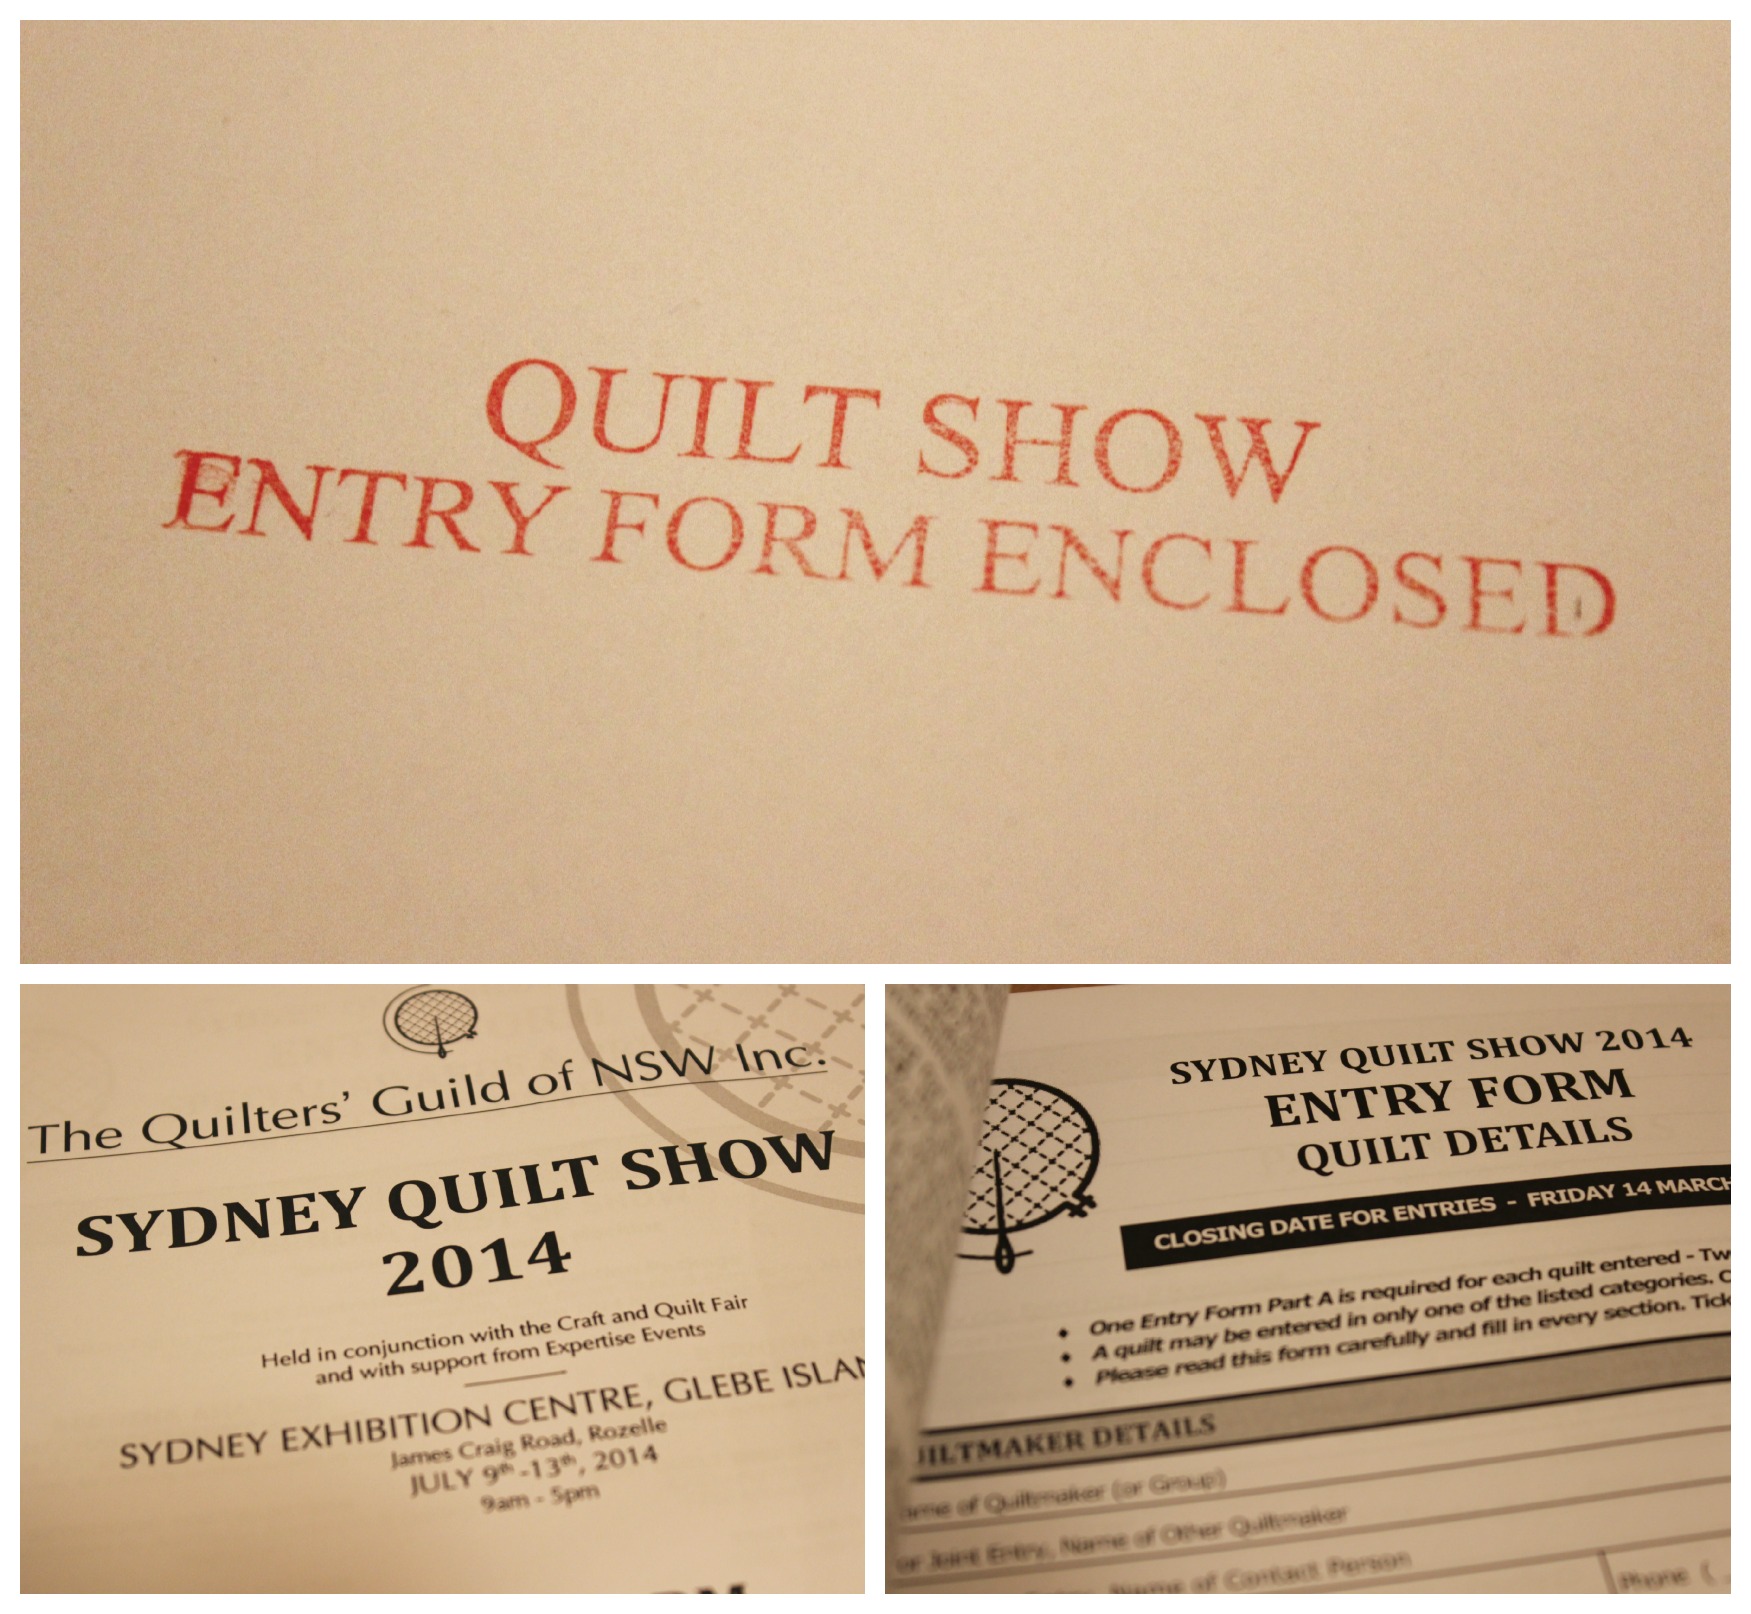
I tell ya, there’s nothing like receiving Quilt Show entry forms in the mail to get you back into the swing of quilting again!

After a lull of about three weeks or so of near to no sewing or quilting, it was a wonderful feeling to get back on the machine.

I admit that over the past weeks, I’ve been giving more of my time to my YouTube channel than to my sewing machine. This is due to –

a) a lack of enthusiasm

b) the horrid Australian humidity that’s been hanging around

But once that burning desire to get stuck into some quilting rose up in me early this morning, I was truly back in my ‘happy place’!

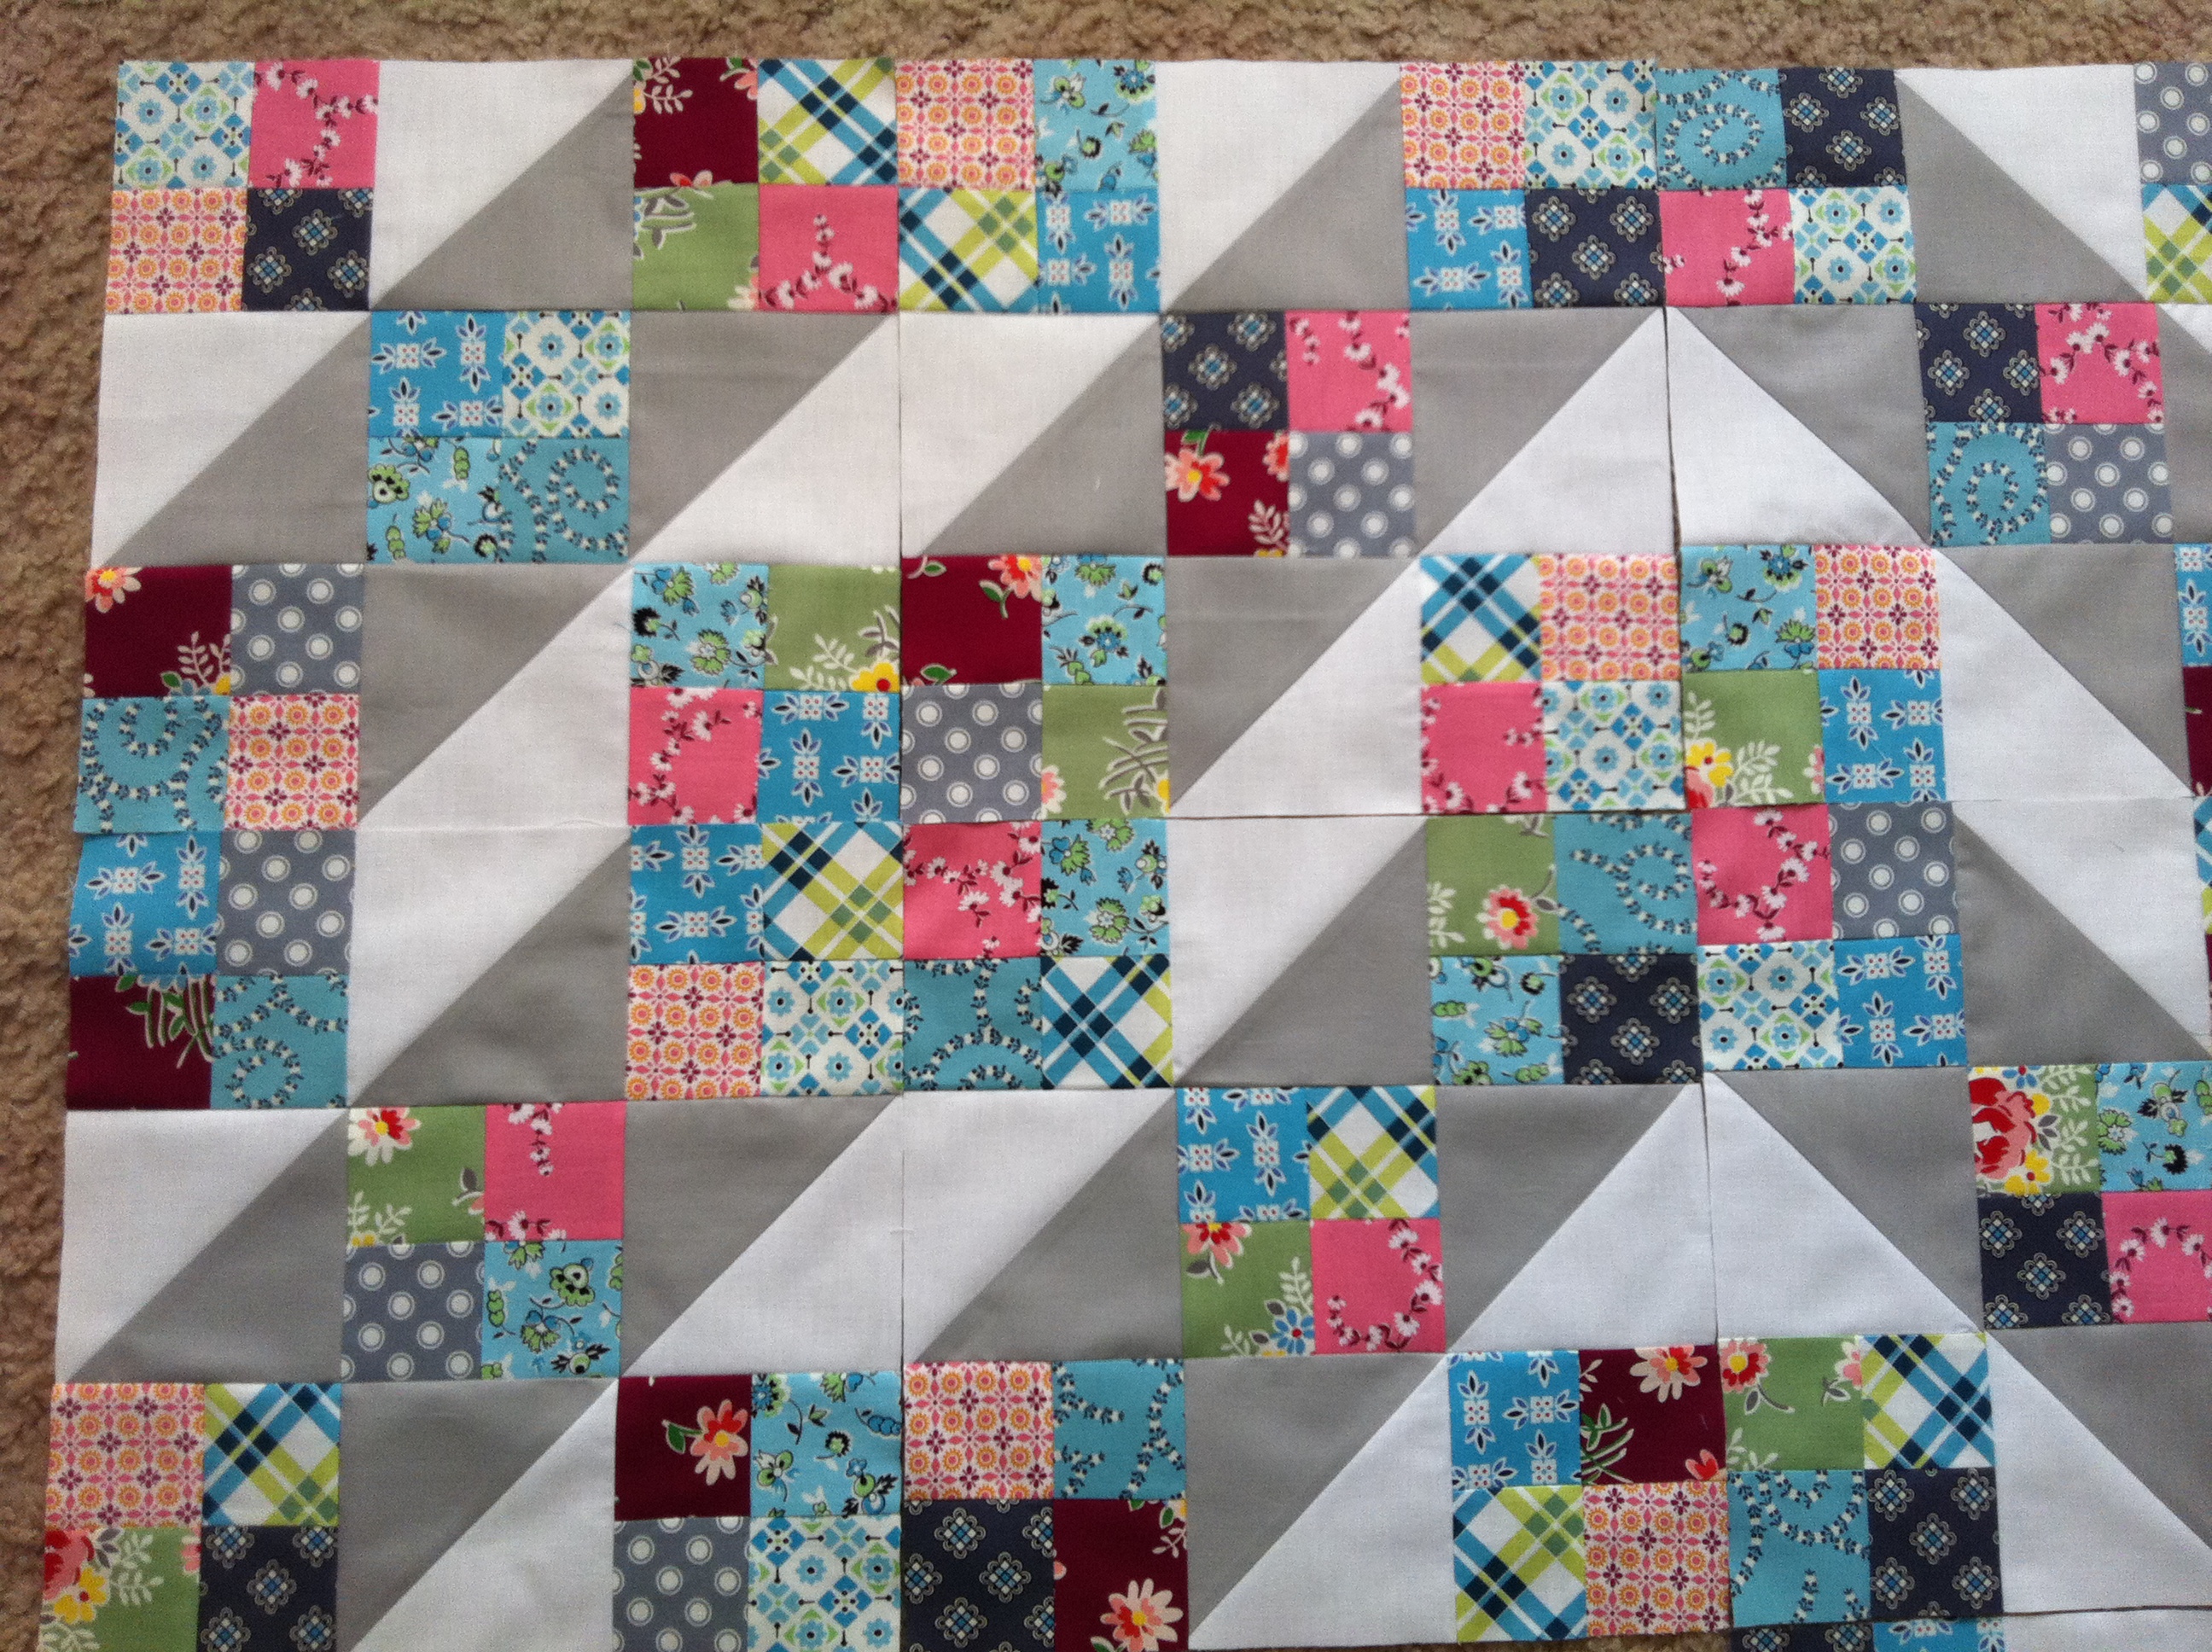
So over the course of the day I got lickety-split into finishing my Sydney Quilt Show entry.

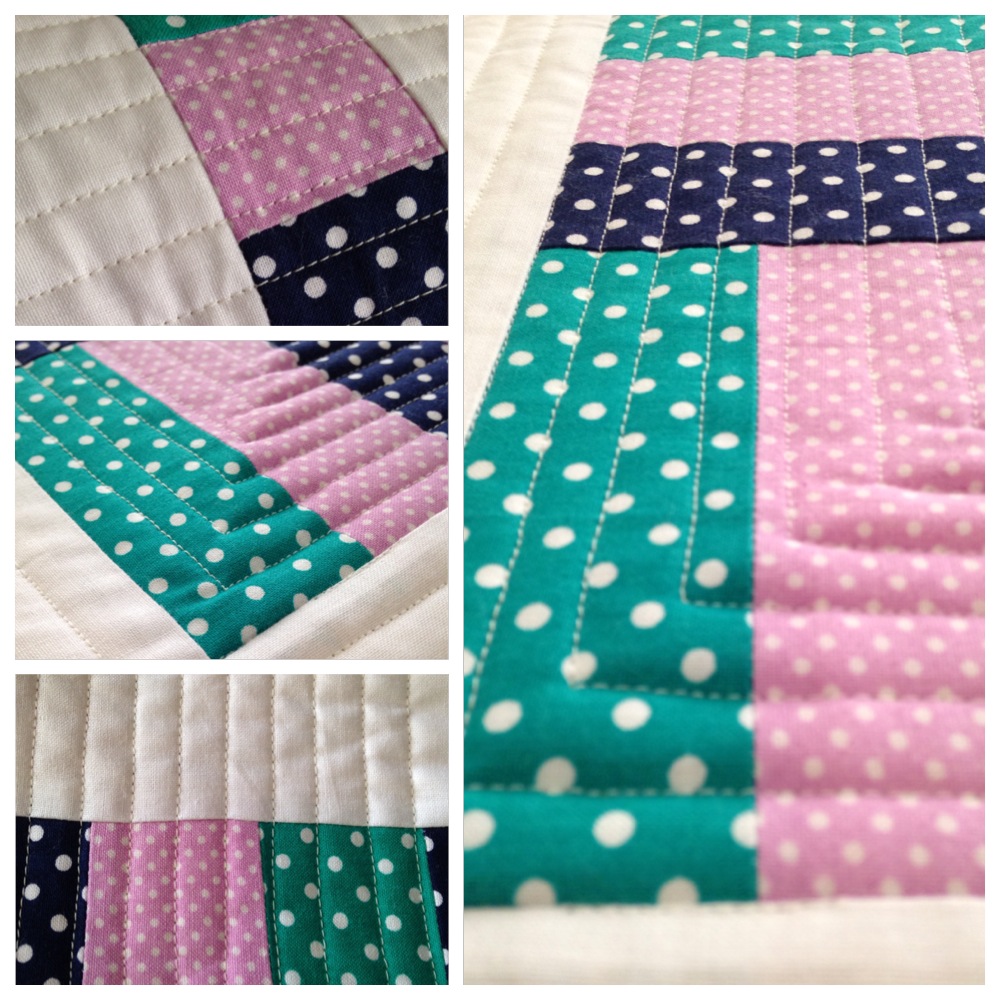
Before basting the mini-quilt up, I instagrammed a photo of the heart-racing intricacies that are on the back of the quilt-top.

IMG_2427

So divine! So intense! So lovely!

I absolutely love the way that the shapes fit and conform next to each other as well as the differing lines and textures the seams create! But at the same time you can differentiate the shapes that form the block… (Excuse me, my Quilt-Nerd is showing!) It’s these little things that capture my heart and passion for patchwork (and quilting!).

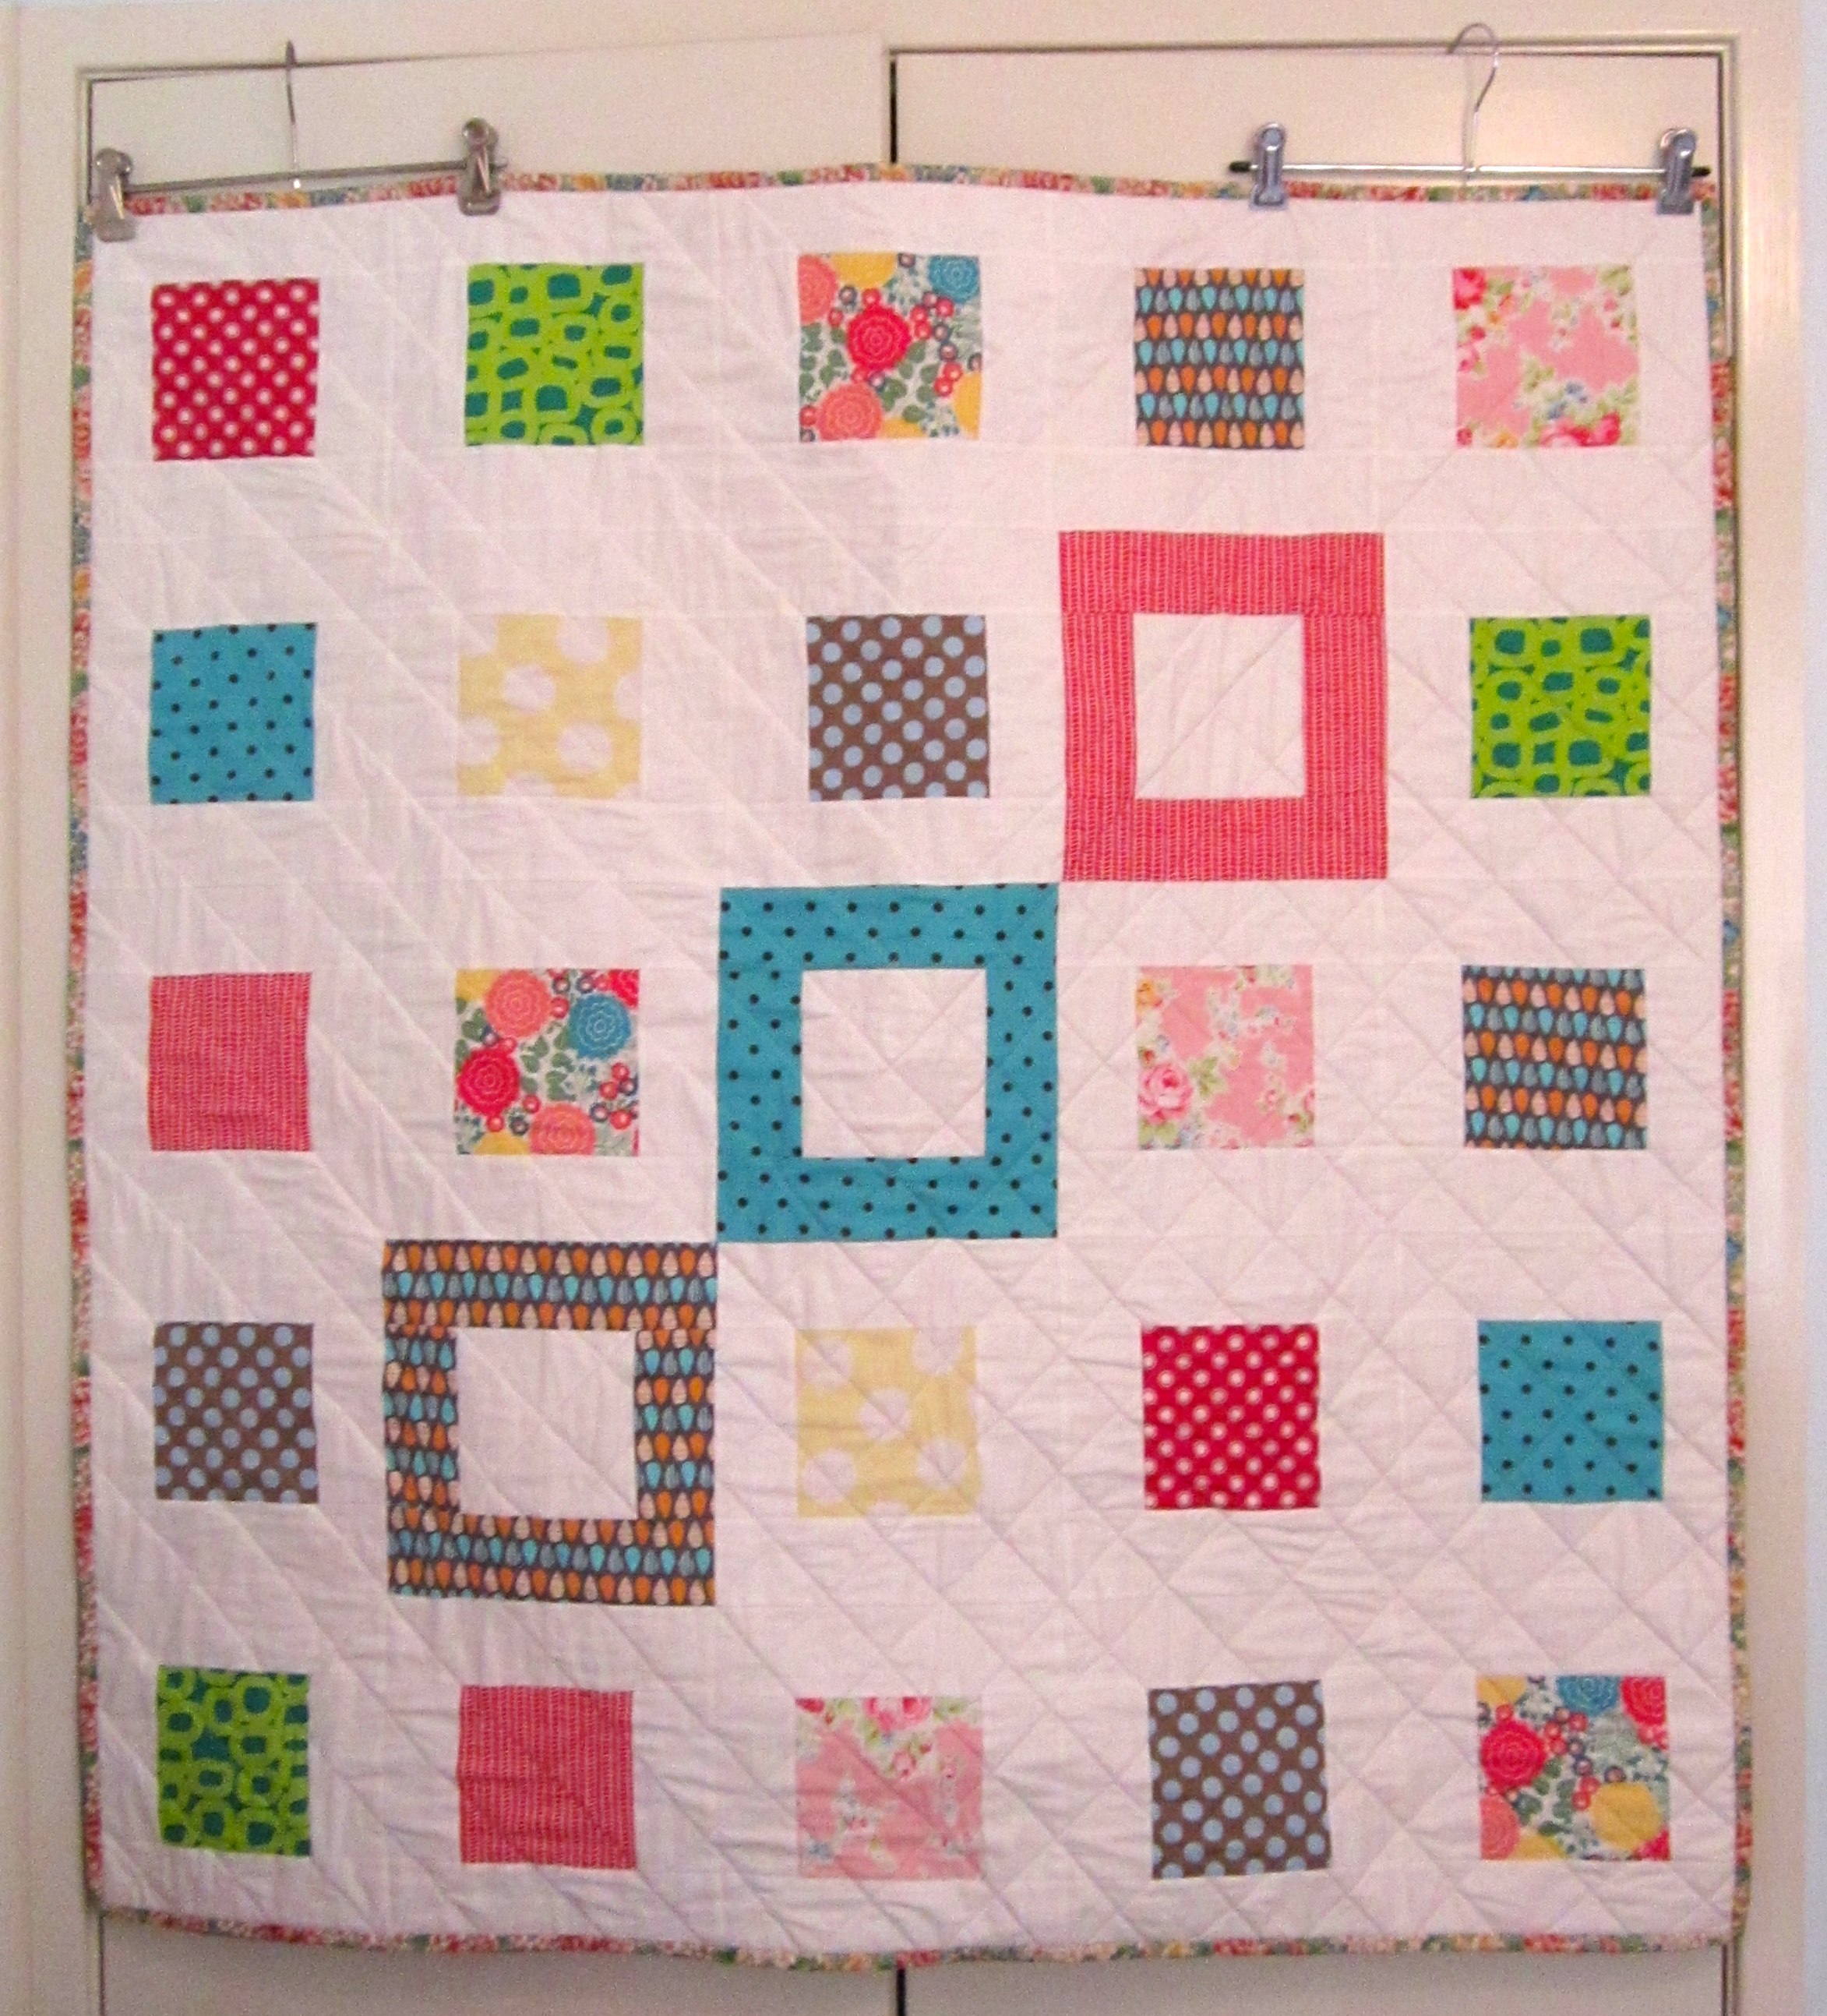
After today, I believe I can honestly say that I am hands-down, cross-my-heart in love with making mini-quilts! They’re easy, fast, non-fussy and oh-so cute!

I tried to capture just how small this little mini is when I was quilting by comparing it with the size of my hand…

Hand vs. Mini Quilt
Hand vs. Mini Quilt

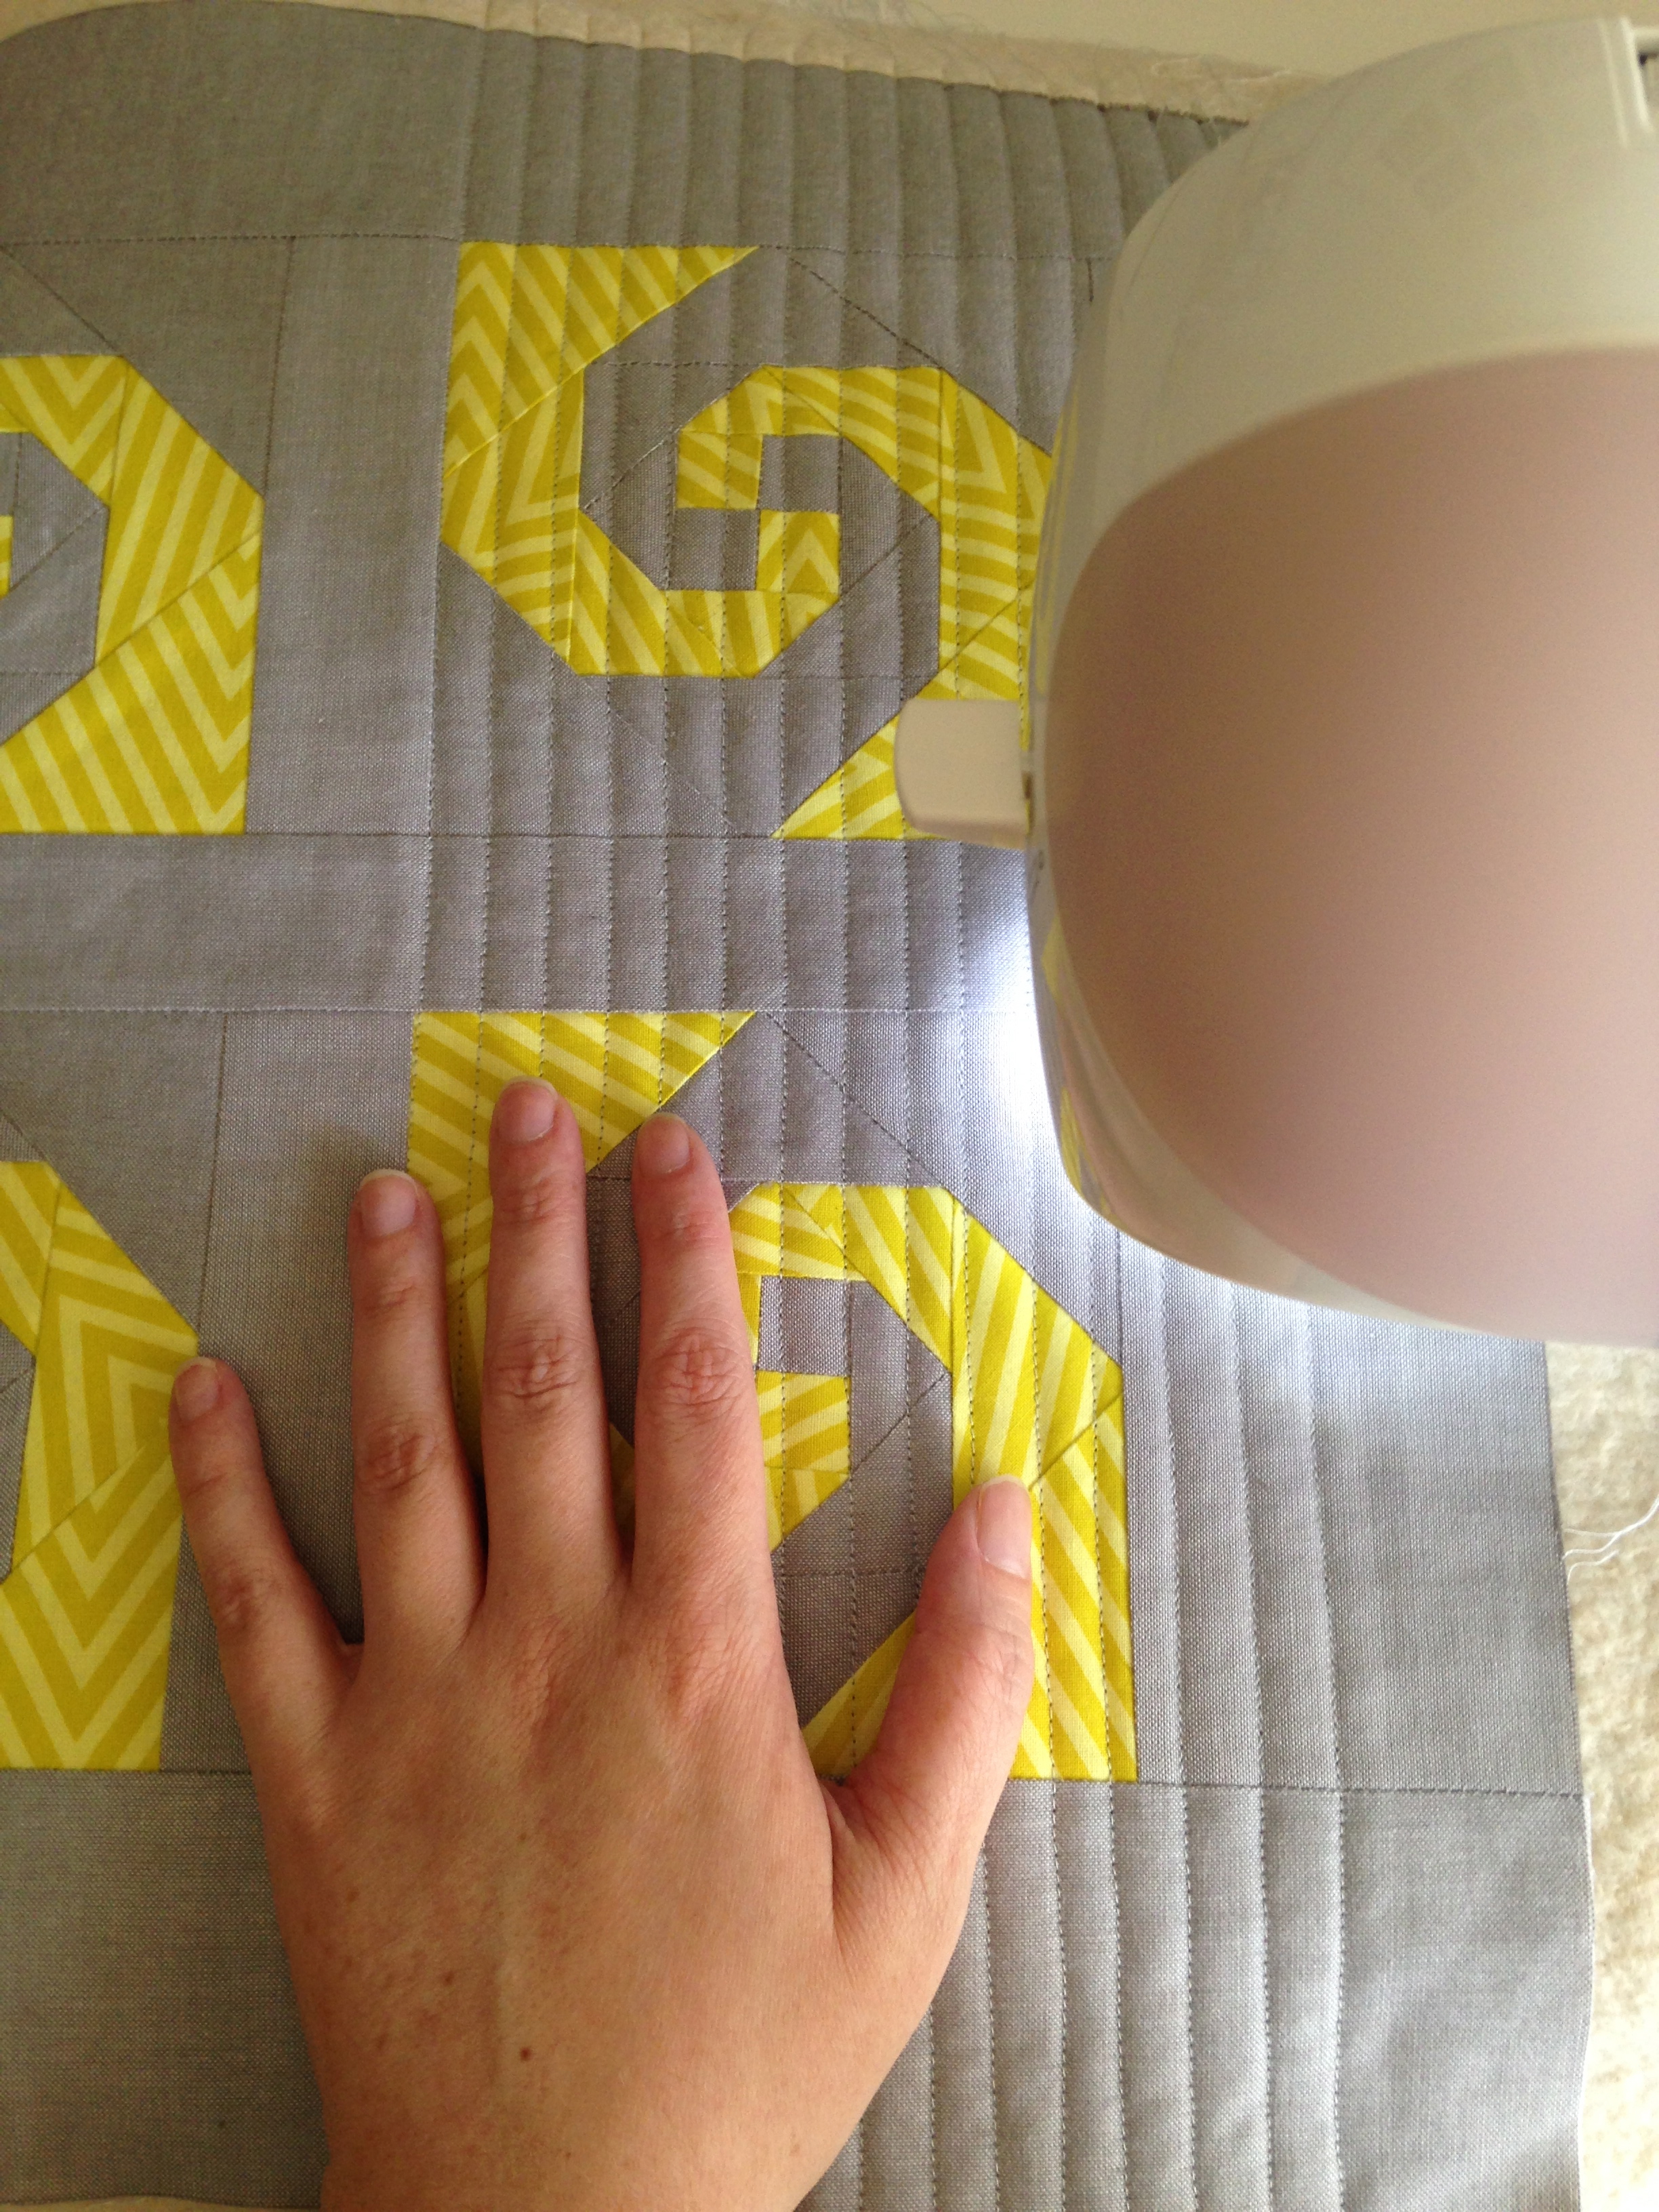
This quilt is itty-bitty and I love it!

QShow 2

I’ve decided that the quilt will be entered under the name Golden Trail – I think that works best.

It’s currently hanging up to my left ready for me to lovingly finish hand-stitching the binding and hanging sleeve!

QShow 3

Excitement is at its maximum tonight!!

Oh gosh.

I just love quilting!

Best hobby ever!

Oops! There’s my Quilt-Nerd showing again! 😀

Happy Sewing Friends! xx

Sewing Room Tour!

If you’re a regular reader of this darling little blog, you may have notice that I didn’t post up a weekly WIP update on Monday, as I have for the past month or so.

This is mainly because there is nothing to really update you with i.e.. nothing has changed since I last wrote about my WIPs. (My laziness/procrastinating ways are finally showing!)

However, this week I feel very proud to introduce to you a tour of my sewing room!

I love this space!

It’s where I feel the most comfortable.

Where I feel the safest.

The most inspired.

Freely creative.

And connected to the rest of the world.

In the video I show you where I sew/quilt (duh!) but also where I write, shoot, edit and publish my blogs and videos.

It may not be the best kind of sewing space as some others may have (look up ‘sewing studios’ on Pinterest and you’ll know what I’m talking about!) but I’m thankful for my mum giving up her little study space for me to have my very own little sewing space!

IMG_2423

I also made a second video with some other extra bits I couldn’t quite fit into the first Sewing Room Tour video.

If you want to check that out, click right here!

Happy Sewing Friends! xx

TUTORIAL | Square-in-a-Square Block

I’ve had this video tutorial in the planning for a while – ever since I filmed my Fast Forward Quilting video last year in early September, where the Square-in-a-Square Block features.

Small Plates Lap Quilt (2013)

The Square-in-a-Square Block, in my opinion, has to be one of the most easiest, quickest and adaptive blocks available for all levels and types of quilters.

It can be made into any size, using a range of differing centre-square and sashing measurements and can be made into a block as traditional or as modern/quirky as you wish it to be!

Give it a go and see what you think!

Way back in 2006, when I first became interested in making quilts, I used the Square-in-a-Square Block to make my very first quilt!

My First Quilt! (2006)

So essentially, this block was the very first block I had ever constructed!

If you’re a beginner I hope this little tutorial, in some small way, can help you in your own patchwork/quilting journey!

Happy Sewing Friends! xx


WIP Weekly Update | #4

Procrastination.

It gets the best of us most of the time.

As for me, it’s pretty much all of the time.

The 12 Types of Procrastinators Comic by Angela Liao | Pinterest

Drawing your attention to the comic above, I can define my past week of quilting procrastination as the following –

The Cleaner | Sewing room must be tidy before any quilting can get done!

The Listmaker | I must do this, this and this before I can sit and quilt so I don’t feel guilty.

The Sidetracker| See last week’s WIP Weekly Update post – something about a Quilt Show entry that needed to be started but isn’t due for another five months!!

The Internet Researcher | It’s vital I keep up to date with the latest trends and must-haves in the quilting world…right? (Plus, cat videos are always crucial to watch, no matter what type of procrastinating you’re doing!)

The Snacker | Who doesn’t love a good snack when you’re purposely avoiding doing something?

The Watcher | I randomly started watching season nine of ER this week… Boy that show is good!!

The Perpetuator | Come 9 o’clock, I’m ready for bed! I tell myself: ‘Tomorrow will be the day I get stuck into it…hmm, maybe… I do still have four more eps of ER to watch before I finish the season.’

It’s a strange and amazing thing at what I’ll let myself do and tell myself to do just to put off doing some quilting.

Please don’t misunderstand: It’s not that I don’t like quilting a quilt; heck I love it to bits!

It’s just the initial getting started – the motivation, the time, the mindset, the energy and the heat (quilting a quilt in the middle of an Australian Summer bites!).

So that’s my excuse this week for not doing any work on my WIPs.

I’ll always be the first to admit that I easily succumb to procrastination’s sticky fingers. It’s a deep, deep flaw that resides in this little quilter…

I promise to do better over this coming week!

Happy Sewing Friends!! xx

WIP Weekly Update | #3

Okay.

Confession time.

I haven’t done as much as I had hoped for this past week on the Rail Fence Quilt.

I did do a few more lines of quilting here and there over the days but not to the point where it’s worthy for a WIP photo opportunity…

In the moments after I finished writing the previous sentence, I had a quick squizz at my quilting efforts on the R.F Quilt and felt compassion. (Weirdo alert!!)

So here is an up-to-date ‘progress-report’ image…

Current State | 27/01/14

Yeah….there’s not much difference from what it looked like last Monday.

I also must confess that I have been giving my time to another (new!) project.

I received an email Saturday morning from the NSW Quilting Guild containing information and forms for this year’s Sydney Quilt Show.

A more-than-mild wave of panic washed over me at that moment.

I hadn’t at all begun planning my entry for this show; the thought had always been at the back of mind but nothing else!

Although the Show isn’t until early June, it’s always nice to have things on-the-go from an early start!

Of the categories in the show, one or two stood out: Amateur Small or Wall Quilt (minimum size 40cmx40cm) as well as an Open category named Miniature (a quilt with a scaled down pattern with a perimeter of 200cm).

So early Saturday afternoon, I picked out a bunch of pretty and modern fabrics and raided my quilt book library for some block inspiration.

I had the thought of pairing two contrasting modern fabrics together and patch them together into a ‘traditional’ block formation.

In one of my favourite patchwork/quilting books, 130 Mini Quilt Blocks by Susan Briscoe, on page 46, I discovered an itty-bitty version of the Snail Trail Block that had a finished block size of 12.7cm or 5”! Perfect!

I have made this block before a few years back so I felt pretty comfortable tackling it.

Start to Finish | Mini Snail Trail Block

I quickly drew up a sketch to make sure the colours would sit well together – and they did!

The next hour or so I cut out all of the tiney-tiny pieces and begun sewing mini squares and HST together.

Four blocks were completed by yesterday; they were quickly sashed together and the quilt top is now ready to be quilted!! Whhhaaattt?!?!

(You know, I’m really liking this Mini-Quilt making thing – it’s quick, easy and non-stressful!)

The size of the quilt top measures 46cmx46cm or 18”x18” and fits into both Show categories as previously mentioned. I’m just not sure which one I’ll choose yet.

I’m also torn on what I’ll name this sweet little mini; I have two in mind…

Golden Trail

— OR —

Yellow Brick Road

Which one would you choose??

So there we have it.

Perhaps next week I’ll have more progress on my R.F Quilt to show and not have to confess that I’ve been distracted (again!) by other things.

Happy Sewing Friends! xx

WIP Weekly Update | #2 & Rail Fence Block Tutorial

Jeez, a week sure can creep up on you in an instant!

I’m deeply baffled at how it can be the fourth-ish week of the New Year already! *WOW*

In the last seven days since we spoke, some quilting progress has been made to my Rail Fence Quilt…

Delicious quilty lines!

Predictably, I’ve started quilting my usual straight-line formation. (It’s easy and I’m lazy!) I’ve opted for a pattern quite similar to the way I quilted my Jacob’s Ladder Quilt, but on this one the quilty lines are a lot closer creating more of an intense surface design and texture.

To go along with this R.F Quilt, I’ve filmed and uploaded a very simple and informative tutorial on how to make the Rail Fence Block. I tried to make it as down-to-earth and helpful as possible especially for all you beginner quilters out there.

Let me know what you think of the video – I’m 100% open to any positive constructive criticism. I would love to know what I could to do improve my teaching skills and/or production/filming/editing skills.

Do you have any suggestions for quilt blocks that you would love to see me demonstrate?

Comment below and I’ll definitely take your ideas onboard!

Well, it’s now time to go and enjoy this glorious summer afternoon with a lovely icy-cold beverage, finger-licking snacks and a heart-warming rom-com!

Happy Sewing Friends!! xx

Unexpected Starts

It’s gone. Posted. Ready to be hung and judged by strangers….

It’s actually quite a nice feeling to finally sit back and not have to worry about getting it finished before the cut off date.  Ah, relief!

However, this does not mean I haven’t been doing anything. On the contrary I’ve started, unexpectedly, another new quilt as well as completed my August Craftsy BOM.

I’m currently taking another class on Craftsy called Magical Jelly Roll Quilts. Although I’m not using jellyrolls, charm packs or layer cakes, I’ve been able to finally find the perfect project to break into my luscious Denyse Schmidt fabrics. The first project is making a Jacob’s Ladder Quilt. This is what the block looks like…

It’s made of five four-patch units and four half-triangle units. It’s quite an easy block to make up but is time consuming to put together (cutting, sewing and pressing). Here are the stats for this quilt:

  • 320 (2.5inch) squares
  • 64 half-square triangles
  • 80 four-patch units
  • 16 blocks
  • 1 quilt

IMG_1168

I am happy with how it’s coming together. It’s looking very scrappy, which I intended it to be, and have only four more blocks to make to complete the quilt top. I’m thinking of adding a flying-geese border with the left over 2.5inch squares to frame the main quilt design – I think that might look good. I have no idea what I’m going to do with it when it’s finished; I might stash it away and enter it into a quilt competition some time down the track.

[CLICK HERE] To see my Jacob’s Ladder Quilt Finished!

[CLICK HERE] To see my Jacob’s Ladder Block video tutorial!

It’s August! (Winter’s almost over! Huzzah!) Which means I had two new Craftsy BOM to make. Stars are this month’s theme and I learnt how to make the Ohio Star Block and a Double Star Block.

I like the Ohio Star Block best (the top one), it’s simple yet has character.

Any-who, I’ve got four more Jacob’s Ladder blocks to make up and then some much needed crashing-on-the-couch-and-watching-mind-numbing-tv to do….

Happy Sewing! xx