Star Sampler Quilt | Quilt Top Construction

PATTERN SHEET: Star Sampler Quilt QUILT TOP

Sorry it’s been a while a since I last checked in on my Star Sampler Quilt Along! Things have been crazy over on this side of the computer monitor. Work. Family. Sickness. Winter. The list goes on and on! But hooray! After many weeks of coming and going with filming this tutorial, I finally got it finished! Whew!

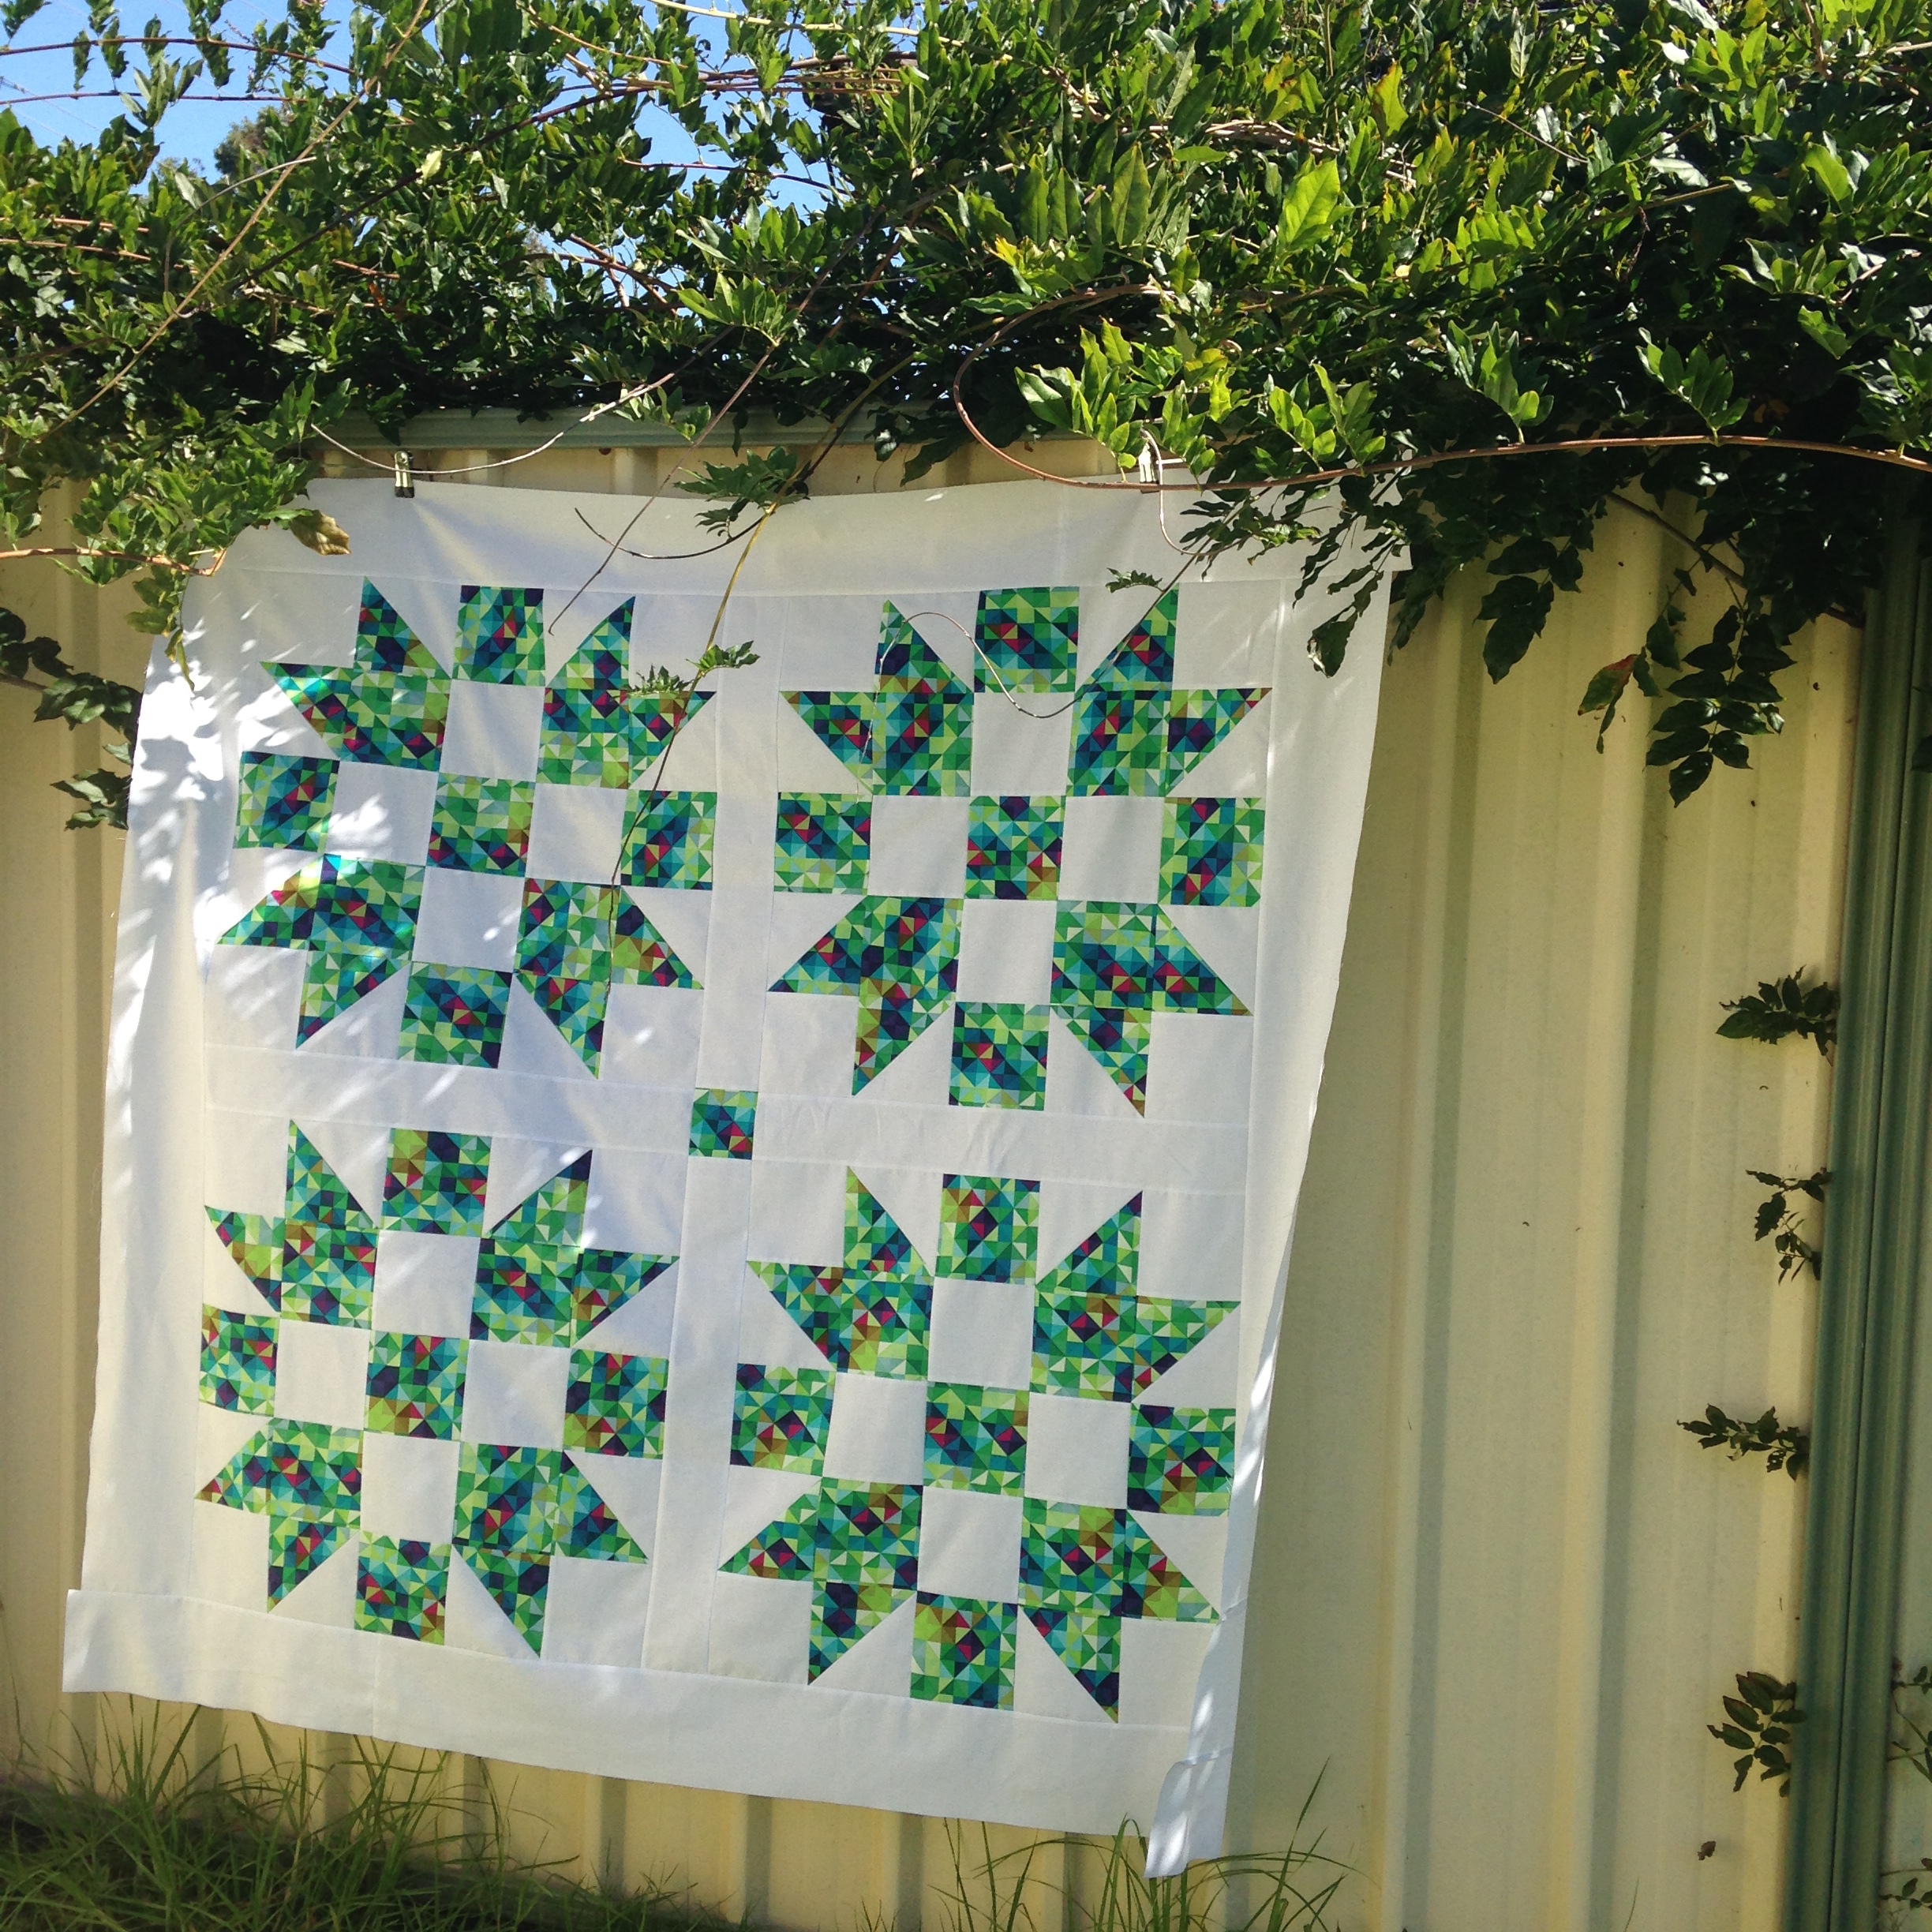
Hopefully my little hiatus has given you the time to catch up on completing all 12 Star blocks and are now ready to sash and piece them all together! Cos that’s what we’re doing today!

When placing the blocks into their final positions, feel free to mix them up and place blocks in any order you wish. Also, if you want to make your sashing and border pieces wider than mine than that’s okay too! Just be aware that the wider and longer you make your quilt top, the more batting and backing fabric you’ll need in the next part!

As always, everything you’ll need to know in regards to the measurement and cutting information as well as the fabrics* I’ve use to piece the quilt top together are in the pattern sheet linked at the beginning of this post!

+++

Depending on my work schedule and other social thingys I’ve got happening over the next month or so, I hope to get started on the next stage of the Quilt Along very soon! (Fingers crossed for next week!!) Now that the blocks have been pieced together and a lovely quilt top has emerged, I can’t wait to see it finished in it’s all glory! The fabrics I’ve chosen for the backing and binding are going to finish the quilt off beautifully!! So exciting!!

I hope you’re all having a lovely week and enjoy the weekend ahead!!

Happy Sewing, Friends!

xx

+++

*A big thanks to Australian wholesale supplier and fabric distributer Dayview Textiles for supplying me with such beautiful fabrics! If you want to see all of the fabrics I’ll be using in this Quilt Along, check out this post where I share them all with you!

HST Sampler Quilt | Sashing & Borders

PATTERN SHEET: HST Sampler Quilt – Sashing & Borders

HSTSamplerQuiltTop

Happy Friday, Friends!!

Today I’m so happy to be finally uploading the next step in my HST Sampler Quilt Along! Yay!

Now that all nine blocks have been made, it’s time to sash them together and then add a border around each of the edges to complete the quilt top!

Before we get into it, I just want to let you know that this particular tutorial is pretty heavy in the information department! I do go through lots of different steps quite quickly, so if you have any issues keeping up, pause it when you need to, catch up in your own sewing/understanding, check out the diagram on the pattern sheet and then continue on your way until you’ve finished piecing everything together.

As always, if you click on the pattern sheet linked at the top of this post, you’ll be able to find a full list of all of the measurements and cutting info, along with the fabrics* I’ve used to piece the quilt top together!

+++

So with our quilt tops now pieced and looking grand, we’ll be getting into basting and quilting it in the next instalment of the Quilt Along! Whoo! So in that video I’ll show you how to baste your quilt, I’ll chat about backing and batting and then show you how to quilt it on your sewing machine! It should be great!

Also, don’t forget to keep sharing your finished blocks and quilt tops with me! You know I love to see everything that you make!

I hope you all have a splendid weekend!

Happy Sewing, Friends!

xx

*A big thanks to Australian wholesale supplier and fabric distributer Dayview Textiles for supplying me with such beautiful fabrics! If you want to see all of the fabrics I’ll be using in this Quilt Along, check out this post where I share them all with you!

‘Quilt-Along-With-Me!’ Part Two: Sashing & Quilt Top Finish

GET THE PATTERN: QuiltAlongWithMe – Part Two

Finished Quilt Top
Finished Quilt Top

Good Afternoon!

Welcome to Part Two in my ‘Quilt-Along-With-Me’ series!

Now that all of our giant Father’s Choice blocks have been pieced, it’s time to sash them together and finish the quilt top with a basic border edge! Hooray!!

In the following video, I walk you through the way that I like to sash, piece and press these elements so that I have my completed quilt top. By all means, I encourage you to do these steps in a way you most feel comfortable doing or in another way that you know best! My steps are simply a guide for you to follow if you need them!

Now, if you find it hard to follow along with the instructions in this video, you’ll find everything you need to know in the pattern sheet above. All of the measurements, cutting instructions and steps to piece the sashing and borders are there for you!

In the next video of the series I’ll be showing you how to make a pieced backing, we’ll be having a chat all about batting and I’ll go through the different ways you can baste your quilt so that it’s ready to be quilted!

Sashed Father's Choice Block
Sashed Father’s Choice Block

 Also, don’t forget to show me your finished blocks and quilt tops! Tag me on Instagram or Twitter at @3and3quarters, send me an email or share them on Facebook!

If you have any questions or thoughts about the block, the finished quilt or the series as a whole, please comment below and I’ll try my very best to help you out!!

Happy Sewing, Friends!

xx

PS. If you missed out on Part One, click here and you’ll be taken straight to it!


In loving memory of my darling Lucy.

Lucy

I had planned to have part two in this series finished and uploaded on Wednesday. However the day before, Tuesday the 14th of April, my beautiful Lucy who was close to 15 years of age, passed away.

My darling brown eyed baby left my world while lying on the grass in our backyard. I was with her as she passed, stroking the top of her head and twirling her ears, just the way she liked it, willing her to wake up and be okay.

The past few days have been hard. Very hard. I cry as I write this, missing her sounds and her presence. The routine and the snuggles.

We buried her in the backyard, near the garden along our back fence, wrapped in her fleece ‘Hello Kitty’ blanket that I had bought by the panel at Spotlight. I used to call her ‘Kitty’ as she would meow for attention and purr when we would snuggle.

Lucy was a big delight in our family. She was only a small dog but had a huge presence in our home.

She will be achingly missed and will be loved forever.

x