I had a wonderful time teaching, chatting, eating (and sewing!) with a lovely group of ladies.
I showed them how to make four classic quilt blocks paired with some yummy and fresh modern fabrics.
Four Classic Quilt Blocks
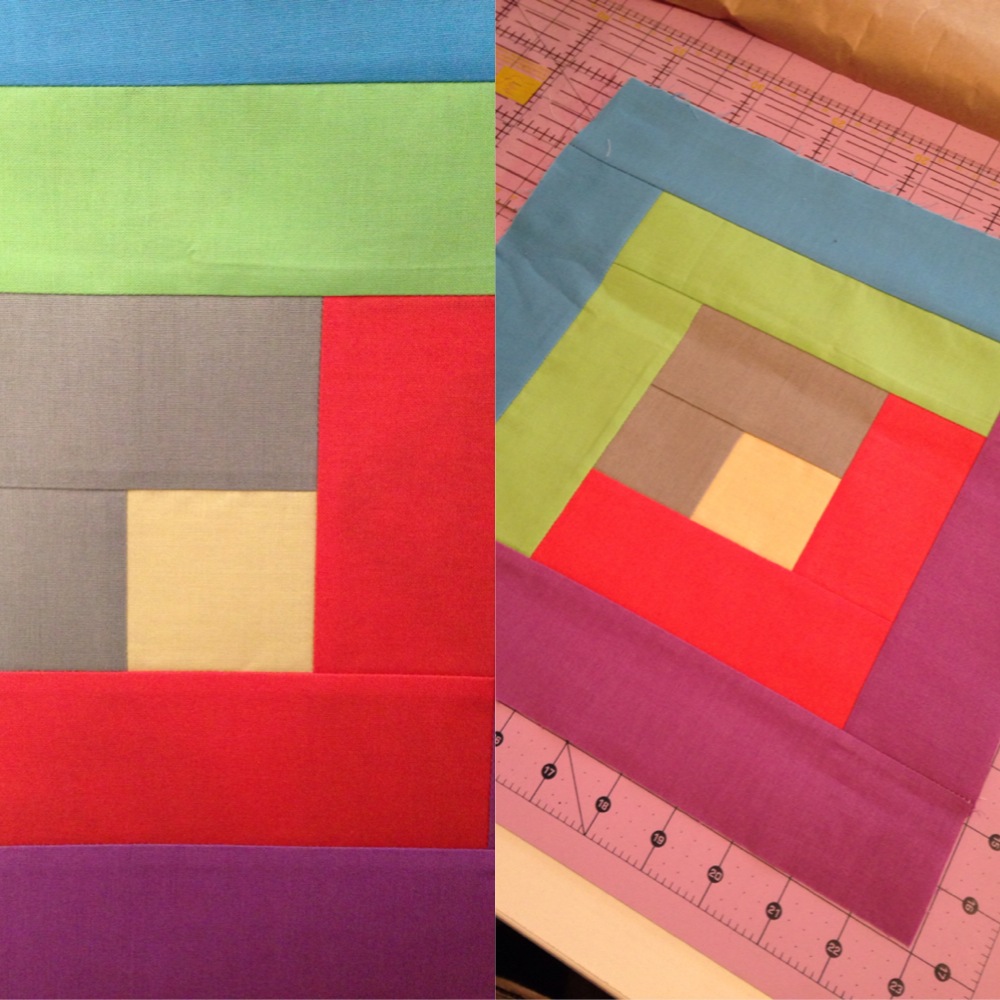
The big block winners of the day would have to of been the colour-blocked Log Cabin…
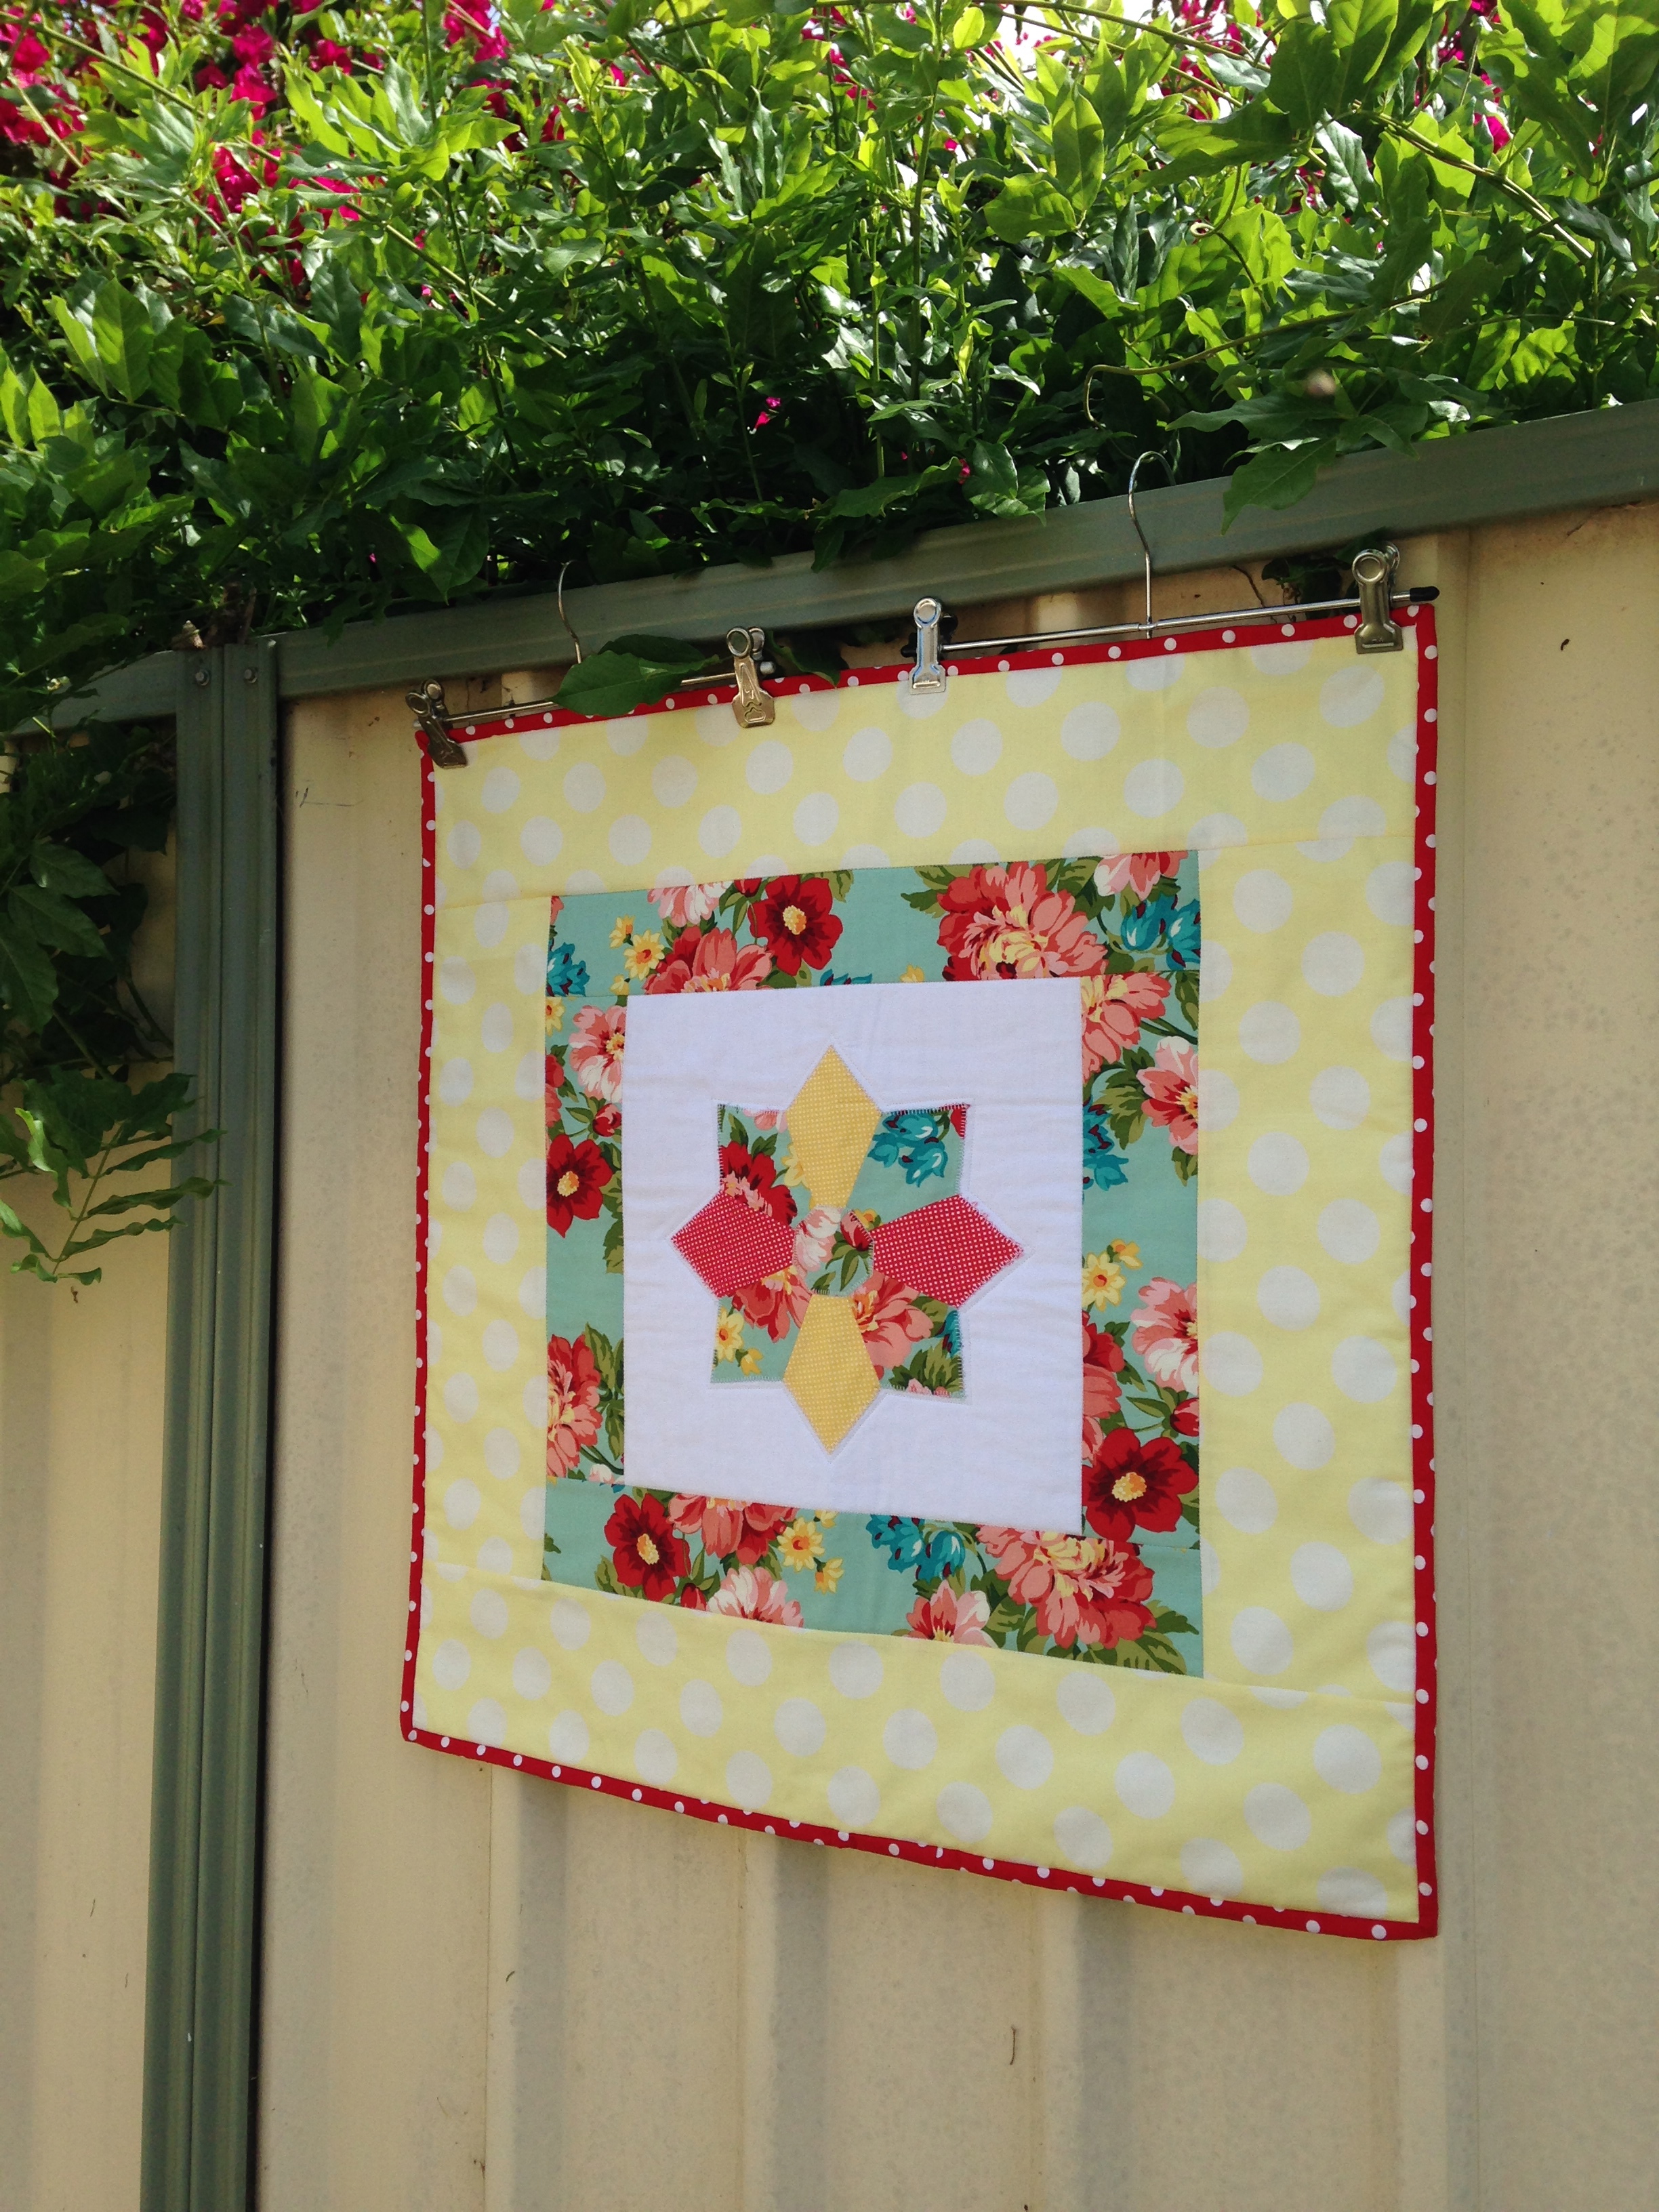
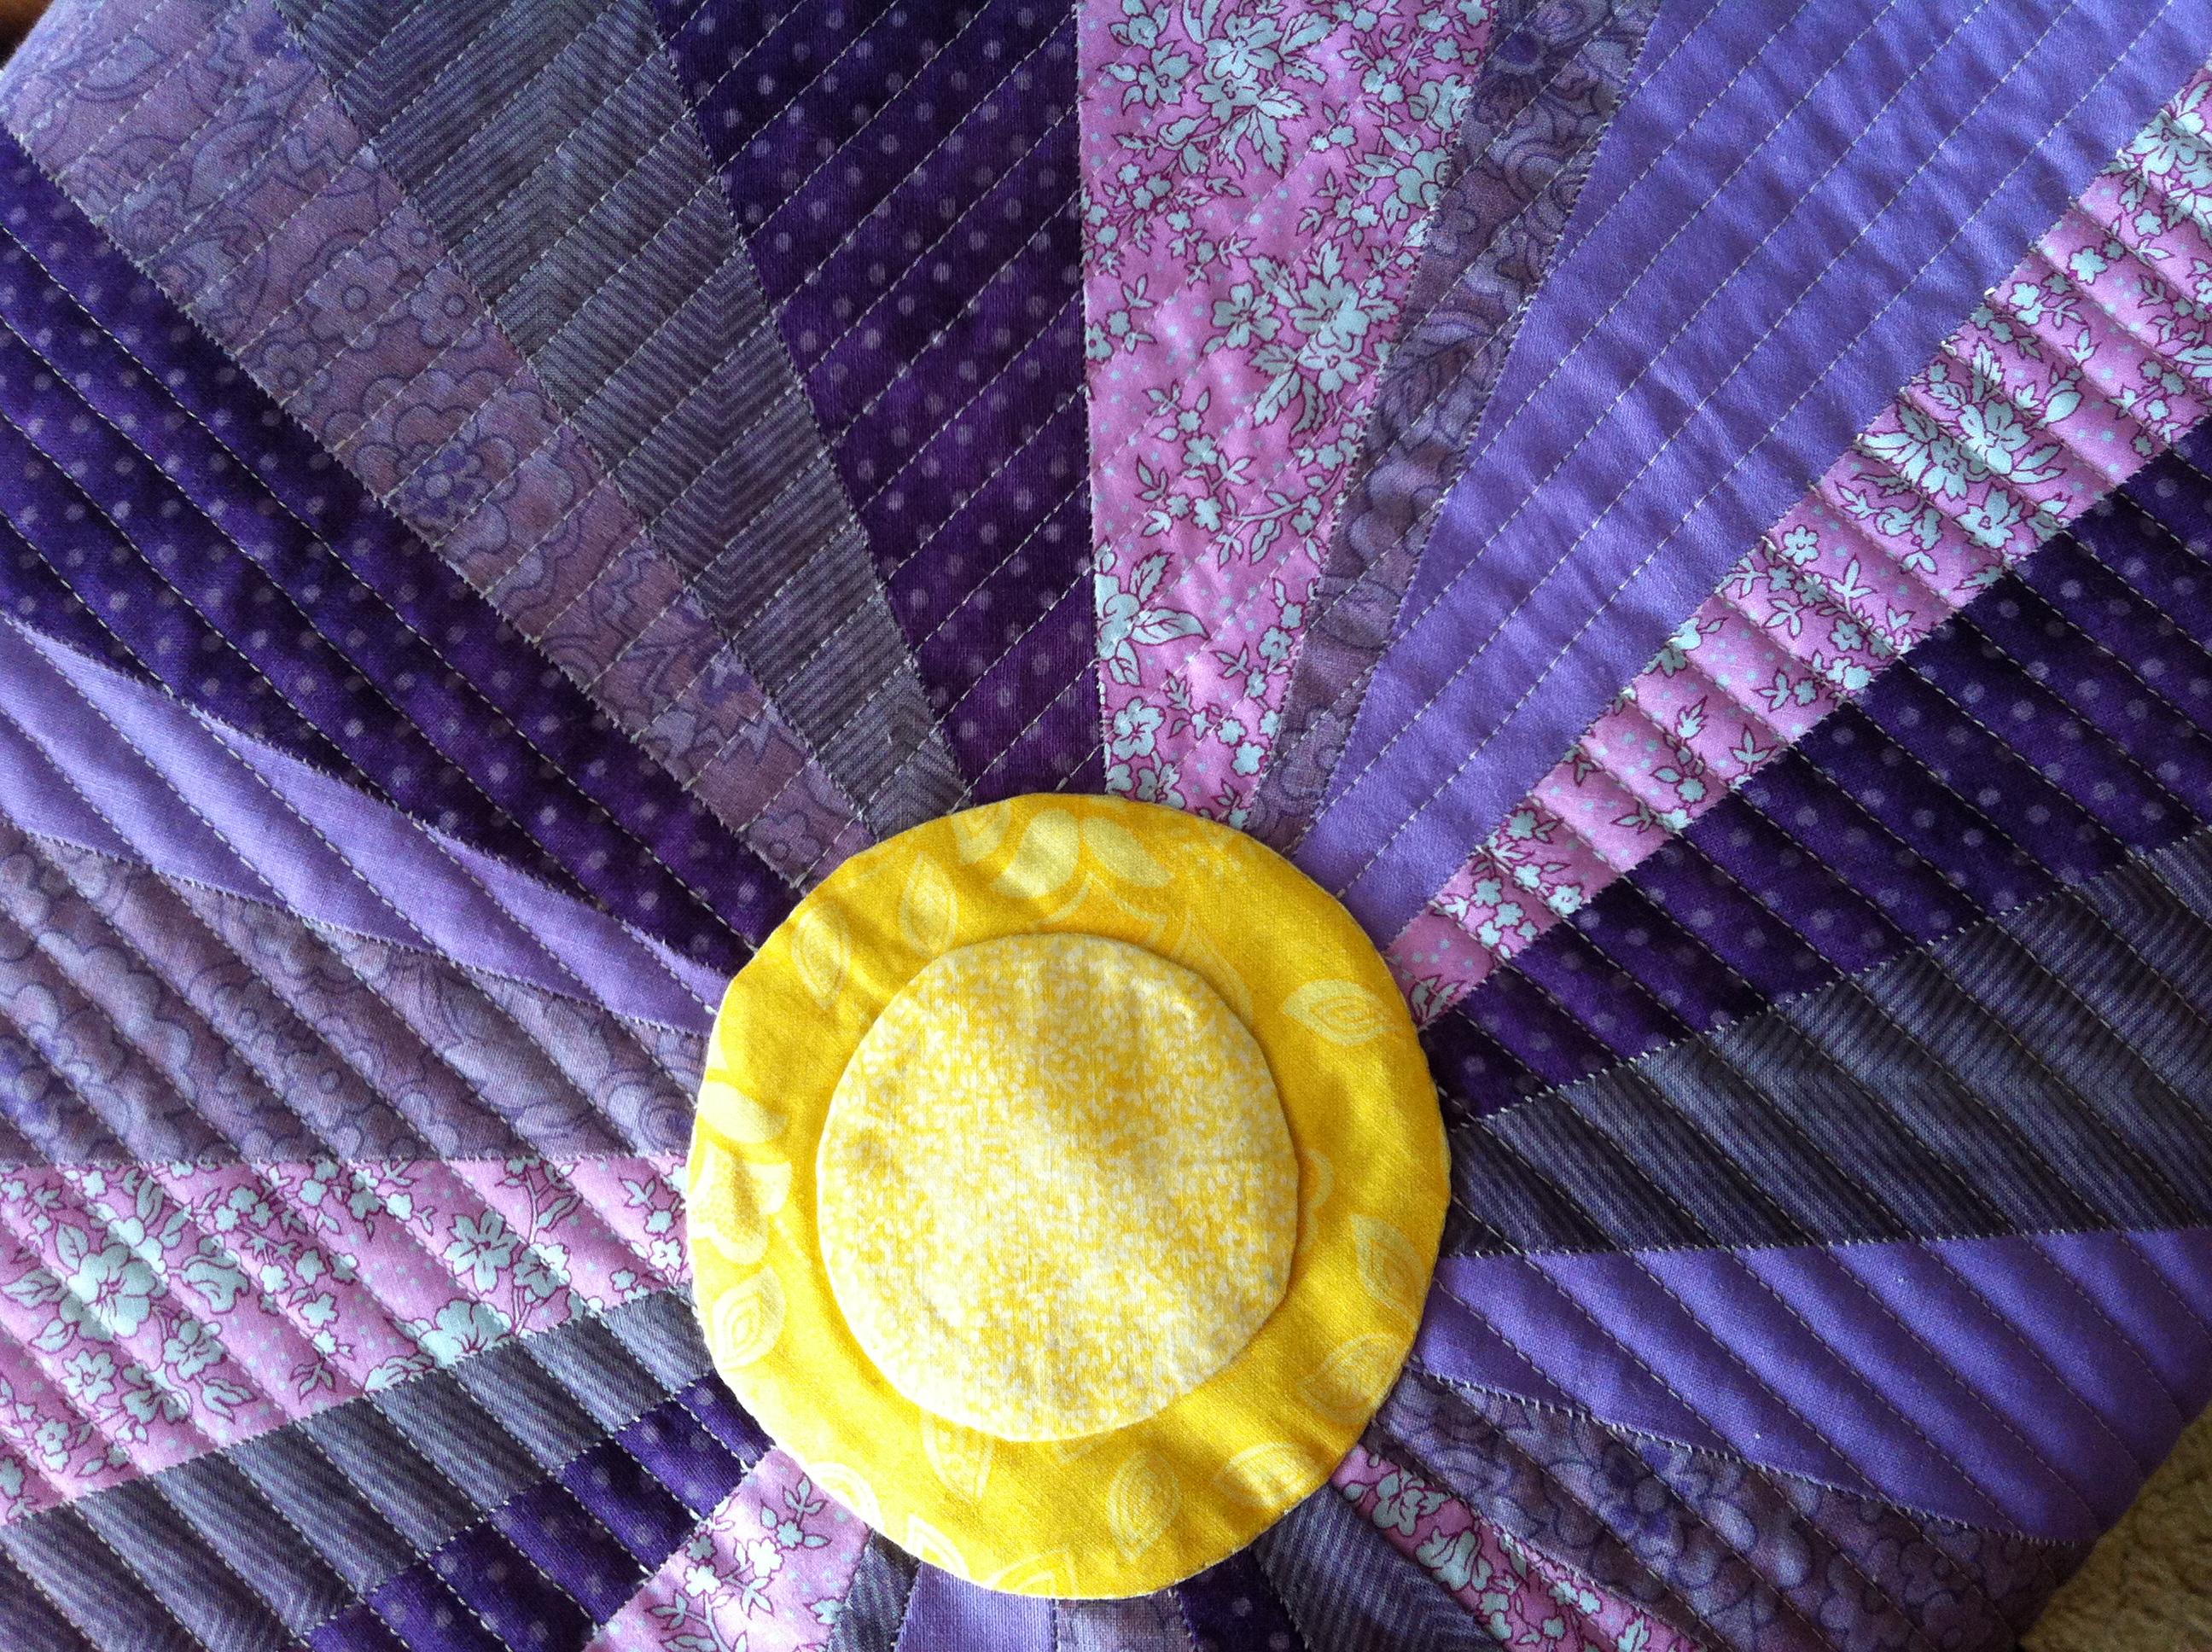
and the Lone Star block (my personal favourite!)
A Pretty Lone Star!
With the Lone Star block, I’m planning to make a sweet lap quilt out of it – stay tuned for that idea to hopefully come to life!
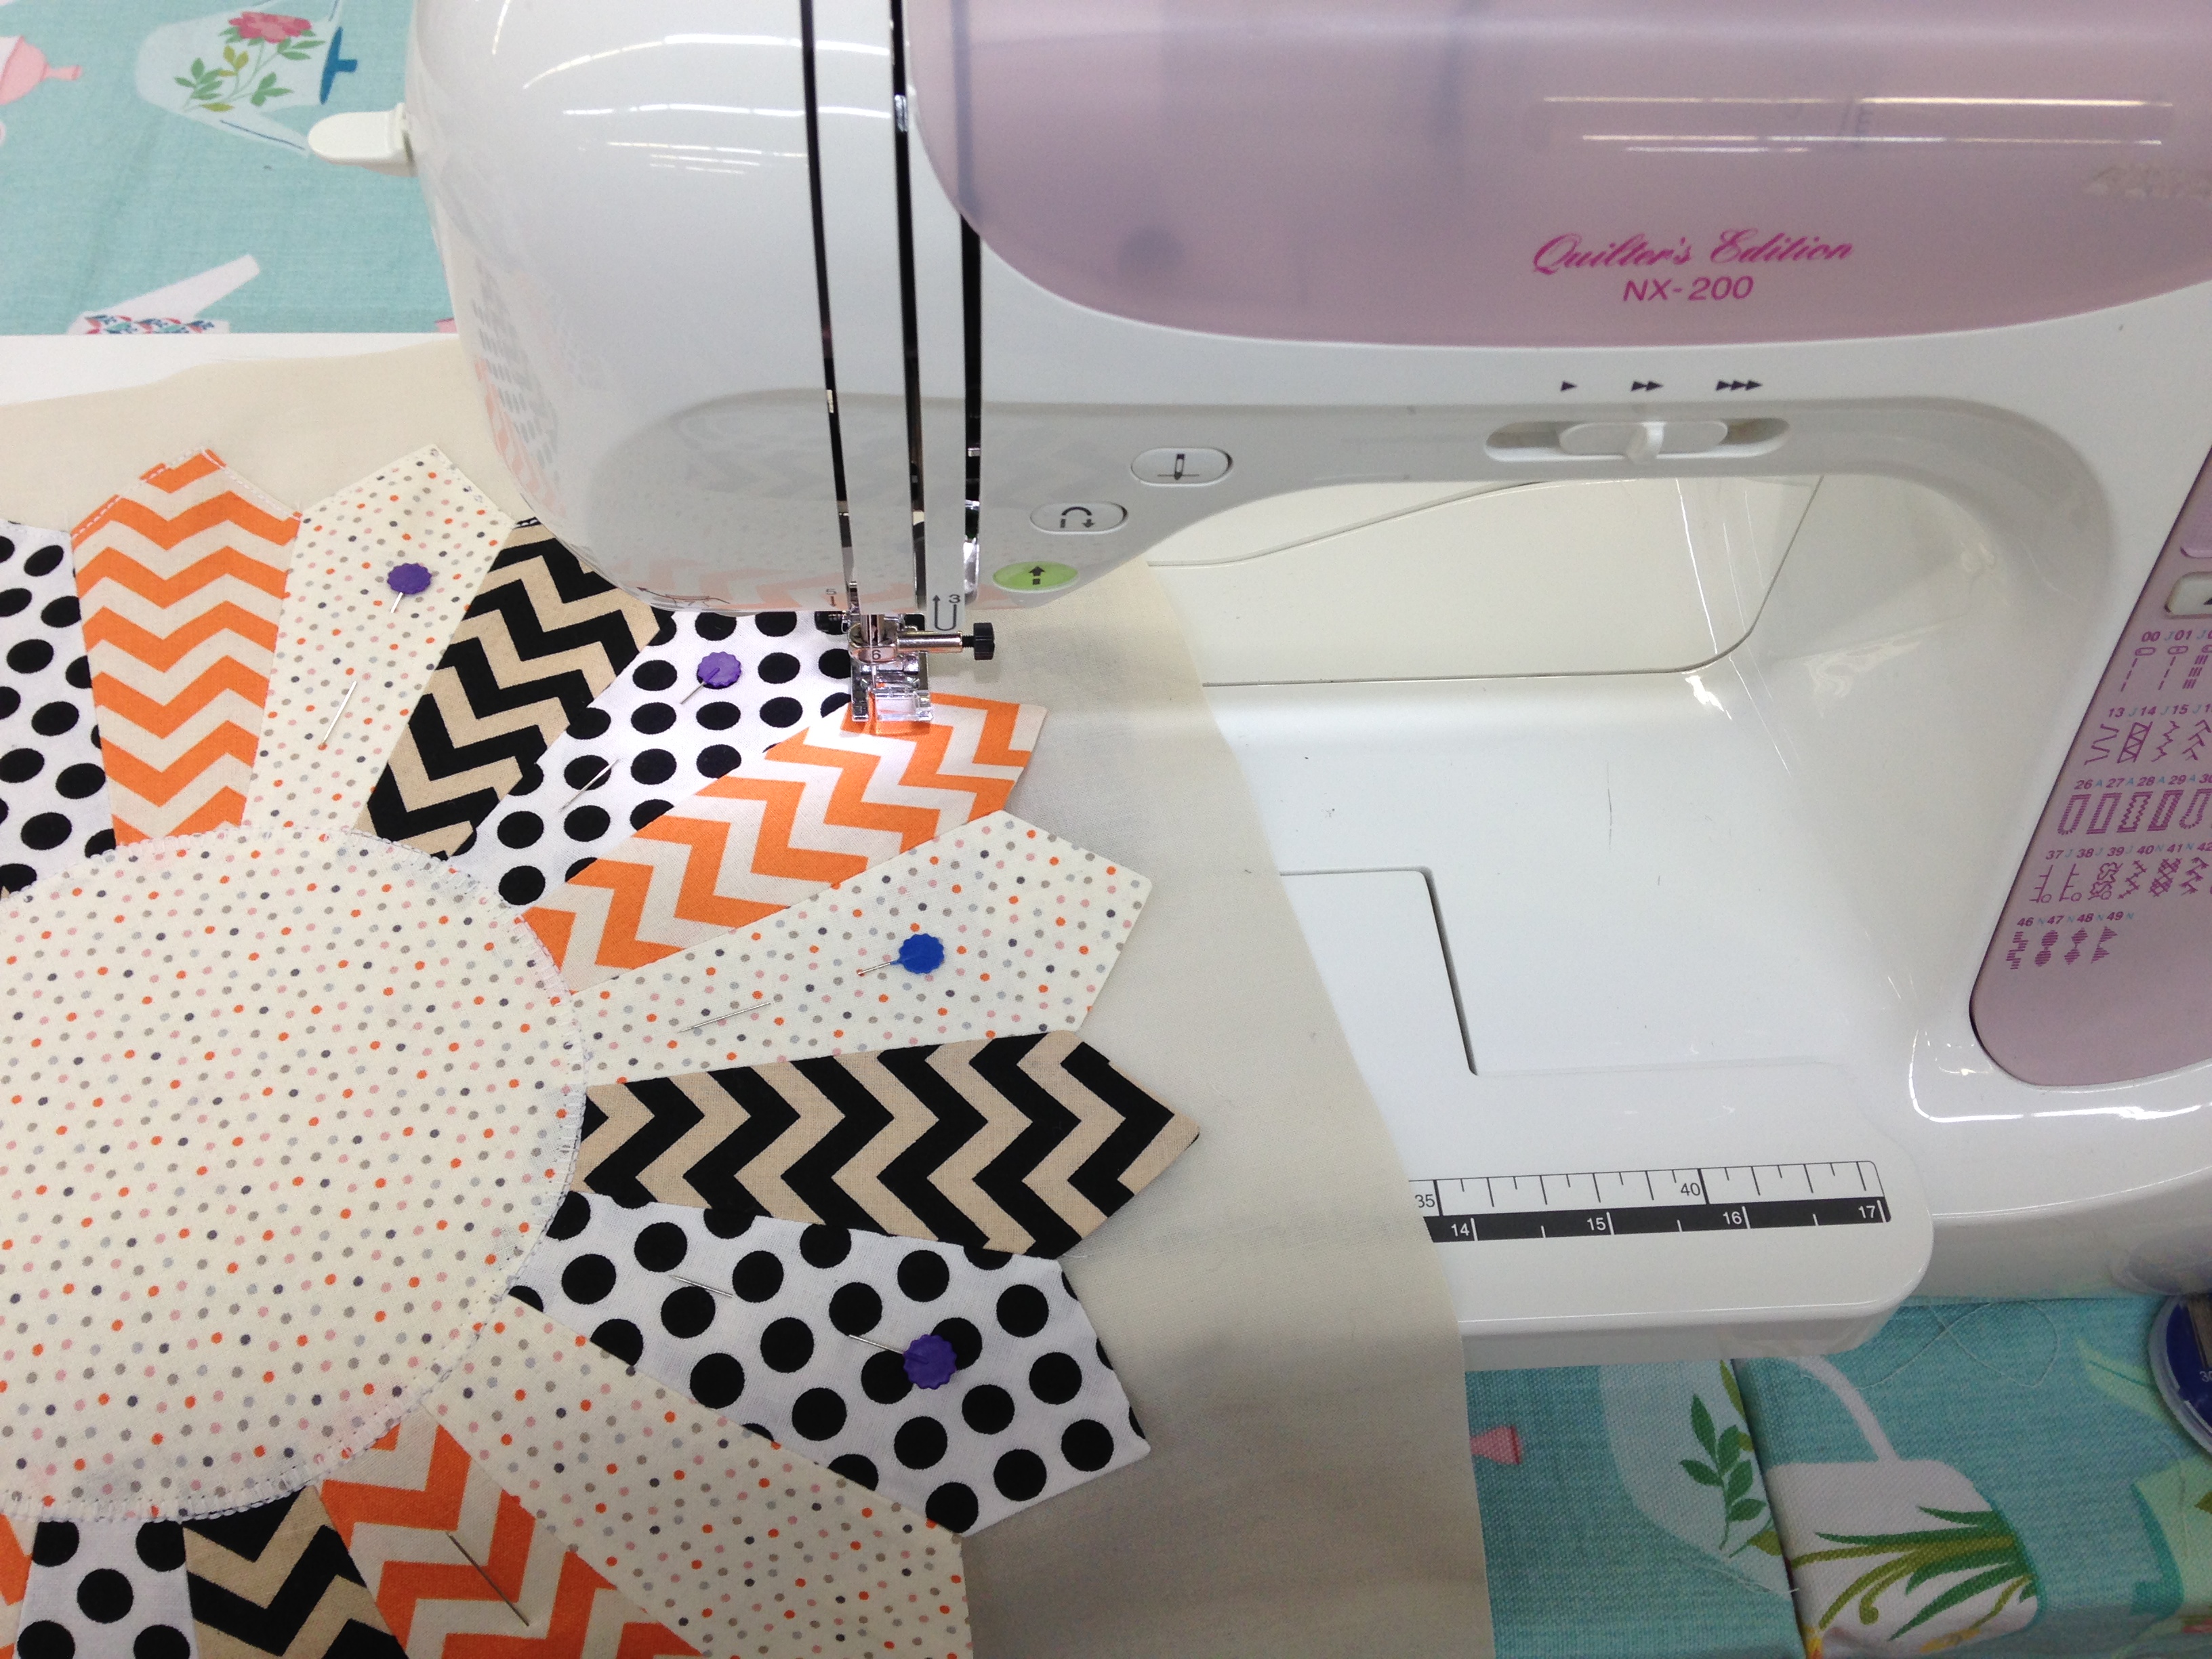
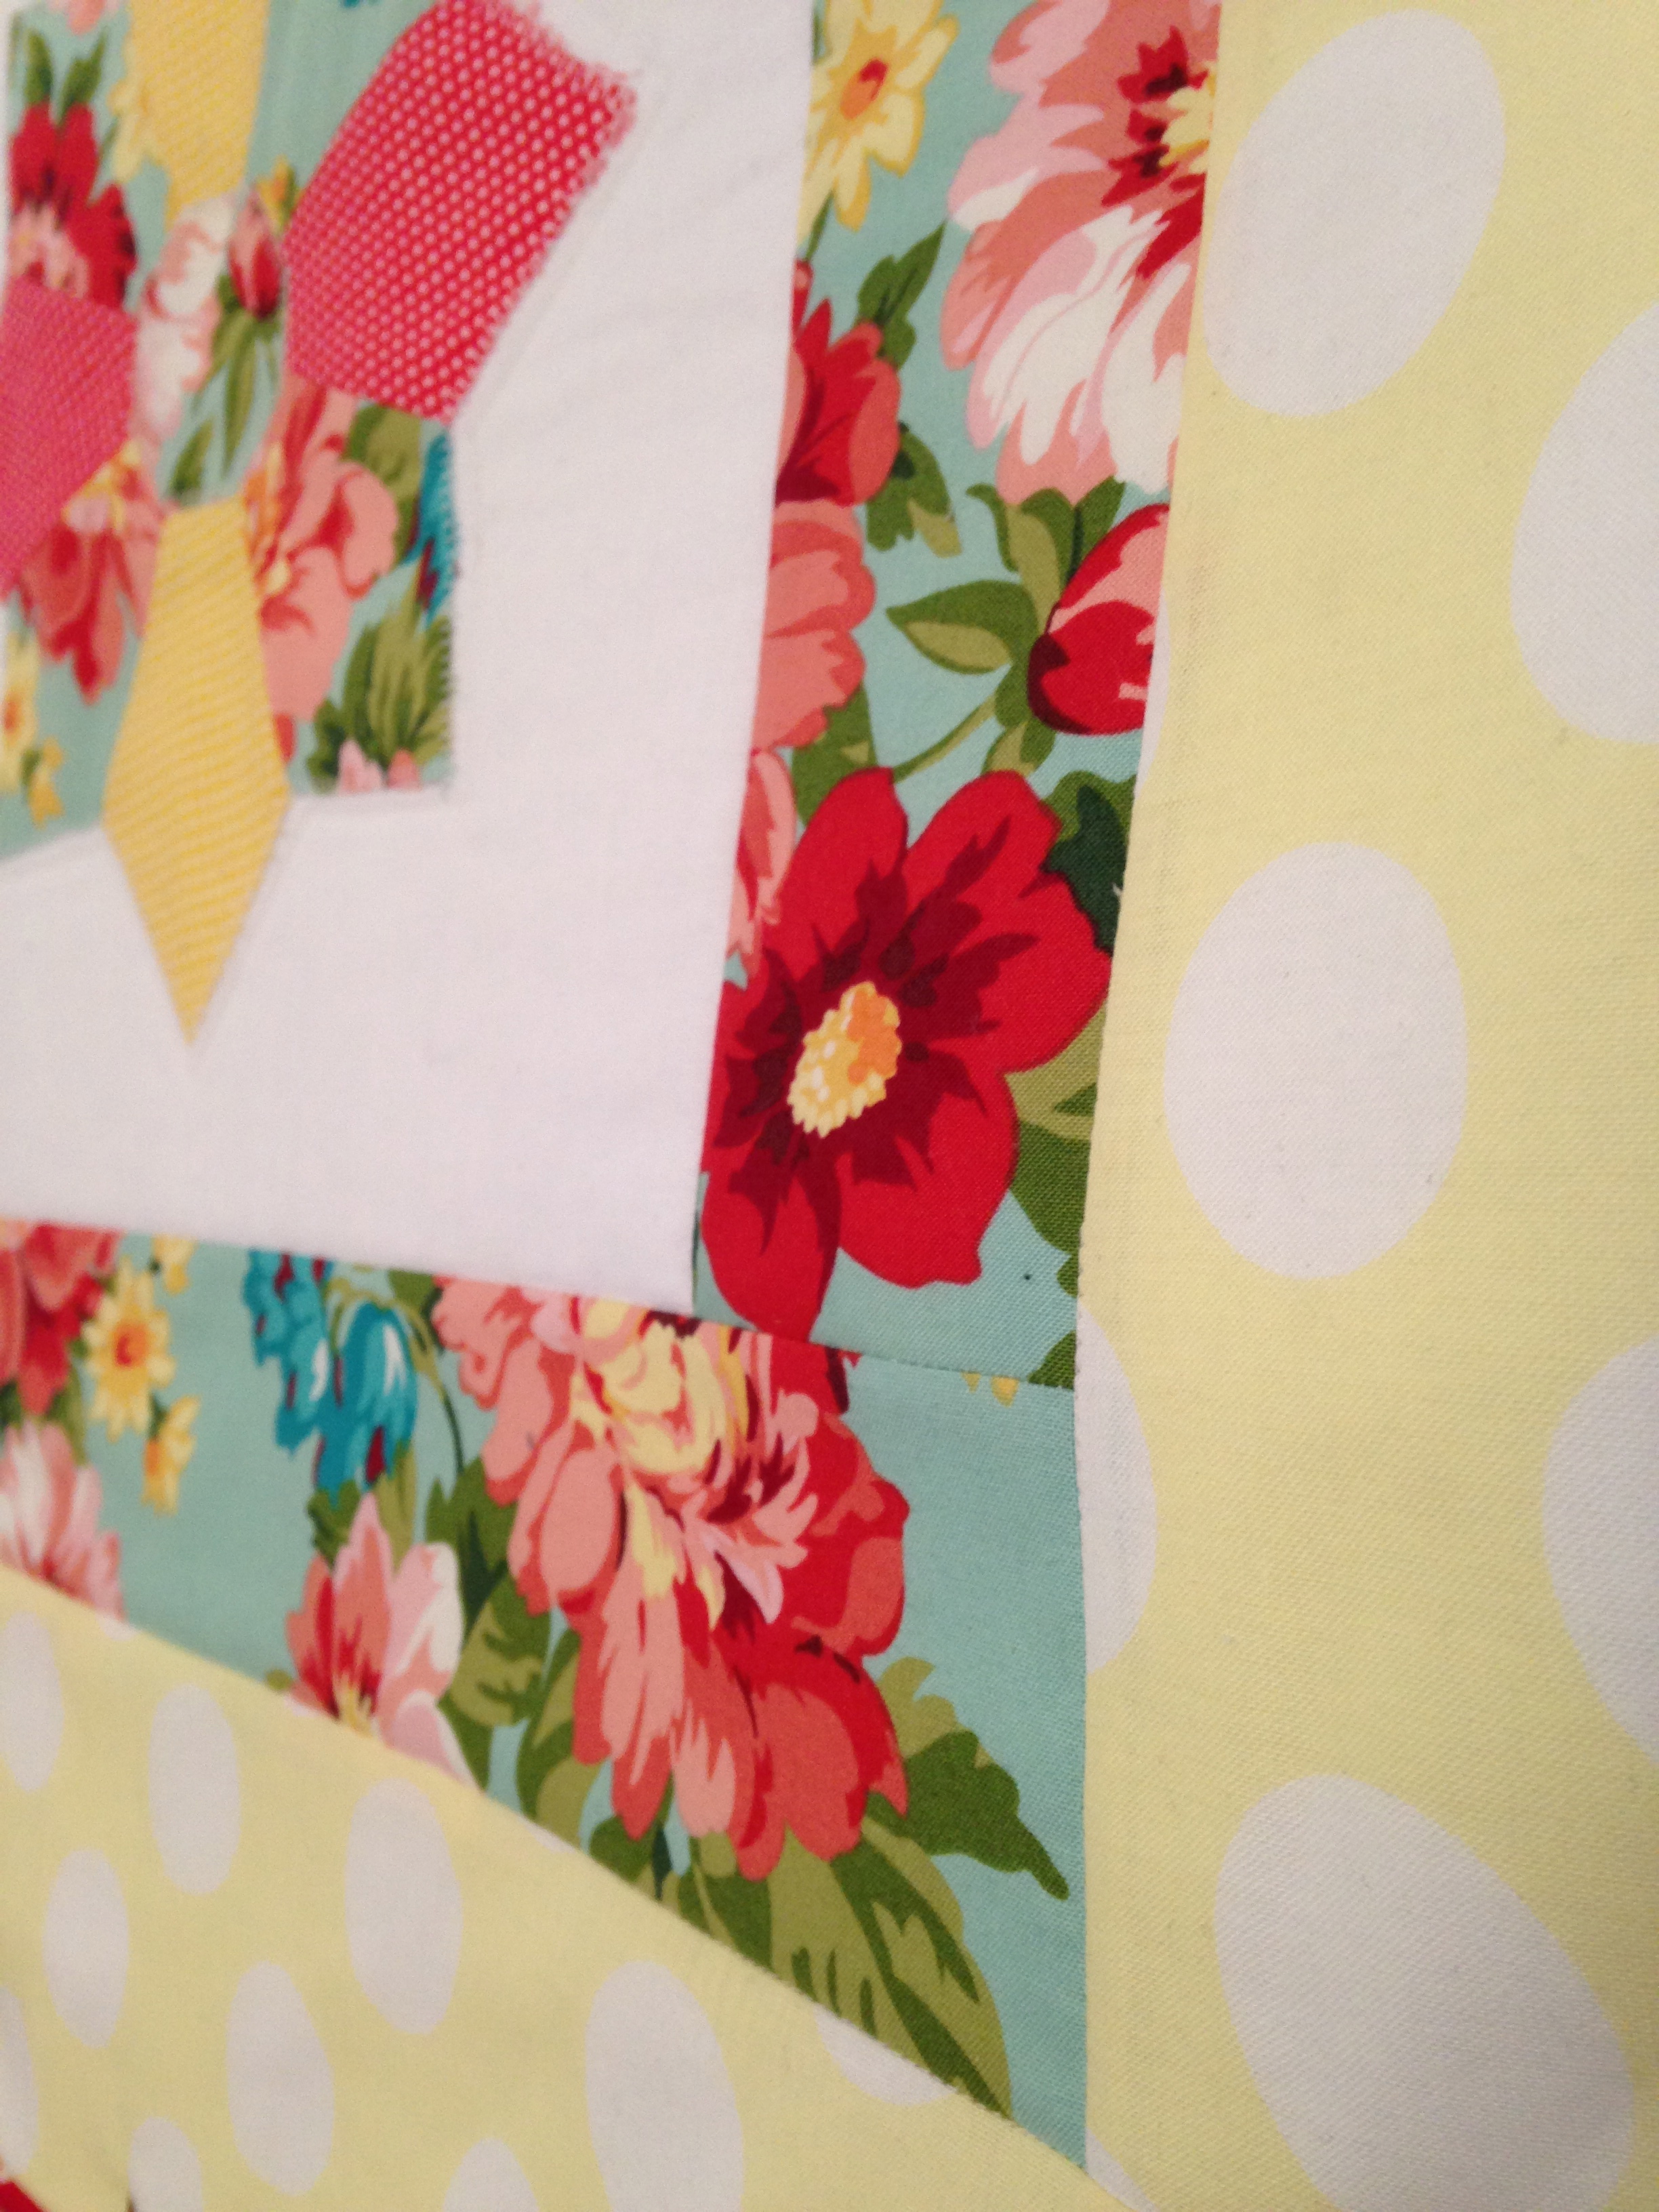
The other blocks we tackled were a Flying Geese variation and the-always-easier-than-it-looks Dresden Plate.
Patiently Machine Appliquéing the Dresden Plate
There were a few other projects that had been planned but time got away from us and they went undone…*insert sad frowny face*
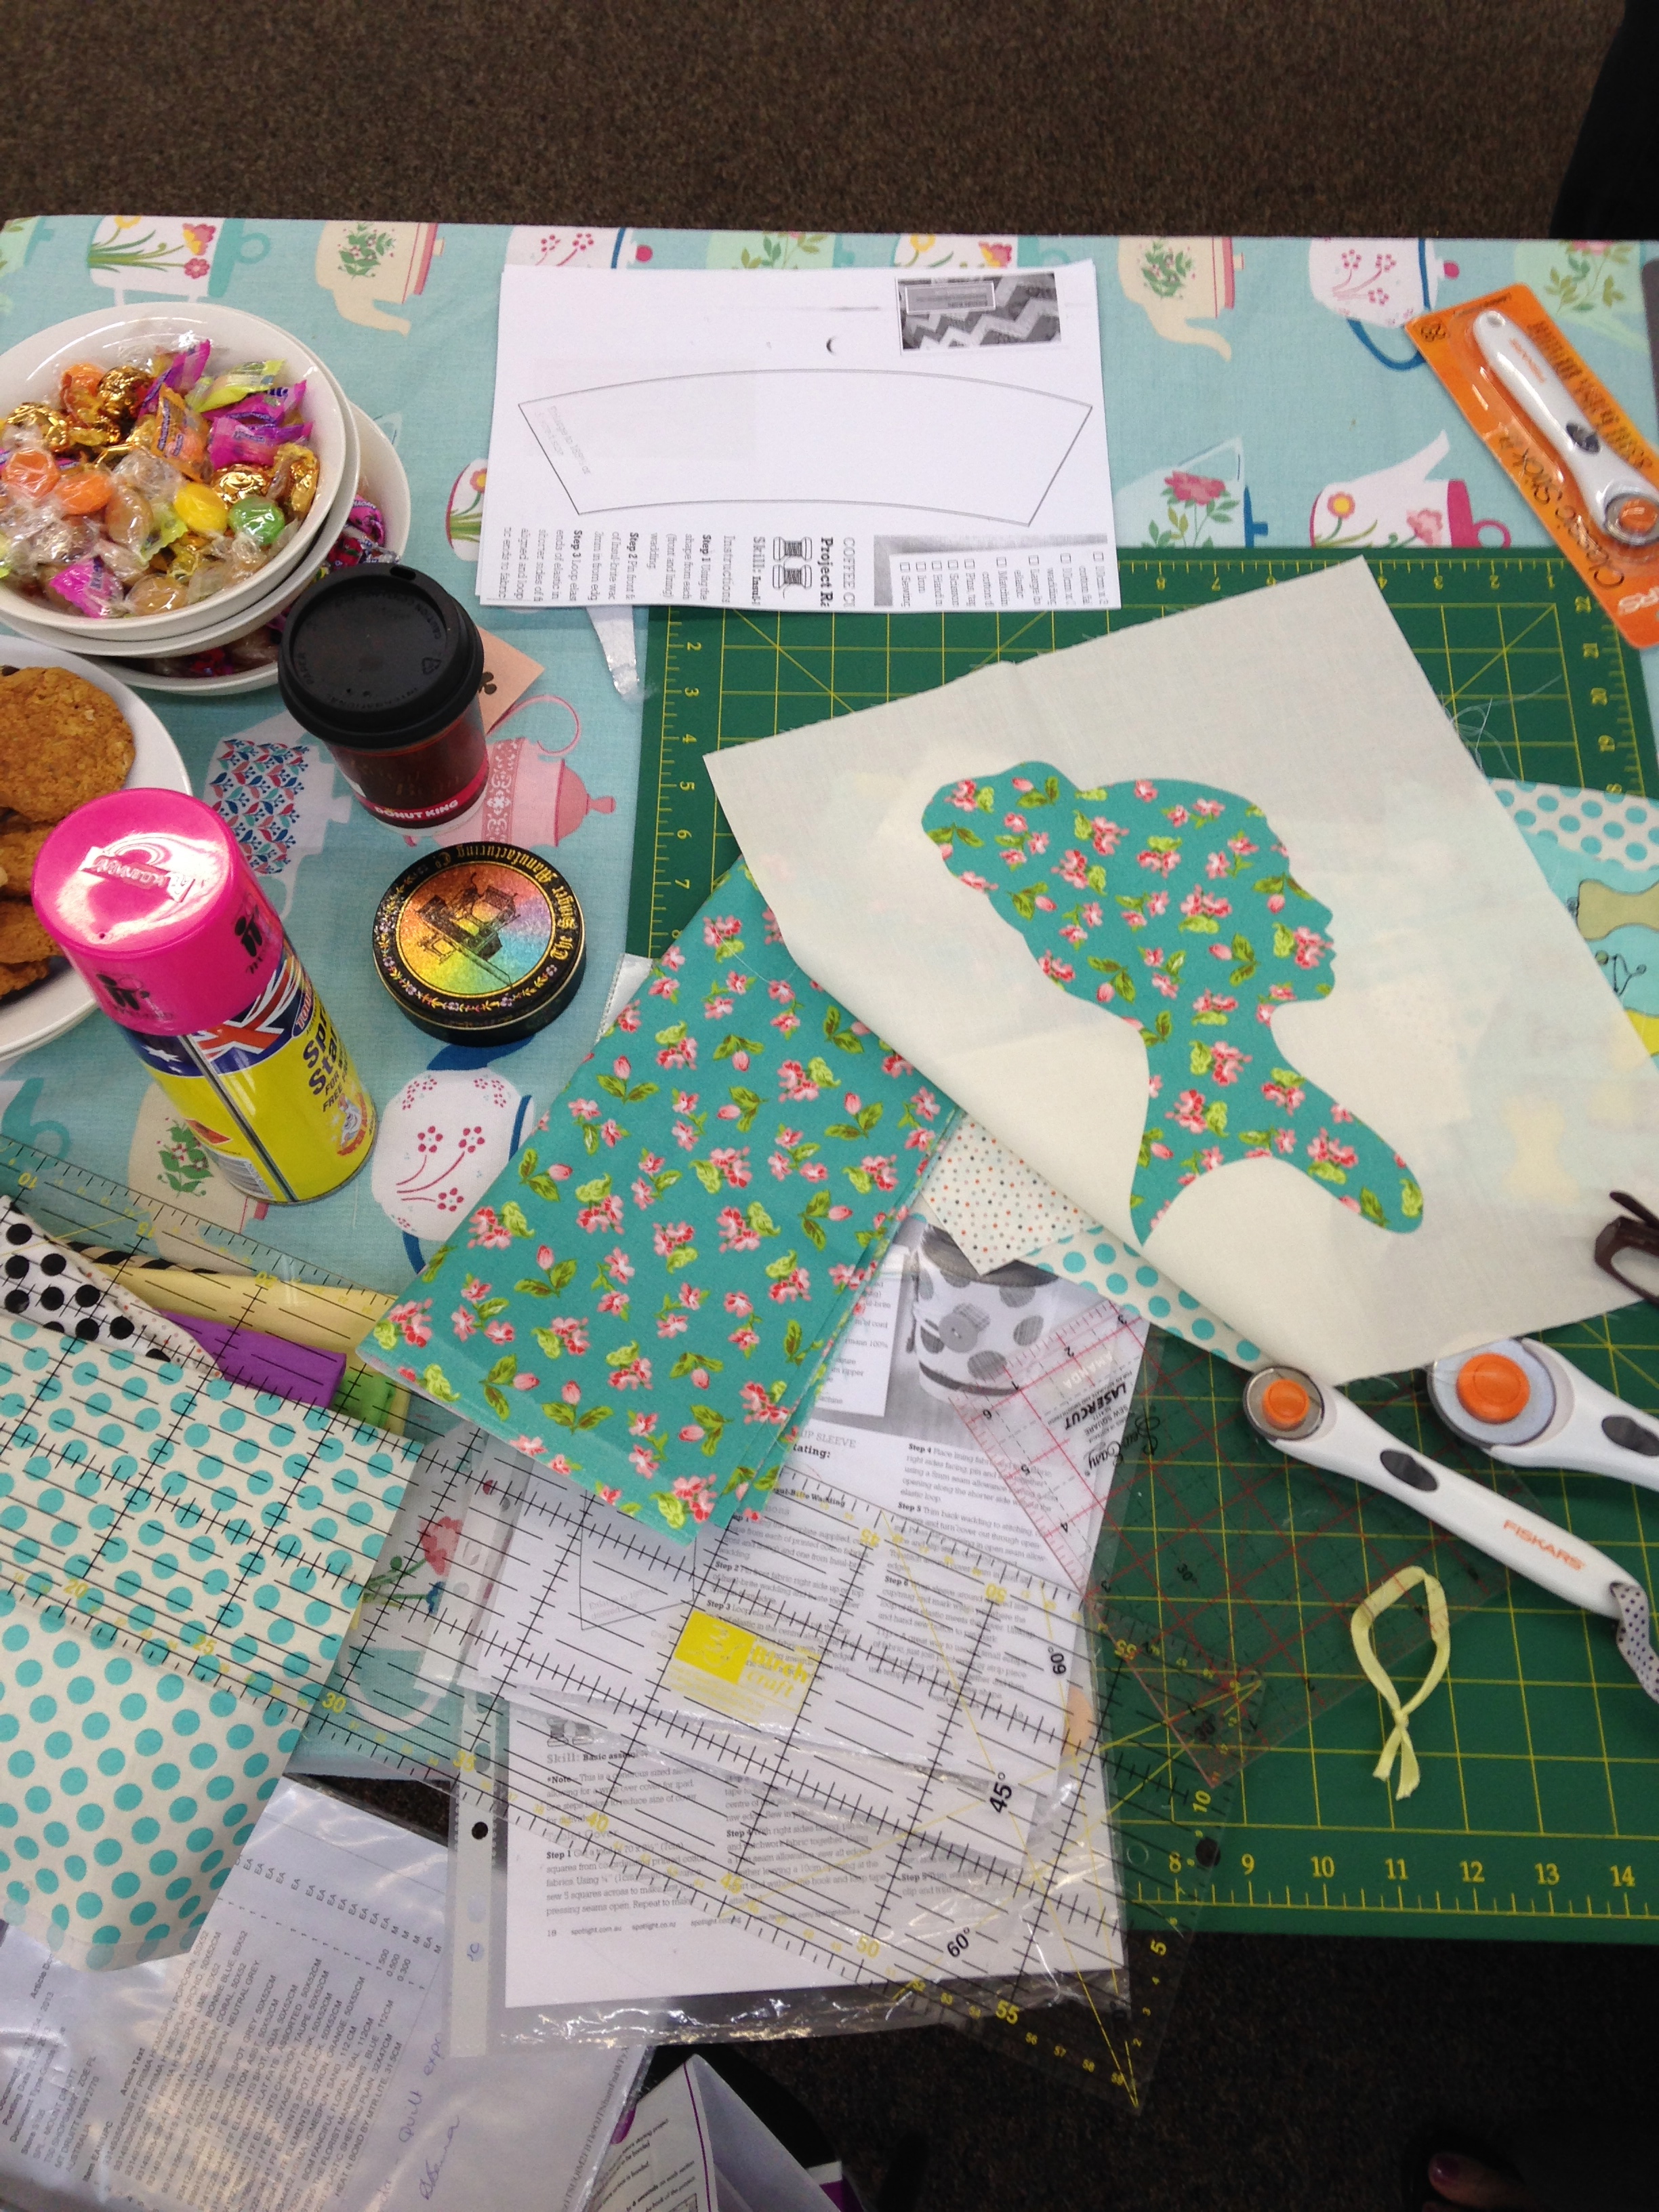
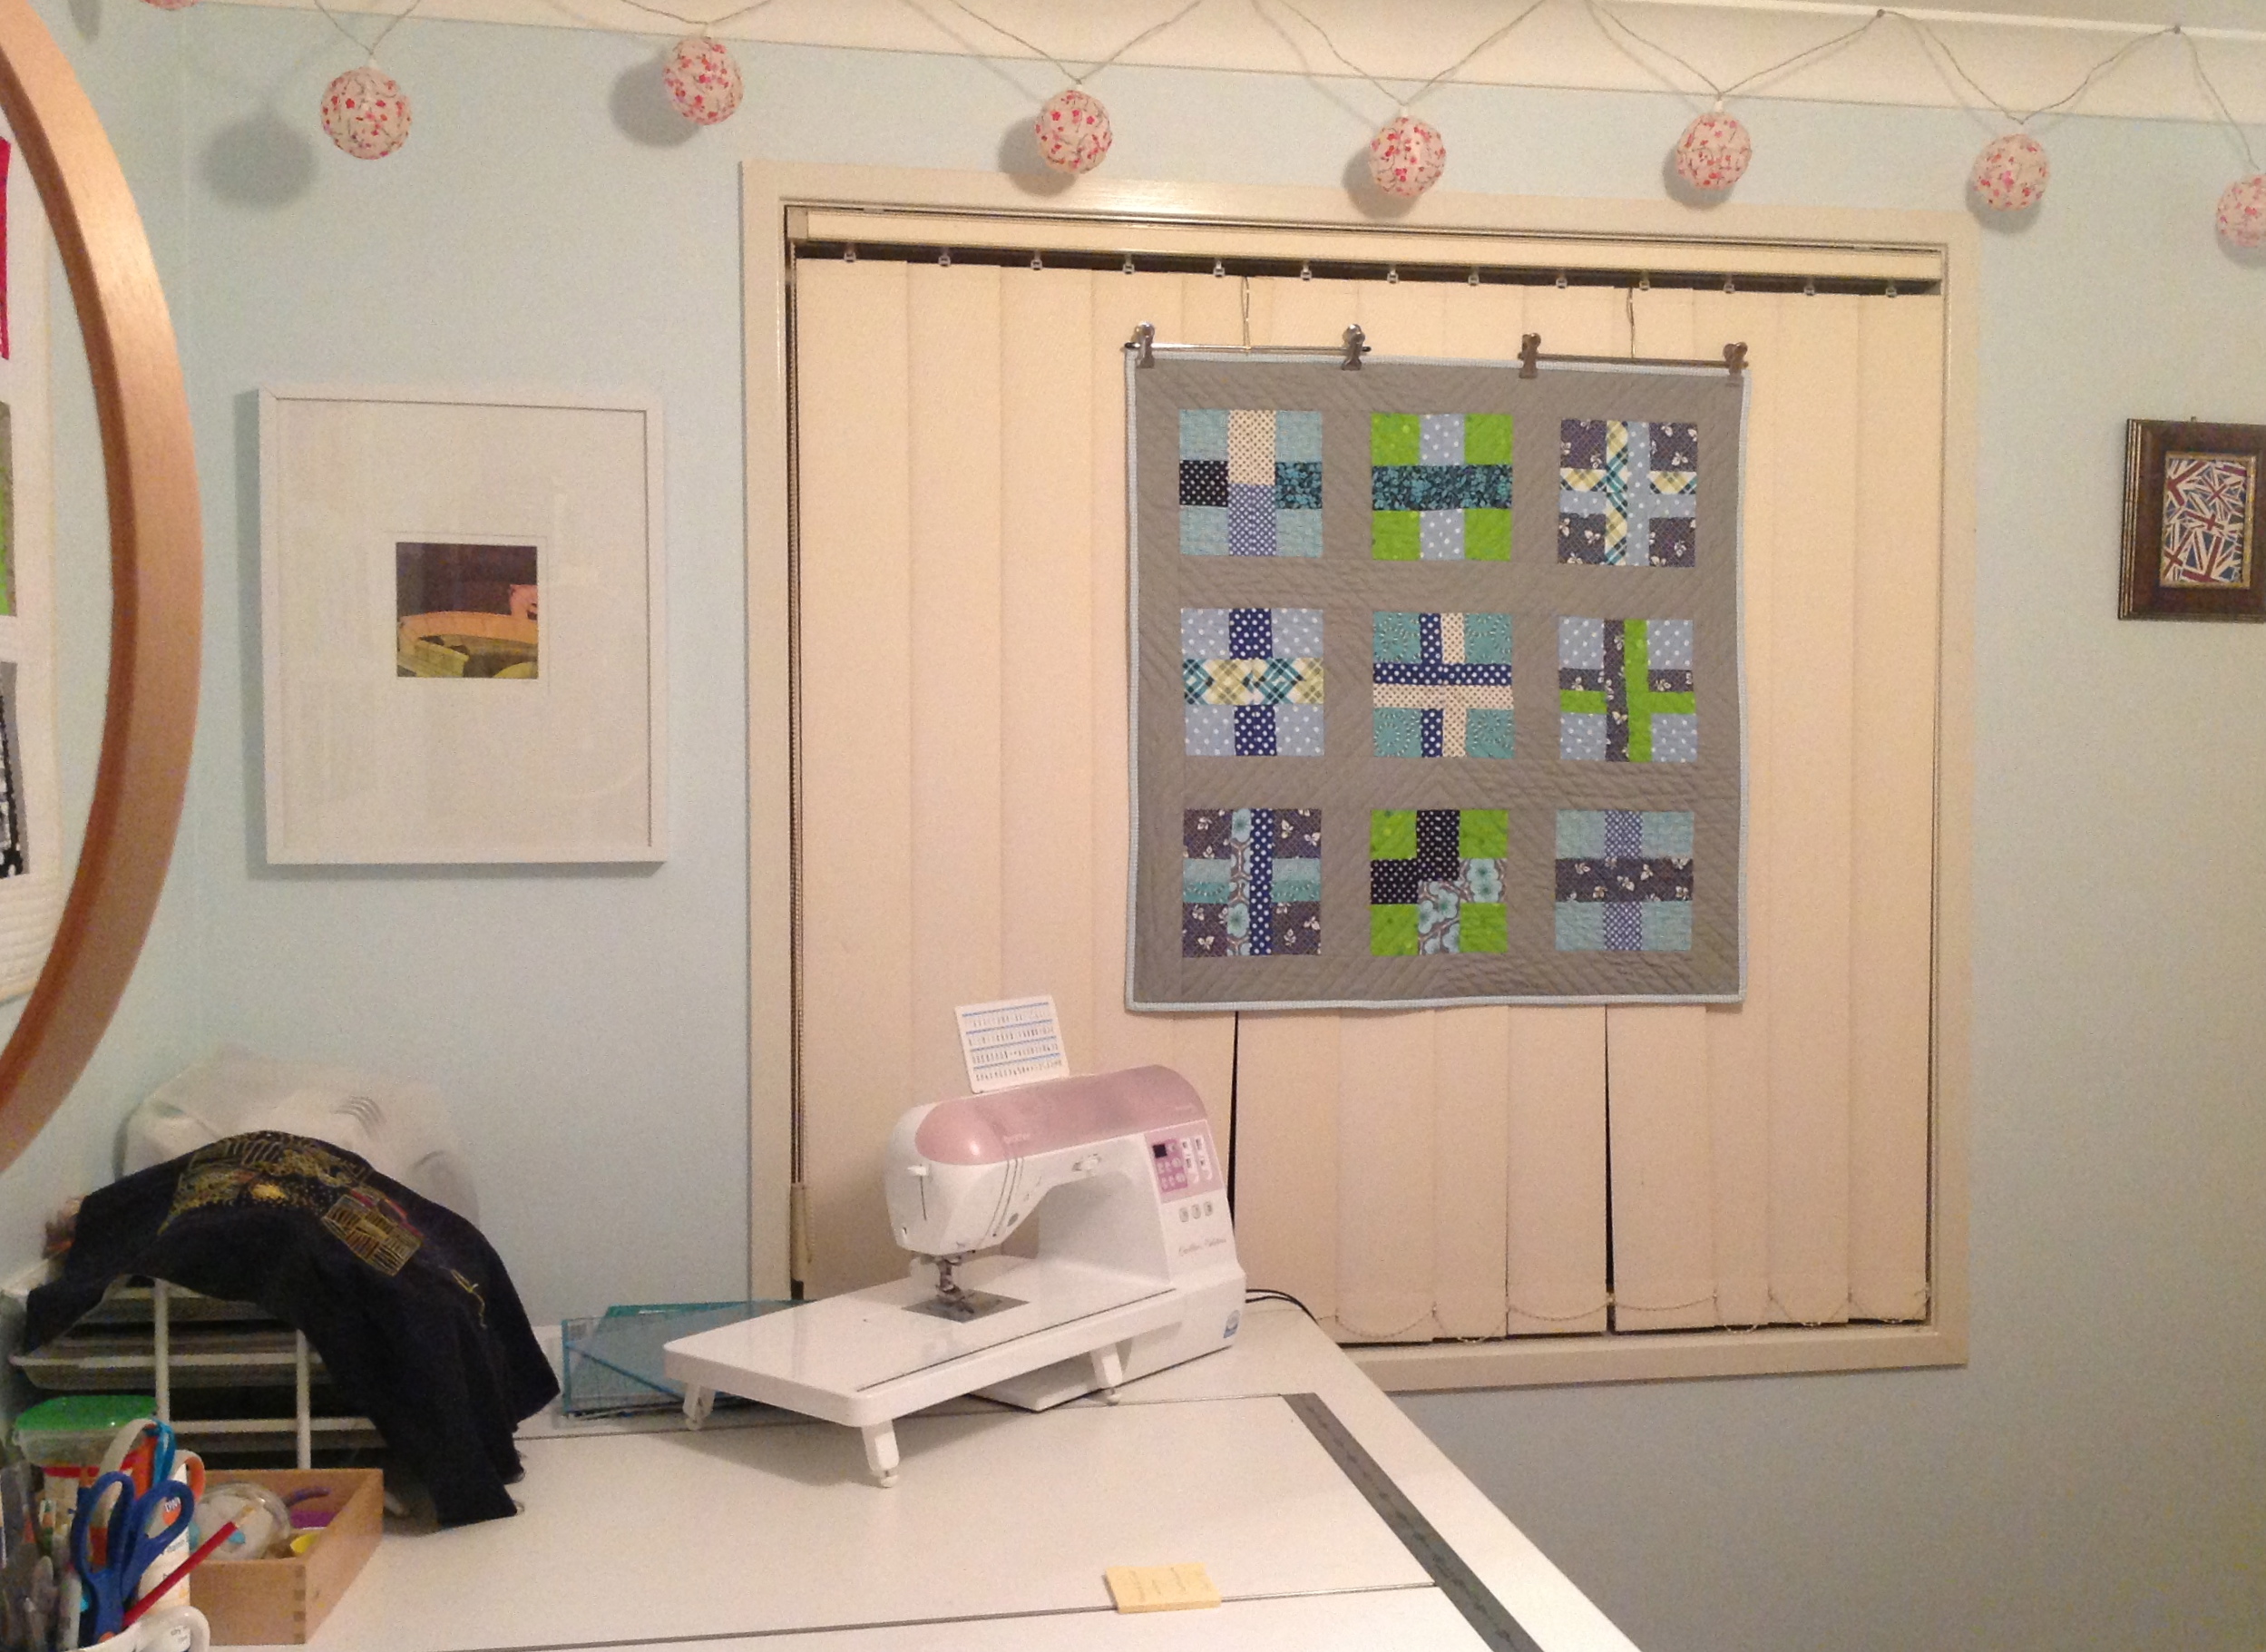
The view of my very messy work space! Oh dear…
It was a great day all around and I was definitely warn out by the time I got home! (It was a rare early night into bed for me!)
This coming week I’ll be working on a side commission for the BFF and then I’ll get back into piecing together my Mini Double Wrench Block Quilt as well as the many other numerous things that need to be planned and done!
Here in Australia, we’re well and truly into our spring season (YES! *fist pump*) with temps reaching up to 30+ degrees already! I love it but can only imagine what summer will be like! (I’ll be living in the pool!)
But moving on from my random weather update ramble thing…ahem..my days have been so jammed packed of doing so much stuff!
And of course the most important stuff would be sewing – duh!
Over the last four days I’ve been prepping, prepping and prepping some more (phew!) all to be ready for the Spotlight Quilting Expo on the weekend.
And if you can believe it, after all that prepping there’s still more to do! (Will it ever end!!)
Prepping the fabrics before ironing, cutting and piecing.
But there’s no need to panic just yet…I’ll leave that until Saturday morning as I’m rushing out the door! eek!
Amongst all my prepping for prepping (huh??), I squeezed in some time to make some little mini quilts for a warms-the-depths-of-your-heart kind of cause.
These mini quilts have been specially made as part of a donation drive at my local Spotlight for the Neo-Natal and Maternity wards in one of our local hospitals. These little quilts will help brighten up the wards and add a homey touch to what can be a very stale and clinical environment. I think it’s such a wonderful idea and these hospital wards are always so thankful for donation drives such as this!
*Oh, I’m getting all emoch*
So, I shall continue on my way, prepping for Saturday and keeping the rising panic at bay while I inhale an unnatural amount of Raspberry M&M’s!
‘How can you be so strangely addictive and yummy at the same time?!’
Diet starts Monday! (Maybe…possibly not…no it won’t.)
Well, just a little under two weeks to be exact but there’s like being a tad over dramatic about these things!.
But I do promise that I’ve been working very hard over the last couple weeks.
For starters, I’ve made another video! (Yay, go me and my evolution with modern technology!)
This one is a tutorial of sorts where I show you the method of how I make hexies! (Oh gosh, I just looove making hexies!)
Apart from that, I’ve been busily getting ready to take part in this years Quilting Expo at my local Spotlight store!
Quilting Expo Poster
There I’ll be demonstrating to the masses (!) how to cut, piece and sew up some classic quilt blocks as well as some quick and simple crafty/sewing projects.
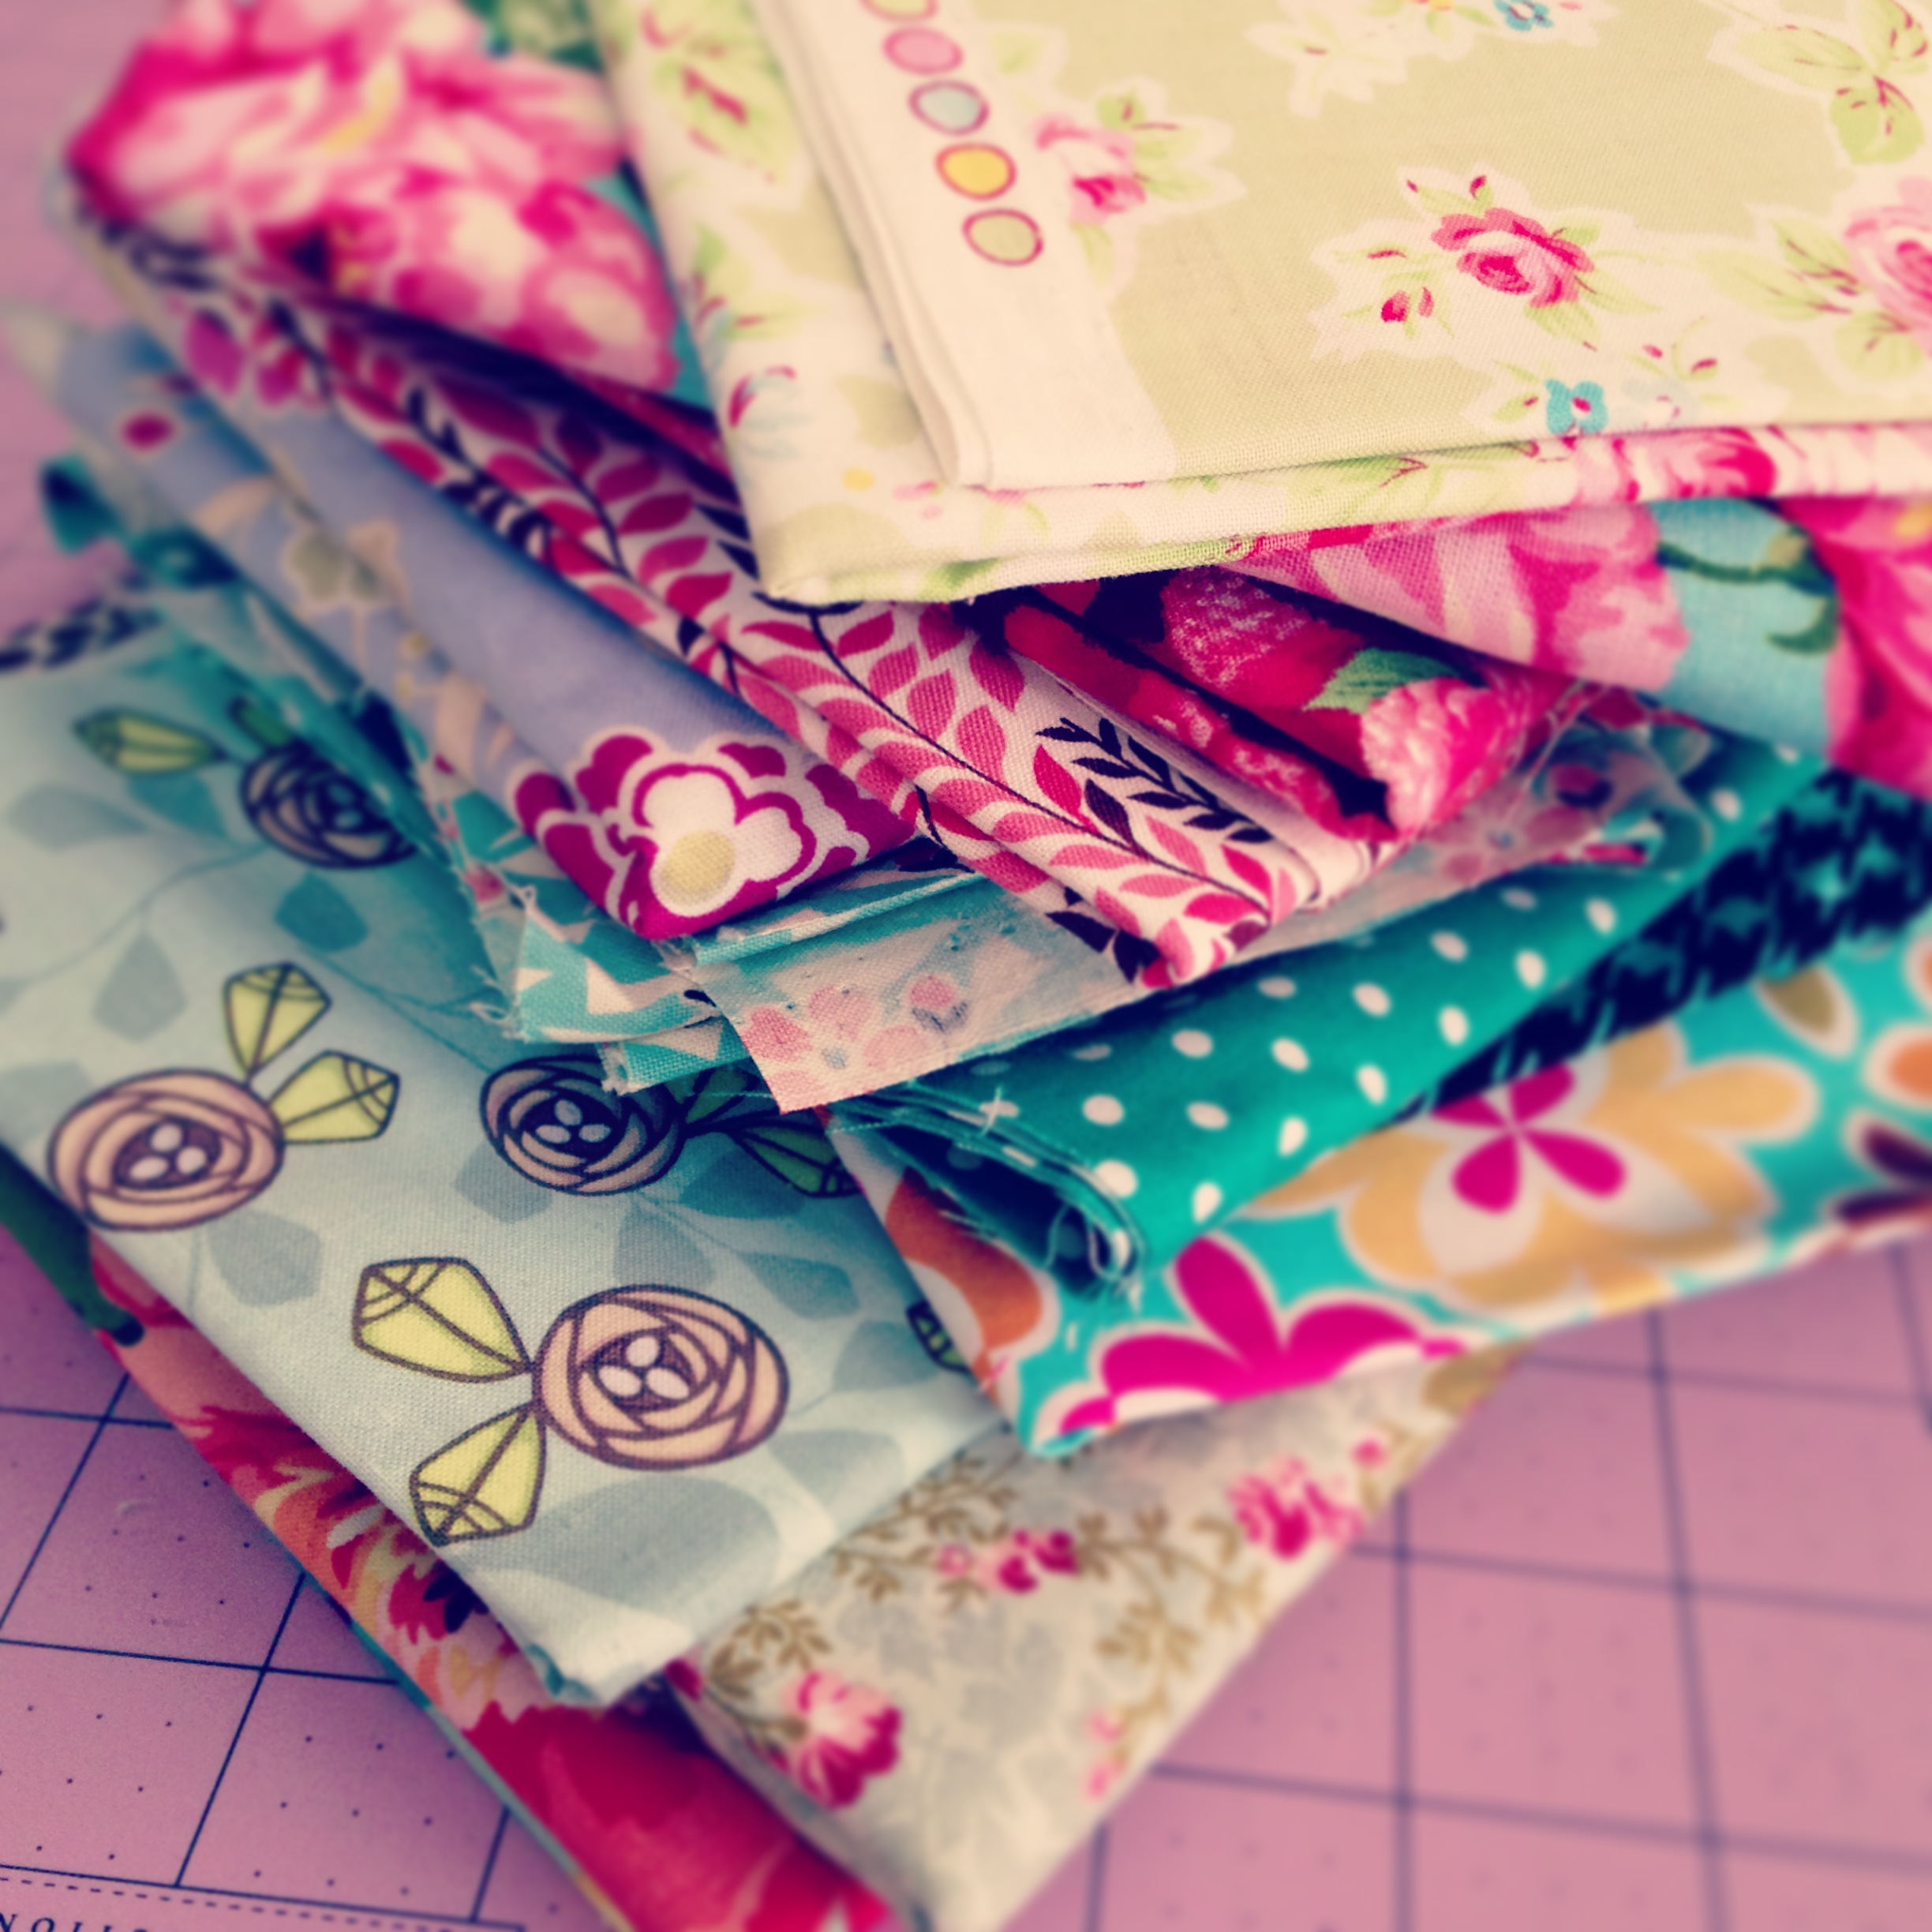
I’ve chosen some really sweet fabrics to work with and if I get the ok, I’ll post up some pics from the day!
A few other projects are currently along the way, but I’m not quite ready to share them with you just yet…
‘That’s the one I want to do!’, I whispered to myself.
I plan to create a quilt that predominately features a traditional block design but is constructed with bright and colourful modern fabrics that have differing scaled prints and designs.
And I think I’m on my way to achieving that…
Blocks lined up like little soldiers!Perfect little blocks…
So far I’ve made 35 14cmx14cm (5 ½ inch) squares with 7 more to go to complete the size quilt I want.
When preparing the blocks, I found myself patiently taking the time to cut, piece and iron each little unit that makes up one block and finding it hard to resist taking some scrumptious photos along the way… (and flooding my instagram and twitter feeds!)
A sweet pile of fabric goodness!Freshly cut and pieced mini HSTs…ah, such delight!Mini units ready to be ironed and pieced together!
The construction of these blocks are easier than you think and I find that as soon as I’ve begun making one, I was onto constructing the next within minutes!
My set up | Organisation is the key to success!
So when time permits, I’ll sew up the last 7 blocks, piece them altogether and save and save and save for some batting and then get this baby quilted and bound!
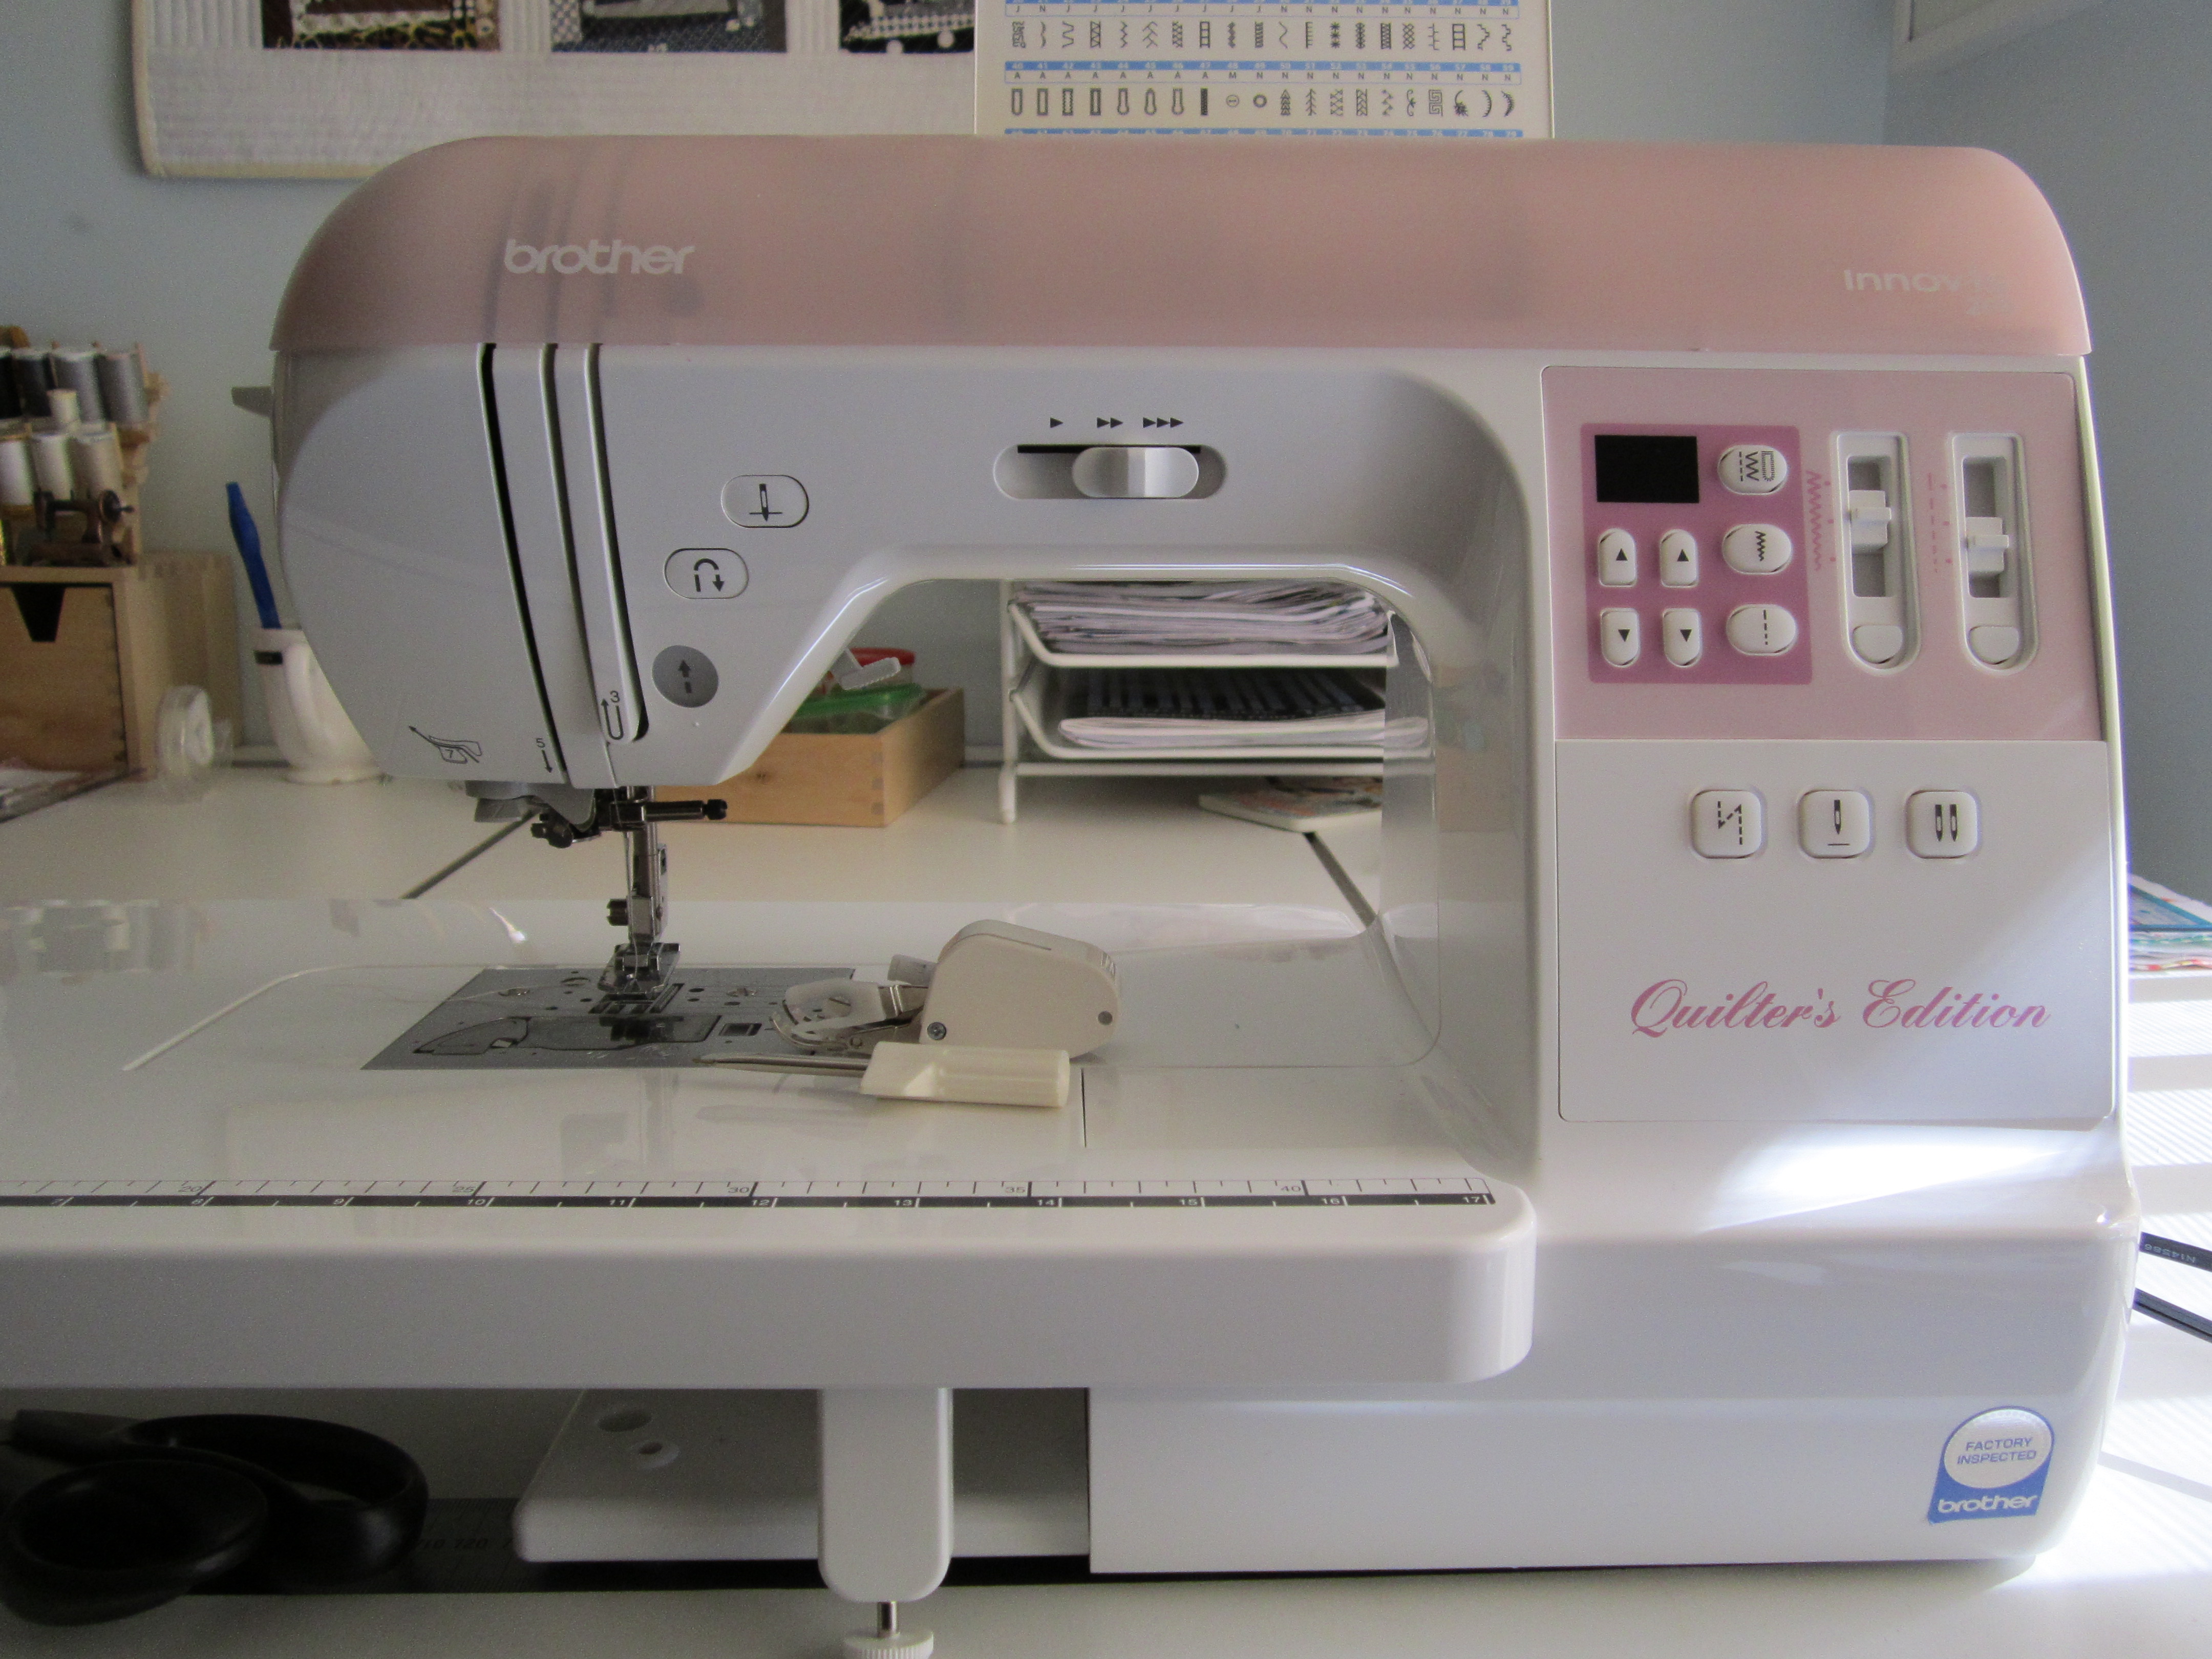
Over my past few weeks of sewing I’ve come to the conclusion that there are a select few quilting tools that I just could not function without!
The obvious tools such as my sewing machine, sewing desk, scissors, threads, pins, rulers etc. don’t count in this definitive list because they’re already there without question!
This list focuses more on those little things that just make my sewing/quilting experience a breeze!
Let’s start with something small…
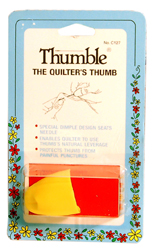
1. Quilting Thimble (The Quilter’s Thumb)
I just simply love this little tool. I love it so much that I actually have two!
Collins Quilter’s Thumble
It’s solid, fits snuggly on my thumb and allows me to push my super sharp needle through multiple layers of fabric without causing any serious injury to myself!
I particularly use this thimble when I’m stitching the binding onto a quilt or when I’m doing any ‘heavy duty’ hand stitching.
I bought mine at my local Spotlight store in packaging that looks like this…PS. I had a good look around on the web to find where they’re sold and I have a slight feeling this product has been discontinued. *insert sad face*
2. Clover Seam Ripper
This seam ripper is like the Hummer of all seam rippers!
It’s super sharp, feels sturdy and robust in hand and it rips up seams like there’s no tomorrow. I now no longer dread making a mistake because I then have a legible reason to whip this little baby out!
Clover Seam Ripper | Made in Japan
I can’t rate Clover products any higher – they make some of the best quilting tools around…but they can be quite pricey!
It’s totes worth it though!
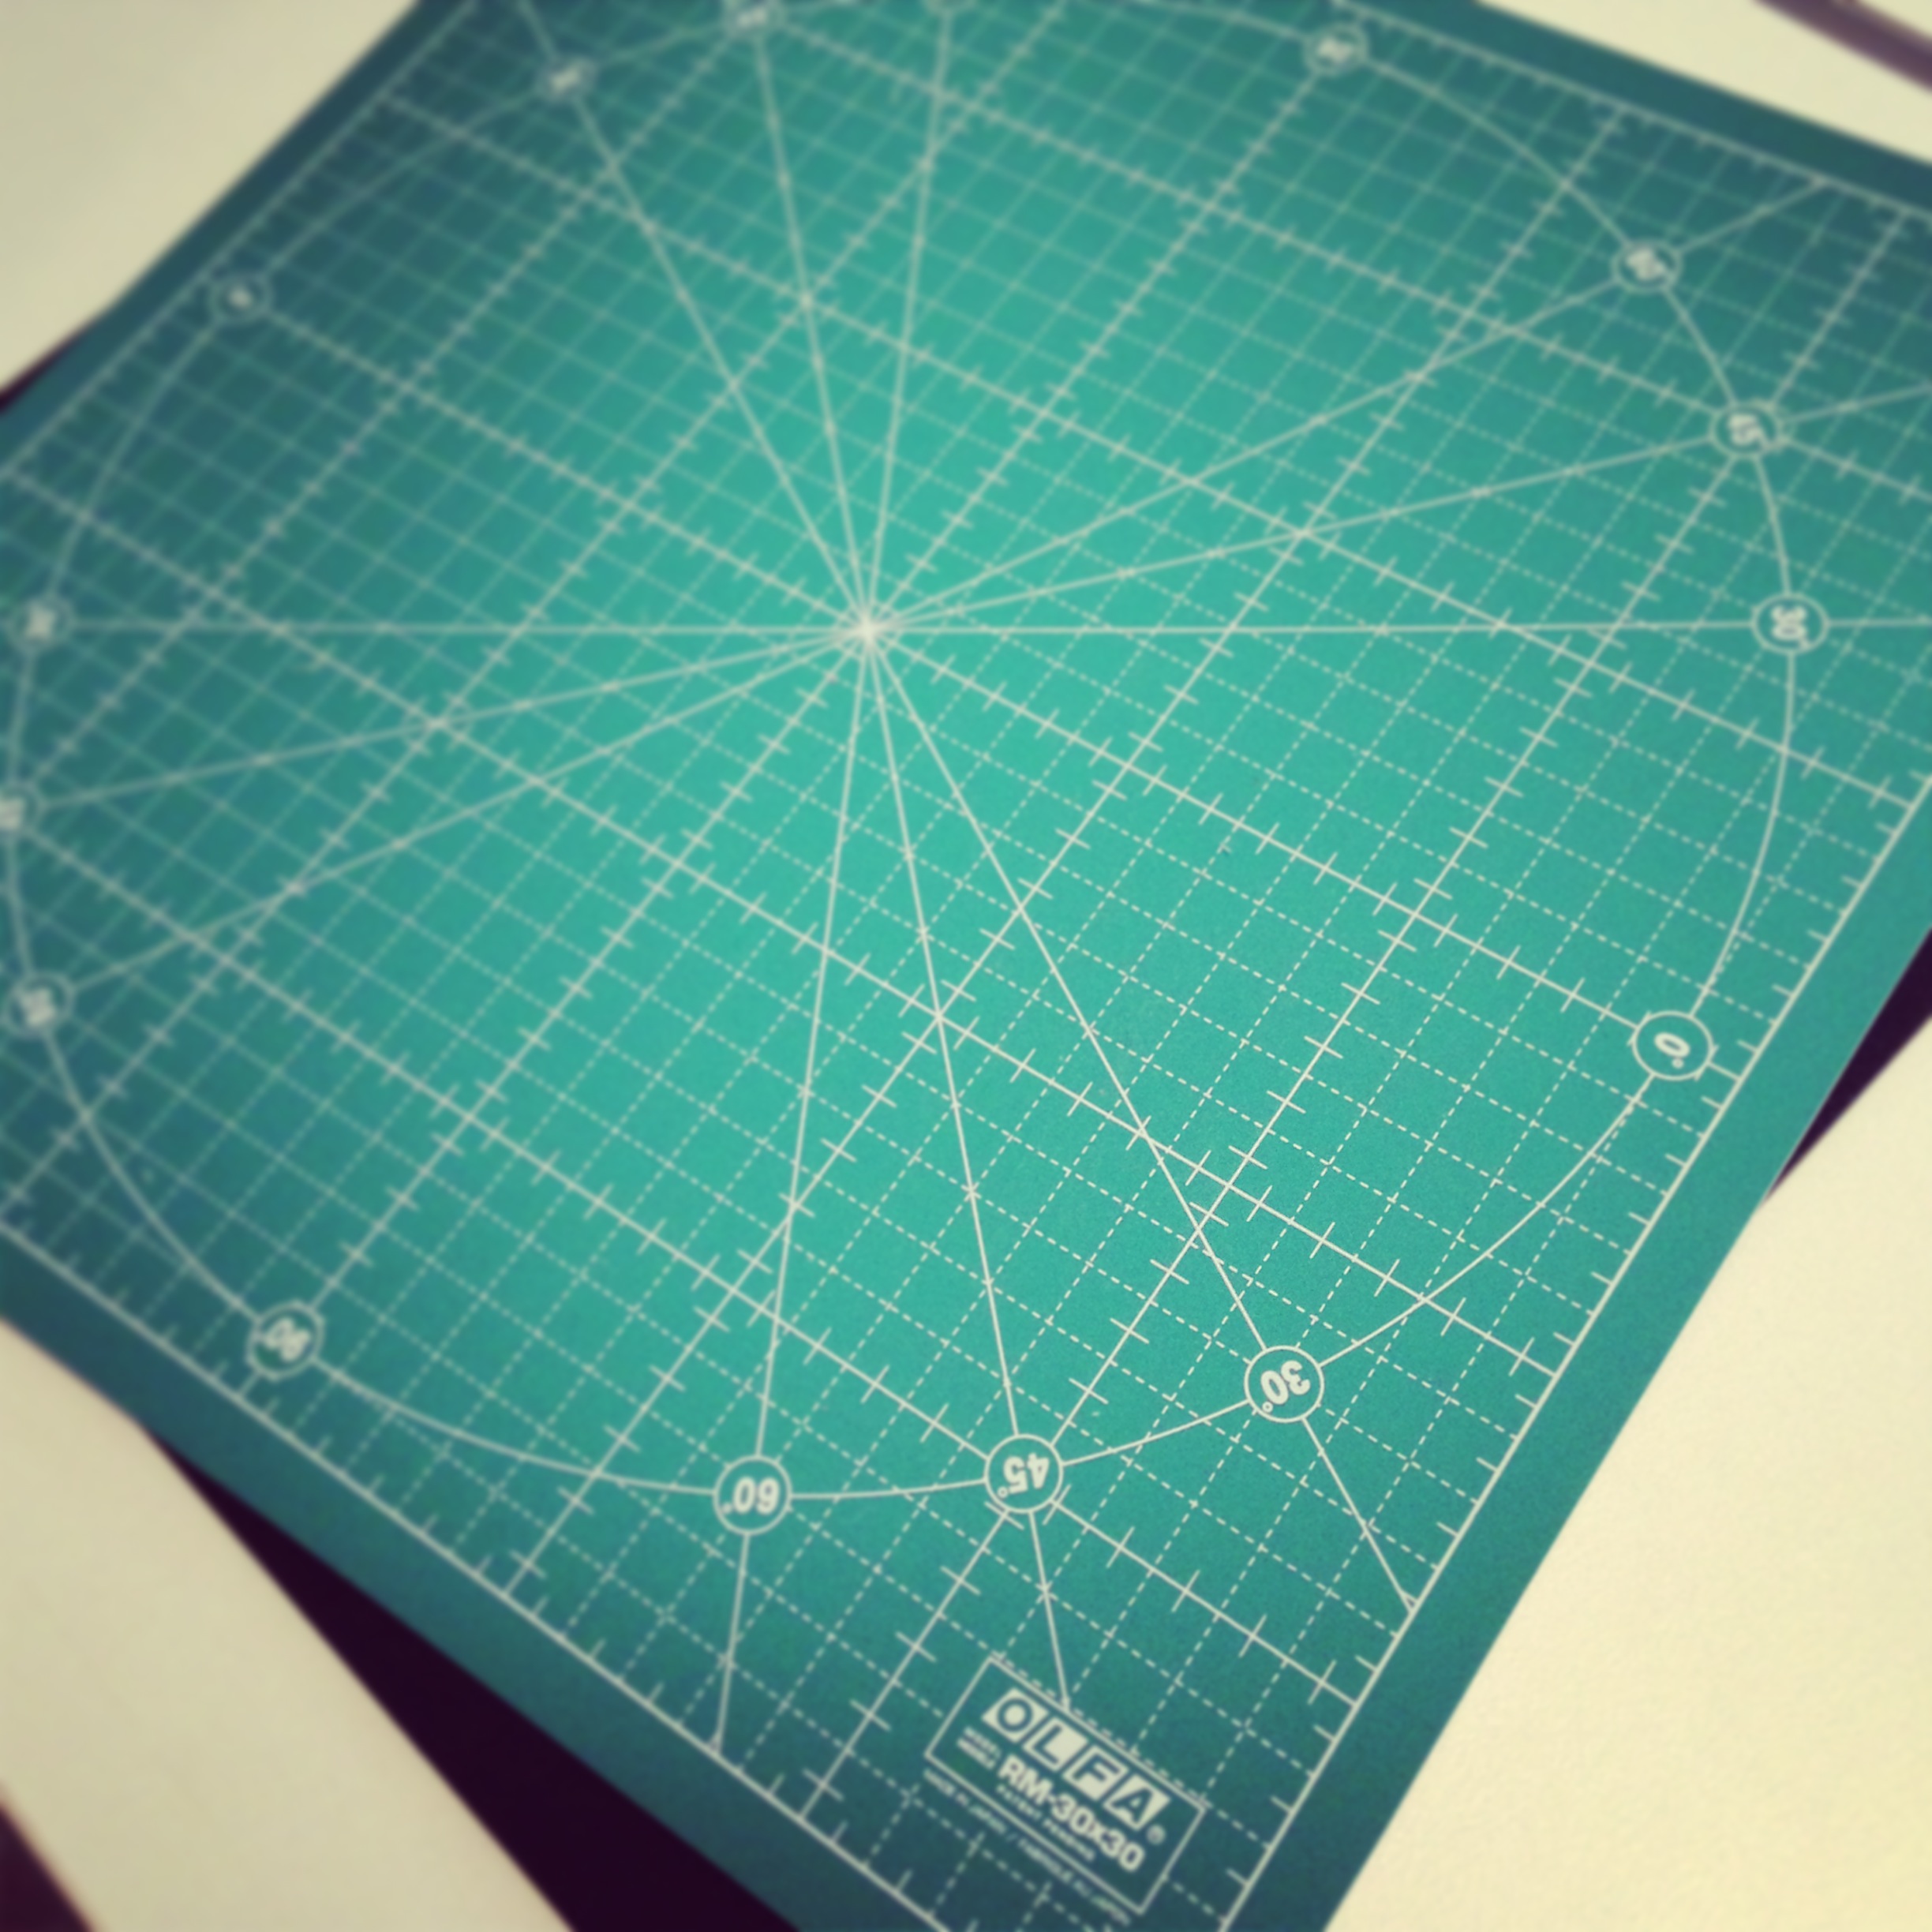
3. Olfa Rotating Cutting Mat
This is a newly purchased item to my quilting tool stash so I’m still getting used to it.
But, from the time I’ve spent using, it’s safe to say, ‘I’m in love. I’m in love. I’m in love!’
Currently, I’m using mine as a mini cutting station for some blocks I’m piecing together. I am able to trim down one side of the block and then rotate the mat without having to move the block thus not stuffing around my measurements etc.
Like all good quality cutting mats, this one was on the expensive side – ranging around 70 bucks AUD.
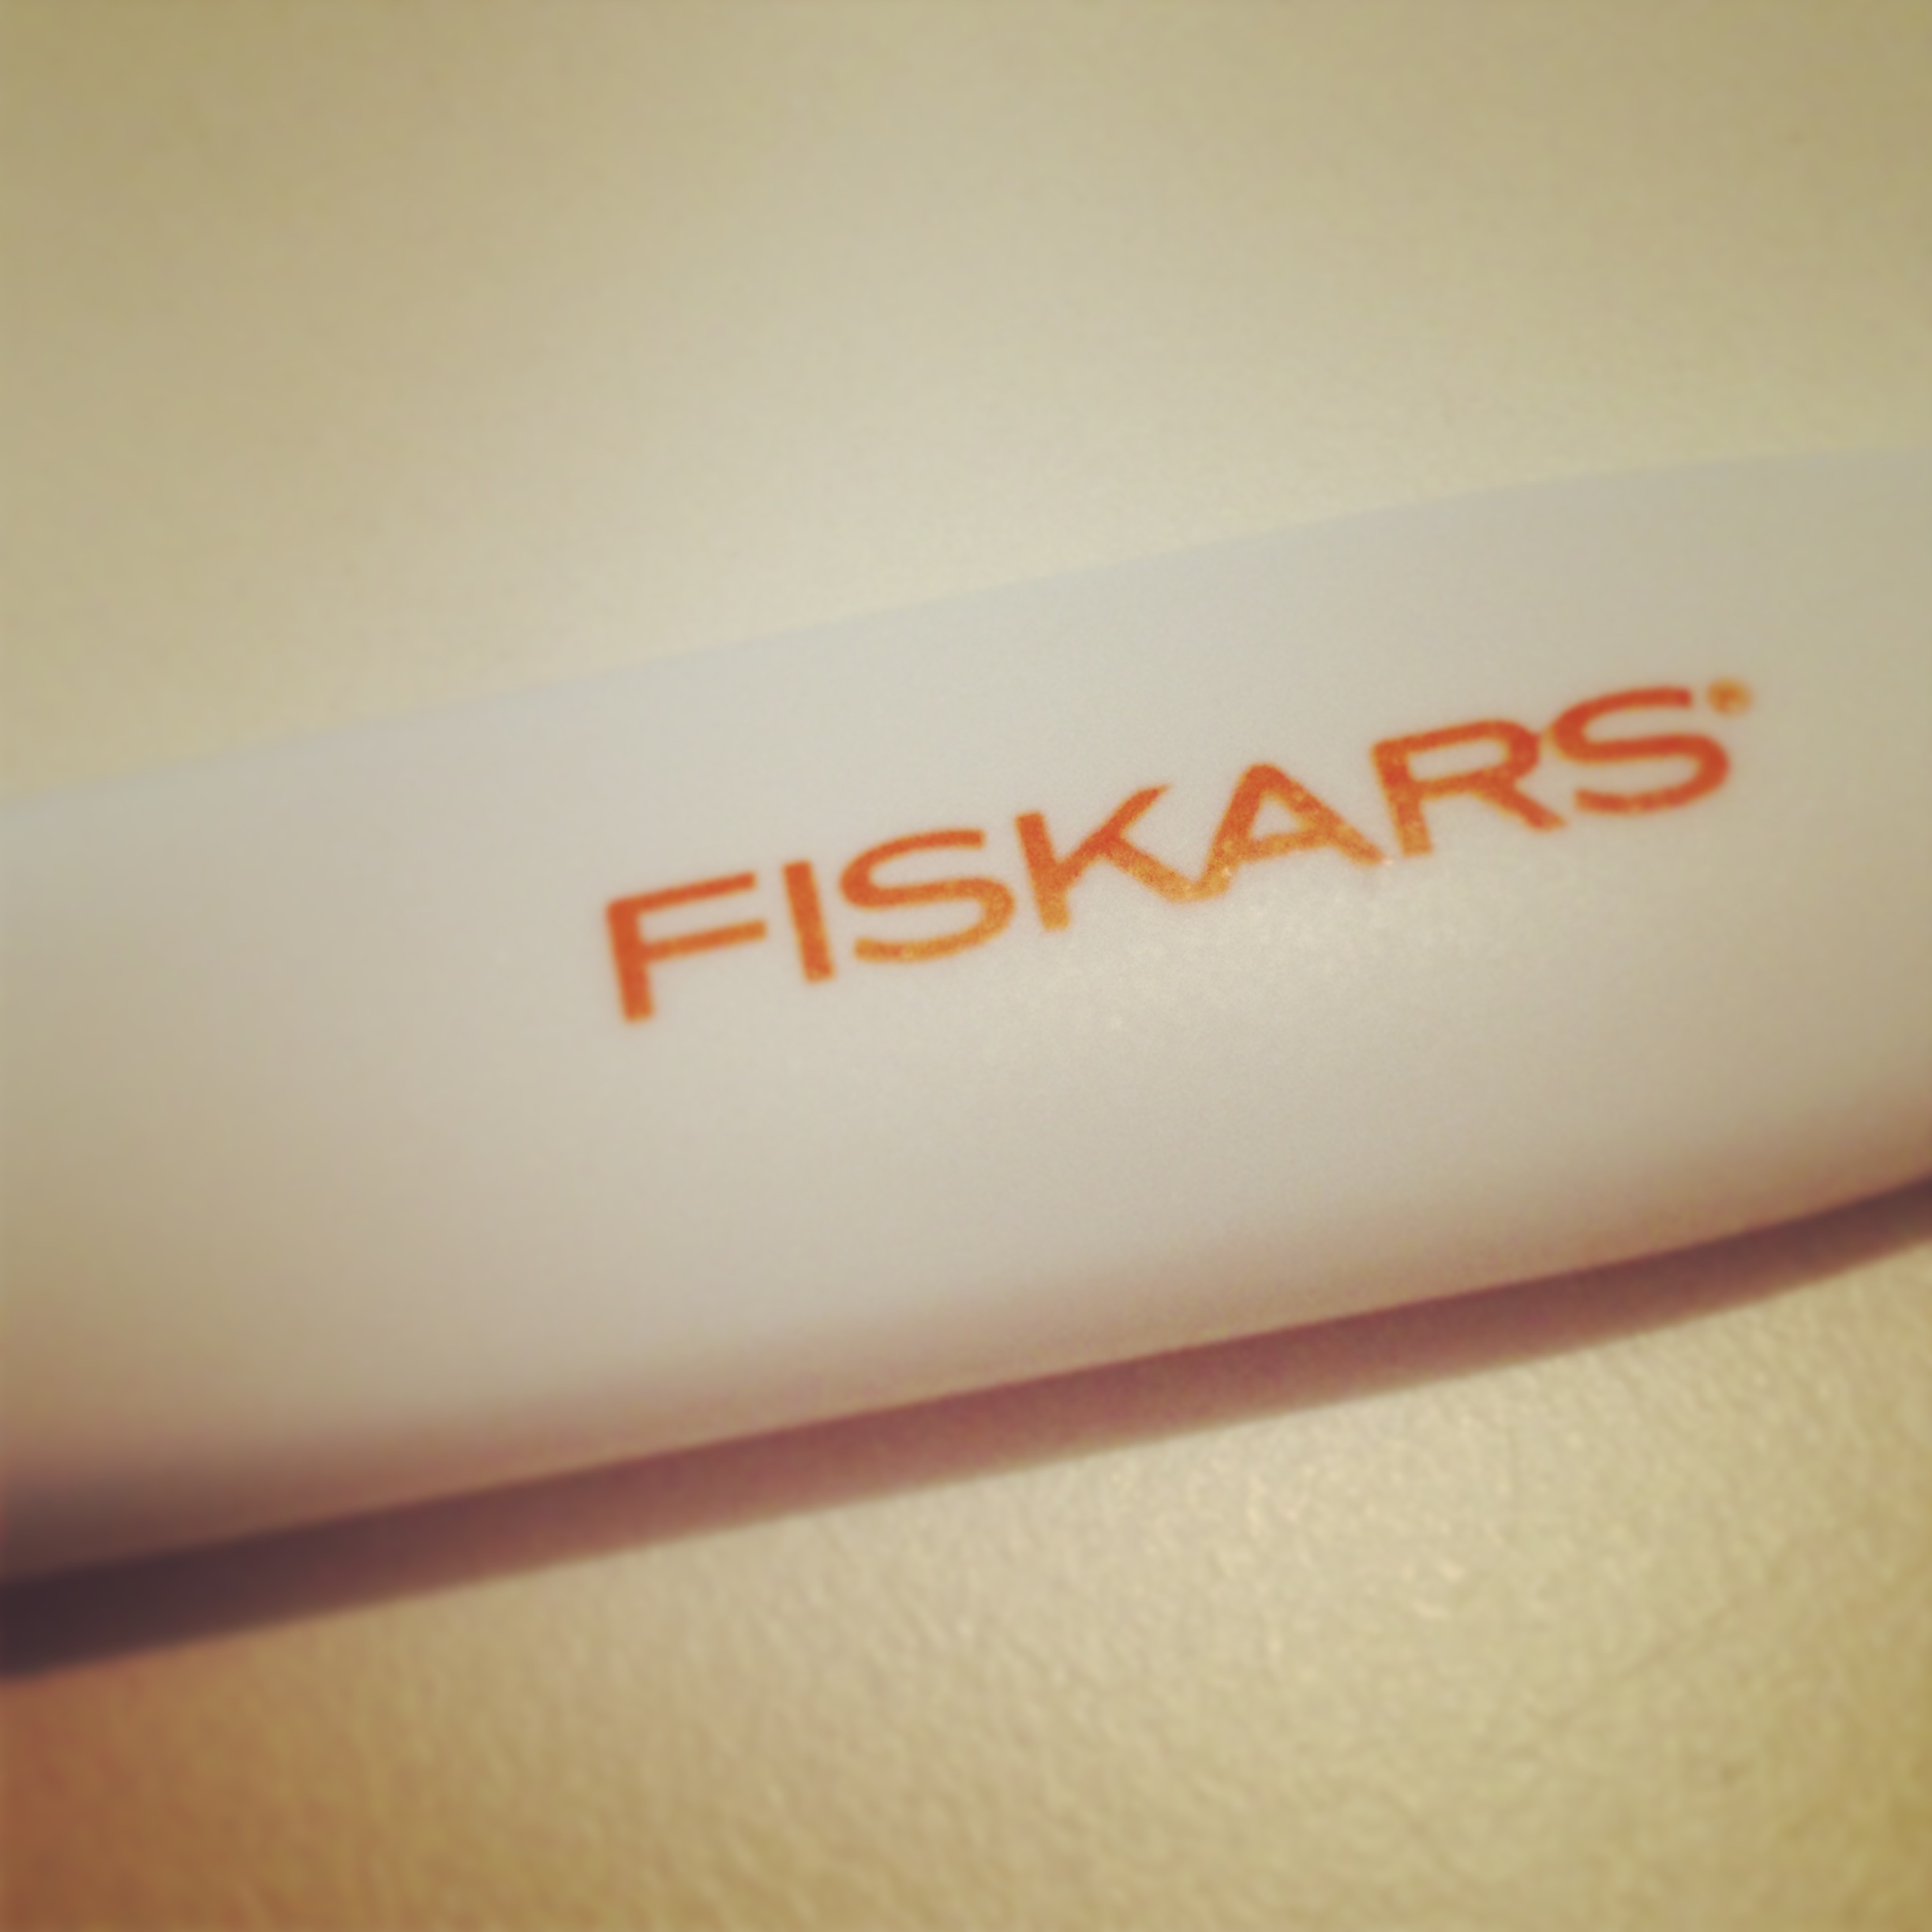
4. Fiskars Mini Rotary Blade
Here’s another ‘little’ tool that I’d be lost without in my sewing practice.
Fiskars 28mm Classic Stick Rotary Cutter
I use this rotary blade for trimming and when I’m cutting curved pieces.
It’s quick, agile, non-bulky, fabulously light, feels wonderful in the hand and am able to retract the blade with super-sonic speed (like a cowboy with his gun!).
It’s just the best.
Full stop.
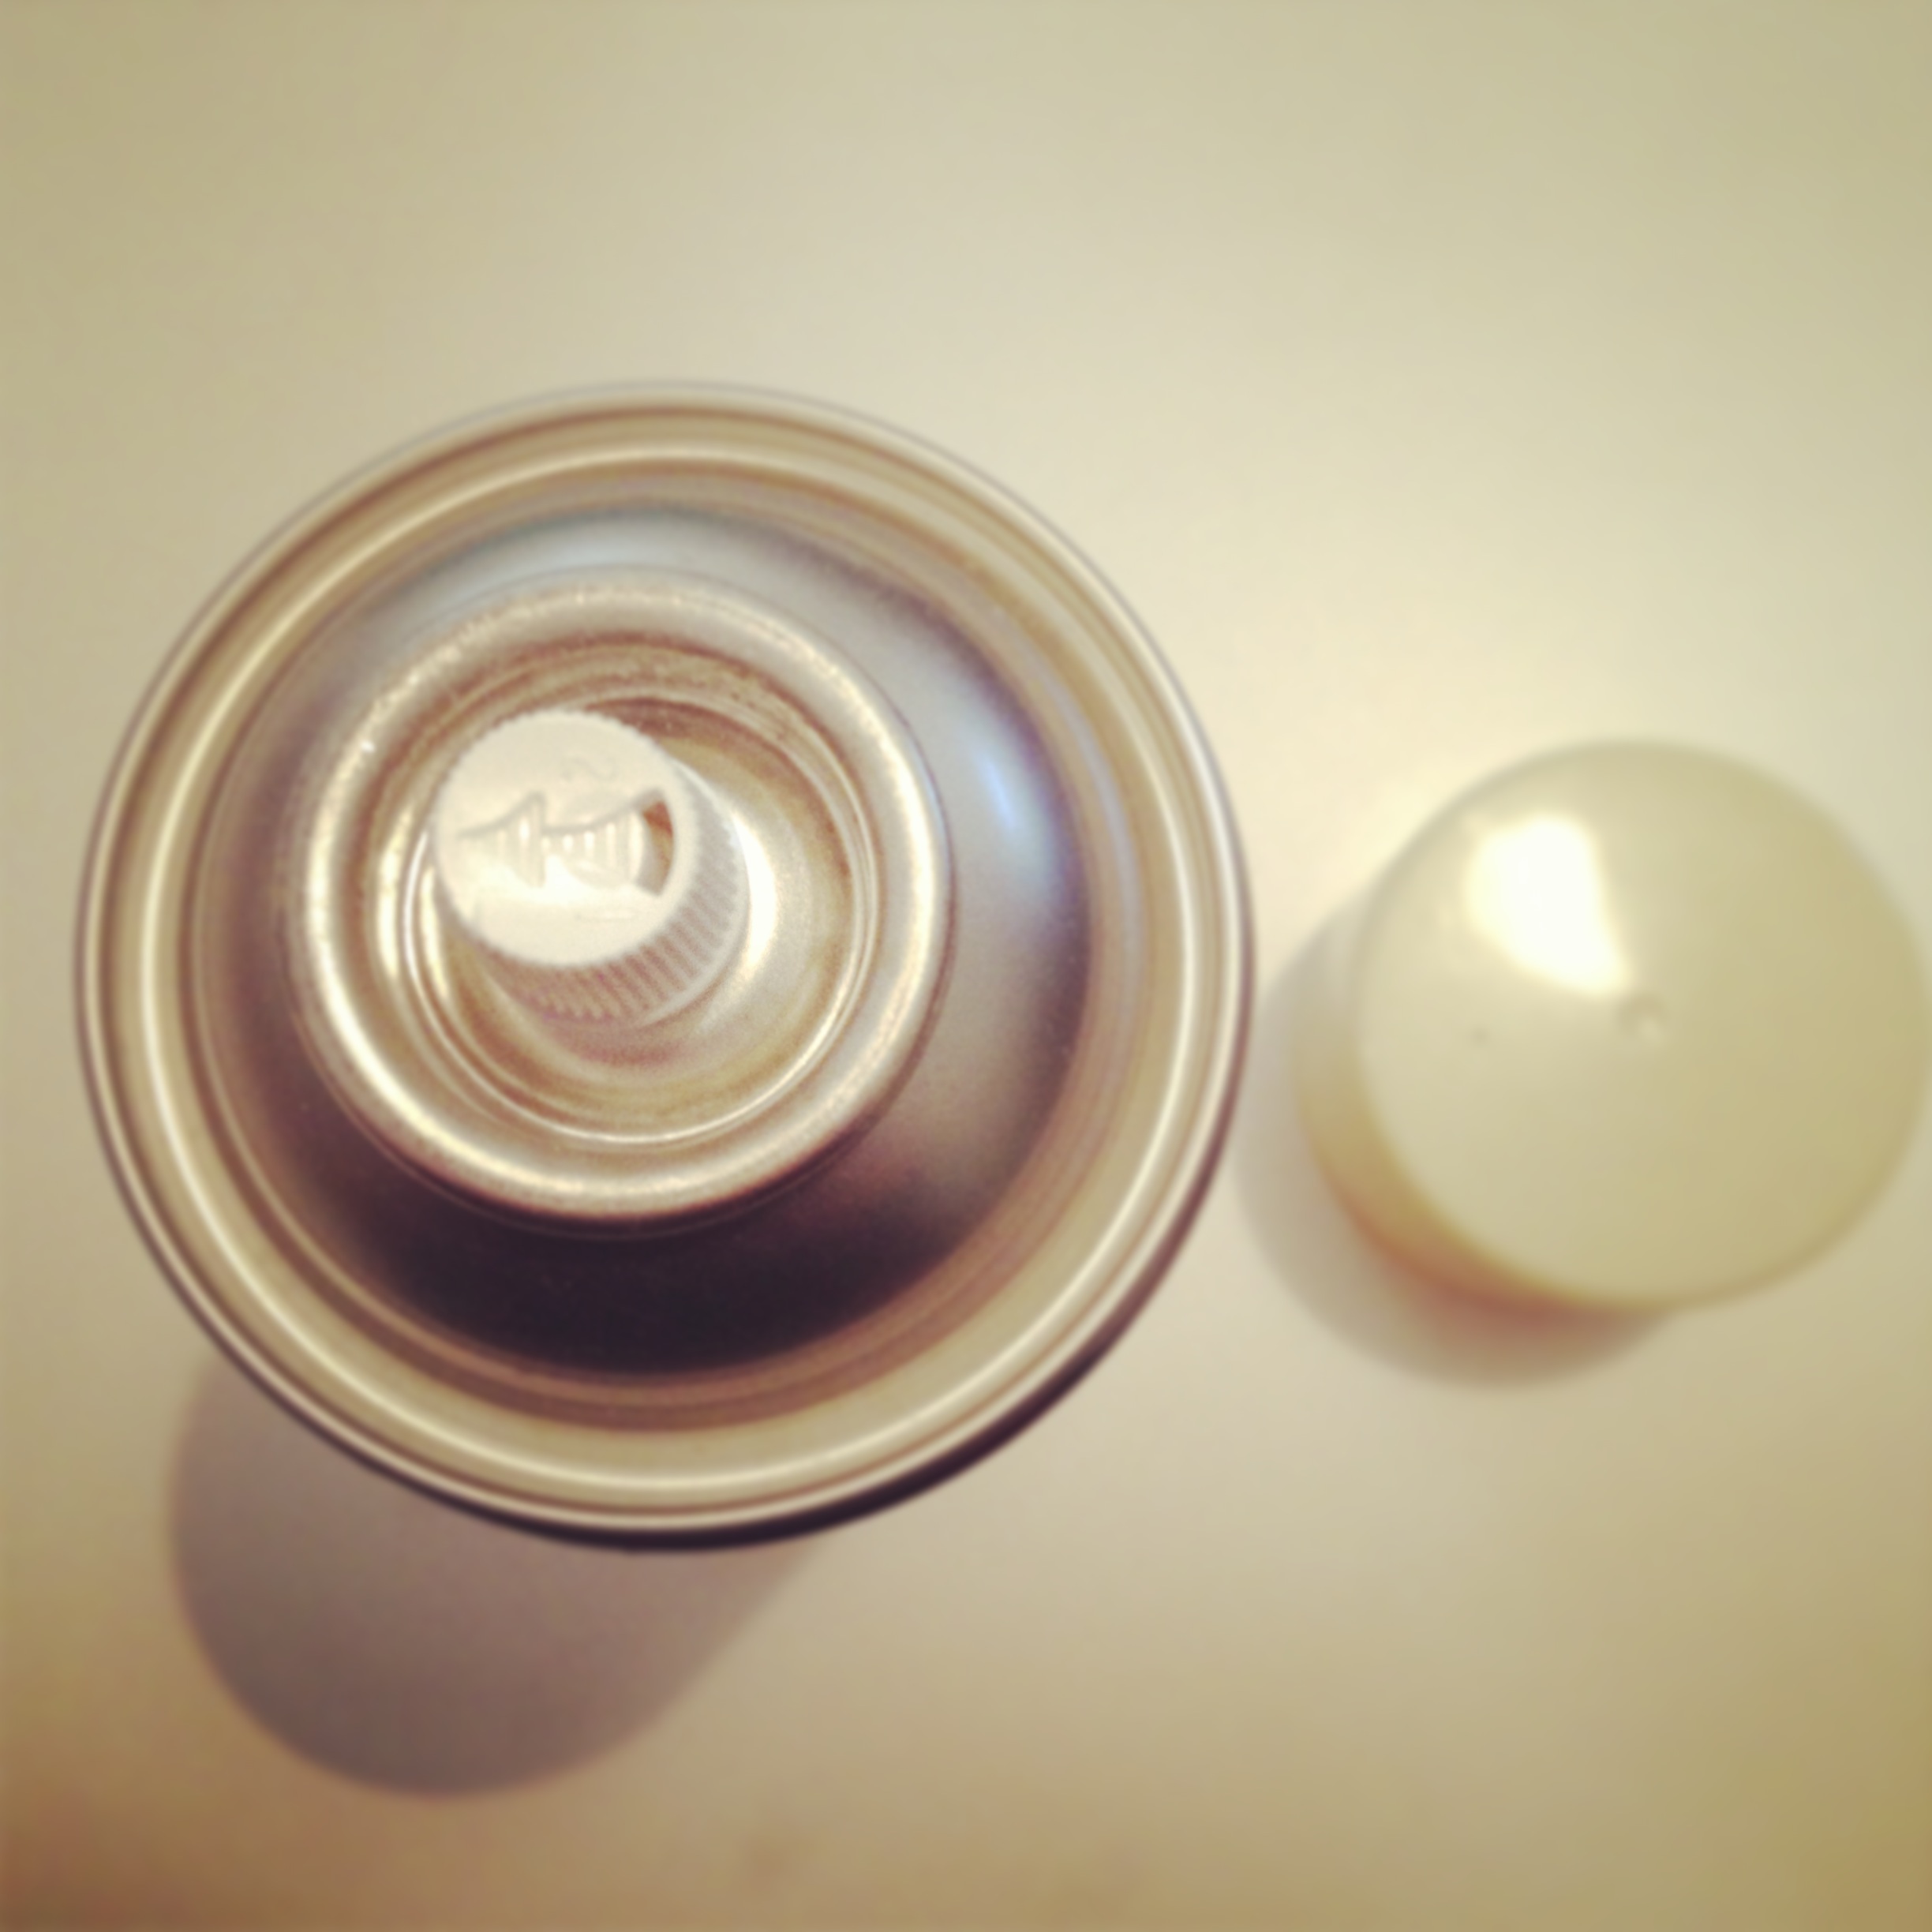
5. Basting Spray
‘Oh Basting Spray, where would I be without you! I bless the day when we first met each other and our quilting sandwiches came together as one!’
Okay, that was a tad bit dramatic.
But truly, I am so happy about the day I finally took the plunge and tried this product out.
It has saved me so much time, effort, muscle spasms, pinpricks and sobbing tears!
Quilt Basting Spray
If you’re curious to see how spray basting works [CLICK HERE] to watch a simple yet informative how-to video on YouTube.
So that’s it.
Those are the five quilting tools that I just could not live with out.
And I don’t plan on sewing without them anytime in the near future!
In a very abnormally brave moment today, I got the courage to upload my very first edited video onto YouTube so as I could share with you just a little bit more about me!
My bravery didn’t stretch quite so far, as I couldn’t bring myself to actually talk out loud on the video – but have instead done a weird montage thing with a whole lot of A4 paper, a Sharpie and some odd questions!
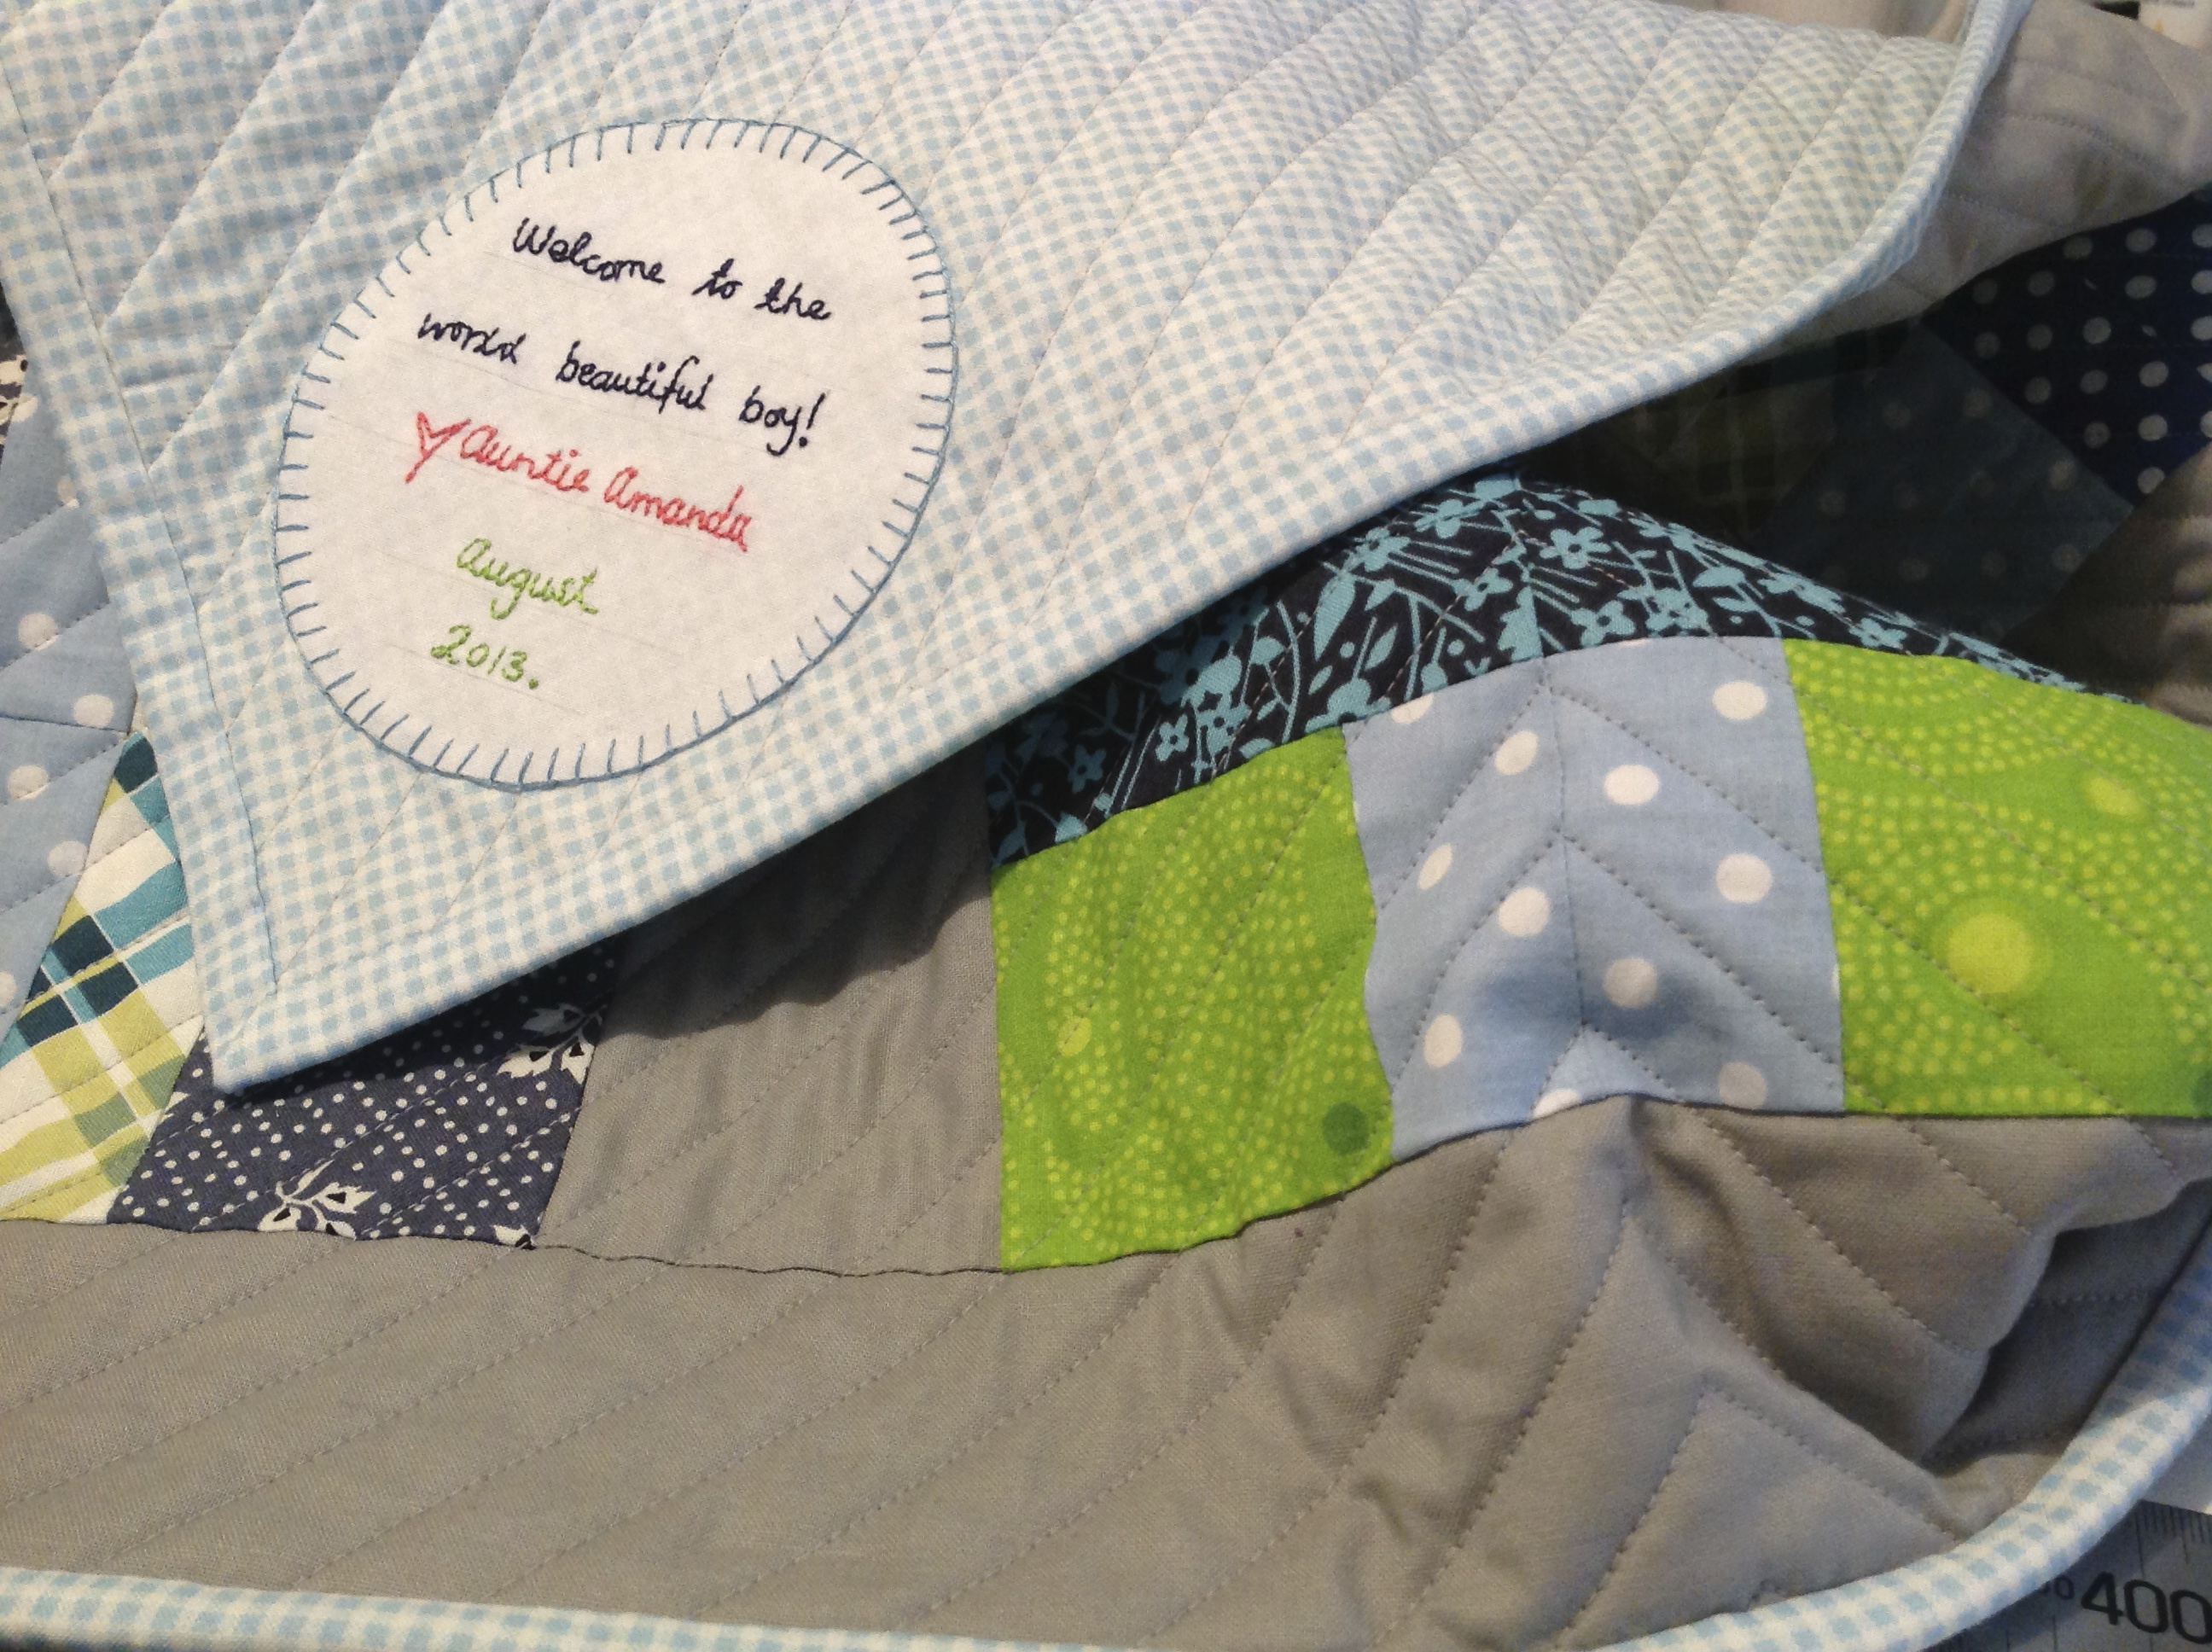
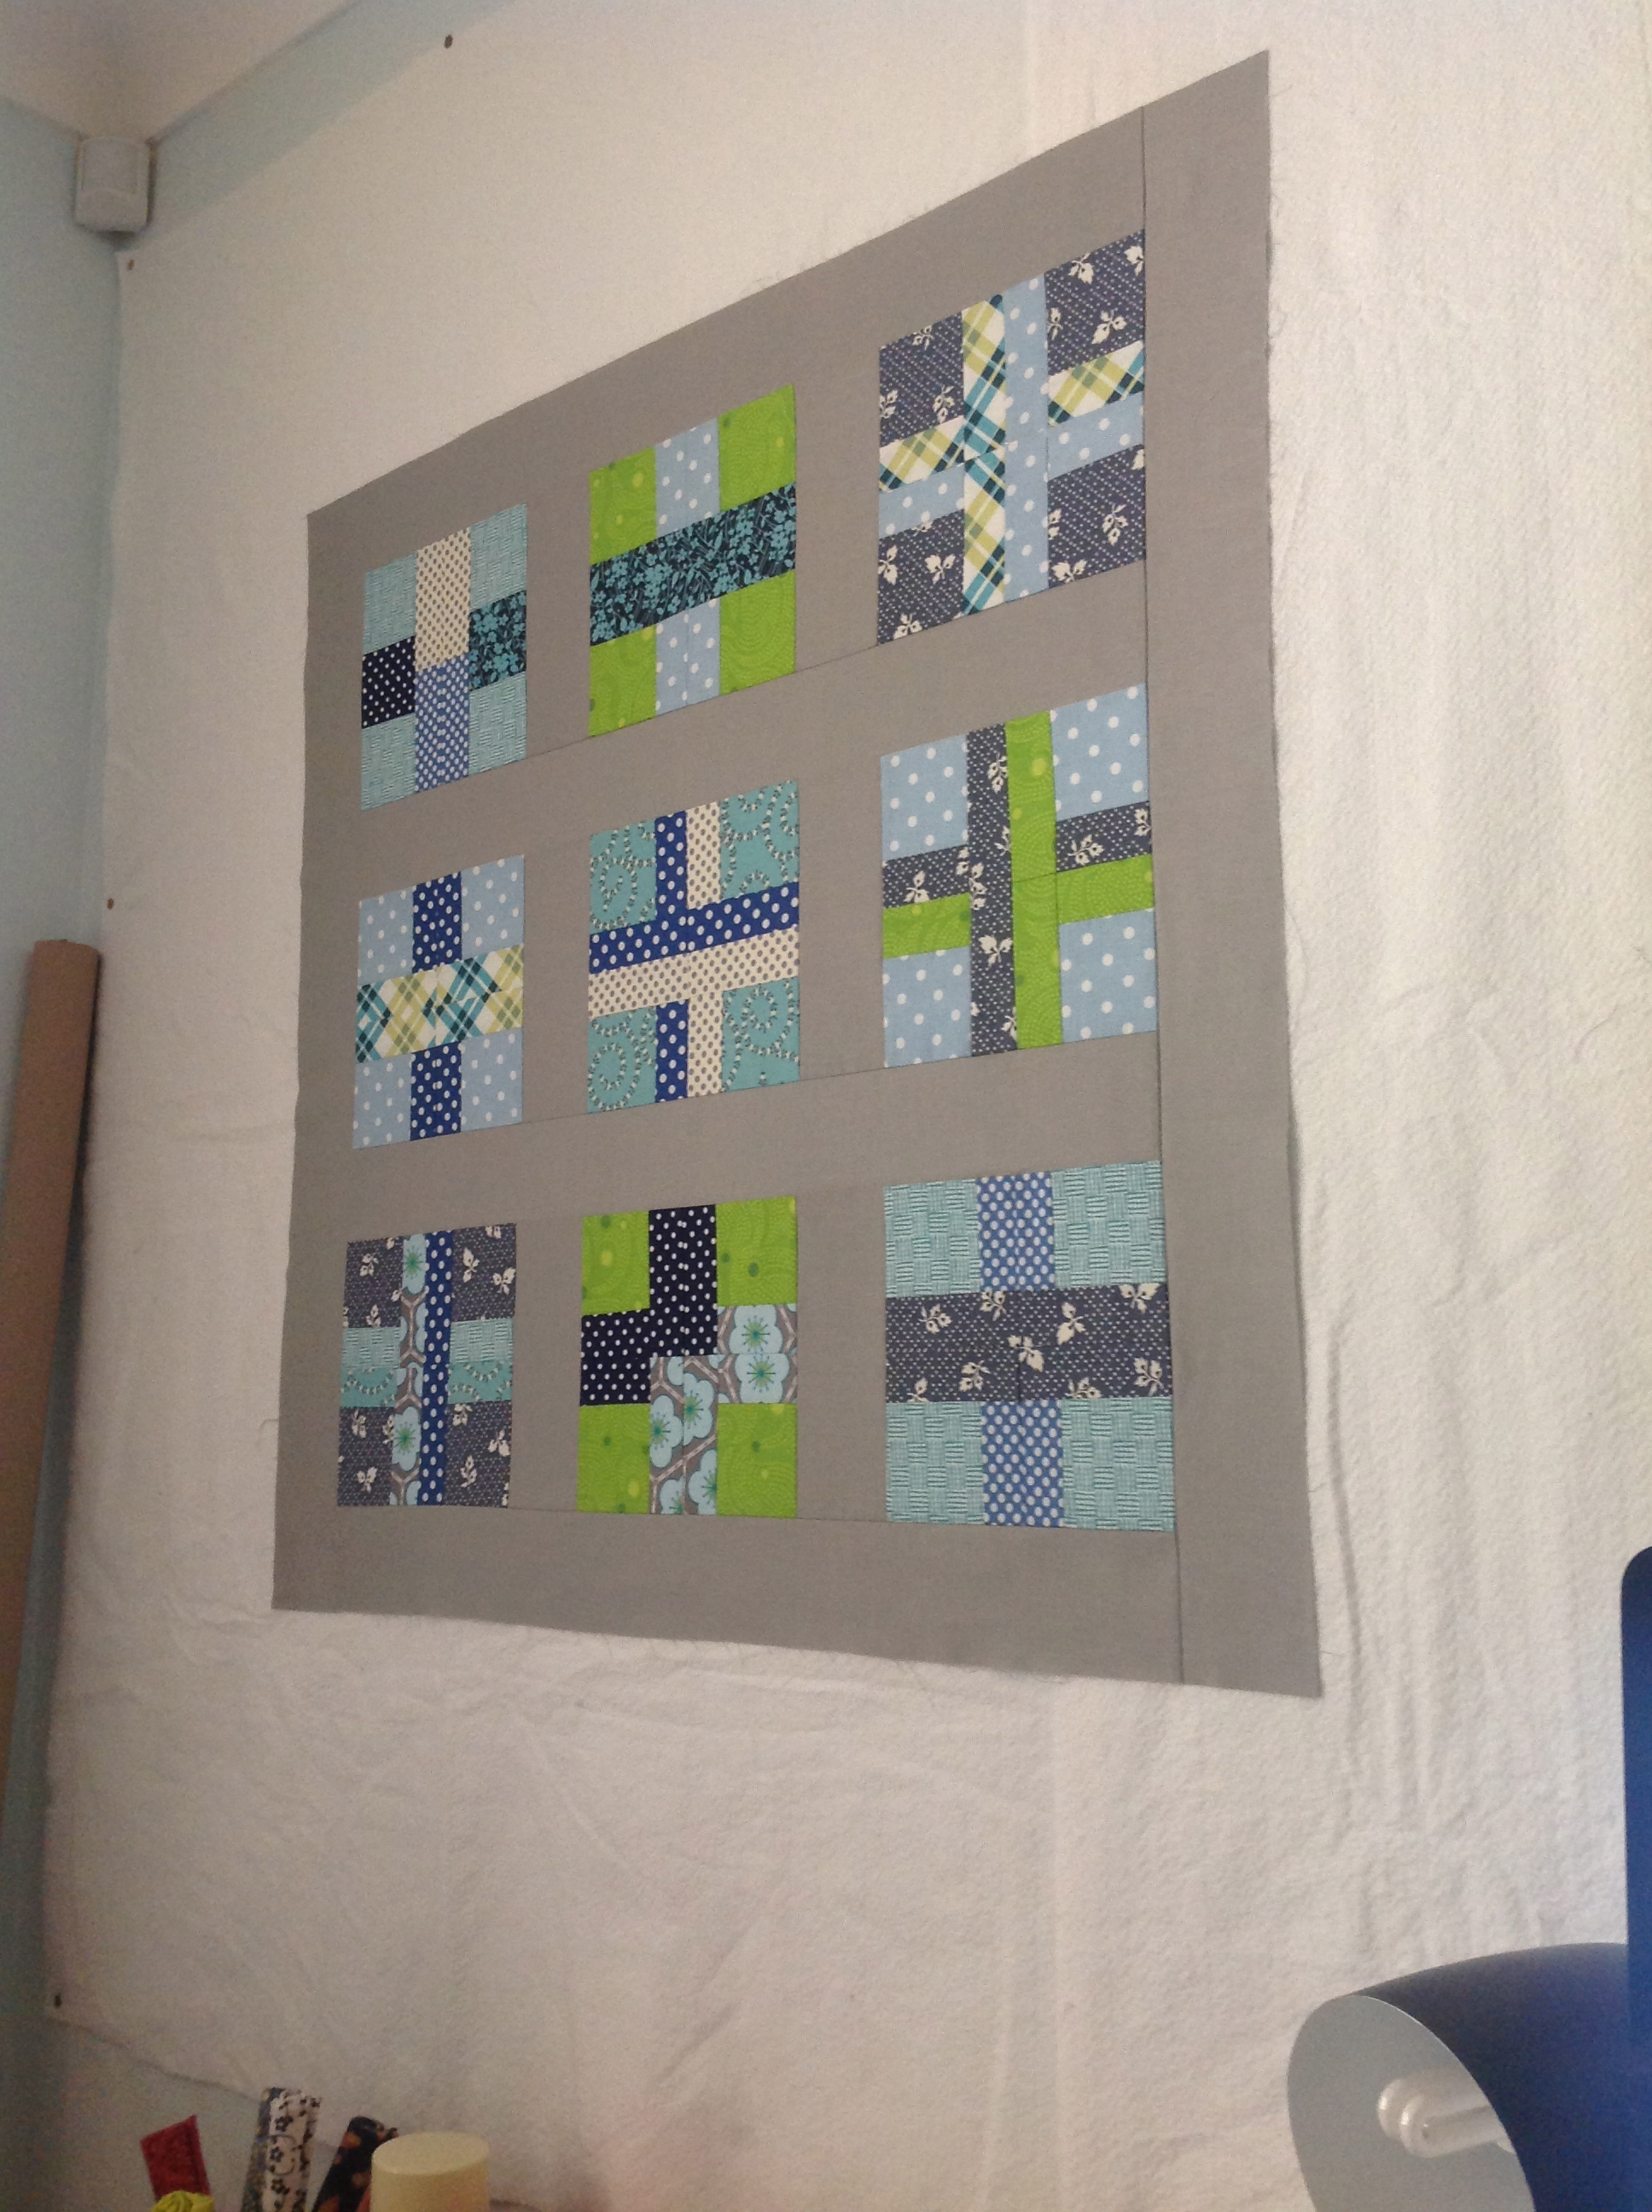
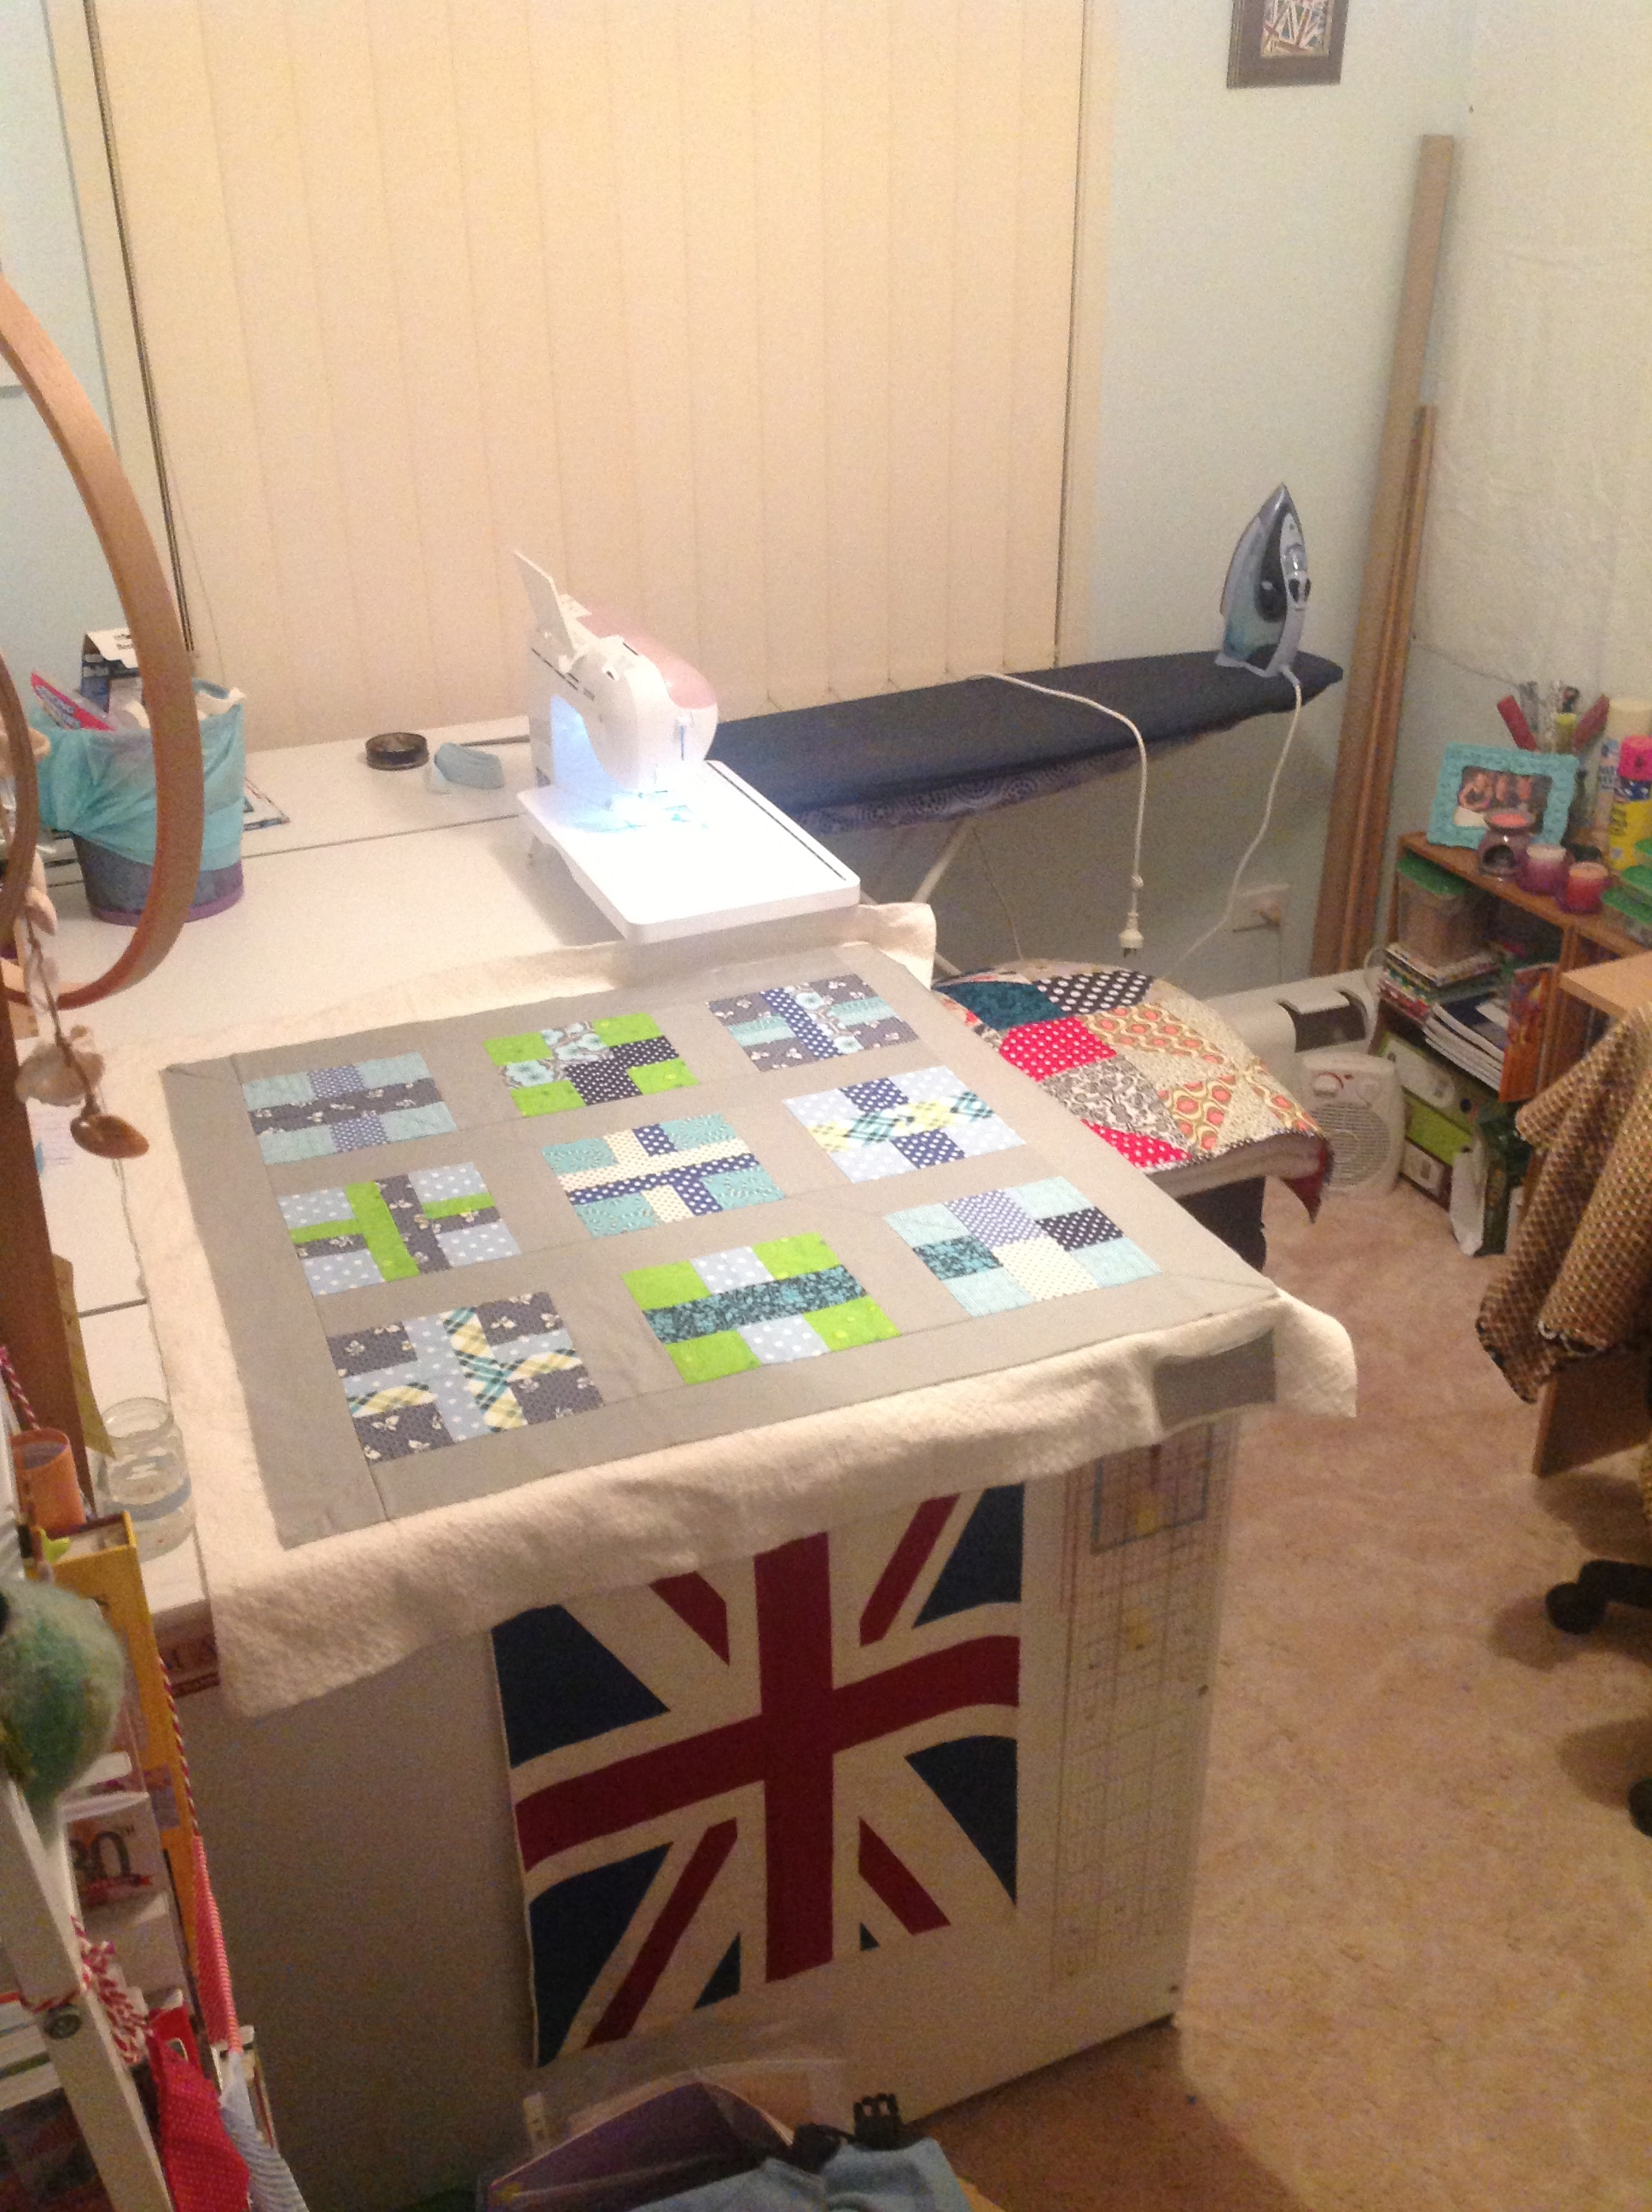
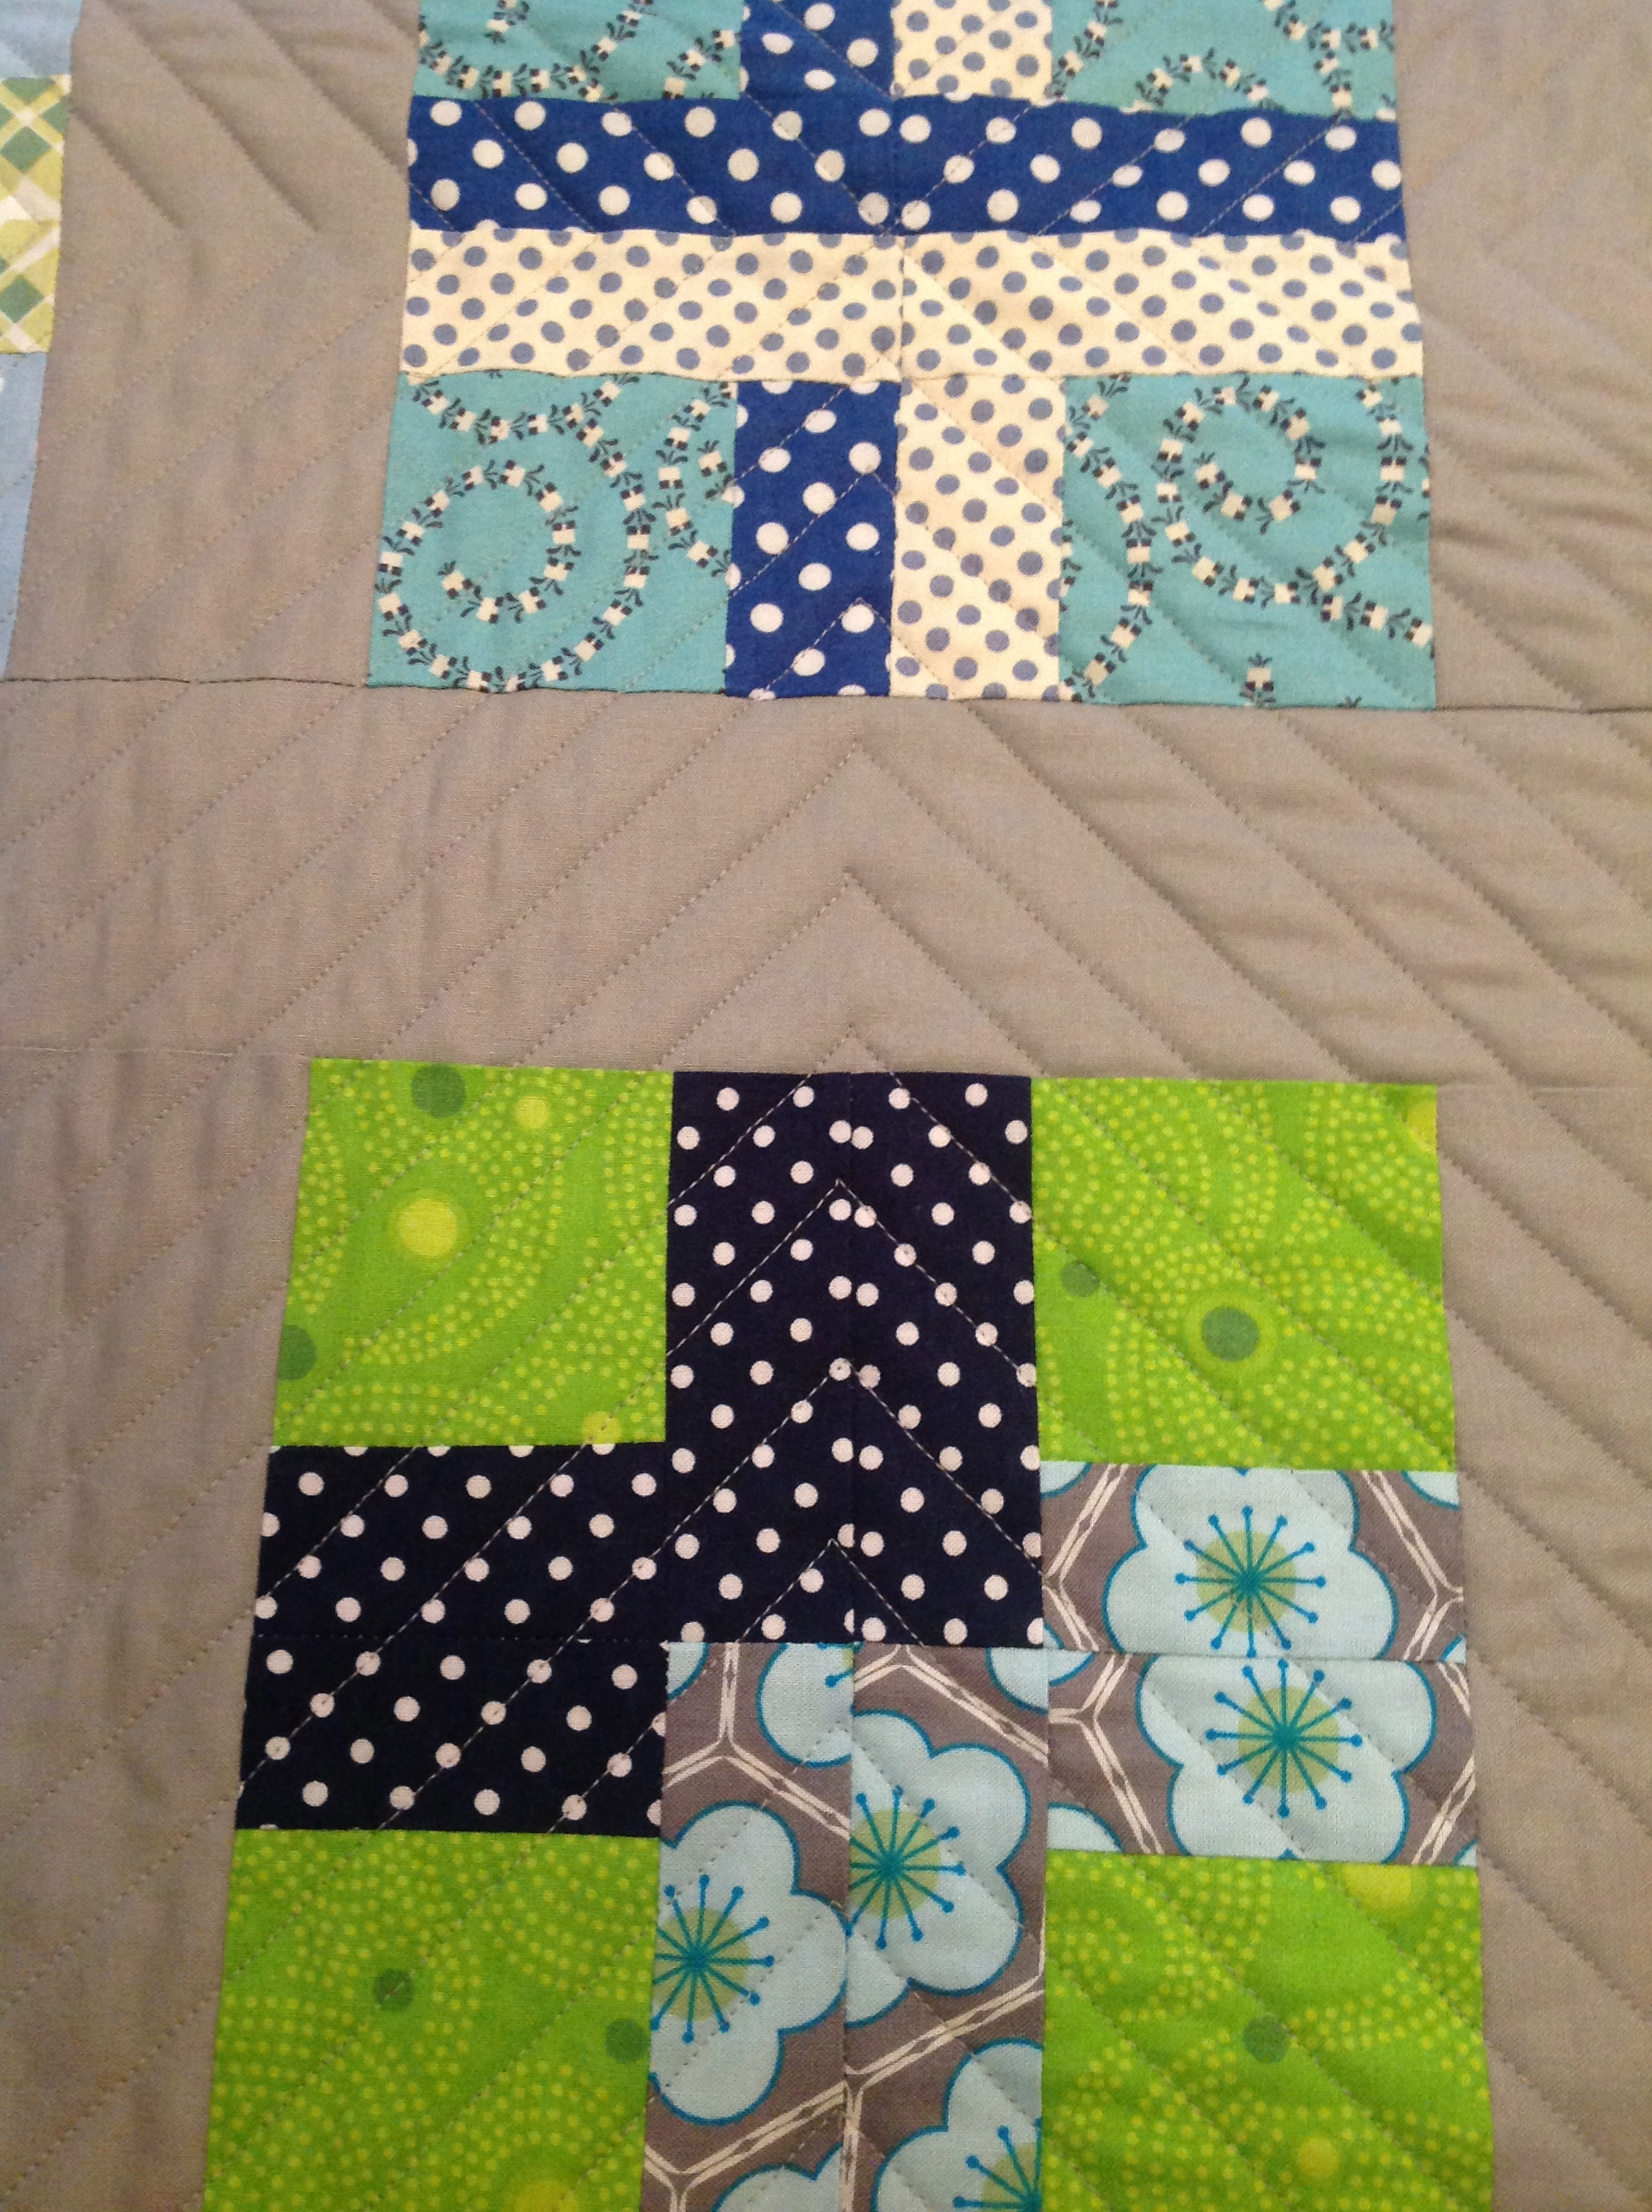
I filmed this a few weeks ago as we were still waiting on the birth of little Xavier! But he’s here now and I can happily say I really do have 4 beautifully cheeky nephews!
I just wanted to make a quilt that was simple, modern and bright…and a bit boyish as well!
Here are some piccys I took along the way…
Ready for bastingLet’s get quilting!Quilting Lines | FrontQuilting Lines | BackIt’s Binding Time!Finished!
Current News:
I have a few projects on the go (as you do!):
String Quilt – ready for basting | Saving $$ for the copious amount of batting I’ll need to complete it!
A video! Whoo! I’m venturing into new territory here and have begun filming something special based around this quilt…
Mystery Film Quilt!
I’m a quarter of the way through filming and editing and will post it up ASAP. Oh and FYI, it won’t really be a teaching/tutorial video but more of a watch-and-see-how-a-quilt-is-made kinda video. Hopefully it works out!
That’s it today! I’m off to enjoy the winter afternoon sun!
As a follow-up from my 10 Things I Hate About Quilting post, it seems fit that I’d share with you the top 10 Things I Love About Quilting. Some are very simple pleasures while others are what keep me coming back!
In all honesty, it was hard to squash it all down into only 10 things, but I’ll try my very best to keep to it!
Love One: Seeing the development of an idea coming to life!
It’s sheer happiness watching a quilt coming together harmoniously – the fabrics contrast and match, all seams match up and the overall size is pleasing. It’s even better when you know the creation of the quilt came from inside your mind’s eye and that the finish product is now resting warmly in your lap…
Love Two: Binding a quilt.
I don’t know about you but I love it when it’s time to bind a quilt. I think it’s because I’m so close to finishing the job!
Let’s Get Sewing!
I think, ‘the hard part’s over (quilting!) and now it’s time to relax and loose myself in some therapeutic hand sewing!’ This usually involves a good movie or two!
As you do.
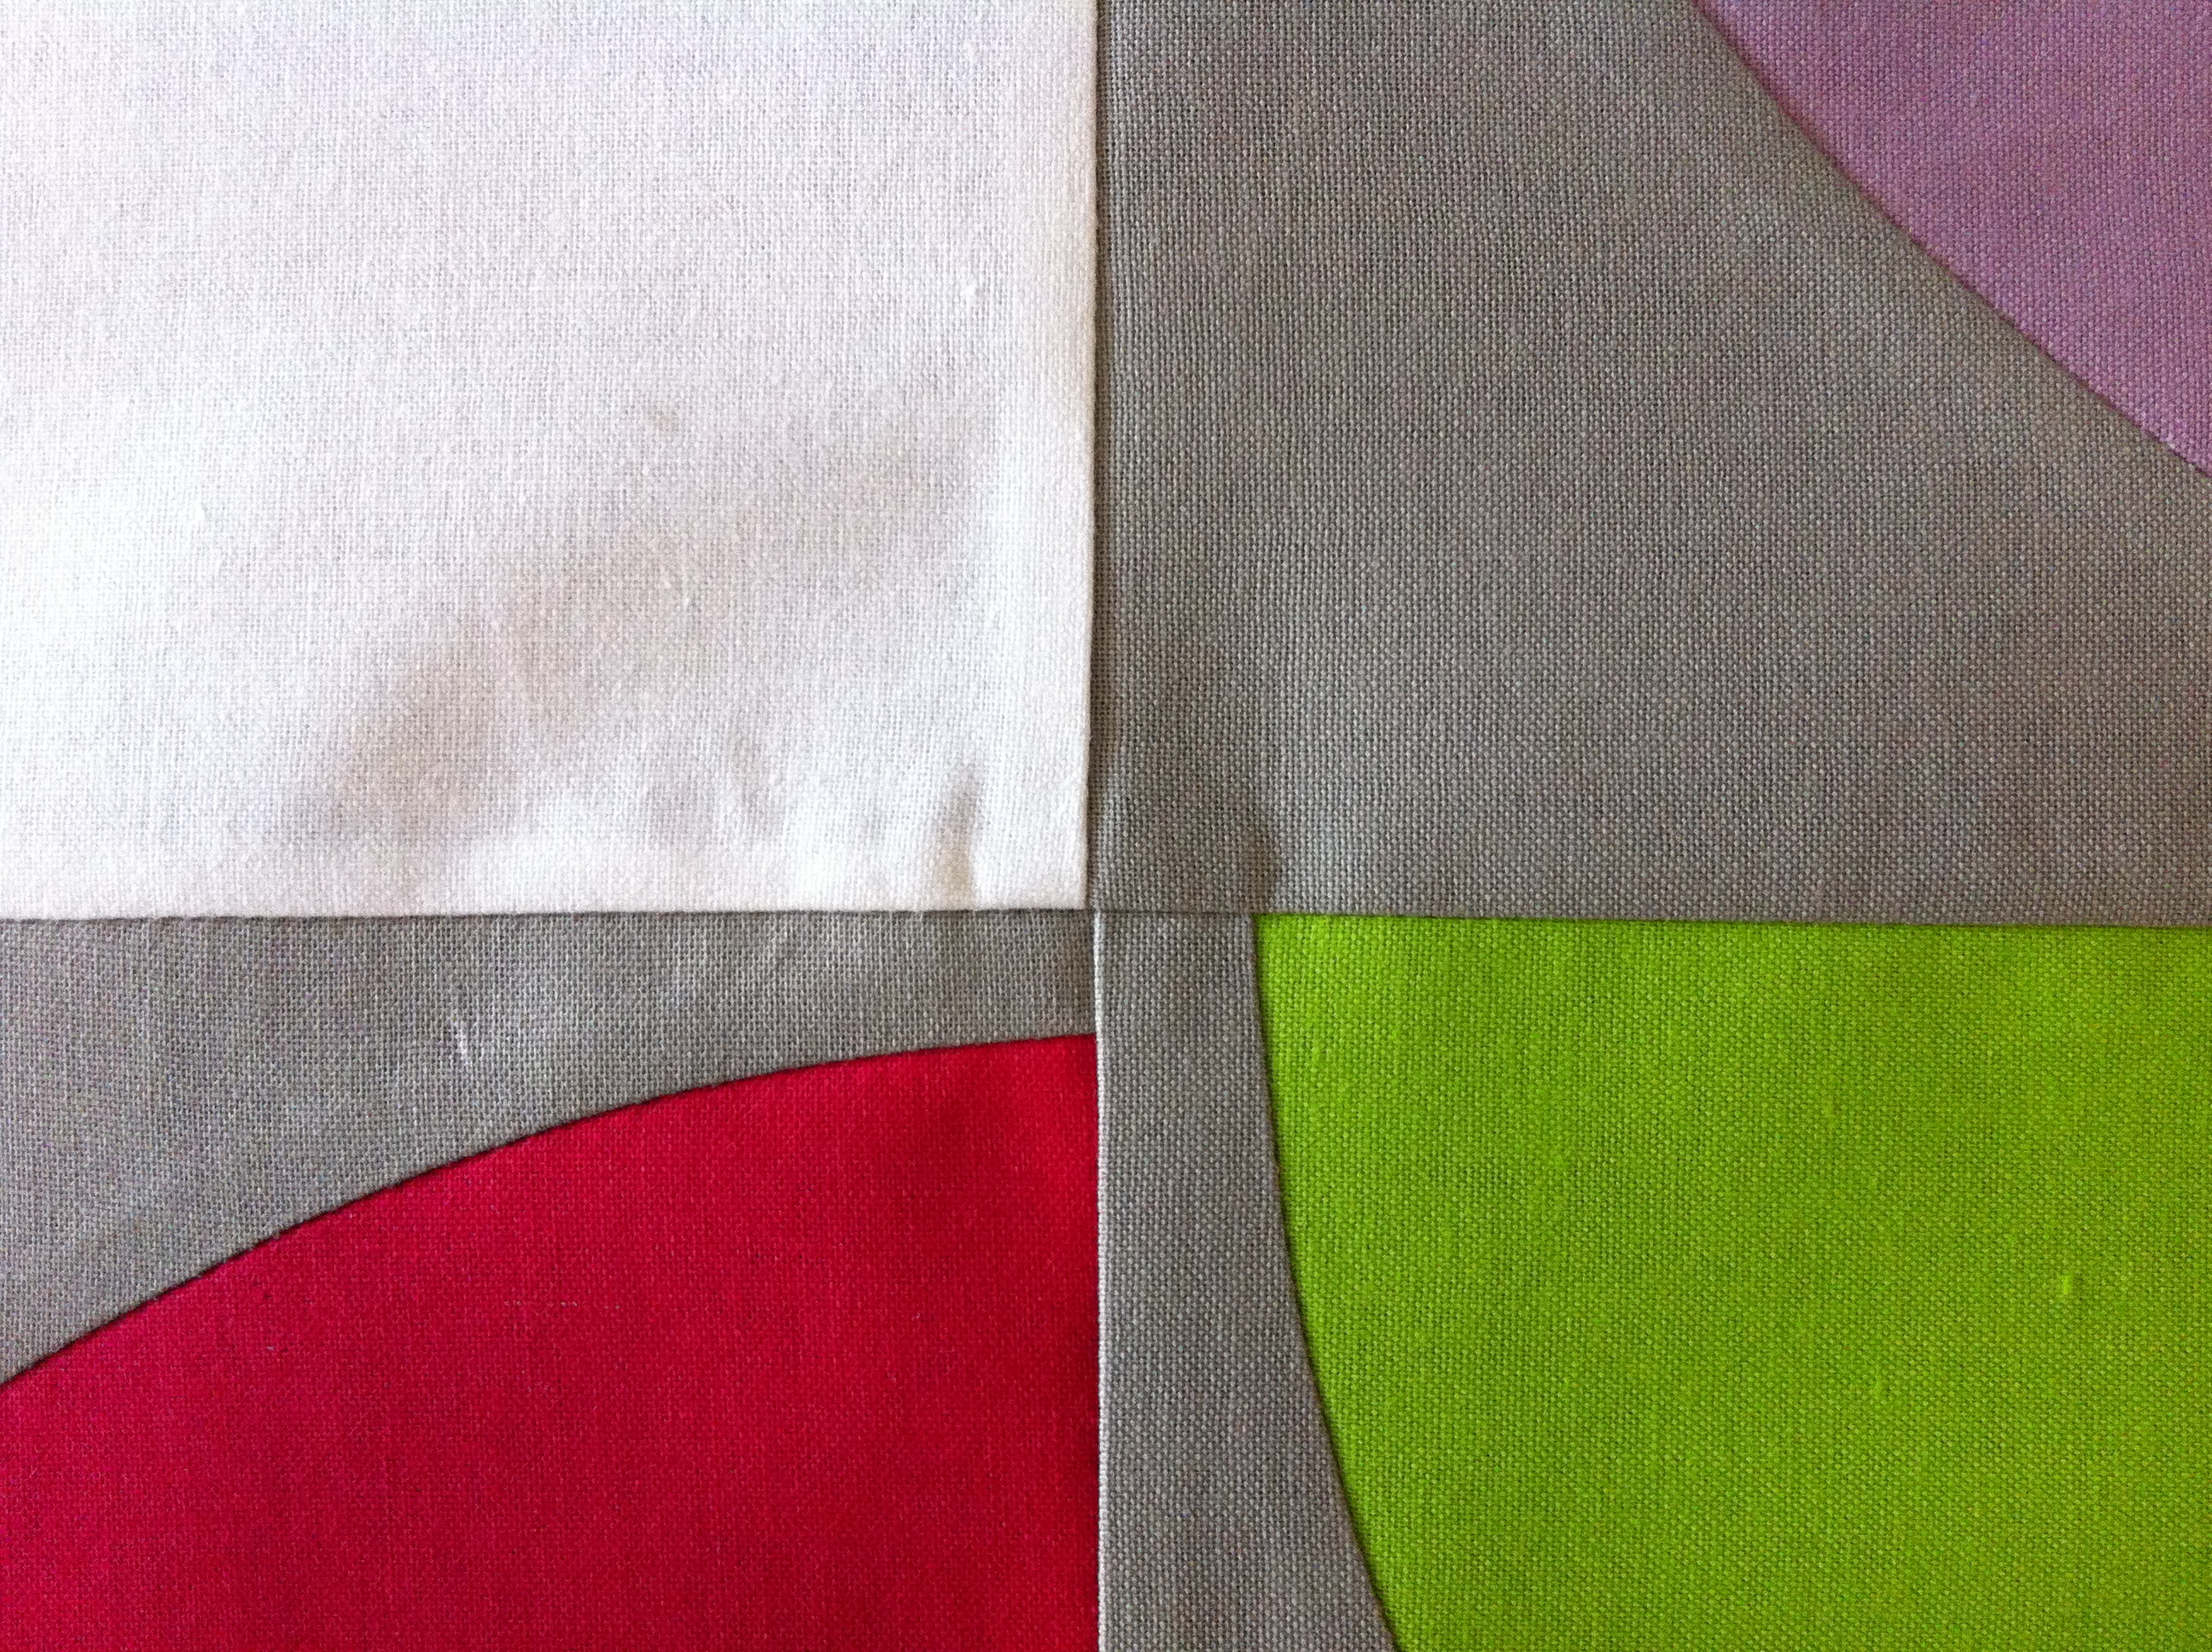
Love Three: Perfect seam joins!
A Perfect Seam Join!
Ohh, I swoon at perfect seam joins! My heart skips a beat and I feel all first-born-mother-proudish at producing something that is so clean, crisp and even.
Lame, I know.
But I can’t help it!
Please don’t judge me…
Love Four: Texture.
Textured Quilty Lines
That simple moment of pleasure when I stop my sewing machine and simply run my hand over the tactile surface of the quilted lines I’ve just sewn.
Simple, simple happiness.
Love Five: Chain stitching
It just gets stuff done!
And fast!
Love Six: Preparing to sew
I love taking the time just getting my sewing machine prepared and ready to go. From re-winding the bobbin, to threading the machine, changing the feet from a quarter-incher to a walking foot and getting to the stage of whirring my machine into life.
Each step I take is with great care and attention to detail (that’s thanks to my OCD Monster) and with a sense of gratification that I’m so lucky to possess such a wonderful tool!
Love Seven: Sharing
I love sharing what I’ve made (duh, that’s obvious – ‘hello little blog!’) whether that is here, on Pinterest, Flickr, Twitter or Facebook. I think it’s all down to that surge of happiness and pride you feel in one’s self of achieving something quite lovely.
I also think it must be a Gen Y thing, where we all feel the urge to share and divulge our lives to everyone and anyone who will listen…no? Yes.
Love Eight: Basting
There was a time in this young quilter’s life where I hated basting! I would put off basting a quilting for ages as it meant that I had to roll around on the floor, ever so ungracefully, and stick pins throughout the whole of the quilt.
Argh, no thanks!
Then, along came the discovery of a product called Quilt Basting Spray and my life was changed forever!
At first I was skeptical – ‘as if a spray could hold together three layers of a heavy quilt without any pins!? Nuh, that’s just ridiculous!’
Safe to say I was proven wrong (happily!) and I haven’t looked backed since.
Basting is now one of my most favouritist steps to undertake – it’s fast, it’s quick and it doesn’t take your back out! Yay!
Love Nine: Books
Books are one of the best tools a quilter could ever use!
About 85% of my quilting knowledge has come from books with about 10% from videos (Craftsy & YouTube) and 5% from people I know.
So, if you want to learn how to sew, quilt, knit, crochet, whatever, go and buy, borrow, preferably not steal, ask or share some books!
You won’t regret it.
I promise.
Love Ten: Making a quilt for someone special
It’s all about simple pleasures when you’re a quilter and the best one of all is the pleasure of making a quilt for someone special. Be it a family member (or impending family member), a friend, a client or for a group of people.
It really is pure happiness to use your own talents to create something so one-of-a-kind for someone who holds a special place in your heart….
Oh no! I’ve gone all gooey!
*snap out of it Amanda!*
And that’s it!
All ten things I love most about quilting.
They all definitely outweigh the ten things I hate about quilting – but catch me in a bad mood and I may just change my mind!
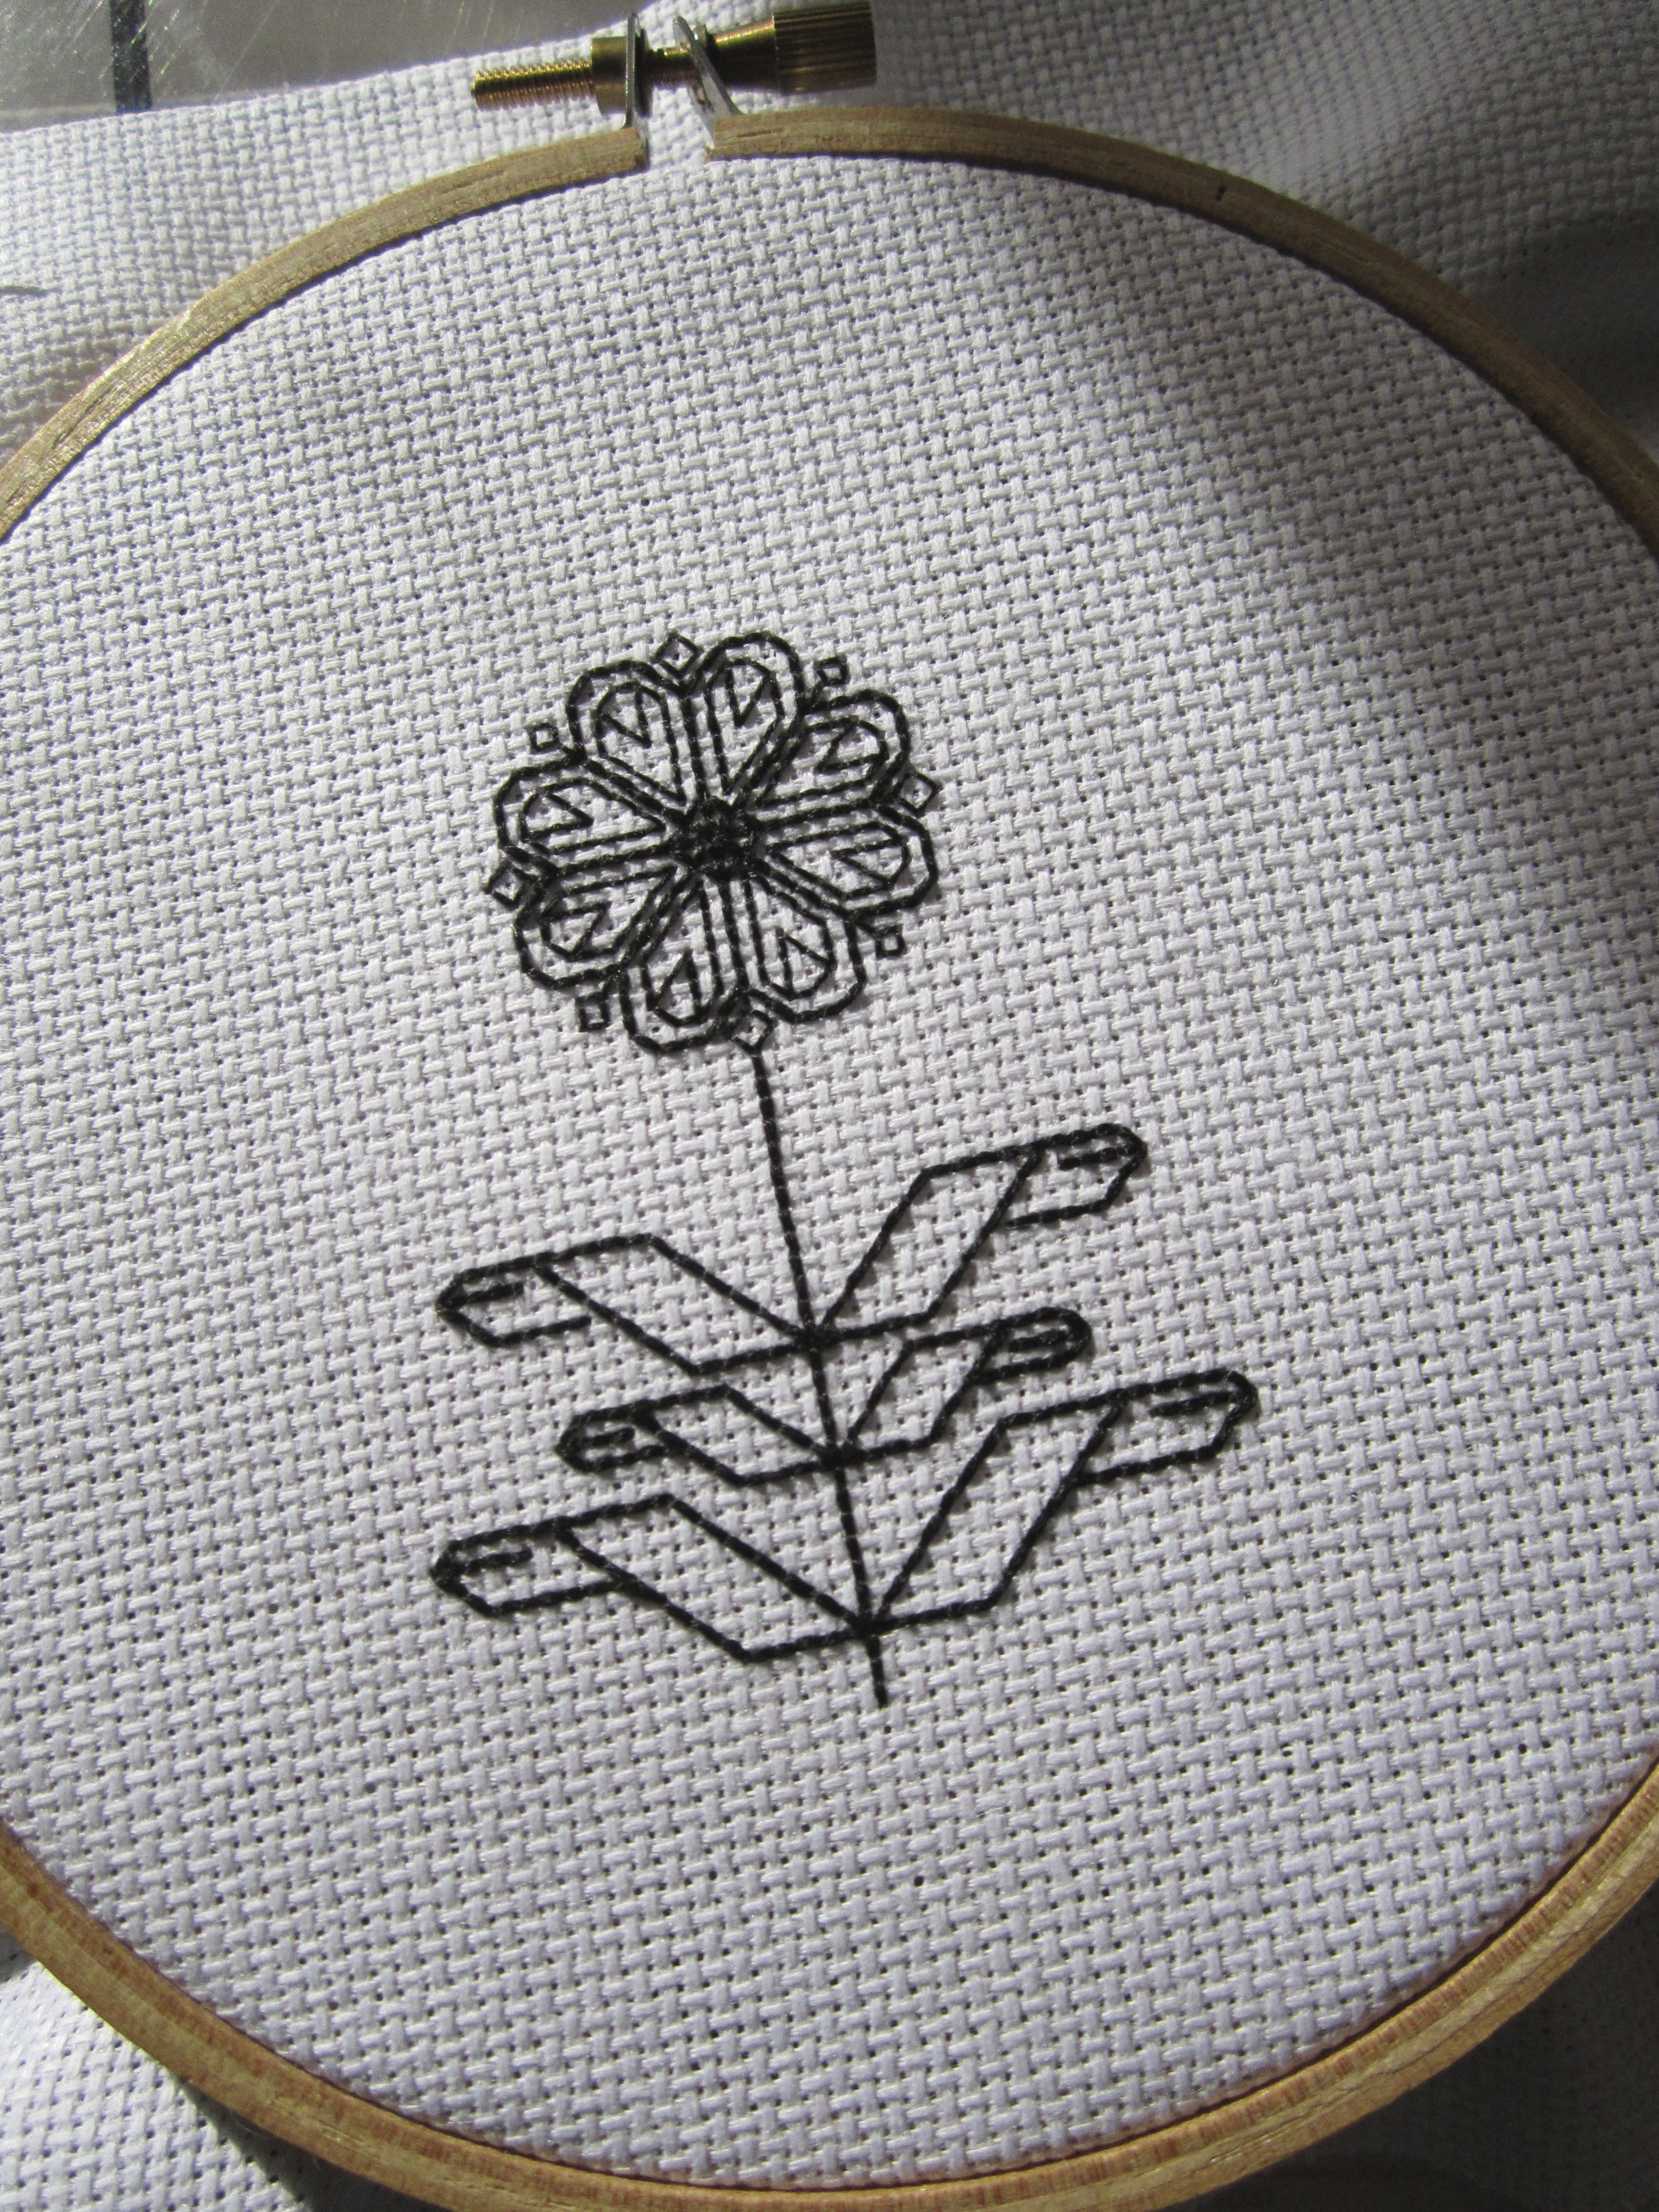
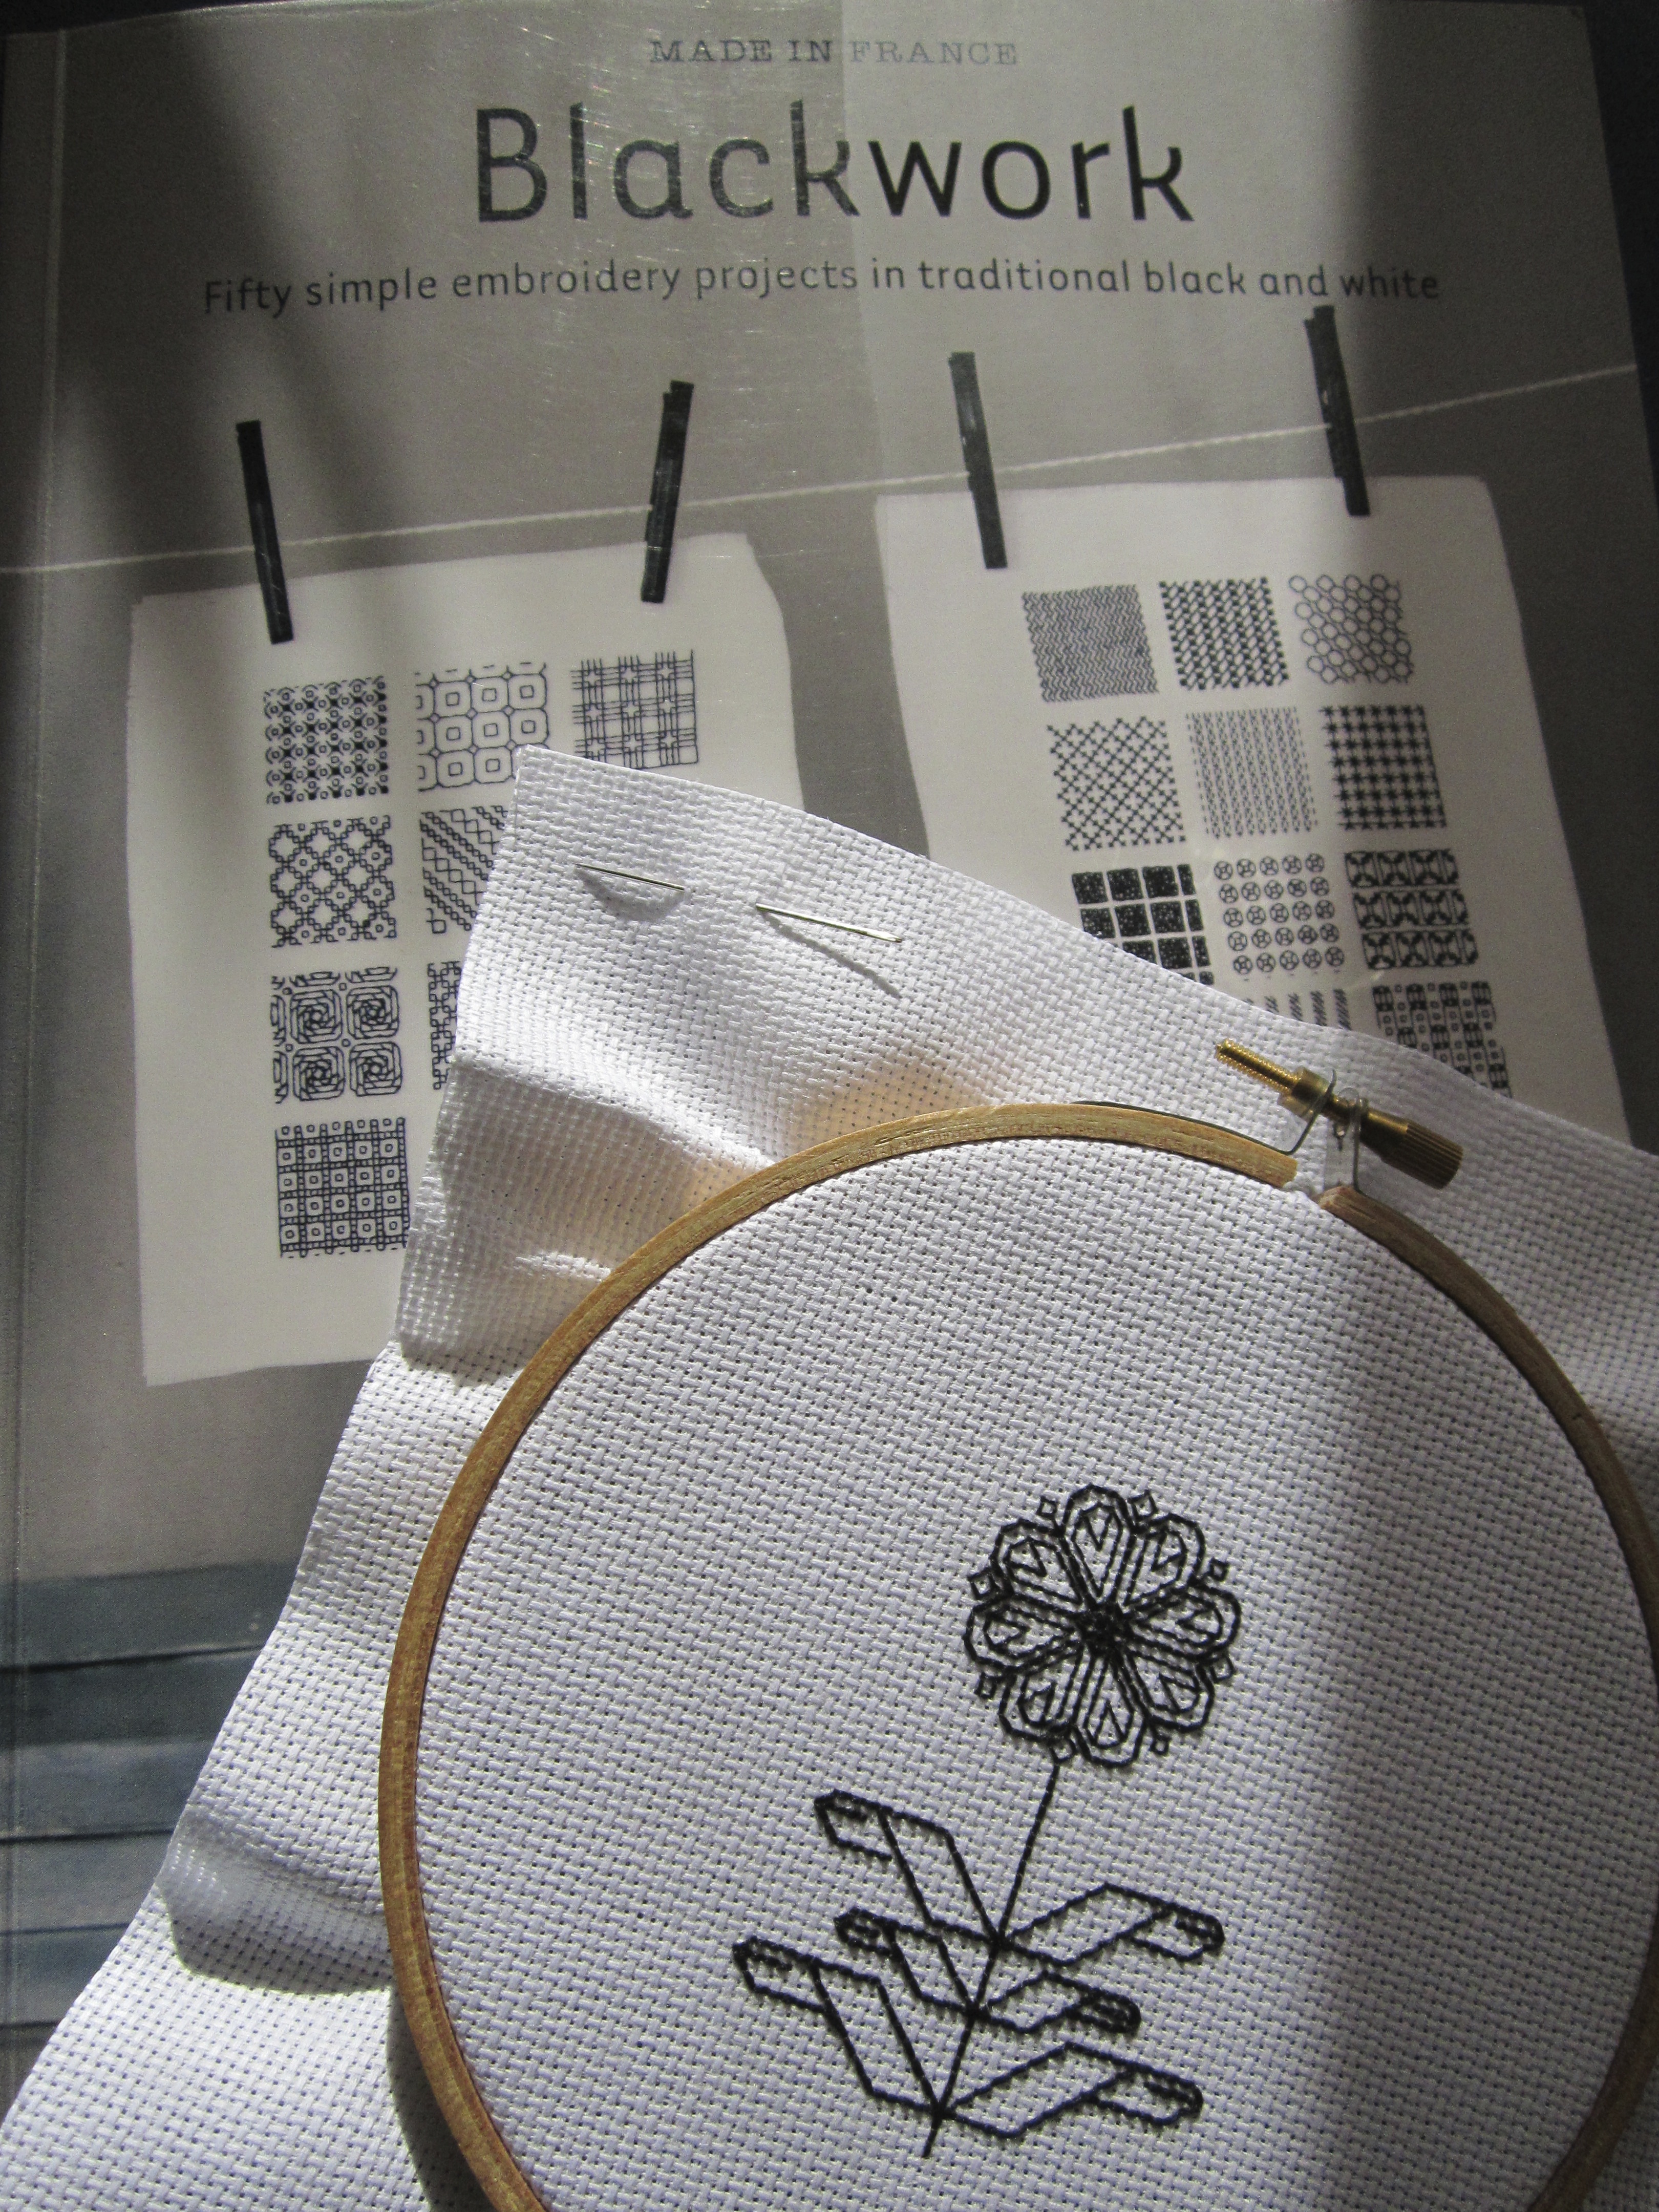
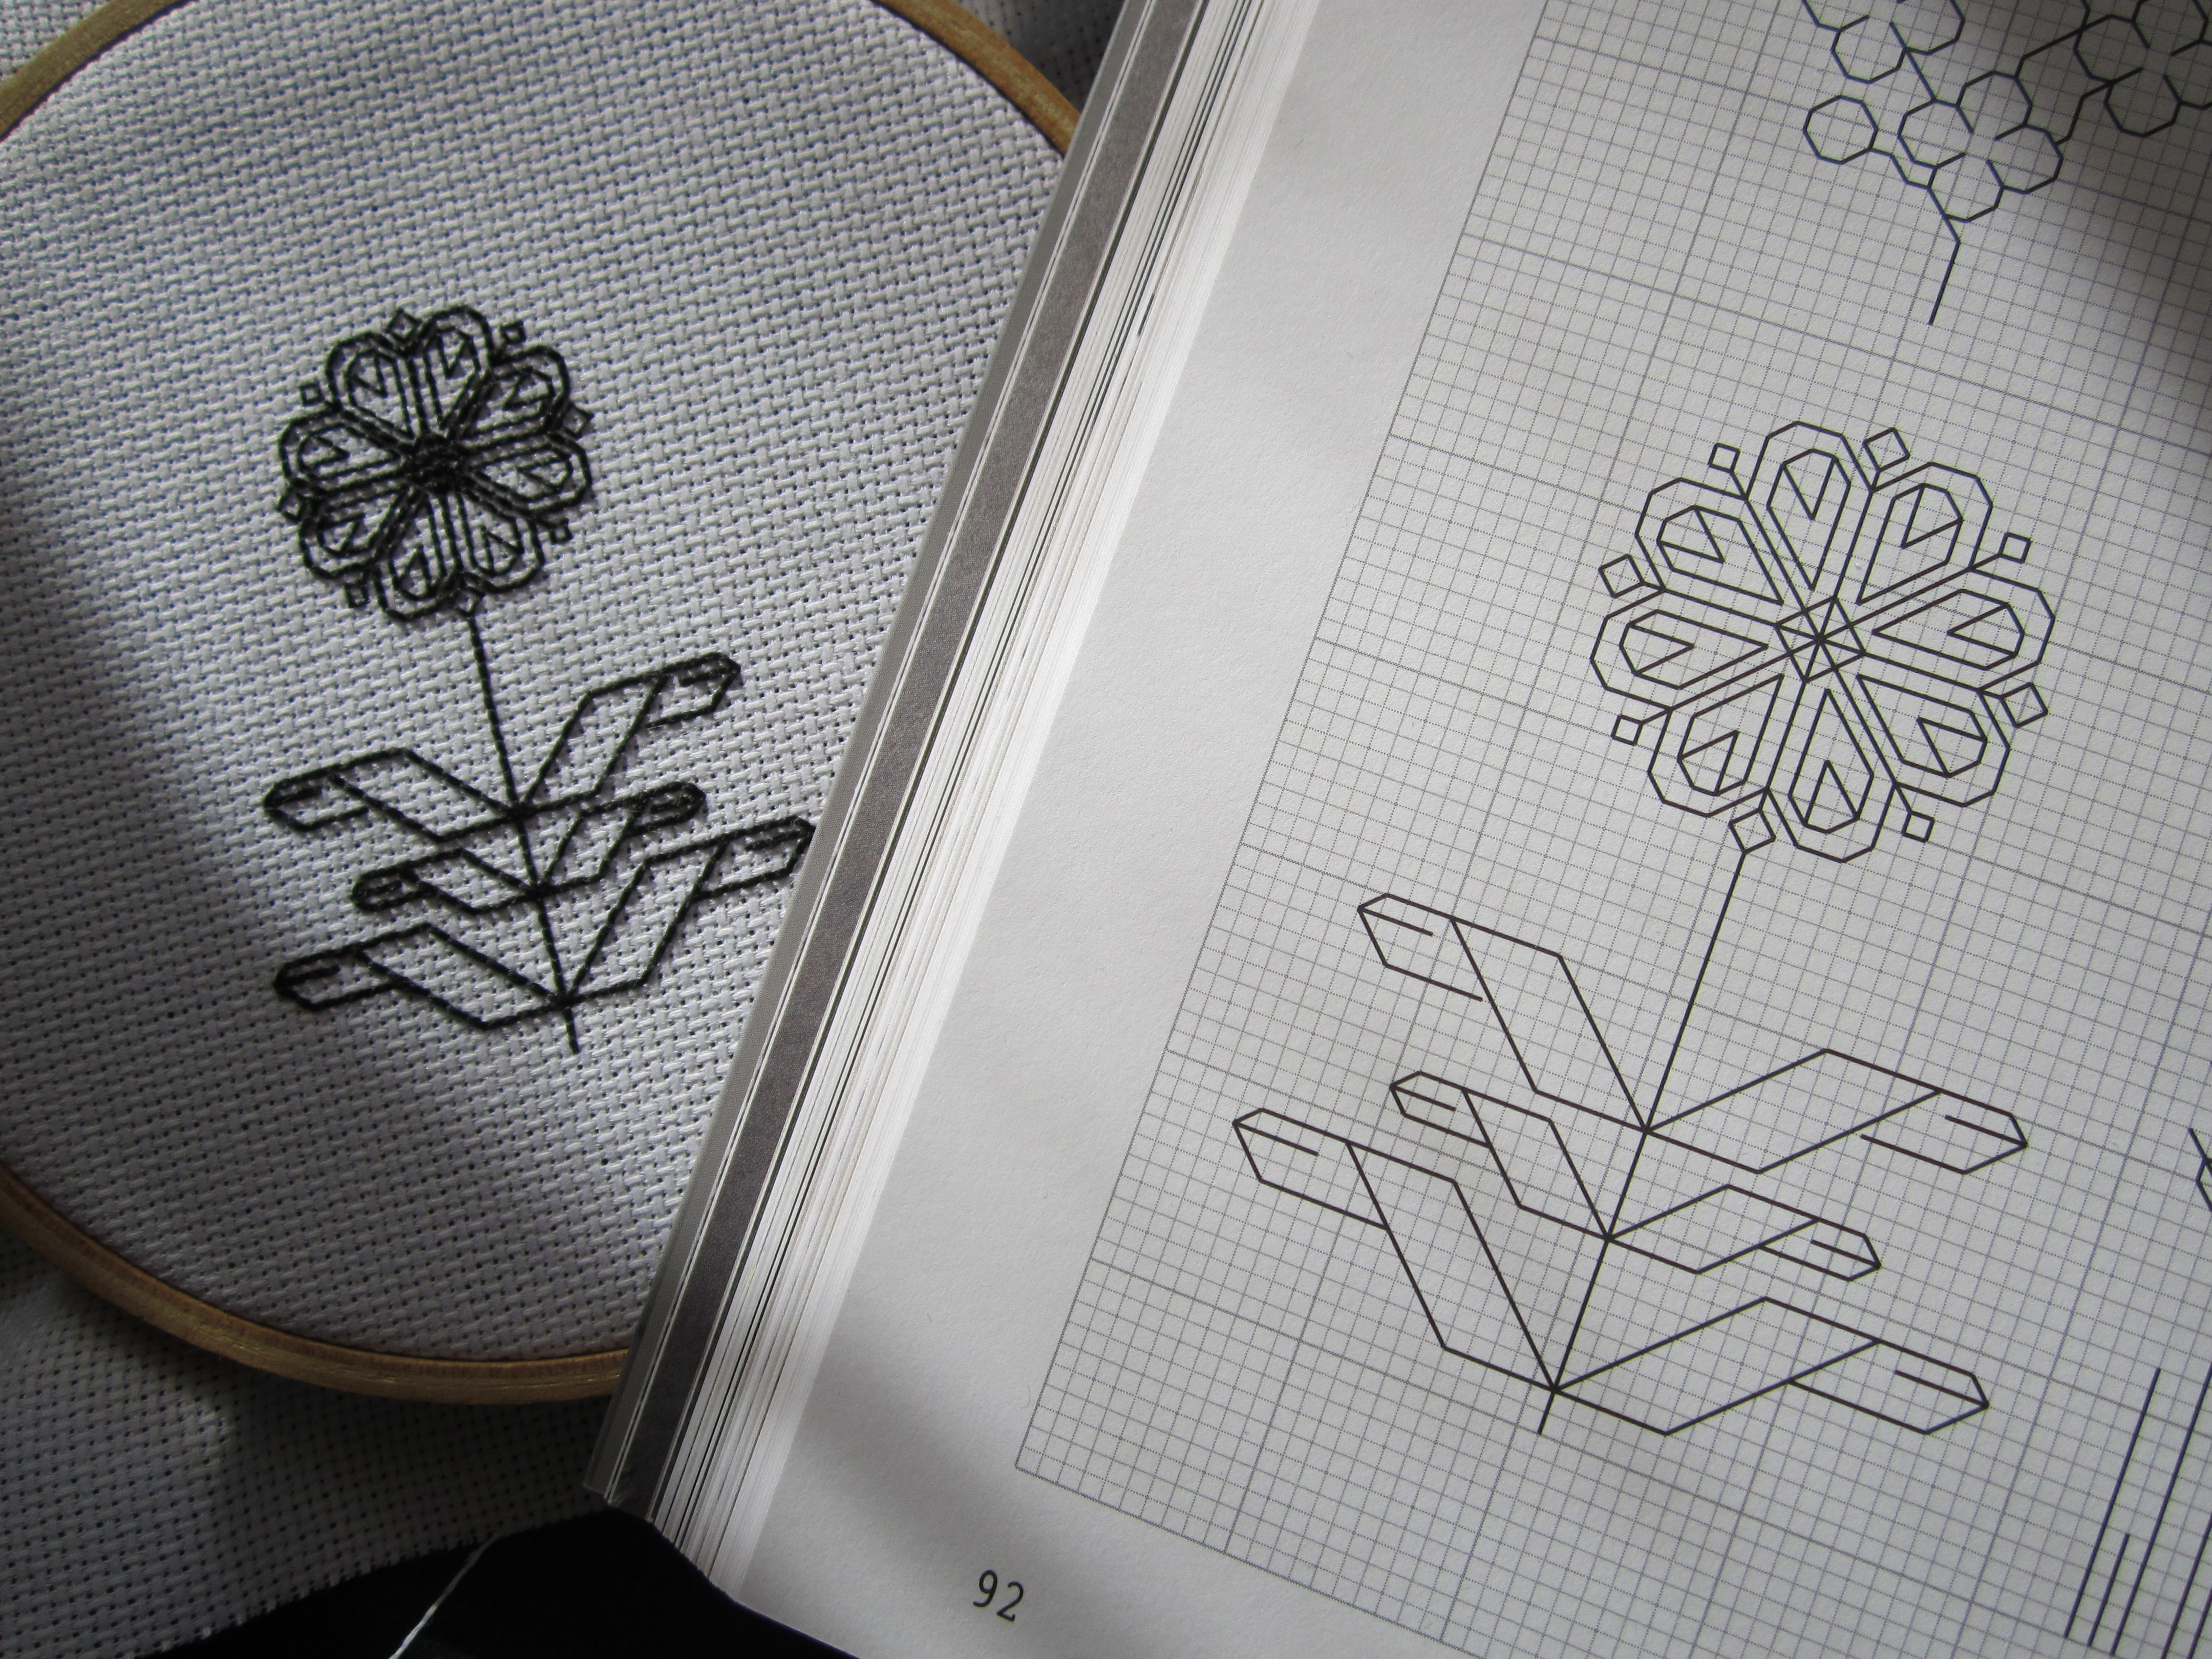
The other day, I ventured into my local library and made a beeline straight towards my favourite section: sewing & crafts!
There, I found a book on beginner Blackwork embroidery. I’ve always wanted to have a go at Blackwork, so naturally I borrowed the book out!
Here’s my very first attempt…
Traditionally, Blackwork is the process of embroidering geometric shapes and patterns onto even weave linen or Aida cloth and using black embroidery thread. This form of embroidery is known as a counted-stitch embroidery as a design is usually mapped out on gridded paper, resembling the surface nature of Aida cloth.
If you keep your wits about you, this really is a very fool-proof and easy way to embroider beautiful designs and projects!
I think I might just have to buy this book for myself now!
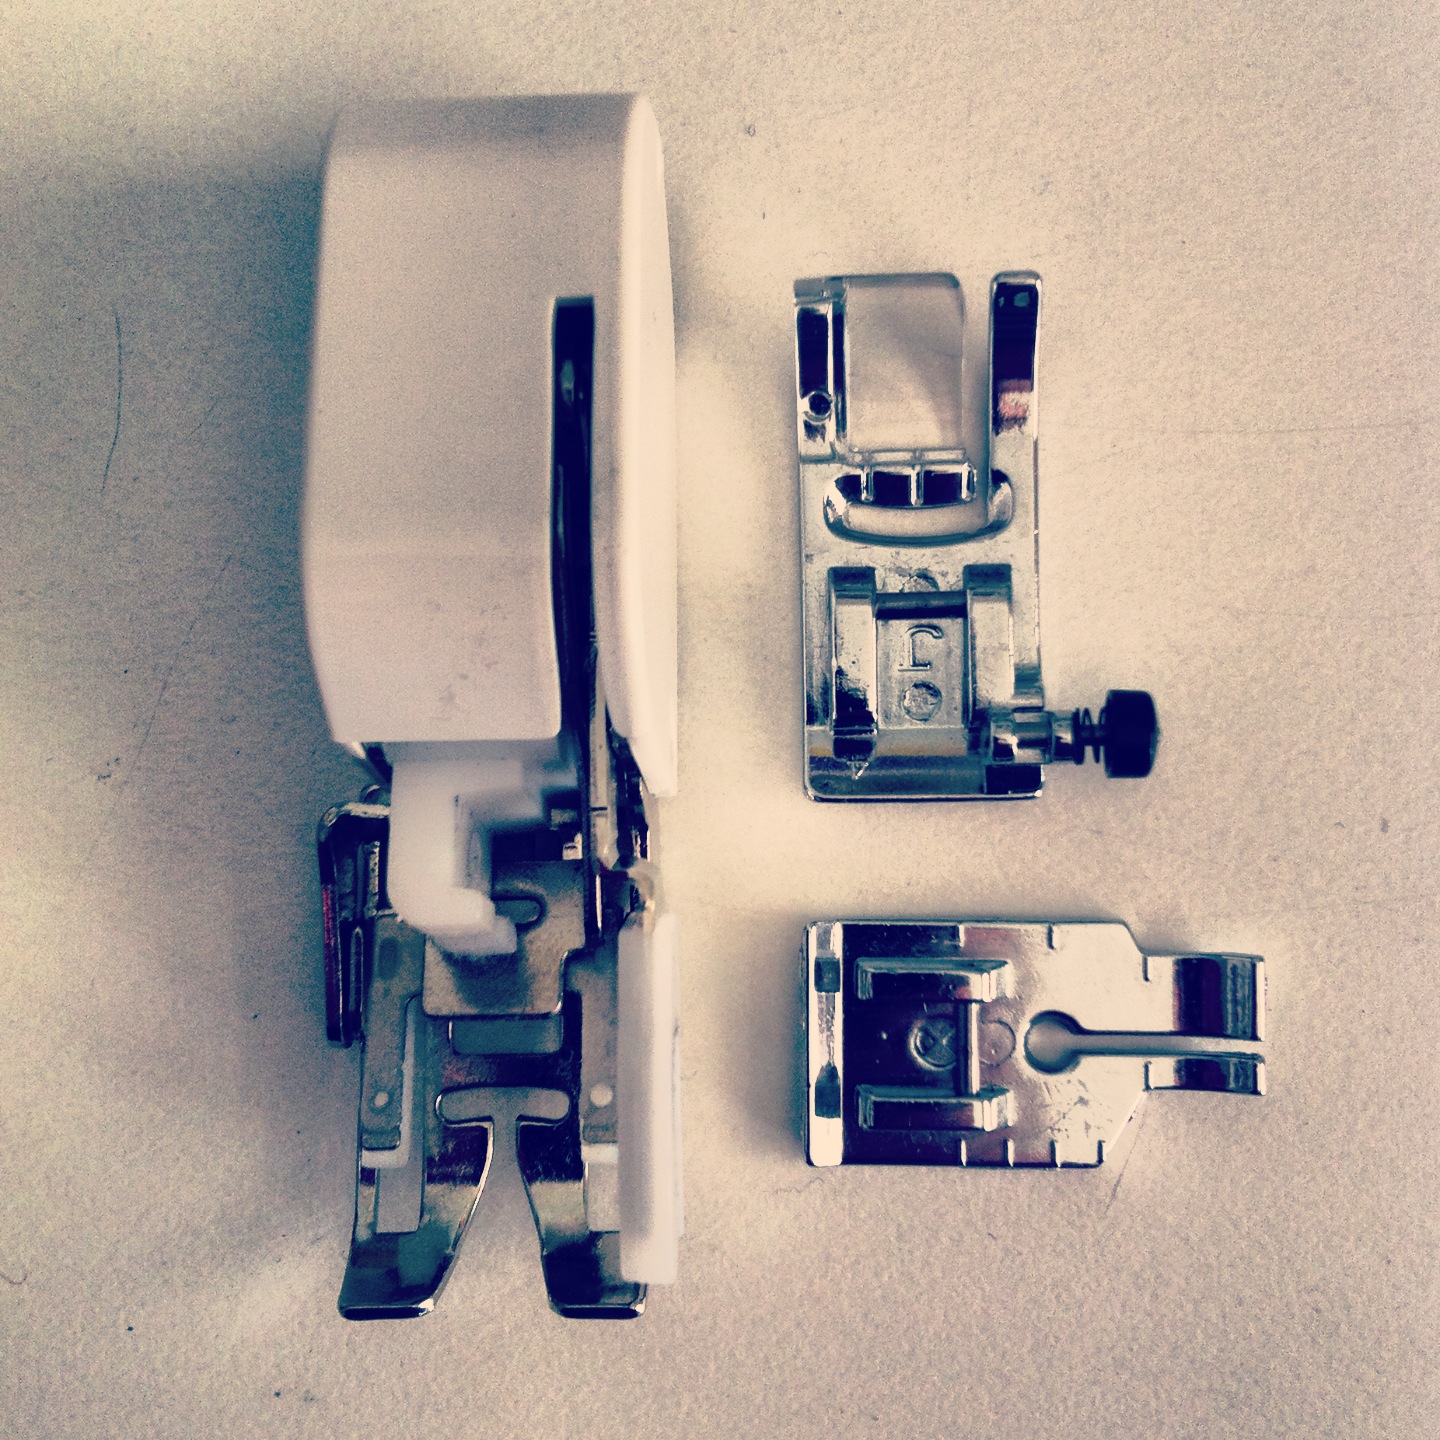
So over the past day or so I’ve been overloading my instagram feed with a whole bunch of quick pics of tools I use (and could not function without) within my sewing room.
#takealook
To see them all together check out my Flickr page!