Two Little Baby Quilts

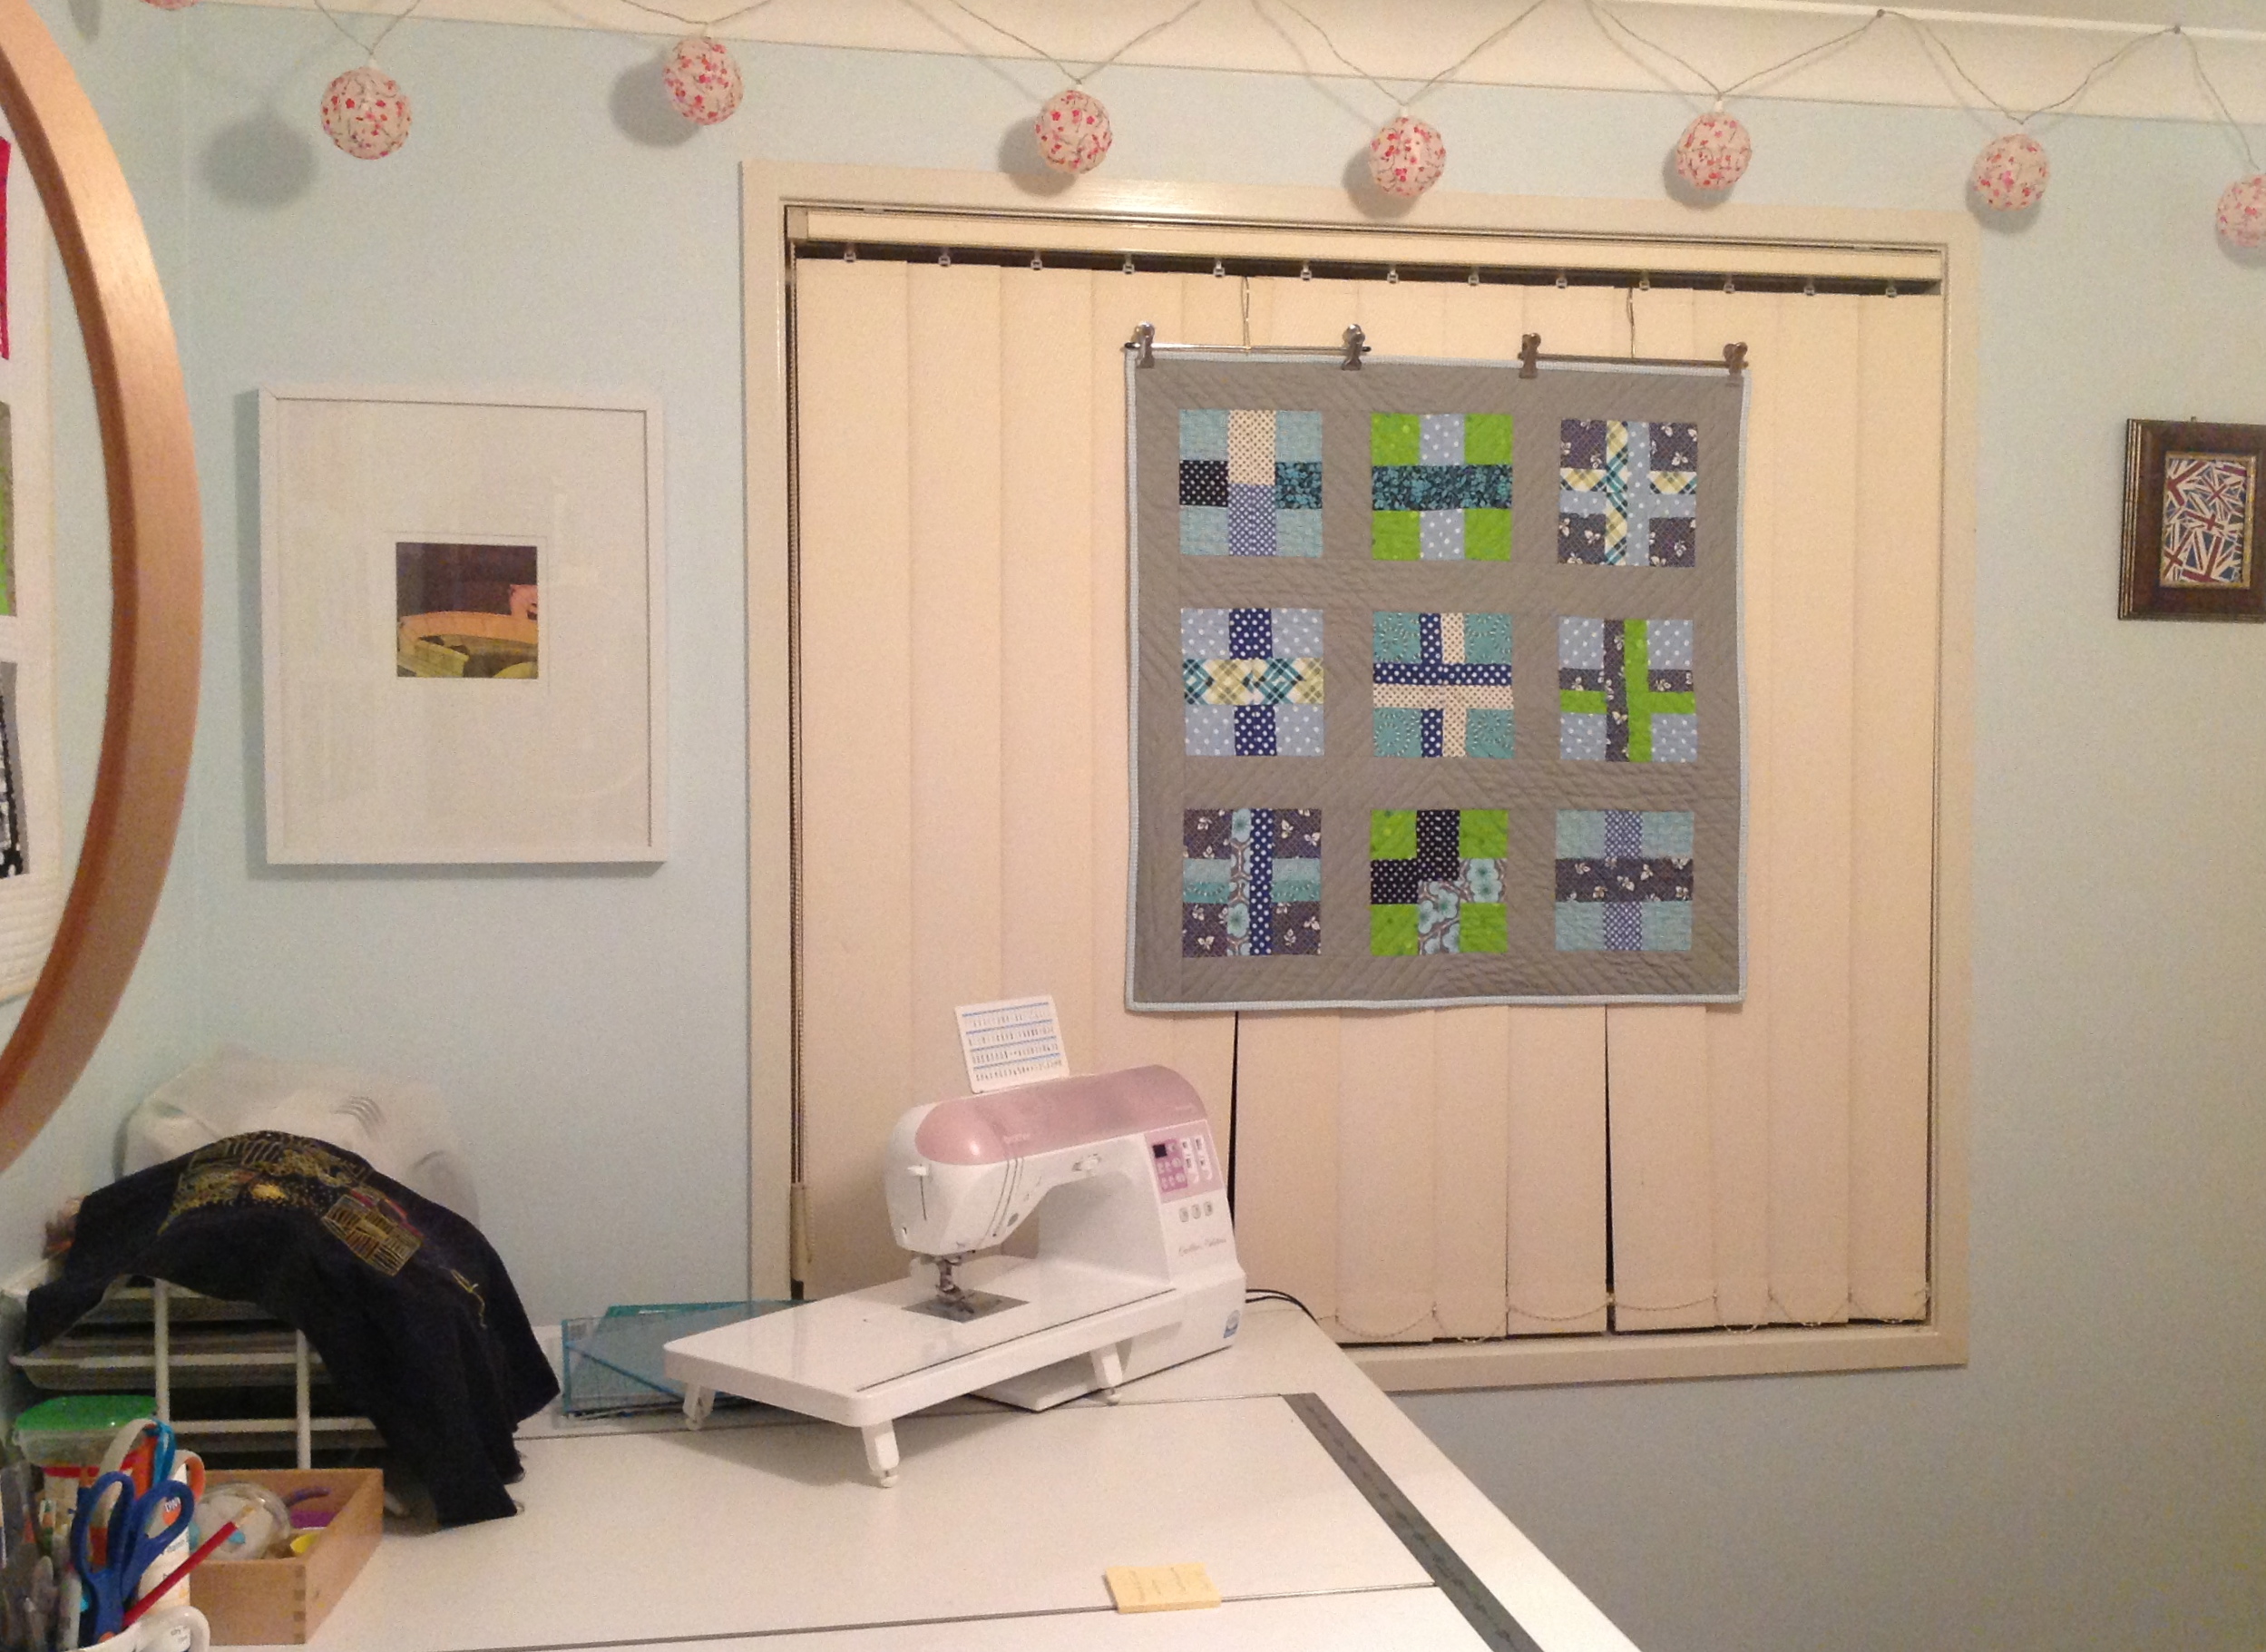
I know I’ve possibly overshared these two little beauties throughout the past few weeks but I just wanted to wrap it all up by showing you the final finished quilts in all their glory before being posted to their final homes!

And aren’t they just lovely!!

IMG_4670

Words really can’t describe just how happy I am by how darling they’ve come out! Everything just works. The blocks, the fabrics, the colours, the quilting, even the binding and backing I chose to use. They all just work so well together! Never have I had a brief go so well and match exactly to what I was planning in my head! I love it when that happens! Yay! 😀

So, shall we do a quick low-down of each quilt? Just so we can say goodbye together…

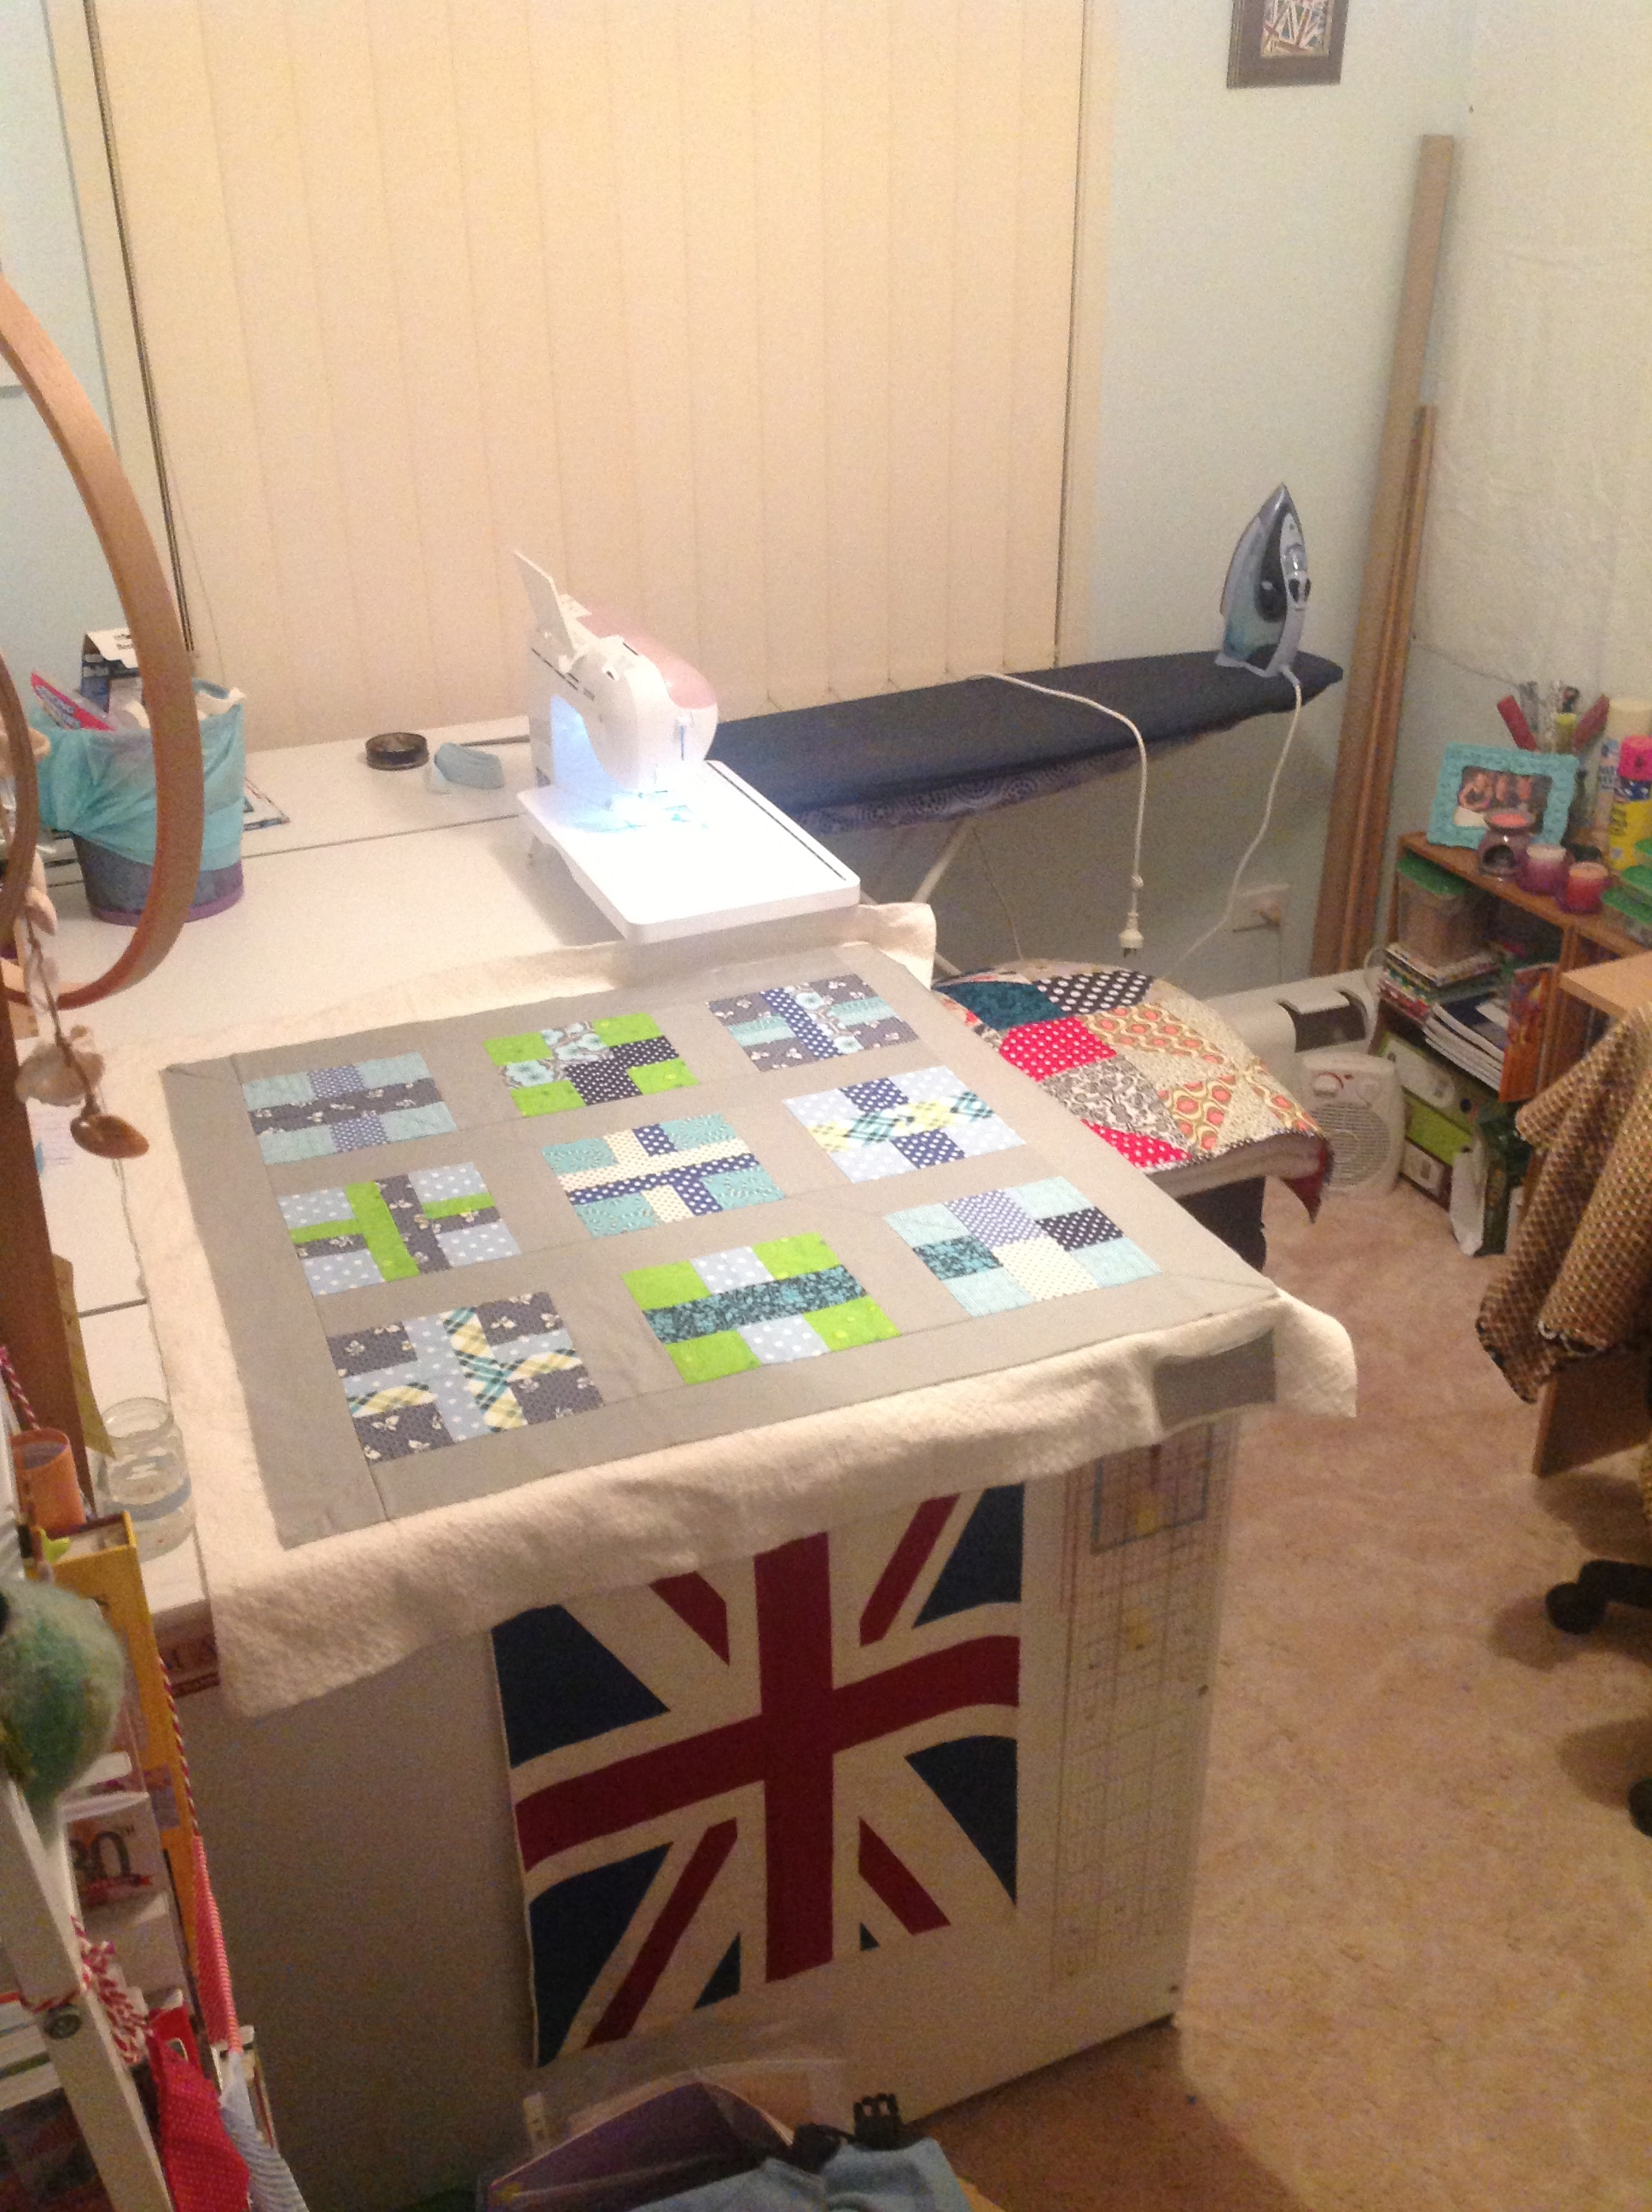
Let’s start with the Granny Squares Block Quilt.

GrannySquaresBlockQuilt

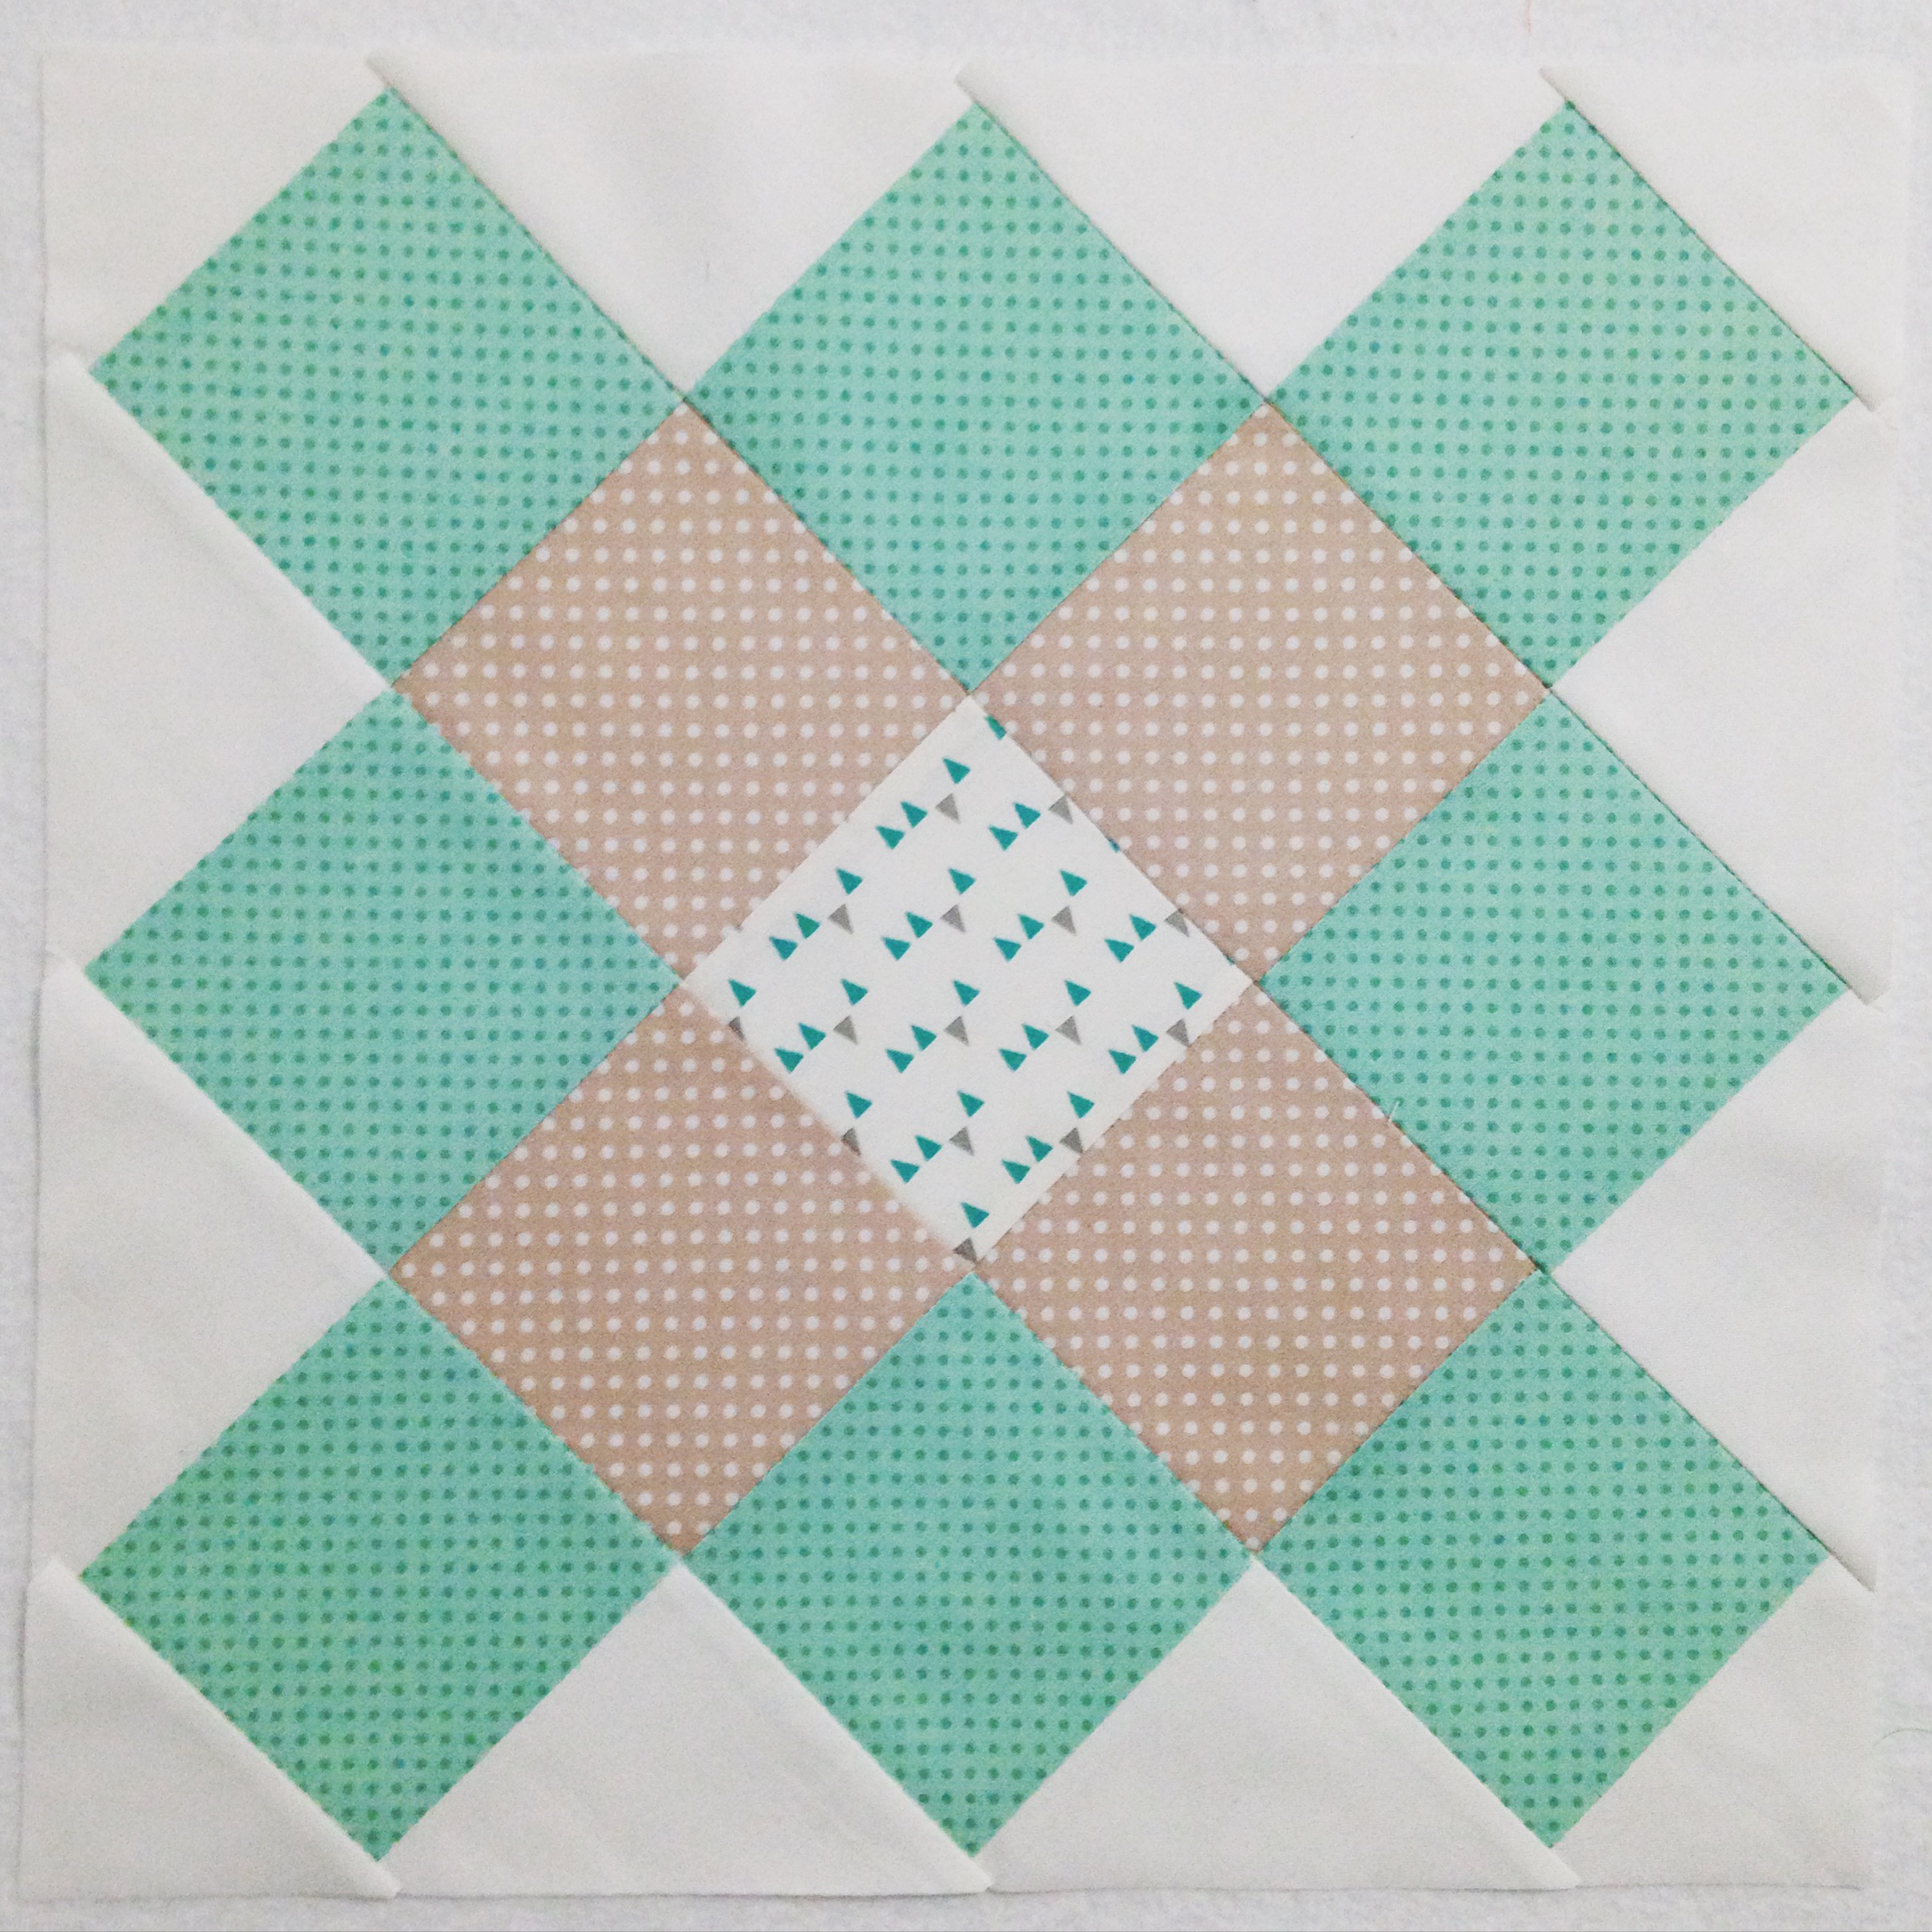
This was the first time I had ever attempted to make a Granny Squares Block. I had always looked at it and thought, ‘Geeze, that looks complicated!’ But after delving more into how the block was pieced together, I realised just how incredibly simple it was to make and I literally jumped straight into it!

You can check out the block tutorial I made right here!

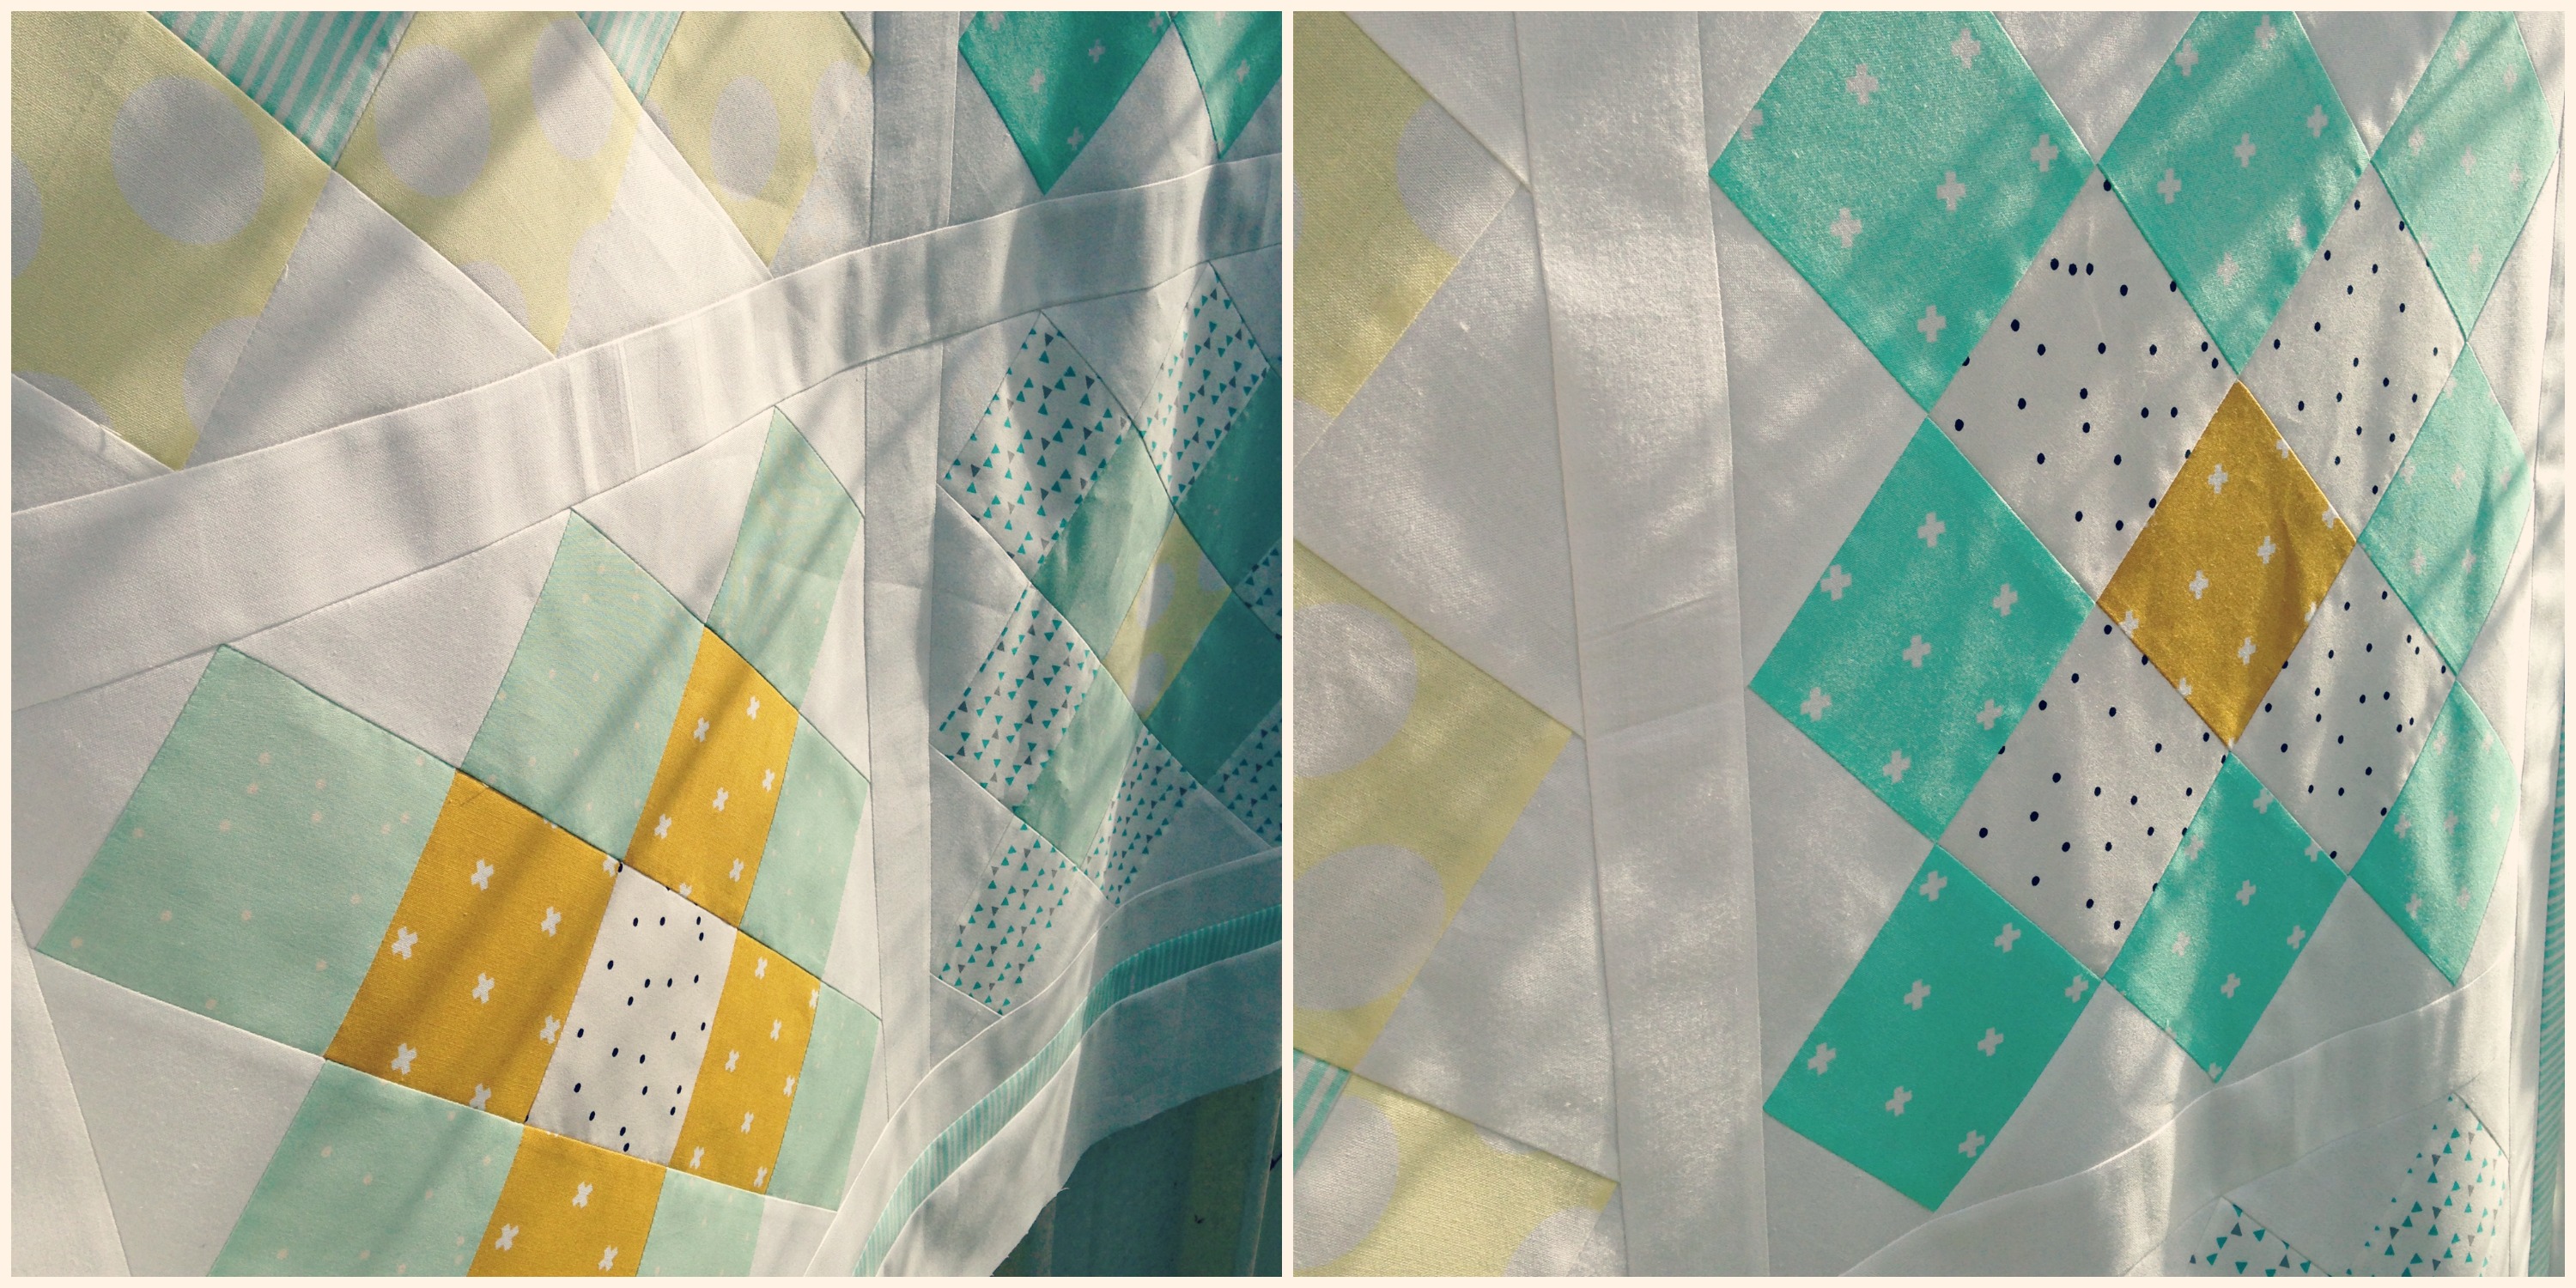
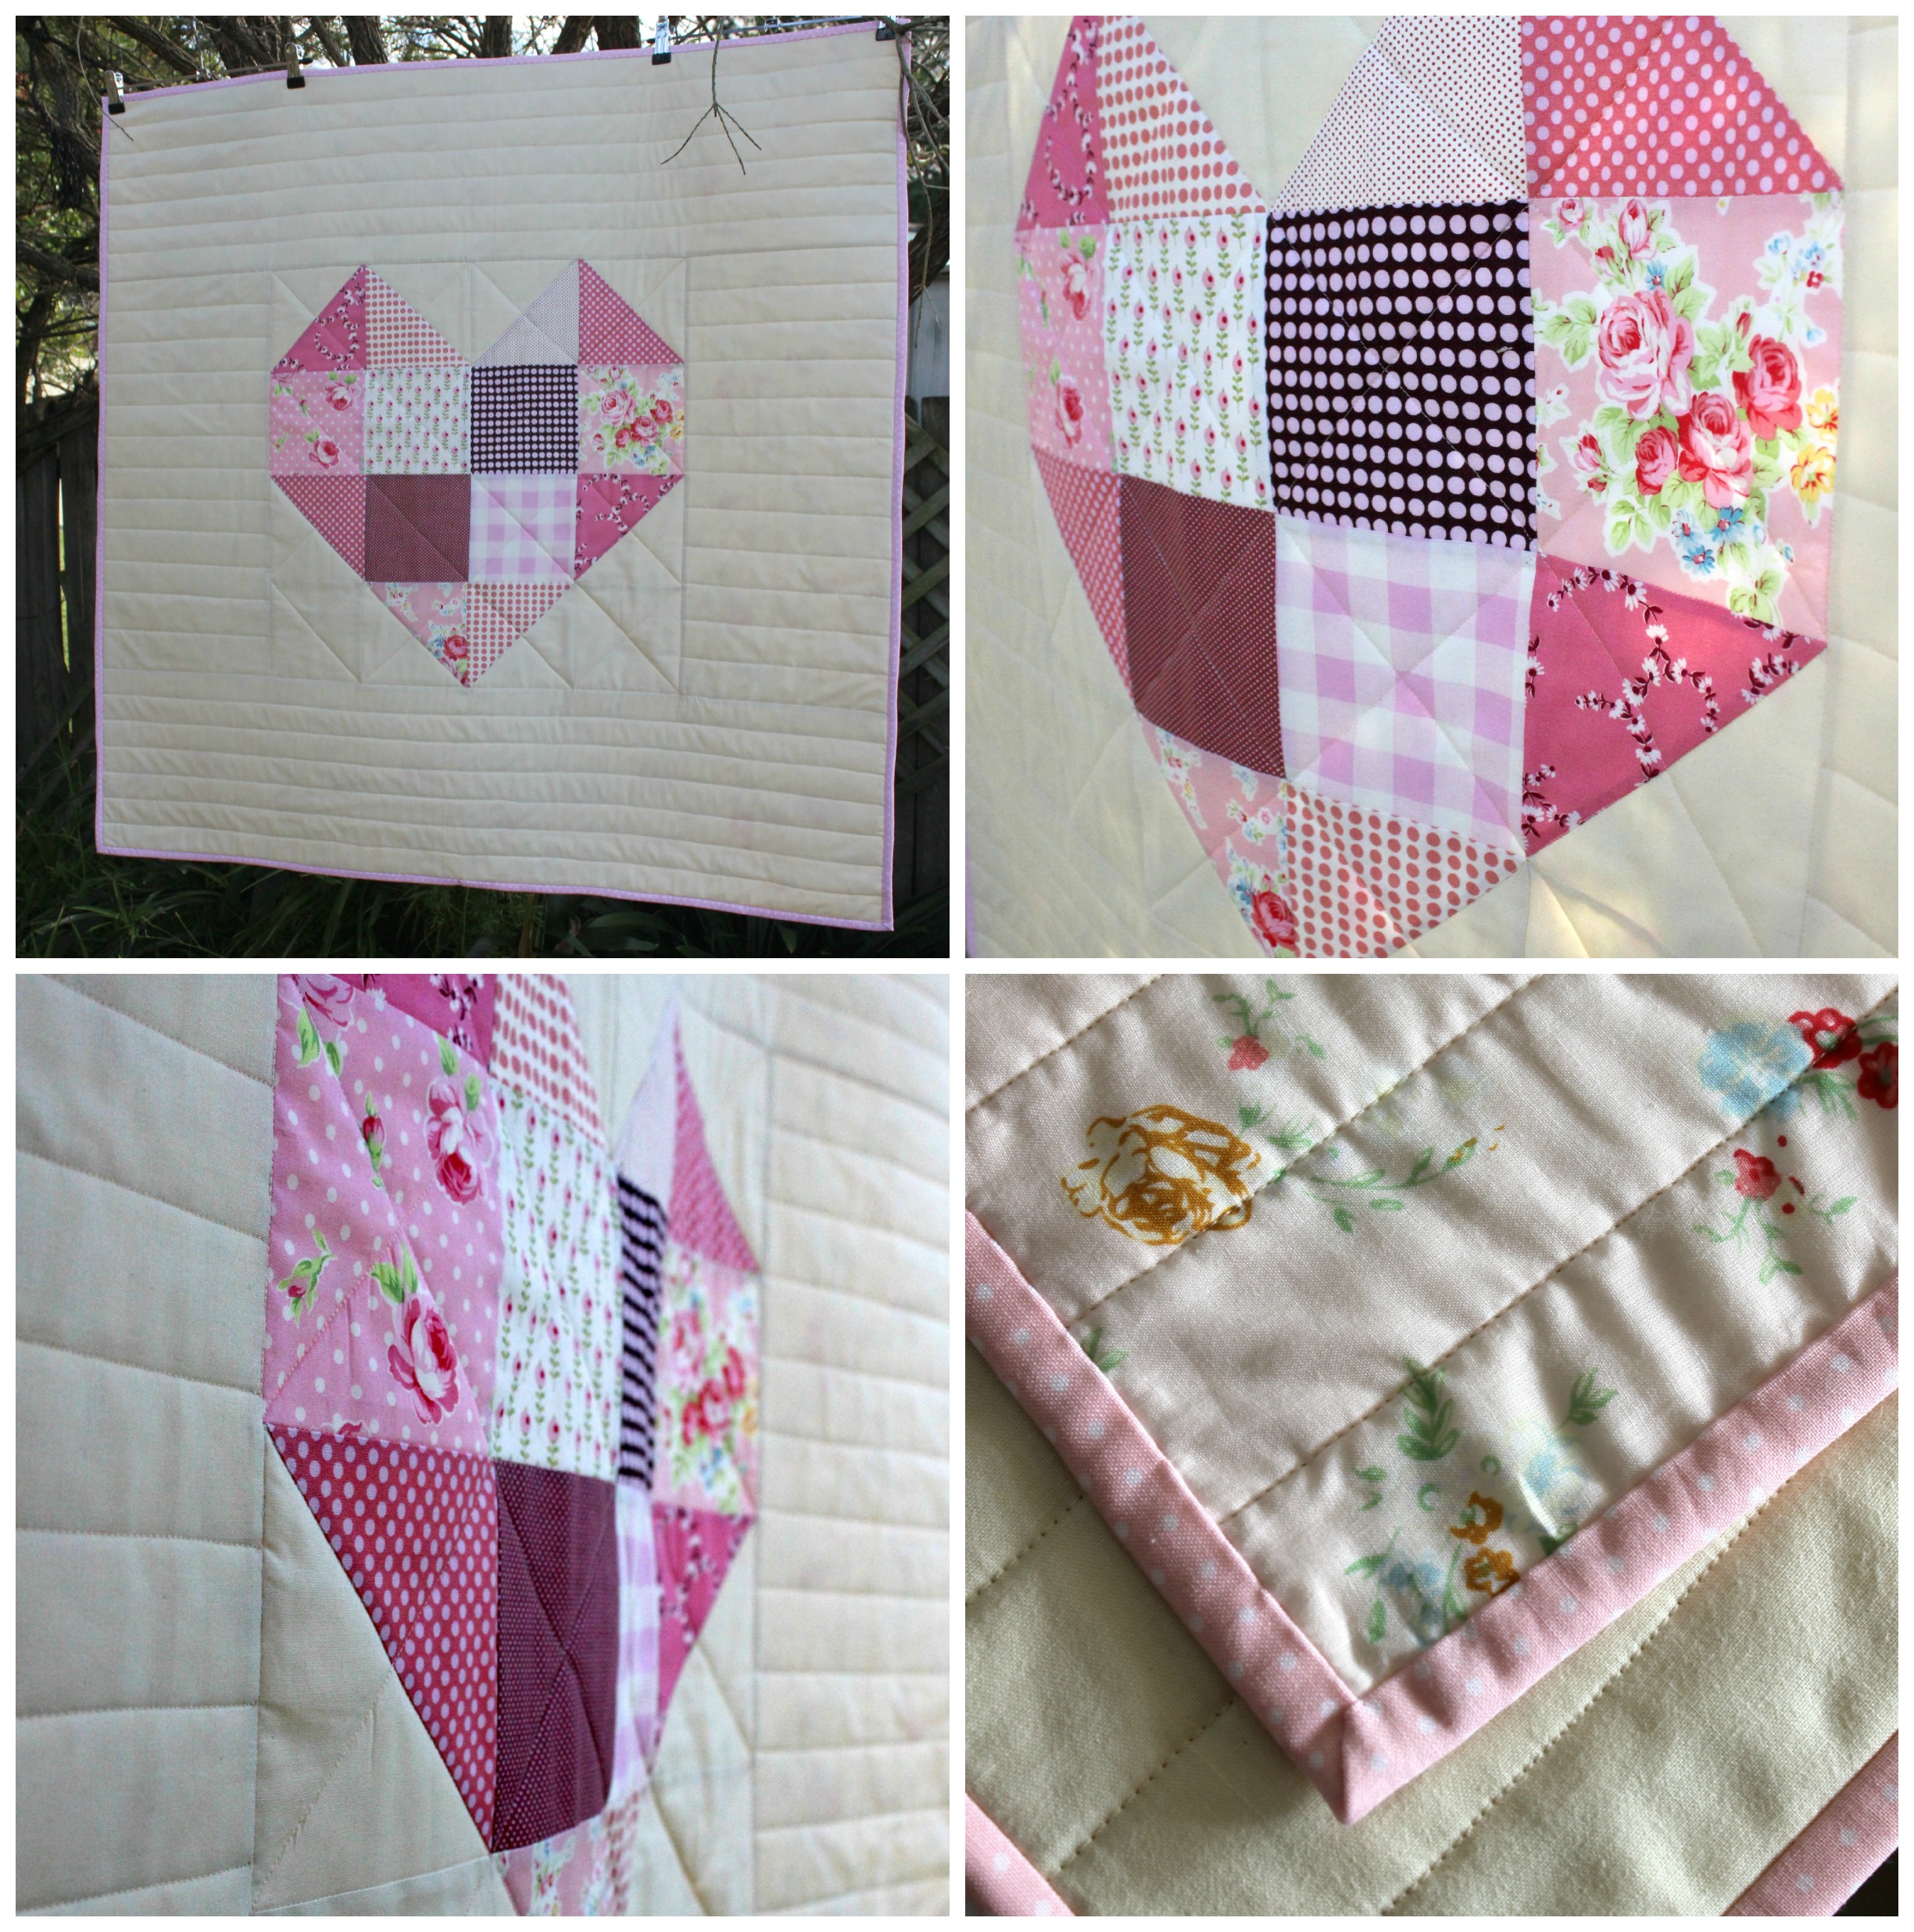
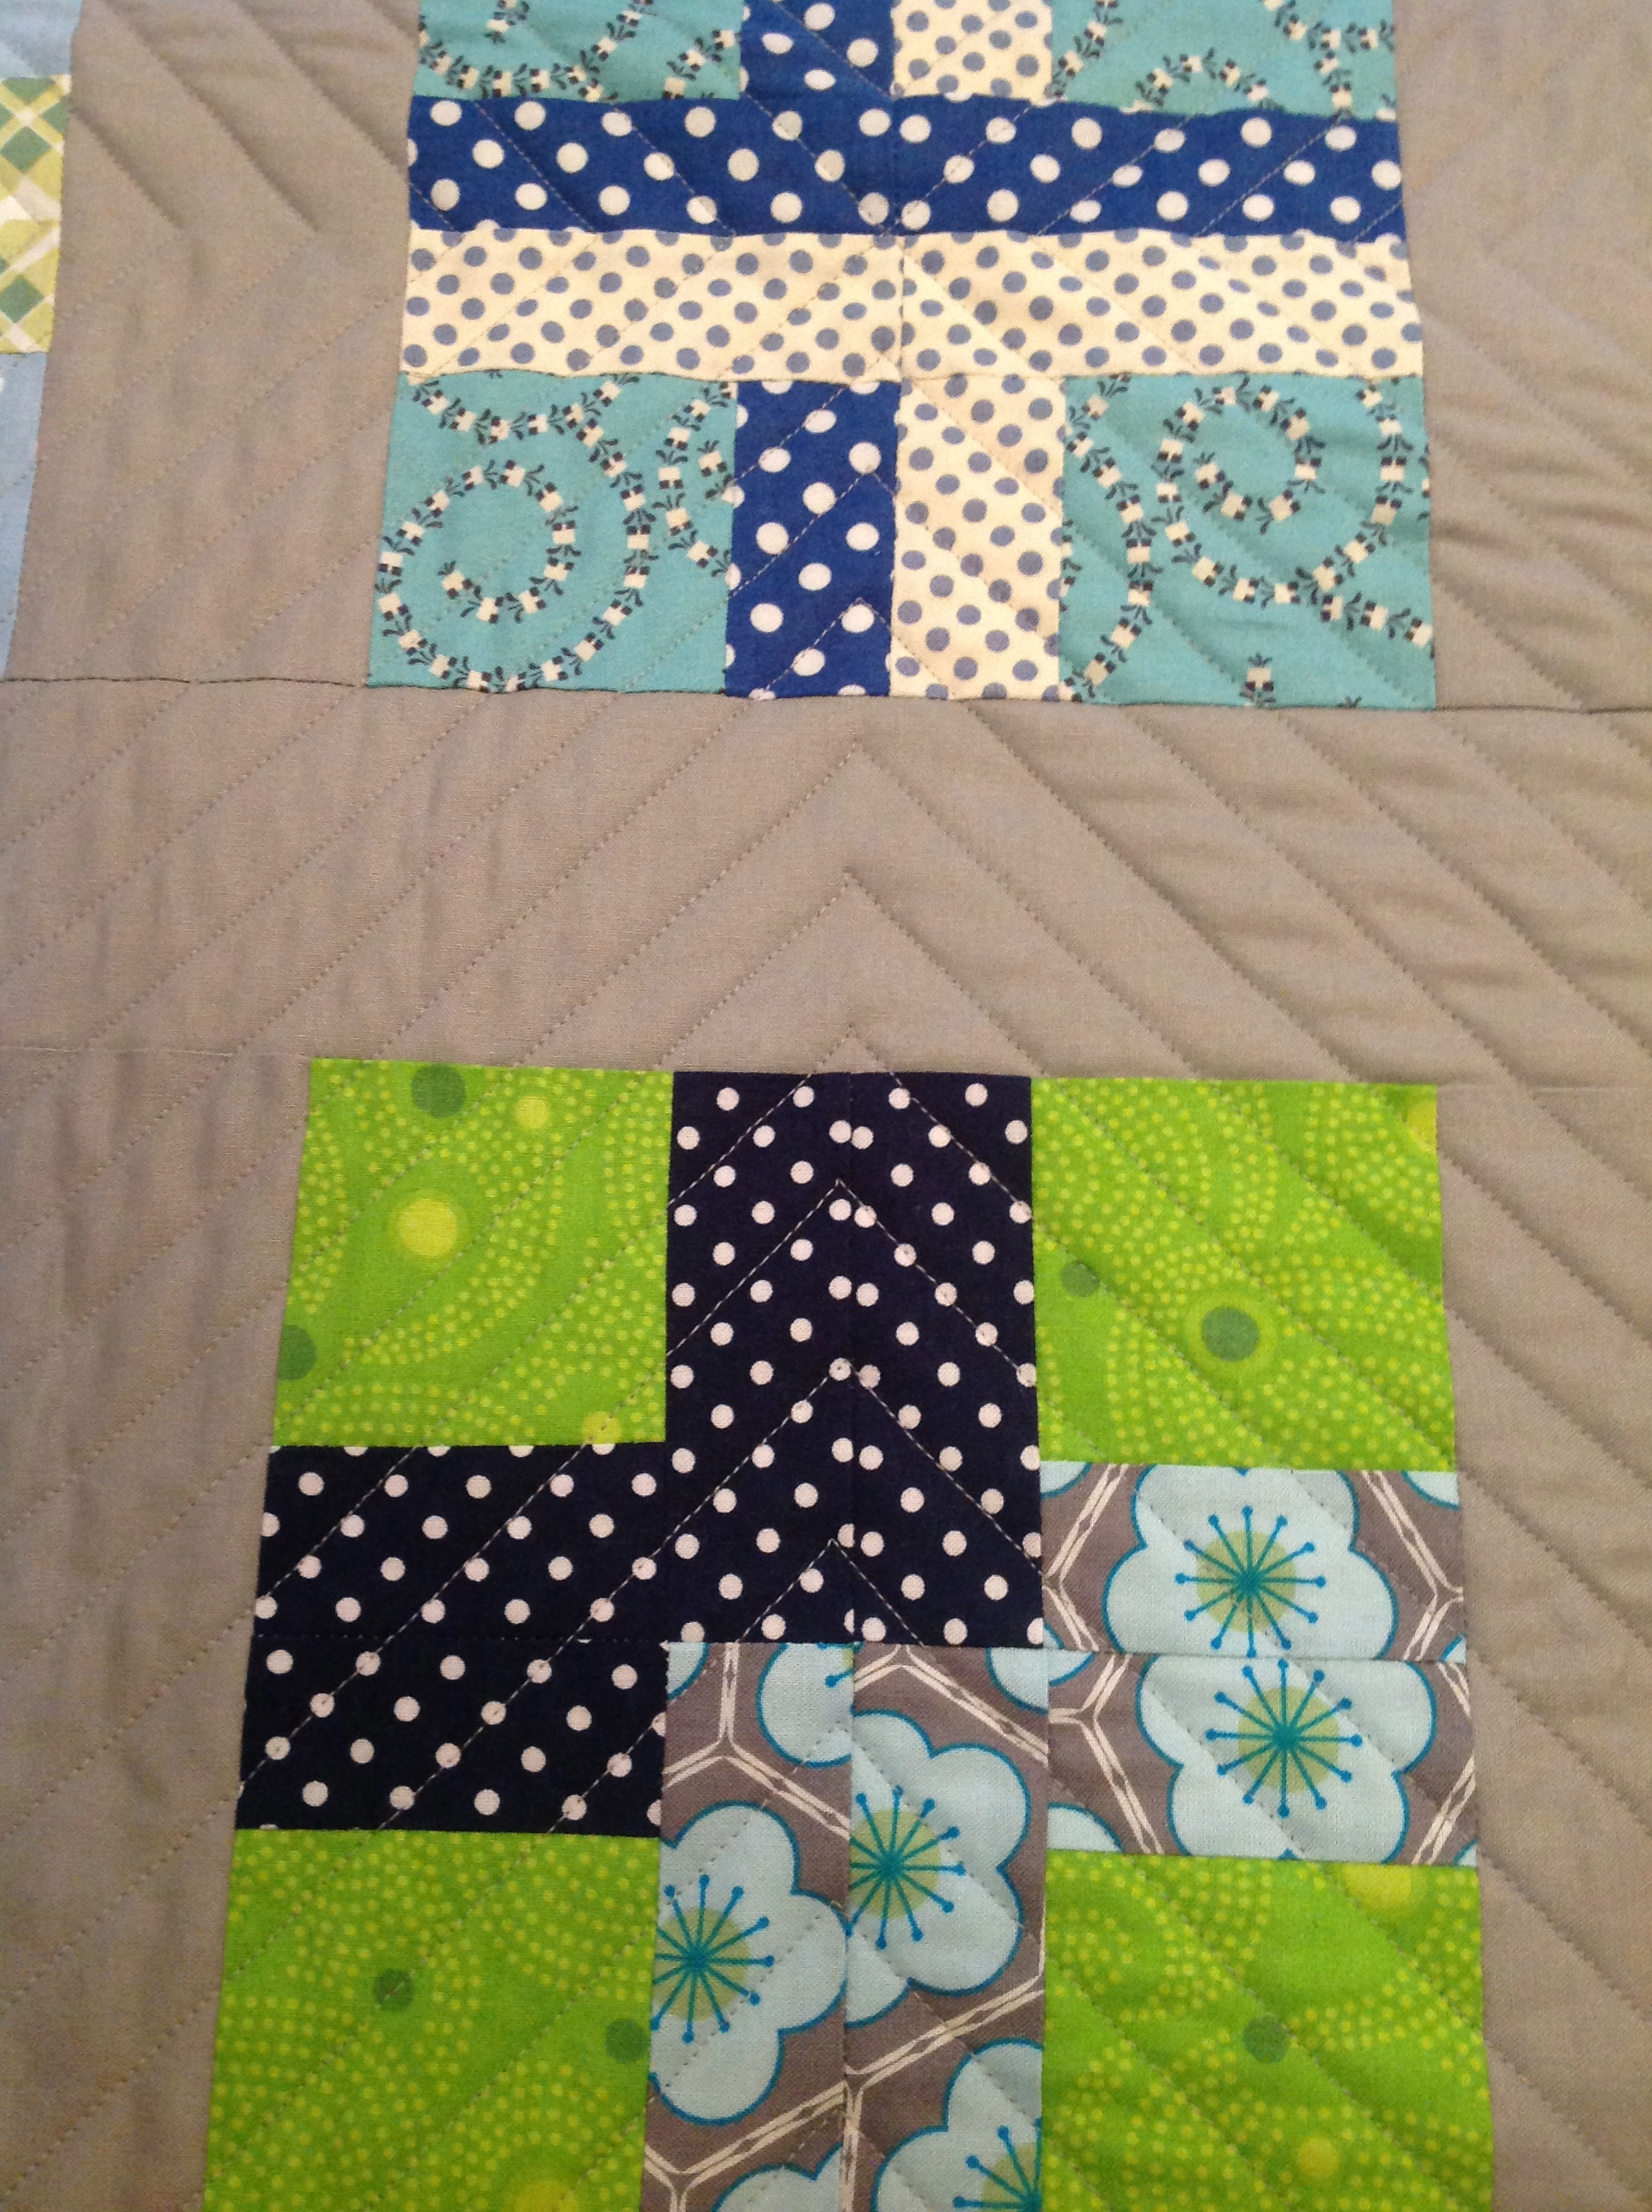
I loved matching the adorable Cotton+Steel Basics fabric with some of the similar coloured Art Gallery Fabrics (AGF) that I already had in my stash. The direction and shapes in the prints added such a great depth of character, movement and sweetness to the quilt so much that every time I stepped back to observe it, a squeal of delight came out my mouth!

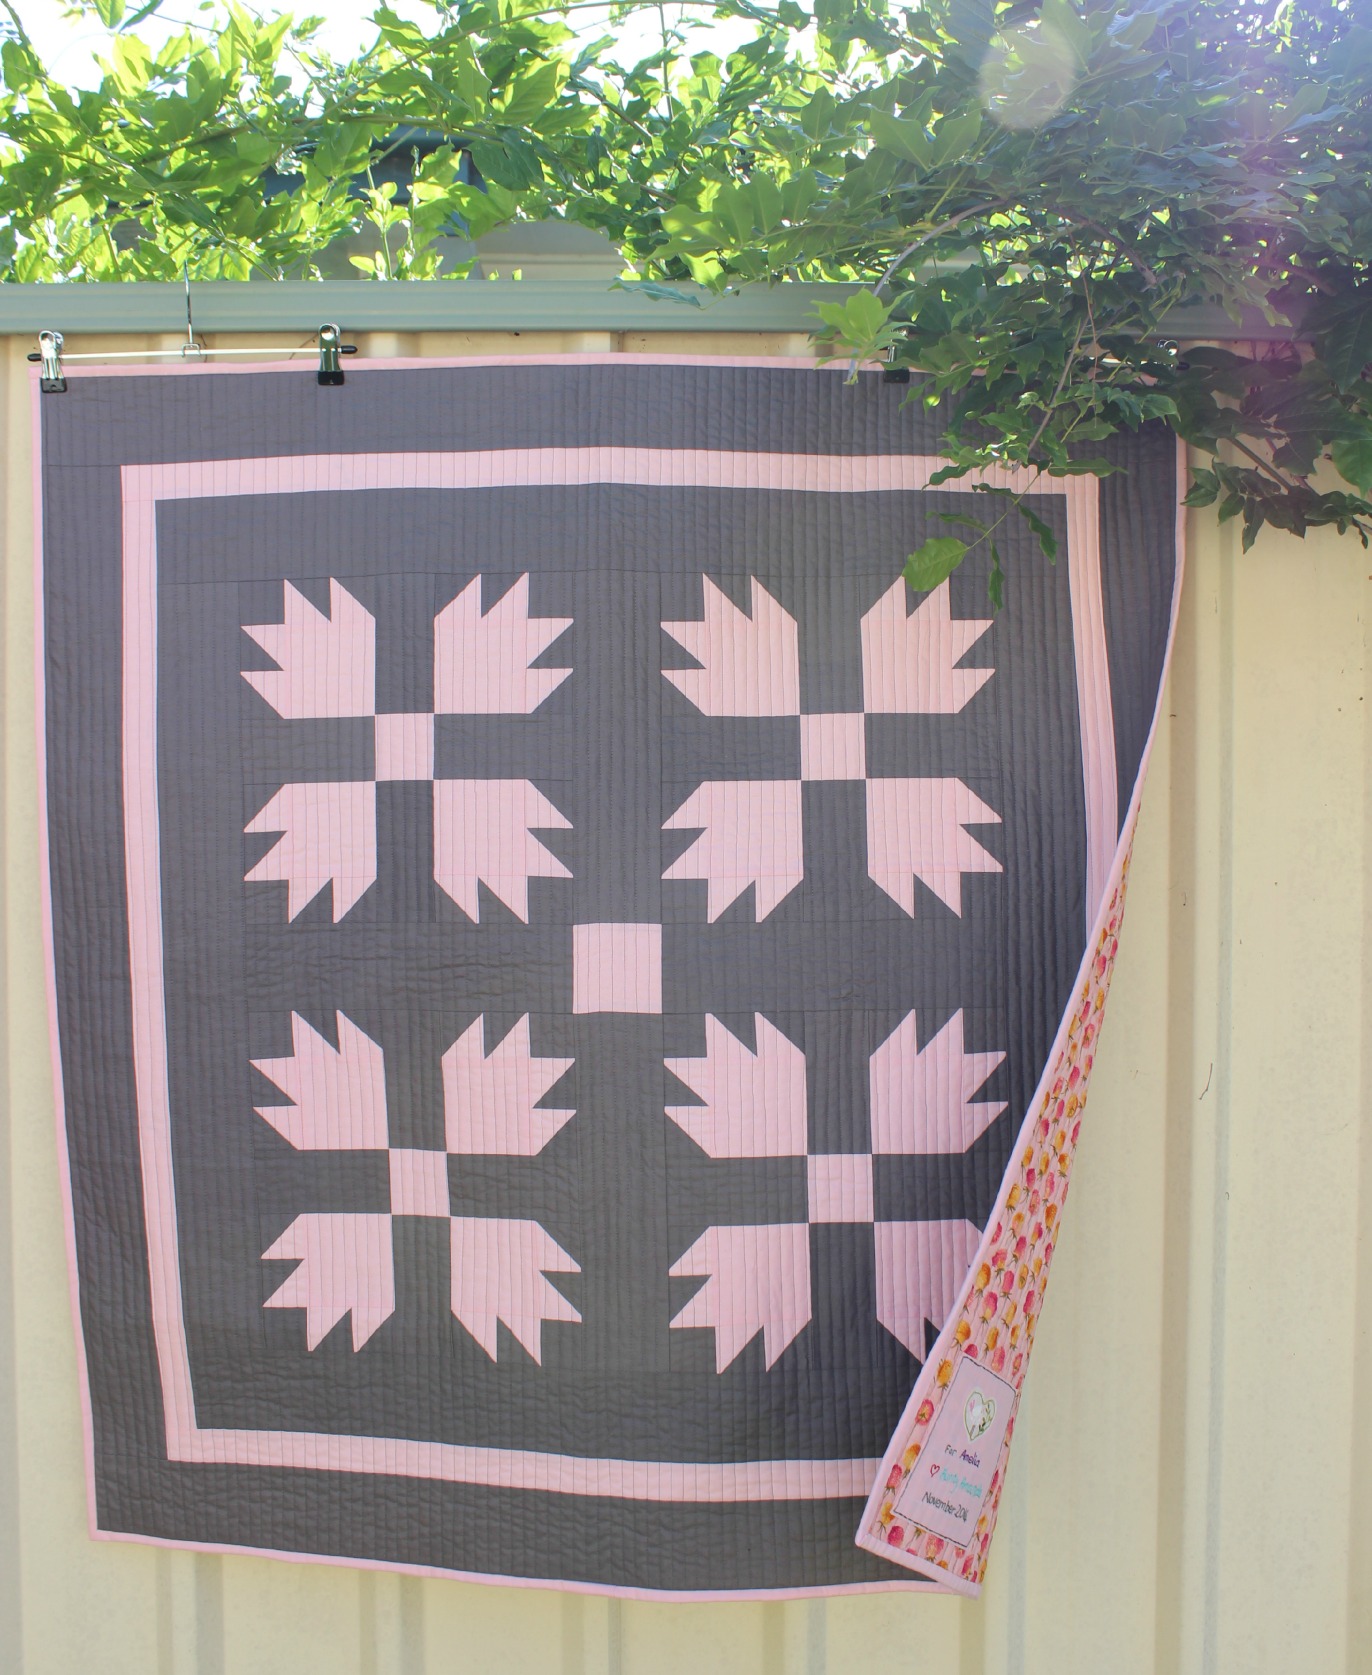
Then, the way that I quilted it made me fall in love even harder! I decided to do a grid-like-pattern that was sewn off-set to the squares in the block.

IMG_4575

To make it easier for me to get sharp and precise straight lines, I used my Clover Hera Marker to ‘score’ or ‘bruise’ my ‘to-quit line’ on the top of the quilt. I then simply followed this line as I quilted, resulting in this lovely even design!

GrannyDuo

When basting this quilt, I also came across a beautiful batting that I’ve always wanted to use, but always thought it was too expensive to buy. The one that I was recommended to use by my always-so-helpful friend Bitza at my local Spotlight, was a bamboo/cotton blend batting made by Legacy that didn’t cost the earth or empty out the balance of my bank account!

BambooBlendBatting

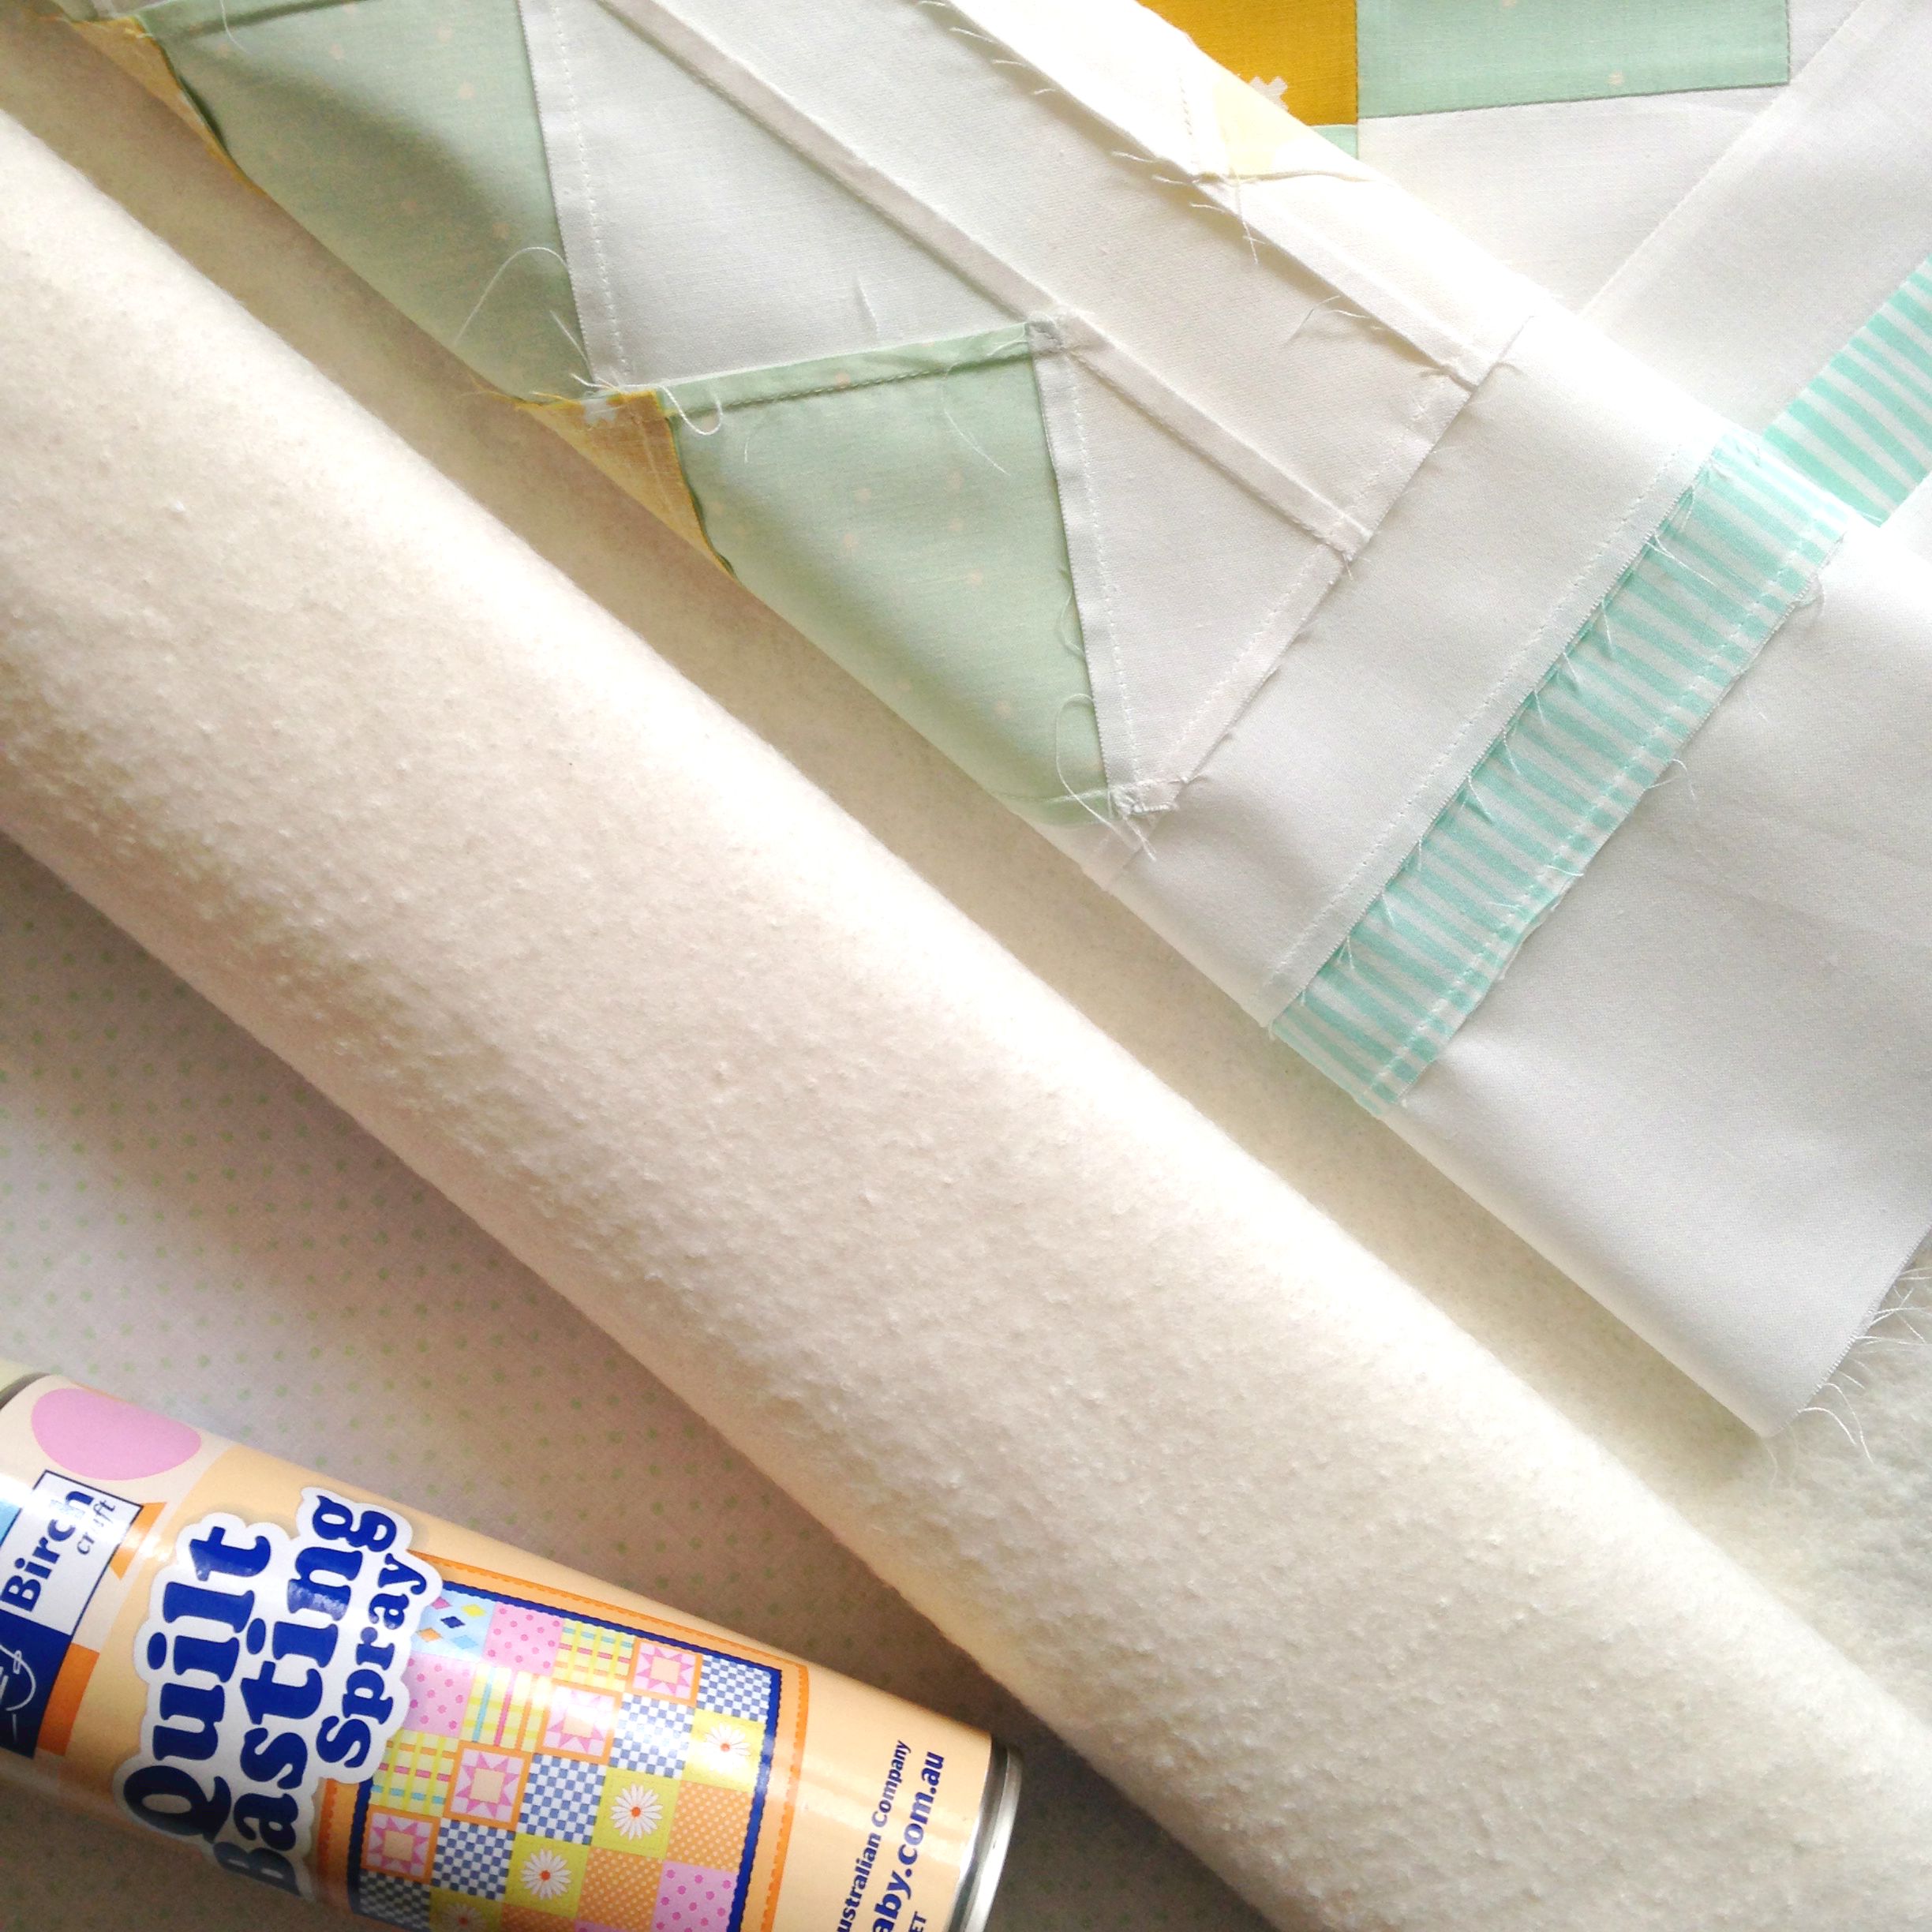
It was such a delightful batting to work with! Super soft to the touch, lightweight and dreamy, easy to baste and quite literally glided like butter through my machine! Oh. My. Gosh. I was in love! It’s going to be really hard to now go back to using an all cotton batting!

GrannySqauresBack

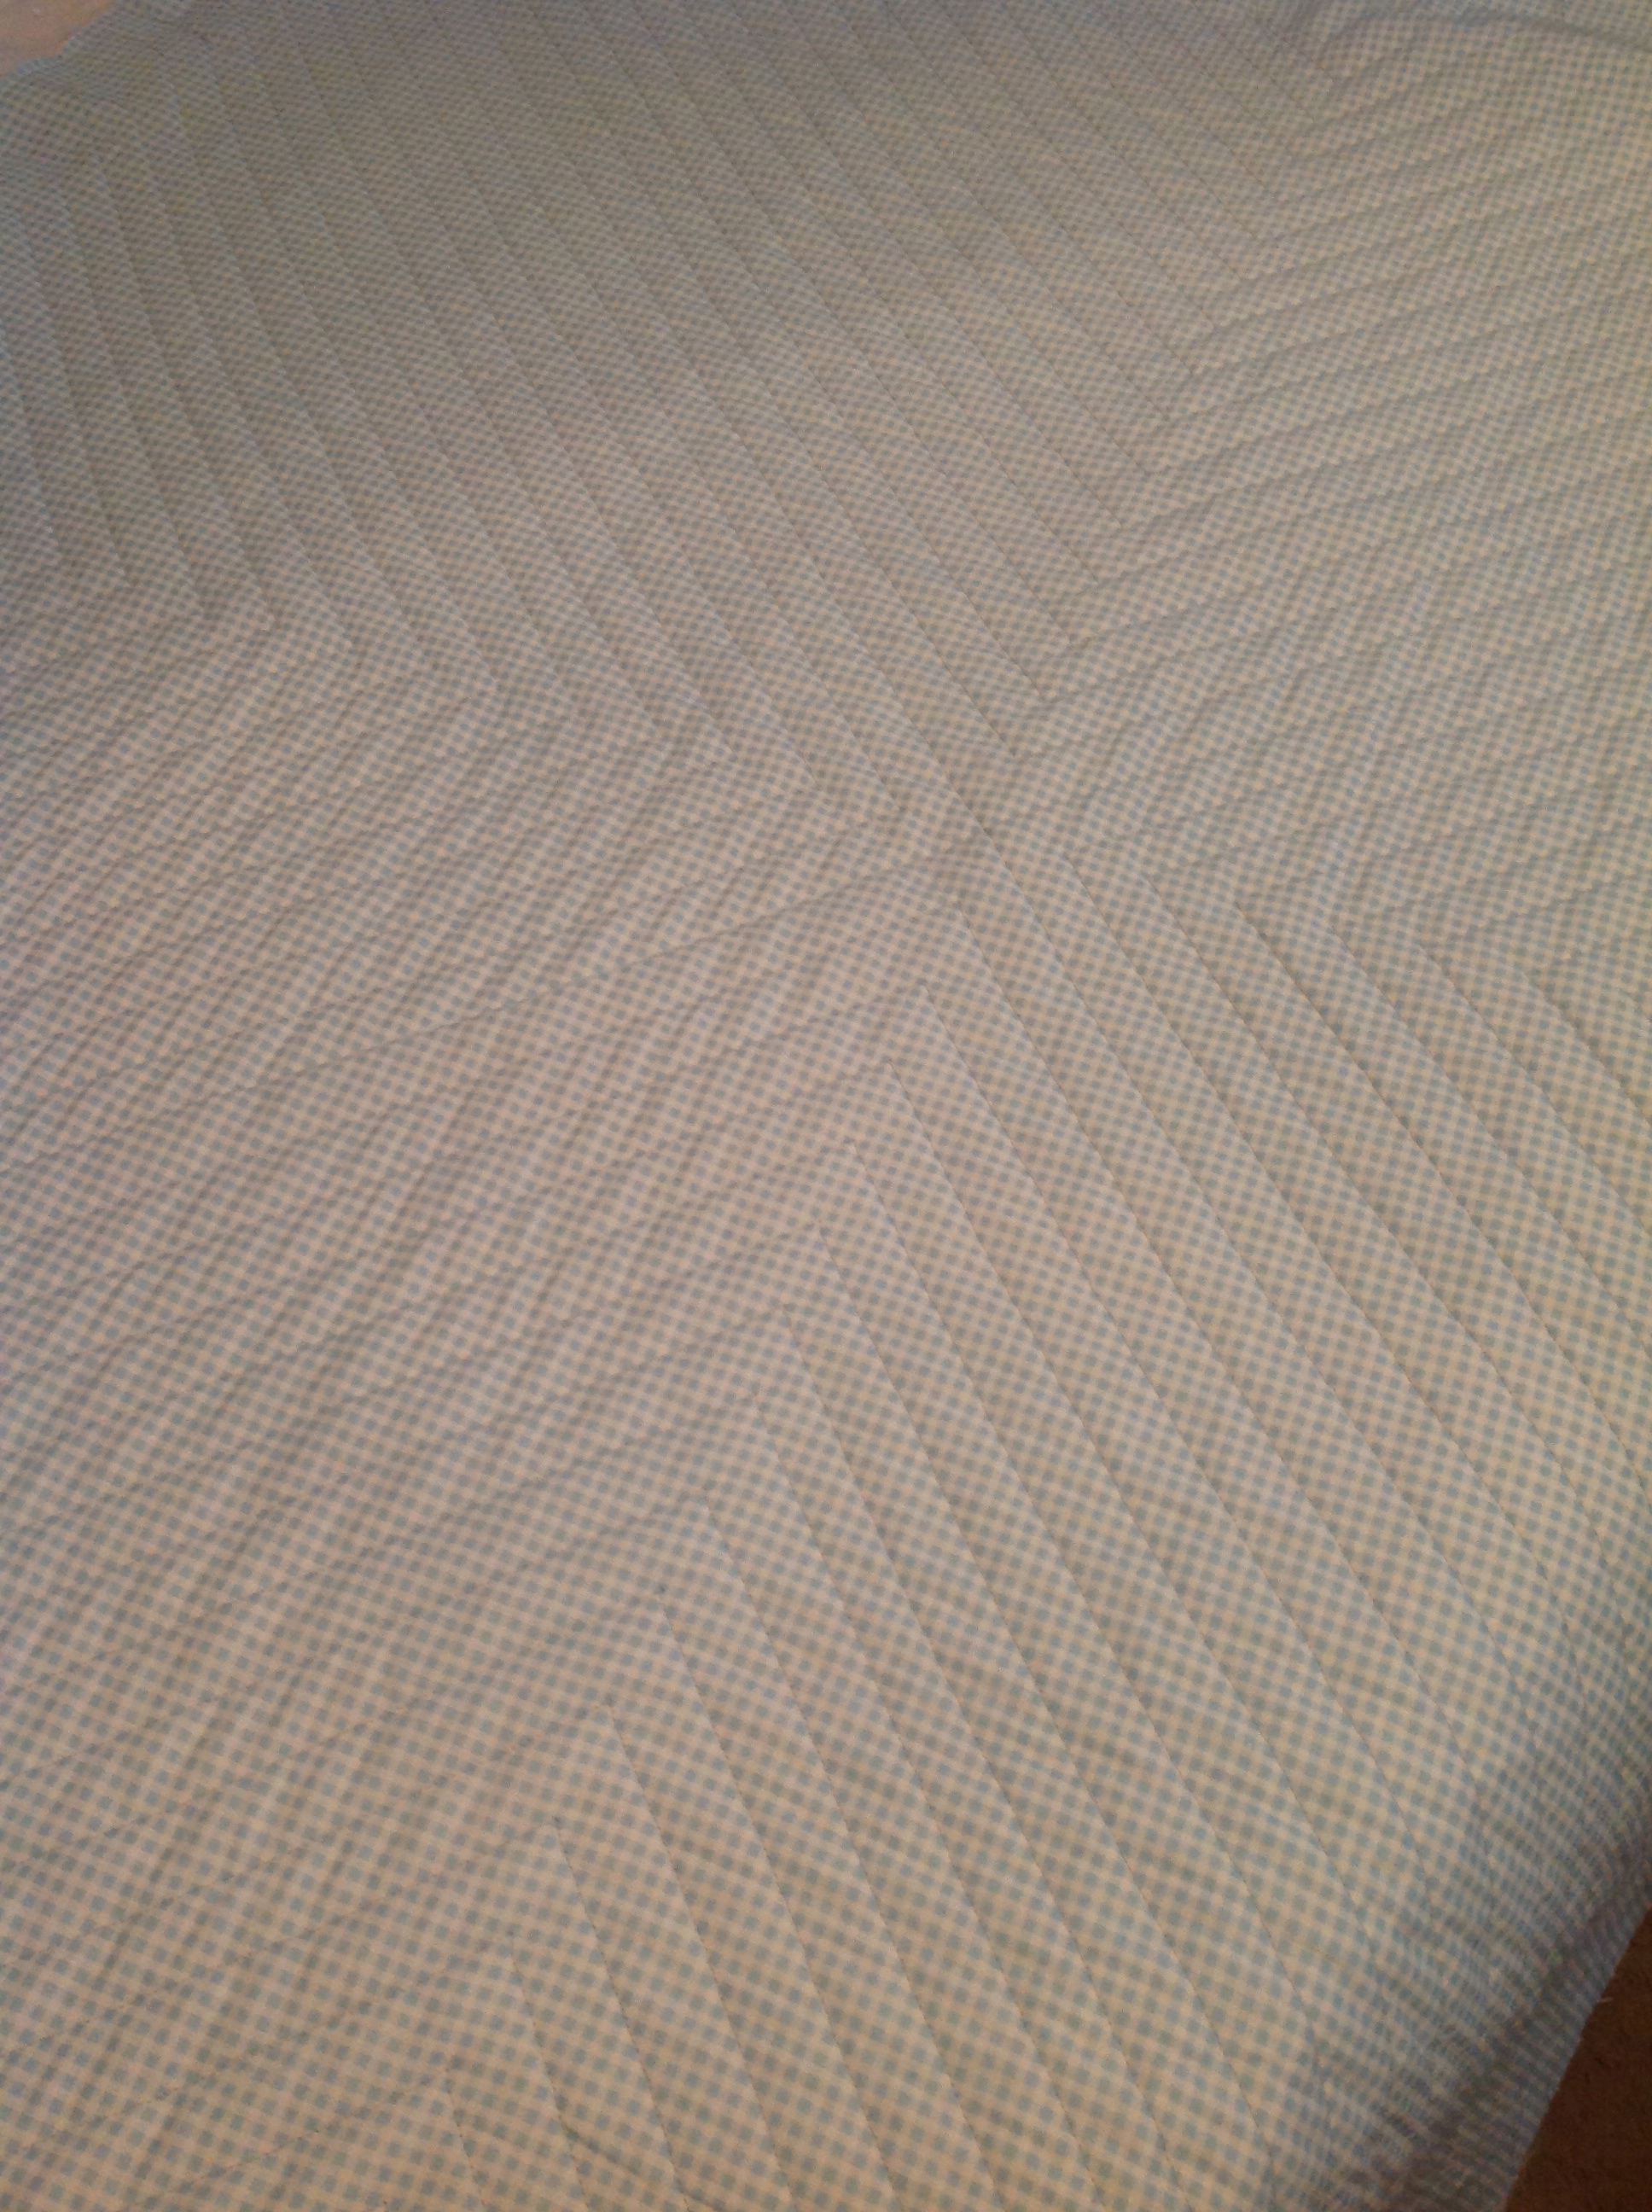
To finish this little delight, I backed it with a darling lime pin-spot fabric and used the leftover ‘Hello Bear’ black spot fabric from AGF for the binding. It simply came out perfect!

+++

PinwheelQuilt

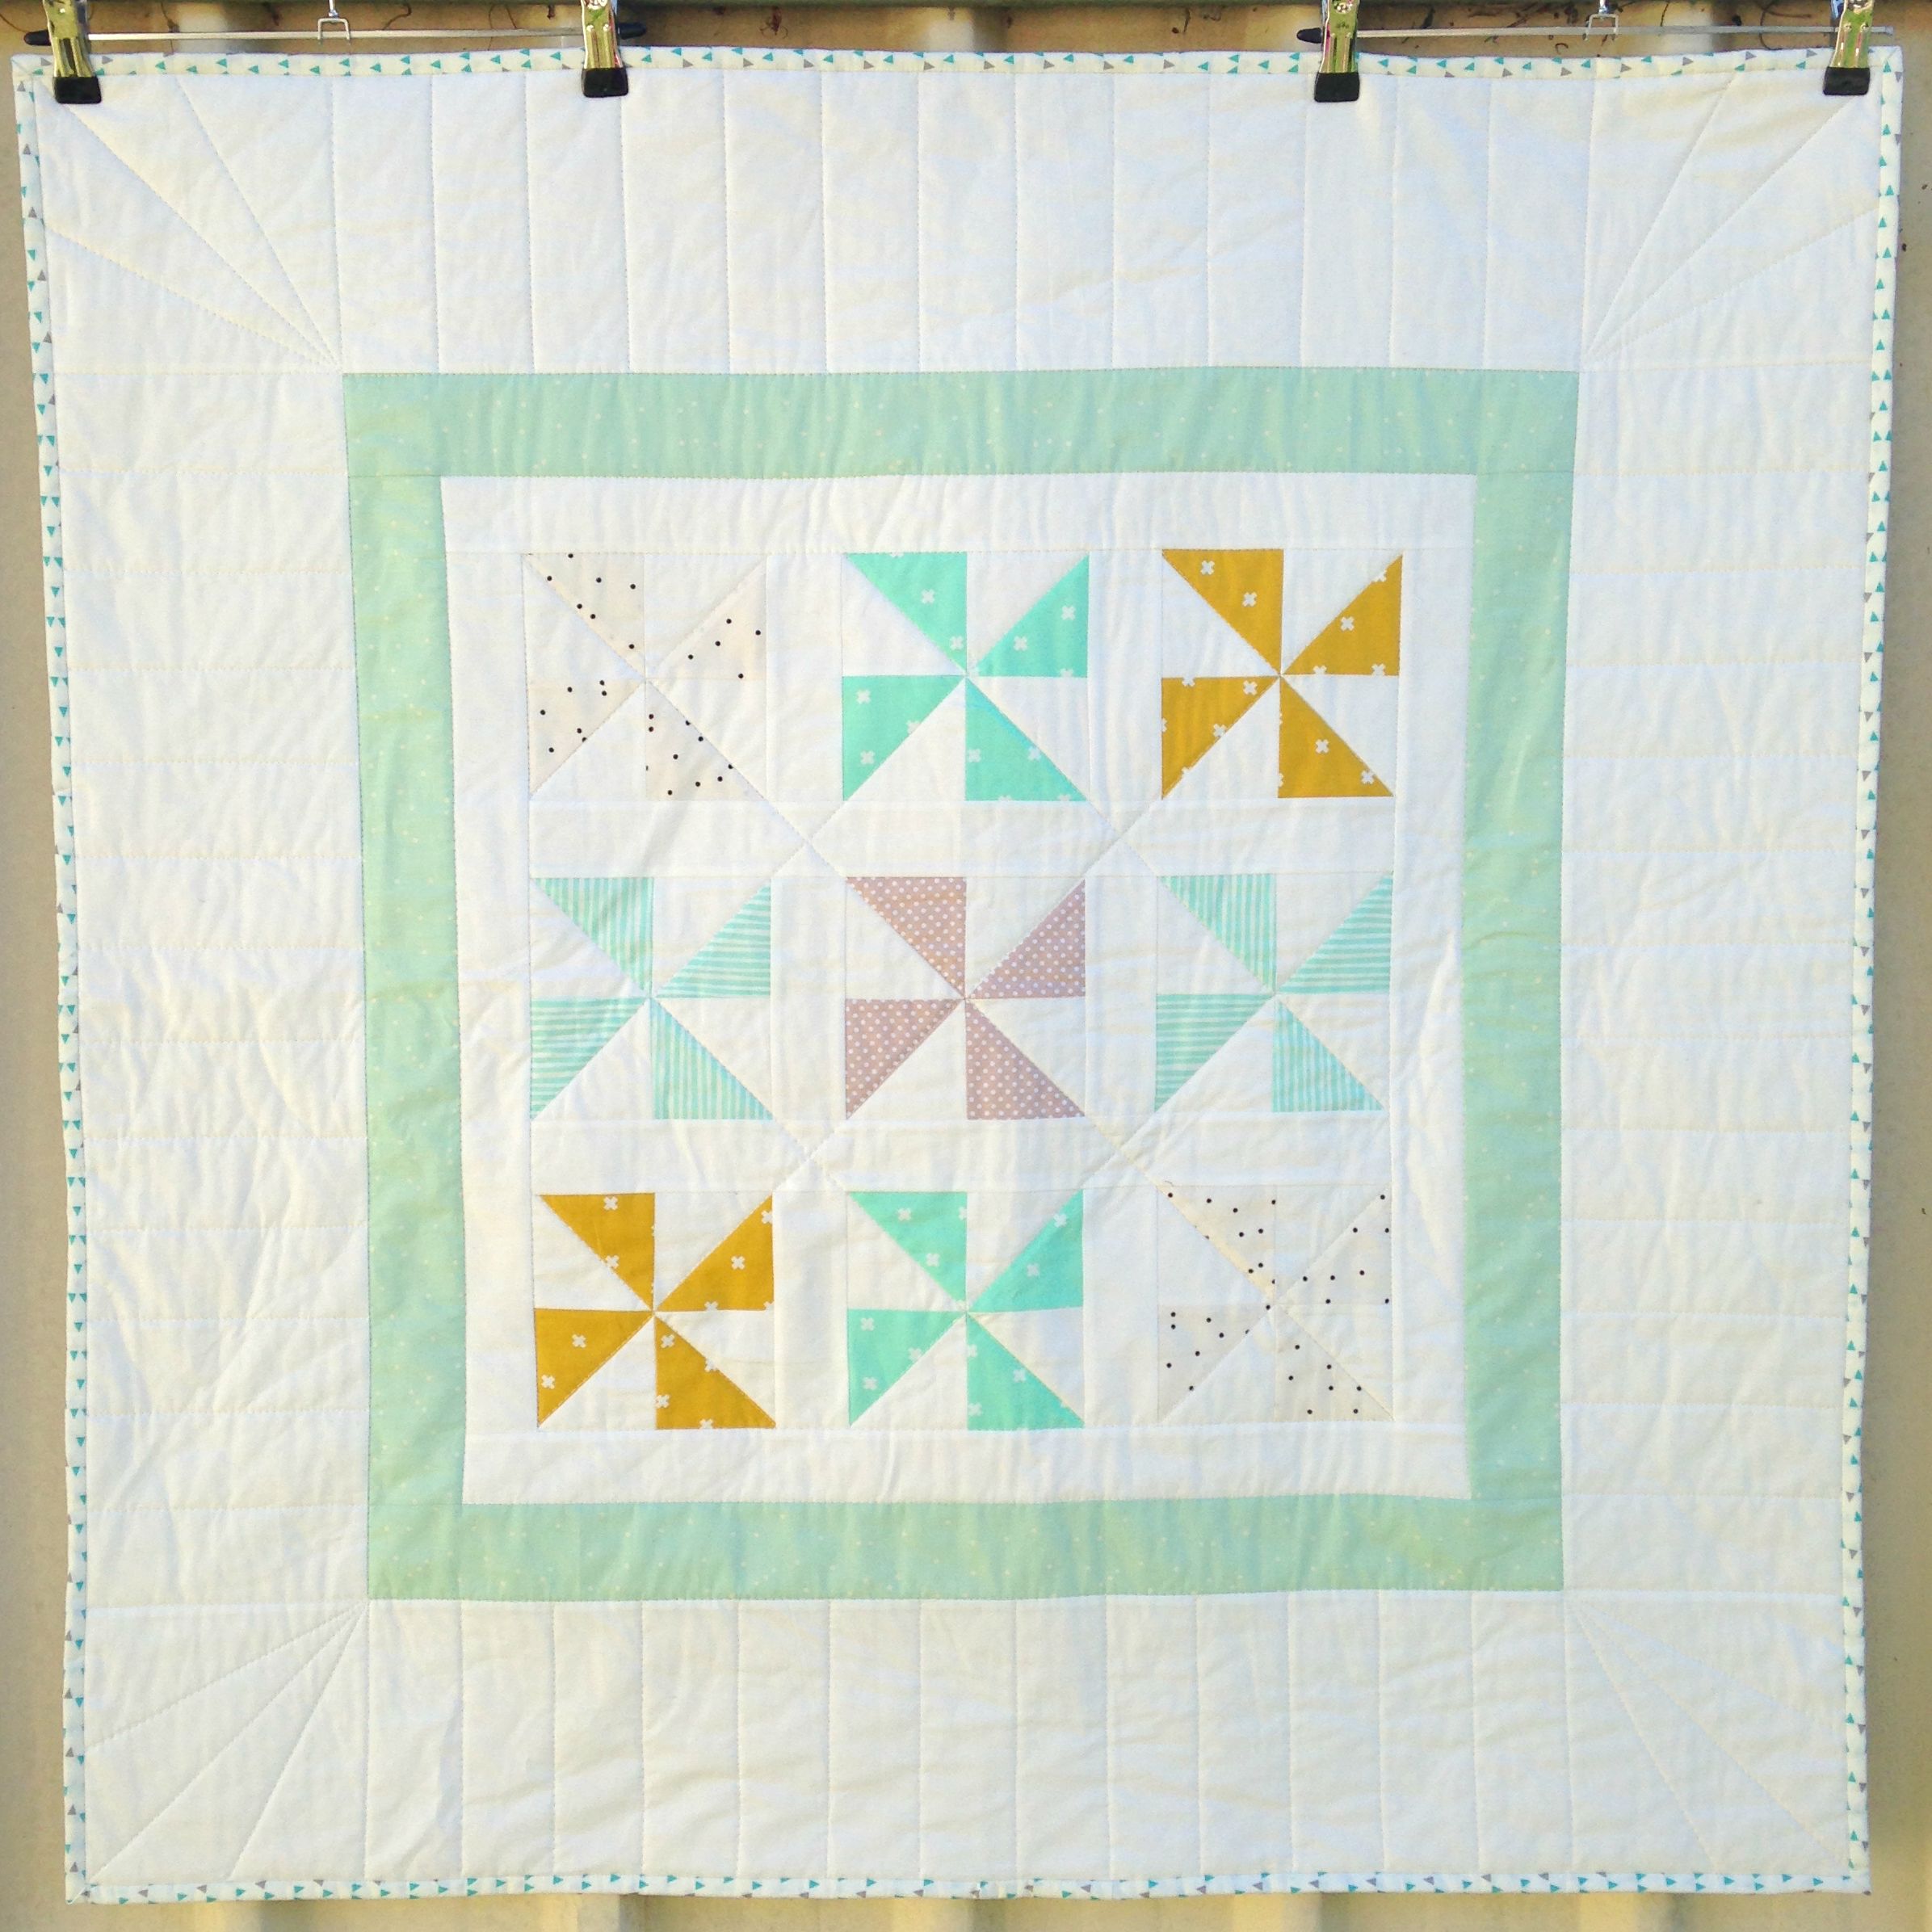
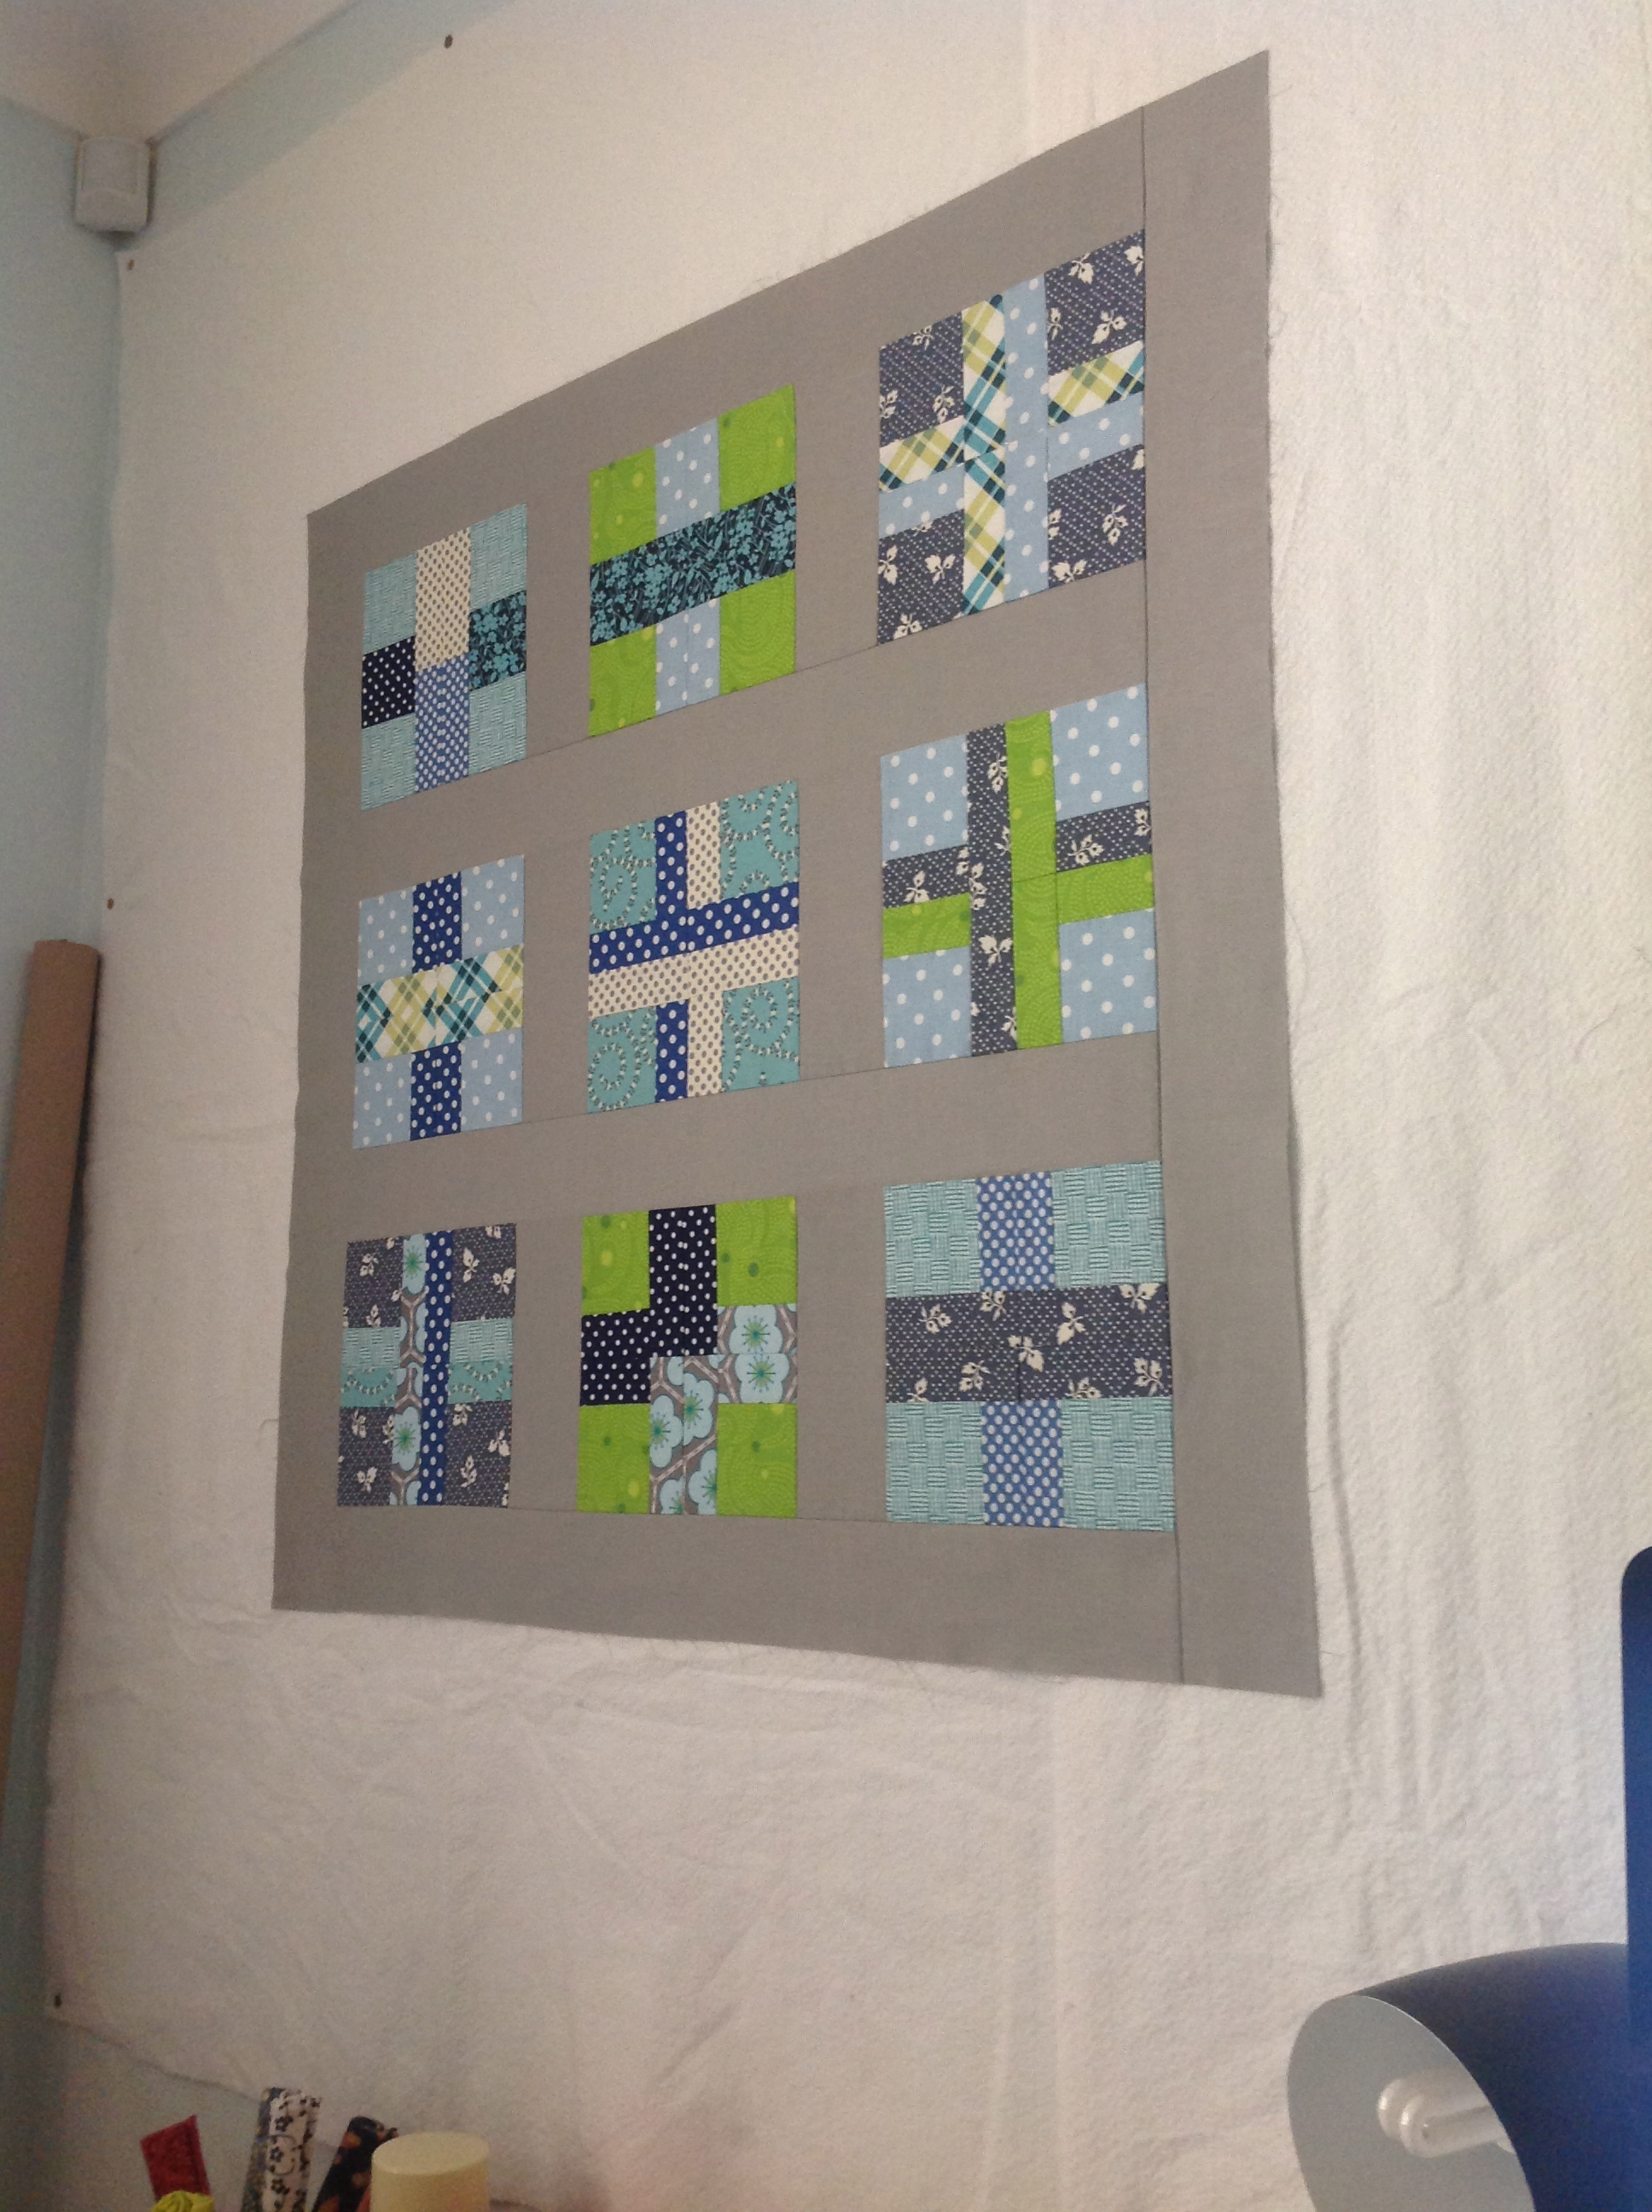
Oh. The Pinwheel Quilt! This came together so quickly and perfectly that I could almost cry at the ease of it!

I always love a good little pinwheel and I think they’re just so ideal for little kid quilts! They’re super-easy to piece together and are the perfect block to use up all of those leftover HSTs you’ve got floating around your sewing room!

You can check out the tutorial for this block here!

Again, for this quilt I used a mixture of the Cotton+Steel and AGF fabrics paired with an off-white solid. I also chose to incorporate another dominate type border sash around the blocks to ‘frame’ the main focus of the quilt.

IMG_4546

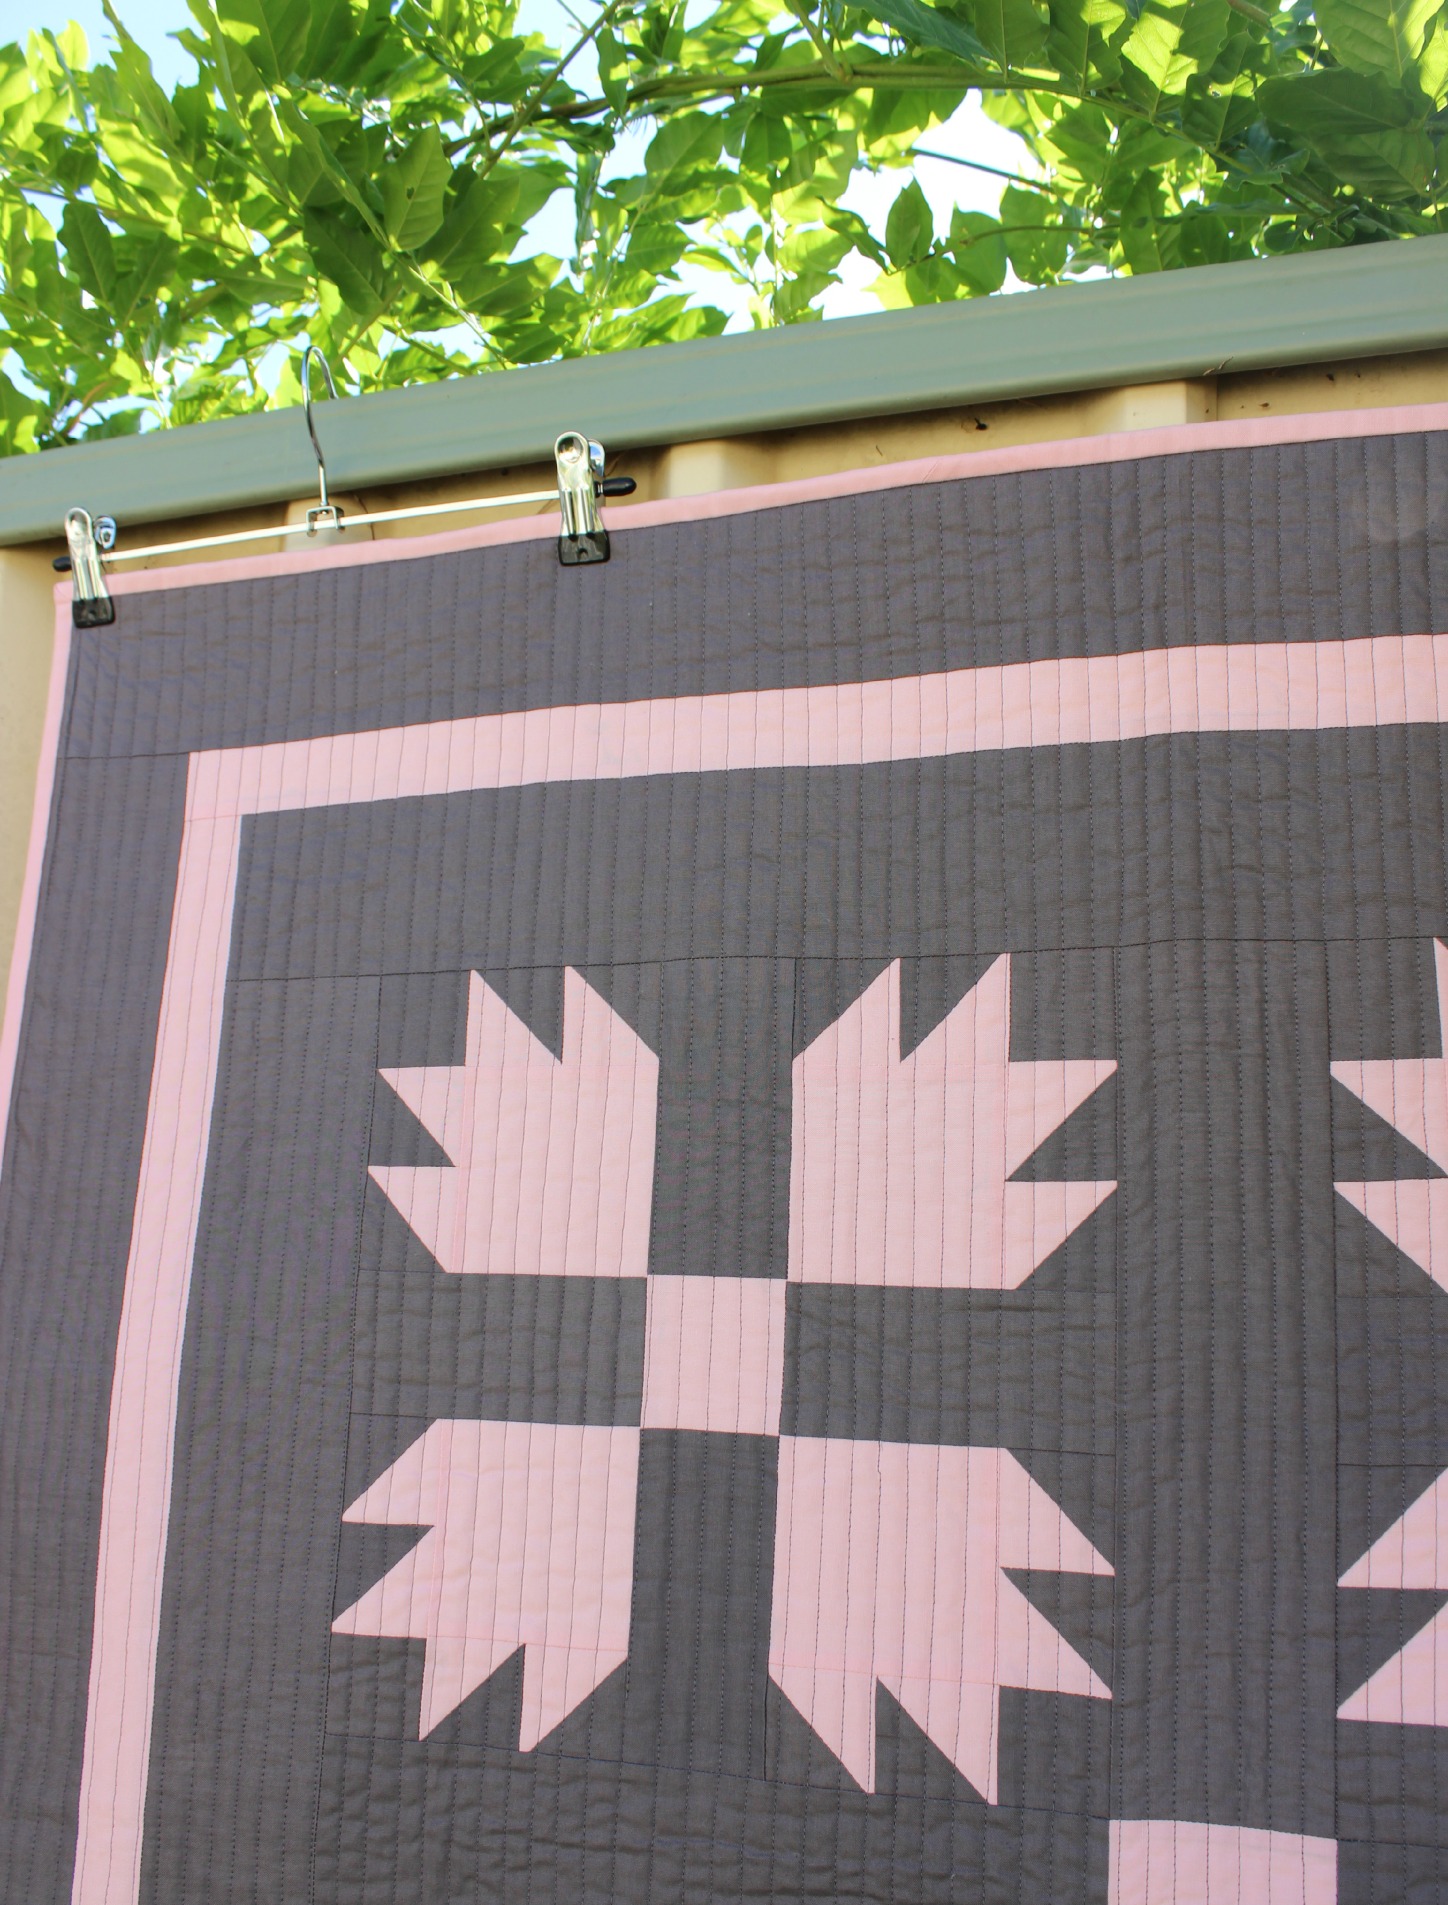
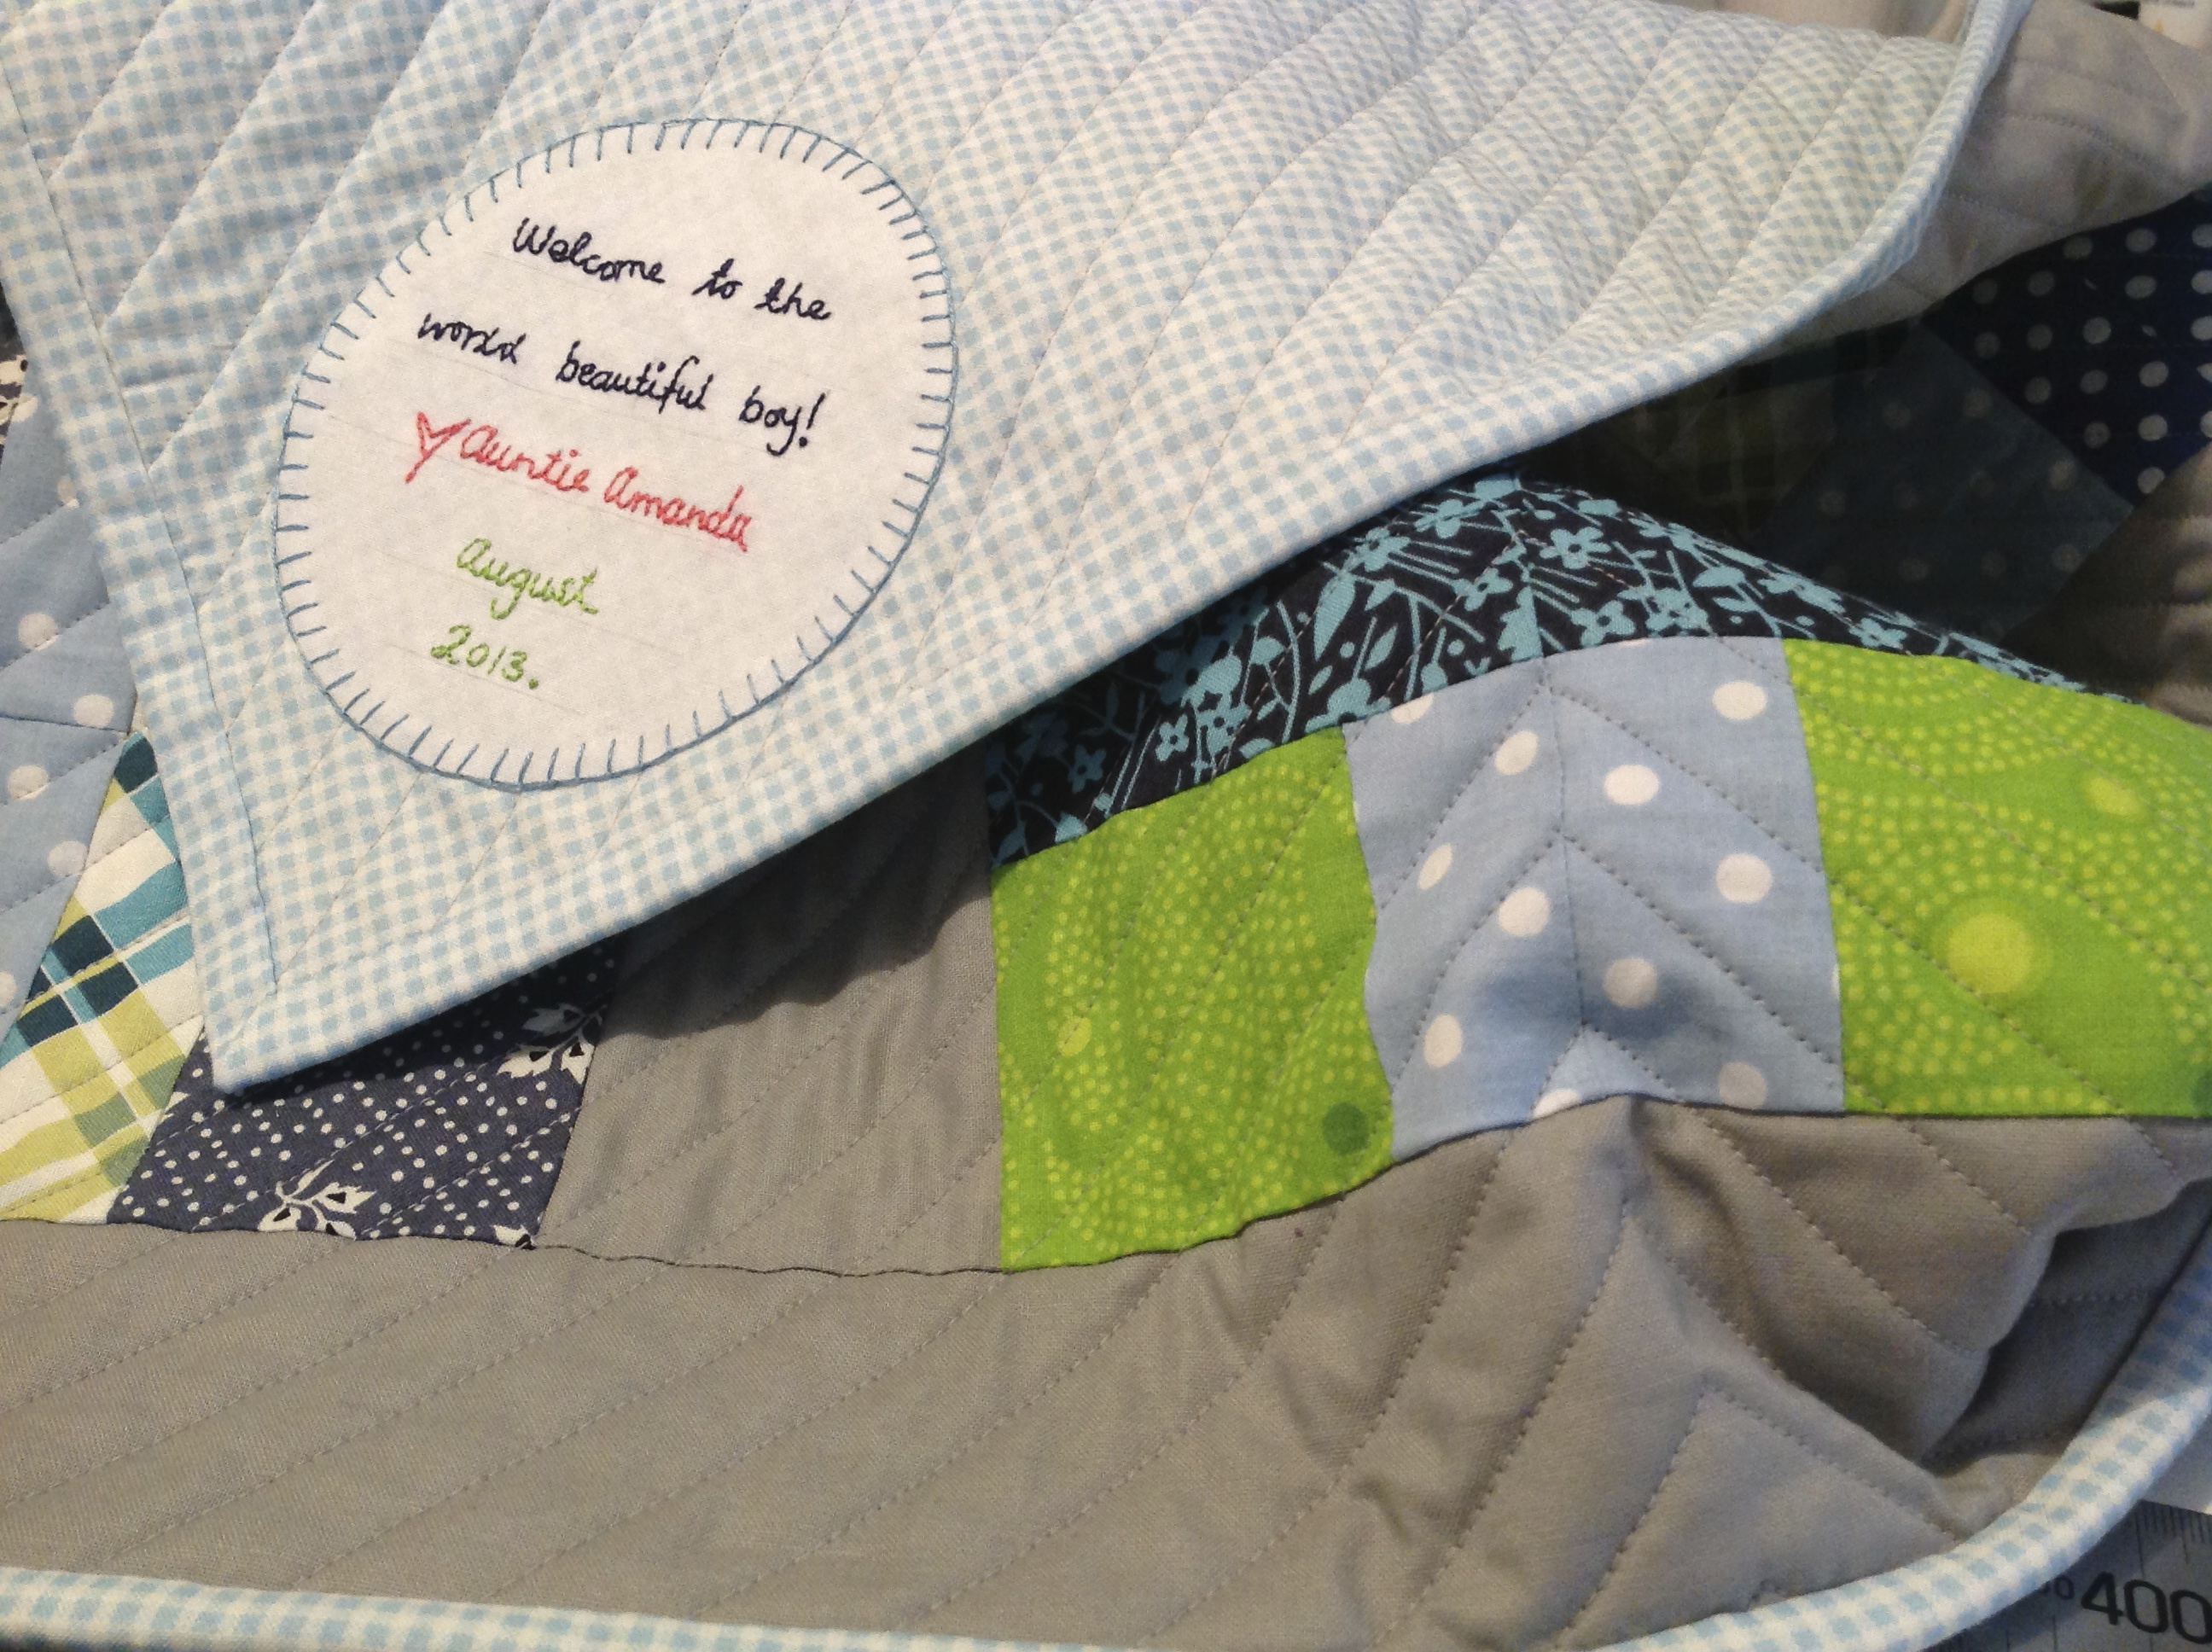
With this quilt, I tried my best to really ‘echo’ or be inspired by the shape of the pinwheel in my quilting. As you may know by now, I love to quilt my quilts using straight lines. And with this, I always love to challenge and stretch my self with the different ways I can do that by exploring direction, shape and density. I think you can really see that with this quilt, especially around the outside border and corners. (BTW: I love doing those little fan-like-designs in the corners, they look so Art Deco-y!) To help achieve the beautiful lines in this quilt, I again used my Clover Hera Marker to create lines in the right positions before quilting over them.

PinwheelFront&Back

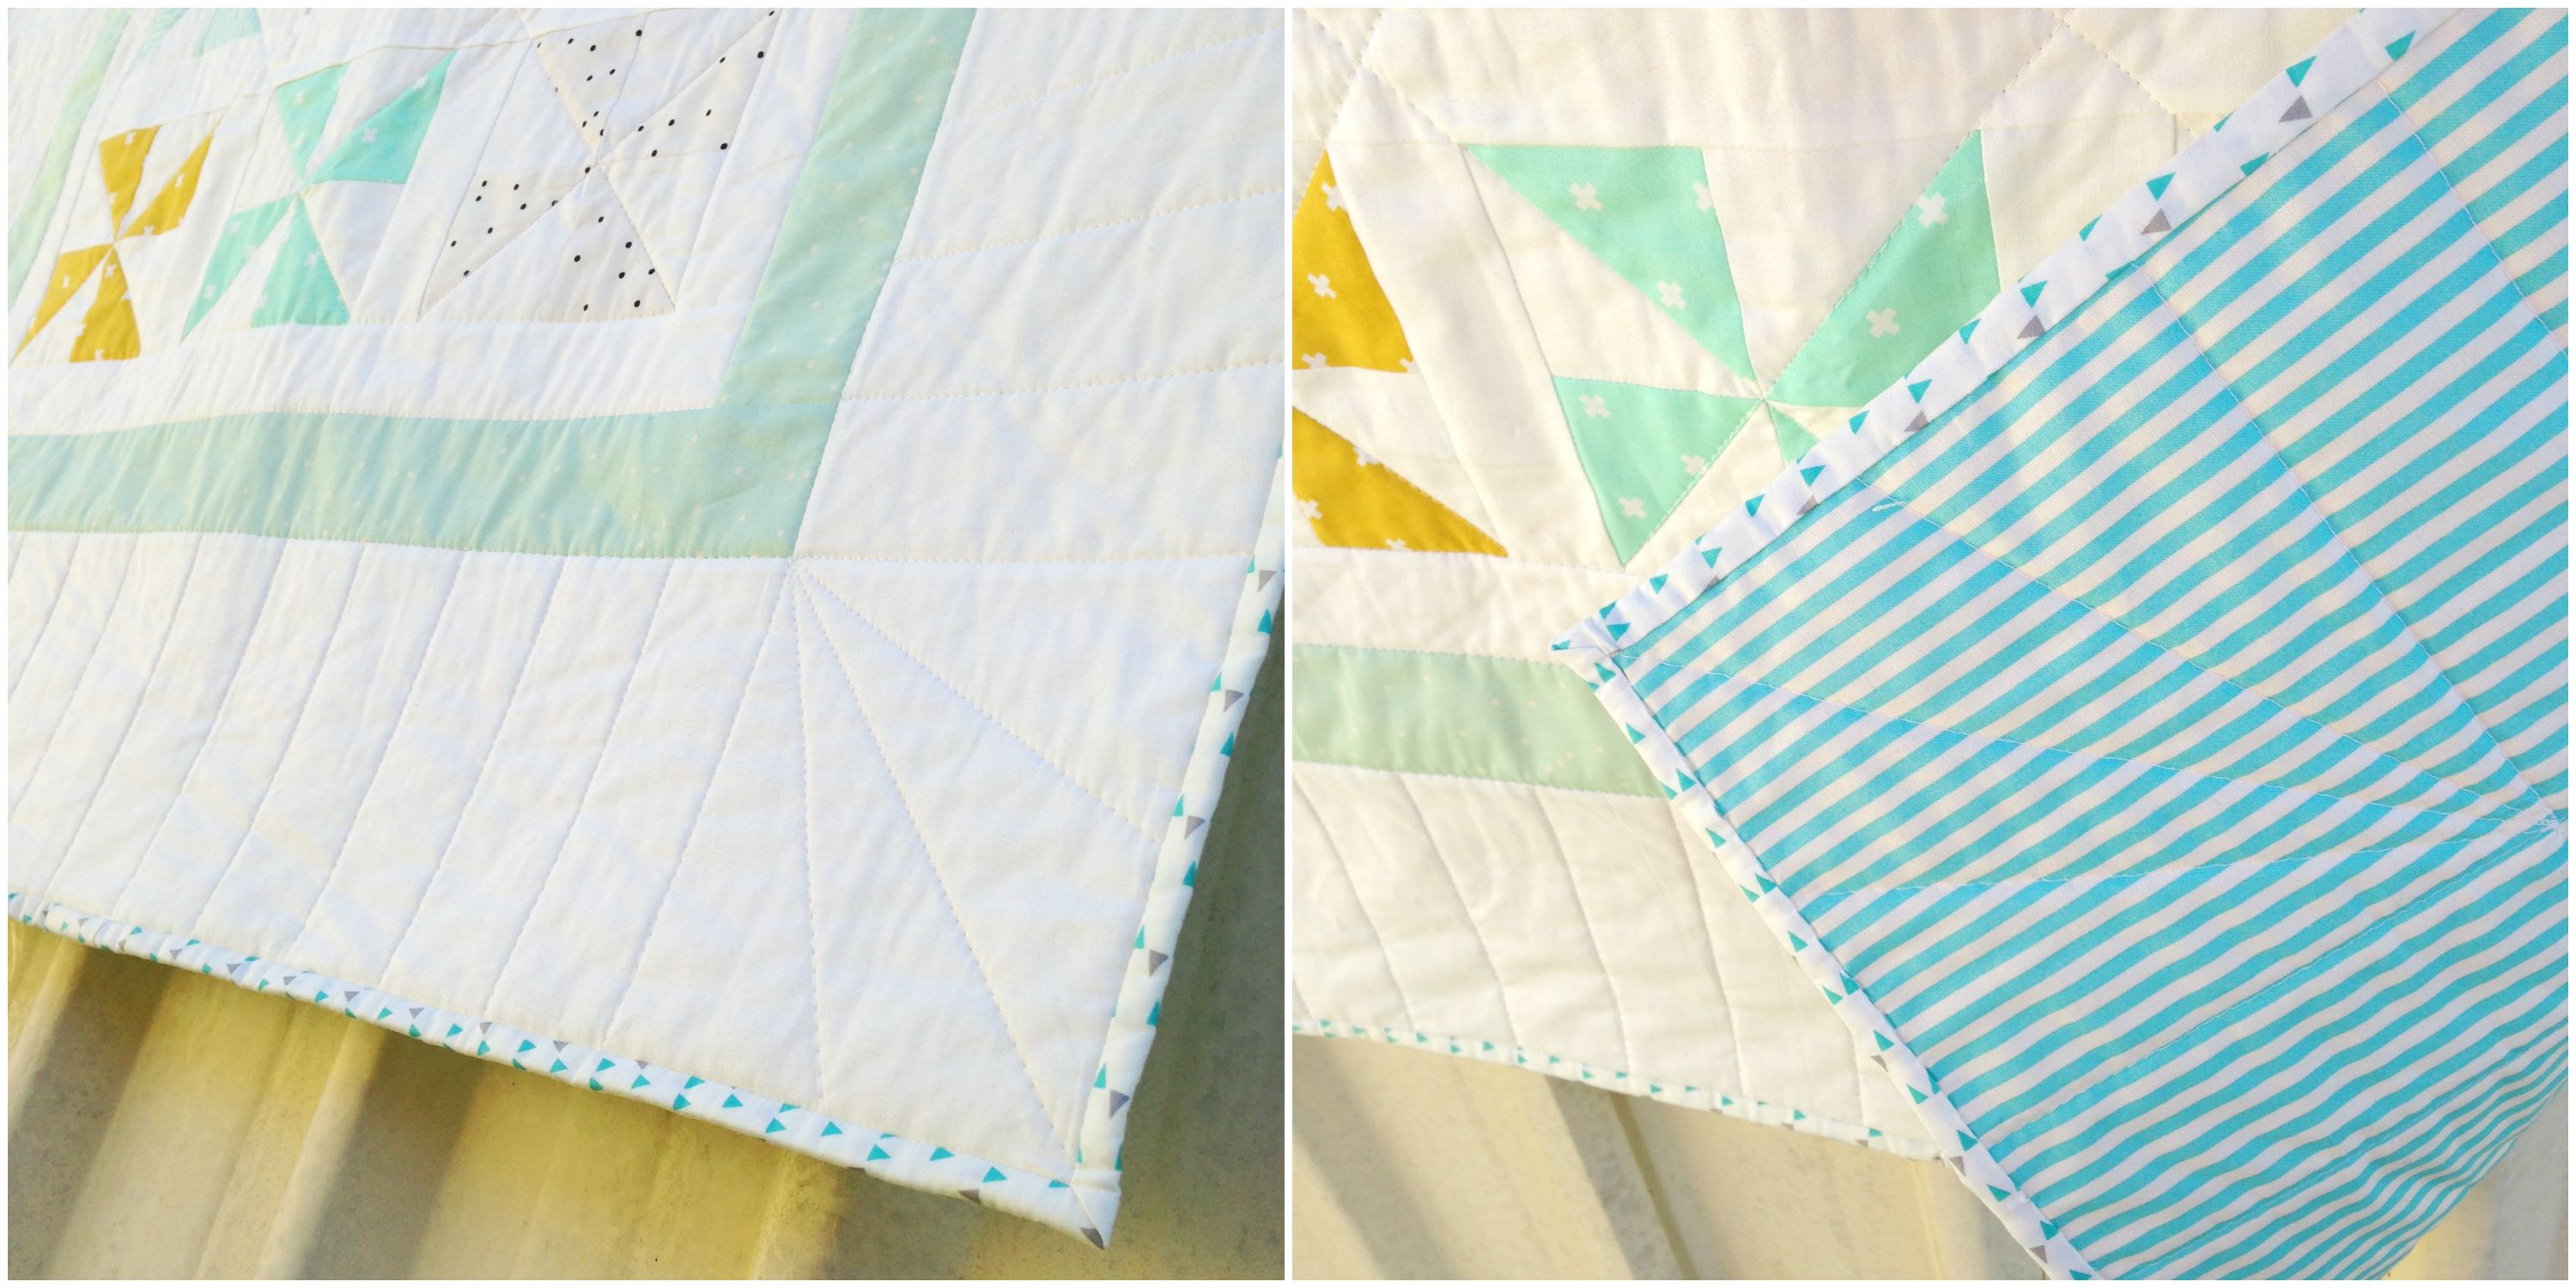
To finish this little lovely, I backed it using a teal and creamy white stripe fabric and used a AGF fabric with little triangles on it for the binding.

+++

TwoLittleBabyQuilts

I’ve had so much fun making these gorgeous little quilts and I’ve loved sharing every single step along the way with you! It also makes me cringe-worthy happy that I’ve even inspired some of you to make these blocks and turn them into beautiful quilts for yourselves!

Thanks to everyone for all of your lovely comments and encouragements throughout the last few weeks when it came to these quilts! It truly means a whole lot!! 🙂

So now, let’s all say ‘cheers’ and wish the lucky little bubbas and mummas-to-be all the best!!

Happy Sewing, Friends!

xx

Advertisement

An Update from my Sewing Room… #2

I can tell you a secret?

(Well, it’s not really a secret. More of a thought, actually.)

I really loved having the opportunity to sit, write and share what had been happening in my Sewing Room last time and the response to that post was really encouraging and supportive! So because of that, I’ve decided to make this into a bit of a series to explore and to use as a ‘newsletter’ type thing, keeping you updated on things that I don’t share so much on YouTube, Instagram or any other of my social networky places. Sound good? Good!

And also, I like writing these types of posts as I love to be able to go back and read about what I was up to this time last year (yes, I am the type of blogger that actually likes to re-read what they wrote a year ago!), or to re-fresh my memory on the progress I made with quilts-in-the-making. I especially like looking back on posts about quilts that I give away, remembering what they looked like and re-living the thoughts (and struggles) I was facing when making them.

So, where to start off this time… Hmm…

Let’s start here!

The other day I did share this completed quilt top on Instagram of one of the commissioned baby quilts I’m making for a friend.

IMG_4354

I’m completely over the moon with how well it’s all come together! I absolutely loved how the fabrics shone, glimmered and danced in the winter sunshine and soft breeze on the day I shot these photos! It was a beautiful moment where my crazy quilt-nerdisms went into hyper-drive and I squealed and giggled to myself over its cuteness!

GrannySquaresQuiltTopDuo

All up, I made five Granny Squares Blocks and had a hard time deciding whether to leave in the top left yellow spot block or this green spot block (ie. the first block I made at beginning!)

My First Granny Squares Block!

I ended up using the yellow spot block as it seemed to balance out all of the mint-green fabrics I had used. It seemed to give the quilt an over-all subtlety and softness that I really like.

Moving on to baby quilt number two. This time around I’m making a small bunch of 5.5″ Pinwheels using the left over 3.5″ squares I over cut for the Granny Squares Blocks. (They really are super adorable!)

Pinwheels1

I’ll also be using up any left over 2″ sashing I used on the previous quilt to sash the Pinwheels together. I think I’ll then add the same kind of border I did to the other one as well, but instead use the soft yellow spot fabric in place of the green strip border.

PinwheelsDuo

Yesterday afternoon I spent some down time finishing the piecing of the Pinwheels and then begun sashing the blocks together. I’m now at the stage where I can quite easily finish the quilt top in one afternoon or evening sewing session. (That’ll either happen today or tomorrow!)

I’ve set myself a goal to have both baby quilt tops finished for the start of next week so I can concentrate on getting them quilted. I think I’ll stick to some pretty basic quilting lines – nothing as intense as my Geo Dreams Quilt or Amelia’s Baby Quilt – as I think it’ll really compliment the softness and simpleness that each of these quilts already radiate.

(Here’s a piece of behind the scenes trivia for you: While piecing the Pinwheel Blocks together, instead listening to music like I usually do, I played season four of Adventure Time in the background! It helped tremendously to make those tedious steps of squaring up HSTs and pressing tricky seams a lot more bearable and fun! Math!)

8087079d646ea5586809f50d6d662595
Finn & Jake // IMAGE SOURCE

The next thing I wanted to share with you is a pattern that I’ve been swooning over for the past week! And it’s this one by Fat Quarter Shop

The Panda-Monium Mini Quilt!

Panda-Monium Mini Quilt by Fat Quarter Shop // SOURCE
Panda-Monium Mini Quilt by Fat Quarter Shop // IMAGE SOURCE

I’m dying to get stuck into making this sweet little mini but I just can’t… I already have my fingers in so many pies, so to speak, that I really need to calm myself down, put my patience pants on and begin it when I don’t already have so many other quilts to get finished!! (And seeing so many great versions of it being made on Instagram doesn’t help to calm my fever!!)

Oh, and I forget to mention – it’s a free pattern!! (Say what!?) Yep. A FREE pattern! I love a good freebie! Annndd, there’s also a YouTube tutorial on the Fat Quarter Shop channel showing you how to make it! How good is that?! 😀

And lastly, may I just say, how awesome is the Mollie Makes magazine?!

MollieMakes

If I could sum up everything that I want to be as quilter/sewer/crafter/whatever, this magazine is it! It’s 100% me but in pretty matte-pages form!

Although we’re a few issues behind here in Australia and you literally have to pay a small fortune for just one copy, it’s totes worth it, especially when you get cute freebies like pastel vintage buttons and DIY pincushion kits!!

+++

So that’s it this time ’round.

The weekend ahead, as usual, is full of sewing, creating, filming and editing!

I hope you’re weekend will be just as fun as mine!

Happy Sewing, Friends!

xx

A Beautiful Baby Quilt…

AmeliasQuilt2

AmeliasQuilt4

AmeliasQuilt1

AmeliasQuilt3

Over the past few weeks, I’ve been busy cutting, piecing and quilting this beautiful little quilt for my future niece, due next month.

For this quilt, I wanted to merge traditional with modern by using this Bear Paw Block as the central design while featuring fresh colours and modern quilting lines.

I also have to admit that it was joyfully wonderful to finally work in the colour pink! After making quilts for four nephews, the change in colour palette was like a beautiful breeze of fresh air!

I gifted this quilt away yesterday at her baby shower and I can only hope that she will find comfort and warmth in it always!

xx

FOR SALE | Pink Heart Baby Quilt

Pink Heart Baby Quilt

This sweet little quilt is for sale!!

I’ve just listed it on my online madeit store – CLICK HERE to see the deets!

Unfortunately, this quilt is only open for purchase within Australia…

(P&H rates are insanely expensive atm!)

Share this post with anyone who you think will cherish and love this quilt!

Cheerio

&

Happy Sewing!!

xx

PinkHeart7

Hello Bubba!

I’m an Auntie once more!

Baby Xavier was born Thursday morning and is an absolute cutie!

IMG_1912

And of course, I made him a quilt!

IMG_7172

IMG_0340

The blocks were constructed using the Quilty Crosses method by Auntie Cookie –  the same I used when making my Minimalist: 101 Quilt.

I just wanted to make a quilt that was simple, modern and bright…and a bit boyish as well!

Here are some piccys I took along the way…

Ready for basting
Ready for basting
Let's get quilting!
Let’s get quilting!
Quilting Lines | Front
Quilting Lines | Back
It's Binding Time!
It’s Binding Time!
Finished!
Finished!

Current News:

I have a few projects on the go (as you do!):

  • String Quilt – ready for basting | Saving $$ for the copious amount of batting I’ll need to complete it!
  • A video! Whoo! I’m venturing into new territory here and have begun filming something special based around this quilt…
Mystery Film Quilt!
Mystery Film Quilt!

I’m a quarter of the way through filming and editing and will post it up ASAP. Oh and FYI, it won’t really be a teaching/tutorial video but more of a watch-and-see-how-a-quilt-is-made kinda video. Hopefully it works out!

That’s it today! I’m off to enjoy the winter afternoon sun!

Happy Sewing! xx