
About a week ago I finished stitching a lovely floral embroidery that I had sitting on my desk waiting to be started for about six months or so. It was one of those designs that as soon as I saw it, I just had to make it!
Quite often I find myself go in and out of favourite styles or types of ways to be creative; whether it be simple patchwork piecing, quilting, crafting or a bit of delicate embroidery. So at a time where I was struggling to find the time and energy to do anything creative because of my work schedule and other life-y responsibilities, my itchy fingers and restless mind were in desperate need to do something fun, colourful, beautiful and creative! (Also the fact that I was in the mood for snuggling up on the lounge with a favourite quilt and re-watching one of my favourite movie franchises: The Lord of the Rings – Extended Editions played a huge role in getting this embroidery started!)
So this is where the nerdy part starts; A basic analysation of an embroidery…
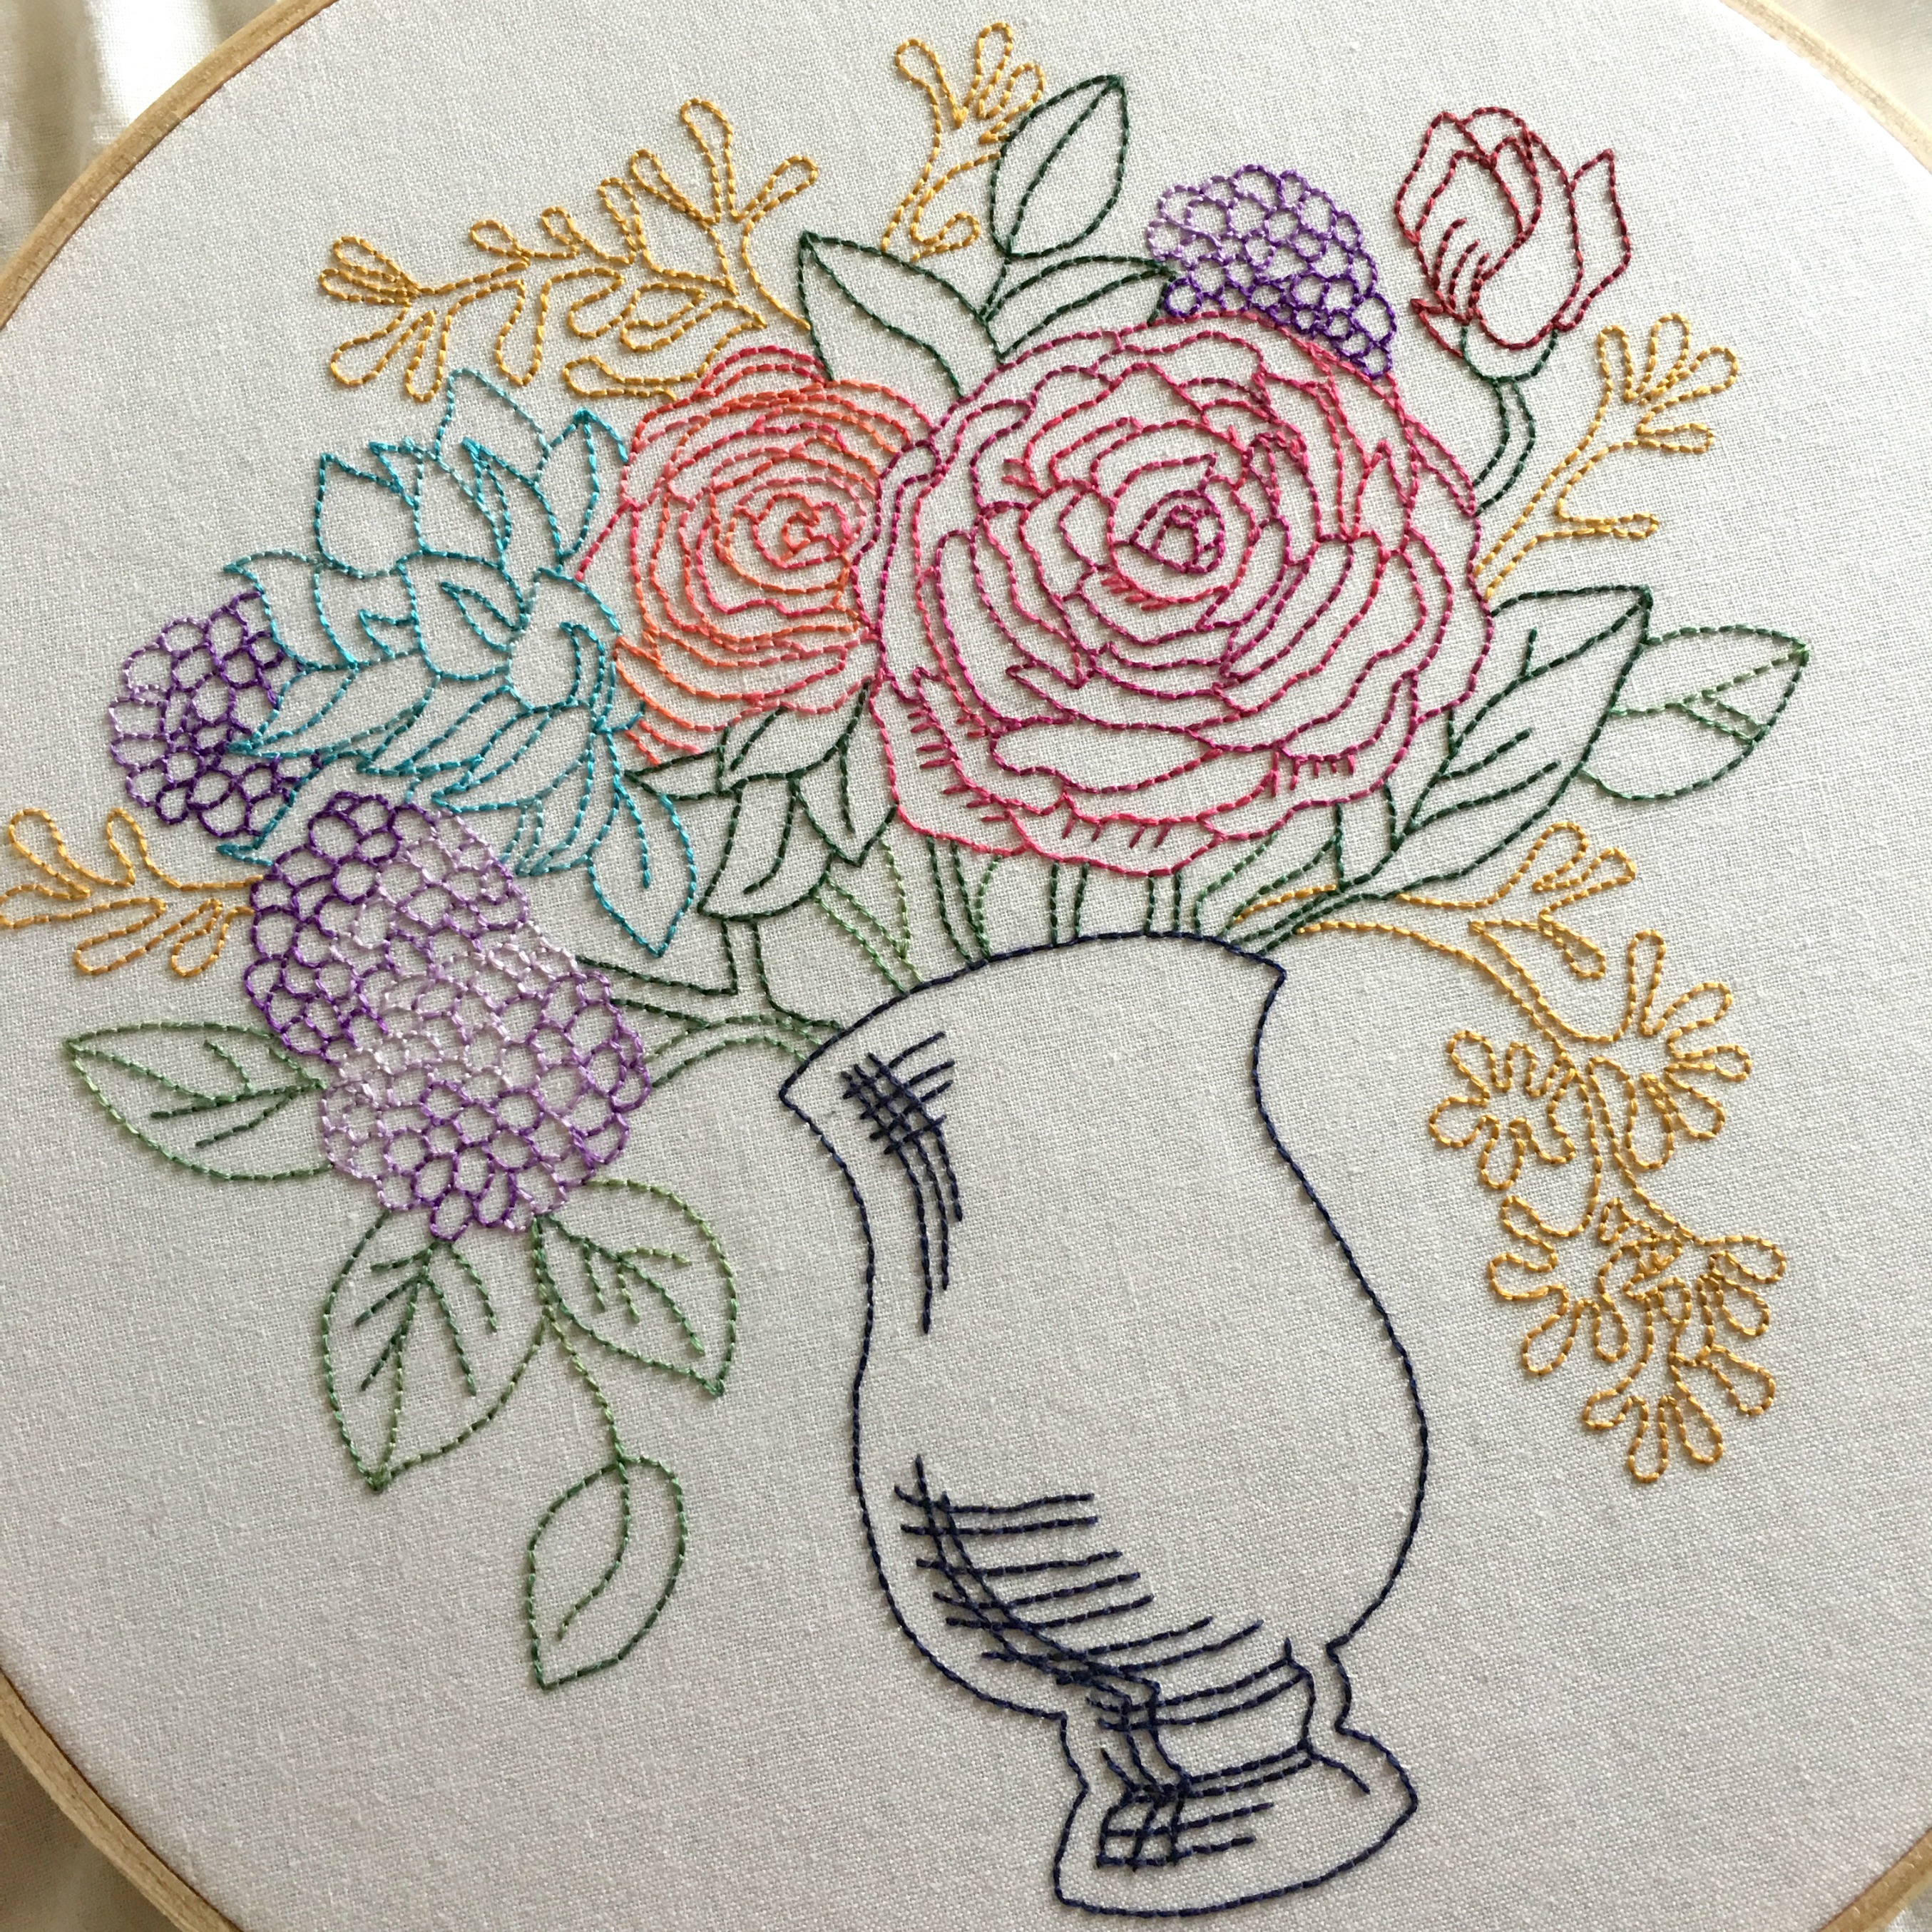
When figuring out what colours to use for this design, I put my Florist hat on and thought sensibly about what kind of flowers where in it and what types of colours they would be in real life. I knew instantly that I wanted to use a variegated purple thread for the fluffy hydrangeas on the left hand side and at the back of the arrangement. Hydrangeas come in so many beautiful colours and shades and I wanted to really show the lighter and darker changes that the little flowers making up a hydrangea head have.


That big rose right of centre had to be red! It needed to be centre stage; fluffy, full and magnificent! Again, I used a variegated thread for this to add interest and to give a little bit more depth to the overall design. Its lovely little friend behind it is a couple of shades lighter, a little bit more fuller and finished again with a variegated thread full of luscious shades of oranges, pinks and reds.


The other elements of the arrangement (know as ‘filler’ flowers in the world of floristry) I also wanted to be true-ish to life and not take away initial interest of the main flowers. The deep greens and flowing golds compliment the overall colour scheme and design, while the heavy navy vase cements the design adding shape, roundness and a finality to the arrangement. In early plans I was actually going to embroider the vase a metallic gold but as the embroidery got along, I thought if I did that there would be too much gold/yellow tones in the design. By using a near opposite colour from the colour wheel, the navy vase compliments everything perfectly!

So there you have it. I little peak into how my brain worked out how to apply colour to this darling embroidery. Whether you found this post dead boring or super helpful, I hoped you enjoyed watching this embroidery come to life. And if you saw it all unfold on Instagram, thank you for enjoying the endless ‘spam’ of my work-in-progress!
Now I’m on the hunt for the perfect frame so that I can hang this beauty on a wall in my sewing room and swoon over it every time I notice it! I love finding old frames at charity shops so I think that’s what I’ll do when I next get the chance!
Also, if you would love to make this embroidery too, I found the pattern on one of my favourite websites that have a great range of embroidery designs, Urban Threads.
+++
And now I’m onto the ‘what’s next?’ phase.
Although I have a tonne of other projects to finish (*cough* Star Sampler Quilt Along! *cough*), I’m always on the hunt and yearning to start something new! Here though, is a quick list of immediate projects I’ve got going and/or want to start very soon!
- Star Sampler Quilt Along to finish (the quilt-top construction tutorial will hopefully be ready this coming week!)
- Pixelated Rose Quilt to continue piecing (see my Instagram for more updates!)
- New crafty YouTube Tutorials to plan and film (includes a lunch tote bag, flower crown and floral wreath and of course more block tutorials!)
- A winter coat to lay out, cut and sew together (yep, the inner dressmaker in me is dying to break out!!)
- Swoon. I have yet another Swoon block waiting patiently for me to piece together (this one involves a beautiful colour palette of purple Tula Pink fabrics!)
There’s just so much I want and need to do! It can be awfully overwhelming at times… But little-by-little I’ll get there and do it all to the best of my ability!
I hope you’re all enjoying a splendid period of creativeness and are enjoying whatever it is that you’re currently making!
Happy Sewing, Friends!
xx

I love your work but u need to be more accurate, because i am learning
LikeLike
Why Amanda Why? You are a crafty enabler. Now I’m going out to buy all the things to embroidery. Really, who am I kidding, it doesn’t take much to influence me to take up more crafting but your piece is so nice and I love seeing the variegated flosses in use.
LikeLike
Love this Amanda, thanks for sharing this beautiful stitcher! Wondering if you have a tutorial for square in a square block. I need to make a 12.5 unfinished block, I have know idea how to figure out the sizes of each block. Maybe a paper piecing pattern?
Sent from my iPad, Barb
>
LikeLike
I really enjoyed reading this blog post! I think it’s very clever to apply your florist knowledge into this kind of pattern. The result is just lovely (and I really enjoyed seeing the progress on Instagram too). I am curious about what fabric did you use as a base. It’s linen? It looks gorgeous.
I look forward the next step of the QAL, although I might have a plan of my own, I’ll wait until I see what you have in storage ;-).
Best regards, Ariadna.
LikeLike
That’s really beautiful and I love that you have put so much thought into being true to the original flower colours. It makes me think of some beautiful embroideries done by my distant great aunts, which must be from the first part of the 20th century. My mum still has them all… she got one framed which is lovely, although most of the others have some degree of staining (must have been all those afternoon teas!!) on the old white linen which I don’t know how to get out without ruining the embroidery.
LikeLike