As is expected at this time of the year, the last few weeks have been filled with festive get-togethers, exciting gift making and an endless array of baking, giving me very little time to tend to my lovely little blog.
But in the last few days before Christmas, I’ve hoarded away a little bit of time to spend writing to you! And boy, is there a lot to write!
So with Tony Bennett’s Christmas album crooning in the background, let’s get down to business!
First, allow me to introduce to you my beautiful niece Amelia who was born on the 5th December.

She came into the world in a very hurried fashioned that earned her and her parents a National News worthy story! Let’s just say, they didn’t quite make it to the hospital in time! Here’s the story if you want to know more!
Next, let’s address the title of this post…
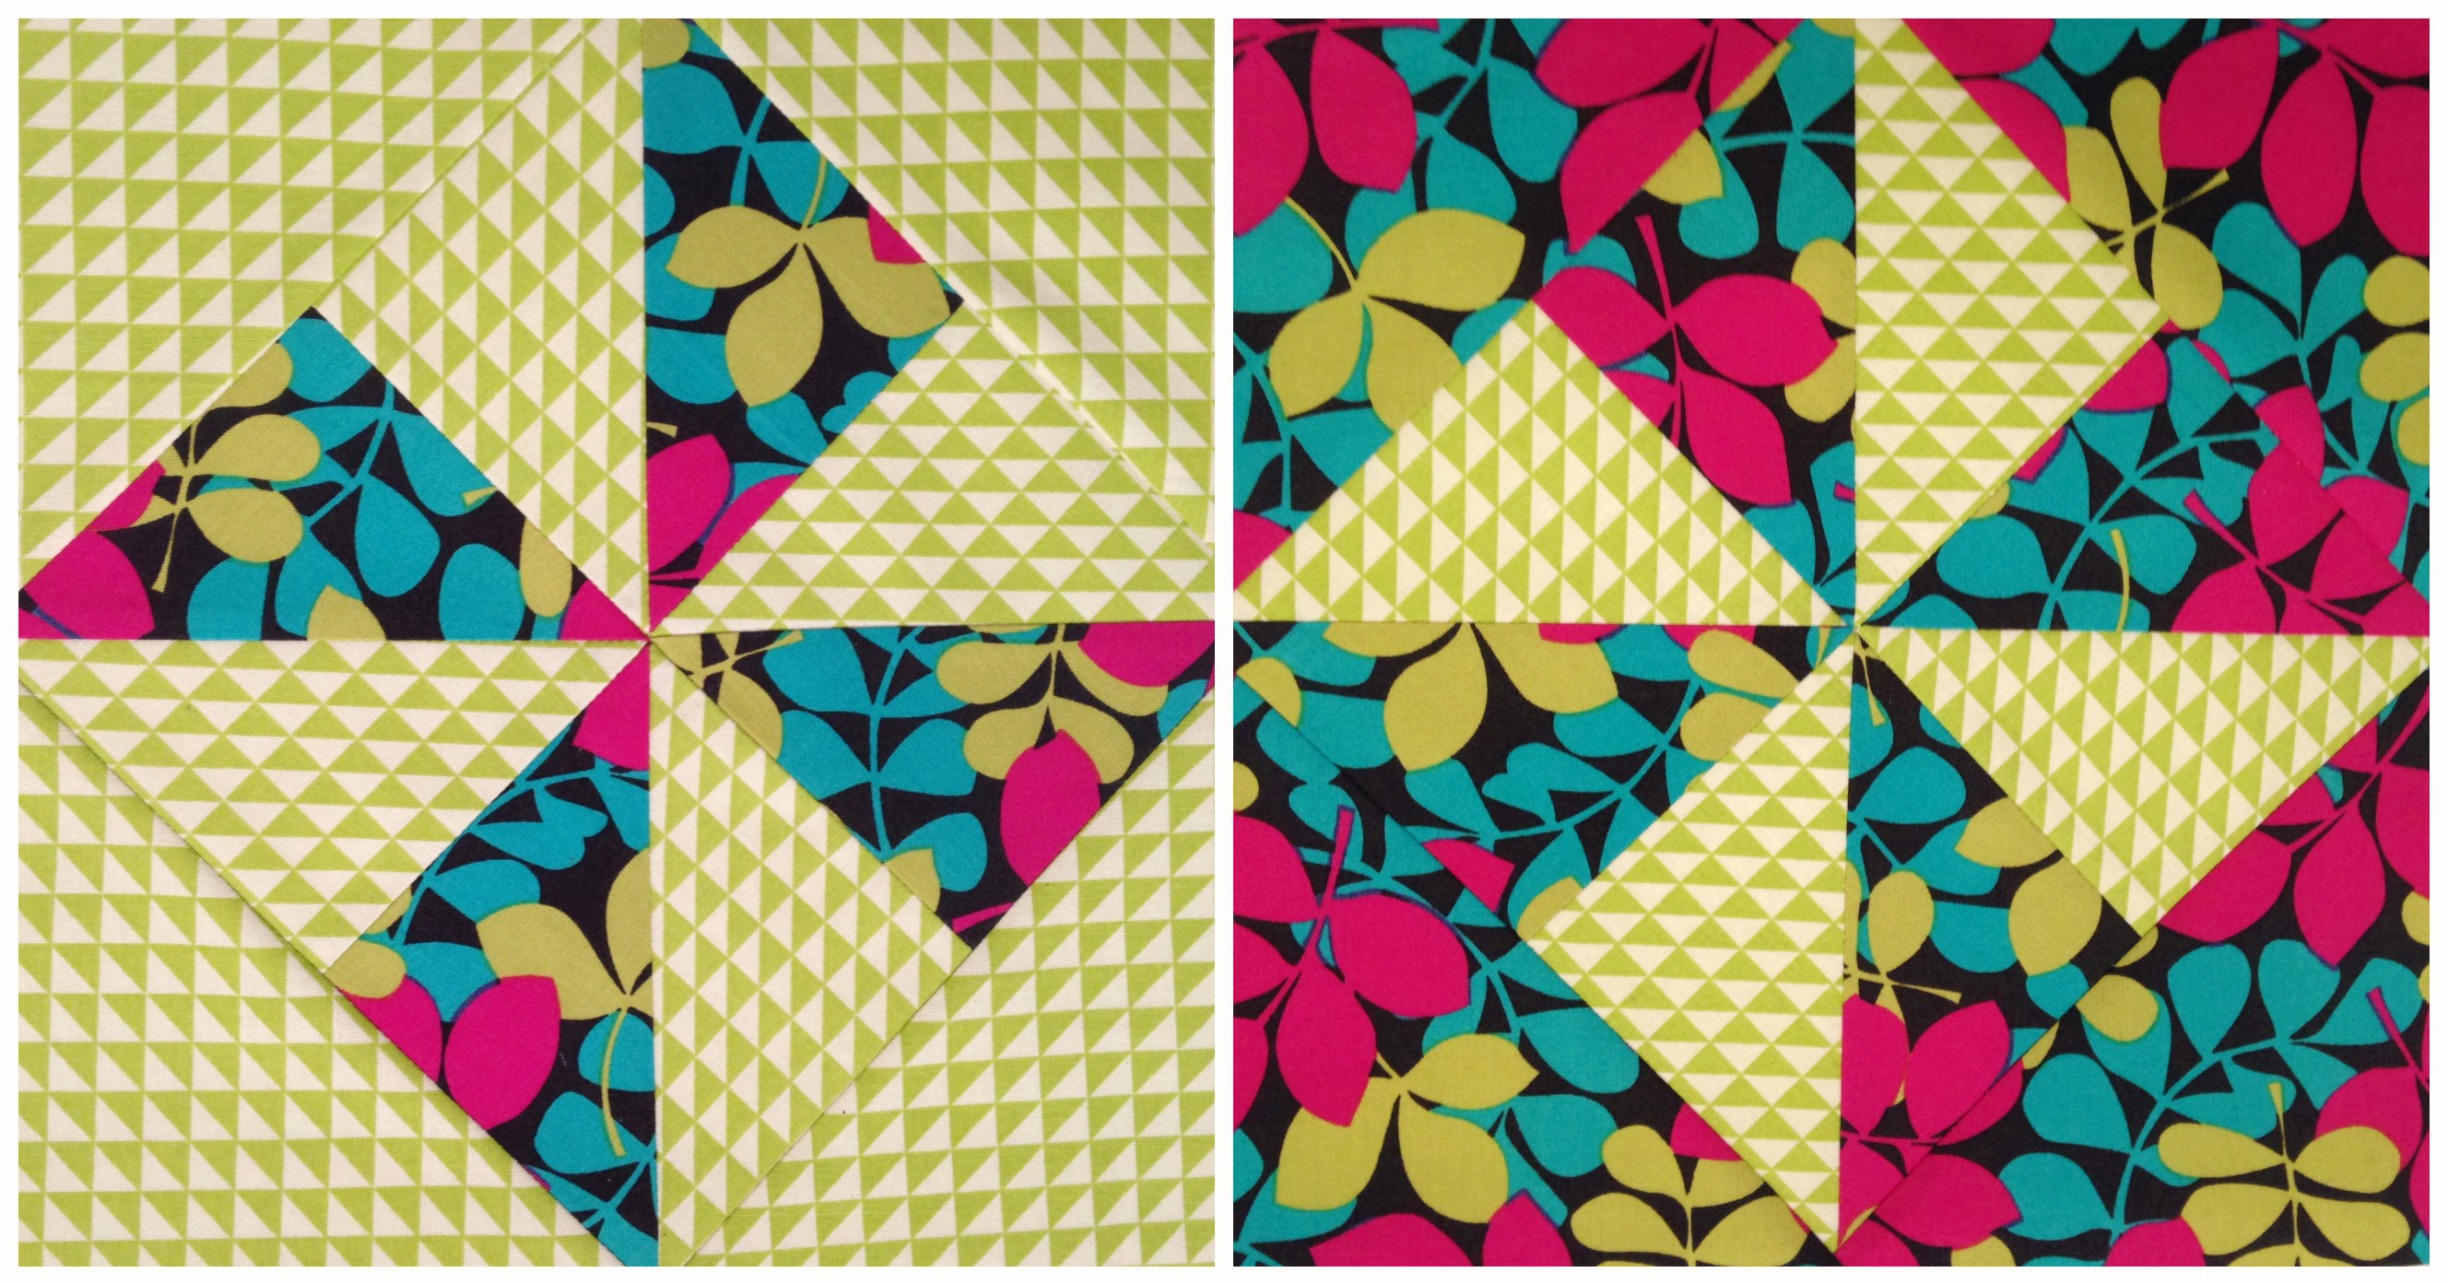
Yes indeed, I did make a quilt. And I did it in quite a sneaky type way too (you may have seen a few glimpses on Instagram!). Usually at Christmas, my close group of friends and I do a Kriss Kringle type of gift giving. So to sooth my need to make a quilt as a gift this Christmas season, I chose to make one for one of my closest girlfriends who I’ve known since high school.

Thankfully she loved it! And even luckier, the colours went perfectly with a lot of the décor she has in her new inner-city apartment! Whoo!
The pattern I used is called the Tribute Star Quilt that I found (as a FREE download!!) on the Denyse Schmidt website! It’s quite an easy pattern to follow, choc-full of HSTs and simple squares that would look great using any print or solid fabrics.
Sometime in the New Year, I’m planning on giving the Tribute Star block another go using a few different type prints (maybe) and turning the block onto it’s point and adding corner triangles to the edges. From what I can see in my mind’s eye, I think it’ll be a little good ‘un!
What’s also kept me busy over the past few weeks are the Christmas tutorials I’ve been filming, editing and publishing onto YouTube!
Videos I’ve made include:
Paper-Pieced Christmas Trees
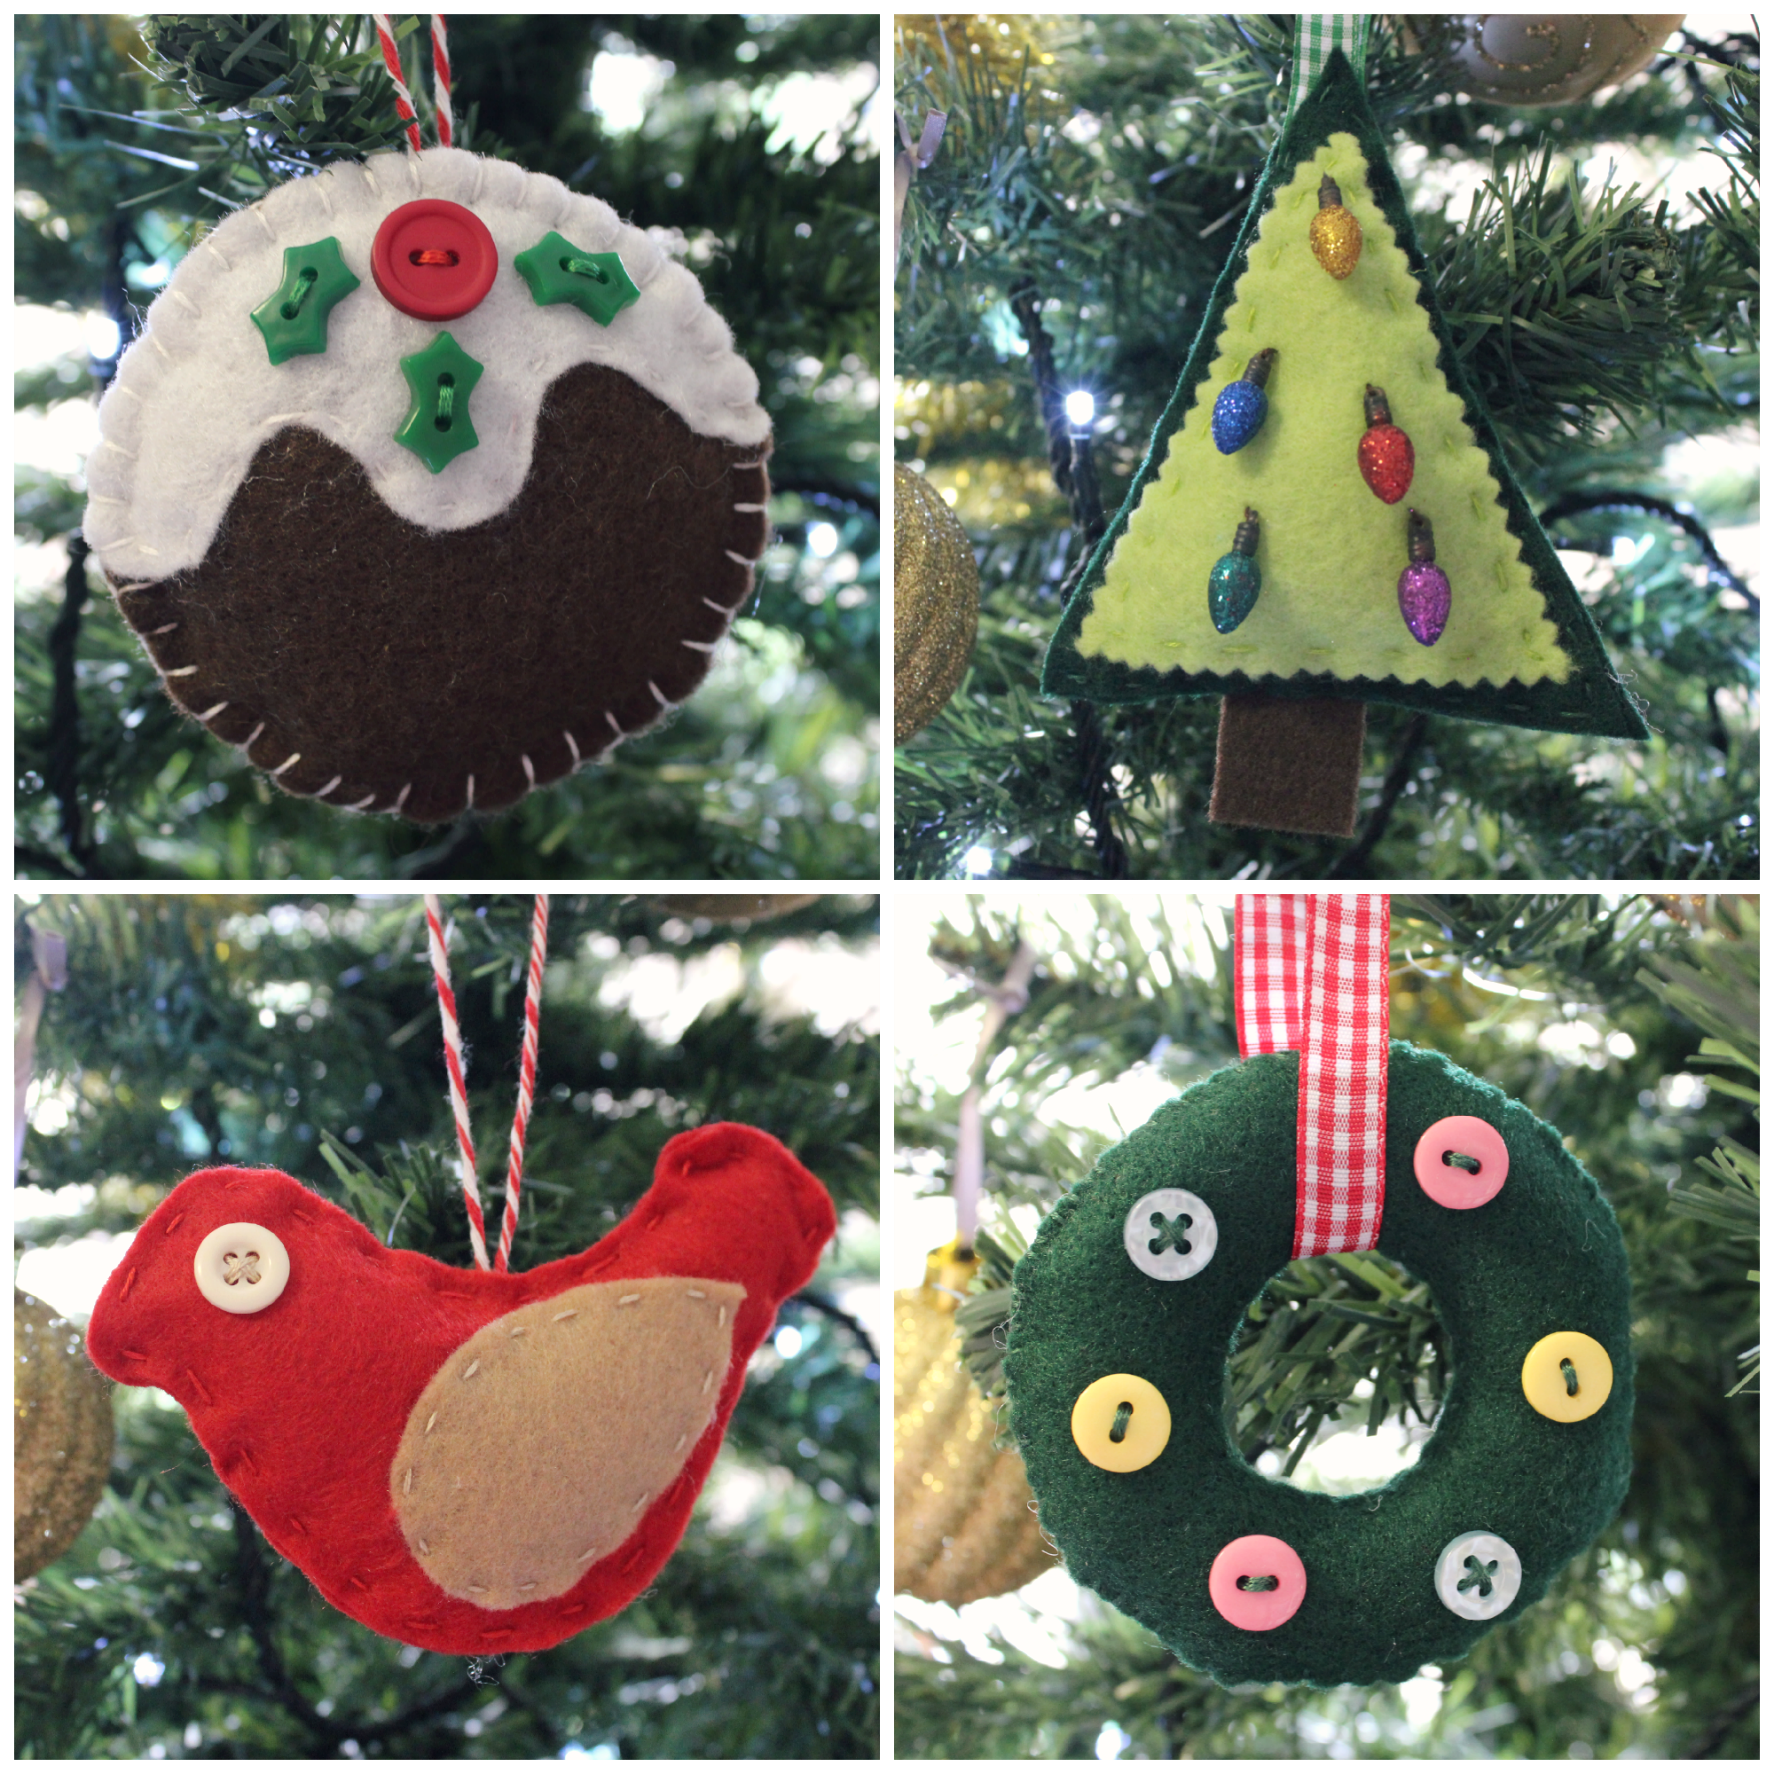
Handmade Christmas Felt Ornaments
Handmade Christmas Paper Crafts
Reindeer Cupcakes
The BEST Gingerbread Men in the World
Rocky-Road Christmas Tree
I’ve been putting so much time and effort into these little videos to the point where I’m quite ready to take a much-needed break once Christmas and Boxing Day arrive!
However, once Christmas is over, I’ll be getting straight back into it!
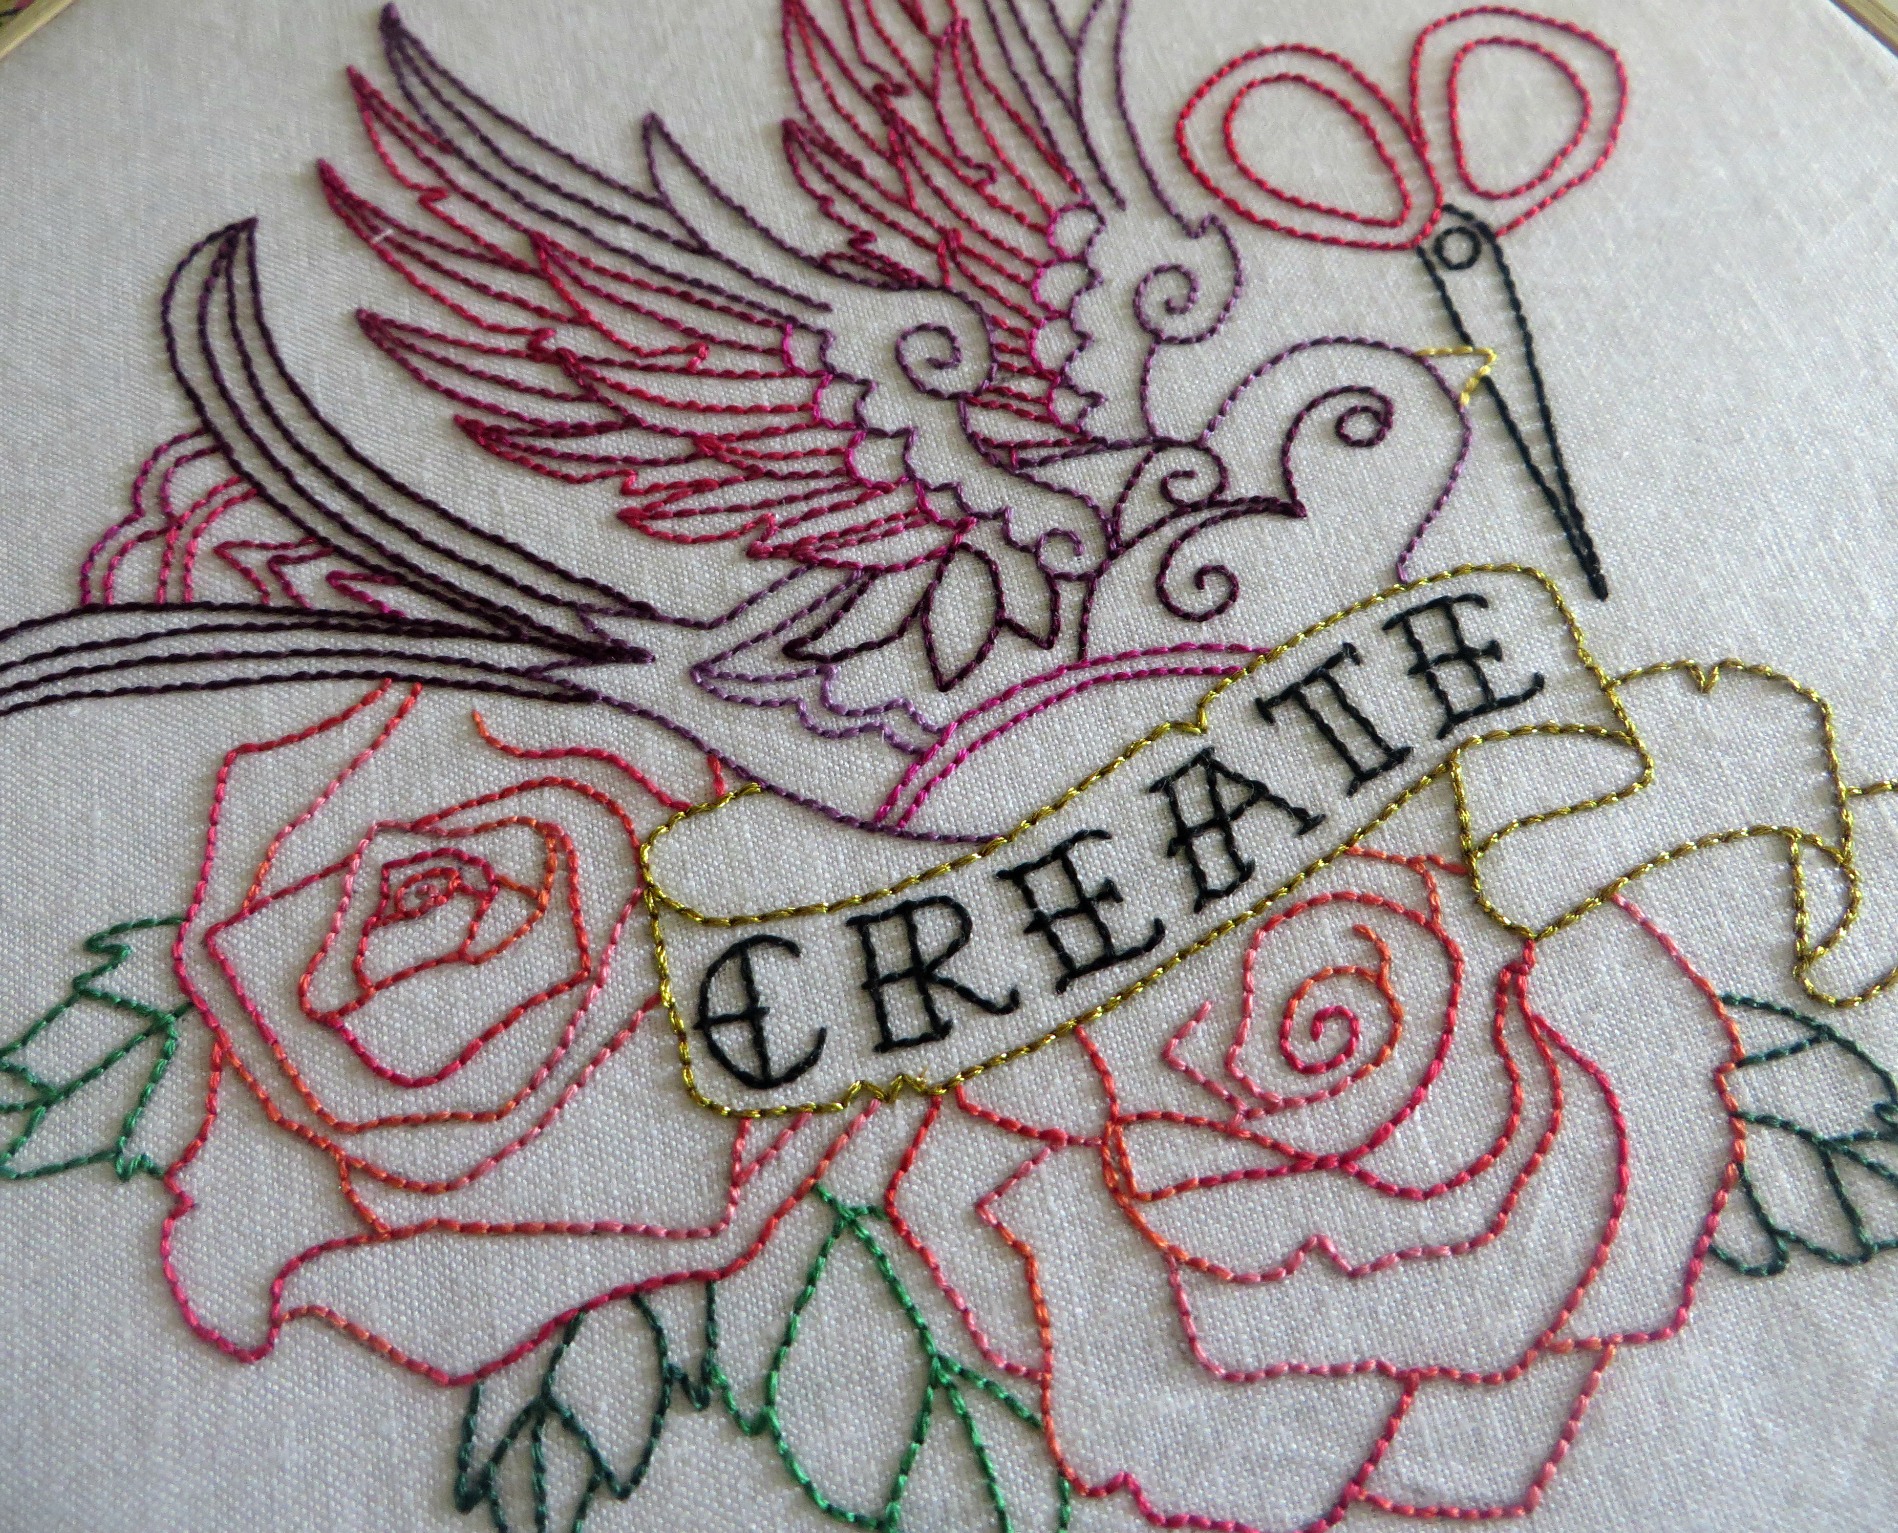
Before the month’s out, I’ll be publishing another Stop-Motion Embroidery video featuring this beautiful design from Urban Threads.

And then in the New Year, I have a ton of new quilt block tutorials planned as well as some other fun crafty ideas for you to be inspired by!
If you want to be in the loop of what, where and when I upload these video tutorials, check out my YouTube channel and subscribe to be the first notified! I would love to have you join me!
So my friends, I wish you all a very happy festive season, celebrating and making beautiful memories with your nearest and dearest!
xx