Whenever I walk into a craft store, it’s inevitable that I’ll walk out having spent a ton of money on supplies that I really didn’t need but just had to have!
Surely, I’m not the only one?? (C’mon ladies, speak the truth…)
So over the weekend, I ventured into a local Spotlight store and got a little carried away…
To be honest, there were a few things I specifically wanted to buy (the Fat Quarters and Hobby Fill) but the rest were bought on a whim and the thought of ‘Oh, why not?’
Here are the deets of what I got:
Wooden Craft Keepers (Hedge Hog & Owl) by The Red Thread
DMC Stranded Thread/Floss in colours: 913, 959, 993 & 3812
Assorted Pastel Brads 60 pack by Francheville
‘Hello Sunshine’ Die Cut shapes by Kaiser Craft
Assorted Birthday stickers by Artwrap
Kraft & Cork stickers by Francheville
Saffron Craig ‘Bees’ Fat Flats | http://saffroncraig.com
Prints Charming ‘Spring Swing’ Fat Flats in Pink/Orange & Blue/Green | http://www.printscharming.com.au/home.htm
Elements Grey Stripe & Simple Green Triangles Fat Flats
Hobby Fill, 500g
So there’s just a little share of what I’ve recently bought.
I think my favourite thing is the two Wooden Craft Keepers.
Over the weekend, I managed to squeeze in some time to start a new embroidery project.
I can’t remember the last time I had a needlepoint project on the go – I think it may’ve been sometime before Christmas…??
I was inspired to get back to the hoop when I re-watched a video I made last year called Stop-Motion Embroidery, where I took a photo of my work in-progress every two minutes.
It actually turned out to be a pretty rad little film – so now I’m motivated to do the same thing with this project.
This is currently where I’m up to…
I’ve limited the colour palette to just pinks and reds – an unlikely challenge if I may say so myself!
I have no idea how long this little side venture will take me to complete.
But know this: I’ll definitely be posting the final embroidery and video right here once it’s done!
#TWO
{My Easter Show Ribbon}
In Sydney Australia, during two weeks around Easter, there is a huge Agriculture, Food and Crafts show called the Sydney Royal Easter Show.
This is a huge affair in the Sydney (and neighbouring rural districts) social calendar and is a highly prestigious show that spans back over a hundred years or so.
(You may have seen a certain Royal Couple visit this in the last week or so…!)
So to join in on the festivities and atmosphere, I entered in a few of my favourite quilts and one of my embroideries.
To my surprise, one of my quilts received an elusive Easter Show Ribbon!
My darling ‘Happy Quilt’ won me a beautiful Highly Commended ribbon!
I was and still am totally stoked that one of my quilts is of Ribbon Winning quality!
Happy! Happy! Happy!
#THREE
{Nephews}
I’m so lucky to have the opportunity to be able to spend a lot of time with my four nephews each week as they only live (quite literally) down the street.
The oldest is six turning seven in May and the youngest is only a darling eight months old.
Each one of them possesses a one-of-a-kind cheeky and super-cute personality.
They also love being typical boys – playing LEGO and video games, watching Adventure Time (which this Auntie LOVES!!), eating tons of chocolate and generally getting into anything they can get their hands on!
If you’re new to reading my blog you may not know the love I have for all things British!
So when I heard that Riley Blake was bringing out a collection with all things typically Britishy, I flipped my lid!
I literally went into ‘fan-girl’ mode and swooned over all of the prints in the collection!
I’m really hoping I can get my hands on a Fat Quarter stack at the up and coming Sydney Craft and Quilt Show in July!!
I want it so bad!!
#FIVE
{Tea}
Sadly, here in Australia, we’ve waved goodbye to summer and are currently in the thick of a chilly start to autumn.
It seems like the weather has gone from hot to bitterly cold over night!
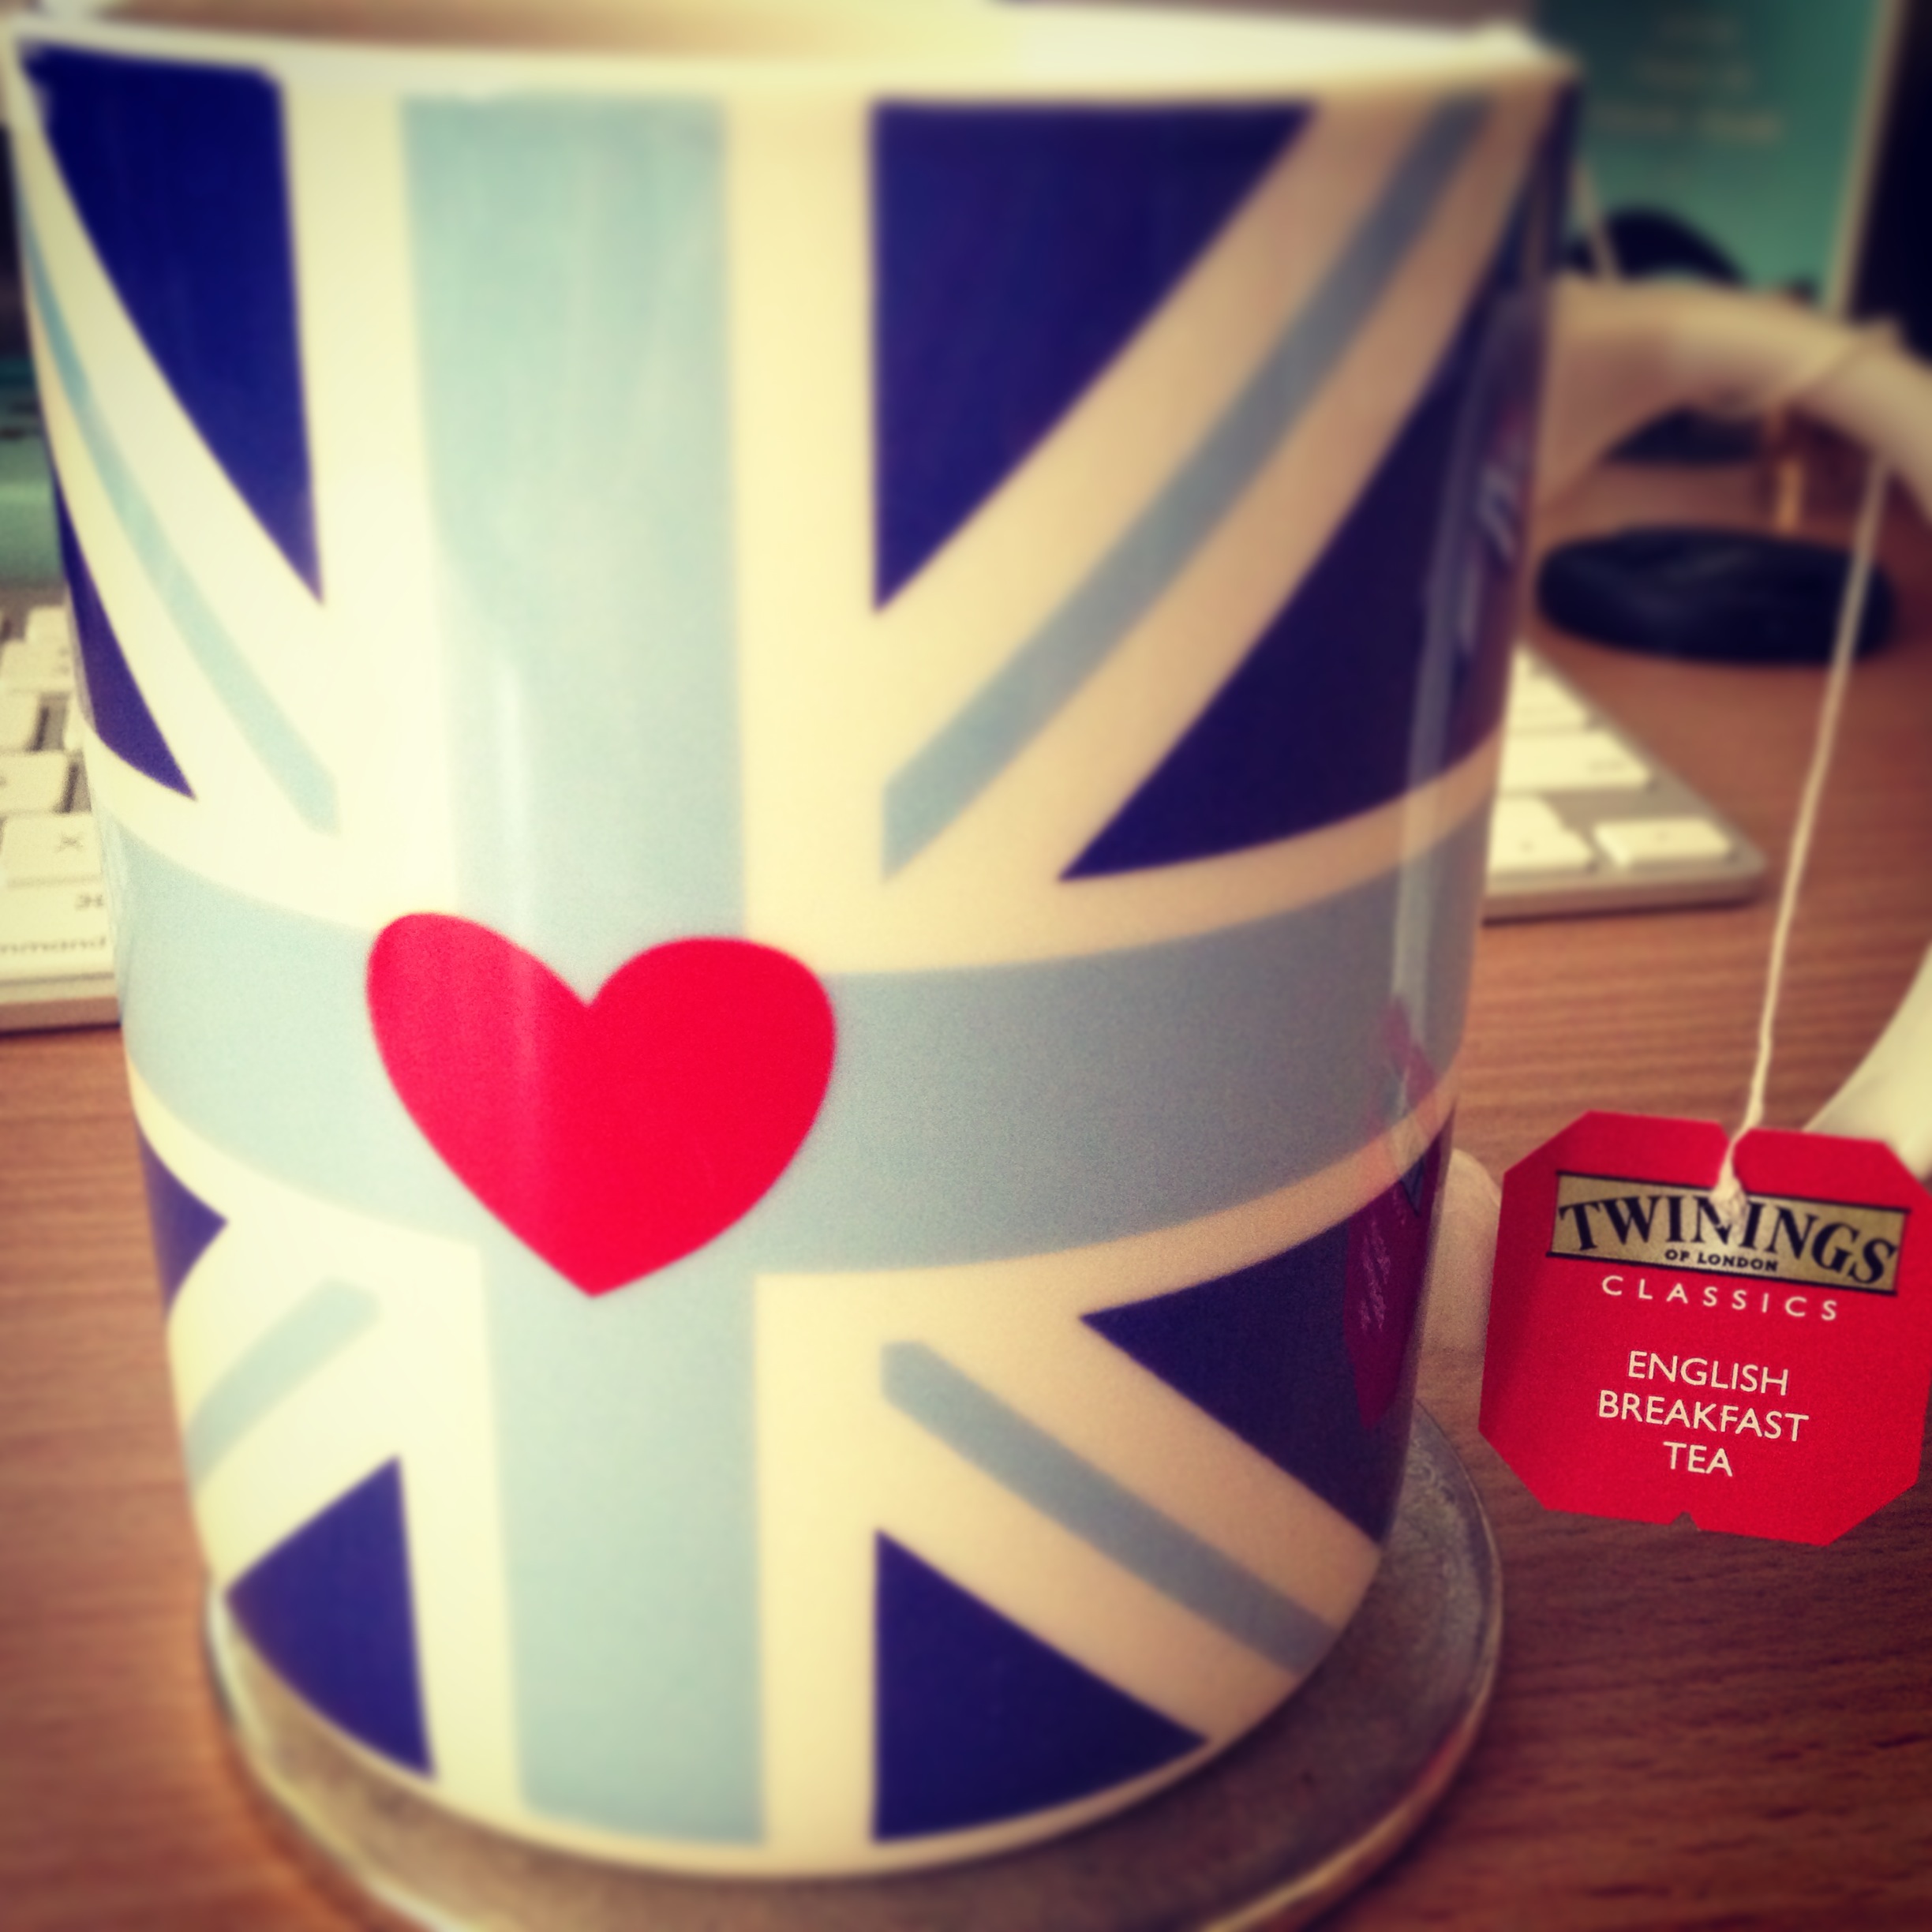
However, with the colder weather comes an outbreak of tea-sipping fever!
One of the best things I love to do in the whole wide world is to make a cup of tea, snuggle under a quilt, pop on a good DVD and gobble down some good quality chocolate!
Ahh, heaven!
Over the last few weeks I’ve been enjoying a good brew of English Breakfast, Earl Grey, Peppermint and Green (with lemon) teas.
***
And onto other things…
My goal for this week is to finish the quilt top of my Friendship Star Quilt (only four more blocks to go! Whoo!) and maybe even get some quilting done on my New Year Resolutions WIPs…
In an odd kinda way, I feel slightly guilty for not spending time on getting my WIPs done when I was keen-as-mustard to do so at the start of the year.
My time and efforts have been diverged onto other projects and ideas over the last few months that these WIPs are literally (and typically) sitting lonely in one corner of my sewing room.
I’ve beaten my procrastination and have re-stocked a few new lovely little items in my madeit shop!
Huzzah!!
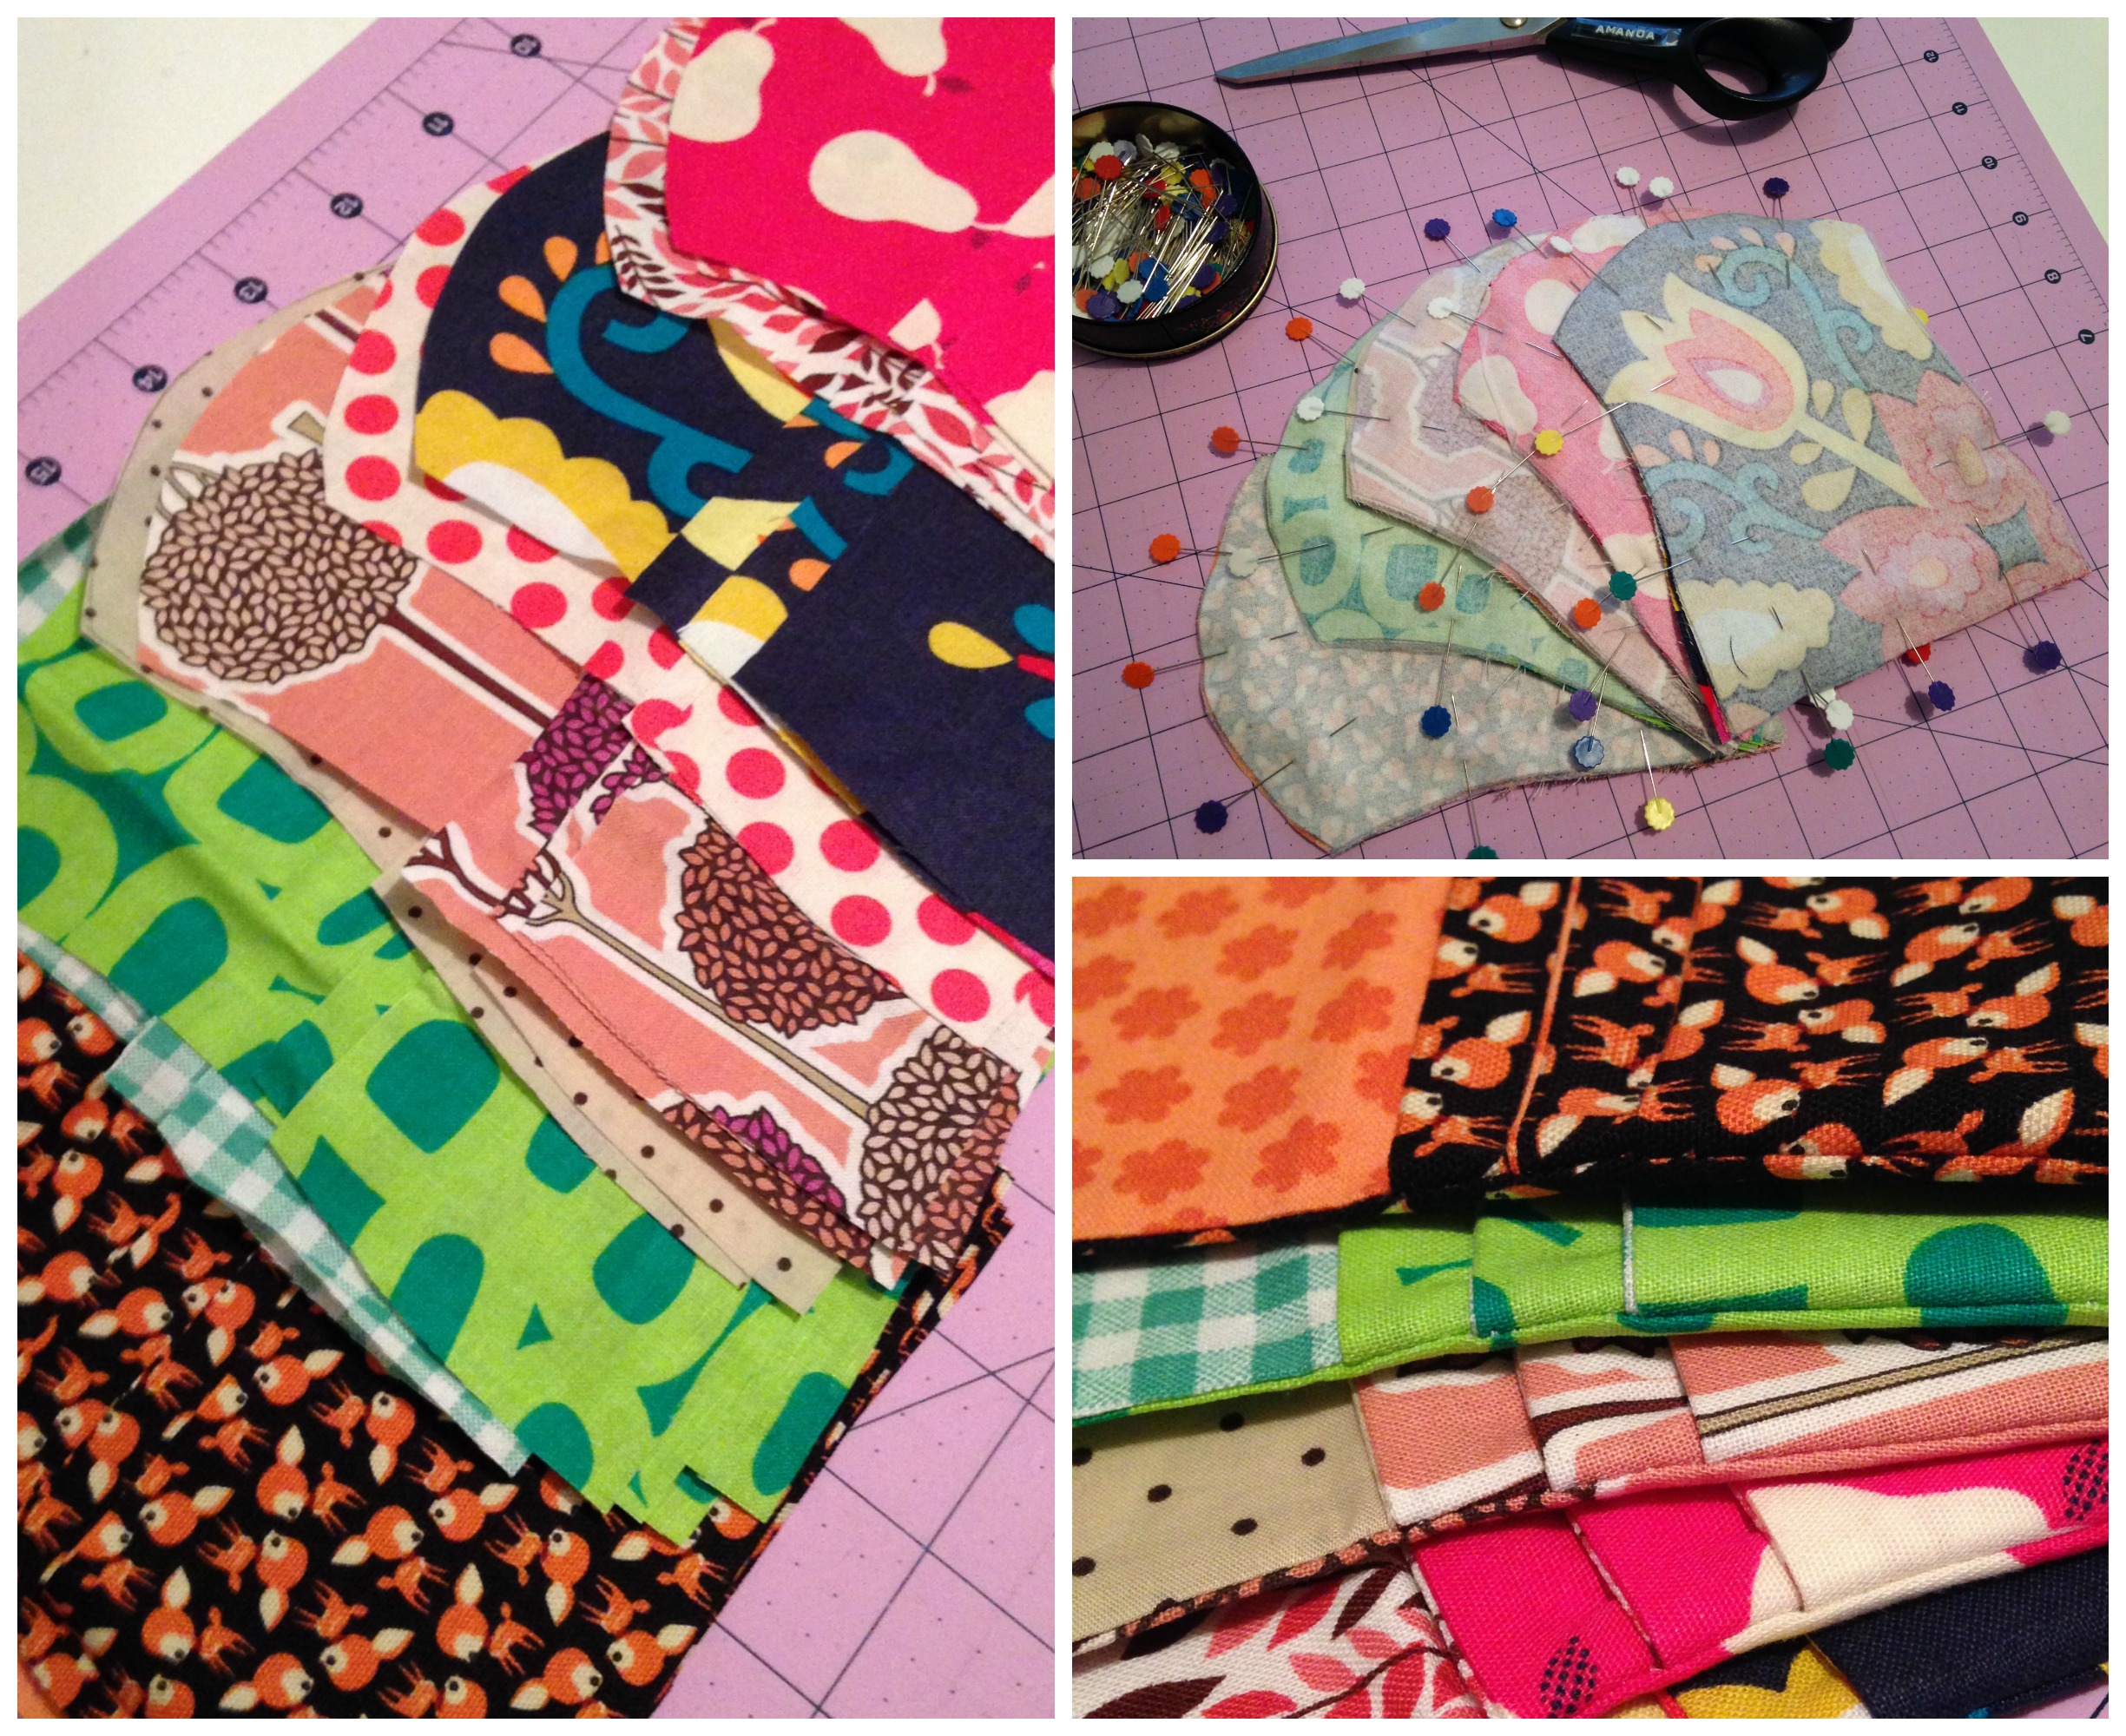
These little wallets have been on the go for the past month or so and have been ever-so-patient in getting finished.
During Construction!
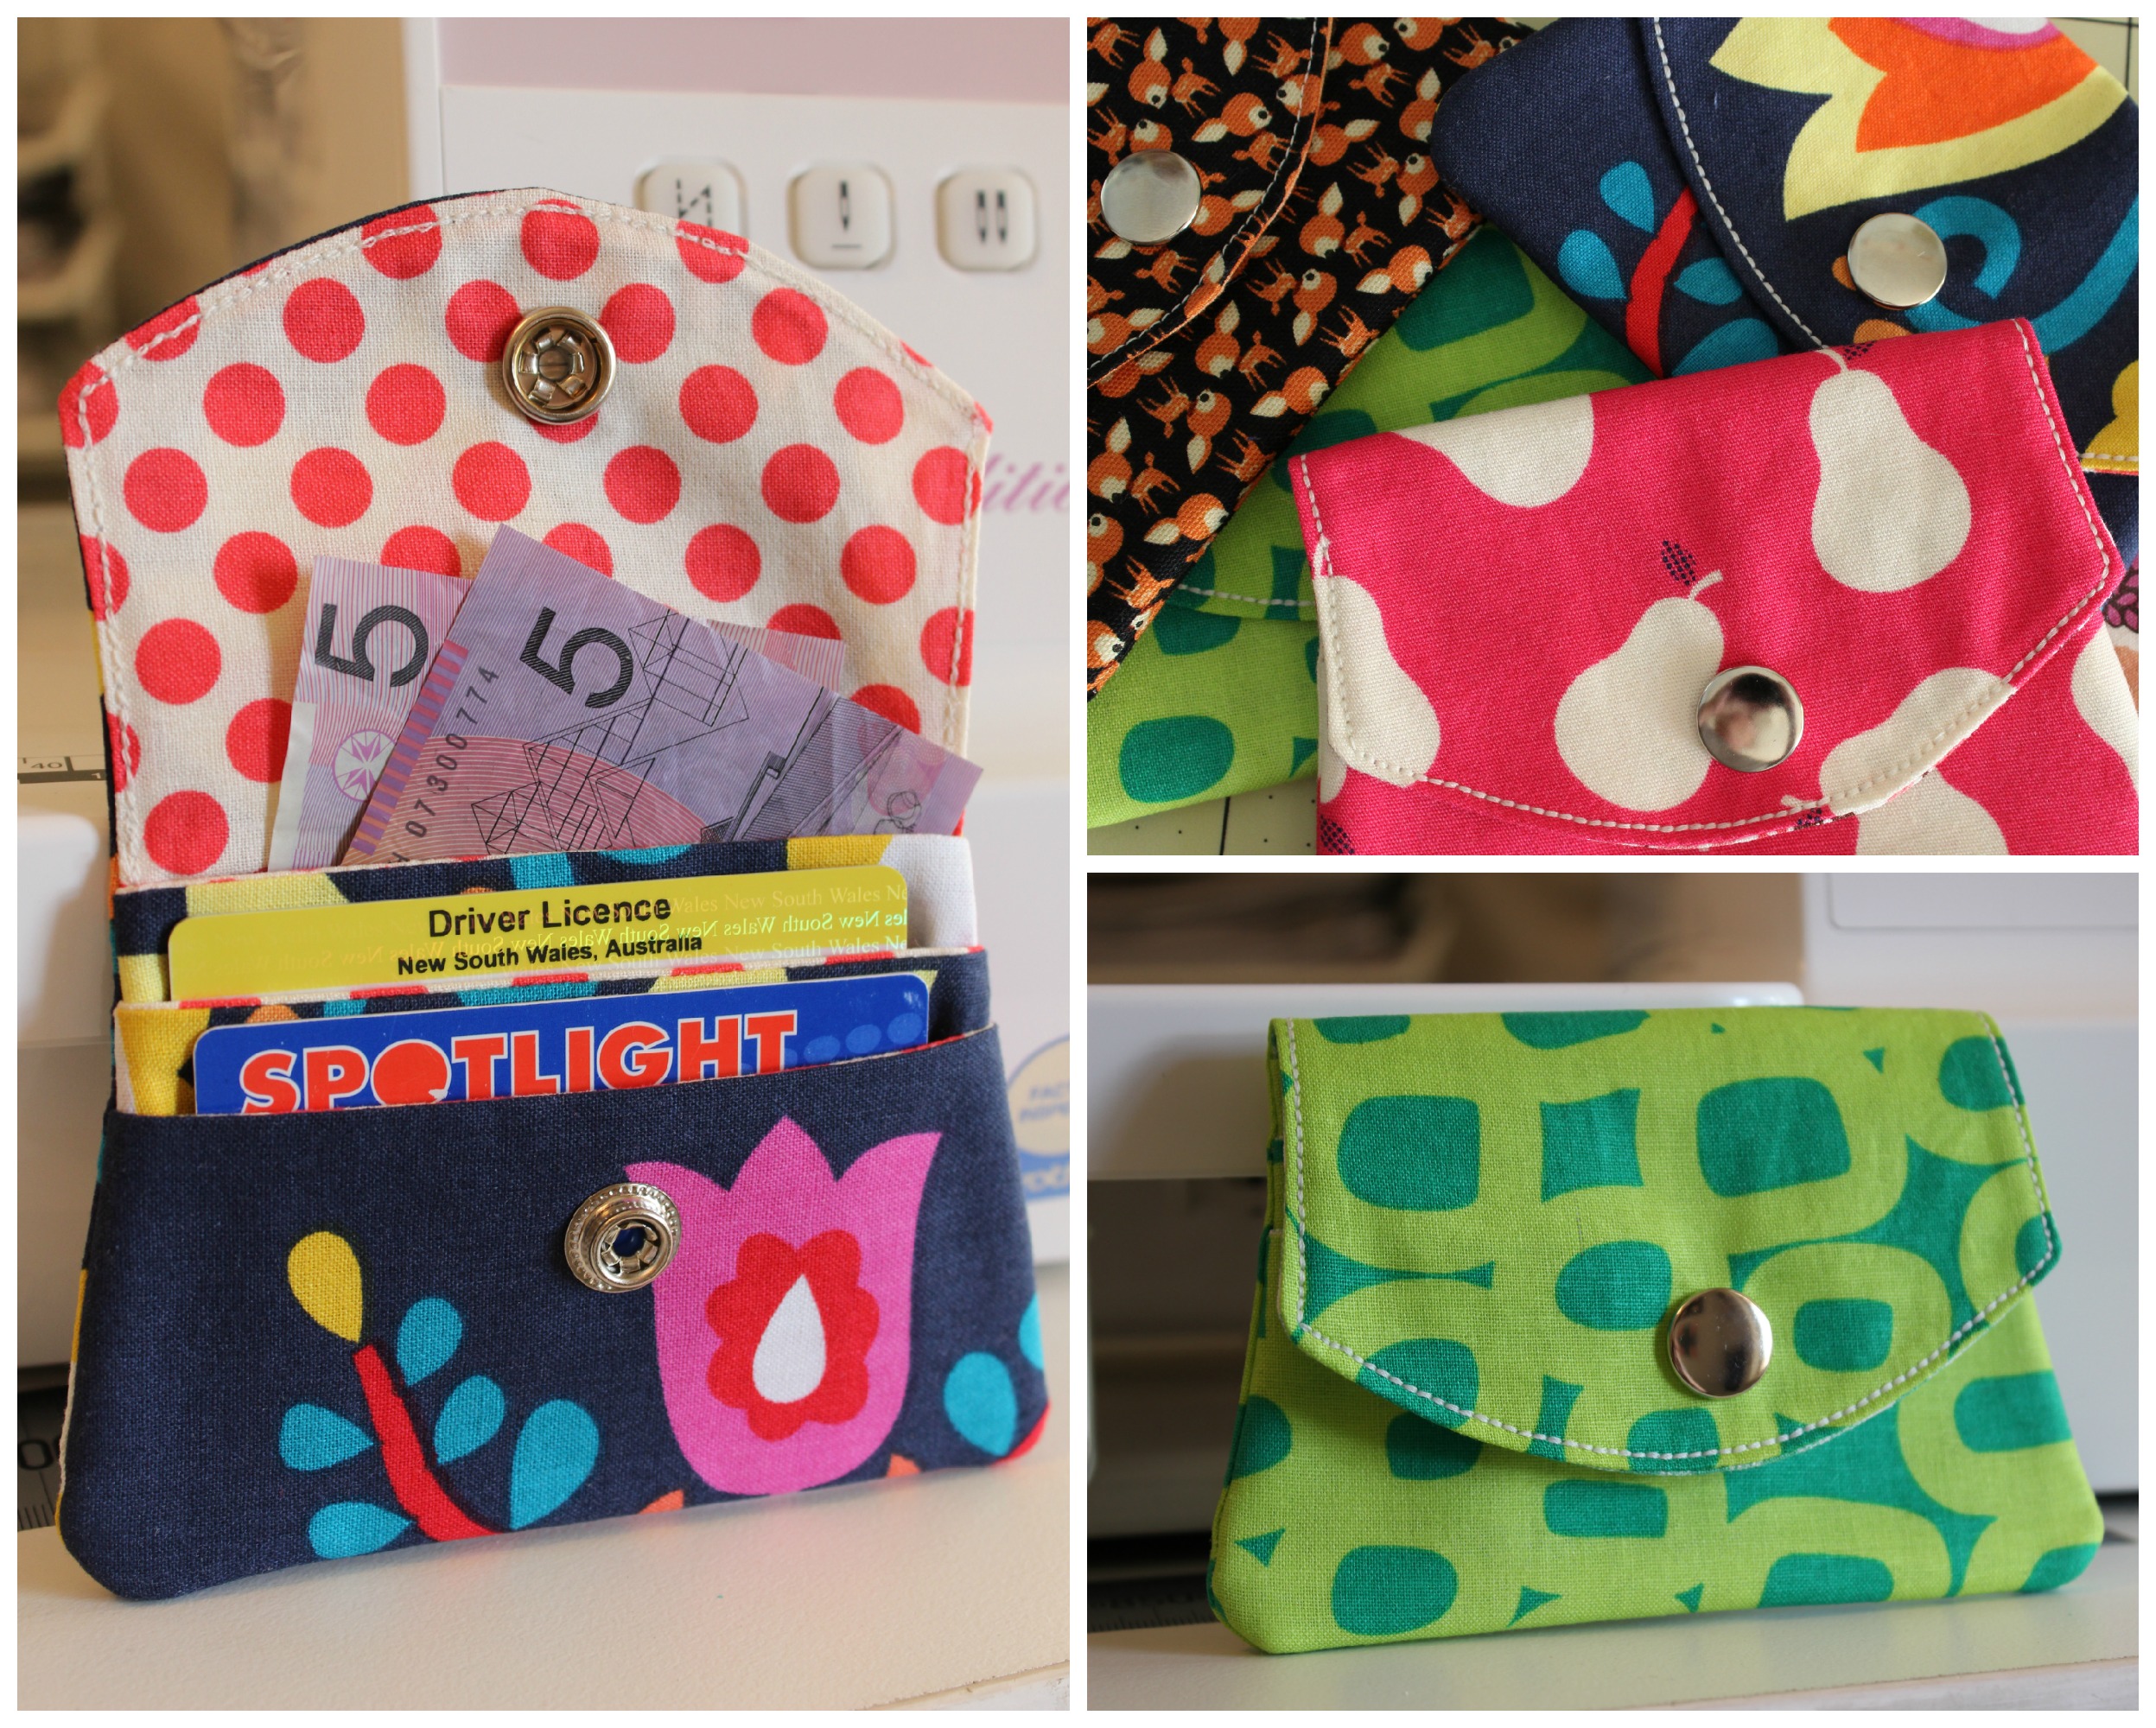
I’ve listed them at $12 each with FREE postage!
Unfortunately, you can only purchase these if you live in Australia 😦
So go on, check them out – they’re the perfect size to fit in a little clutch bag when out for the evening or great to take with you if you’re popping down to the local shop or even when your on the way to pick the kidlets up from school!
Finished Little Wallets
If these babies go down a treat, I may be tempted to make more…lots more!
(Ok, let’s not get too ahead of ourselves!)
I hope you are all having a lovely Thursday – only two more sleeps until weekend crafting can commence!!
Whoo!!
Happy Sewing Friends!! xx
PS. If you missed the shop link at the start of the post, you can also get there by
1. Clicking the ‘Visit My Madeit Shop’ widget to the right
OR
2. Scroll up to the top and click on SHOP – the link will also be there!
I’ve been buying so many quilting gadgets and sewing accessories over the past month or so (who doesn’t, right?!), that I wanted to share a few of them with you in something that I call:
A Craft Haul!
Item #1
‘The Quilting Answer Book’ | Barbara Weiland Talbert
I discovered this little beauty of a book in one of my local bookshops and immediately knew it was coming home with me!
I had a good little flick through it to see what it was all about…
It begins with the basic questions and answers that all newbie quilters begin with regarding fabrics, batting, tools/accessories as well as cutting, piecing and pressing and how a quilt is assembled etc.
The book also delves into answering the deeper and more advanced techniques of quilting like applique, quilting techniques and skills, embellishments, calculating your own block designs and more!
The book has been set out into easy to find and read sections that have informative diagrams and images to follow along with.
[CLICK HERE] To see more information about this book!
Item #2
Fiskars Self-Healing Double-Sided Cutting Mat | 18x24inches
I had been saving like mad and keeping my patience hat on, waiting to get this.
My previous cutting mat was getting a bit ‘rough-around-the-edges’, both sides. Because I was really impressed by the quality and features of that Fiskars cutting mat, I was on the look out for a good sale price (these baby’s aren’t cheap!).
Eventually my patience was rewarded with a 40% off Fiskars Quilting Tools sale at Spotlight! Cha-Ching!
The thing that I especially love about the Fiskars Mats is that they have the 1/8th” measurement lines as well as a dotted lines in between the solids so that accurate measuring and cutting is a breeze!
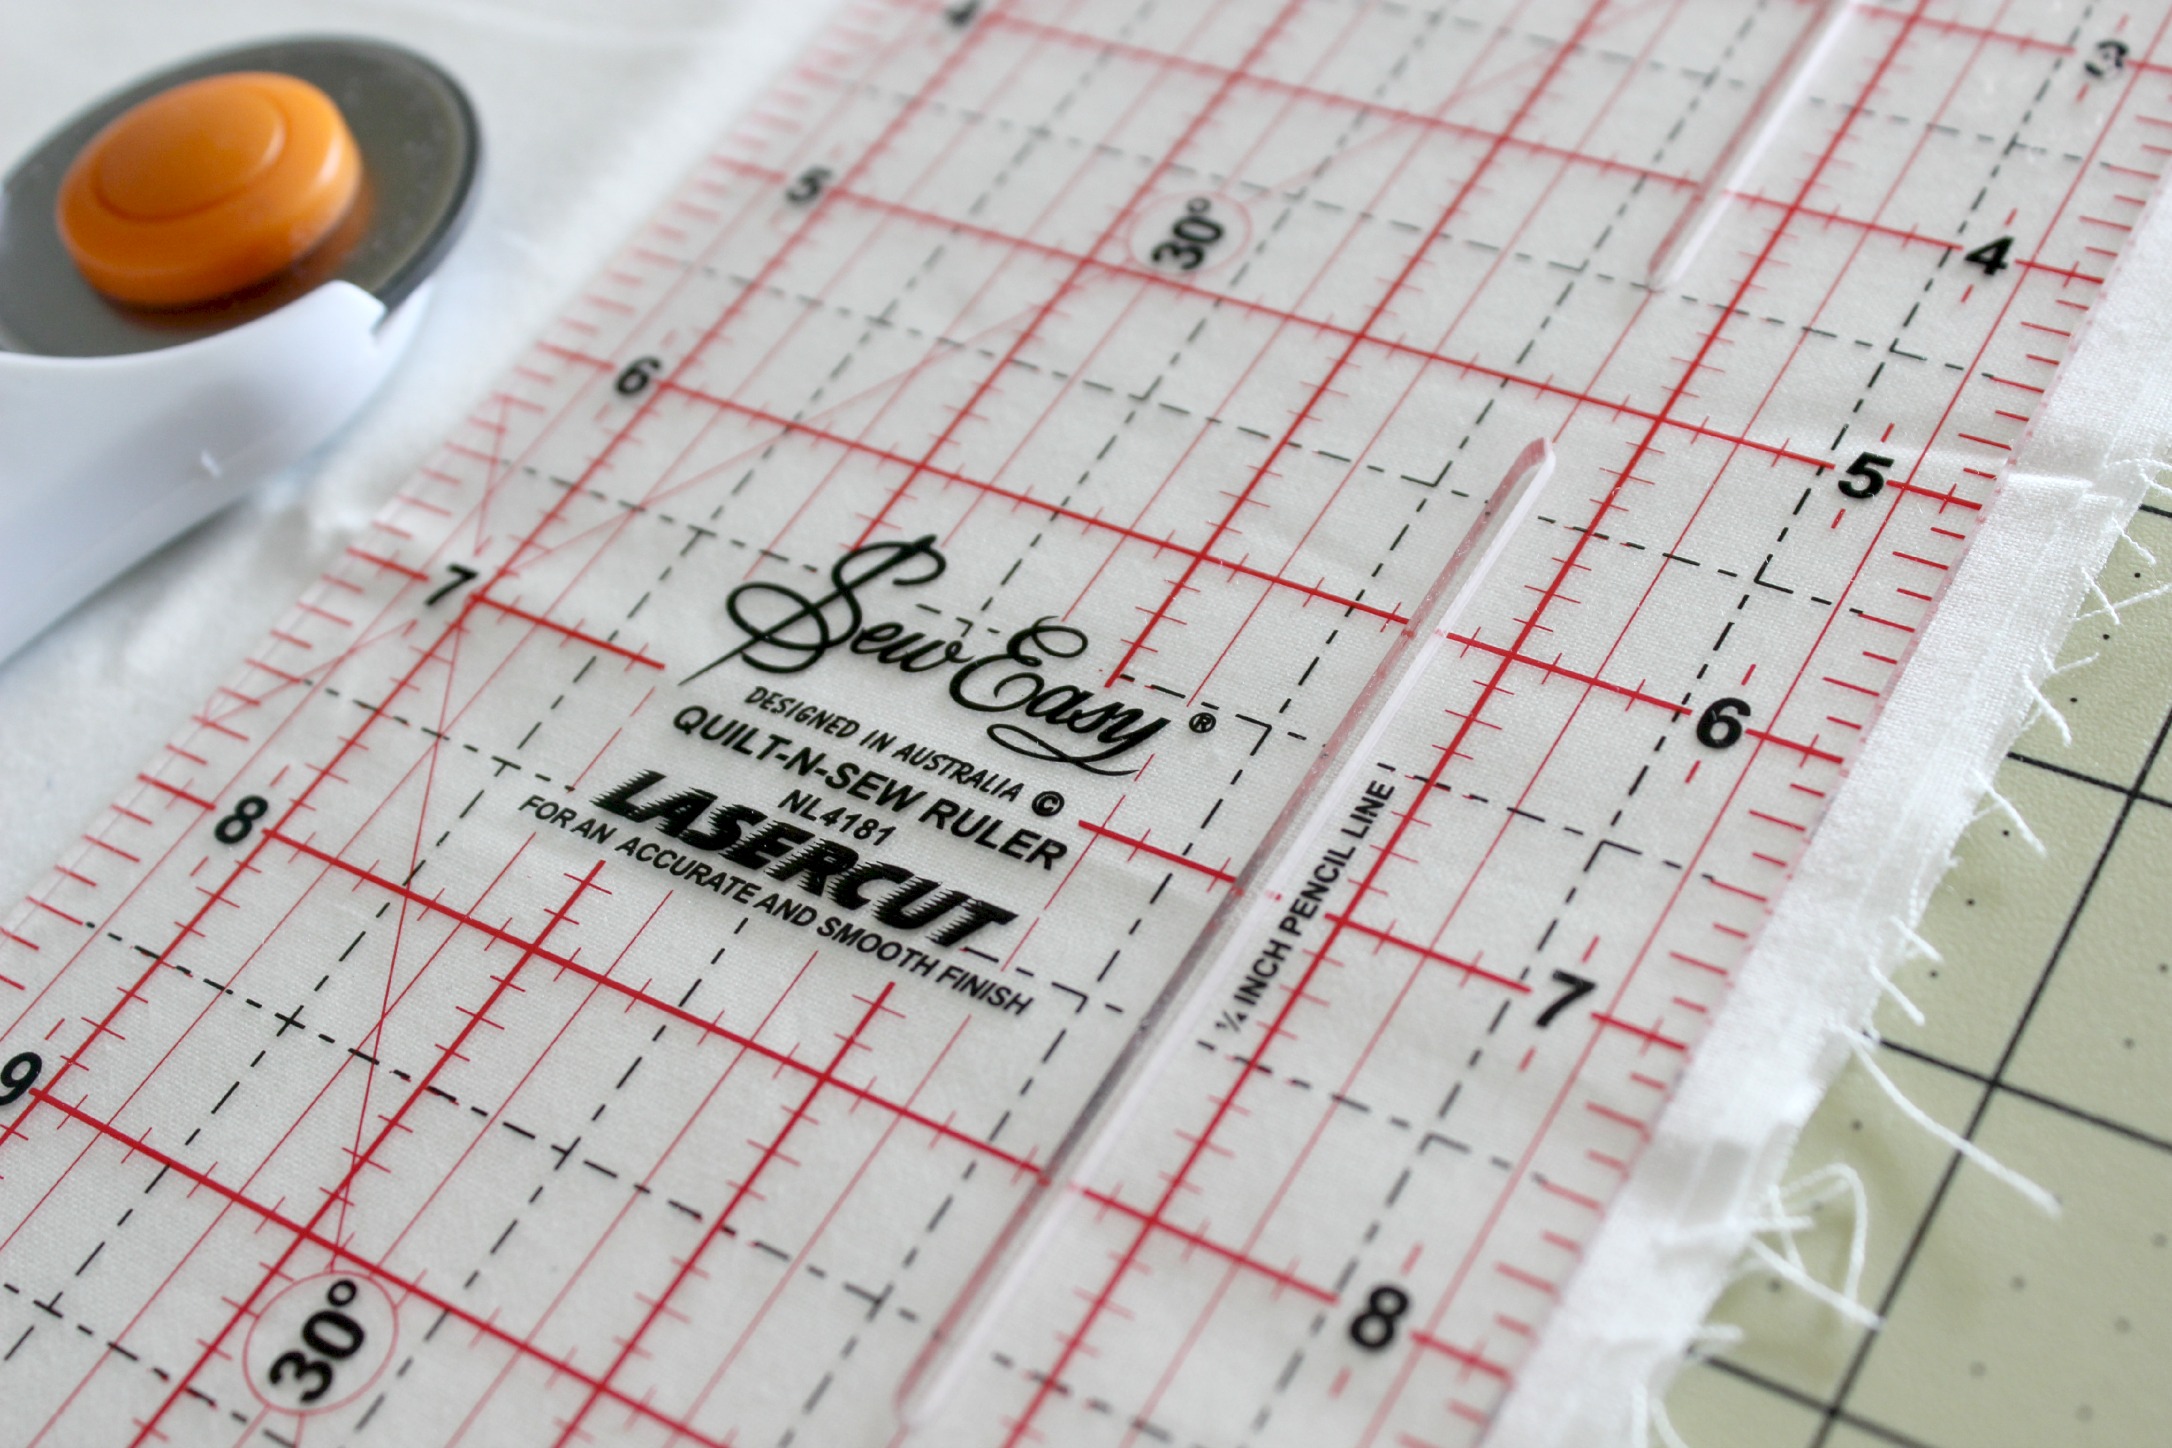
Item #3
Sew Easy Patchwork Ruler | 14×4.5inches
While I was ‘treating’ myself to a new cutting mat, I also purchased another quilting ruler.
I was looking for another one of those ‘basic’ types of rulers that can be used when measuring and cutting anything.
This particular ruler is slightly longer than the previous one I was using (tick!) and features the all-important imperial measurements (tick!).
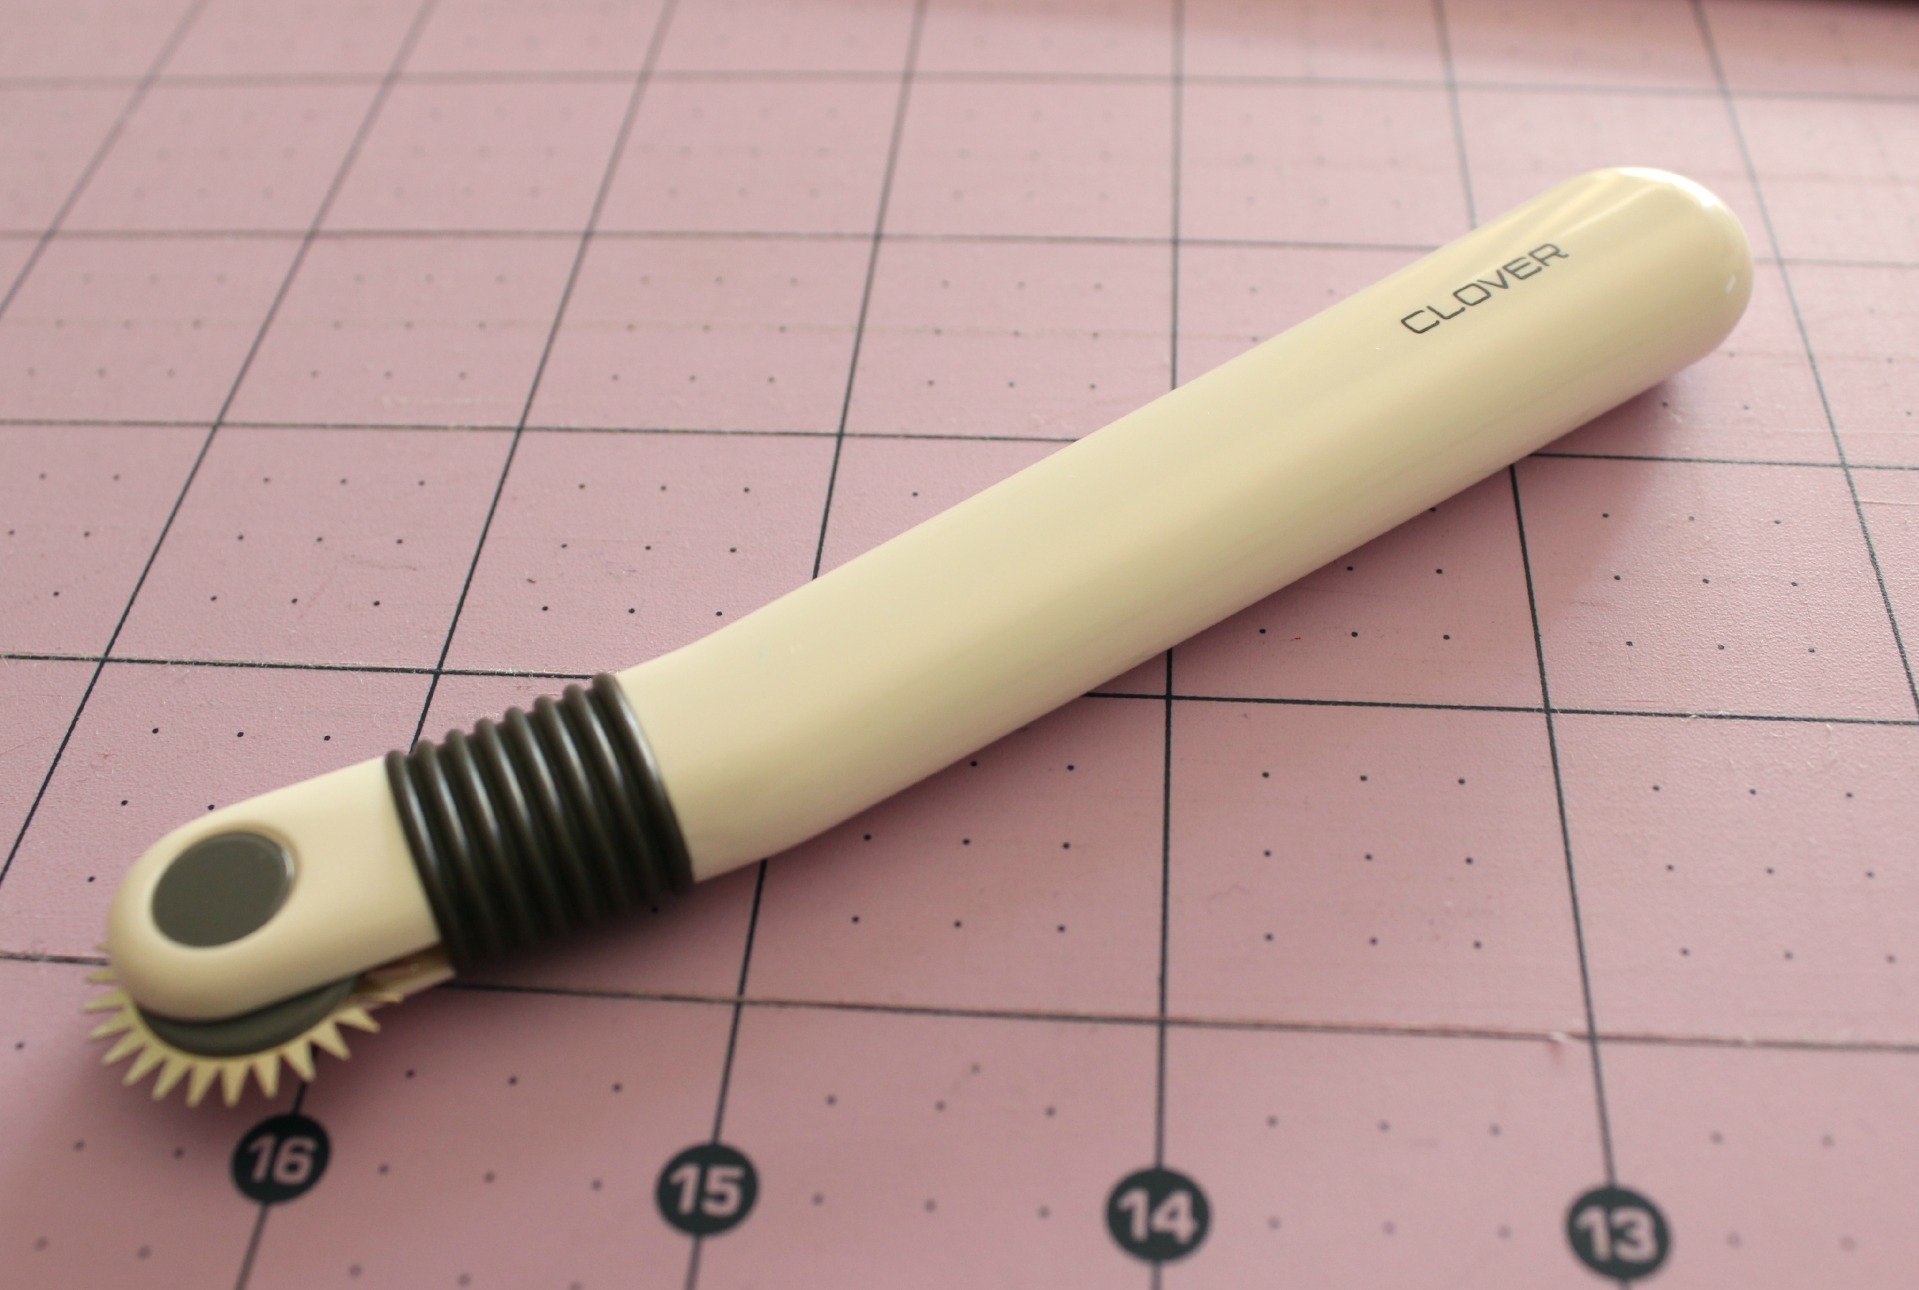
Item #4
Clover Tracing Wheel | With Serrated Edges
When I do paper-piecing, I like to perforate the lines that I’ll be sewing over by guiding the paper through an unthreaded sewing machine. This perforation helps when tearing the paper off in the later stages of the block construction.
To avoid this time consuming step, I bought a serrated edge tracing wheel that will, hopefully, do the same kind of job as the sewing machine.
I’m yet to trial this method out so I can’t really say whether this will work with much success! I’ll keep you posted!
Item #5
Pink Thread Snips | With anti-slip grip handle
I like using these types of thread cutters. I find that they’re quicker to pick up and use and the point at the end of blade cuts closer to the surface.
These particular thread snips are unbranded and were on the cheap side, so how well they’ll work and how long they’ll last is anyone’s guess!
Item #6
‘PaintBox’ Collection by Cynthia Rowley | ‘Prism’, 50x112cm
Gosh I love this fabric! I’m sucker for anything with crisp geometric forms and bold intense colours.
As you may know, I’m using this print as the feature in my Friendship Star Quilt. Initially I only got about half-a-metre (50cm) from the meterage and realised it wouldn’t quite be enough for what I was doing (don’t you hate it when that happens!?). So I bought another 50cm for when I need it – and I will!
This print was part of a super-swish collection from Cynthia Rowley that I purchased from Spotlight. The other designs in the range are all insanely beautiful and fun…I wish I was a millionaire so I could buy them all!
I’d been searching around for chalkboard paint for ages until I very randomly came across this sweet little tin in one of my favourite stationary stores.
I was happy with the price ($9.95) and the size, so I got it!
I haven’t used this product yet, so again, I’m not sure of the quality that lies within… However, I’m always on Pinterest, so I’m sure I’ll come across a brilliant craft idea to try it out on! I’ll share that too when the time comes!
I also filmed a video of me chatting about all of these products on my YouTube Channel!
All of these products, except the book and chalkboard paint, I purchased at Spotlight – usually when there was a catalogue sale or storewide sale.
I haven’t been paid or asked to review/chat/share these items. Everything written is my own opinion, experience and thought.
Moving on, I have new quilt block tutorial coming out later this week!!
Here’s a little glimpse…
Mystery Block…
Ooo, what could it be!?!?
Stay tuned for more!
Happy Sewing Friends!
xx
PS. You can also find more of me, my work and patchworky dreams here –
I haven’t done as much as I had hoped for this past week on the Rail Fence Quilt.
I did do a few more lines of quilting here and there over the days but not to the point where it’s worthy for a WIP photo opportunity…
In the moments after I finished writing the previous sentence, I had a quick squizz at my quilting efforts on the R.F Quilt and felt compassion. (Weirdo alert!!)
So here is an up-to-date ‘progress-report’ image…
Current State | 27/01/14
Yeah….there’s not much difference from what it looked like last Monday.
I also must confess that I have been giving my time to another (new!) project.
I received an email Saturday morning from the NSW Quilting Guild containing information and forms for this year’s Sydney Quilt Show.
A more-than-mild wave of panic washed over me at that moment.
I hadn’t at all begun planning my entry for this show; the thought had always been at the back of mind but nothing else!
Although the Show isn’t until early June, it’s always nice to have things on-the-go from an early start!
Of the categories in the show, one or two stood out: Amateur Small or Wall Quilt (minimum size 40cmx40cm) as well as an Open category named Miniature (a quilt with a scaled down pattern with a perimeter of 200cm).
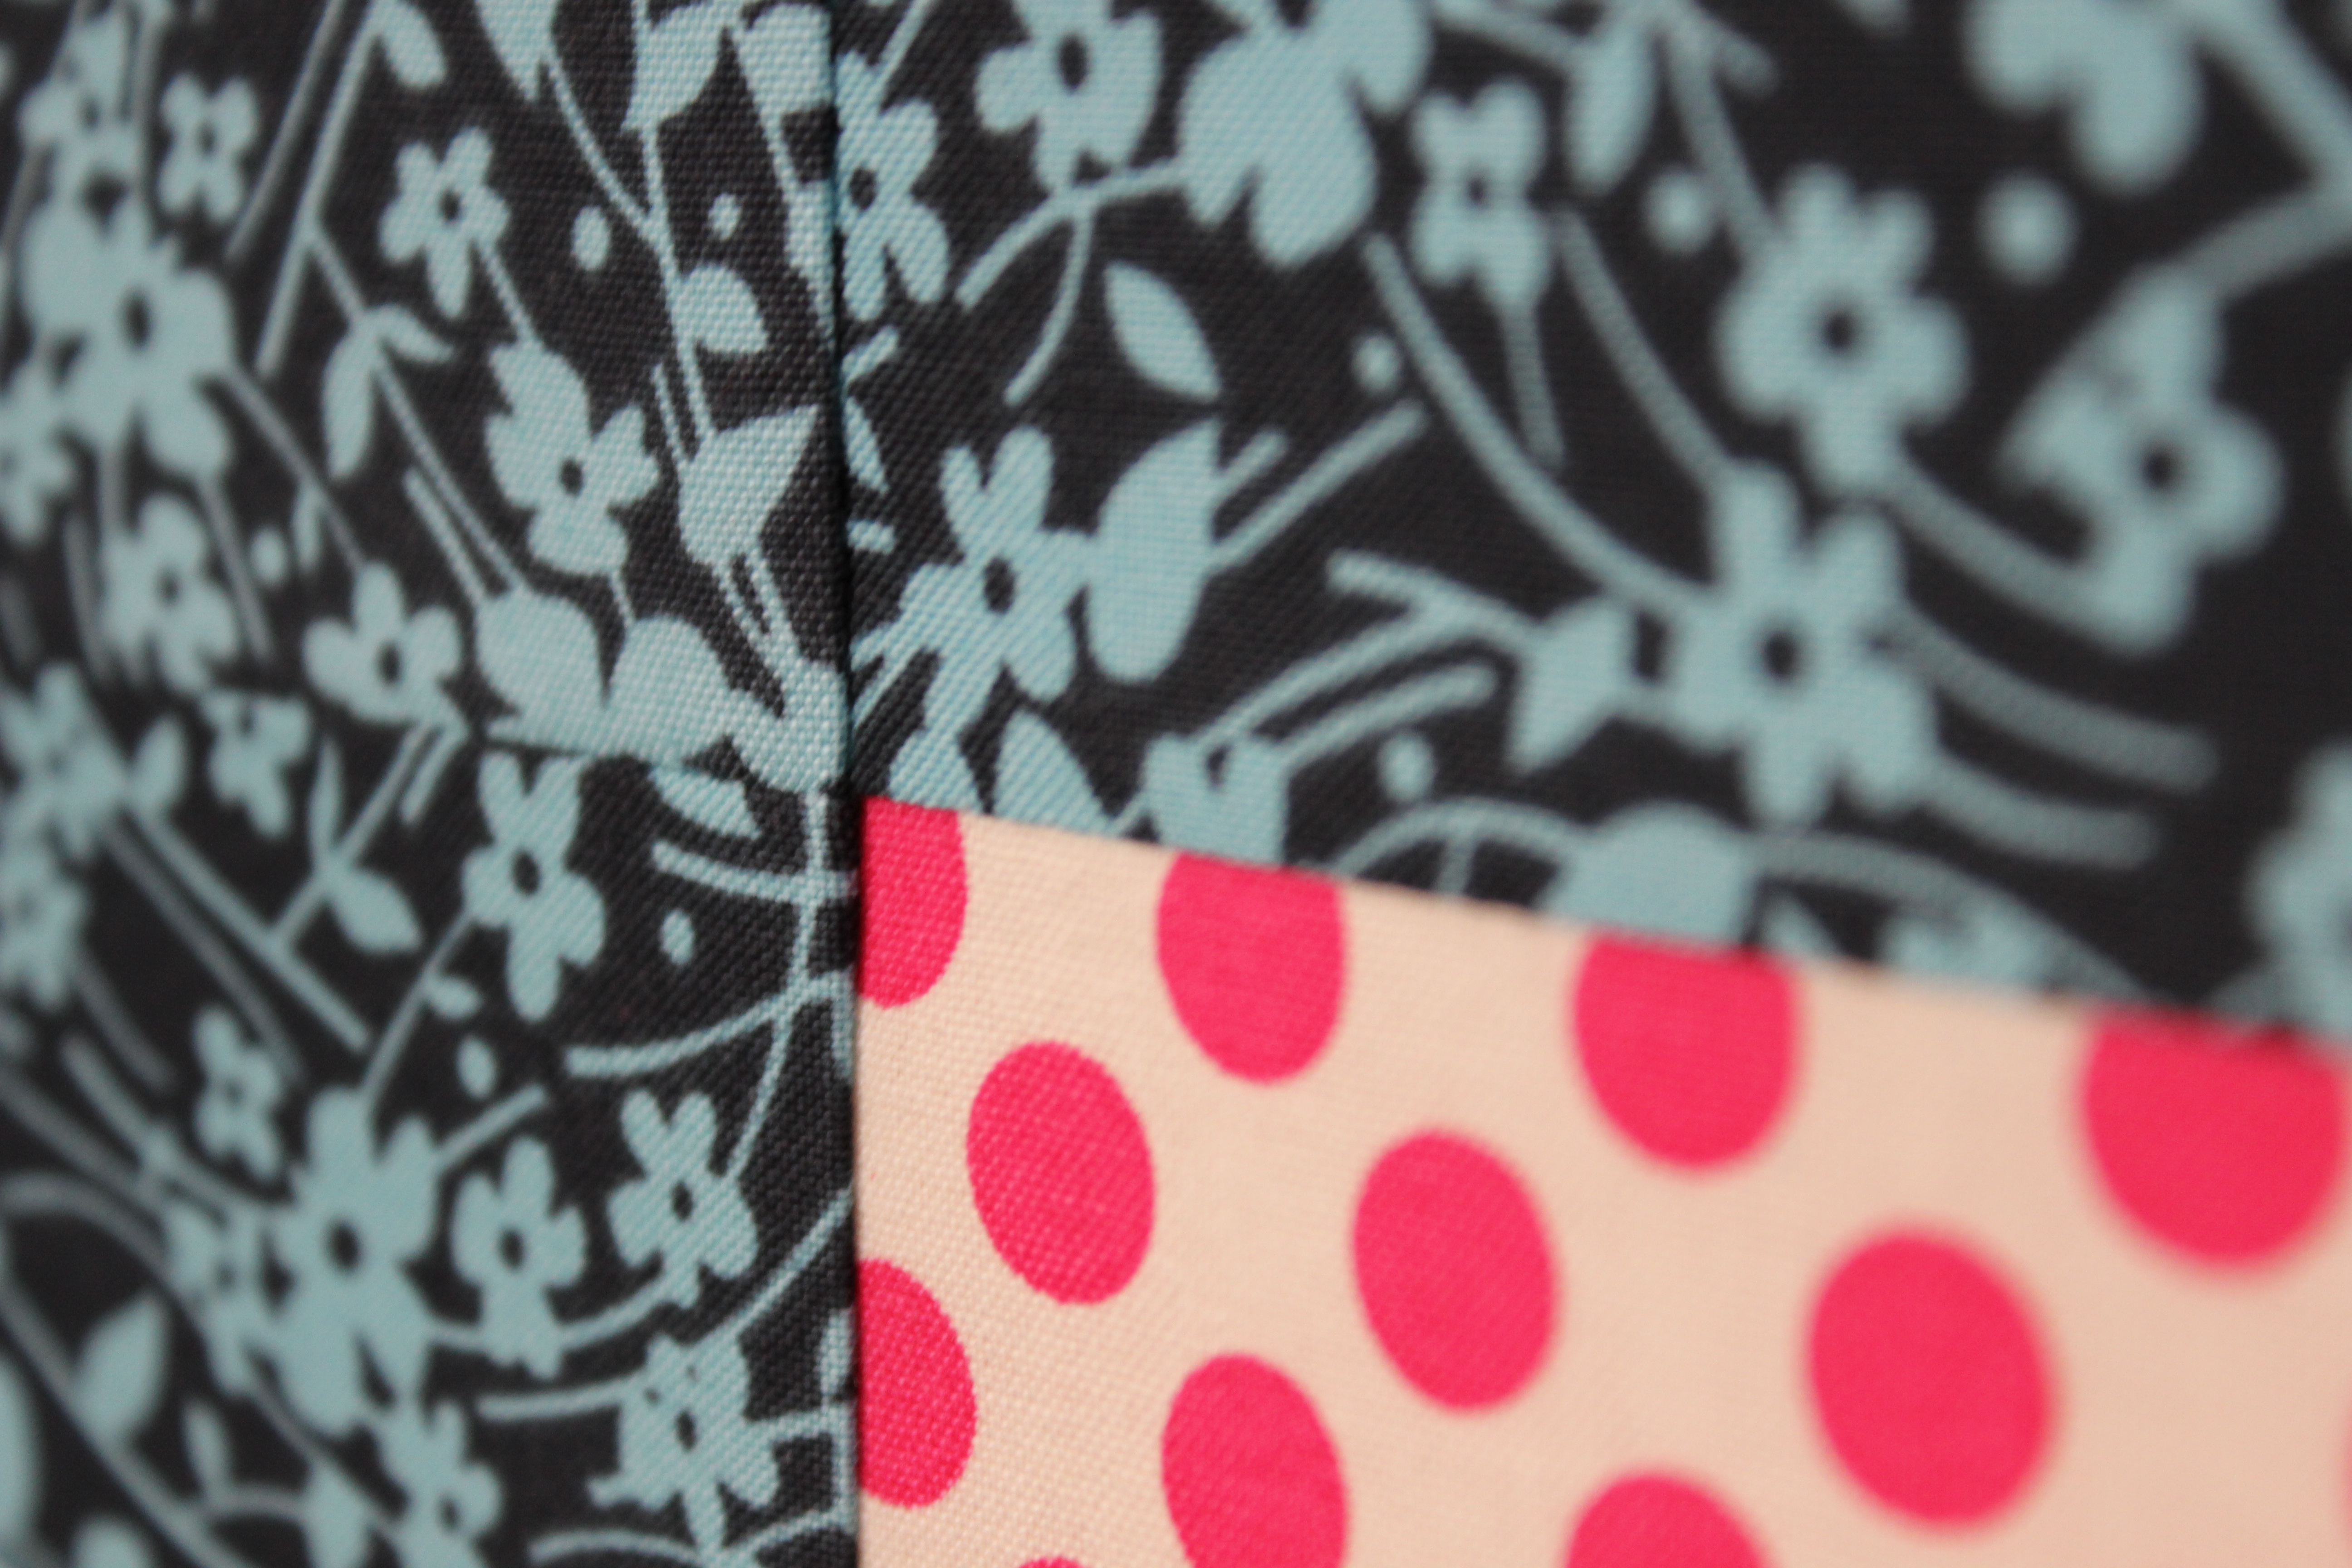
So early Saturday afternoon, I picked out a bunch of pretty and modern fabrics and raided my quilt book library for some block inspiration.
I had the thought of pairing two contrasting modern fabrics together and patch them together into a ‘traditional’ block formation.
In one of my favourite patchwork/quilting books, 130 Mini Quilt Blocks by Susan Briscoe, on page 46, I discovered an itty-bitty version of the Snail Trail Block that had a finished block size of 12.7cm or 5”! Perfect!
I have made this block before a few years back so I felt pretty comfortable tackling it.
Start to Finish | Mini Snail Trail Block
I quickly drew up a sketch to make sure the colours would sit well together – and they did!
The next hour or so I cut out all of the tiney-tiny pieces and begun sewing mini squares and HST together.
Four blocks were completed by yesterday; they were quickly sashed together and the quilt top is now ready to be quilted!! Whhhaaattt?!?!
(You know, I’m really liking this Mini-Quilt making thing – it’s quick, easy and non-stressful!)
The size of the quilt top measures 46cmx46cm or 18”x18” and fits into both Show categories as previously mentioned. I’m just not sure which one I’ll choose yet.
I’m also torn on what I’ll name this sweet little mini; I have two in mind…
Golden Trail
— OR —
Yellow Brick Road
Which one would you choose??
So there we have it.
Perhaps next week I’ll have more progress on my R.F Quilt to show and not have to confess that I’ve been distracted (again!) by other things.
Jeez, a week sure can creep up on you in an instant!
I’m deeply baffled at how it can be the fourth-ish week of the New Year already! *WOW*
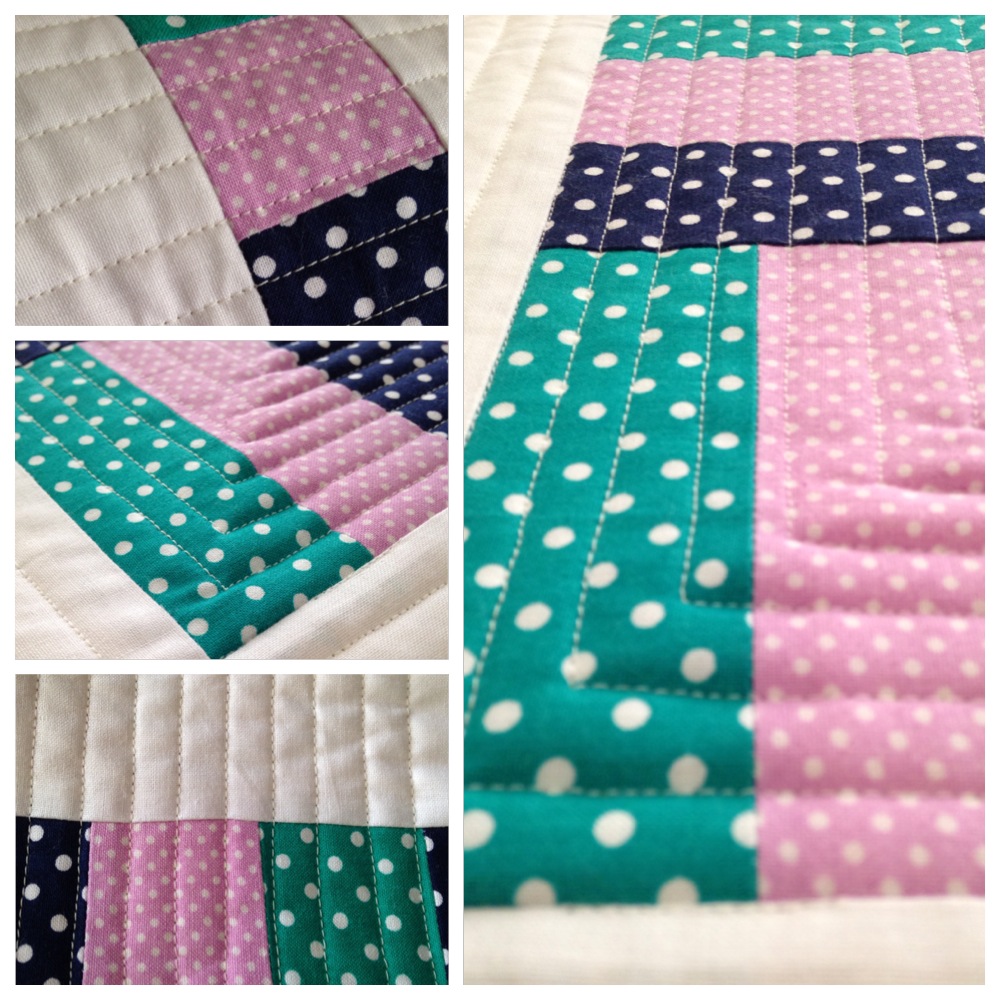
In the last seven days since we spoke, some quilting progress has been made to my Rail Fence Quilt…
Delicious quilty lines!
Predictably, I’ve started quilting my usual straight-line formation. (It’s easy and I’m lazy!) I’ve opted for a pattern quite similar to the way I quilted my Jacob’s Ladder Quilt, but on this one the quilty lines are a lot closer creating more of an intense surface design and texture.
To go along with this R.F Quilt, I’ve filmed and uploaded a very simple and informative tutorial on how to make the Rail Fence Block. I tried to make it as down-to-earth and helpful as possible especially for all you beginner quilters out there.
Let me know what you think of the video – I’m 100% open to any positive constructive criticism. I would love to know what I could to do improve my teaching skills and/or production/filming/editing skills.
Do you have any suggestions for quilt blocks that you would love to see me demonstrate?
Comment below and I’ll definitely take your ideas onboard!
Well, it’s now time to go and enjoy this glorious summer afternoon with a lovely icy-cold beverage, finger-licking snacks and a heart-warming rom-com!
The day has finally arrived for me to show off my finished quilt!
The Happy Quilt
Better known as the Double Wrench Mini Block Quilt (phew what a mouth full!), I re-named this little treasure The Happy Quilt.
I came about this name while I was quilting it.
The thought struck: everything about this quilt just simply makes me happy!
They include –
The bright modern fabrics.
The choice of block.
The uneven quilting lines (I could never get them perfectly straight, even if my sewing machine depended on it!).
The individual characters each little mini block seems to hum.
The brave choice of finishing with a white (eek!) binding (I’ll regret that, I just know it!).
The fact that I used a lot of my scrap and bulk fabrics up (yippee – that means I get to shop for more fabric!).
That a majority of the blocks don’t match or perfectly join up at the seams or points (adds a bit of character I say!).
The size of the quilt: perfect as a lap quilt | perfect as a wall hanging | perfect for the bed.
I’m happy with the gamble I took on how I quilted it (I was prepared for some major puckering!!), with my patience and risk-taking rewarded with a brilliantly textured quilt!
It quite possibly will be my entry into the 2014 Sydney Quilt Show (we’ll see what happens between then and now!).
I’m happy that I simply stuck with it and just got it done.
And…the overall me-ness of the quilt just makes me happy (and there’s nothing wrong with that!).
So to sum it all up, I’m just totally smitten with this quilt!
But to be honest, I’m now feeling a little lost at the realisation that it’s finished and that I don’t need to schedule my time around getting it completed…
Unfortunately it’s time to move onto other projects and give life to another heap of fabrics, threads and batting! (I’ve got tonnes of that stuff lying everywhere!)
If you want to see more of the photos I shot visit this Flickr Set or alternatively, you can watch this video!
…And off I go again, making some more mini Double Wrench blocks on this glorious Spring morning!
This setup looks familiar…
If I didn’t think making 42 mini blocks was enough, I finally made my mind up to add another 14 blocks to the mix; totalling the block count to a grand total of 56! (That’s a whole lotta little 1.5″ squares!)
Lots of little squares…
I really didn’t plan on making this quilt bigger than what it is now slowly becoming…
…Oh well.
It has been a while since I’ve actually pieced and finished a big quilt – the last one being my Jacob’s Ladder Quilt, which I completed in December last year! (Ohhh, I justlove that quilt!)
So the iron’s ready to go, my blocks are lined up ready to be pieced and a great playlist of songs are ready to be (badly) sung along with…