PATTERN SHEET: HST Sampler Quilt – Sashing & Borders

Happy Friday, Friends!!
Today I’m so happy to be finally uploading the next step in my HST Sampler Quilt Along! Yay!
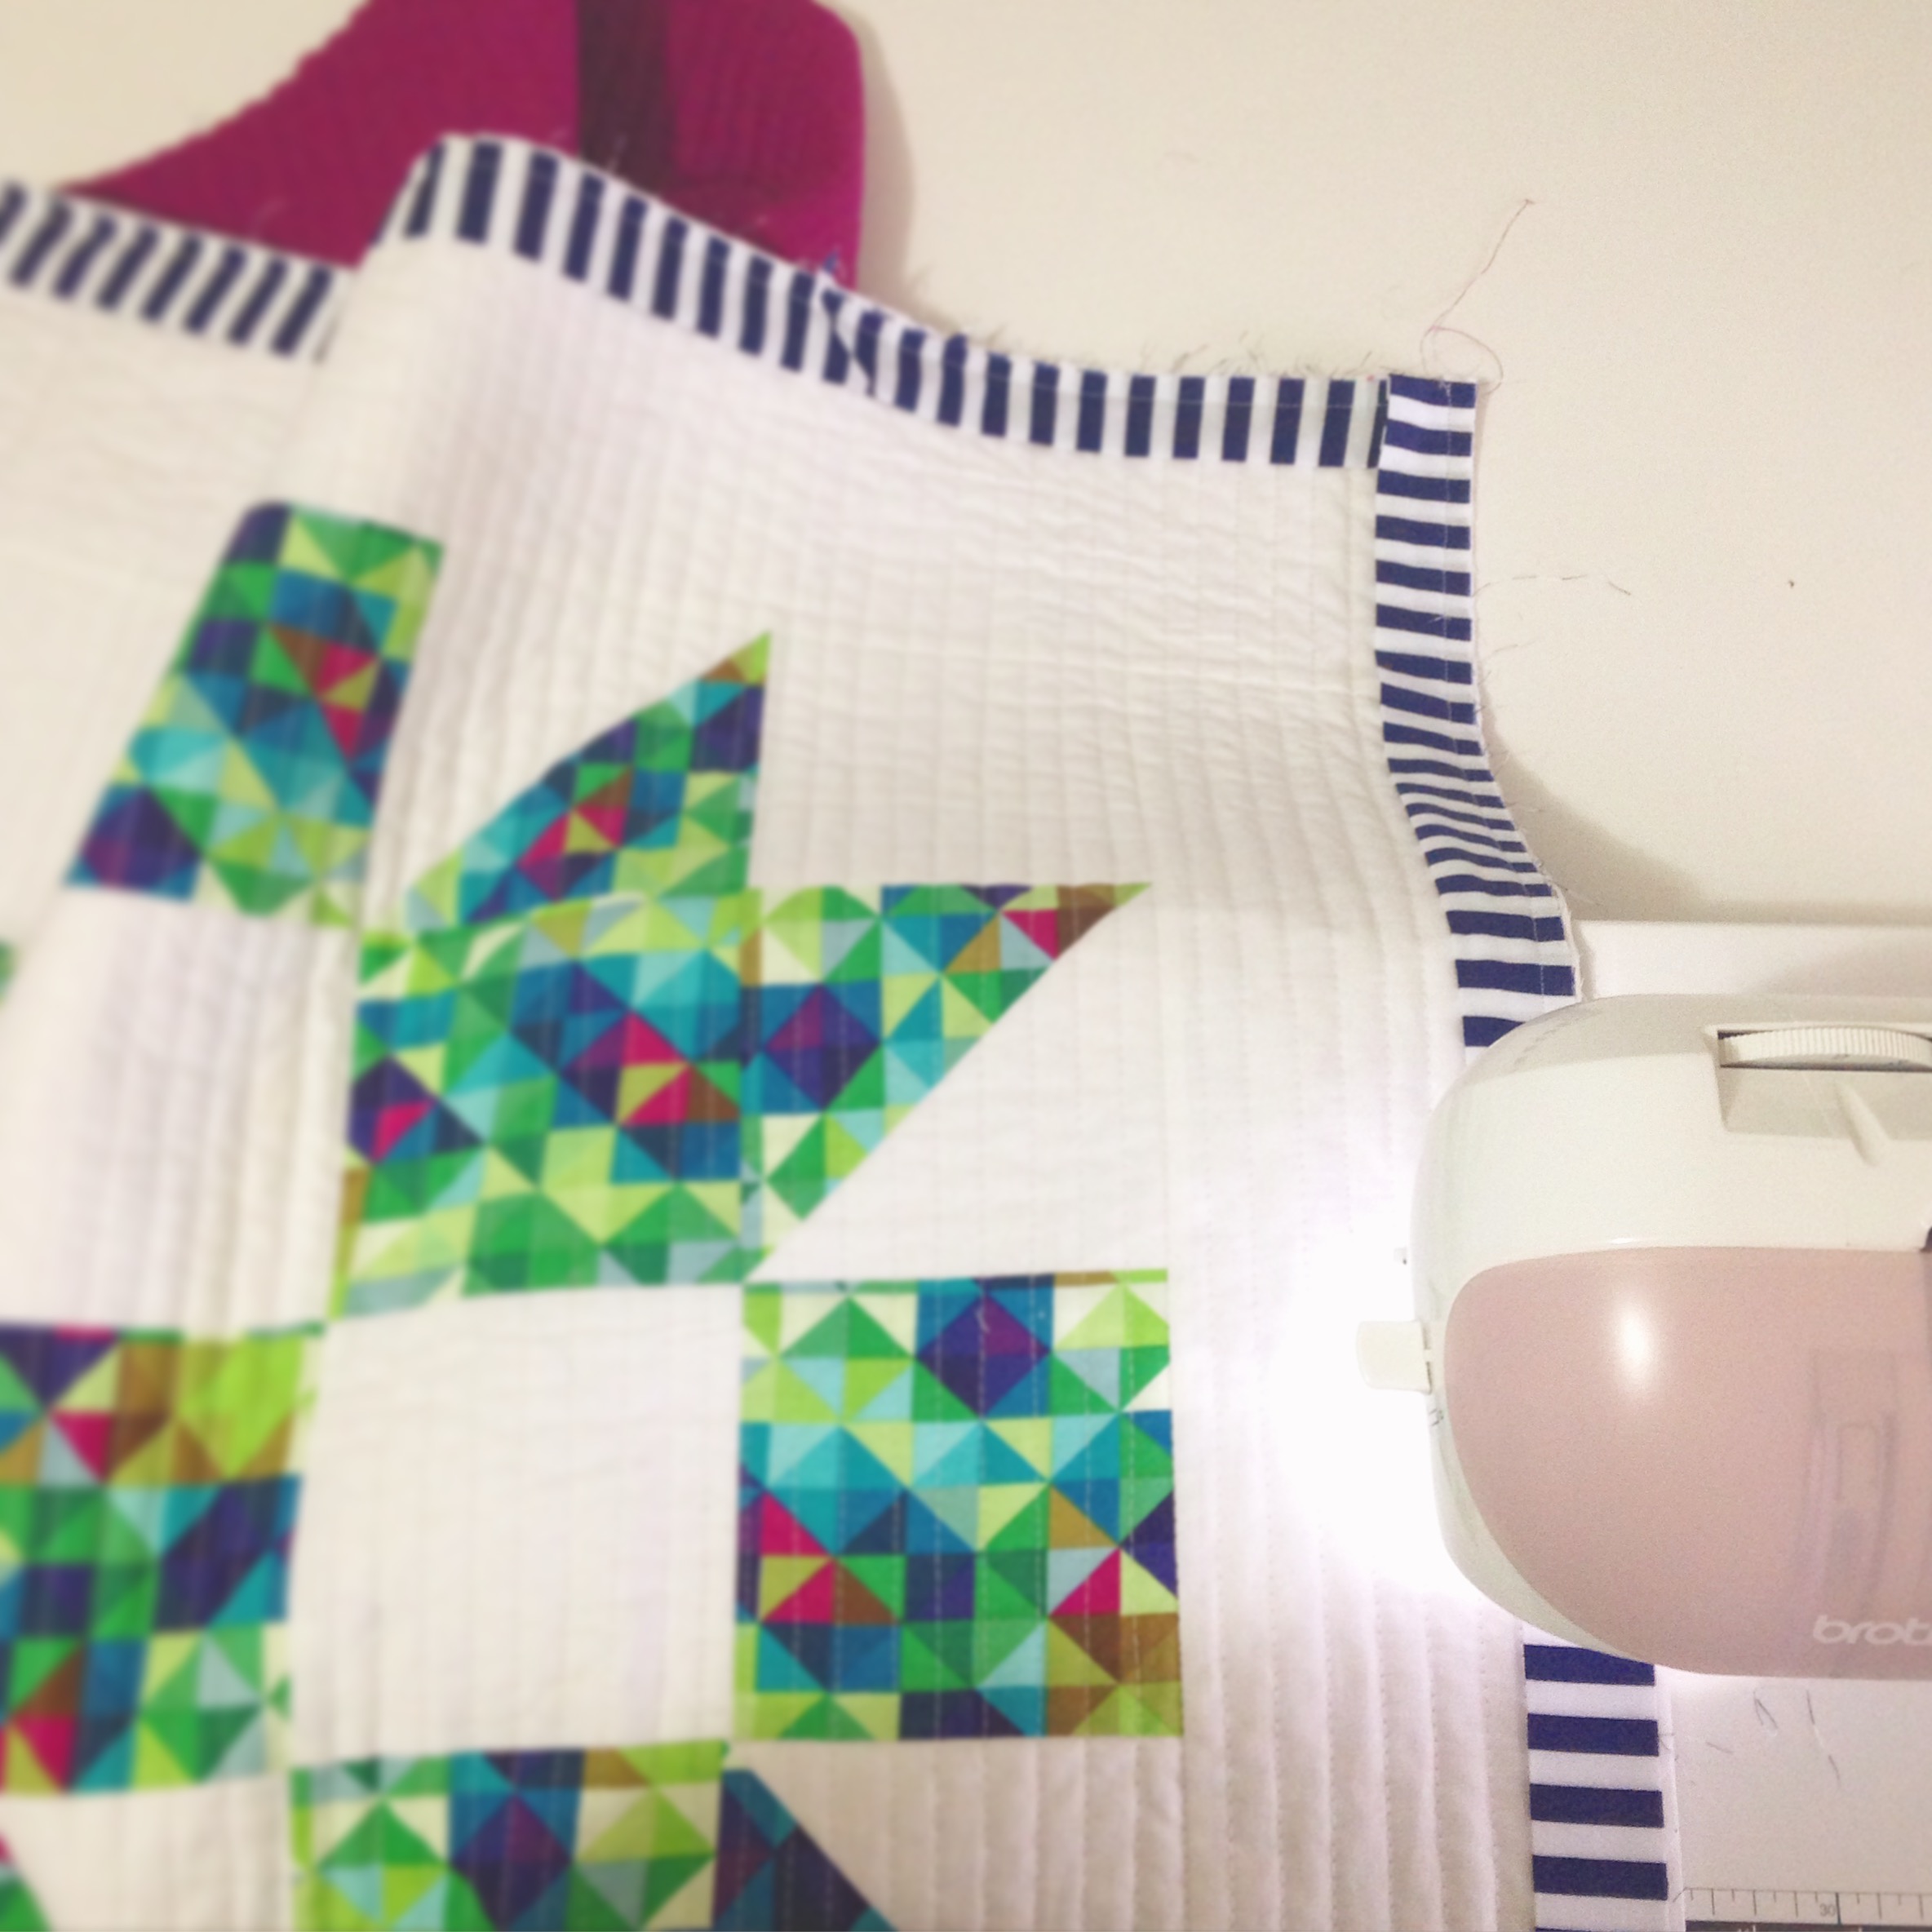
Now that all nine blocks have been made, it’s time to sash them together and then add a border around each of the edges to complete the quilt top!
Before we get into it, I just want to let you know that this particular tutorial is pretty heavy in the information department! I do go through lots of different steps quite quickly, so if you have any issues keeping up, pause it when you need to, catch up in your own sewing/understanding, check out the diagram on the pattern sheet and then continue on your way until you’ve finished piecing everything together.
As always, if you click on the pattern sheet linked at the top of this post, you’ll be able to find a full list of all of the measurements and cutting info, along with the fabrics* I’ve used to piece the quilt top together!
+++
So with our quilt tops now pieced and looking grand, we’ll be getting into basting and quilting it in the next instalment of the Quilt Along! Whoo! So in that video I’ll show you how to baste your quilt, I’ll chat about backing and batting and then show you how to quilt it on your sewing machine! It should be great!
Also, don’t forget to keep sharing your finished blocks and quilt tops with me! You know I love to see everything that you make!
I hope you all have a splendid weekend!
Happy Sewing, Friends!
xx
*A big thanks to Australian wholesale supplier and fabric distributer Dayview Textiles for supplying me with such beautiful fabrics! If you want to see all of the fabrics I’ll be using in this Quilt Along, check out this post where I share them all with you!