May 20th: Simple Cross Quilt Progress!

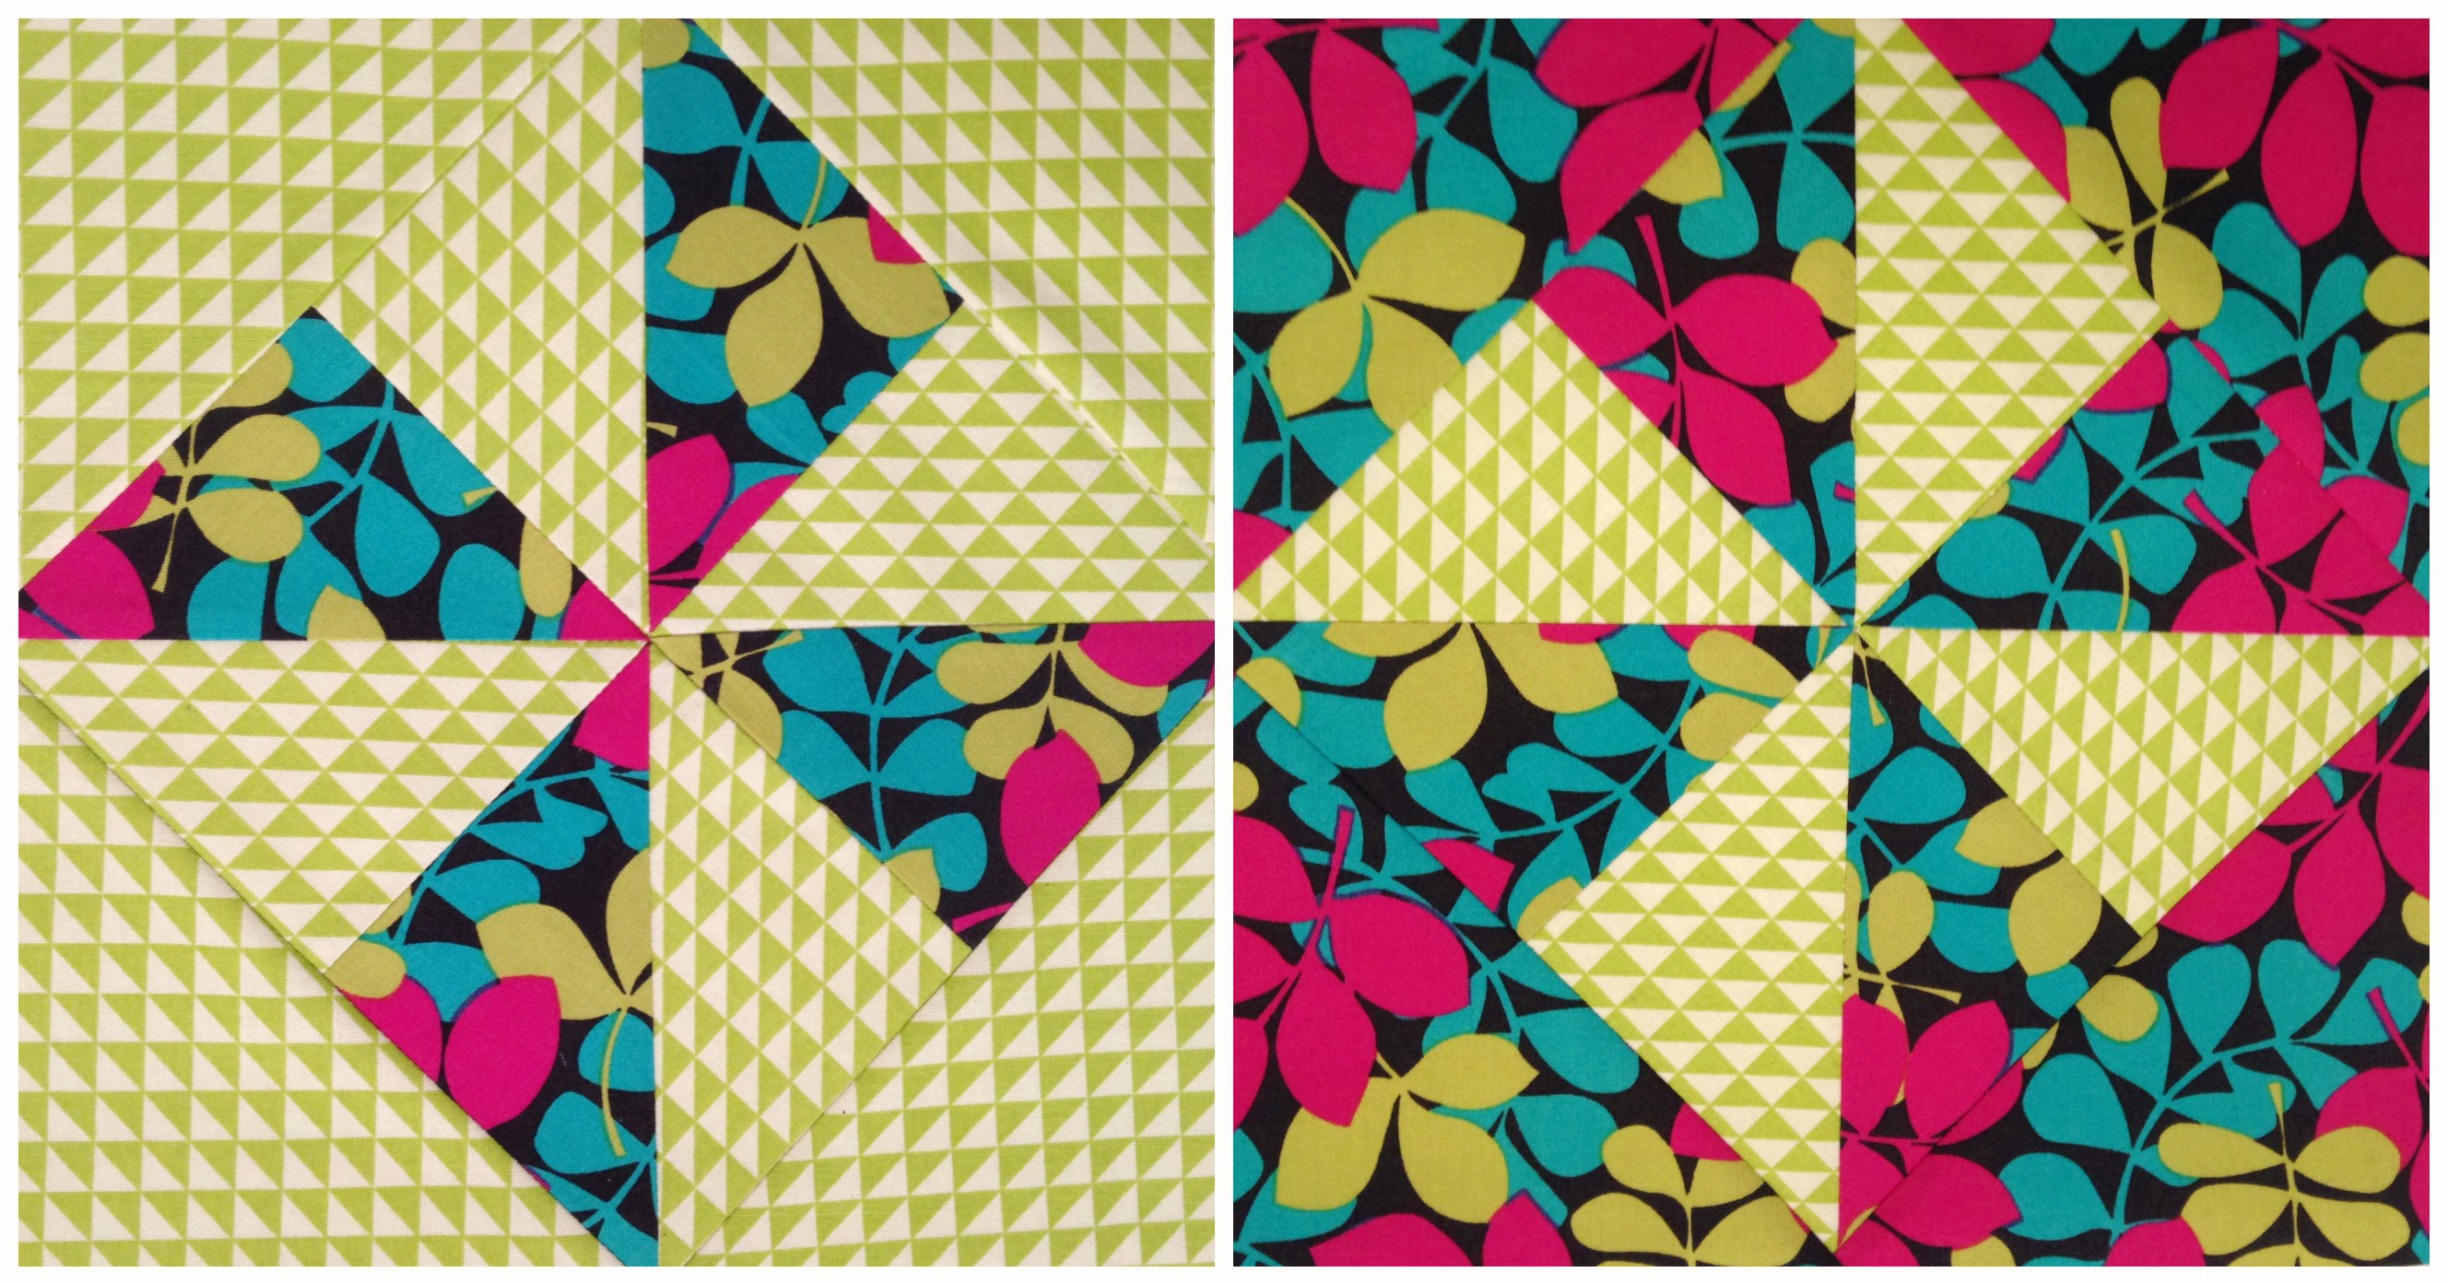
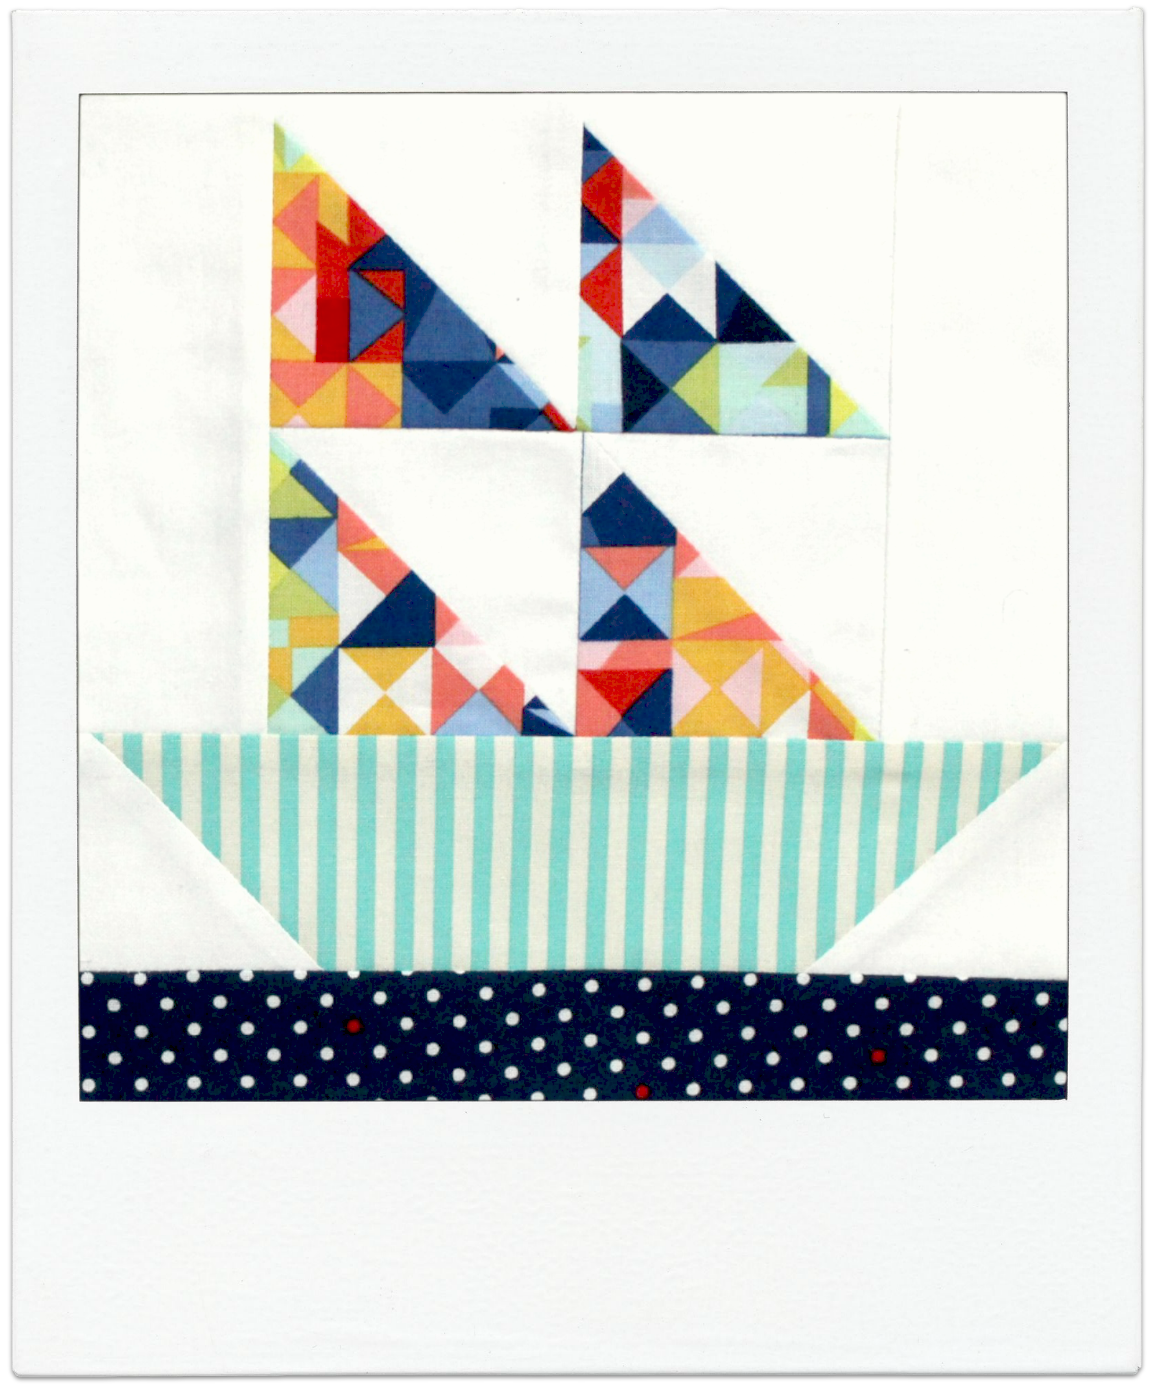
Current obsession: making as many Simple Cross blocks as I can in one day! Today’s record is five in one afternoon! Woo!

5SimpleCrosses

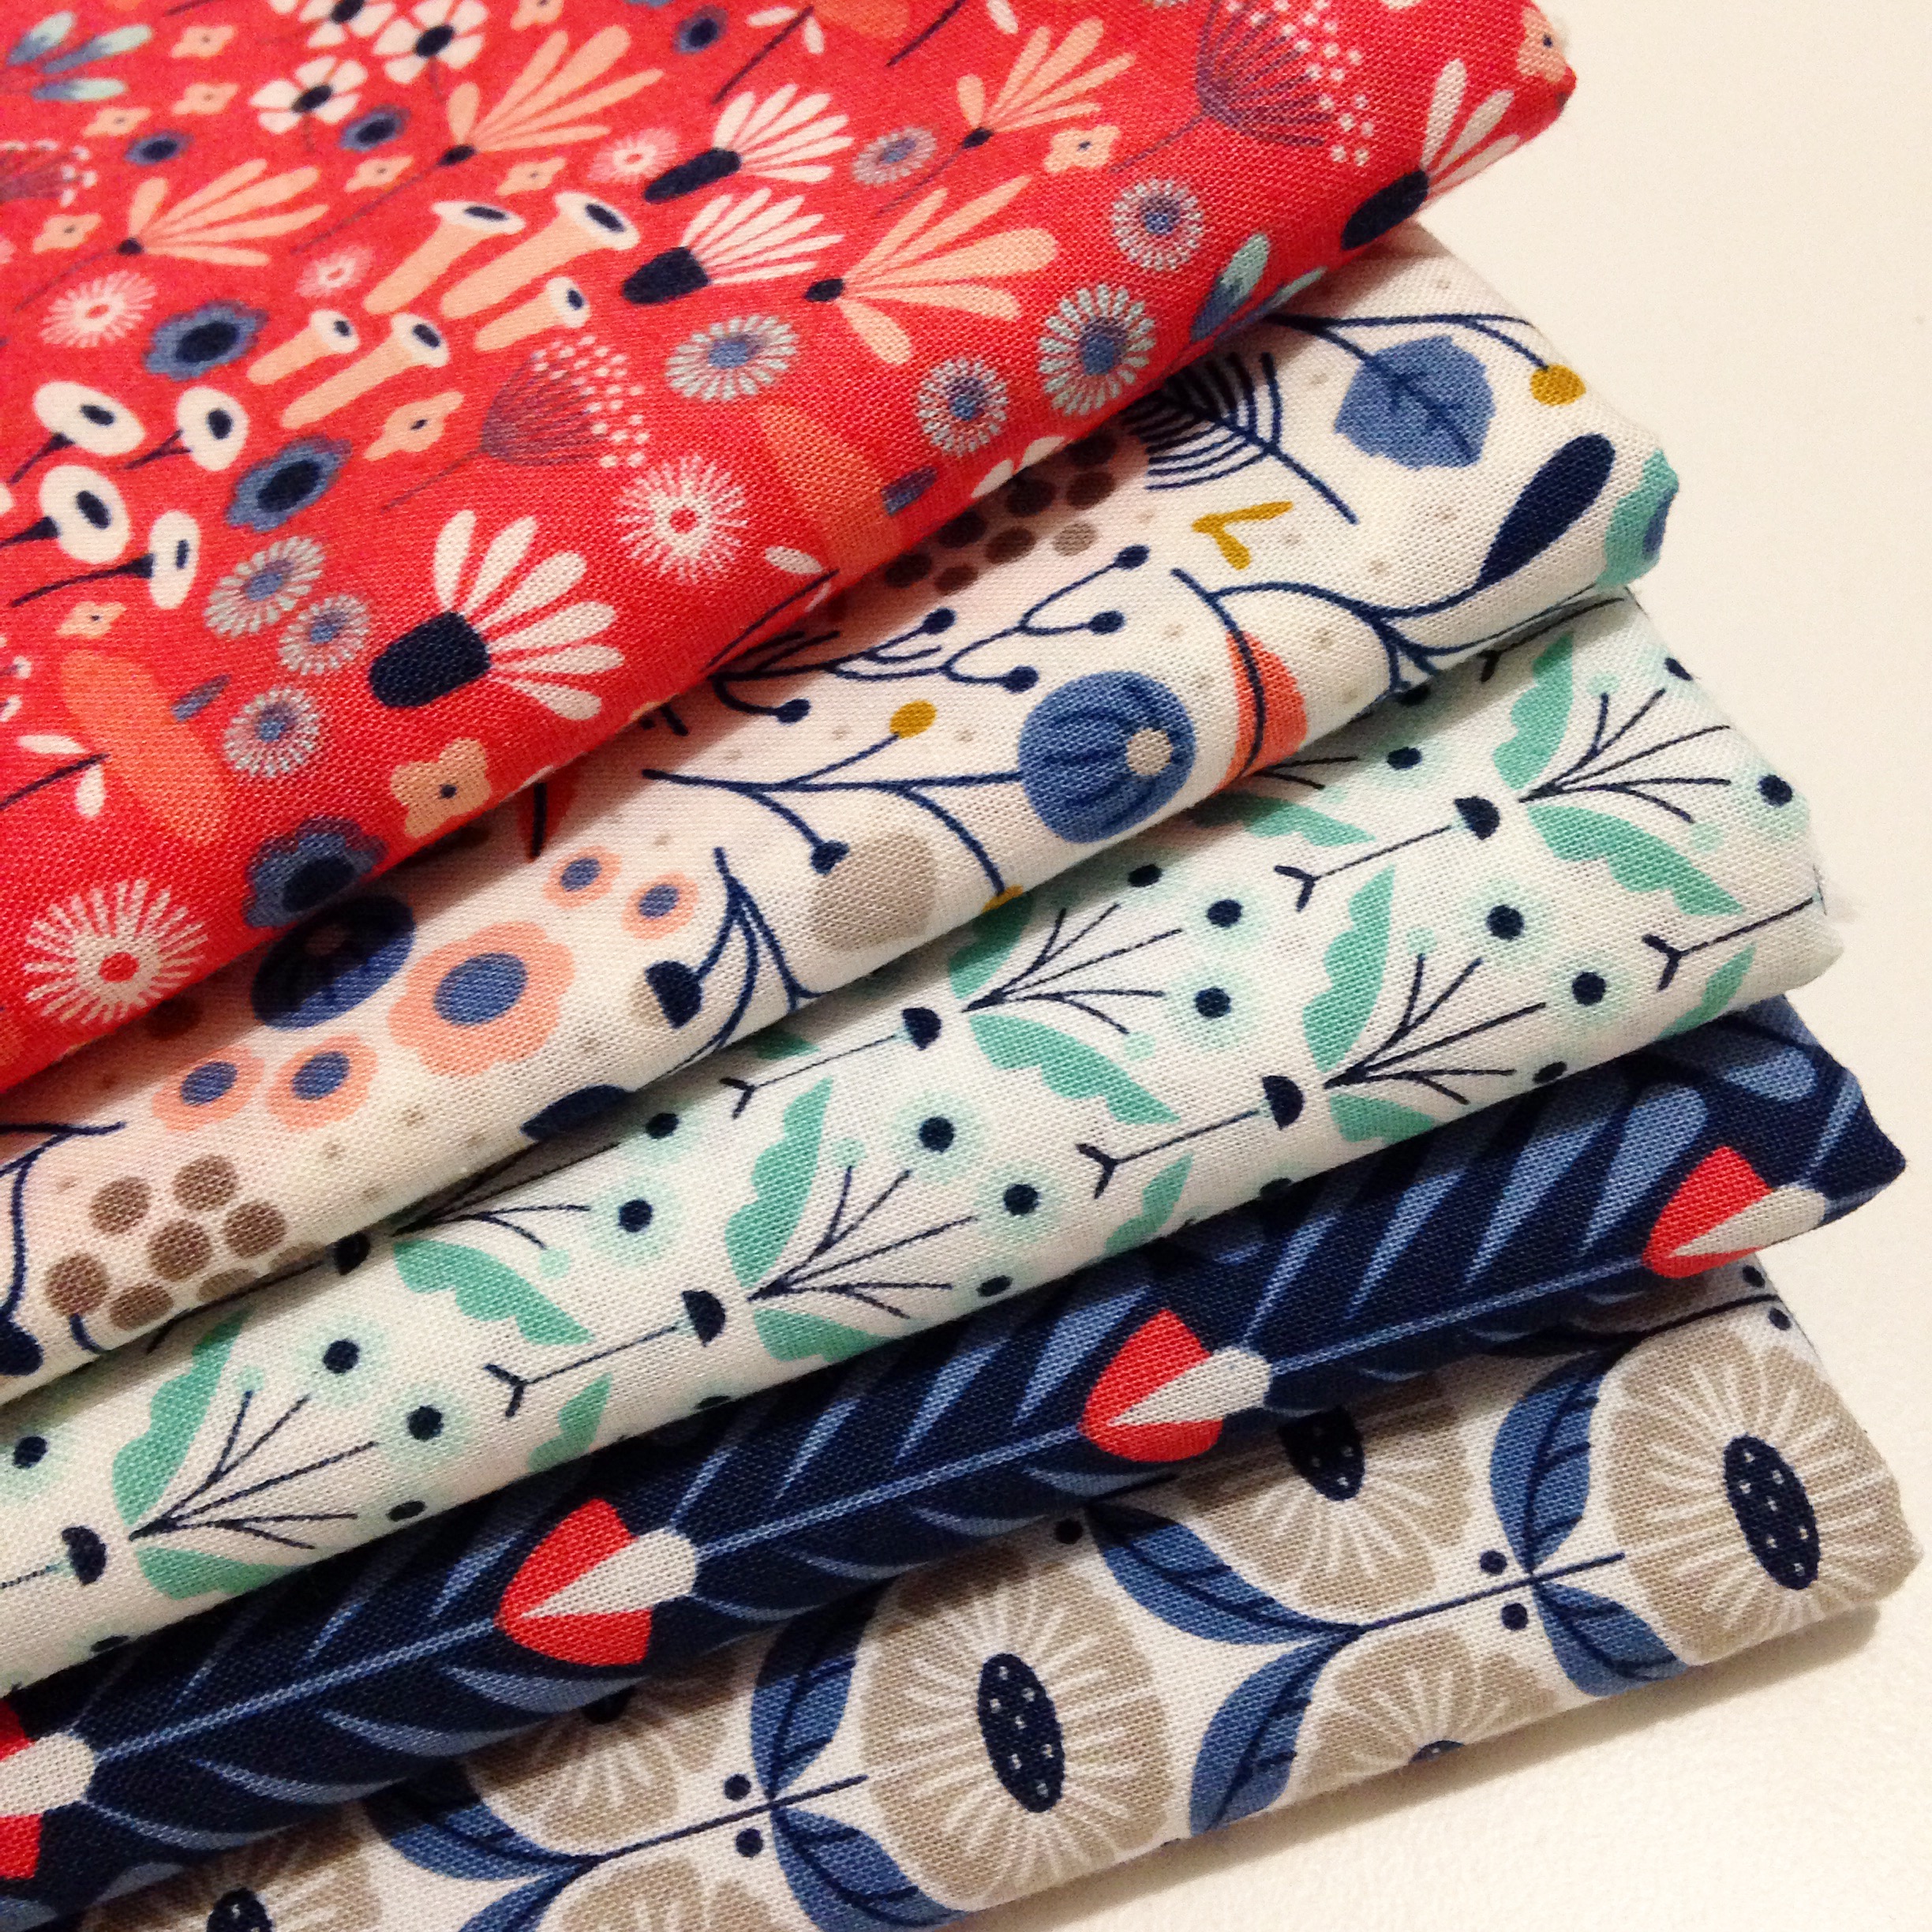
This has become quite an unexpected Work-In-Progress that I’m thoroughly enjoying! I love rummaging through my basket of solid fabrics and choosing the next bright colour to work with and then matching it with a fab print fabric!

SimpleCrossQuiltProgress(9blocks)

I can’t decide whether to keep it as a simple nine block lap quilt (as it is now) or to keep adding more blocks to it turning it either into a 16 block quilt or a 20 to 24 block mega quilt! What do you think?? I would love your opinion! Currently the quilt top measures: 32″ (82cm) squared without the blocks being pieced together…

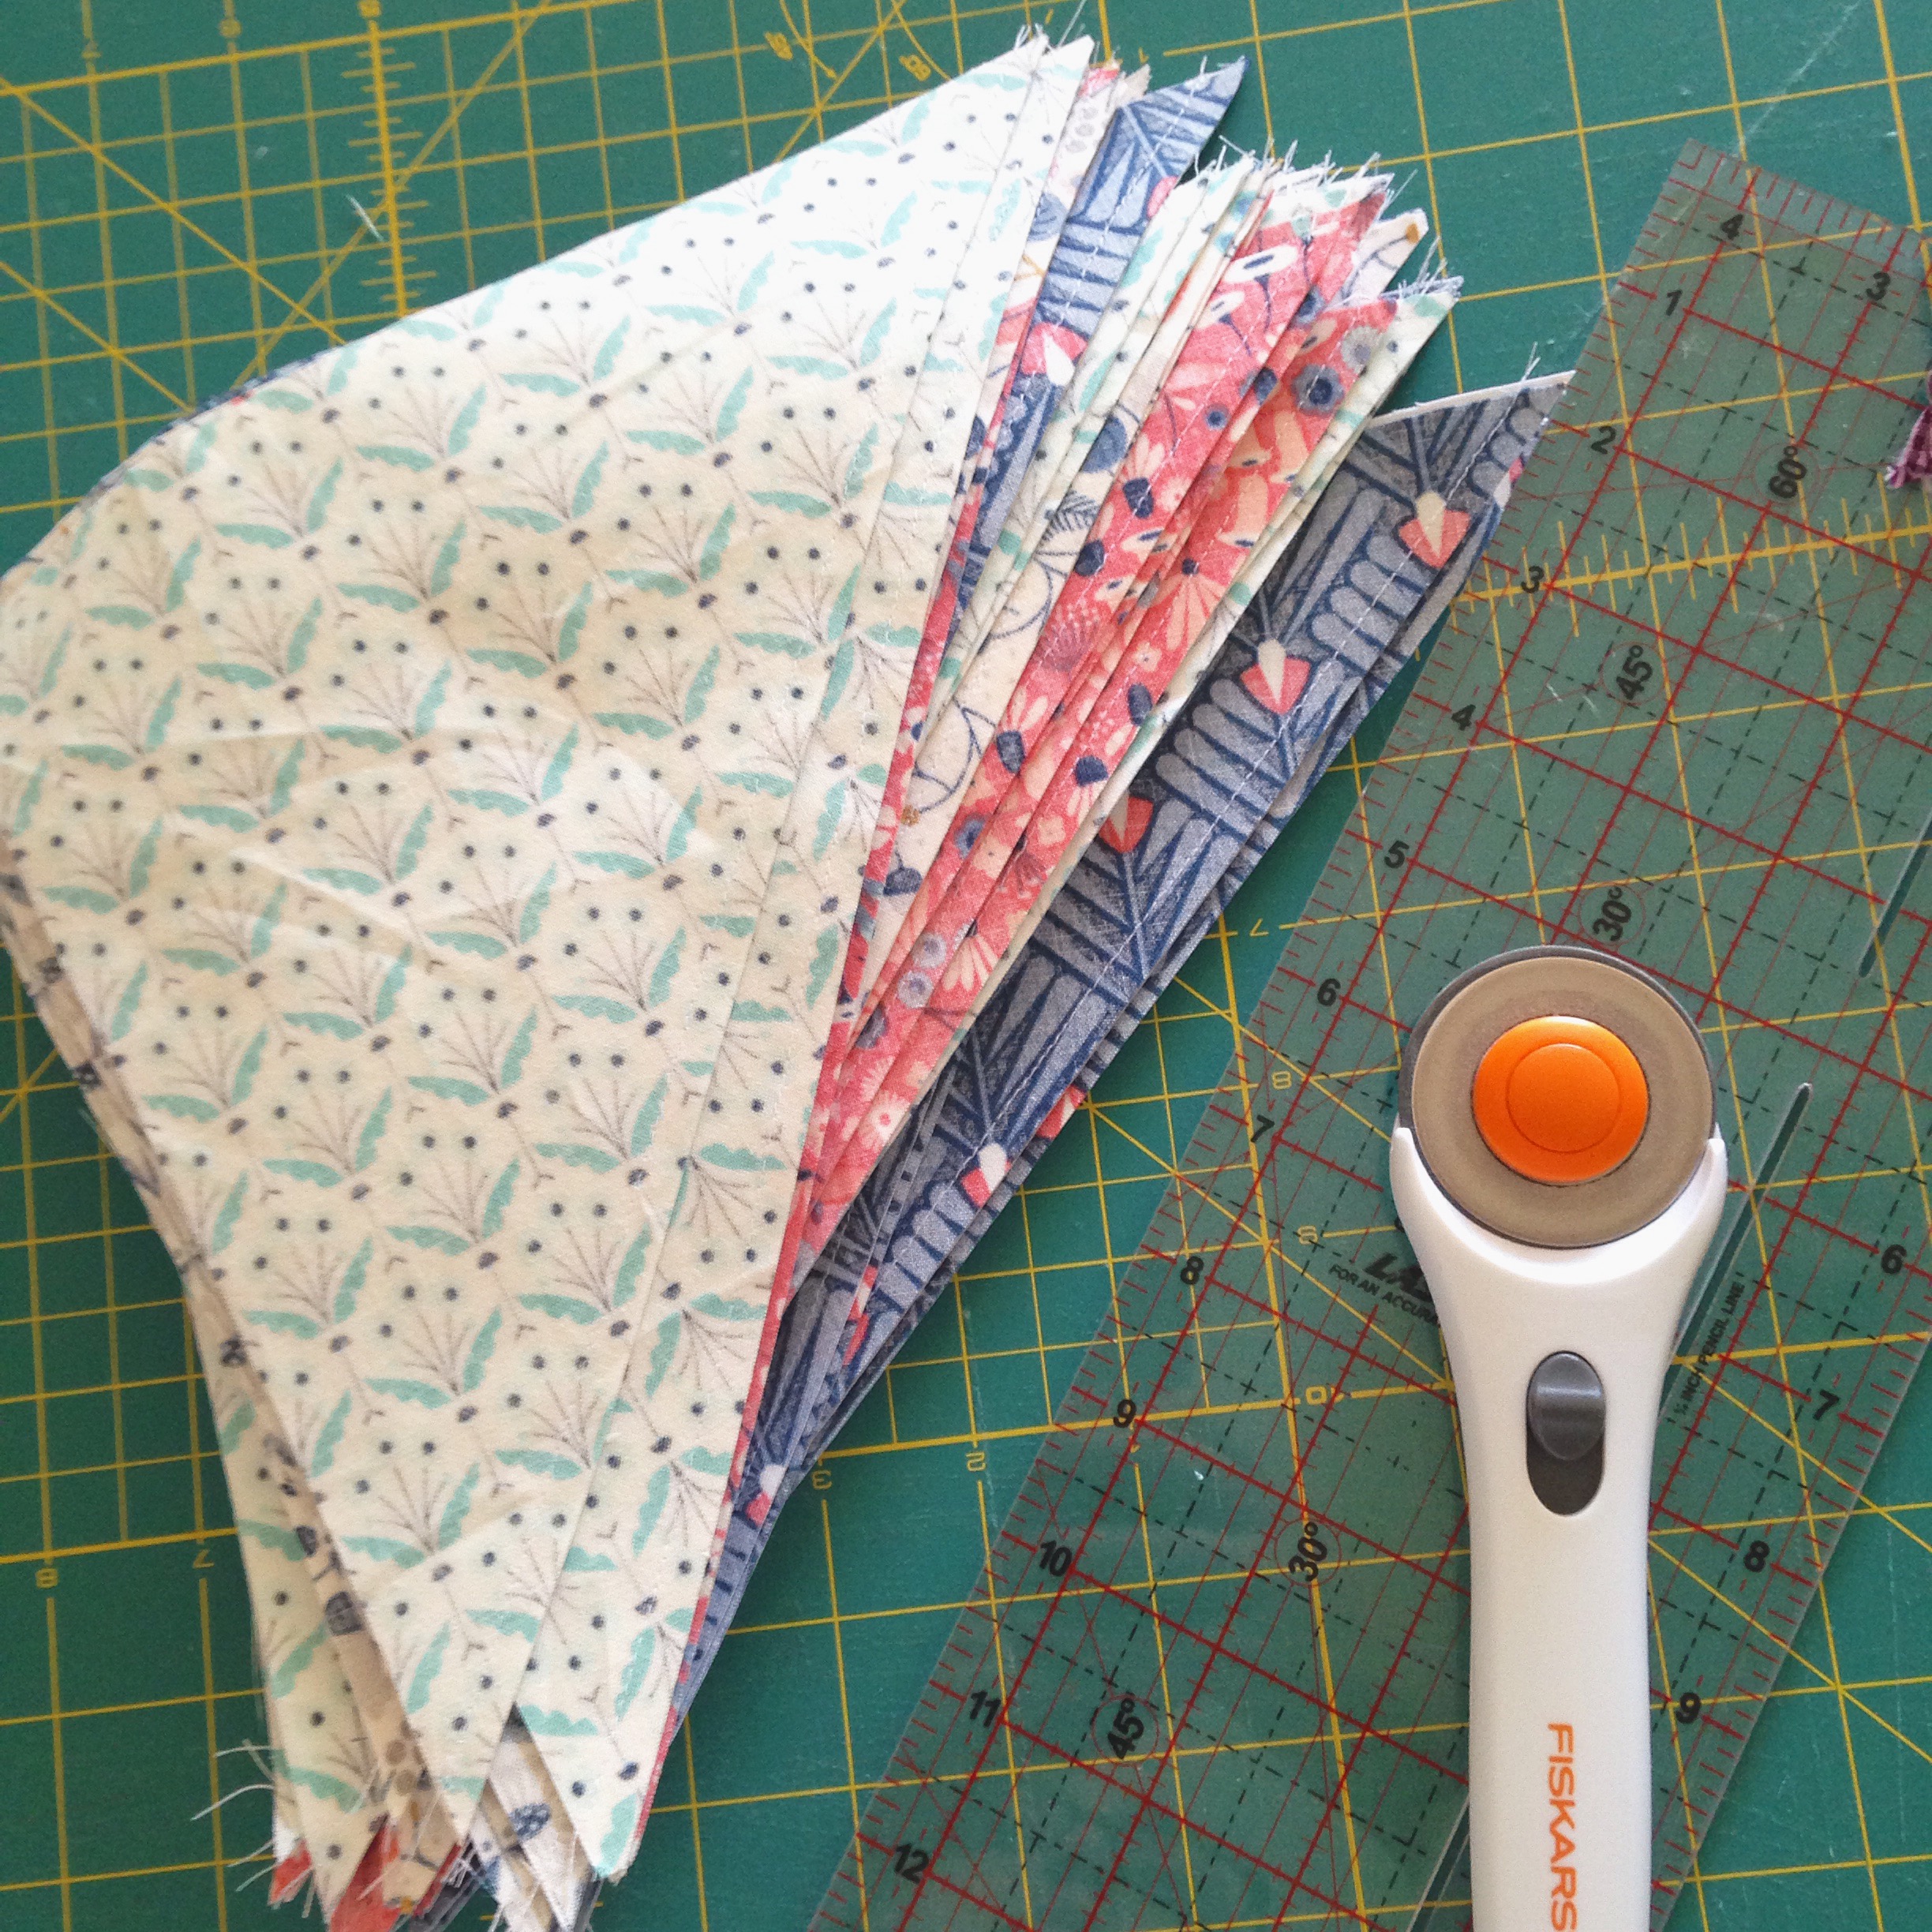
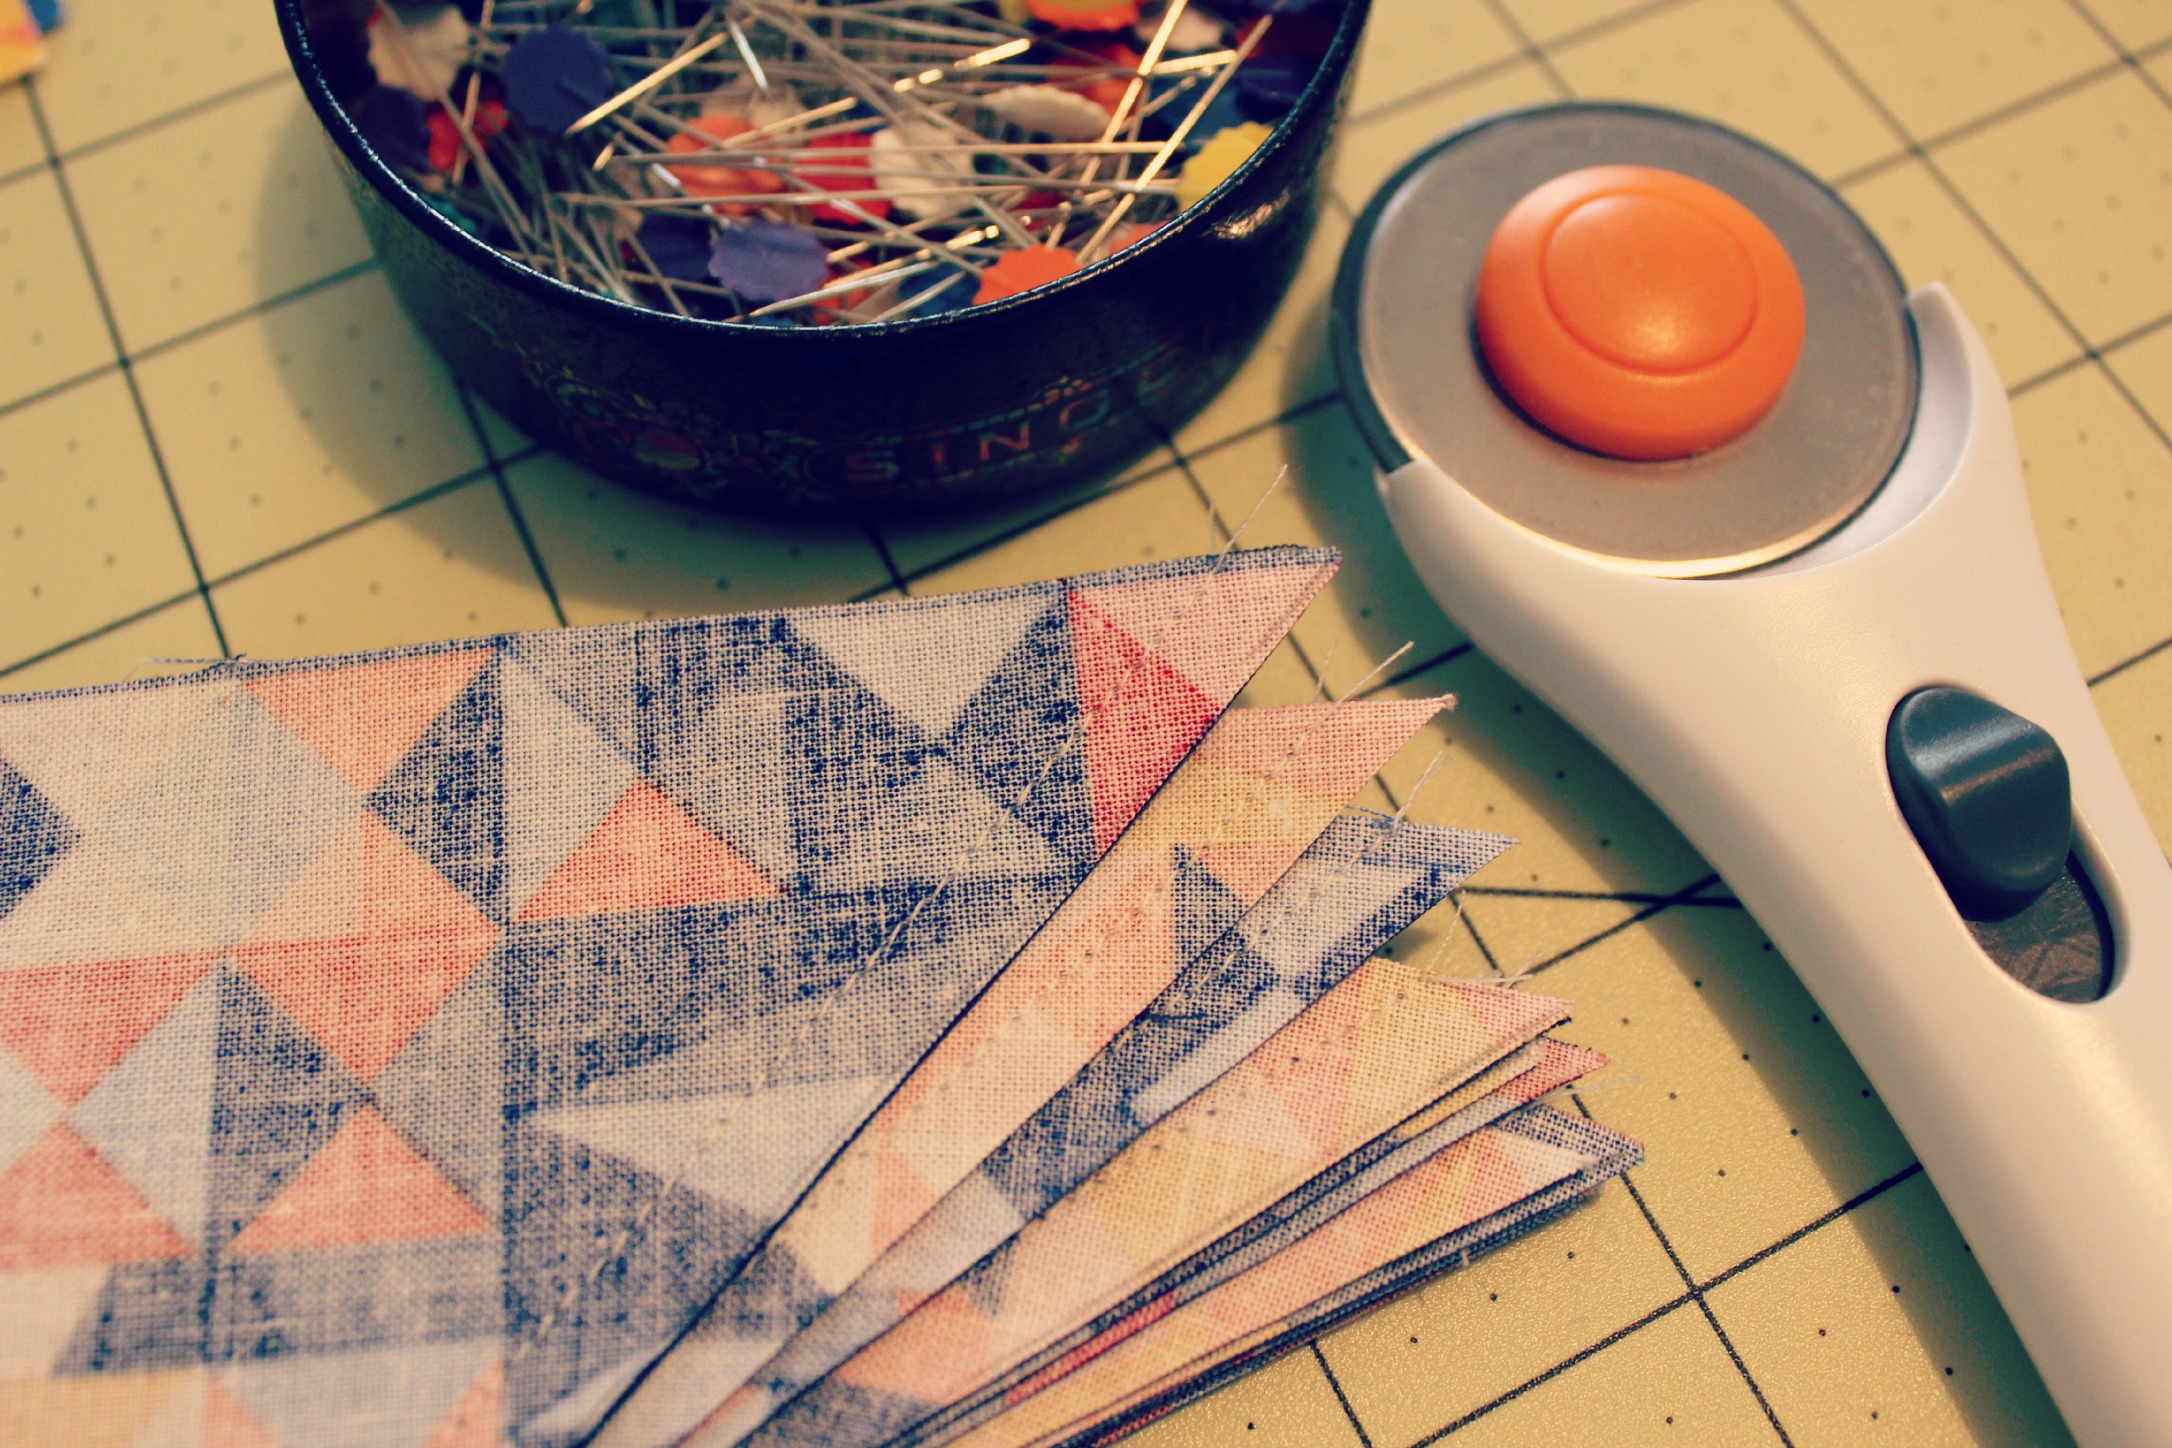
To be honest, I really wouldn’t mind turning it into a 20 to 24 block quilt… The block is super simple and deadly quick to cut and whip up. And goodness knows I have enough fabric to do the job! Even now I have a bunch of print fabrics in mind that could go so well with the rest of the aesthetic this quilt top has going for it! Yay! Such fun!

😀

Looking forward to hearing your suggestions!

Happy Sewing, Friends!

xx

(PS. Yippee for the start of the weekend again!)

September 23rd: TUTORIAL // The Mountain Block!

It’s been a while in the making, but here it is: The Mountain Block tutorial!

FABRIC
Wildwood by Elizabeth Olwen for Cloud9 Fabric, in Wild Flower.
Prima 100% Cotton Homespun, in White.

MEASUREMENT & CUTTING
From the white solid fabric cut:
x1: 8.5″ square

From the print fabric cut:
x1: 8.5″ square

FINAL UNIT SIZE

6.5″x8″/17cmx21cm (approx.)

FINAL BLOCK SIZE

15.5″x12&6/8″ / 40cmx32.5cm (approx.)

+++

As I mention in the tutorial, you have free reign on how big or small you want to make your mountain block! In no way must you stick with the measurements I’ve provided – you can be as adventurous and as creative as you like when piecing it together! The only thing you need to remember is to cut your HST in the opposite direction to achieve that wonderfully awesome mirrored effect in the block!

Here are a few great examples I found on Pinterest of the mountain block (also known as the Delectable Mountain/s block) being used to create such effective and beautiful modern quilts!

MountainQuilts:Pinterest

The quilt by Quilts by Emily

The quilt by Quilternity’s Place

The quilt by Wendy Meyen

The quilt by Old Red Barn Co.

+++

Let me know if you’re excited to give this block a go! It’s perfect for intermediate beginners and would be great to use to get some of those scrap fabric piles down to a better height!

Happy Sewing, Friends!

xx

September 15th: The Start of a New Quilt!

I finally got the chance to cut and play with these gorgeous Wildwood fabrics today! Yip-yip!!

IMG_4733

IMG_4923

This range (mine, unfortunately, is incomplete) was designed by Elizabeth Olwen for Cloud9 Fabrics, is 100% certified organic cotton and is an absolute dream to work with! I love it so much!!

WildwoodSelvedge

…Am I the only who keeps the selvedges because they’re too pretty to throw away?!

So I’ve had the idea swirling around my head for quite a while to try out the Mountain Block with these fabrics. I thought, because the range is called ‘Wildwood’ and mountains are usually surrounded by wood, that it would sort of tie-in together nicely. Plus the fact that I’ve seen some beautiful quilts on Pinterest using the block and thought they looked ah-mazing! So after a good bit of research and trialling the block out, I begun the real thing today with really good results so far!

This is the very early stages of the quilt top…

WildwoodBeginnings

I’m still not 100% sure of the final layout – there are lots of options – but I thought I’d figure that out once all of the blocks have been made and I’m able to swap and reposition things until I’m happy with what I see. I’ve also added a few darker neutrals in the mix to help break up the white. I’m pretty happy with how well that’s working out as well!

WildwoodBlock
A Mountain Block

Good news, I will be doing a tutorial on this block! It’s currently planned to come out on Friday and you’ll be so surprised at just how simple it is to make! I’ll also be doing another tutorial-type-thing on how to make the quilt in a blog post sometime next week!

So in those tutorials I’ll show you how to cut and piece the blocks together as well as show you the different kinds of quilt top layouts you can choose to create with the block, along with all of the measurements, cutting info and associated numbers needed to make the quilt! Should be fun!

I’m now off to piece some more blocks together!

A Happy Tuesday to you!

xx

‘Quilt-Along-With-Me!’ Part One: Block Prep & Piecing!

GET THE PATTERN SHEET : QuiltAlongWithMe – PartOne

Father's Choice Block
Father’s Choice Block

Hello!

Welcome to the first instalment of my ‘Quilt-Along-With-Me!’ series! I’m so excited to get started and I hope you are too!

In part one, I introduce the block we’ll be piecing together (which is the Father’s Choice block!) along with showing you the way I like to prep and cut my fabric as well as how I choose to make a bulk load of HSTs and how I piece and press my blocks.

Now, if you find it hard to follow along with the instructions in the video, you’ll find everything you need to know in the pattern sheet above. All of the measurements, cutting instructions and steps to piece the block are there for you!

A few facts about this quilt:
– The quilt that we’re making together will feature four Father’s Choice blocks, each one measuring 23″ (58.5cm)
– The blocks will be pieced together using a sashing technique
– The final quilt top will measure approx. 59″ (150cm) squared


I first came across this block when I was flipping through the book 500 Quilt Blocks by Lynne Goldsworthy & Kerry Green and looking for inspiration for this series. I had never heard of the block until it’s star-like nature caught my eye. The block featured in this book was a little bit too small for the type of quilt I wanted to design and make with you all, so I doubled the measurements, made a test block and fell in love!

Father's Choice Block
Father’s Choice Block

I was a little conscience to the fact that the piecing of this block could be a little tricky for beginners to manage. But once I made it and thought about it, I actually think this is a great block for beginners to try as it touches on some great basic technical skills that all patchworkers should learn and know. These include cutting basic squares, piecing and trimming down HSTs, basic forms of layout design (eg. learning how to make a four-patch unit), how to press units to achieve perfect nesting seams as well as how to manage piecing a large-ish block together.

{If you are new to patchwork and are going to give this block a go, let me know how you go! Tell me if you thought it was a bit hard or if you felt comfortable with the challenge…}

Also, don’t forget to show me your finished blocks! Tag me on Instagram or Twitter at @3and3quarters, send me an email or share them on Facebook!

In the next video I’ll be showing you how to sash all four blocks together as well as adding a boarder around the outside, completing your quilt top! You’ll find the pattern sheet with all of the information here once it’s uploaded!

Father's Choice Blocks
Four Father’s Choice Blocks

If you have any questions or thoughts about this block, the finished quilt or the series as whole, please comment below and I’ll try my very best to help you out!!

Happy Sewing, Friends!

xx

PS. If you missed out on the Introduction post I published, you can click here to get up to speed! 😊

Tutorial: The Pinwheel Block

Pinwheel Duo

Good Afternoon to you!

With a comforting mug of tea settling next to the keyboard and my written notes laid out before me, let’s explore the latest instalment in my quilt block tutorials – the Pinwheel Block!

Inspired by a block in the book ‘500 Quilt Blocks’ by Lynne Goldsworthy & Kerry Green, the Pinwheel Block is deceptively easy!

Here’s what you need to do to make this block!

Measurement & cutting instructions

(This block only requires two contrasting fabrics.)

Cut x2: 6″ squares from one fabric for the corners

Cut x2: 4.5″ squares from each fabric for the HSTs*

Final block size: 25.4cm or 10″ square.

And as always, let me know if you’re going to give this block go! You can email your lovely pictures to this address: 3and3quarters@gmail.com

Happy Sewing Friends!

xx

PS. Regarding my Christmas videos: These will begin in December, with the first one due to come out on Wednesday the 3rd! Then every Sunday & Wednesday upload, until the end of the month will be Christmassy related! Whoo! (This is just incase I didn’t really explain it well enough in the video!) I hope you will all enjoy the ideas and projects I have in store!

*HSTs = Half Square Triangles

TUTORIAL: The Maple Leaf Block

MapleLeaf

MapleLeafPair

Adding to my stash of quilt block tutorials is this one:

The Maple Leaf Block!

I thought it would be fit to dedicate this particular block to all of my friends (that’s you!) who live in the Northern Hemisphere who are welcoming the coming months of fall/autumn!

I hope you enjoy the cooler months!

#totesjealous

So this block, just like others I’ve demonstrated in the past, is super simple and is ideal for the beginner quilter who would like to stretch their legs a bit and give HSTs (that is, half square triangles) a go!

Learning how to make HSTs is an essential skill to learn if you’re serious about patchwork. It will become one of those knowing-how-to-write-without-thinking-about-it type skills that you’ll forever be falling back on again and again.

So if you feel unsure about making HSTs or just have no clue what a HST is, watch the tutorial and you’ll know!!

(PS. You can find all of the measurement and cutting instructions for this block at the end of this post!)

If I’ve inspired you to make this block, then here are just a few creative ways this block can be used to make a beautiful quilt!

MapleLeafQuiltInspirations

Here are the links of where you can find the makers of these darling quilts!

The Quilt by Amy at Diary of a Quilter

The Quilt by Messy Jessy

The Quilt by Annabella at Kech Quilts

The Quilt by Sarah at sew&tellhandmade

#sharethelove

Happy Sewing Friends!!

xx

Measurement & Cutting Instructions

From the x5 ORANGE fabrics cut:

– x1: 3&1/2″ square for the centre

– x1: 3&7/8″ square from each of the others for the HSTs

From the BROWN fabric cut:

– x1: 3&1/2″ square for the stalk

From the WHITE fabric cut:

– x1: 3&1/2″ square for the upper corner

– x2: 3&7/8″ squares for the HSTs

– x2: 2&1/2″ squares for the stalk

Don’t forget to send me a photo of your finished block!

I would love to see it!

TUTORIAL: The Sailboat Block

Boy, these tutorials sure are coming on thick and fast! (Oh my, that was not intended to sound as rude as it does!)

Ahem! Moving on…

This week’s tutorial is The Sailboat Block!

SB Polaroid

It’s a wonderfully versatile and super-simple block to construct that has deep traditional roots but still possess an edge of modernity to it.

I love it!

Why only yesterday, on Facebook, one of the many quilting pages I follow posted a heritage quilt made up entirely of the Sailboat Block. I couldn’t believe it! Everything was in exactly the same place/design as the one I demonstrate in my tutorial! I was amazed, with my love, passion and appreciation for patchwork growing just that little bit more!

Here’s a link to the quilt and its details on The Quilt Index website.

Here are the measurement & cutting instructions if you want to make this block yourself:

For the Sails cut:

– x2: 3&3/8″ white squares

– x2: 3&3/8″ print squares

For the side of the Sails cut:

– x2: 2″x5&1/2″ white rectangles

For the Boat cut:

– x2: 2&1/2″ white squares

– x1: 2&1/2″x8&1/2″ print rectangle

For the Sea cut:

– x1: 1&1/2″x8&1/2″ print rectangle

Making this block again brings back beautiful memories of the quilt I made for my oldest nephew (who is now 7!) in celebration of his 2nd birthday.

Caleb's Sailboat Quilt | May 2009
Caleb’s Sailboat Quilt | May 2009

This quilt was made way back when even before I started my blog! Almost seems like a lifetime ago!

Let me know if you’re going to give this block a go! It is so delightfully boyish that I think any little man will adore and treasure it! (Ha! Get it? Treasure…it!)

Oh dear…

Happy Sewing Friends!

xx

When life gives you lemons…

…you make a soothingly warm lemony drink powerful enough to banish all unwanted weekend sniffles.

blog1

Yes, that’s right, all my weekend plans went out the window when I was struck down by one of those pesky not-yet-a-head-cold-but-soon-will-be yucky feelings.

So I pumped my body full of some good ole vitamin C, a healthy dose of Ibuprofen and snuggled down under a quilt with a book: The Fault In Our Stars by John Green.

And blamed the abrupt change of the weather for my sudden bout of illness!

One day it’s hot and sunny, the next cold and rainy – welcome to autumn: Australian style!

Anyway, enough about feeling sorry for myself…

I had planned for the weekend to begin filming a video tutorial (VT) I had promised about Foundation Paper Piecing – obviously didn’t happen – as well as to continue on my way with my Friendship Star blocks.

Foundation Paper Piecing Video Tutorial | Pattern Sneak Peek!

Now the latter did happen: four more pretty little blocks are adorning my design wall, giving me ample encouragement to keep-on-keeping-on with this quilt because the end result is going to be FABULOUS!!

(If I may say so myself!)

Top: 14 blocks completed! Bottom: The perspective shot!
Top: 14 blocks completed!
Bottom: The perspective shot!

So the next few days I hope to concentrate on getting said VT on it’s way, taking onboard all of your wonderful suggestions, thoughts and opinions on how I can improve and make my VTs better for you to watch and learn from.

Until then,

Bon Oui* lovely friends! xx

~

*Good Night! (French)

Friday Equals Sewing Day!!

Aren’t Fridays wonderful!?

They’re like an open window: you look through and see the shinning hope of what the weekend will entail!

For me I’m fortunate to have Friday as an extra sewing day.

And that’s exactly what’s happening on this crisp autumn afternoon!

I’ve been itching for a spare bit of time to crack on with my Friendship Star Quilt.

So far I’ve made 10 blocks and need to complete another 15 before I can begin piecing them together to finish the quilt top.

Today I’ve cut and pieced HSTs etc. ready to piece together at least another 4 or 5 blocks.

blogpic1

blogpic2

blogpic3I don’t know why but I seem to have this odd habit of cutting out only enough fabric to piece together 4 or 5 blocks at one time. I never cut out everything before I start. I think I’m always wary of getting stung by cutting too much and essentially wasting fabric that I could’ve used for another project.

Surely, I’m not the only one who does/thinks this…??

So, I’m in a ‘slow-pace’ kinda mood today, meaning I’ll possibly play a little bit of Passenger (my ultimate favourite singer/songwriter) and simply take my time getting these sweet little beauties done.

Heaven is right where I am this afternoon! 🙂

Happy Sewing Friends!! xx

TUTORIAL | The Plus-Sign Block

I present to you another one of my Quilt Block Tutorial videos!

When I’m browsing on Pinterest (which is practically all the time!), I always seem to come across beautiful quilts made with this block.

Links to these quilts are at the end of this post!

And they’re always so pretty and effective!

I ummed-and-aahhed between calling this block the Plus-Sign or (Modern) Crosses block as it can be referred to as both these names.

In the end, I settled on the Plus-Sign block as this particular design looks more like a plus-sign (+) than a cross (x).

Lately, I’ve been receiving some wonderful and very encouraging feedback about my tutorials (which I love!) and in the way that I present them.

People are torn between the narrative style I’ve done in the past and the annotated versions I’ve been doing of late.

Let me know what you think!

I would love to know where and what I can improve on to help you understand and enjoy my video tutorials!

The next video tutorial in the works is a Foundation Paper-Piecing idea that I said I would do in my Craft Haul video!

I’m super-super excited to get that underway!

So I here I leave you for the day…

I wish you all a splendid weekend!!

Happy Sewing Friends! xx

~ LINKS ~

The quilt by cluckclucksew

The quilt by Custard Bean

The quilt by allbuttonedup

The quilt by craftyblossom