I think for starters, I’m still so blown away by how much support and involvement I had from all of you in each of the past series! The possibility of another one being so successful is both very exciting and extremely daunting!
Now, I don’t want to get you too excited just yet! Unfortunately, there won’t be another QAL for a good couple of months… Once I finish up my Floristry course in June, I’ll be sure to get the ball rolling as soon as possible!
But in the meantime, let’s brainstorm some ideas together so that I can gauge your interest in what kind of quilt you would like to make!
Last year I came very close to doing a Christmas theme one with some festive appliques and colour combinations! Another suggestion I’ve had is to do a Mini Quilt Blocks sampler due to all of the fun little mini blocks I’ve shared and love! I also like the idea of perhaps doing another sampler with blocks that have star themes eg. Ohio Star, Diamond Star, Lemoyne Star, Lone Star etc.
So what I thought, to help me see what you guys think, WordPress have a fancy application where I can add a Poll to my post that will allow you to take a vote on what you like best! So I’m gonna give it a go and see if it’s a successful tool for me to see what you guys are most interested in!
The poll closes in a week’s time (12th May 2016), so cast you vote or add another suggestion that you would love to do and we’ll see what happens!
+++
So that’s it for today my Friends. Join in on the poll whether or not you’re likely to join in on the fun when it rolls into action, I don’t mind! Any feedback is good feedback in my opinion!
Happy Polling, Friends!
xx
PS. Also, comment below with any fabric ranges or lines from your favourite Fabric Houses (eg. Moda, Tula Pink, RJR Fabrics, Riley Blake, FQS etc.) that you would like me to make with next! I would love to be able to use fabrics that everyone where ever you are in the world has some type of access to buy and use along with me.
So if you didn’t know, at the beginning of this year I started a Floristry course after always wanting to do so ever since my last year in high school.
Safe to say I’m really enjoying it and am learning a lot about flowers and plants than I ever thought I would!
So in today’s post I thought I would give you an honest account of what a typical day/week for me is and what it’s really like to be studying as a floristry student!
Let’s start with the basics…
I have classes three days a week; Monday 9am-3.30pm, Wednesday 8am-4.30pm and Thursday 8am-4.30pm. On Mondays and Wednesdays we have prac lessons in the morning and then in the afternoon we concentrate on the theory side of the course: basic retail knowledge (so how to work competently in all areas of a retail florist shop) and then a plant class where we learn all about the anatomy of plants, plant care, plant names as well as health and safety info. And because I’m in an ‘accelerated’ course (meaning we just finish the course sooner than our other classmates), Thursday is an all-day prac day where we’re currently learning how to construct formal and informal Trail Bouquets!
Here is a layout of some of the most basic tools I have in and around my tool box…
one: 22 gauge wires. Used for wire-based designs and arrangements such as Corsages and Wedding Bouquets. Comes in thicker and finer gauge sizes.
two: Parafilm. A stretchy, self-sealing tape that is wrapped around exposed wires. It prevents rusting and allows wires to grip onto each other better.
three: Some darling deep burgundy Chrysanthemums that I’m currently using in my arrangements.
four: Floristry scissors. Perfect for cutting flower stems and all wires!
five: Flower Foam. Used in posy boxes and bowls, bats and wreaths as a water source for the flowers. The foam allows the flowers to last longer and gives the florist better control with placement when making an arrangement. Designs featuring floral foam will usually cost more as opposed to those without. The one I use is by Oasis which is considered the best kind in the industry which I whole heartedly agree with!
Now, of course there are so many more other things in my tool box but as I write this, my actual tool box is on campus and what’s above is all I had on hand at home to show you!
🙂
Here are some of my favourite designs I’ve learnt so far… In class we usually practice each design twice and on the third go we’re assessed and marked! Eep!!
(FYI: you may’ve already seen some of these in my Instagram feed!)
This was my very first attempt at a Formal Wired Posy! It features pink Roses, pink Carnations, Sedum (the green spiky bits), white Spray Roses, pink Hyacinth florets and a foliage leaf called Ruskus.
And this was the one I made for assessment, which included a ribboned handle!
Another design we’ve recently learnt was the ANZAC Chaplet.
Made traditionally with laurel leaves (symbolising victory and honour), three sprigs of rosemary (each representing the Army, the Navy and the Air Force) and red poppies(symbolising remembrance), I made this one using Camellia leaves and red Gerberas as these are what were in season at the time! The base of the chaplet is styrofoam wrapped in a green wreath wrap that resembles the texture of garbage bin bags! Each leaf is tacked on using bent 2″ pieces of 18 gauge wire in a particular pattern where each leaf overlaps the one before it hiding the ‘mechanics’. Although after a while my thumb begun aching from pushing thick wire pins into the styrofoam, I really enjoyed making it. The technique was soothingly repetitive and created a very tactile surface that makes my quilter’s heart flutter just that tiny little bit!
Now this little guy I loved putting together! The design is called an Asymmetric Arrangement Gift Hamper. This arrangement features the use of floral foam that is placed in a special plastic bowl with a cage that keeps the foam in place. I choose materials that would compliment the colour of the bear, the ribbons and the basket itself. (FUN FACTS: That basket belonged to my maternal Grandmother and is used in my sewing room to hold all of my unfinished projects while the bear was a Christmas gift from my BFF a few years ago!) The flowers in this arrangement include yellow Gerberas, white Roses, green Mollca Balm with Viburnum leaves, maroon Cordyline leaves, green Monstera leaves and a few dried out Tortured Willow branches at the back.
And then lastly we have the wired Cake Decoration (top) with a Spray (bottom). These pieces are essentially made as a mini version of the wired Formal Posy and a simple Corsage! Admittedly, I did struggle with making this one at first as you needed to get the top part sitting flat as possible while getting the bottom spray to curve nicely and be in proportion to the top. Sooo tricky!!
Currently in class we’ve just begun getting into some of the funeral designs such as Sheafs, Wreaths, Open Sprays and Casket Sprays (both constructed using floral foam), along with more wedding designs such as the Trail Bouquet, Hand-Tied Wedding Posies and Table Arrangements.
Okay, now I think it’s only fair to be absolutely honest about the pluses and minuses to Floristry… Let’s do the bad things first and then finish it off with the good!
Minuses:
The early mornings! (Boo!): Having been a night owl for last few years, the crazily early mornings have been definitely a shock to the system! Since when was there a 5.30am?? But with time and a solid routine, I’m getting used to the early wake up calls – I’m actually involuntarily waking up 6.30am! What!? Funnily enough I’ve actually always loved getting up early as it makes the day seem longer and I’m always able to get more stuff done! Plus there’s always something so nice about waking up before or with the sun and breathing in the fresh, crisp morning air and consciously planning your day out.
Dirty fingernails (and most often than not, chipped as well!): That was the one thing that steered me away from Floristry. I had someone tell me not to do it as it would ruin my hands. Even my Floristry teacher said it would ruin your fingernails the day we had sign-ups. But I thought, I’m not going to let that one thing stand in the way of my interest! Yes my fingernails maybe dirty and stained a light green at the end of the day but there’s nothing a good scrub with a brush and some soap can’t fix!
Fluctuations in wholesale flower prices: It’s Mother’s Day this weekend and because of the demand on flowers, the prices at the market have skyrocketed! Only this morning on a quick trip in, I spent over $40 on five bunches which really should’ve been half that price in a normal week. My poor bank balance has really copped a blow over the past week or so!
The day I made a Flower Crown!!
Pluses:
A new venture in creativity!: I would class myself as a very creative person. I crave making with my hands, whether that be with fabric, thread, food, flowers, craft supplies – anything! – I must always have my hands and my mind kept busy! Plus I love learning a new skill! Especially a skill that I can apply to real-life and potentially do as a job. So what better way to harness all of that and get creative with flowers! Like quilting, the design possibilities are endless!
Witnessing beautiful sunrises!: I touched a little bit on this above… I love a good sunrise (and sunset to be honest). There’s something about the promise it brings of a new day where you are given another chance to learn more, to laugh, to breathe, to sing, to dance, to create, to cook, to communicate, to relate and to live! Sunrises are beautifully inspiring in that way! 🙂
Discovery and playing with beautiful flowers and foliages!: Flowers are beautiful! Full stop! I’ve always loved flowers but I think after being around them almost everyday of the week along with learning all of their names and how to care for them properly, I’ve gained a deeper love and appreciation for them. Flowers aren’t around for all that long and we must cherish their one-of-a-kind beauty for as long as we can before they sadly die! 😦
Learning the tricks of the trade: Ohh, so many tricks, so many techniques, so many ah-ha! moments in class! They’re much more simple than what you’d expect. And don’t worry, I’ll show you them all one day!
It just feels right: You know when you start something new and there’s that feeling inside you where you know that what you’re doing is the right thing? I’ve experience plenty of new starts where the feeling has been the complete opposite – where the whole thing just does not feel like the right choice or right thing for my life. Well, Floristry feels right. After 11 years since leaving school I finally feel like I’m doing the right thing! (A part from doing all of my quilting ventures, blog and YouTube! Where would I be without all of you!!)
+++
So I think that’s it. That’s everything so far about my course that I think is good to share with you.
There will be more posts during the month that will centre around flowers and making/arranging a few things so I hope you’re excited for that! (I know I am!!)
Here’s a fab little recipe to get your week on track!
Over the weekend, we had a very sad looking bunch of bananas that begun ripening way too quickly before we could even contemplate eating them! Boo!
So what better excuse than to use the best Banana Bread recipe that I’ve come across in years! (A highly subjective opinion of course!!) And big bonus: It tastes great too!! It’s super dense and moist, rich in flavour and colour and is surprising (and quite satisfyingly) crunchy around the edges!
This recipe has been sourced from one of my favourite baking books…
1 cup of mashed (overripe) banana (I used four smallish bananas but you can use two larger ones)
1 cup (220g) of brown sugar
2 eggs
40g (1.5 ounces) of melted butter
1/2 cup (125ml) of buttermilk (use full cream milk as an alternate)
1/4 cup (90g) of treacle (you can also use golden syrup or honey)
1.5 cups (225g) of plain/all-purpose flour
1 cup (150g) of self-raising flour
2 teaspoons of mixed spice
1 teaspoon of bi-carb soda (baking soda)
And now to make…
First, preheat your oven to 180C or 350F. Grease a 14cmx21cm (5.5″x8.5″) loaf tin and then line it with baking paper, extending it about 5cm (2″) over the sides.
Next, combine the mashed banana, brown sugar, both eggs, the melted butter and buttermilk as well as the treacle in a large bowl.
Gently sift both of the flours, the mixed spice and bi-carb soda over the wet ingredients and stir them together. Try not to over mix – the lumpier the better!
Carefully pour the batter into the pre-prepared tin and place it into the oven to bake for about 1 hour.
Leave the bread in the pan for about 10 minutes before turning it out onto a wire rack so that it can cool.
This hearty banana bread can be served as is or toasted with a dollop of butter and accompanied with a hot cup of tea!
Serves 10-12 (depending on how generous you cut your slices!)
Welcome to the first post in my Everyday May blog series!
The goal: to write and publish a new post every single day during the month of May!
It’s gonna be a real challenge, but I’m totally up for it!
I have lots of great things planned to write about and share with you over the next 31 days! Topics include lots of sewing room related chat, insider floristry know-how (a flower-crown tutorial is well over due me thinks!), some fun and oh-so delicious baking recipes as well as general day-to-day life living and shizz.
(And…there may also be a cheeky little giveaway closer to the end of month! 🙂 Shh!!)
But I still have a few days here and there where I don’t have anything dedicated to it! (Ahh!!) So if there is anything you would like me to write about, whether it be about sewing/quilting, floristry, life and family, other hobbies, baking – anything! – comment below with your suggestions and I’ll do my best to pencil them in!
So cheers to the first day of May and for a fun blogging month ahead!
Oh man, I knew it would happen! Our Internet conveniently died yesterday, ruining my good run of publishing a new blog post everyday during September! I did try to attempt to get onto WordPress yesterday, but all I was met with was a blank screen and that annoying little circle of lines that goes round and round when you’re waiting for something to refresh or load! Oh well, it is what it is!
So now that we have our Internet back in all it’s beautiful high-speed glory, I can share with you today what I was going to share with you yesterday!
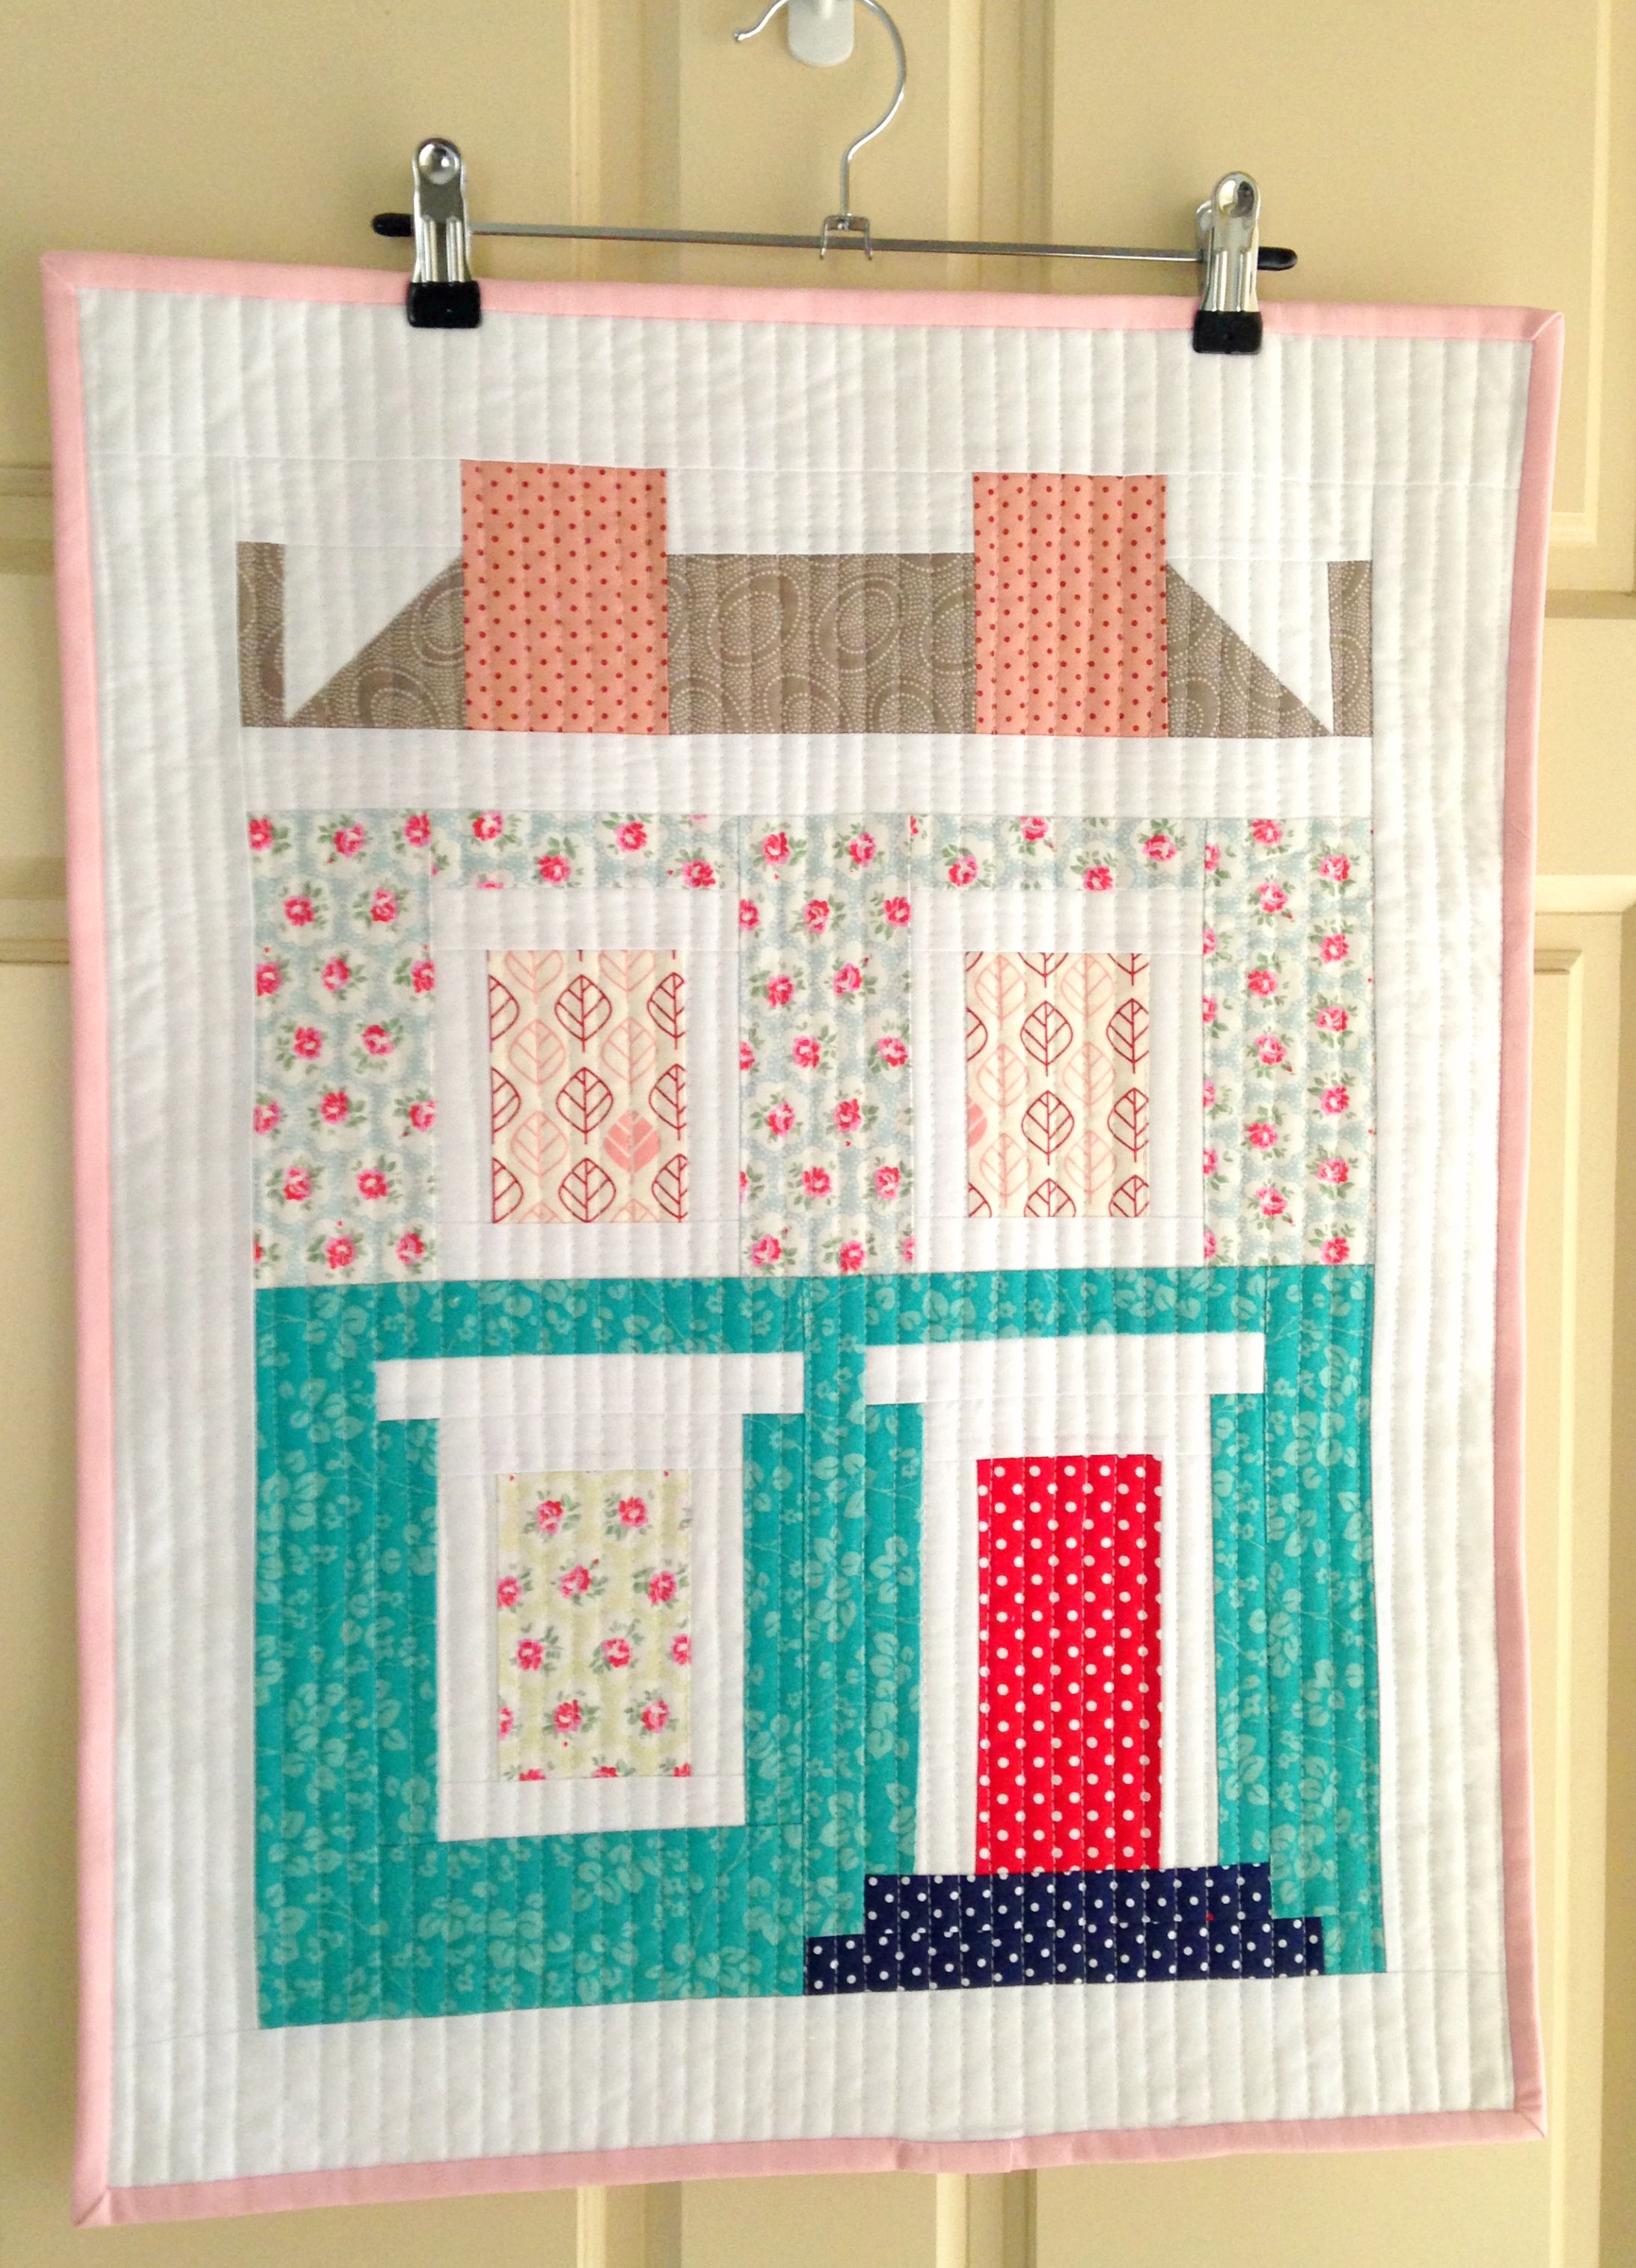
My Notting Hill House Mini is finished!! Yay! (Well, no. A slight lie there. I still need to attach a rod pocket so that I can hang it up. But other than that, it really is finished!)
Oh, I swoon! It’s just so lovely! I can’t believe I was so unsure about the fabrics I picked – but they all work so well with each other! Hooray!
I was planning on quilting it in a grid-like pattern, similar to the original but on the day I quilted it I was more in the mood to stick with my classic straight-line quilting style than to branch out of my comfort zone! I’m really am so happy with how it worked out though. Super modern. Super chic. Super darling!
And today I caught myself gushing even more about this Mini in my September Favourites video! It’s been a while since I shared my monthly favourites on my blog! I hope you enjoy watching it!
Here’s a list of the things I chatted about in the video…
My September Favourites
Florence + The Machine Album, ‘How Big, How Blue, How Beautiful’ (2015)
Petal Pincushions / TUTORIAL
Notting Hill House Mini Quilt by Nadra Ridgeway HER WEBSITE THE PATTERN ‘Be Brave. Be Bold.’ Book from Kikki.K
Revlon Highlighting Palette in 020 Rose Glow
Photography / CAMERA: Canon EOS 600D DSLR
+++
I hope you all have a wonderful weekend wherever you are in the world and use the time to sew til your hearts content!
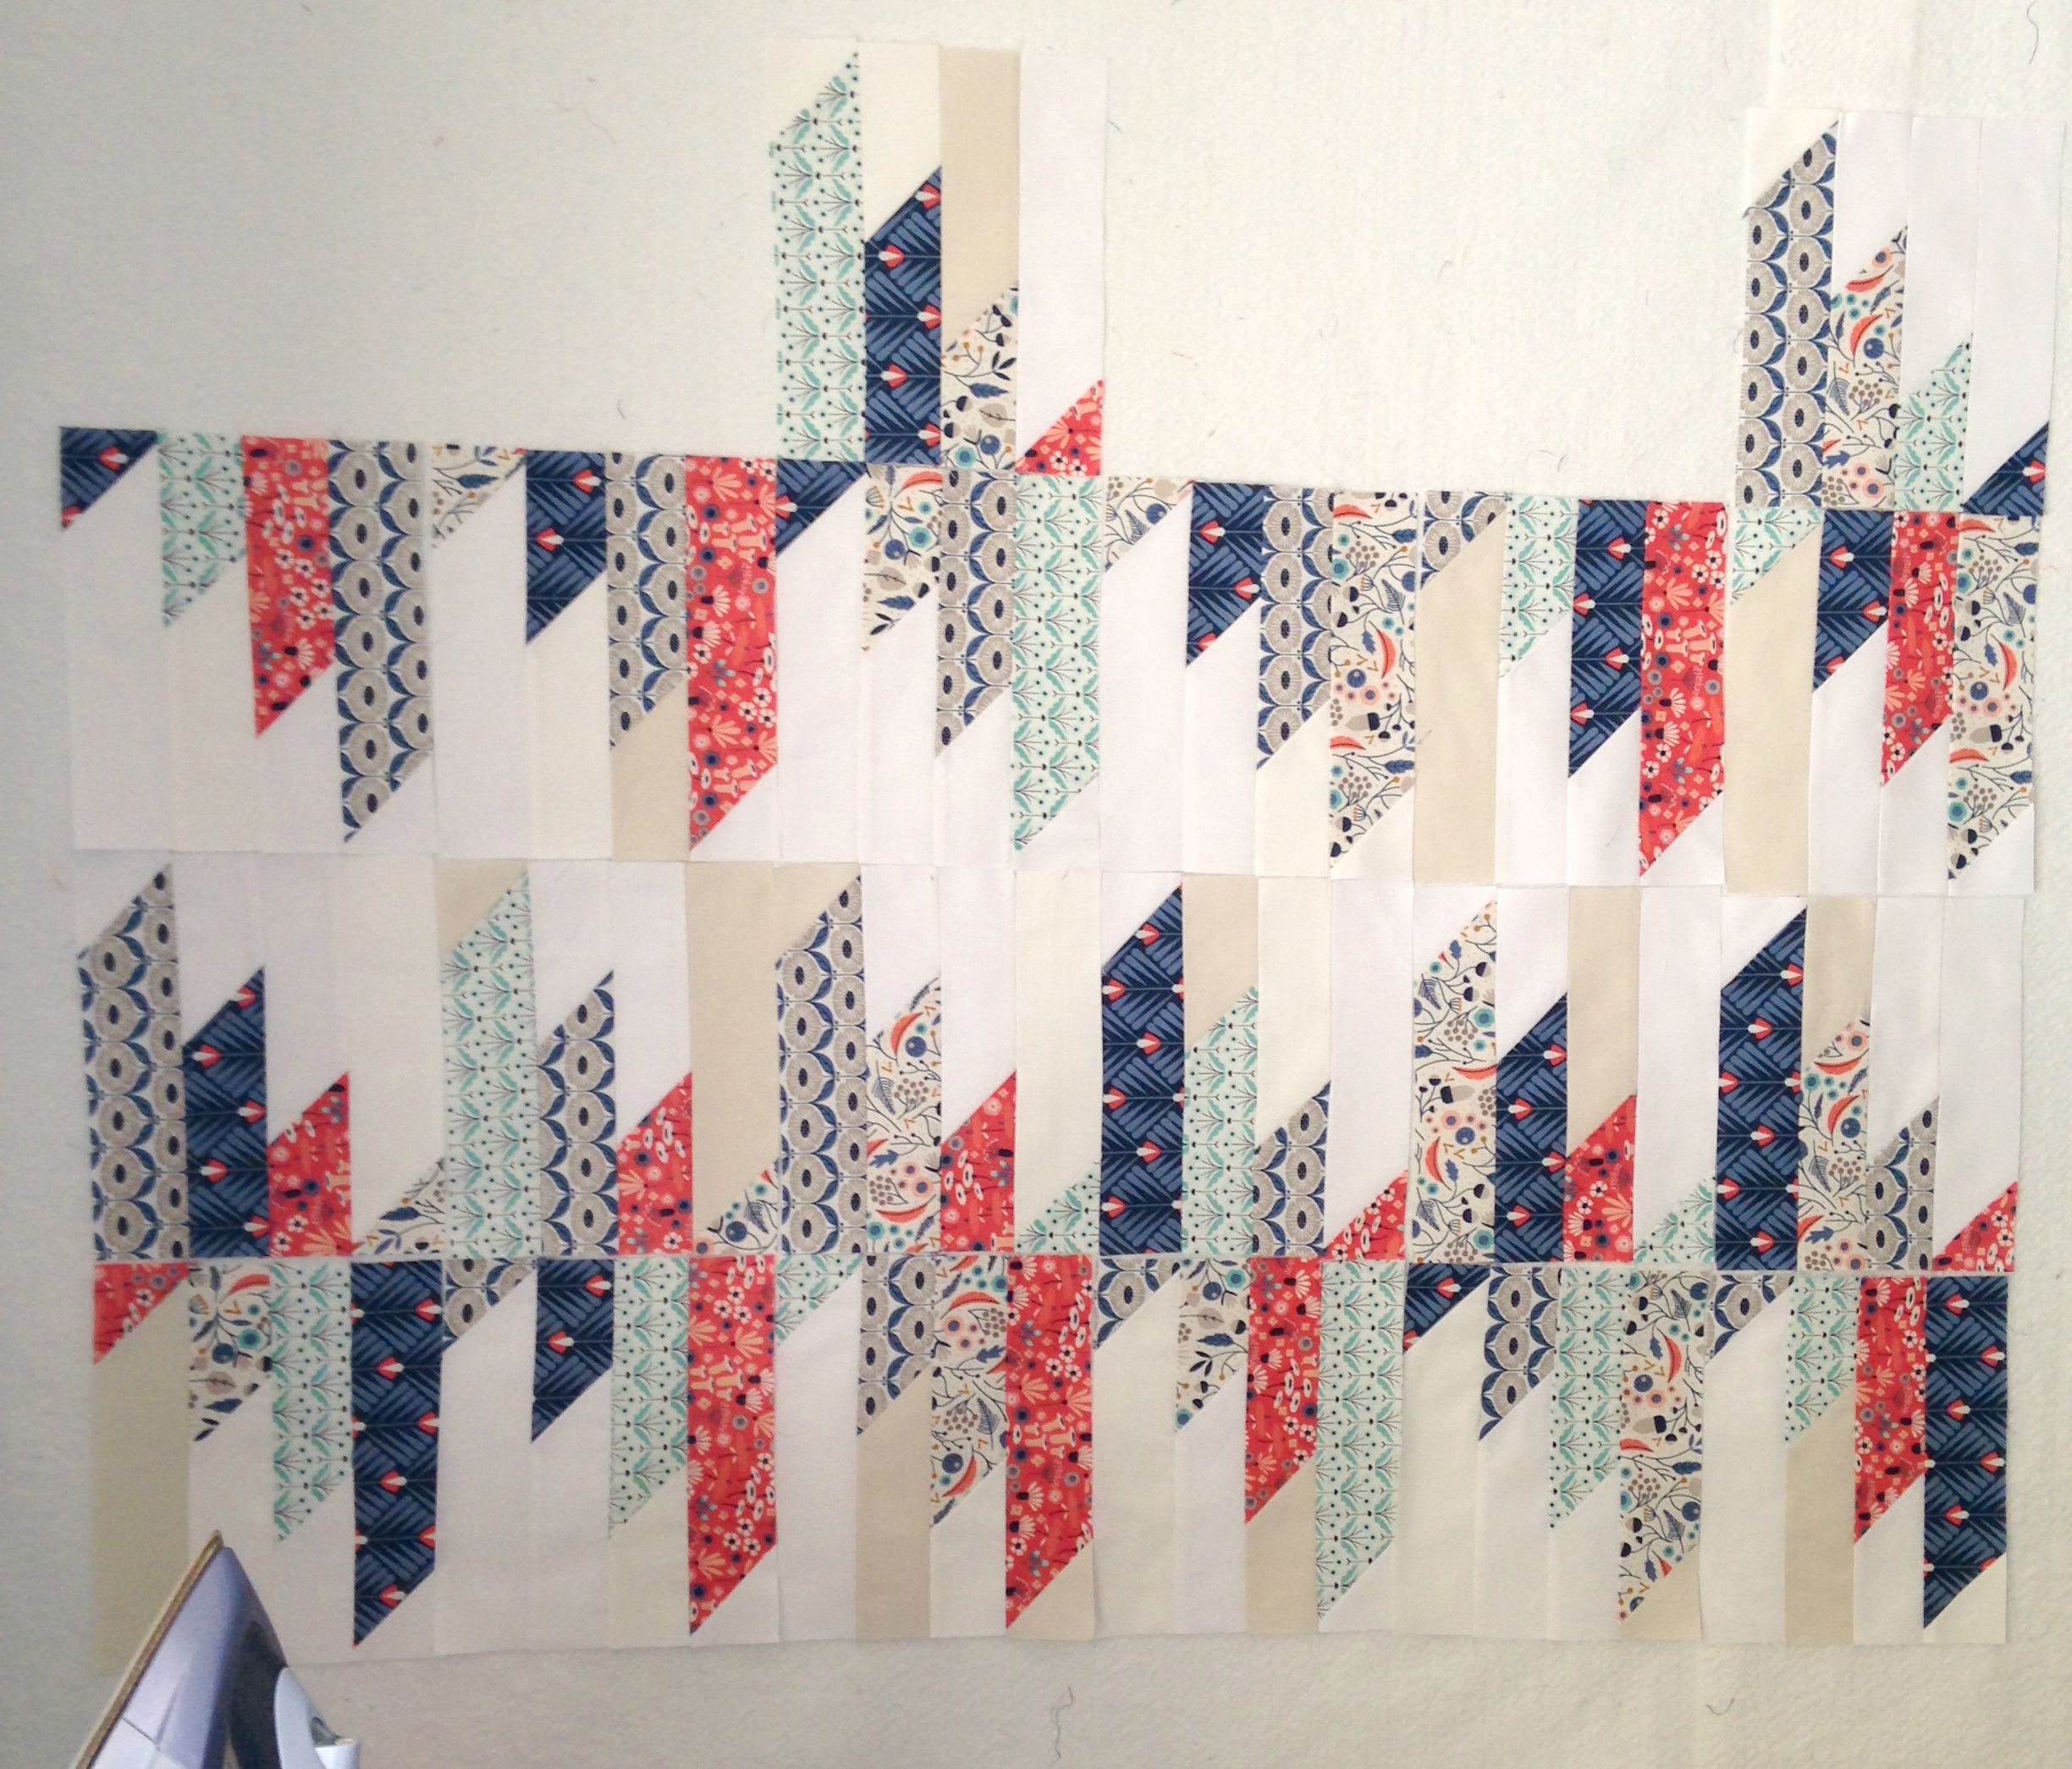
It’s been a while in the making, but here it is: The Mountain Block tutorial!
FABRIC Wildwood by Elizabeth Olwen for Cloud9 Fabric, in Wild Flower.
Prima 100% Cotton Homespun, in White.
MEASUREMENT & CUTTING
From the white solid fabric cut:
x1: 8.5″ square
From the print fabric cut:
x1: 8.5″ square
FINAL UNIT SIZE
6.5″x8″/17cmx21cm (approx.)
FINAL BLOCK SIZE
15.5″x12&6/8″ / 40cmx32.5cm (approx.)
+++
As I mention in the tutorial, you have free reign on how big or small you want to make your mountain block! In no way must you stick with the measurements I’ve provided – you can be as adventurous and as creative as you like when piecing it together! The only thing you need to remember is to cut your HST in the opposite direction to achieve that wonderfully awesome mirrored effect in the block!
Here are a few great examples I found on Pinterest of the mountain block (also known as the Delectable Mountain/s block) being used to create such effective and beautiful modern quilts!
Let me know if you’re excited to give this block a go! It’s perfect for intermediate beginners and would be great to use to get some of those scrap fabric piles down to a better height!
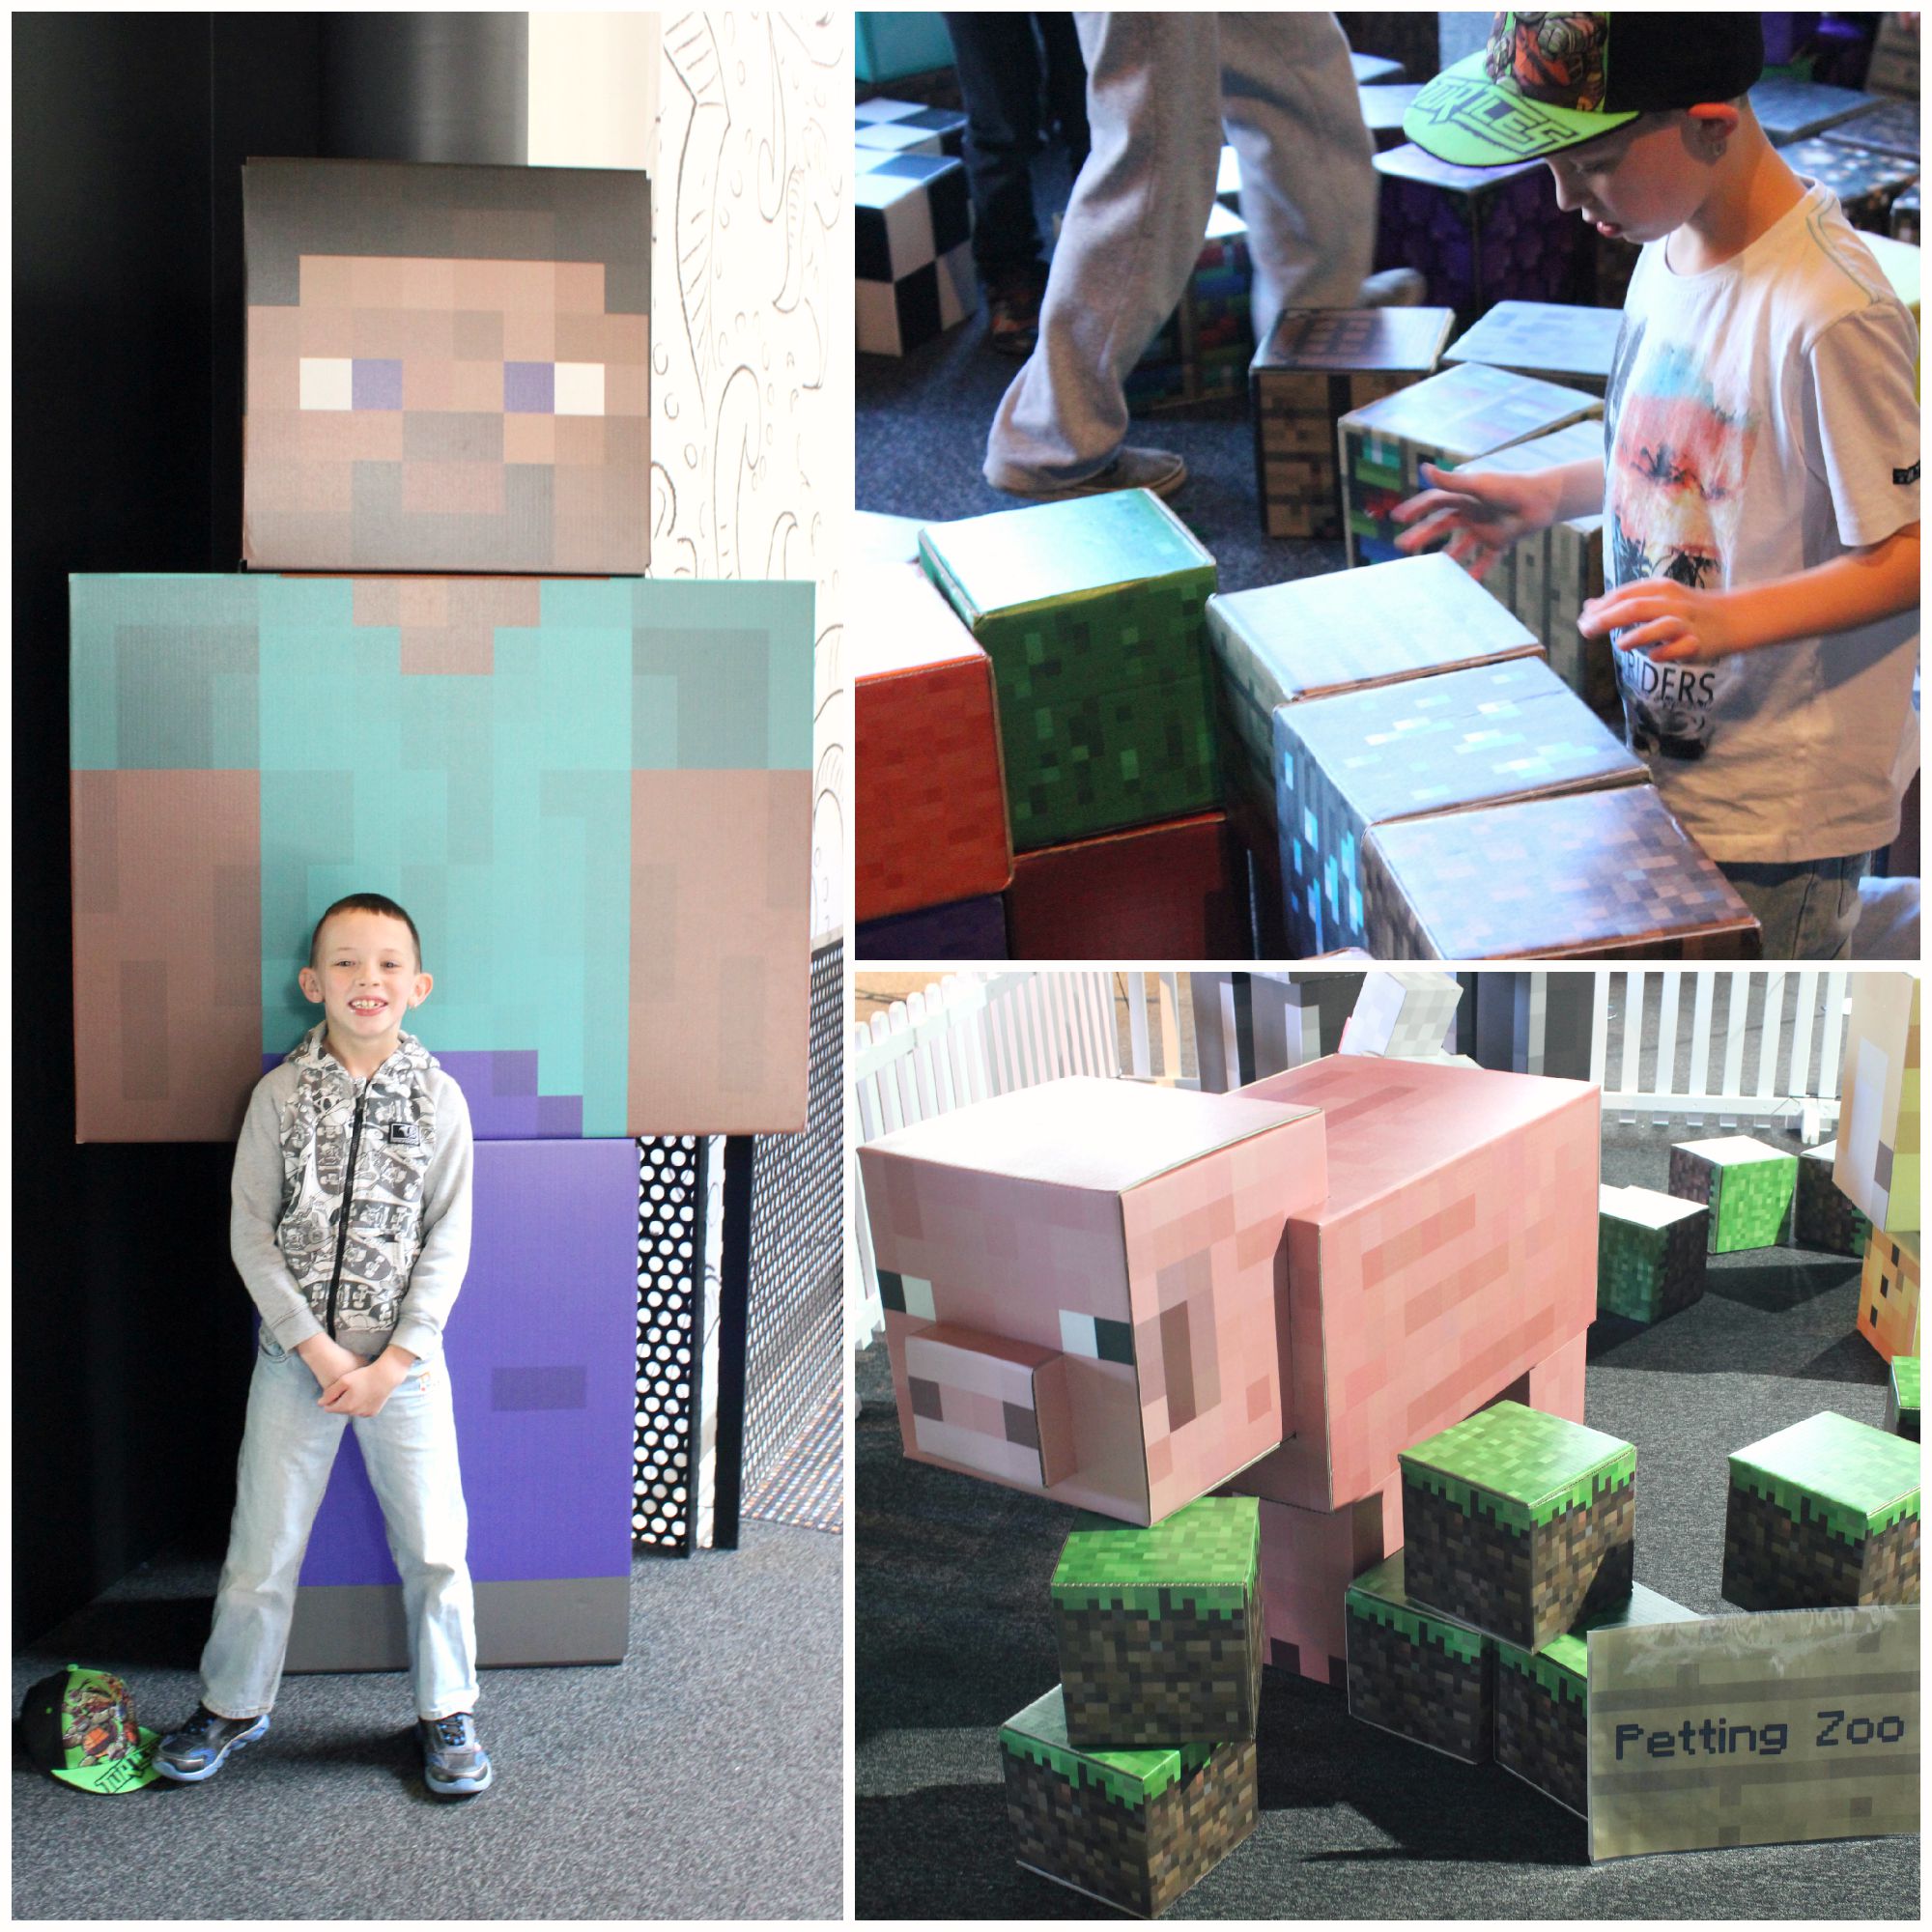
Here in Australia, it’s the first week of the school holidays! (Similar to a mid-semester break!) So today I took my two oldest nephews into the city to visit the Powerhouse Museum and to see a fun and interactive Minecraft World that they have there at the moment!
Both boys loved it, especially the oldest one, Caleb who likes to play Minecraft a lot! At the exhibition they had a room full of cardboard Minecraft blocks for the kids to stack and build their own worlds, colour-in stations, interactive game play, green-screen photo sessions and a petting zoo (full of the cardboard animal characters!). Even Steve was there!
Caleb with Steve/ Building Blocks/ The Petting Zoo!
While we were at the museum we also had a bit of a look at The Wiggles exhibition, a beautiful Jewellery display along with all of the other permanent favourites that are there like the big Spaceship, the old steam trains and interactive science labs. So much fun!
Ayden in the Big Red Car!
However, although the day was super fun, this poor Auntie is now struggling to keep her eyes open as she types this post out! Gee, I’m pretty sure as soon as my head hits the pillow, I’ll be out to it!
+++
Tomorrow is back to normal for this quilter! I’ll be uploading my Mountain Block tutorial for you to watch (the edit has taken so much longer than usual!) and I’ll reunite myself with my sewing machine and get the inspirational juices flowing again! Yay!
It’s been a quiet ol’ Monday here in the sewing room. To be honest, I actually found myself struggling to find something to write about today as it’s just been all editing and no play!
But there are three simple things that have made this day a good one. Three simple things that have been my favourites from the day…
No.1
I figured out how to make my beloved manky old Mickey Mouse watch to work again! After buying it on eBay years ago, I only recently had a new battery placed in it. The watch worked beautifully for a few weeks after and then I noticed it slowing down very, very gradually! Boo!! Then today, I saw something that made me think that perhaps it’s one of those watches that needs to be wound every now and then to keep it on time… So I put the watch back to the proper time and then gave the dial on the side a real good wind… And 8 hours later, the time is still absolutely perfect! Yay! So hopefully I’ve now figured out how to keep this watch working properly so that I can wear it again! Fingers crossed!
No.2
This beautiful new song by my favourite singer/songwriter, Passenger has completely made my day! It’s called Restless Wind and I’m pretty sure I’ve played it near one hundred times today! (Well, perhaps not that many times!) All of his songs always, so simply, make me feel more calm and grounded whenever I feel anxious or stressed while also having this ability to pick me up and make me feel happy! (Even the sad, heartbreaking songs!) I am always blown away at how melodic and soul-touching Mike’s lyrics and cords are each time I hear a new song from him! If you’ve never heard his stuff before, you can check out his music on his YouTube channel! (May I recommend this one: Hearts on Fire w/Ed Sheeran… Oh, the harmonies!!)
No. 3
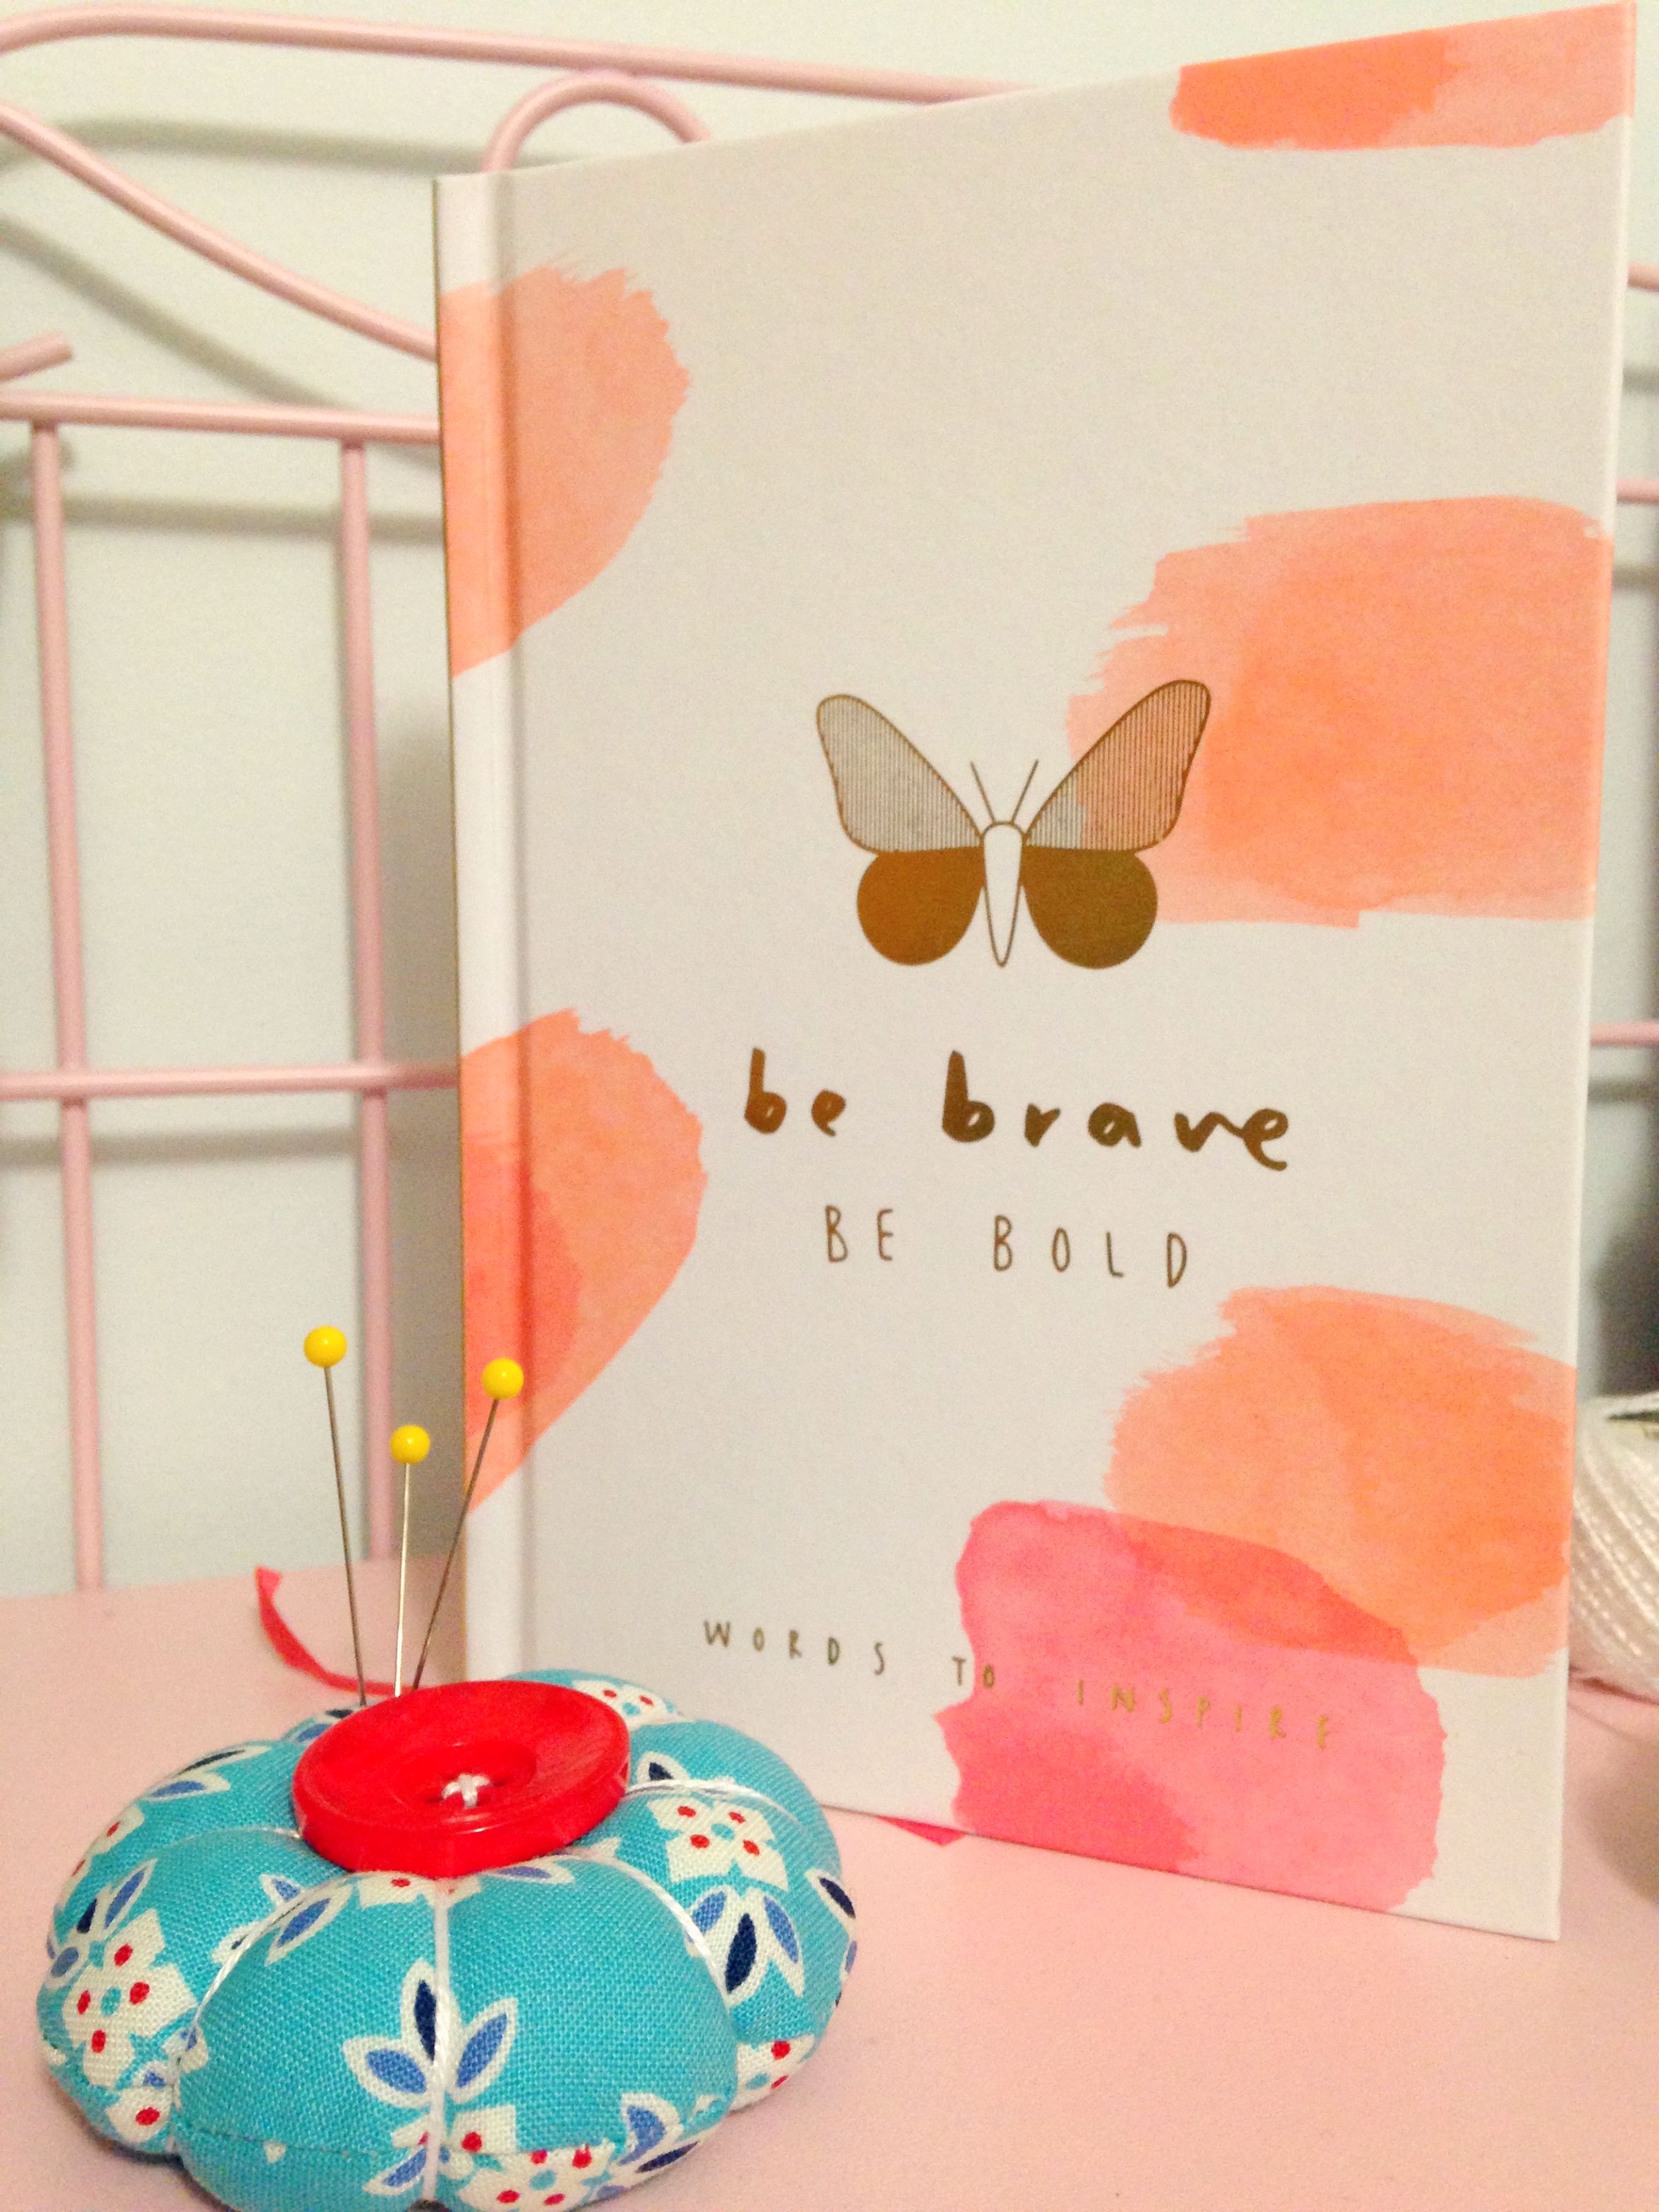
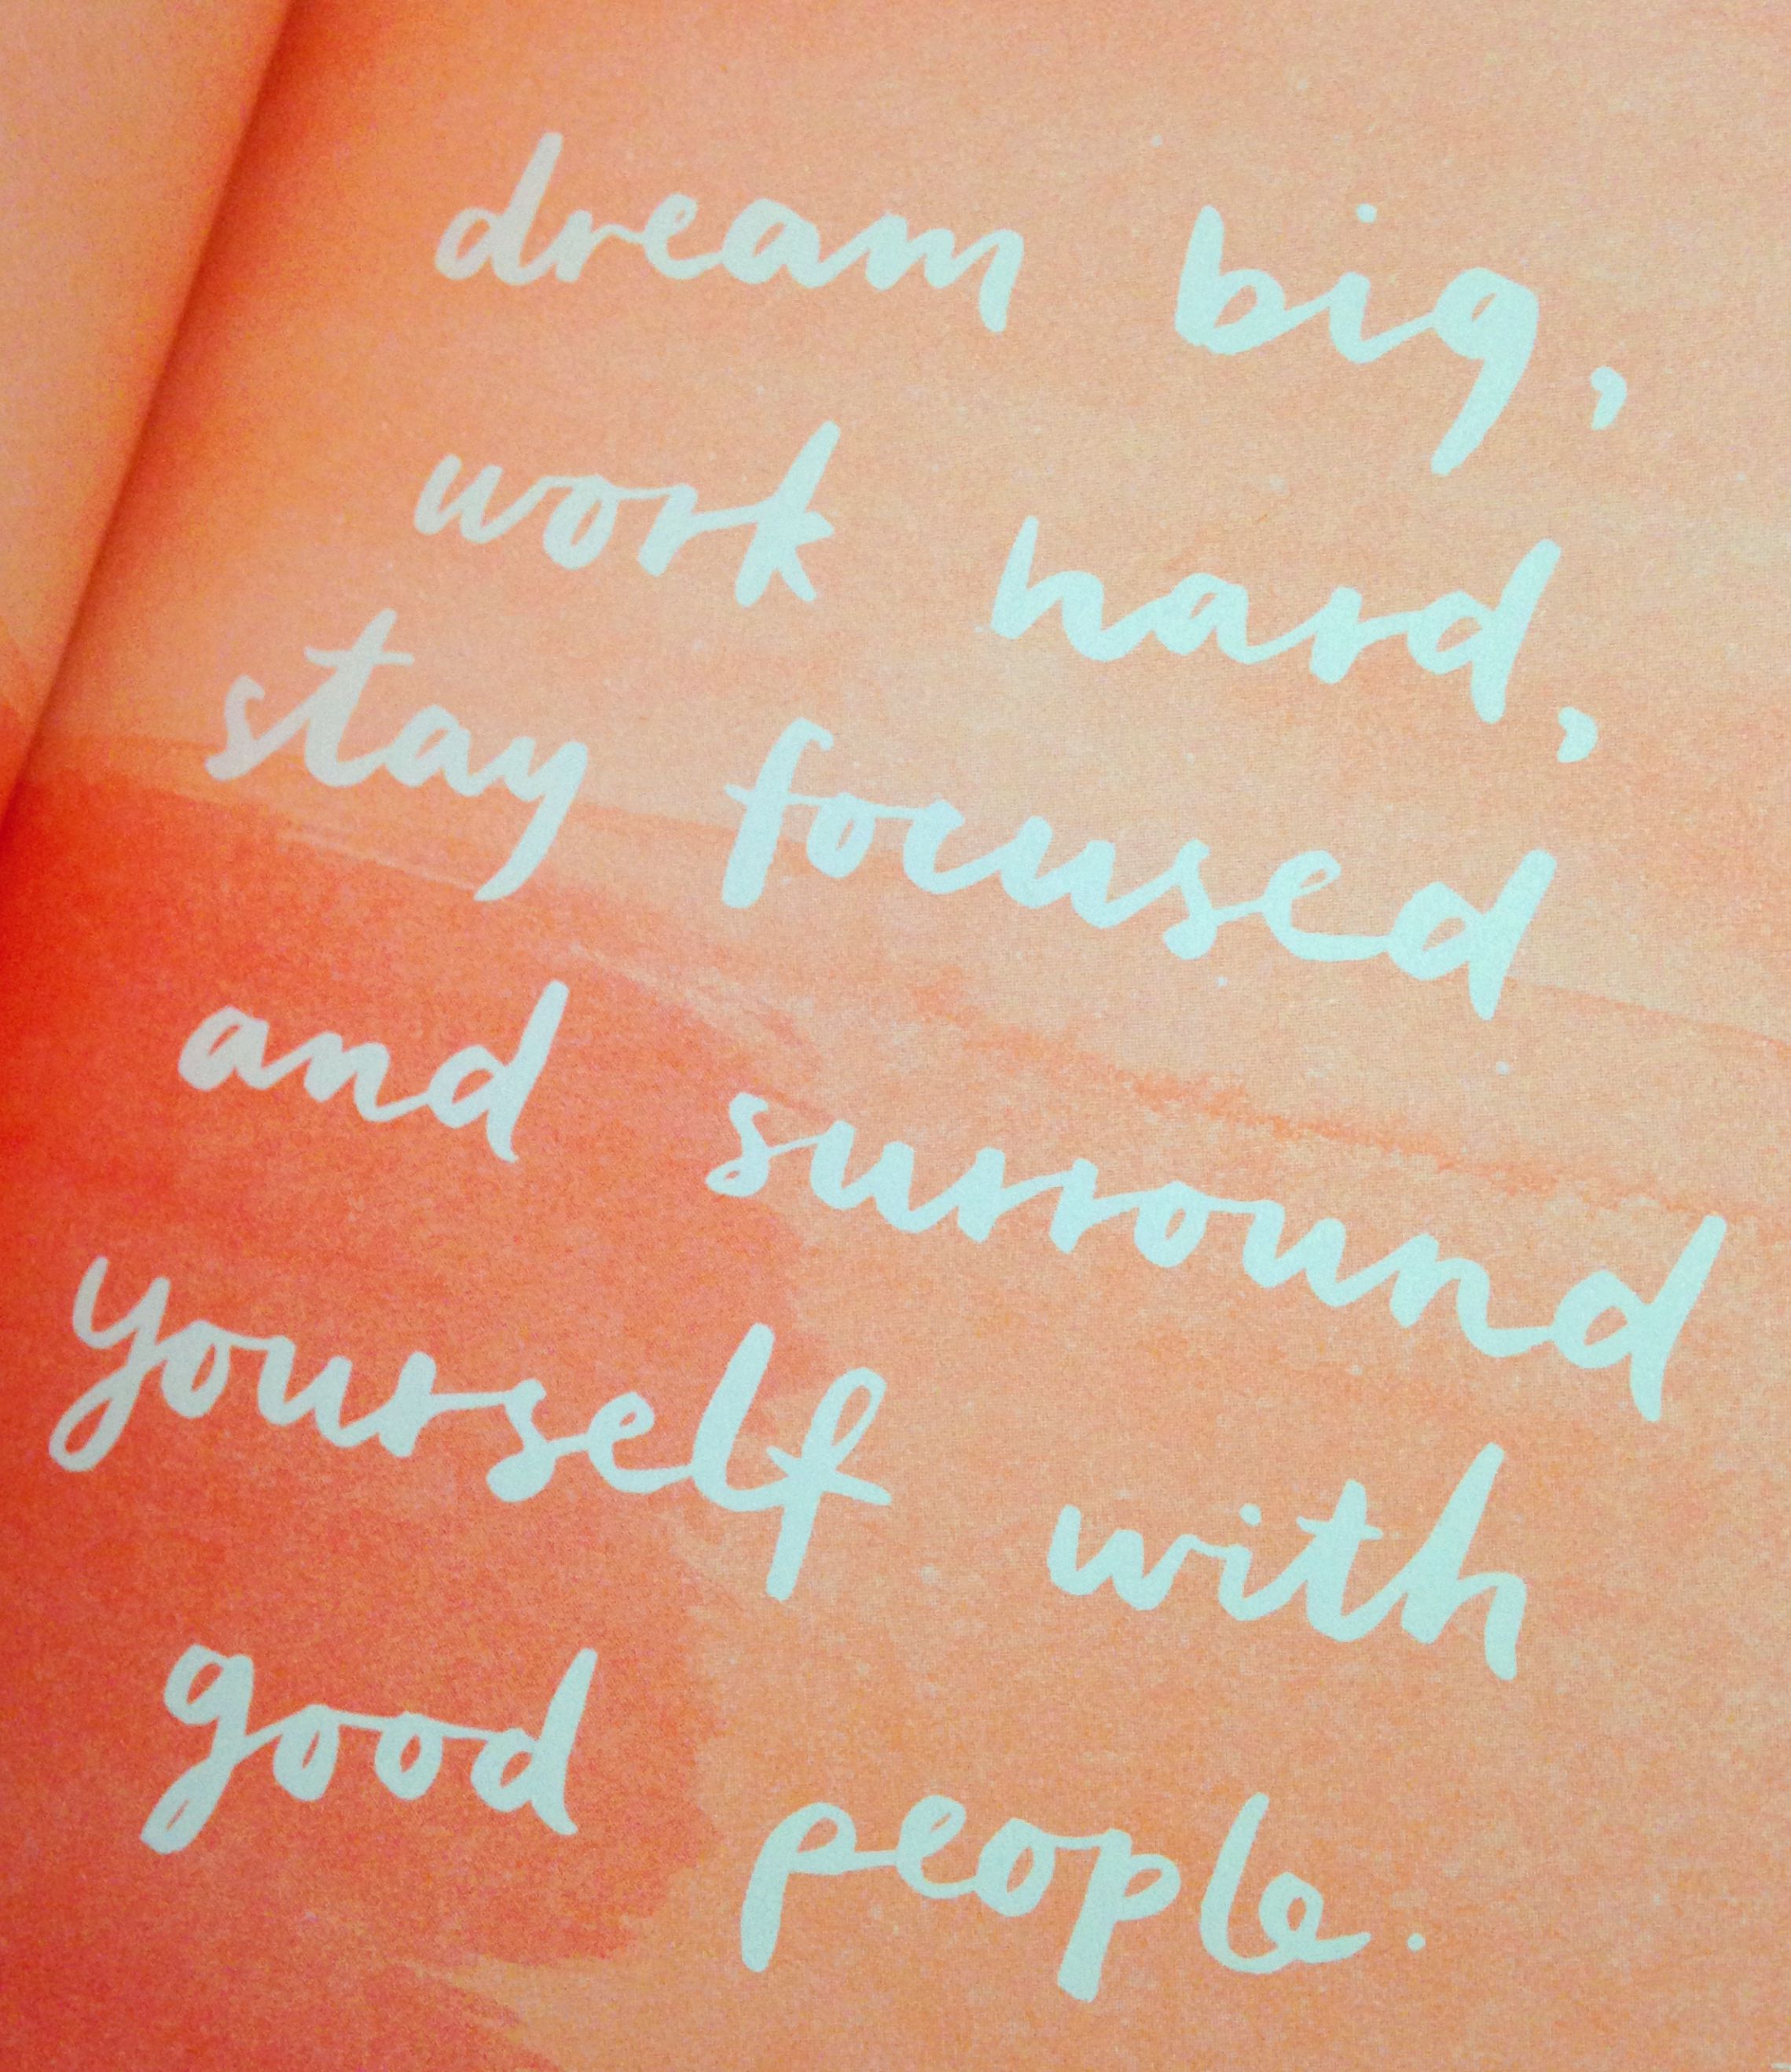
Last night I received this lovely book called ‘Be Brave. Be Bold.’ (from Kikki.K) from one of my dearest friends, Sam for my birthday. It’s full of wonderful quotes and words of inspiration and encouragement that I’ve absolutely loved reading over today. For such a little book, it packs a punch in getting you back into the right frame of mind to get shiz done and not give up! Love it!!
This is a favourite!
+++
Those are my three simple things that have made this day a good one. What are your three simple things that have made your day a good one? Let me know!
Today was spent celebrating the lives of my nephew Xavier and niece Amelia at their Christening Day! The ceremony was lovely, very hands on and inclusive with their older brothers, godparents and grandparents.
Both kiddies were dressed beautifully, with Xavier sporting a darling suit vest and collared shirt and Amelia wearing a darling white dress with purple flowers and shiny white Mary-Janes! Oh so cute!
Here are a few of my favourite photos from the day…
The joys of photographing little people! One’s blowing a raspberry and the other is looking at anything but the camera!Xavier and his Poppy (aka: my dad!)The Boys: Caleb, Ayden, Noah & Xavier.My eldest brother Kevin and his beautiful family!
+++
So on the to-do list this week in my sewing room is:
Get the Mountain Block tutorial finalised and uploaded for you to enjoy!
Finish my Notting Hill House Mini Quilt so that I can hang it on the wall and swoon all over it!
Re-think the ‘Wildwood’ Quilt…
The initial idea I had in my head to make with those gorgeous Cloud9 fabrics I keep going on about, hasn’t been sitting right with me all week. I’ve sort of got half way through piecing together the quilt top and realised I’m just really not feeling it…
Hmm…Perhaps I need to re-jig the layout to get the excitement back for this quilt…?
What I’ve done so far just doesn’t excite me, resulting in me losing interest and motivation to get it finished. Boo! So, I’m gonna have a bit of a re-think about, scrap the idea I’ve already begun and start a fresh! Last night I came up with the idea of perhaps re-visiting the Spinning Stars pattern by Anna Maria Horner or even trying out that Octo pattern by Zen Chic I bought the other week from FQS! Hmm, it’s definitely back to the drawing board with this quilt and fabrics. I’m determined to get a beautiful quilt out of them one way or another!
Last night, as you may know, I took a trip into the city to see Anything Goes at the Sydney Opera House!
The show, one I’d never seen before, was fantastic! The music was wonderfully jazzy and melodic, the story line funny and engaging and the dance numbers were absolutely first class! It was really great and a perfect birthday treat from my parents!
And of course, while I was in the heart of my beautiful city, I captured some photos for you of the Opera House, the Sydney Harbour Bridge and the sparking harbour surrounding them!
+++
Today has been a busy editing day, getting the Mountain Block tutorial polished and all shiny ready to upload for you in the next few days! I am sorry that it is a little later than usual, the past few days have thrown my schedule all out of whack!
I hope you’re all having a splendid weekend and are pursuing all of your quilty plans and dreams!