Quilt Labels 101

QuiltLabels101 Thumbnail

Quilt Labels. They’re one of those things you usually forget all about during the glorious triumphant moment of finishing a quilt!

By the time you’ve conquered sewing down that last part of the binding, you’re thinking, ‘Yes! That’s it! It’s finally finished!!’ No more hand sewing! No more schlepping this heavy quilt all over the house.

But no.

There’s still one last little bit of sewing that needs to be done. And it’s one of the most important elements you’ll add to the quilt.

The Label.

Quilt Labels are like the heart and soul of a quilt. They list when the quilt was made or finished, who it was made by, who it was made for, it may list the name of the quilt and/or display a special message or saying about the quilt or be directed to the person who will be receiving the quilt.

The creative possibilities of making quilt labels are literally endless. There are no boundaries or rules to what they should look like and there are no wrongs or rights to how they should be attached to a quilt.

Caleb's Quilt Label

The way that you want to make and attach a quilt label is entirely up to you!

But in any case, here are just a few ideas that may help…

#one: Quilt Label Panels

These panels are a great idea for those of you lack time or confidence in making a label from scratch.

Labels like these tend to be personal and direct with themes like ‘Made by Grandma’ or ‘First Baby Quilt’ or ‘Congratulations’ etc.

Quilt Labels 3

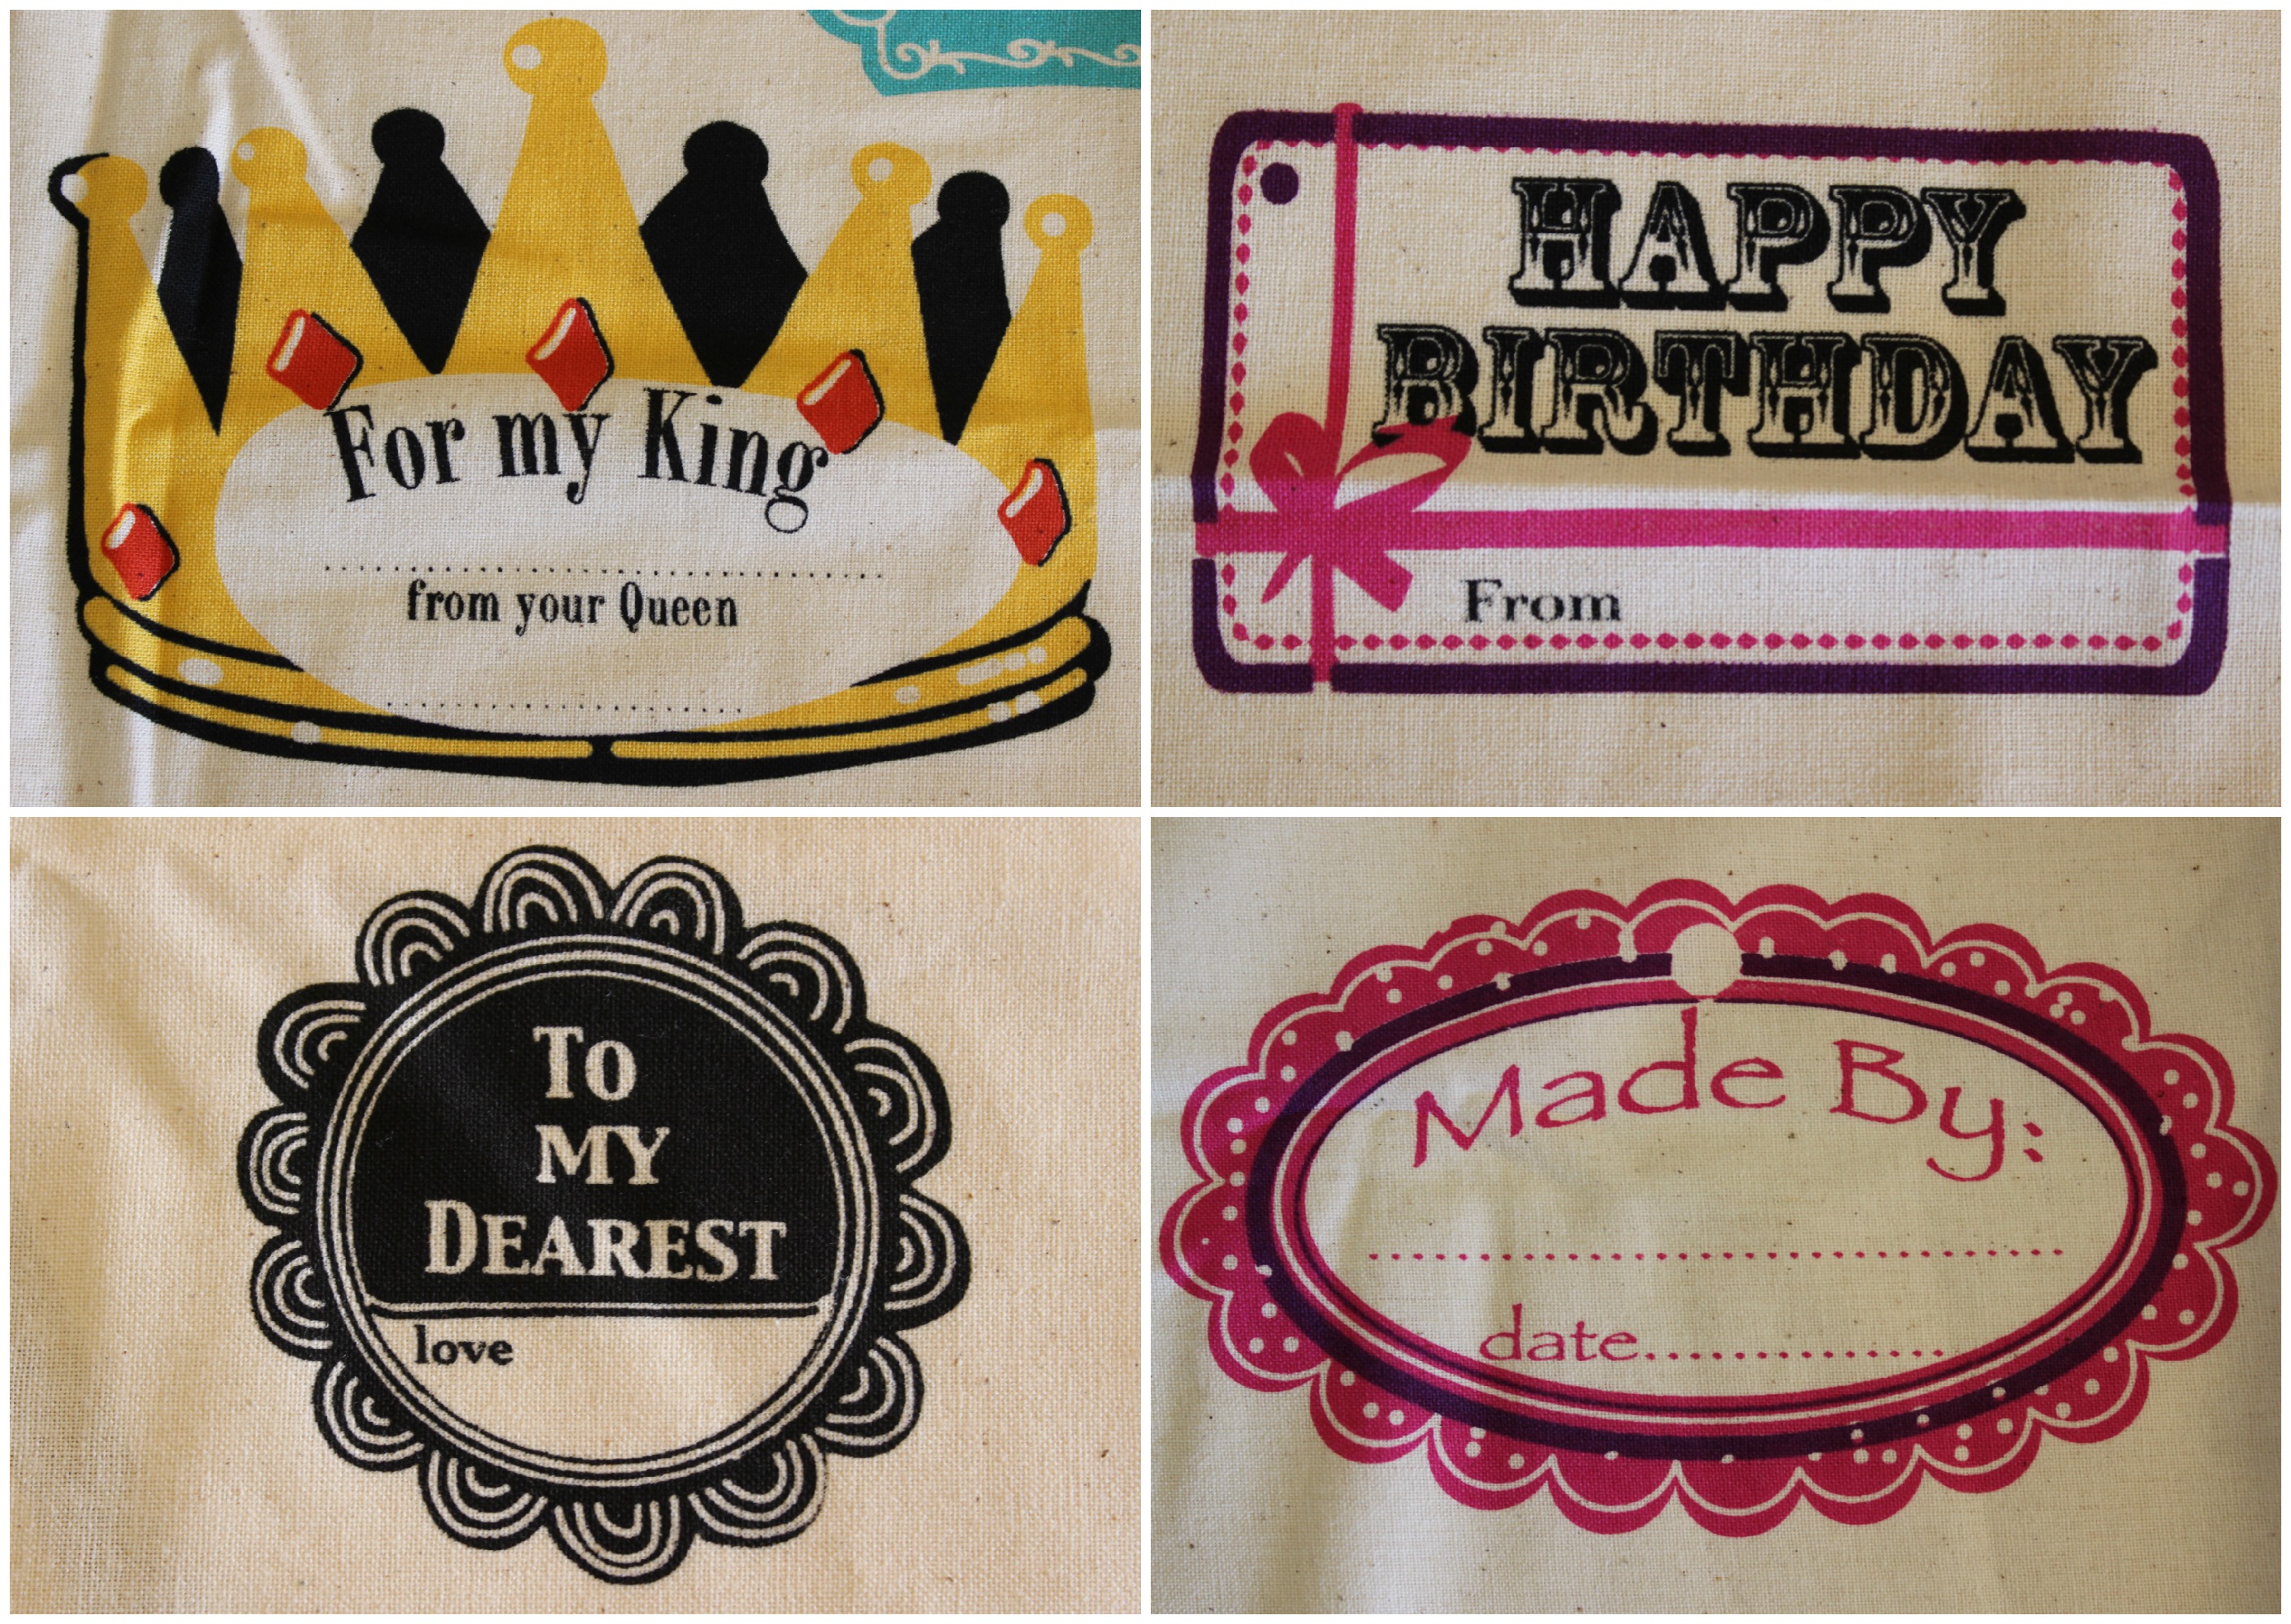
Most quilting, fabric or haberdashery stores should sell similar type label panels that you can buy and stash away for a rainy day.

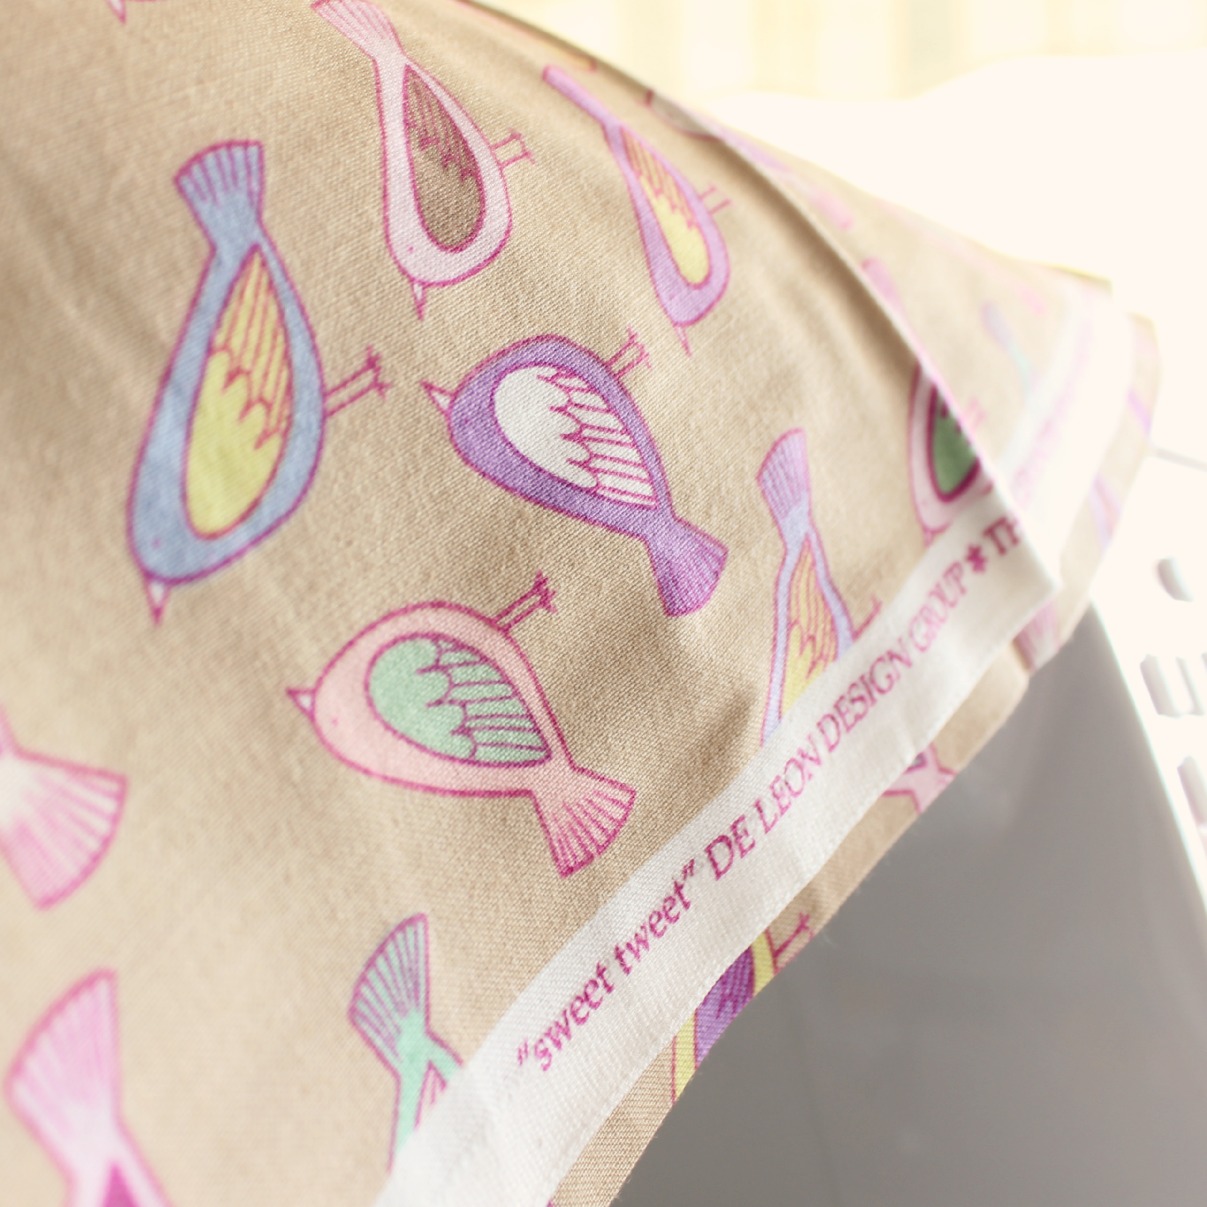
When it comes to writing on these fabric labels, I usually like to use Sharpie pens.

Hello Sharpies

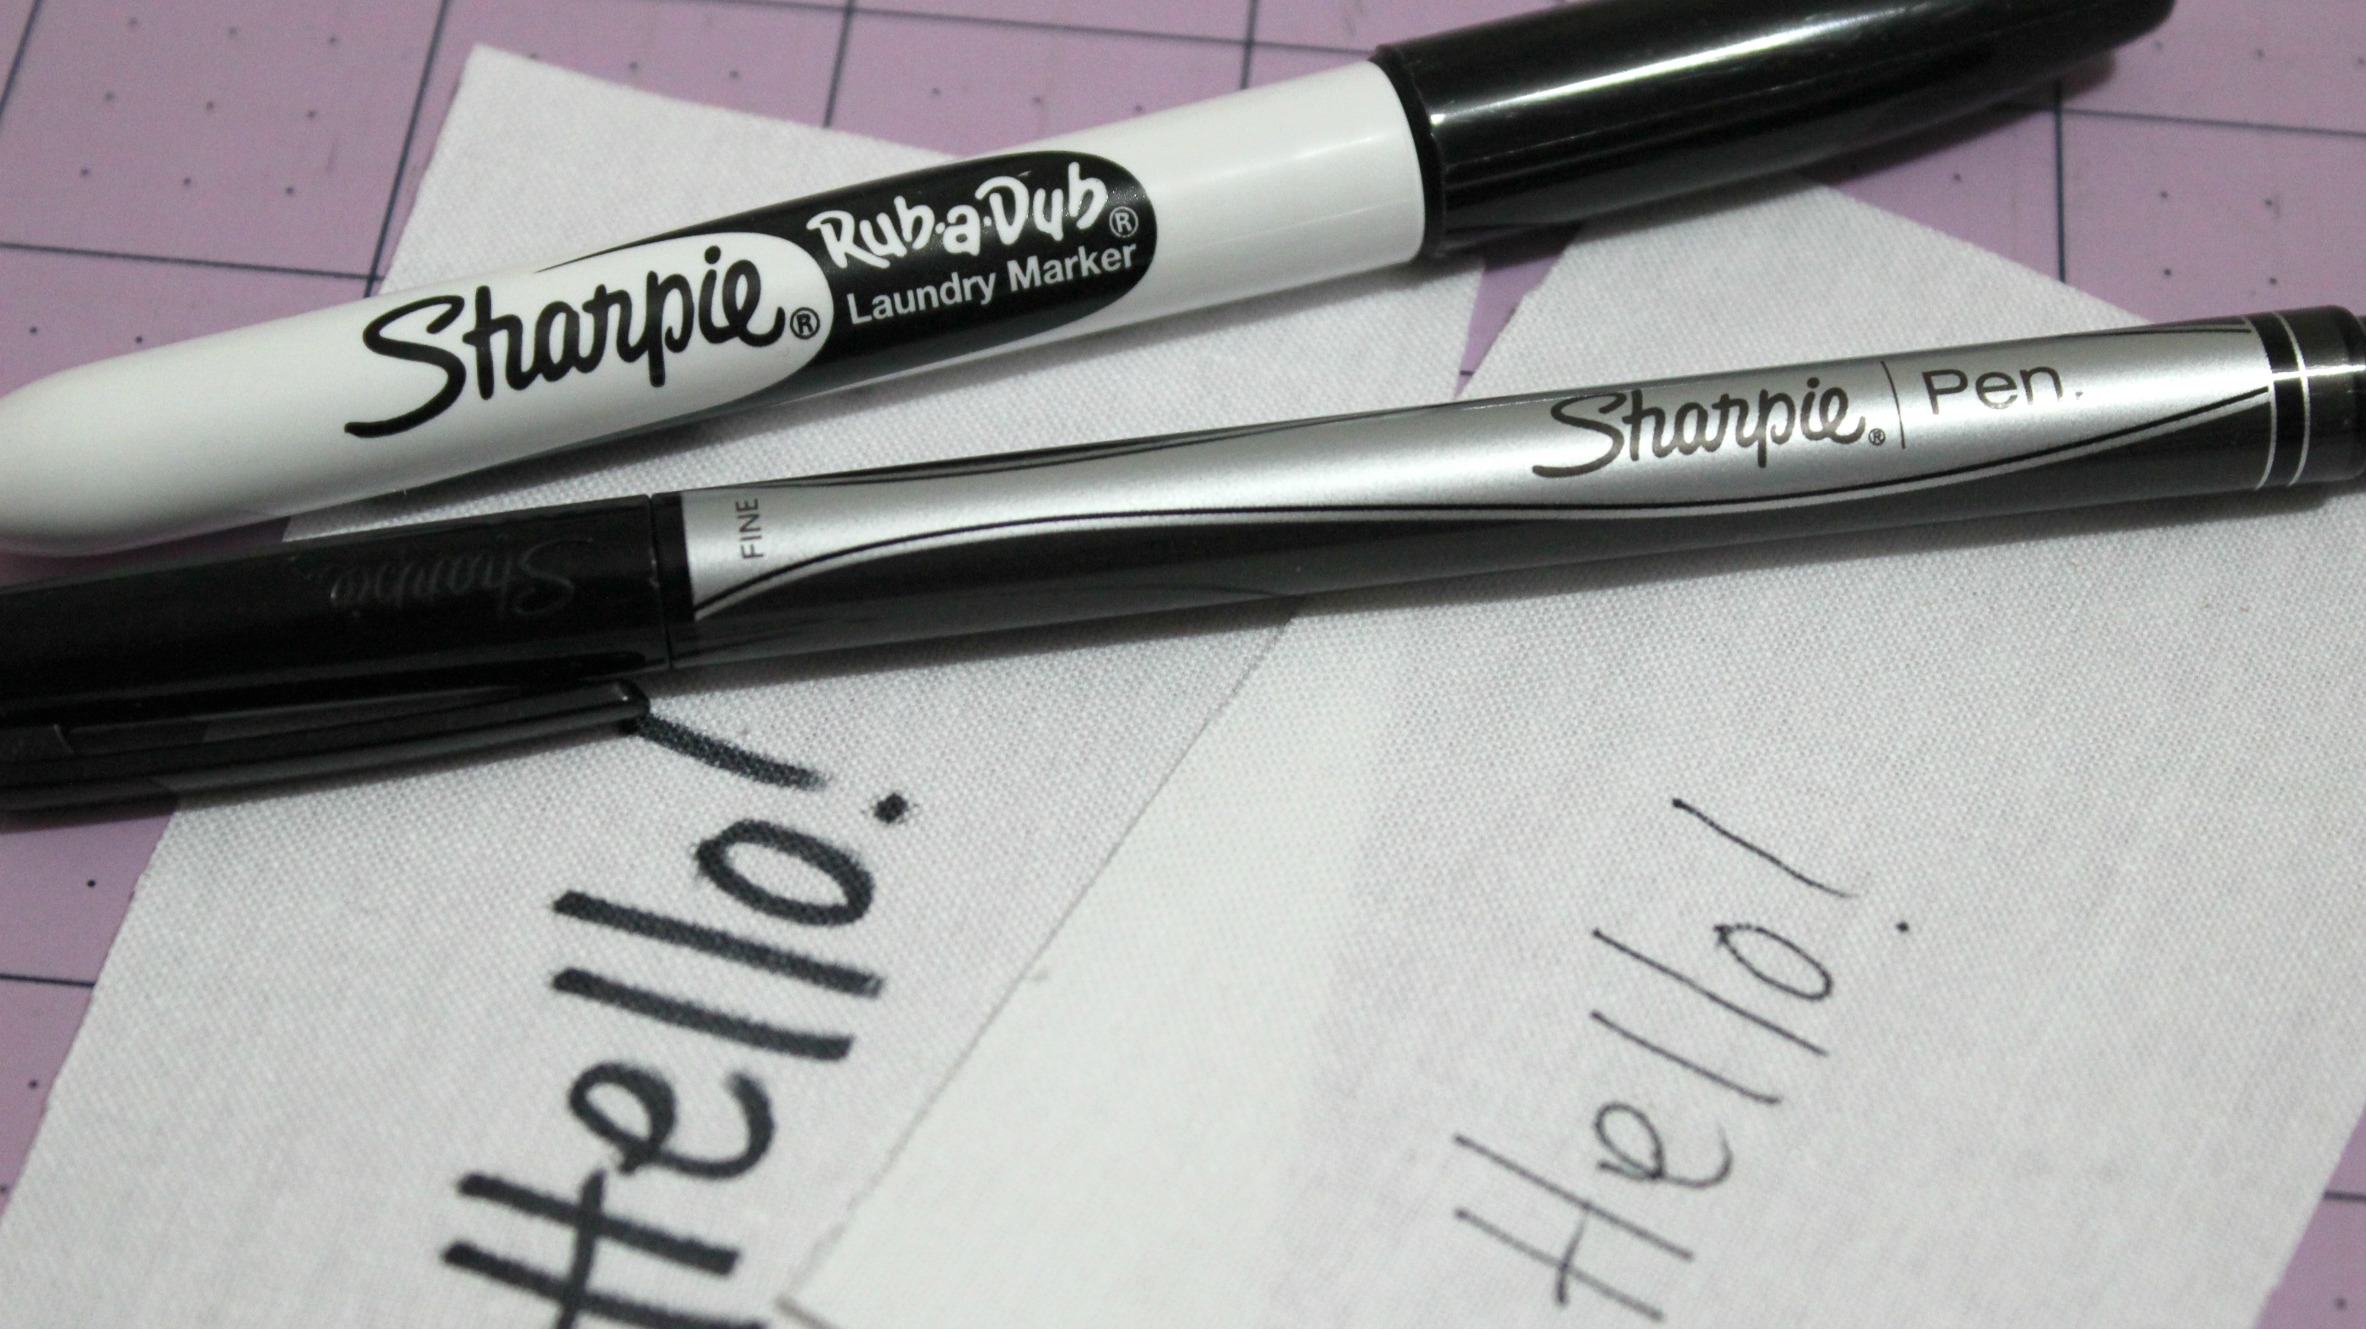
The two that I tend to use the most are the Sharpie Rub-a-Dub Laundry Marker (with a thicker type nib) and a Sharpie Fine Point Pen – both in black.

#two: Hand Written Labels

Sometimes, often than not, I make my own labels.

Quilt Labels 2

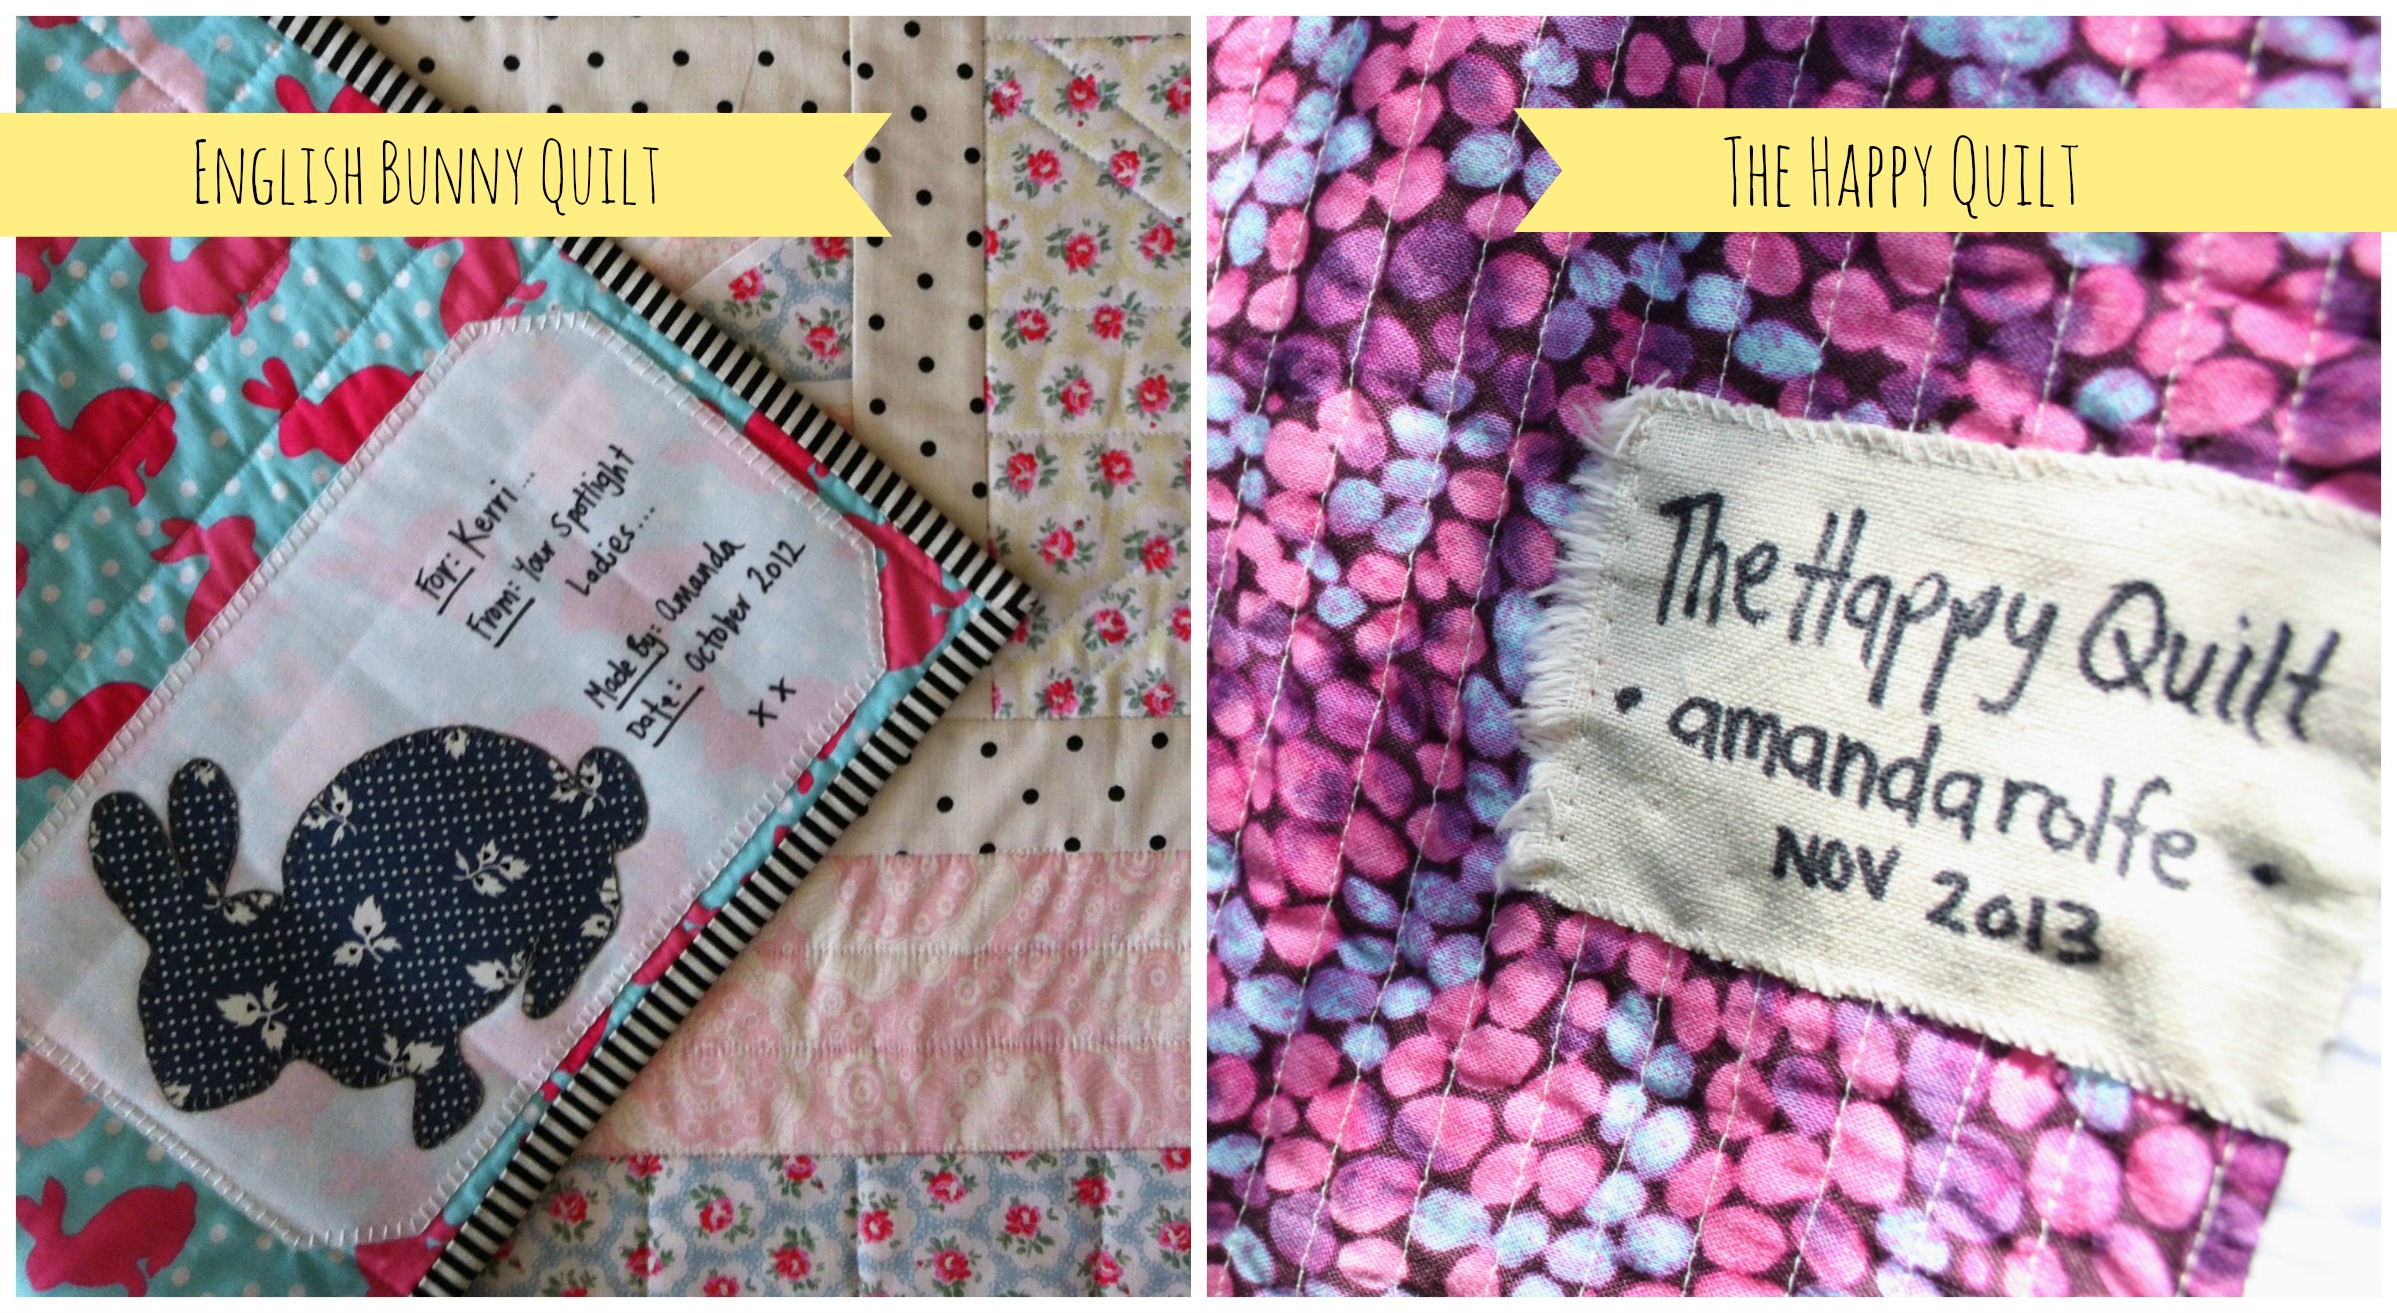
For the base of the label I’ll cut out an adequate size of 100% Cotton Homespun (in a practical colour) and write, using one of my Sharpie pens, all of the information that I feel is needed to accompany the quilt.

Personally, I feel that this particular technique is a little boring and uncreative. Recently, most of my labels have been created using the next idea…

#three: Hand Embroidered Labels

I love handmade embroidered labels. There’s something magically personal and sweet about attaching a little label that has been meticulously stitched together. An embroidered label just takes the quilt to a whole other level of being specially made for a particular reason or a very special person!

Quilt Labels 1

Amelia's Baby Quilt Label
Amelia’s Baby Quilt Label

Just like the hand written labels, I use a foundation of Cotton Homespun (usually in white or cream) and gently sketch in the details of what I want to embroider in lead pencil. Then using DMC threads/floss in matching or contrasting colours to the quilts’ theme and then carefully stitch the label into life.

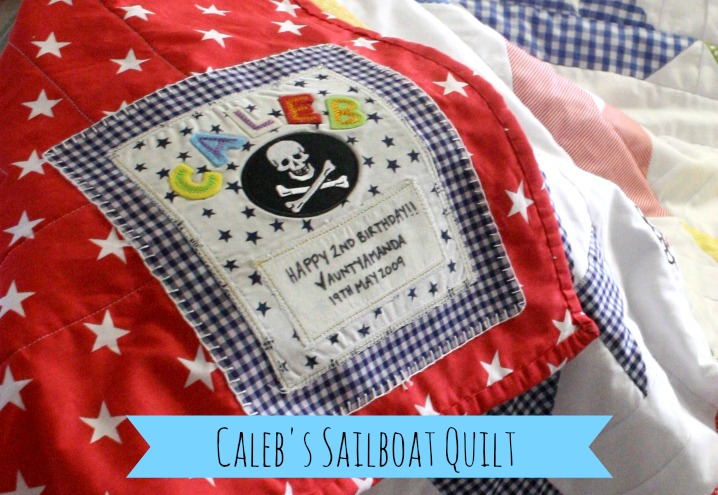
#four: Fancy Handmade Labels

If you have any left over blocks or elements that didn’t quite make the front of the quilt, you can very easily turn them into the centrepiece of the quilt label!

Geo Dreams Quilt Label

An example I can give you is the story behind my A Summer Bloom Quilt Label.

Summer Bloom Label

I made a Dresden Plate that was to be attached to the front of the wall-hanging (I sort of had a blooming flower effect idea rolling through my head at the time…). The idea was a complete flop but I didn’t want to waste the time I had put into making the Plate. So instead had a spark of creative genius and made it into the label of the quilt!

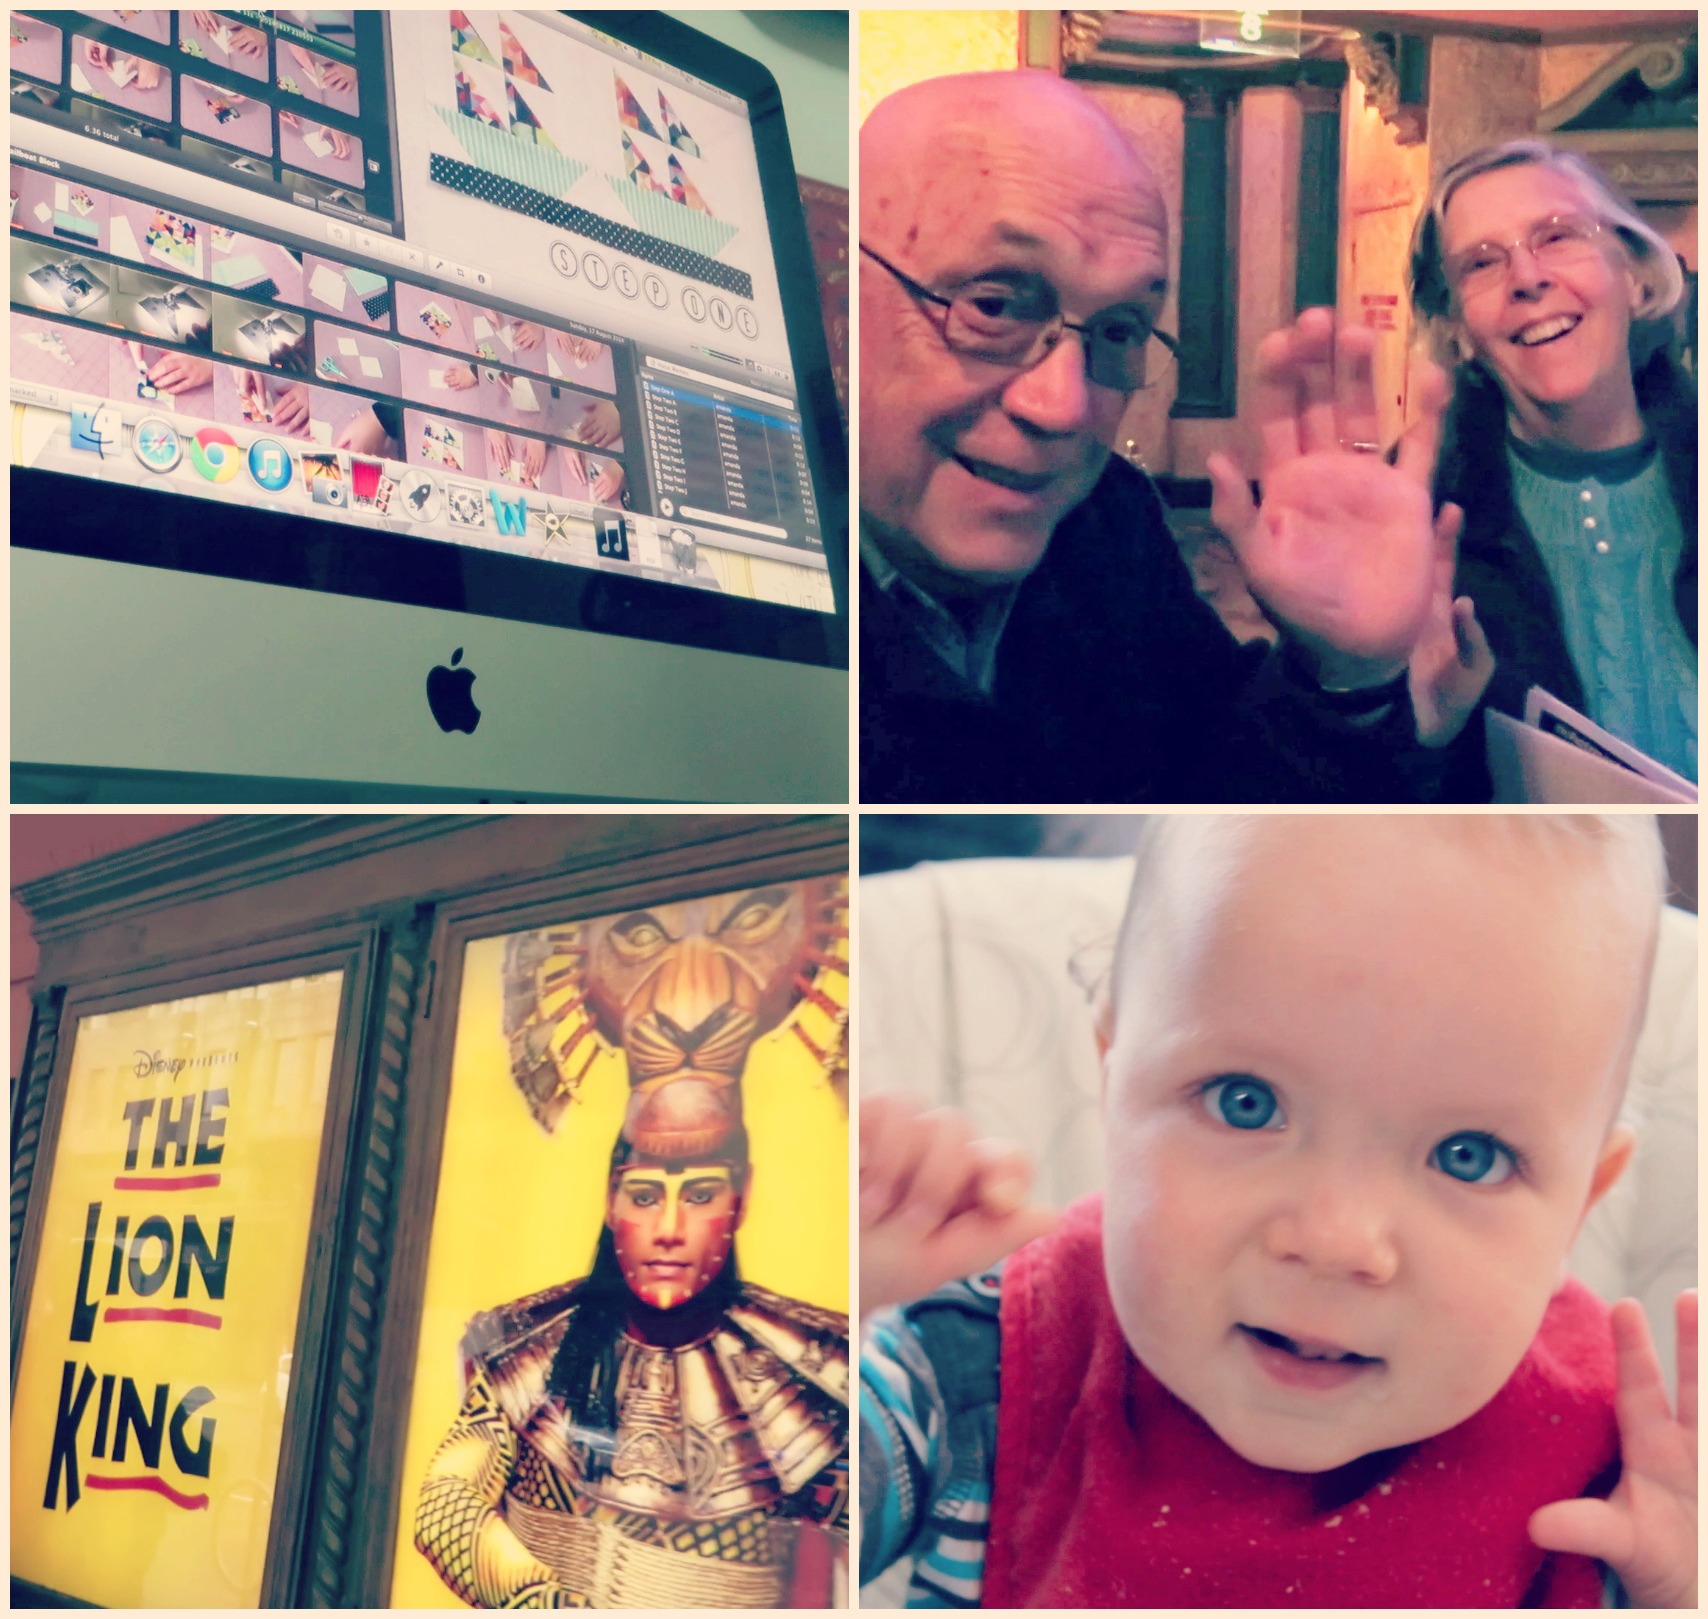
#five: Print Your Own on the Computer

This particular type of label I’ve never made, so can’t quite comment on it in too much detail.

But if I were to make a quilt label on the computer I’d possibly use a Photoshop/Illustrator type of software (or an online editing site like PicMonkey) to design the type of label I wanted. I would save it as a particular size with the right ppi (pixels per inch) and then print it onto special A4 printable fabrics that I’ve seen at office supplies stores and fabric/quilting stores. They usually cost a pretty penny which is why I’ve never really given it a go.

Now, there might be one question you’re all asking me right now and that is, ‘How do I attach the label to the quilt?!

Ahh yes, good question!

Well, the method I like to use is appliqué.

HeatnBond

I use a product called HeatnBond Lite that is a lightweight iron-on adhesive that can be sewn through either by hand or using a sewing machine – perfect for any quilter’s appliqueing needs!

I cut the same size amount of that of the label then iron (using a hot dry heat) the shinny side of the paper to the back of the label, wait for it too cool, peel the paper backing away from the label and then iron the label front side up to one of the bottom corners of quilt (usually the left).

To secure the edges, I then carefully stitch a blanket stitch (or buttonhole stitch) around the edges ensuring that I don’t bring the stitch through the top of the quilt.

And ta-dah!! A Quilt Label is completed!

Hopefully I’ve answered a few questions that people have sent through to me in recent weeks and have given some inspiration to those of you have mental-blanks when it comes to these types of things! (Don’t worry, we’ve all been there!)

If you want to see me chat a bit more about Quilt Labels, check out this video I posted on YouTube!

Happy Sewing Friends!

xx

A Weekly Vlog | Musicals & Parties!

The Week That Was...
The Week That Was…

Yeah, it’s been a while since I’ve made a weekly vlog. The simple reason for this is the shear lack of interesting tales and highlights that happen in my day-to-day life. Shame.

My usual day comprises of the following…

I wake up.

I eat breakfast.

Shower.

Check emails/messages & have some basic Internet time.

Then, I either proceed with uni study or spend time getting my next YouTube video ready for Sunday.

Break for lunch.

Continue on with my pre-lunch activity.

(Or I procrastinate with some sewing! Te-he!)

Cook/eat dinner.

Telly time!

Bed.

So as last week rolled into life, I knew that some exciting times were ahead, threatening to break my daily monotony.

So of course I had to make a weekly vlog about it!

Yes!

The week started with a lovely sewing sesh, where I filmed the making of The Sailboat Block Tutorial. I like showing behind the scenes footage of how I make my YouTube videos as it adds another dimension to how these videos come together and what it takes to edit these content-heavy videos.

Wednesday, my folks and I ventured off into the city to see the The Lion King: The Musical at the Captiol Theatre in Sydney. We jumped on a train, got off at Central Station and had lunch at this little petite French café on Eddy Ave. It’s was a pretty cool little restaurant. The walls adorned famous French artworks (Renoir and Seurat) along with an array of past and present film, screen and music artists like Elvis Presley, Buddy Holly, Roy Orbison etc. The meals were quite basic: burgers, sandwiches and rolls – but still delicious!

We then ventured into the wintery artic winds blowing along the streets in a short walk to the theatre.

The show was brilliant! If you ever get the chance to see this production, DO IT! You won’t be disappointed!

(On a side note: I think this would be the perfect show to introduce the whole ‘musical theatre’ experience to kids. Possibly those aged 5 and up will appreciate and enjoy it!)

This week in particular, it’s hit me just how fast time really does fly! It’s crazy to think that my little newborn nephew I introduced you to here, just turned the big O.N.E! That’s just CRAZY!

This little guy was the highlight for the rest of the week.

Xavier
Xavier

We saw him on his actual birthday, which was Friday, and then enjoyed a more ‘official’ type of birthday party on Sunday with extended family and friends.

I’m so happy with the footage I was able to get of him at his party – these images will be cherished for a long time come!

So that’s the week that was!

I loved every minute of it!

Happy Sewing Friends!

xx

TUTORIAL: Finn The Human Pillow

Click this link for the free pattern –>> Finn The Human Pillow 

For weeks now, I’ve been promising this little tutorial to you all.

I’ve been teasing, procrastinating and stressing out over it for ages until I finally said, ‘Sod it! Just get it done already!!’

And here it is!

I’ve been hella nervous to publish this pattern & tutorial for so many reasons.

Here are just a few…

#1: This is the first ‘pattern’ I’ve ever really made and created. I’m sure somewhere there will be a crucial element I’ve missed or half explained that I will need to address sometime in the future. I’m super nervous that the pattern pieces are incorrect and won’t all match-up. And I’m desperately praying that the pattern link downloads and opens easily for everyone who clicks it! (The original plan was to have a PDF pattern but that wasn’t working, so I’ve uploaded it as Word docx. instead! Fingers crossed!)

Finn For Blog 1

#2: OMG, it’s Adventure Time! This cartoon series is huge at the moment and I’ve been so conscious to get the design pretty much perfect to the original design of Finn so that it doesn’t just look like another one of those ridiculous try-hard crafting nightmares!

Finn For Blog 3

#3: I suppose, in all honesty, I’m worried about the feedback I’ll get from this project. Will people hate it? Will they not understand the pattern? Are there elements of the design that just don’t work?

Finn For Blog 2

Hmm… I don’t know… I think I’m letting my mind run away with this issue far too much than I really should. I need to remember: Any feedback is good feedback (as along it’s constructive and helpful of course!).

If you’re new to the crafting/sewing game and would like to make this, I recommend watching the video first, that way you’ll grasp a better understanding of each step and not get too befuddled with what needs to be done next.

Best of luck to you all!!

Happy Sewing Friends!

xx

Bloggin’ Old School & A Fabric Haul!

For today’s post, I’m harking back to my earlier days of blog writing and am just going to write about everything that’s been happening in my little sewing world!

Sound good?

Excellent!

Right, let’s start with a WIP!

January this year, I uploaded this video. Here I chatted about my intended intentions (say that ten times fast!) of getting all of my WIPs finished this year!

I was keen and ready to jump in!

And seven months later, I’ve finally decided to begin honoring this New Year Resolution! (As you do!)

Monday night I felt restless and itchy to get my mind and hands stuck into some sewing. So instead of starting something new like I always do, I reached out for one of my WIPs.

And it was this one I chose…

Paper Pieced Union Jacks

I only had two more paper-pieced blocks to make until I could begin piecing the quilt top together. So that’s what I set out to do.

At about 9.30pm (which is pretty late for me to be sewing), I dug out a pretty floral and some sweet pastel fabrics from The Stash and begun piecing together.

About an hour later I had made this…

UnionJack2Out of all 11 blocks I’ve made, this is my favourite! Uber chic and girly – LOVE IT!!!

This afternoon/evening, I hope to tackle the last block for this quilt. I’m still umming-and-ahhing over fabric choices but I have a fair idea what I want this block to look like.

Bring on my wild Saturday night! Whoo!!!

Speaking of fabric, I took advantage of a great End of Financial Year Sale at Kelani Fabric Obsession during the week and treated my self to some    b-e-a-utiful fabrics!

Fabric

Here’s a list of the fabrics I bought…

#one

Cherry Dot on Blossom Pink | Oh Deer! By MoMo for Moda Fabrics

Fabric1

#two

Memoir in Zest | Alchemy Quilting Collection by Amy Butler for Rowan

Fabric3#three

Pineapple Slices | Acacia by Tula Pink for Free Spirit

(My first ever cut of Tula Pink fabric!)

Fabric2#four

Vivienne Stripe in Blush | By Alexander Henry

Fabric8

#five

Toyland Twinkle in Orange & Blue | By Alexander Henry

Fabric7

#six

Sweet Tweet in Pastel | By Alexander Henry

Fabric6

#seven

Simpatico Minty Staws (100% Organic Cotton) | By Cloud 9 Fabrics

Fabric5

#eight

Minimalista in Confetti Turquoise | By AGF Studio

Fabric4I can’t wait to get stuck in and use these little beauties… I don’t know what for yet… But a day will come when I was glad I spent a small fortune on a lovely array of fabric!

And lastly, although it was uploaded this time last week, I wanted to share with you my latest Weekly Vlog.

This particular week I made a visit to the Sydney Craft & Quilt Show where my little Golden Trail Mini Quilt was on show.

IMG_2847

I didn’t get to film much of the show due to copyright etc but I did manage to capture some awesome footage of the Harbour Bridge, the Sydney Opera House and the city!

We also celebrated my Dad’s 68th birthday! It was wonderful!

So I think that’s about it at the moment.

A WIP is on its way to be completed (sorta) and I’ve soothed my fabric lust for just a few days!

Hopefully I’ll act get my act together and show you a finished quilt top in my next post…

HA! Don’t hold your breath!

Happy Sewing Friends!

xx

Mini Craft Haul!

Whenever I walk into a craft store, it’s inevitable that I’ll walk out having spent a ton of money on supplies that I really didn’t need but just had to have!

Surely, I’m not the only one?? (C’mon ladies, speak the truth…)

So over the weekend, I ventured into a local Spotlight store and got a little carried away…

To be honest, there were a few things I specifically wanted to buy (the Fat Quarters and Hobby Fill) but the rest were bought on a whim and the thought of ‘Oh, why not?’

Here are the deets of what I got:

Wooden Craft Keepers (Hedge Hog & Owl) by The Red Thread
DMC Stranded Thread/Floss in colours: 913, 959, 993 & 3812
Assorted Pastel Brads 60 pack by Francheville
‘Hello Sunshine’ Die Cut shapes by Kaiser Craft
Assorted Birthday stickers by Artwrap
Kraft & Cork stickers by Francheville
Saffron Craig ‘Bees’ Fat Flats | http://saffroncraig.com
Prints Charming ‘Spring Swing’ Fat Flats in Pink/Orange & Blue/Green | http://www.printscharming.com.au/home.htm
Elements Grey Stripe & Simple Green Triangles Fat Flats
Hobby Fill, 500g

So there’s just a little share of what I’ve recently bought.

I think my favourite thing is the two Wooden Craft Keepers.

They really are ridiculously adorable!

Happy Sewing Friends!

xx

A WEEKLY VLOG #2 | Coming Soon: A Nephew or a Niece?

Last week was a wonderful one full of happy discoveries, new glasses and a haircut (I haven’t had one of those in ages!!).

There were also moments where I dedicated (hours of) time to my university studies; where I shared fun, adorable moments with my youngest nephew along with a small indulgence in some LEGO construction (if you could really call it that…).

Make sure you stay tuned for next week’s vlog!

I ventured into the city yesterday to visit the Sydney Craft & Quilt Show and I captured some beautiful footage of my beloved city (amongst other things that are happening this week!) which I’m so excited to share with you!

Happy Sewing Friends!

xx

A WEEKLY VLOG | Winter Flu, Nephews & Study

So I’m doing something new over on my YouTube channel

I’m still creating tutorials and the like but I’ve also begun uploading weekly vlogs (and sometimes daily vlogs too!), in an attempt to have you, my viewer and reader, get to know me more.

I want to continue to post and share my Weekly Vlogs with you here on my blog, bravely welcoming you into my life behind my sewing, my writing, my filming – the whole lot!

If you’re not the kind to watch vlogs or are solely uninterested in watching – then that’s cool. I promise I won’t be offended. 🙂

So here is the first of many (I hope!) Weekly Vlogs!

So what made me want to film the things happening in my life and share them all over the internet? Good question! Here are my answers…

1. I love watching daily/weekly vlogs. I think it’s very common to be naturally curious about how other people live their lives, about what happens to them, the experiences they face on a daily basis and the fun that they have with others. Simply, vlogs easily allow me to relate with other people, roughly the same age as me, in what they’re doing. And by that, I feel a little less lost and useless in this crazy world!

2. I like the creativeness of vlogging. Filming and editing footage is a new platform for me and I’m still learning the ins-and-outs of the biz. Vlogging gives me the outlet to experiment and become more relax in front of the camera as well as give me confidence in translating what’s in my brain into a video that’s a few minutes long. Editing footage also gives me the chance to be creative with most of my senses: sight, touch, hearing/listening, emotive, worth etc. and that pleases me.

3. I’ve received some awesome encouragement from friends, readers and viewers to get on the ‘Vlogging Bandwagon’ so to speak and I’ve taken that encouragement to heart! To receive comments from strangers (essentially) who are genuinely interested in my day-to-day life is extraordinary and completely blows my mind! I think it comes back to the whole ‘relating to what other people do’ shiz.

4. In all honesty, I worry that the content I put on my YouTube channel is so far out of the ‘mainstream box’ and isn’t ‘personal’ enough that I need to plump it up a bit with more videos about myself. Perhaps that’s my ego or my endless self-doubt creeping in but that’s just how I feel. Don’t get me wrong, I’m super-proud of the content I have my channel (each video is obsessed over time and time again before it’s uploaded). I wouldn’t change the main goal/idea of what I want the channel to be, but I just want to make it a little bit more relatable to those who aren’t quite into the quilty/crafty/diy scene.

Okay, so I’m a little brave in sharing with you my deep and honest thoughts (my panic & anxiety is through the roof!) and I don’t know why I feel the need to justify the reasons why I’ve started to vlog my life… But it’s happening and I’m super-excited about it!

And…while we’re talking about videos and the like, I’m currently in the middle of editing another Quilt Block Tutorial! Yay! I haven’t filmed/uploaded one for over three weeks!!! (My bad…) Here’s a sneaky!

(PS. You can see the whole block on my instagram!)

House Block Sneaky

Happy Sewing Friends!

xx

One last thing: Here are links to some of my favourite vloggers…

FunForLouis

Hannah Maggs

ViviannaDoesMakeup

They inspire me to live life to the fullest, to set my goals on the things that I love to do and to be uber-creative with my editing!

So Here’s What’s Been Happening…

I feel as though I’ve been a little mysterious of late…

Lots of big changes and ideas have been happening on this side of the monitor and I feel as though I need to write them all down, just so I can get my head to process it all!

So, shall we start?

(I have a fresh cup of tea to my right, notes in front of my keyboard and a gentle rain falling outside. I think the timing is perfect!)

First of all, I’m not sure whether you’re aware of the fact that for almost two years I’ve been ‘unemployed’. Although I’ve been studying here, there and everywhere and I’ve been writing my blog, creating quilts and making YouTube videos, I haven’t been in a paying job for almost 24 months. And it hasn’t been for a lack of trying either! For the past year or so, I’ve been actively job searching/applying and being actively passed over, rejected and/or ignored.

So where is this all leading to, you may ask…?

I got a job! I finally, finally, FINALLY bagged myself a job!

Now, it’s nothing fancy, permanent or local (40 minute train trip into the city!)… It’s a simple casual retail job (my only type of work experience) at one of the big department stores we have here in Australia. Although it may seem simple-ish to some, it’s a huge deal for me, especially after searching for any type of employment for more than 12 months!

I start tomorrow (induction and store orientation) and then I start sharing my ‘happy retail face’ to the world again!

Source: Pinterest
Source: Pinterest

There’s something quite nice and strangely normal about finally having a job… It’s a calming peace-of-mind feeling that you’re contributing to society just that tiny bit more again and that you, as a whole, and your skills have some sort of worth.

I now also have peace-of-mind in building up my Savings again! Boy, has that taken a hit over the past few months!

(Luckily I still live with my parents! They truly are the best parents this girly could ever ask for!)

Next, is new University units! This semester, I’ve opted to study online at home so I could have the flexibility to work (see above!) as well as to concentrate on creating better content for my blog and YouTube channel.

I’m still on a Fine Arts Degree kind of track, concentrating more on Art History as well as Theory and Practical Arts along with Web Media and Communication.

Source: Pinterest
Source: Pinterest

I started two units last week, the same week I received my new job invitation, and am loving the flexibility it gives me to work at my own pace and when my mind is up to the task! (Plus it allows me to save money on travel AND I can sleep-in! No early classes for me thank you!)

So moving on from that, I’ve also been brainstorming some new ideas in reference to the content I want to create and share with you here and on YouTube.

I still want to continue with my Quilt Block Tutorial series as they are the most popular and most loved by my viewers. But I’ve also been contemplating on perhaps creating a crafting/DIY-ing type of series where I show you how to make nifty little projects, knick-knacks and thingys.

I would also like to start, maybe, filming/uploading weekly vlogs, but I’m feeling a little shy and self-conscious about that idea at the moment. Naturally, I’m a pretty quite person (introvert alert!) and I lead a pretty boring, non-dramatic and sheltered kind of life, so I can’t really envisage what exactly I would vlog about.

Source: Pinterest
Source: Pinterest

So I think I’m still in the very, very early planning stages on that one, but my little crafting/DIY series has a very promising future to it!

(Side note: Do you have any ideas/contributions of what I could make or would like to see me make? Tell me! Comment below or email me at 3and3quarters@gmail.com)

And lastly, I actually put a little bit of interest in my life last week (I admit, I’m not totally boring and yawn-ish all the time!) and went to see the Vivid Sydney Light Festival!

(Last week was a week of lots of things just happening!)

I made a little vlog of the night in semi-preparation for my maybe/maybe-not weekly vlog idea (which at the moment is border-lining the ‘maybe-not’) and I want to share it with you just in case you’re not really into the ‘YouTube Scene’.

Here’s a little story: The last time I went to this was 2012 and we went on a Saturday night, which was a BIG mistake! The quay-side was absolutely packed, I felt like a human salmon, swimming against the stream! I like to think that I’m a very patient person in all aspects of life BUT, when it comes to being trapped in a crowd of people, my patience deserts me and I get very irate and annoyed very quickly! Then you have to deal with people on the train home…

Source: Pinterest
Source: Pinterest

Yah… Nope. Not my cup of tea at all!

So this year we opted to go on Thursday night. It was a bit over cast, cold and wet but the crowds were considerably less. It was brilliant!

I loved it.

(And I got to spend some quality time with my lovely mum!)

If you ever get the chance to visit Sydney, come early winter (May-June) and see these beautiful light installations illuminate out beautiful city!

And avoid the weekends!

So thanks for hanging around and reading my ramblings…

(A high-five and big gold star to you!)

I haven’t written a blog post this long and in-depth for a while!

I admit I haven’t had the energy (I’m currently battling a horrid cold!) or the time to do much sewing over the past few days.

The only thing I did last week was film and upload my Mini Double Wrench Block Tutorial and play around with some little HSTs…

A pretty sea of HSTs...
A pretty sea of HSTs…

Again, thanks for making it this far into my post – you’re simply the best!

(Sing along if you want to!)

Happy Sewing Friends!

xx

TUTORIAL | The Love Heart Block

This new video has been a labour of love and pure patience!

For over two weeks I umm-and-ahhed and stalled and procrastinated over filming this block…

(Who honestly knows why!?)

But I finally got over myself and just did it!

And here’s where the ‘patience’ part comes in…

At the very same time it came to uploading this tutorial, it was also the perfect time for our internet to decide to run at an excruciatingly glacial pace!

(i.e. we had reached our maximum data usage! Boo!)

So, like any silly impatient Gen Y-er, I endured a 35hour upload time, slowly watching my video process…

One. Percent. At. A. Time.

**SNORE**

Eventually my video, which I started to upload on Thursday afternoon, was finally ready to publish onto YouTube Saturday morning.

Lesson learnt: be patient and never-ever continue through with an upload that has over 2000 minutes waiting time! NEVER!

Enjoy!!

Cheerio

&

Happy Sewing!!

xx

PS. Do you have any suggestions for future Quilt Block Tutorials?

Let me know in the comments below and I’ll add them to the list! x

Stop-Motion Embroidery #2

Late last night I had a small moment of triumph!!

I was determined to get this embroidery finished!

And I did it! Yay!

So this afternoon, during a lull in our Mother’s Day celebrations, I uploaded and edited all of the photos I took and made this rad little film…

The pattern I used for this was from Urban Threads.

If you’re a mad keen lover of embroidery and love something a little bit more modern/alternative to that of the more traditional embroidery designs, I urge you to take a look this awesome website!

They have ahh-mazing stuff!

(And the prices aren’t too bad either!)

I always love having a good little needle-point on the go…

It keeps my fingers and mind busy when everything else around me is a bit hum-drum and beige!

Cheerio my friends

&

Happy Sewing!!

xx