There’s something about mixing un-coordinated fabrics together to make a block look coordinated that strangely appeals to me.
(I hope that makes sense?)
I think it’s also the thrill of pairing fabrics you’ve used in separate projects and fusing them together into one little patchwork square – ahh, the memories!
(It’s the simple pleasures, right?!)
In my opinion, the Log Cabin block has to be one of the best stash-busting blocks you can make.
It’s quick, easy, super simple and can be so visually affective you swoon at the sight of it everyday!
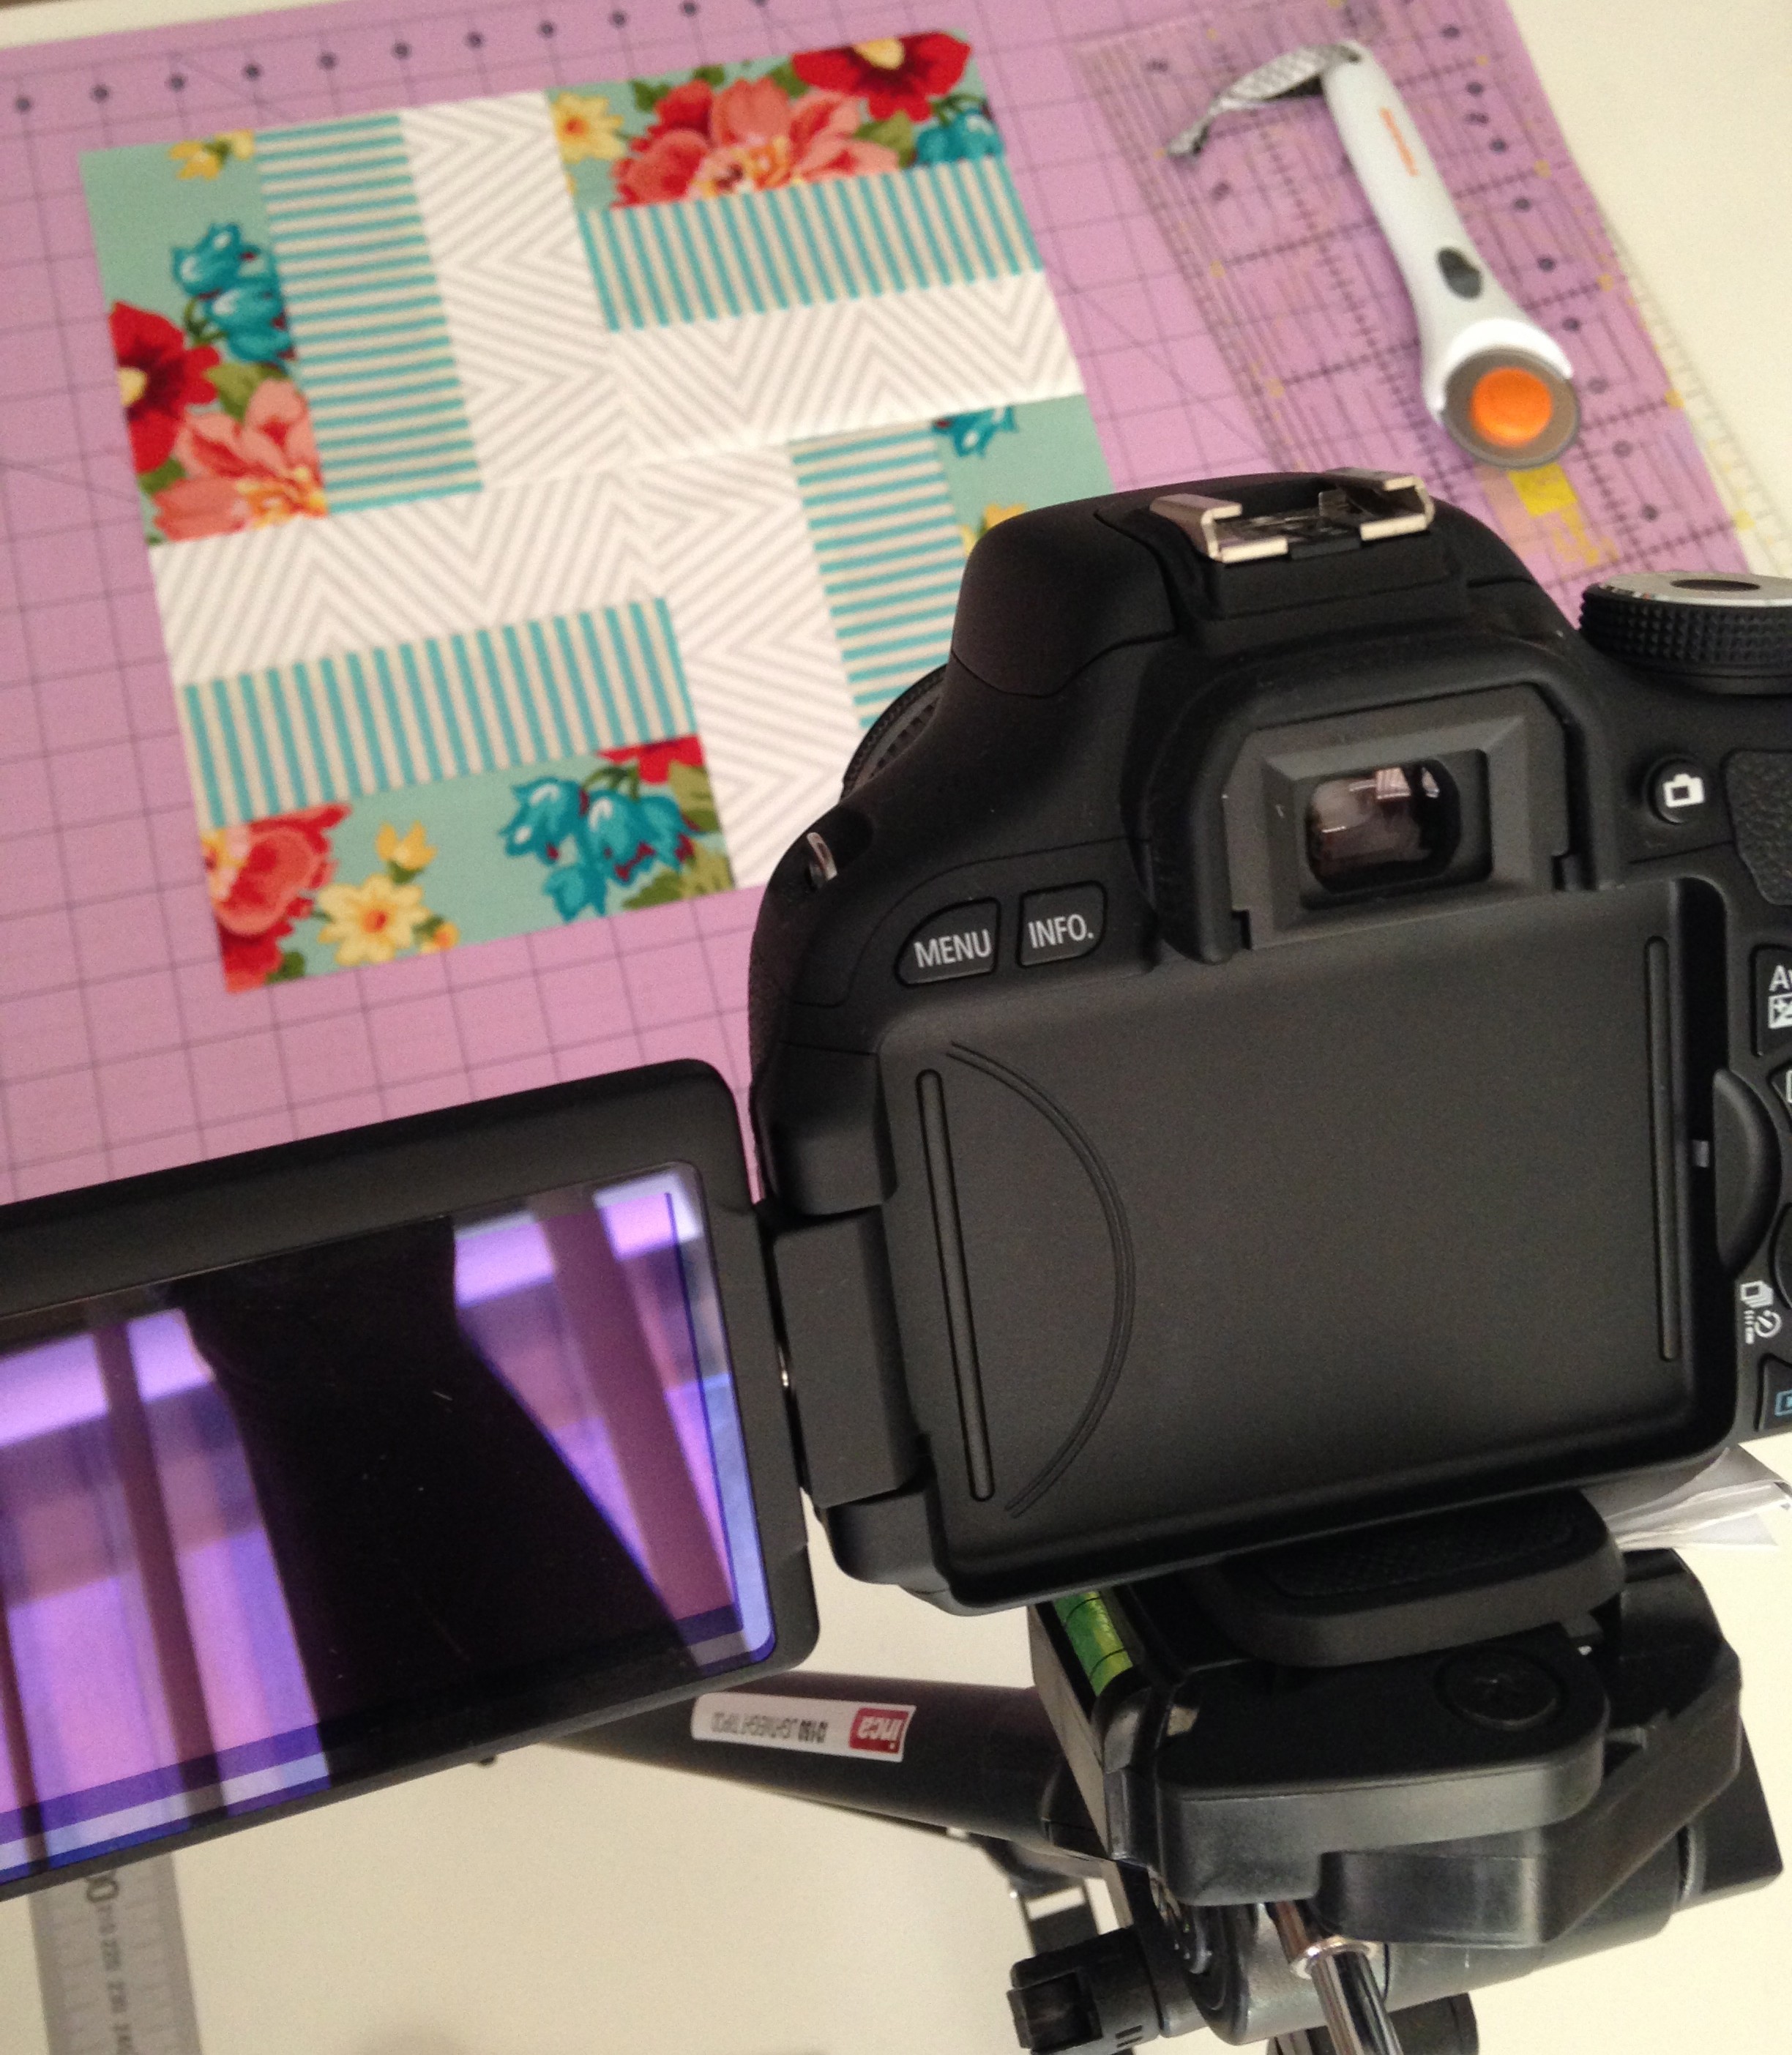
So here I present to you a little video tutorial of how I make a very free and easy Scrappy Log Cabin Block!
If you’ve watched this and have any questions, post a comment here or on my YouTube channel and I’ll be more than happy to answer them.
Do you have any other blocks you would like me to demonstrate? Pop your suggestions in a comment and I’ll take them on board!
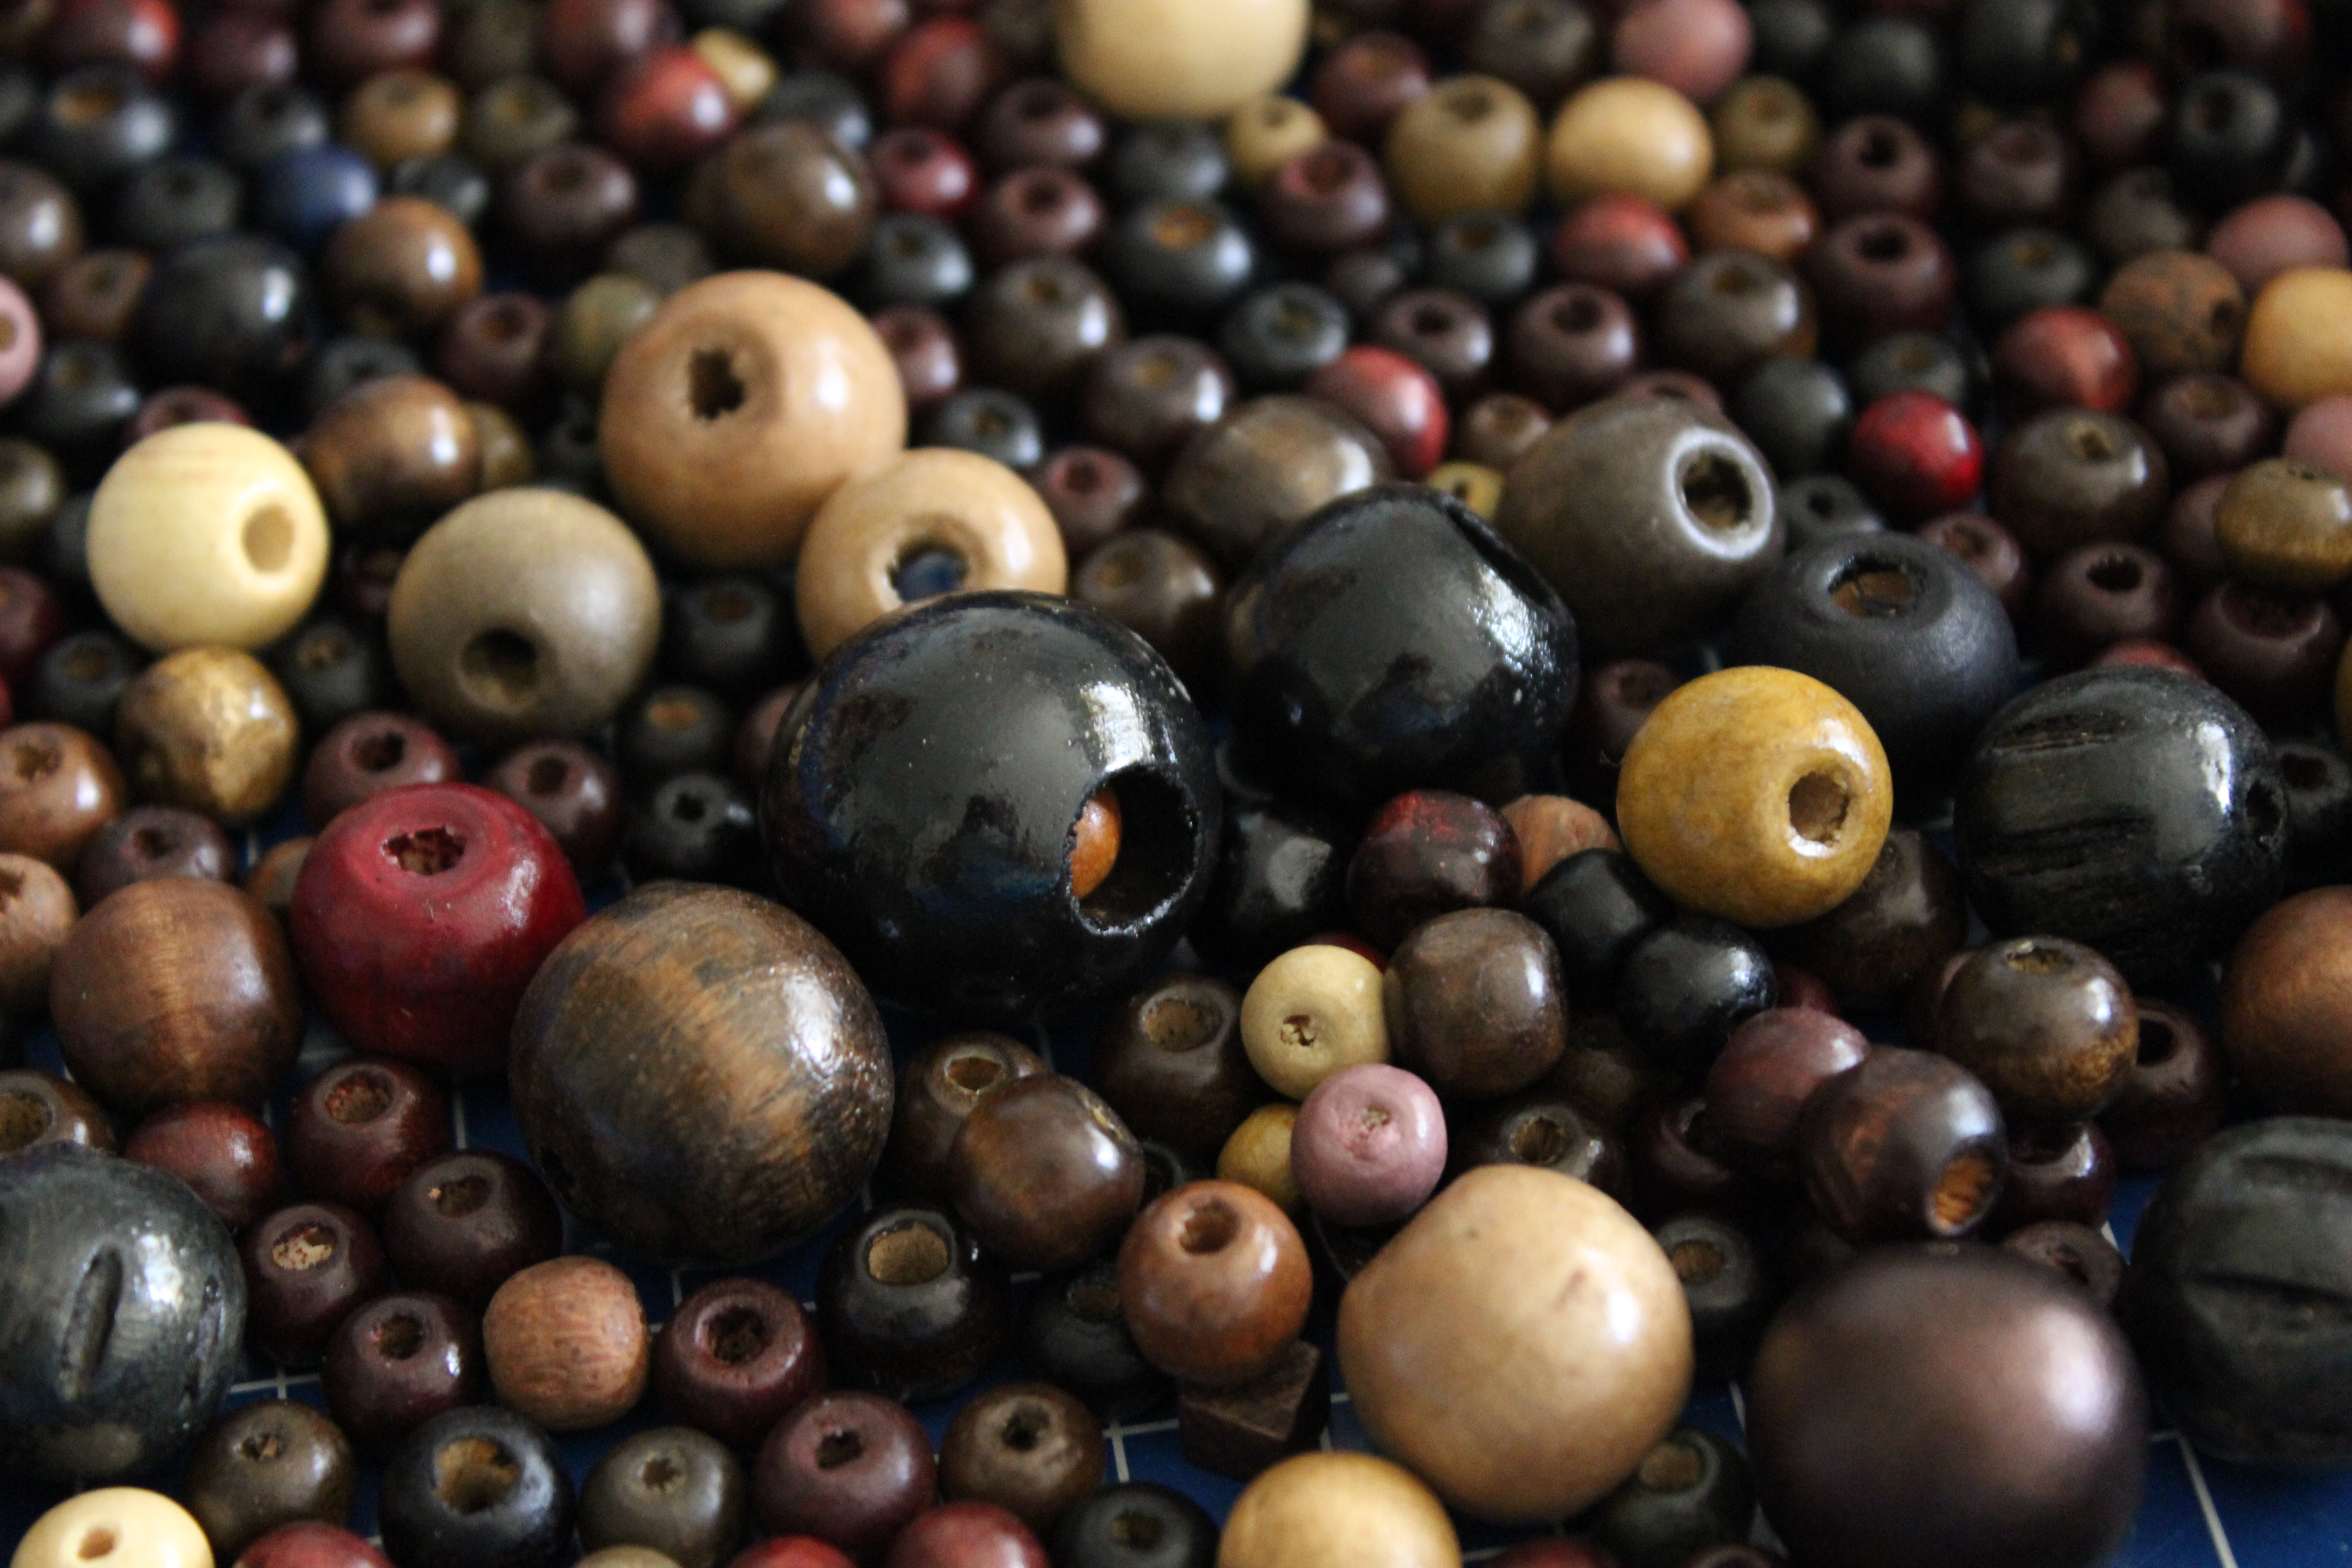
Out of the different crafty things I like to make, the most favourite thing I love to create is wooden jewellery!
There’s something about working with an ‘organic’ type of medium that solely captures me…
I love the simplicities of their texture and aesthetic, the complexities of their shape and size, their smell (is that a bit gross to admit??) as well as the sound that the wooden beads make when softly clashing together.
Now this type of crafting isn’t rocket science!
To make, I simply use millinery elastic (or hat elastic) and a whole bunch of wooden beads.
I then proceed to thread them on, tying a solid knot with the two ends once I’ve reached the desired length! (Think back to the days of when you would thread painted dry pasta onto string! Ahh, those were the days!!)
It’s a super simple method but one hundred percent effective!
The itch to make something new for myself came when I was innocently perusing the craft aisles in Spotlight and came across a huge bag of mixed wooden beads for $4! Bargain! And knowing I already had millinery elastic at home, I knew I was onto some cheap crafting fun when I got home!
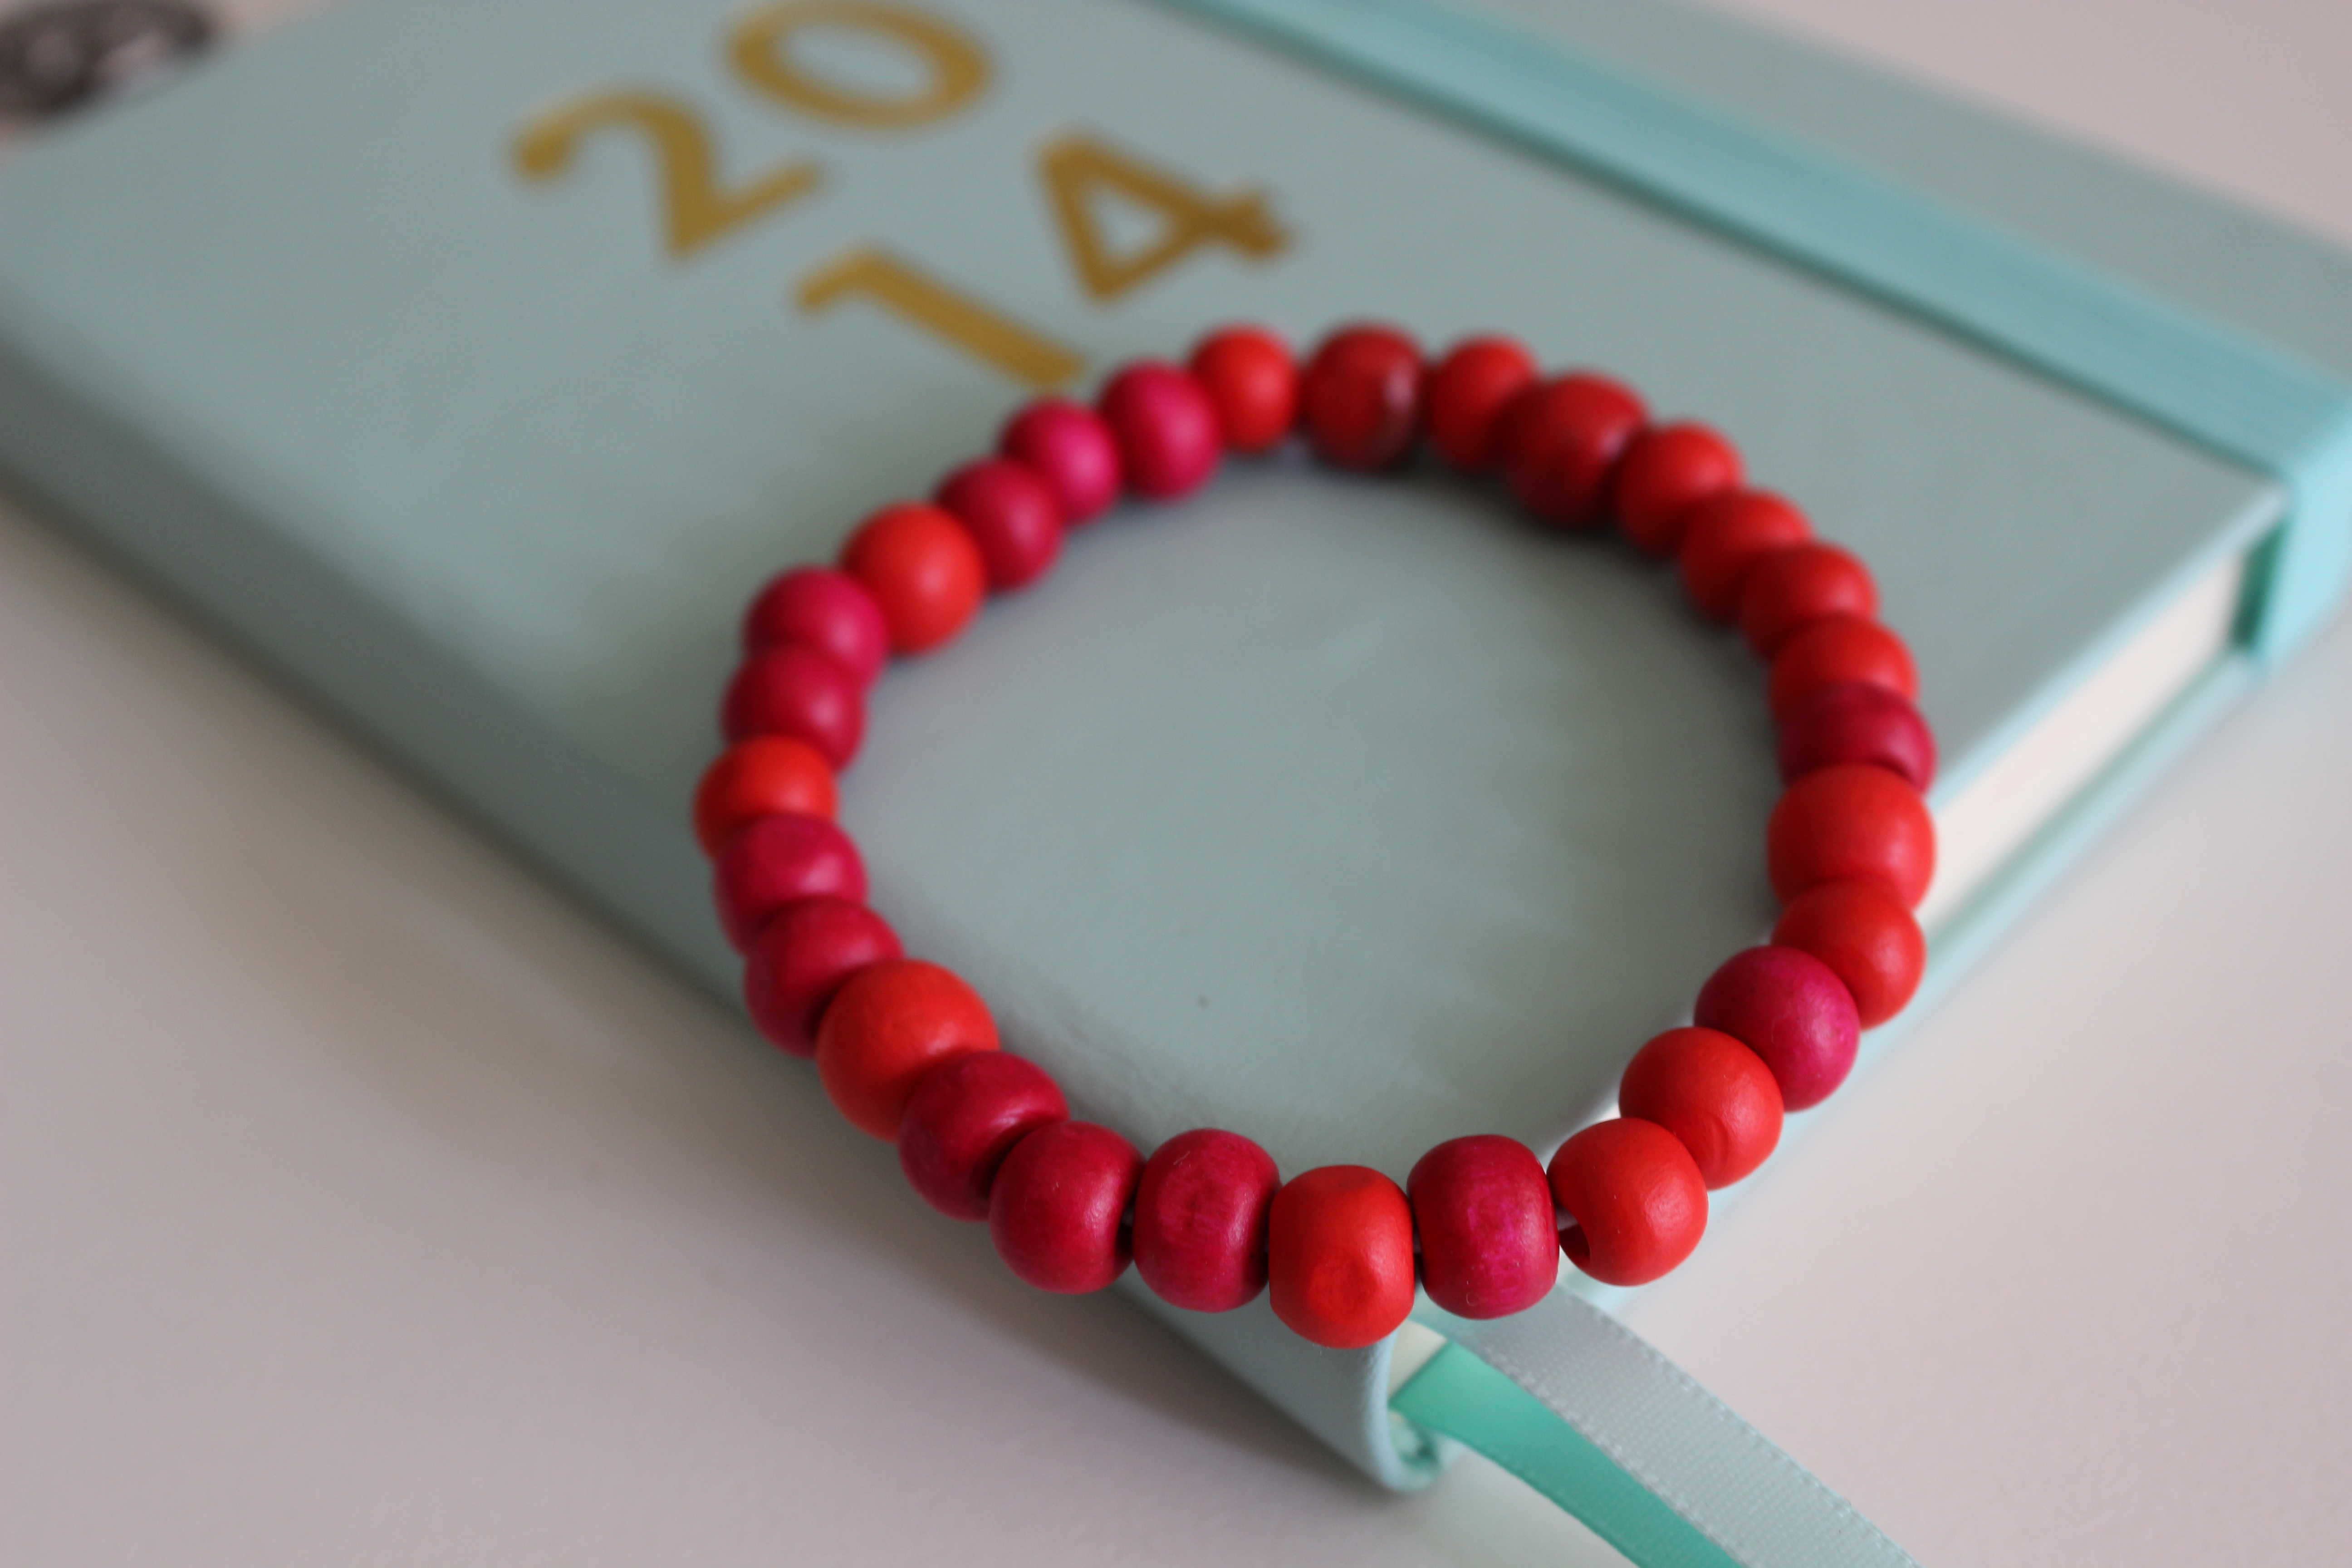
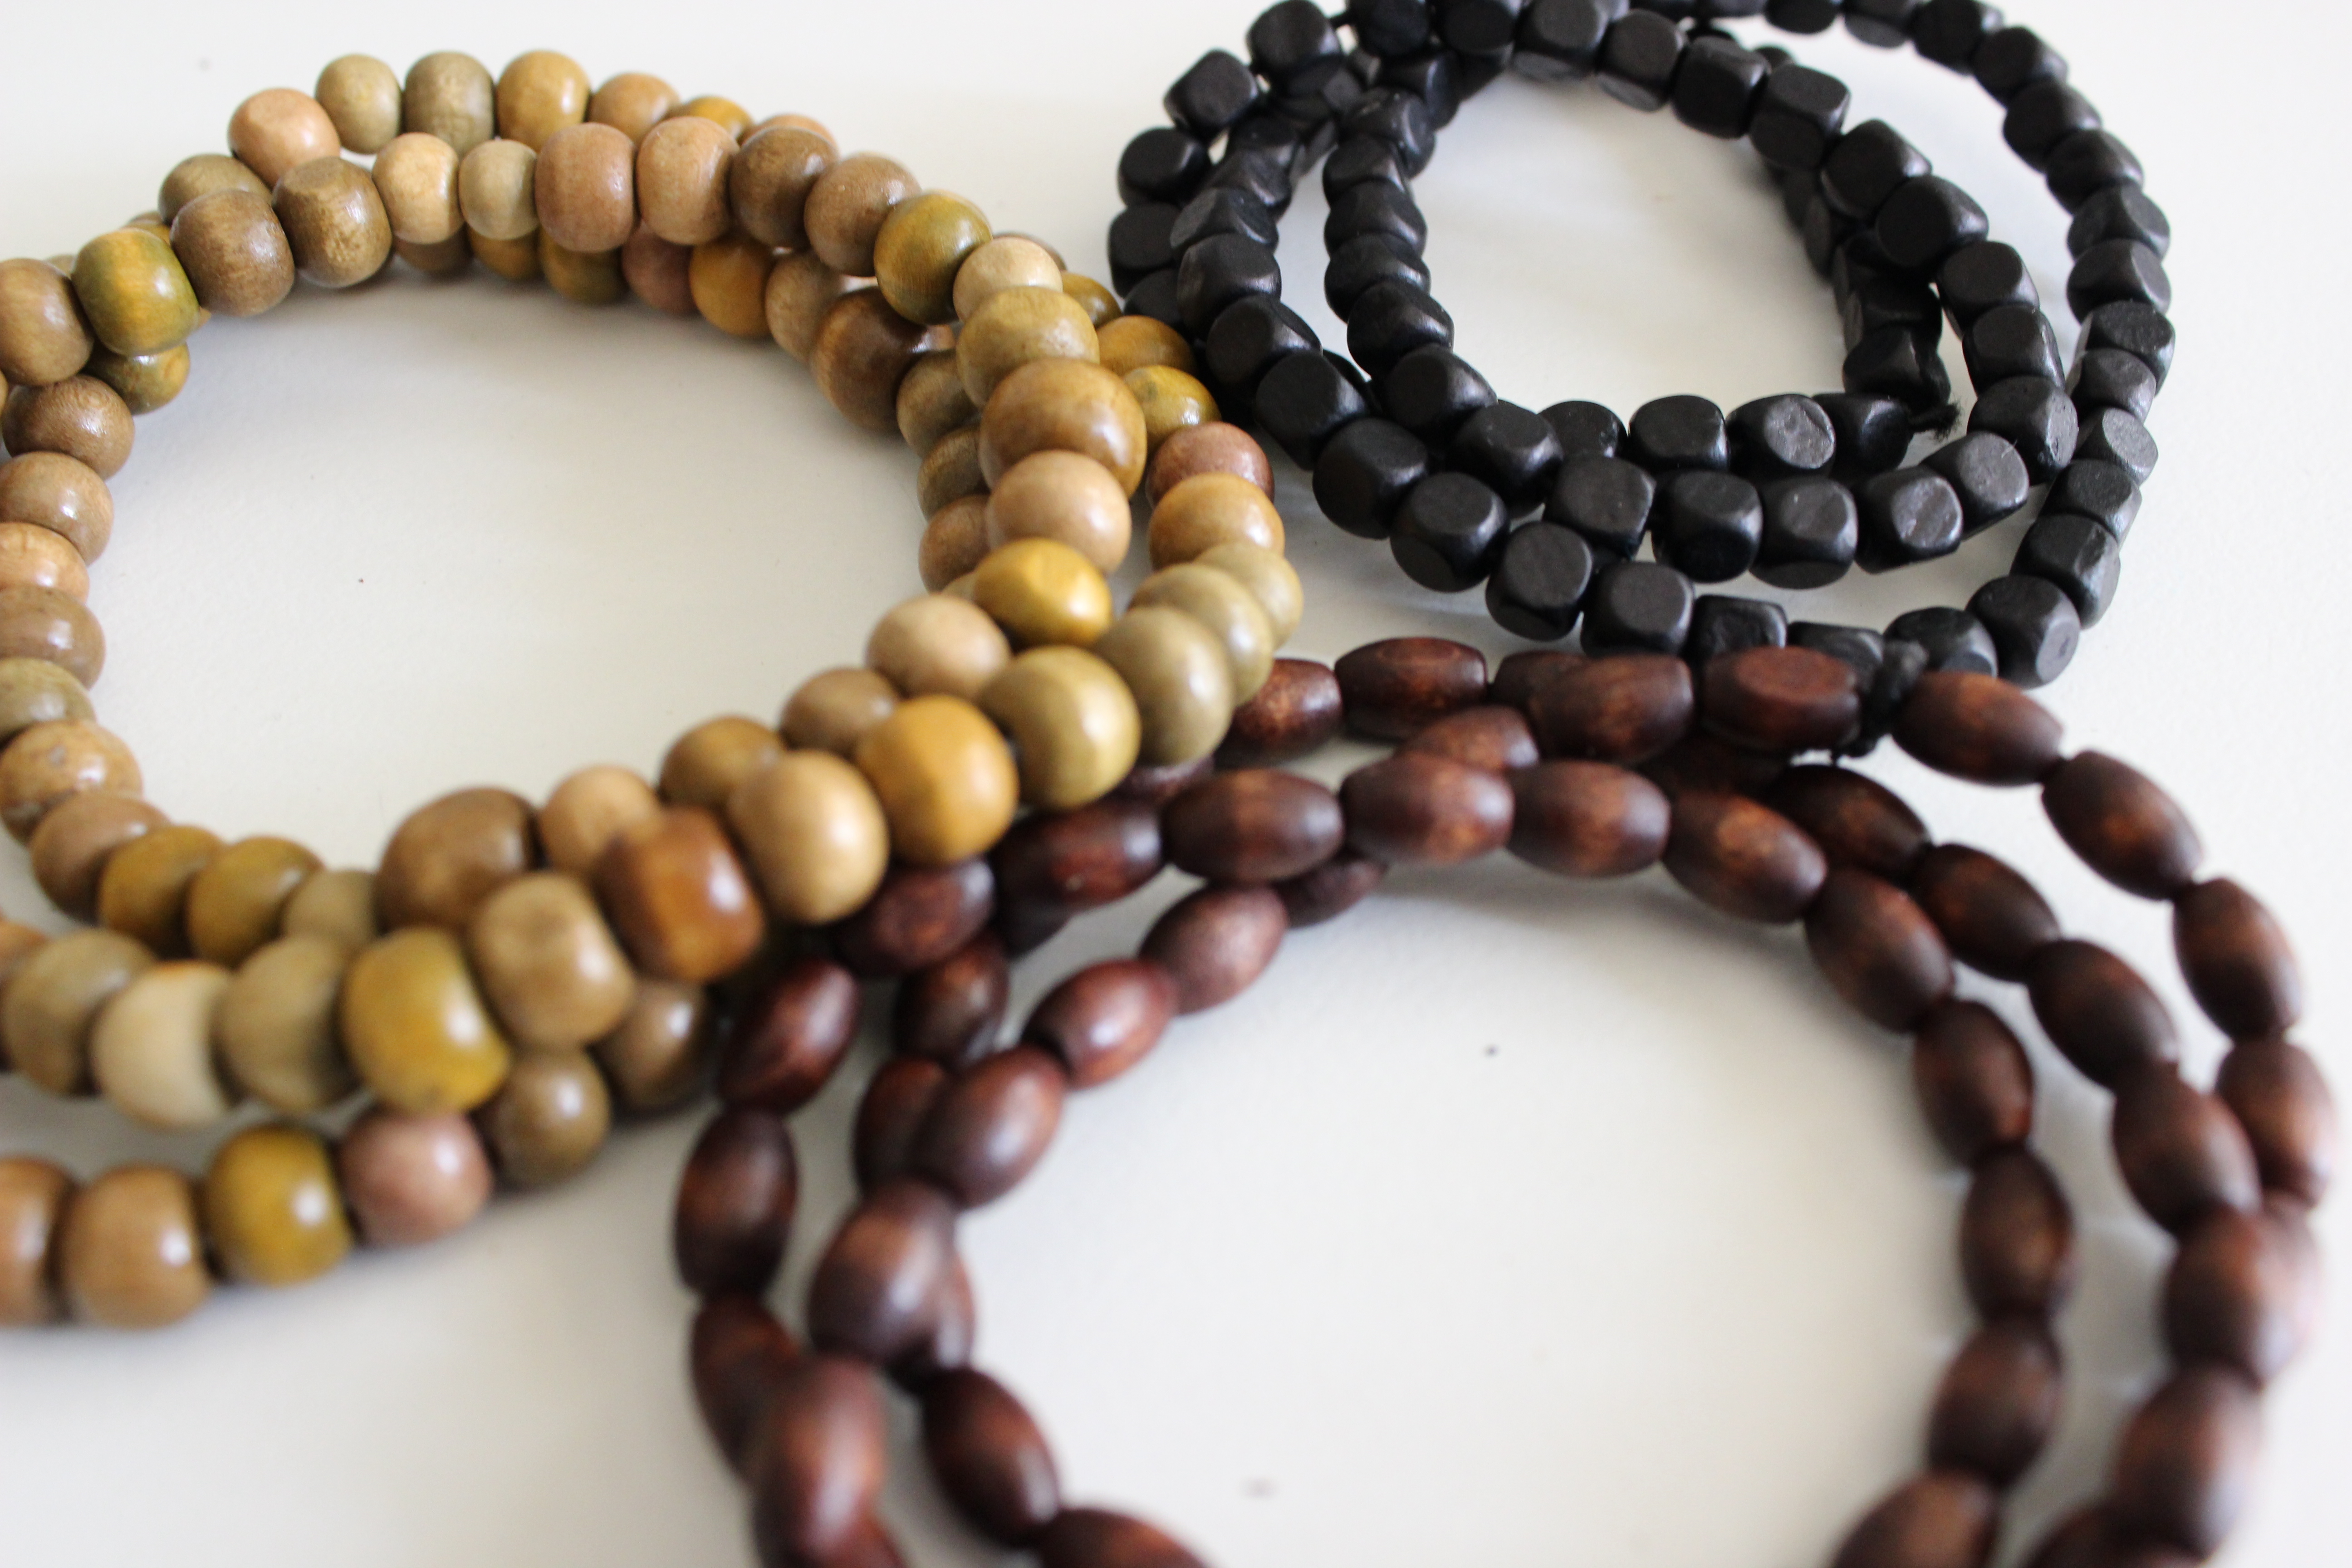
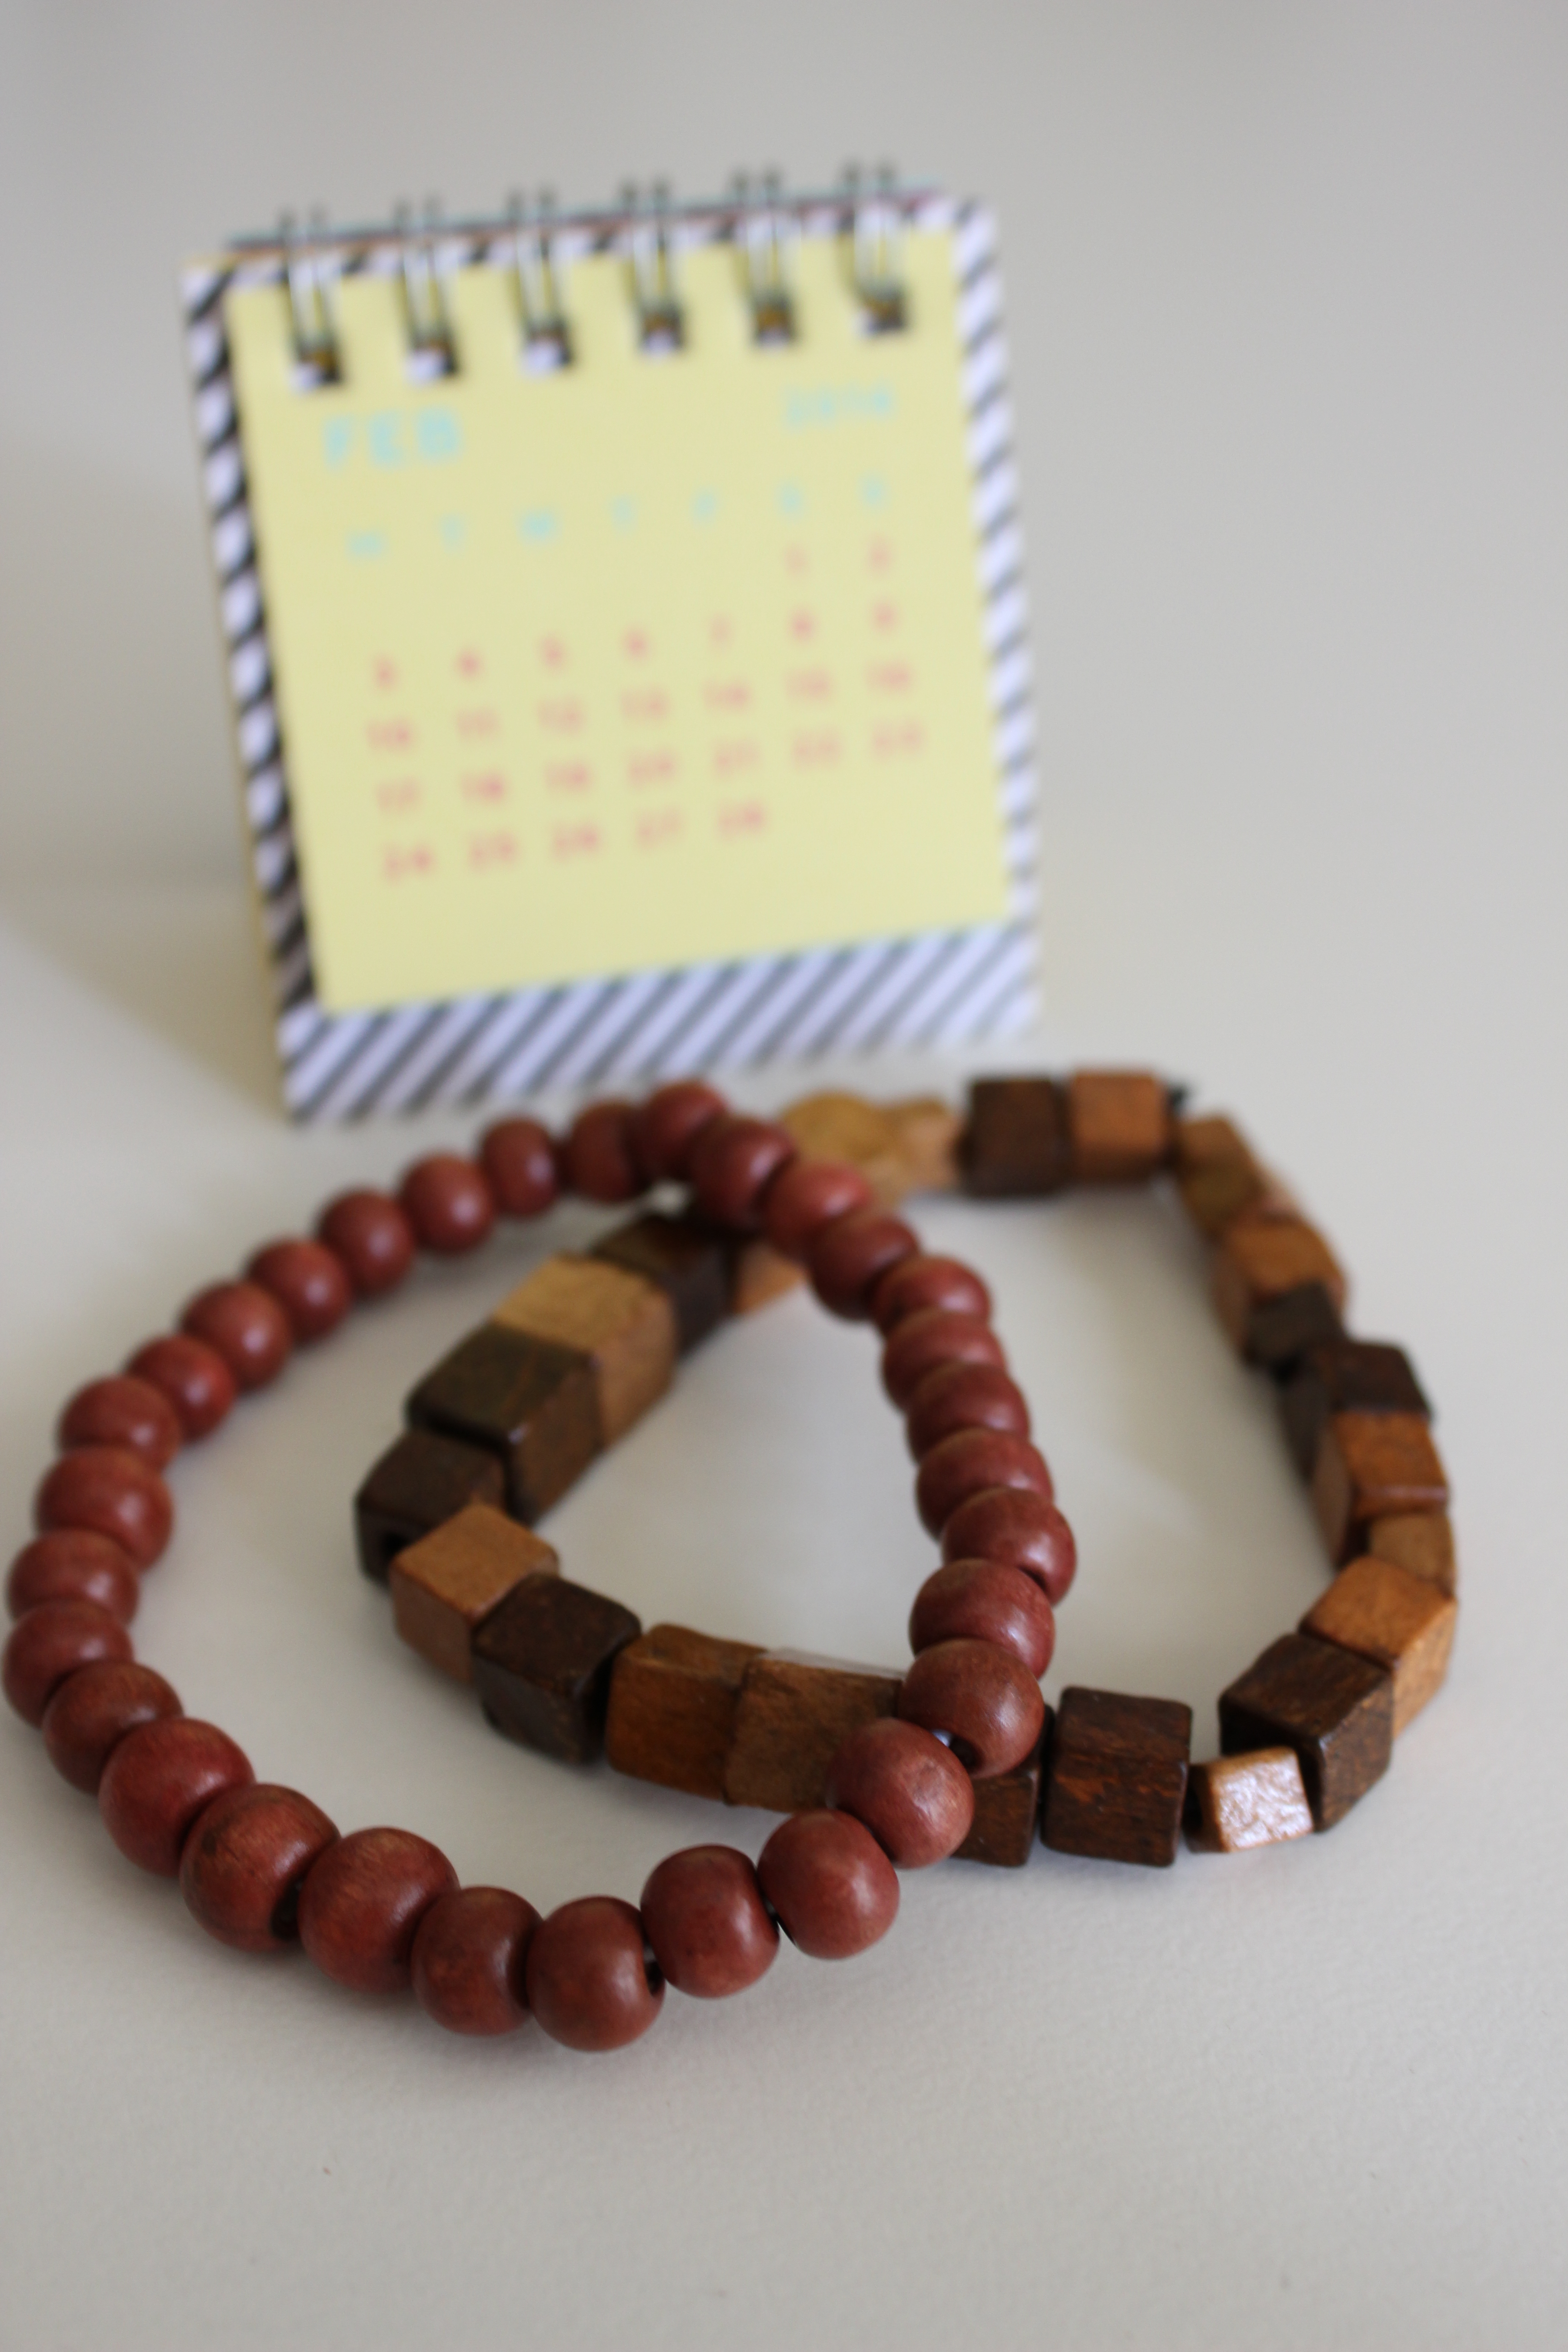
So here’s what I’ve made! Just a few easy-to-wear bracelets and necklaces…
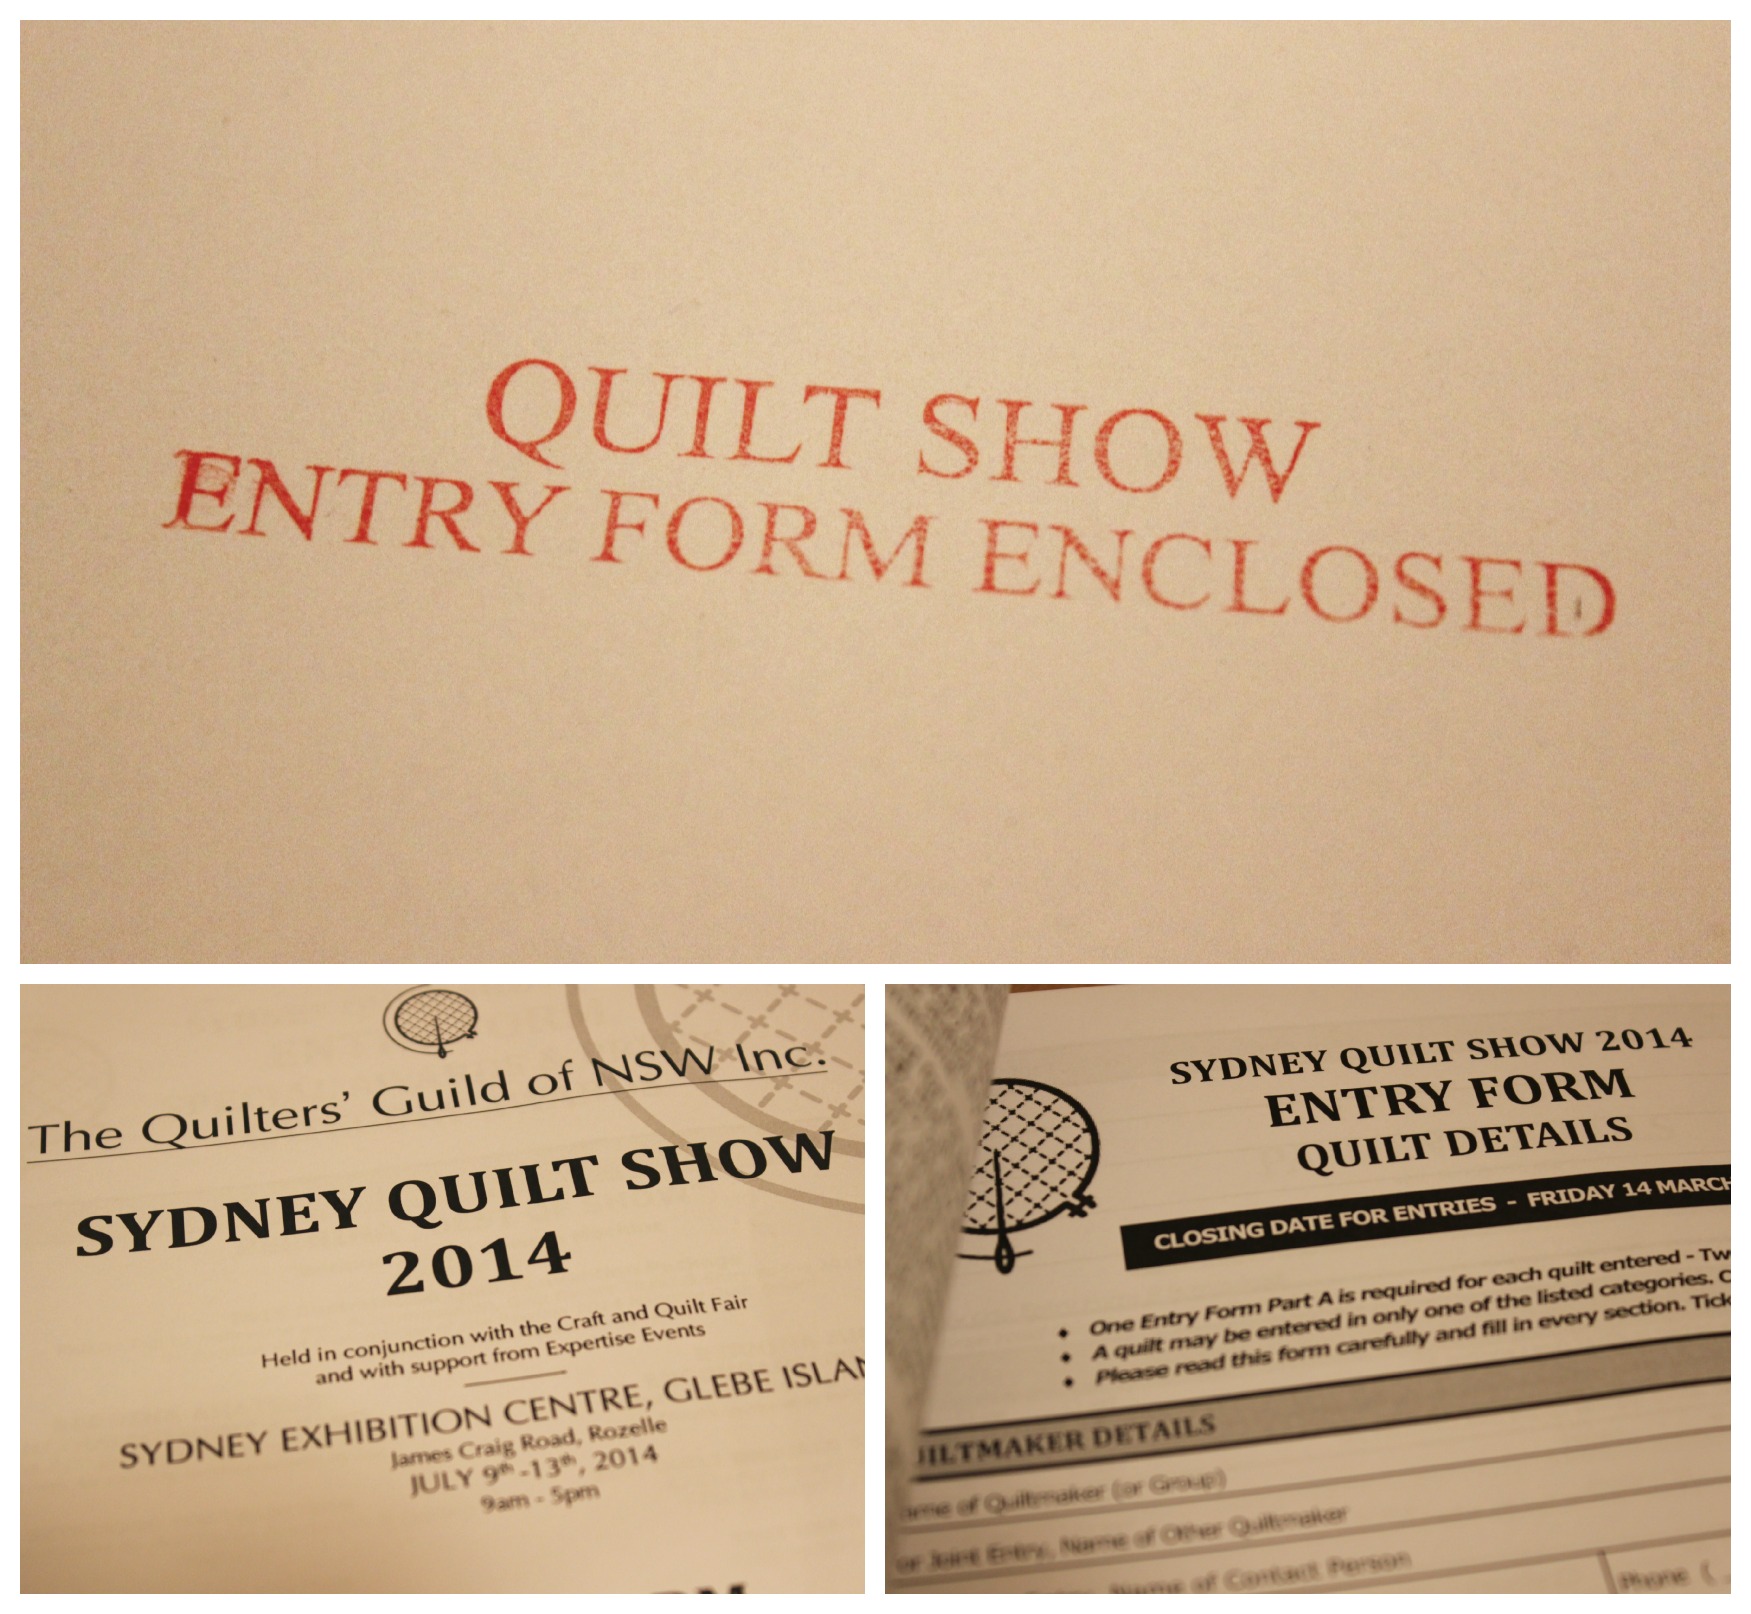
I tell ya, there’s nothing like receiving Quilt Show entry forms in the mail to get you back into the swing of quilting again!
After a lull of about three weeks or so of near to no sewing or quilting, it was a wonderful feeling to get back on the machine.
I admit that over the past weeks, I’ve been giving more of my time to my YouTube channel than to my sewing machine. This is due to –
a) a lack of enthusiasm
b) the horrid Australian humidity that’s been hanging around
But once that burning desire to get stuck into some quilting rose up in me early this morning, I was truly back in my ‘happy place’!
So over the course of the day I got lickety-split into finishing my Sydney Quilt Show entry.
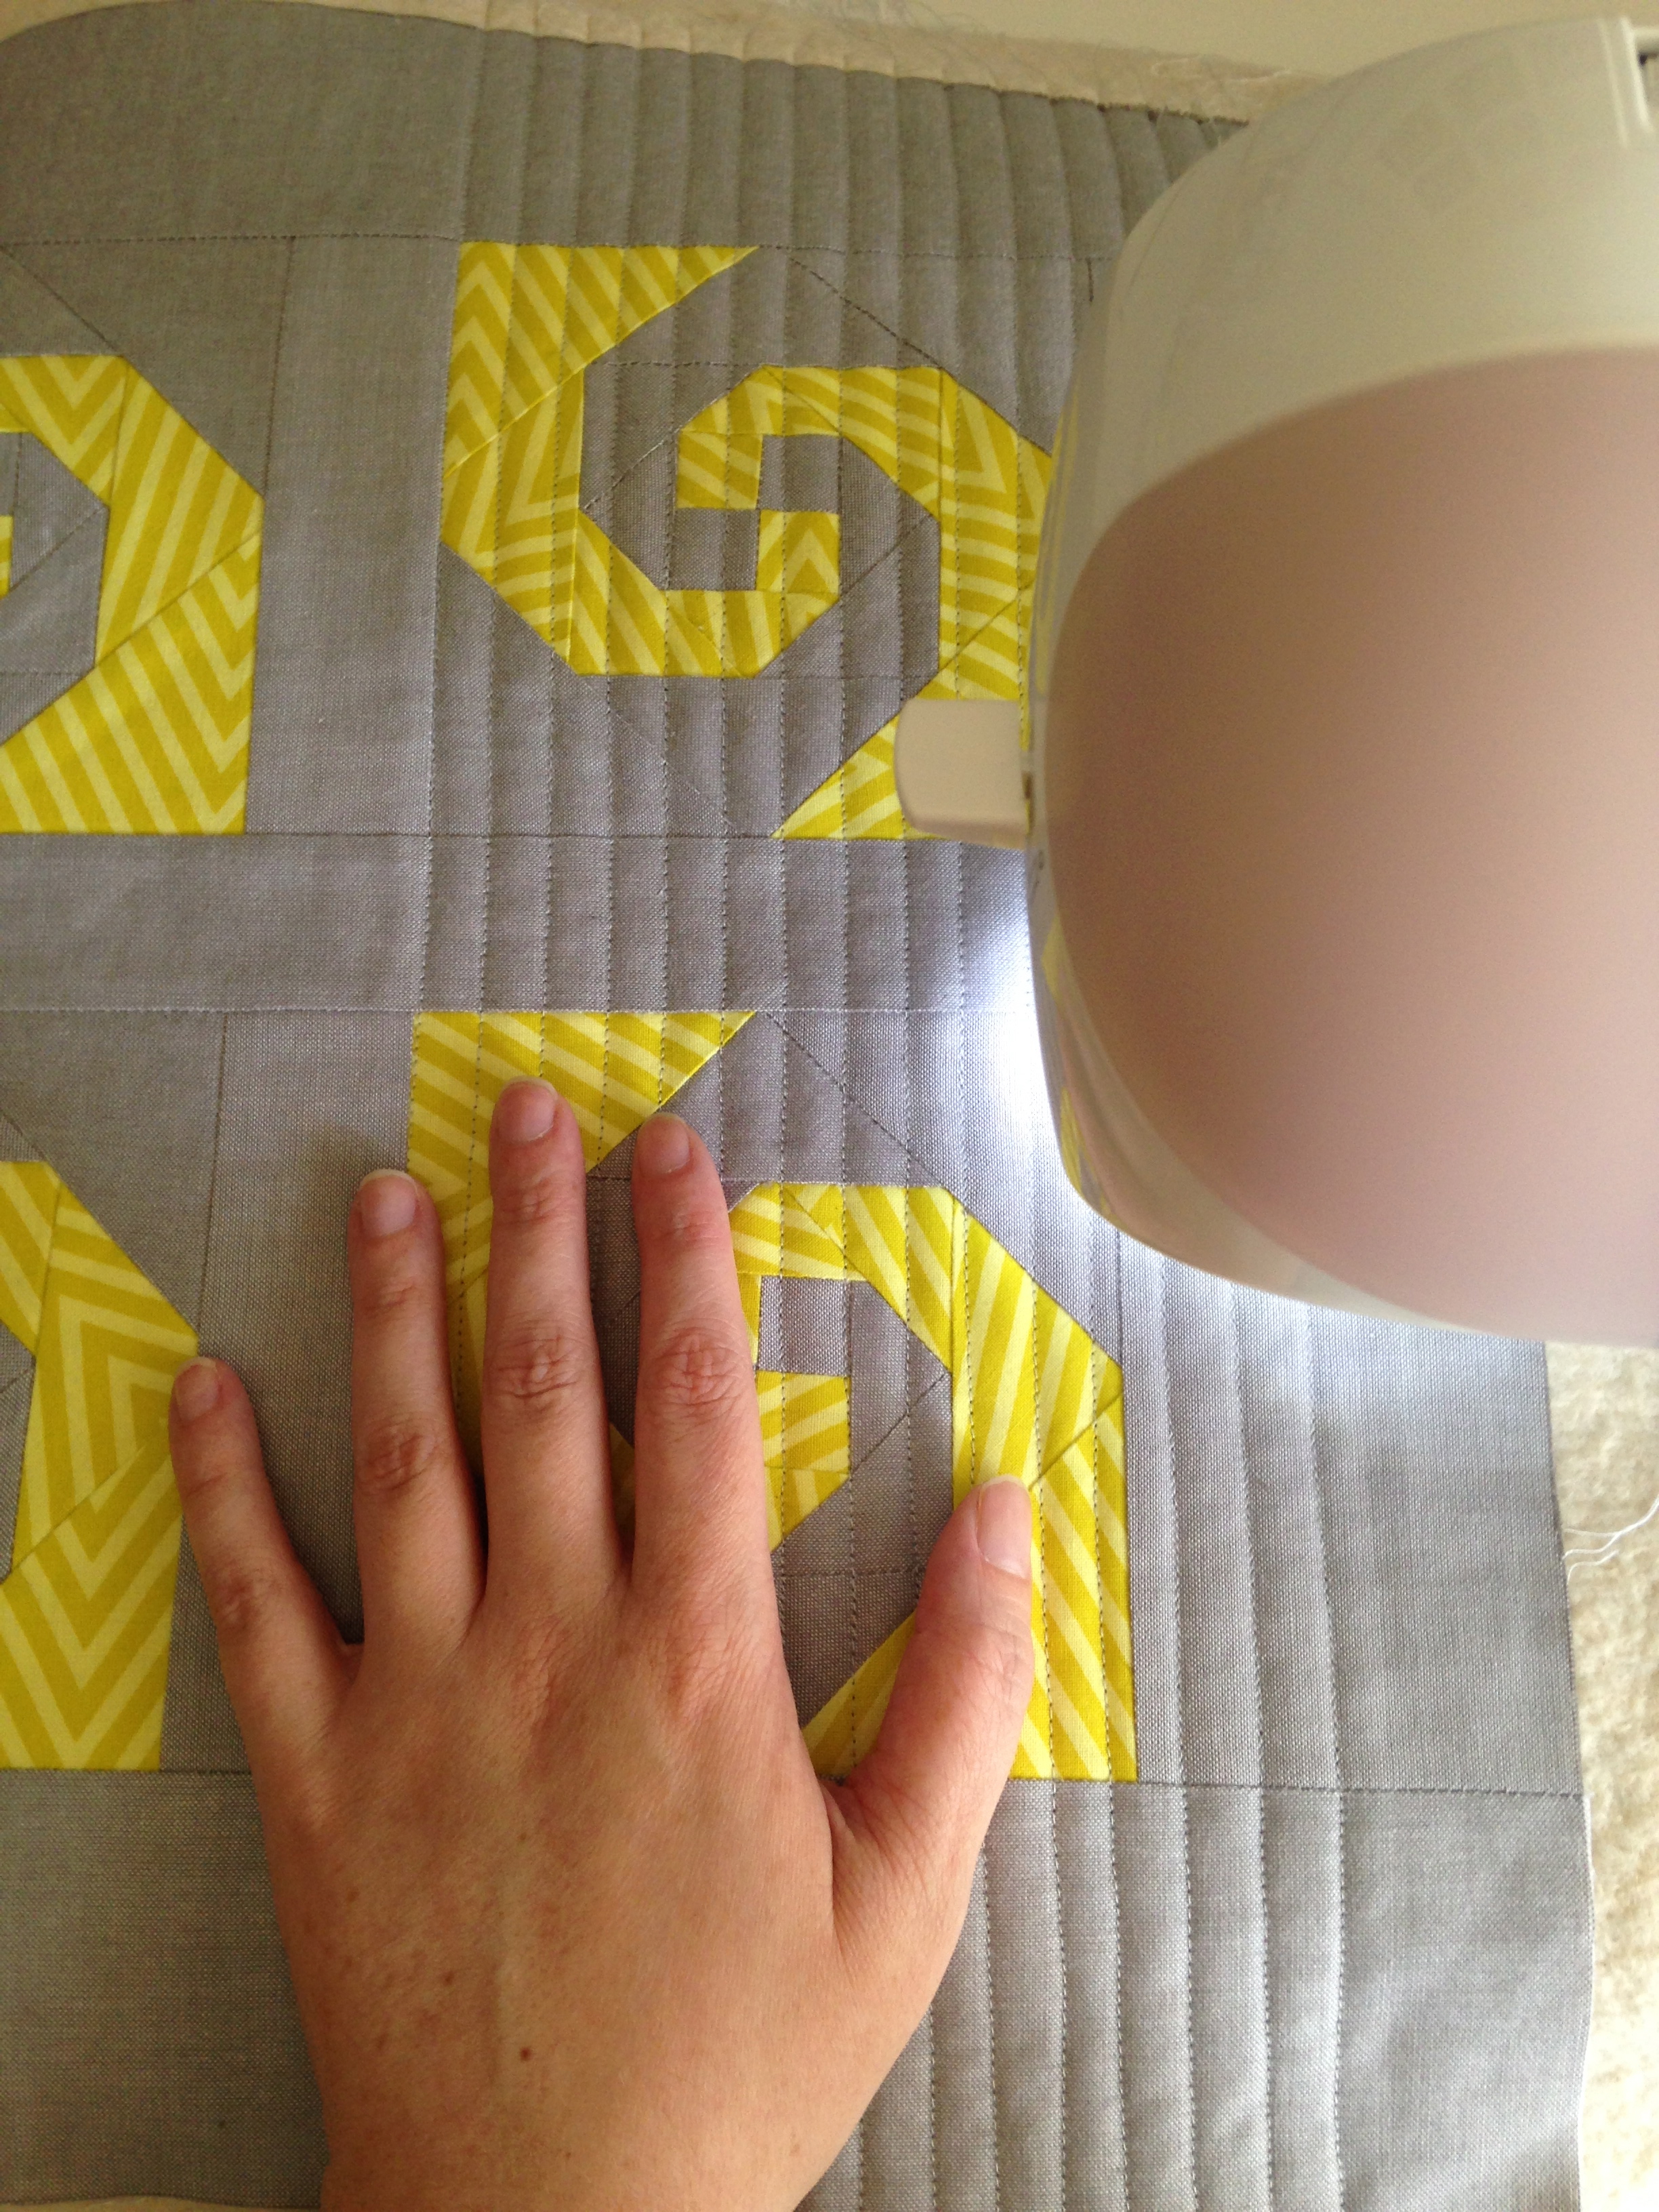
Before basting the mini-quilt up, I instagrammed a photo of the heart-racing intricacies that are on the back of the quilt-top.
So divine! So intense! So lovely!
I absolutely love the way that the shapes fit and conform next to each other as well as the differing lines and textures the seams create! But at the same time you can differentiate the shapes that form the block… (Excuse me, my Quilt-Nerd is showing!) It’s these little things that capture my heart and passion for patchwork (and quilting!).
After today, I believe I can honestly say that I am hands-down, cross-my-heart in love with making mini-quilts! They’re easy, fast, non-fussy and oh-so cute!
I tried to capture just how small this little mini is when I was quilting by comparing it with the size of my hand…
Hand vs. Mini Quilt
This quilt is itty-bitty and I love it!
I’ve decided that the quilt will be entered under the name Golden Trail – I think that works best.
It’s currently hanging up to my left ready for me to lovingly finish hand-stitching the binding and hanging sleeve!
If you’re a regular reader of this darling little blog, you may have notice that I didn’t post up a weekly WIP update on Monday, as I have for the past month or so.
This is mainly because there is nothing to really update you with i.e.. nothing has changed since I last wrote about my WIPs. (My laziness/procrastinating ways are finally showing!)
However, this week I feel very proud to introduce to you a tour of my sewing room!
I love this space!
It’s where I feel the most comfortable.
Where I feel the safest.
The most inspired.
Freely creative.
And connected to the rest of the world.
In the video I show you where I sew/quilt (duh!) but also where I write, shoot, edit and publish my blogs and videos.
It may not be the best kind of sewing space as some others may have (look up ‘sewing studios’ on Pinterest and you’ll know what I’m talking about!) but I’m thankful for my mum giving up her little study space for me to have my very own little sewing space!
I also made a second video with some other extra bits I couldn’t quite fit into the first Sewing Room Tour video.
I’ve had this video tutorial in the planning for a while – ever since I filmed my Fast Forward Quilting video last year in early September, where the Square-in-a-Square Block features.
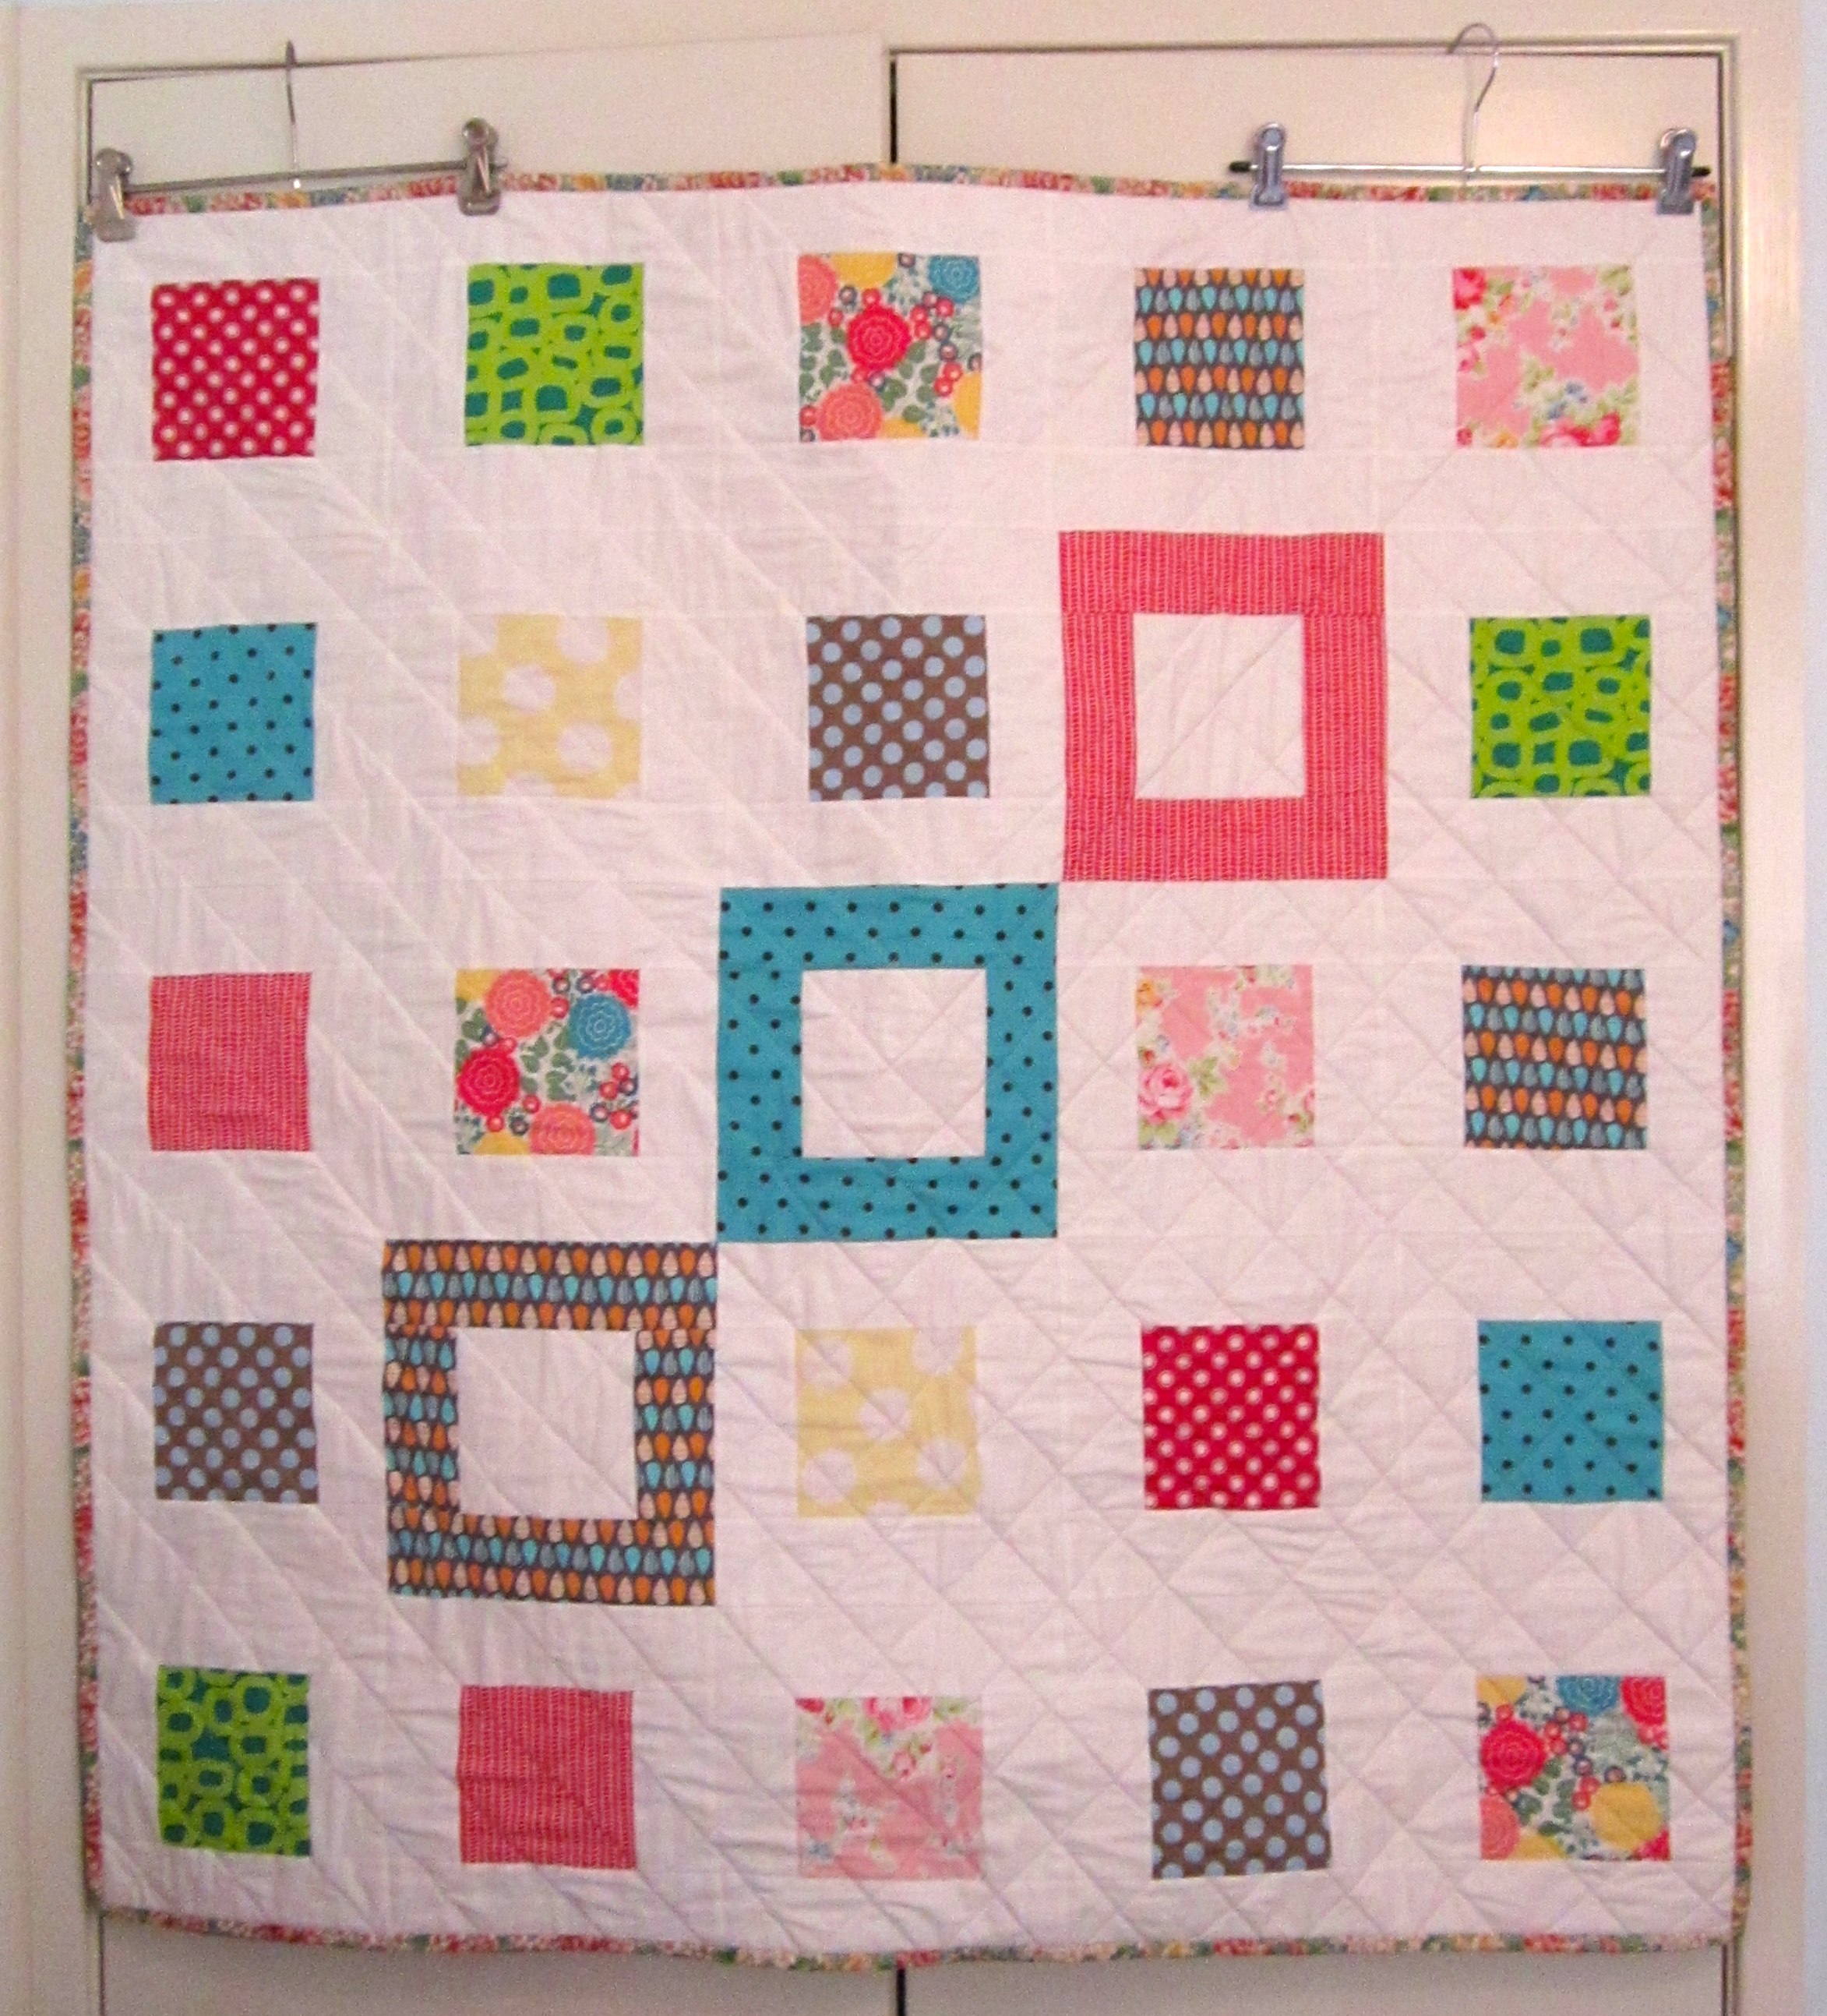
Small Plates Lap Quilt (2013)
The Square-in-a-Square Block, in my opinion, has to be one of the most easiest, quickest and adaptive blocks available for all levels and types of quilters.
It can be made into any size, using a range of differing centre-square and sashing measurements and can be made into a block as traditional or as modern/quirky as you wish it to be!
Give it a go and see what you think!
Way back in 2006, when I first became interested in making quilts, I used the Square-in-a-Square Block to make my very first quilt!
My First Quilt! (2006)
So essentially, this block was the very first block I had ever constructed!
If you’re a beginner I hope this little tutorial, in some small way, can help you in your own patchwork/quilting journey!
The 12 Types of Procrastinators Comic by Angela Liao | Pinterest
Drawing your attention to the comic above, I can define my past week of quilting procrastination as the following –
The Cleaner | Sewing room must be tidy before any quilting can get done!
The Listmaker | I must do this, this and this before I can sit and quilt so I don’t feel guilty.
The Sidetracker| See last week’s WIP Weekly Update post – something about a Quilt Show entry that needed to be started but isn’t due for another five months!!
The Internet Researcher | It’s vital I keep up to date with the latest trends and must-haves in the quilting world…right? (Plus, cat videos are always crucial to watch, no matter what type of procrastinating you’re doing!)
The Snacker | Who doesn’t love a good snack when you’re purposely avoiding doing something?
The Watcher | I randomly started watching season nine of ER this week… Boy that show is good!!
The Perpetuator | Come 9 o’clock, I’m ready for bed! I tell myself: ‘Tomorrow will be the day I get stuck into it…hmm, maybe… I do still have four more eps of ER to watch before I finish the season.’
It’s a strange and amazing thing at what I’ll let myself do and tell myself to do just to put off doing some quilting.
Please don’t misunderstand: It’s not that I don’t like quilting a quilt; heck I love it to bits!
It’s just the initial getting started – the motivation, the time, the mindset, the energy and the heat (quilting a quilt in the middle of an Australian Summer bites!).
So that’s my excuse this week for not doing any work on my WIPs.
I’ll always be the first to admit that I easily succumb to procrastination’s sticky fingers. It’s a deep, deep flaw that resides in this little quilter…
Jeez, a week sure can creep up on you in an instant!
I’m deeply baffled at how it can be the fourth-ish week of the New Year already! *WOW*
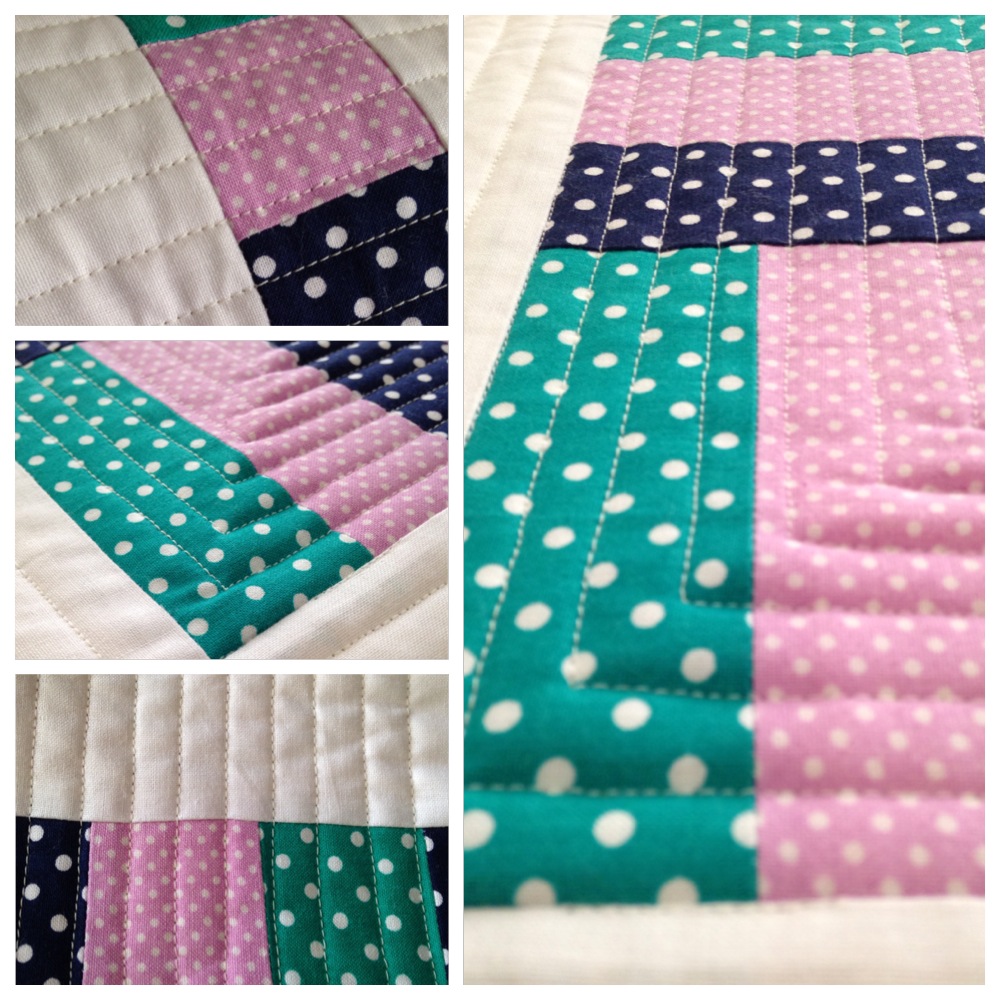
In the last seven days since we spoke, some quilting progress has been made to my Rail Fence Quilt…
Delicious quilty lines!
Predictably, I’ve started quilting my usual straight-line formation. (It’s easy and I’m lazy!) I’ve opted for a pattern quite similar to the way I quilted my Jacob’s Ladder Quilt, but on this one the quilty lines are a lot closer creating more of an intense surface design and texture.
To go along with this R.F Quilt, I’ve filmed and uploaded a very simple and informative tutorial on how to make the Rail Fence Block. I tried to make it as down-to-earth and helpful as possible especially for all you beginner quilters out there.
Let me know what you think of the video – I’m 100% open to any positive constructive criticism. I would love to know what I could to do improve my teaching skills and/or production/filming/editing skills.
Do you have any suggestions for quilt blocks that you would love to see me demonstrate?
Comment below and I’ll definitely take your ideas onboard!
Well, it’s now time to go and enjoy this glorious summer afternoon with a lovely icy-cold beverage, finger-licking snacks and a heart-warming rom-com!
So I thought to keep me honest and on track with my WIP* New Year Resolutions, I would try my very hardest to post every Monday updating my progress on getting these quilts finished.
Whether this is a good or bad thing I haven’t worked out yet!
Believe it or not, I have made some headway in completing my Rail Fence Quilt. (You know, the quilt top with all the spots…)
During the week, I blew out my fortnightly budget by buying a whole lot of batting in preparation for all of these quilts I need to finish.
I set out the same afternoon and patiently basted up the R.F Quilt and it’s now ready to quilt!
Along the way, I also took some time out to start filming a little tutorial on how to make a very simple Rail Fence Block (perfect for all you beginners out there!).
This, unfortunately, is still in the editing process and will hopefully be ready to upload near the end of this week! Whoo!
So, without procrastinating anymore, I think it’s time to get quilting!
I’m not normally one of those resolution-kind-of-setting people making plans at the beginning of each New Year and then failing two weeks later…
So when I made up my mind to set out some quilting resolutions for 2014, I made sure I would choose goals that I knew I would happily follow through on.
(I may regret this!)
I start so many new projects each year, each month, each week, each day that it’s absolutely ridiculous!
Worse yet, three quarters of these projects don’t get finished or are ever seen again!
This year, that changes!
I have a total of six quilts that I’ve ‘started’, all at different stages of the quilt-making adventure, that I resolute to FINISH over the course of this year.
I may even go to the point of saying that I need to get all these finished before I start a(nother) new project! (Oh no! Can I take that back??)
So, there are four quilt tops that are ready to be sandwiched and basted ready for quilting and two stacks of completed blocks that need to be pieced together.
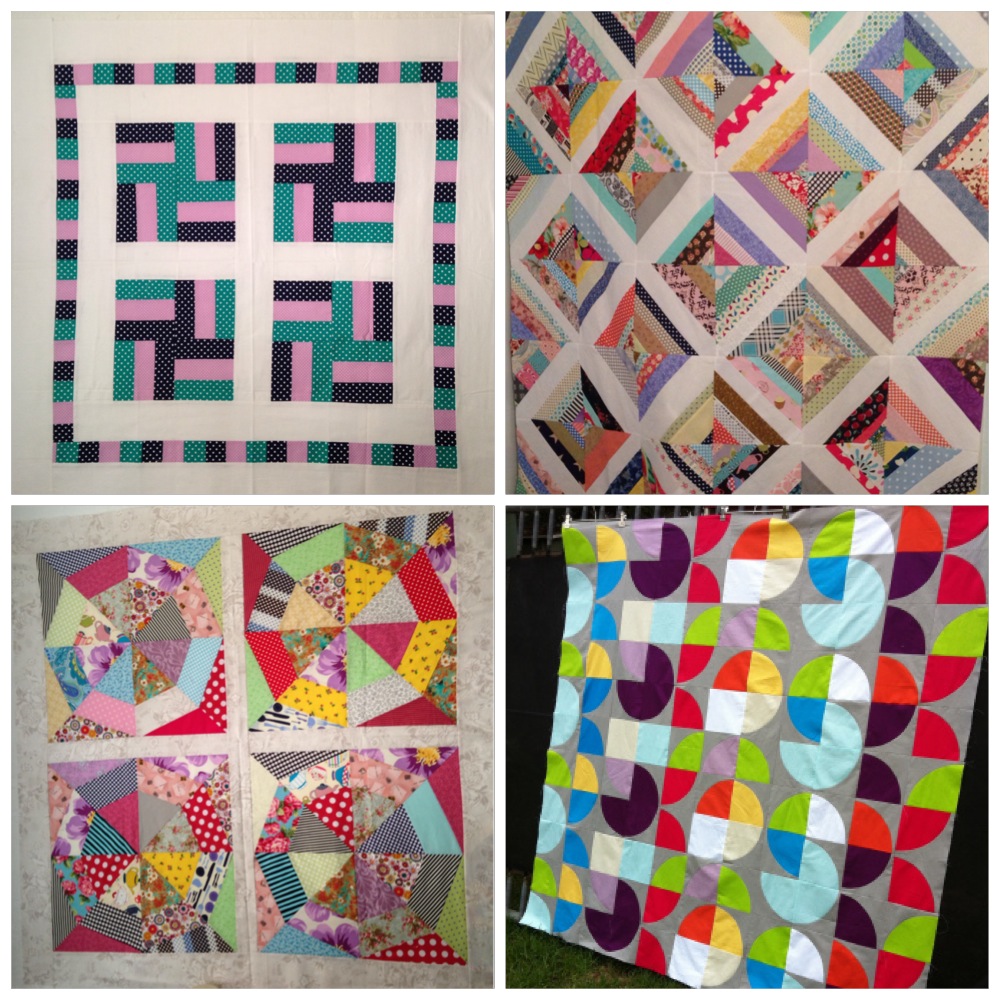
Some of these quilt tops may seem familiar…
From top left to bottom right –
This is a small lap quilt or baby quilt I began two years ago using the Rail Fence block along with some sweet polka-dot fabrics that I was madly in love with at the time. I’m thinking, once I’ve finished it, I’ll put it up for sale in my madeit store. Watch this space!
The next one is my Scrap-Happy String Quilt! I accidently made this quilt a whole lot bigger than I originally intended to last year after ‘trying’ to demolish the never-ending growth of my scrap fabric! I freely admit that the size put me off from ever wanting to get it finish. And yet, I know that when I do get around to finishing it, it’s going to be B-E-A-utiful!
Two years ago, I tried the endless struggle to not let my fabric scraps overwhelm me! (See previous quilt top!) So when I discovered an awesomely scrappy-kinda-quilt PDF pattern by Anna Maria Horner, I sung out loud the Hallelujah Chorus and pressed print! I have no idea why I didn’t get the chance to finish this little gem: the size is like a lovely cozy lap quilt and I simple adore the crazy mix-match of the prints together! (Hmm, that’s a head scratcher!) But the ball has been set into motion again and this little sweetie will be finished!
This would have to be the BIGGEST quilt I have pieced together! Seriously this quilt will be a beast when it’s finished! I remember I found the pattern to this quilt when I had a craving to tackle a quilt featuring curved piecing as well as one where I could only use block colours. Bingo! This quilt was perfect! The original design for this quilt came from Jen Carlton Bailey and her quilt 5-HTP Squared. I started this quilt (named Colourplay) this time last year (January 2013) and I distinctly remember that as it got to the part where I needed to baste and proceed onto quilting, the harsh Australian Summer decided to get even. In that week alone we suffered through 40-45C+ heat. Every. Single. Day. Because of this, I was put-off from quilting it (which I was also internally dreading because of it’s size!) and conveniently forgot all about it until a few weeks ago when I decided to commit to some silly New Year resolutions lark! I know completing this quilt will challenge me. I know that I’ll need to be as strong as an ox to quilt it. And I know that I’ll need to be so much more patient than I already am to reach that moment of completion! I say: bring it on!
And now onto the quilt blocks that are ready to be pieced!
At the top is my stack of Craftsy’s 2012 Block of the Month blocks that have, so unfortunately, been sitting on my sewing table over the past year, yearning out to be finished! This was and still is my very first Sampler slash Block of the Month type of quilt. It symbolises a lot of new skills that I learnt along with some simply wicked modern fabrics that I do and will always love!
Although I identify myself as an Australian, I’m also a self-obsessed Anglophile and absolutely adore the thought of quintessential British living! If given the opportunity to live in another country apart from Australia, I would choose England hands-down! From Sydney to London is my ultimate dream. Full. Stop. Thank you very much!So to help immerse myself into that dream, I started to make some Union Jack paper-pieced blocks with the intention to make a tip-top Britishy quilt all for me! Yeah…obviously that hasn’t happened yet. My quilt in progress was inspired by this quilt made by Amy Smart at Diary of a Quilter.
Alternatively (833 words later!), you can watch me display and chat about each of these quilts here…
Other Quilting-related New Year Resolutions I’ve got in the bag include –
Entering local quilt shows, in particularly the Sydney Royal Easter Show (application form submitted this morning!!) in April and the Sydney Quilt Show in June.
Challenging my quilting skills by attempting block patterns that force me into a spinning vortex of stress and anxiety!! *Falls into a foetal position*
Sooo, watch this space for these WIPs or ‘Works-In-Progress’!
I’m pumped and ready to get going!
Have I inspired you to get your unfinished quilts and projects out and onto the road of completion? Let me know and we can discuss our progresses together!
It’s not every day that I would rock out in a felty-jingly-sparkly antler headband with a plastic Christmas crown on my head and make funny pouty faces at my computer…
But this Christmas, I did.
(And I am not ashamed of it!)
Along with that, this Christmas I also followed on the tradition of my Handmade Christmas pledge.
The majority of gifts given this year were handmade, a few were not. (Hey, I’m only human!)
First off, I made six Lil’ Santa Stockings personalised with hand embroidered names for my four nephews, one for a good friend’s son and another for my 30 year old brother!
I filled each one with an array of ‘boy’ things such bouncy balls, lollipops, stickers/tattoos, a boxes of chalk, Pez and other fun stuff personalised for each boy/man!
They all went down a treat and I couldn’t be happier!
Moving on…
For two of my close couple-friends I made some very cute Wine Bags.
I bought them each a bottle of some organically produced Shiraz (with a very pretty and simplistic label!) and popped it in the bag. I also placed a handmade Hessian Bird Ornament around the neck of the bottles as an extra little gift.
For my oldest brother and sister in-law, I gave them four Christmas Tree frames made from popsicle sticks, each with a photo taken of their sons this year.
I thought they would become sweet mementos to place on the Christmas tree each year.
Each of these gifts featured in my 12 Days of Christmas Crafts Series I posted on YouTube (and my blog) in the 12 days leading up to Christmas.
If you want to see how each of them have been made and want to get into some early inspiration for Christmas 2014, follow these links…